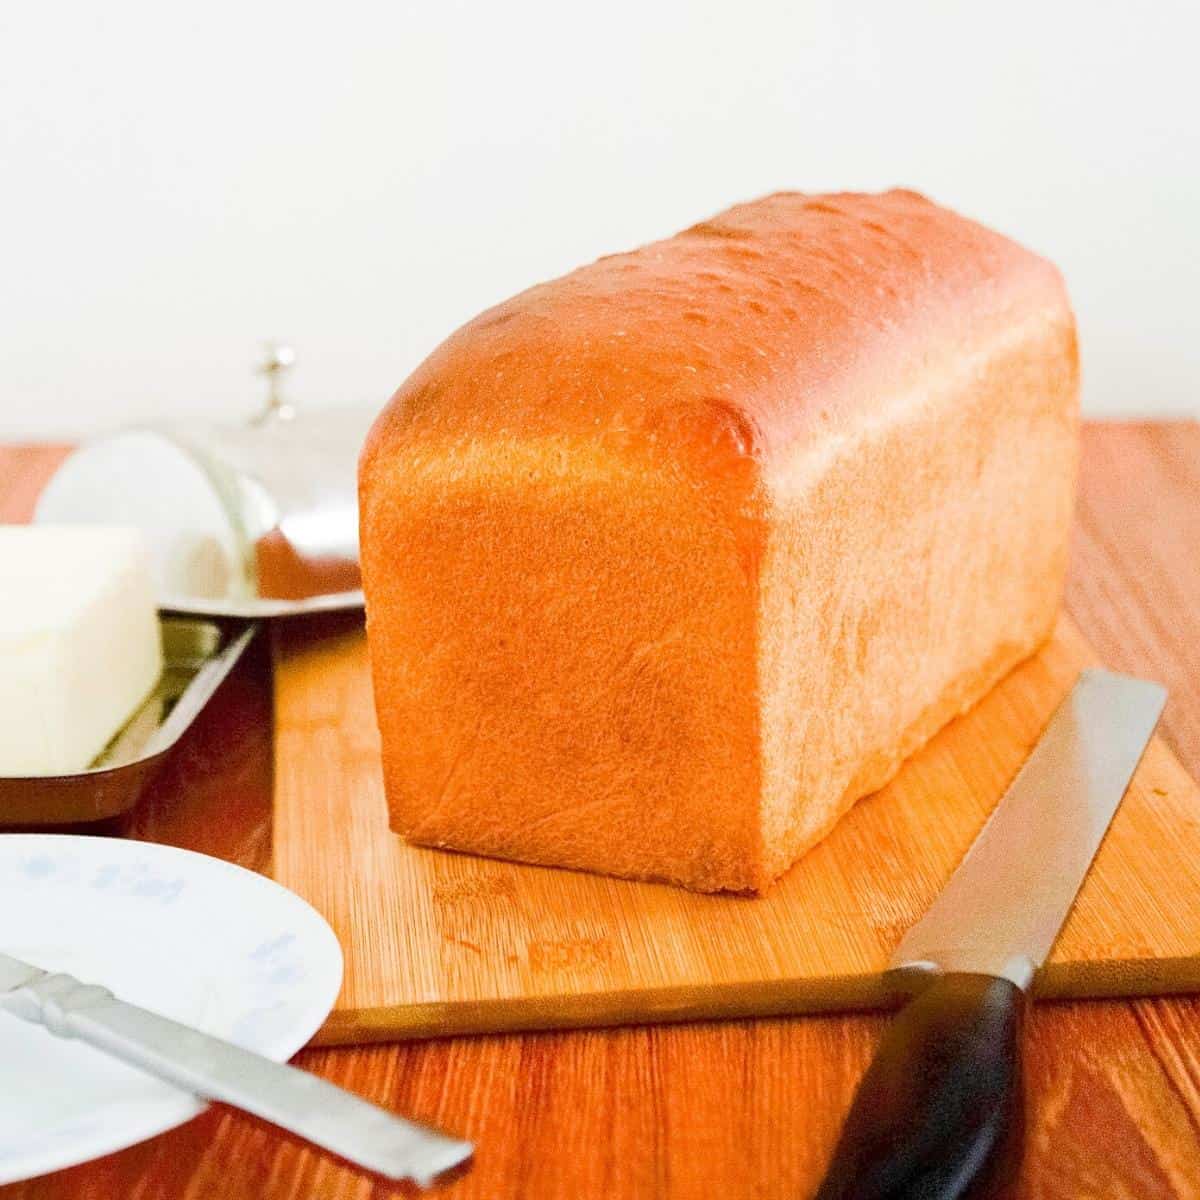
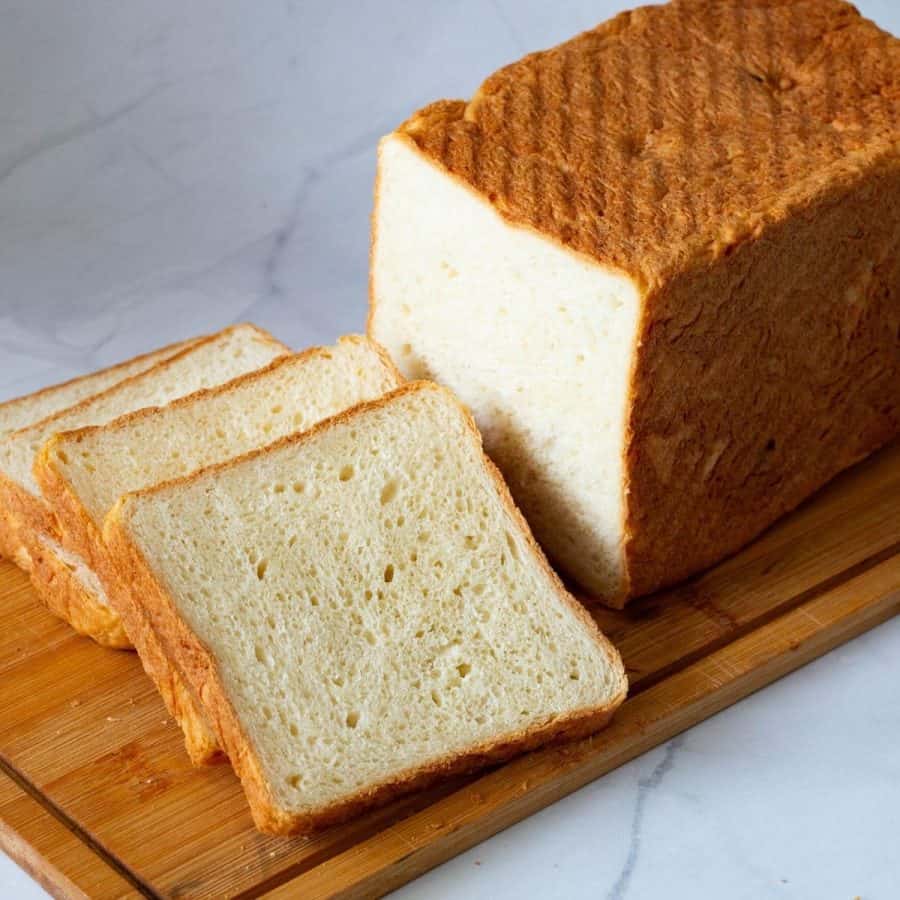
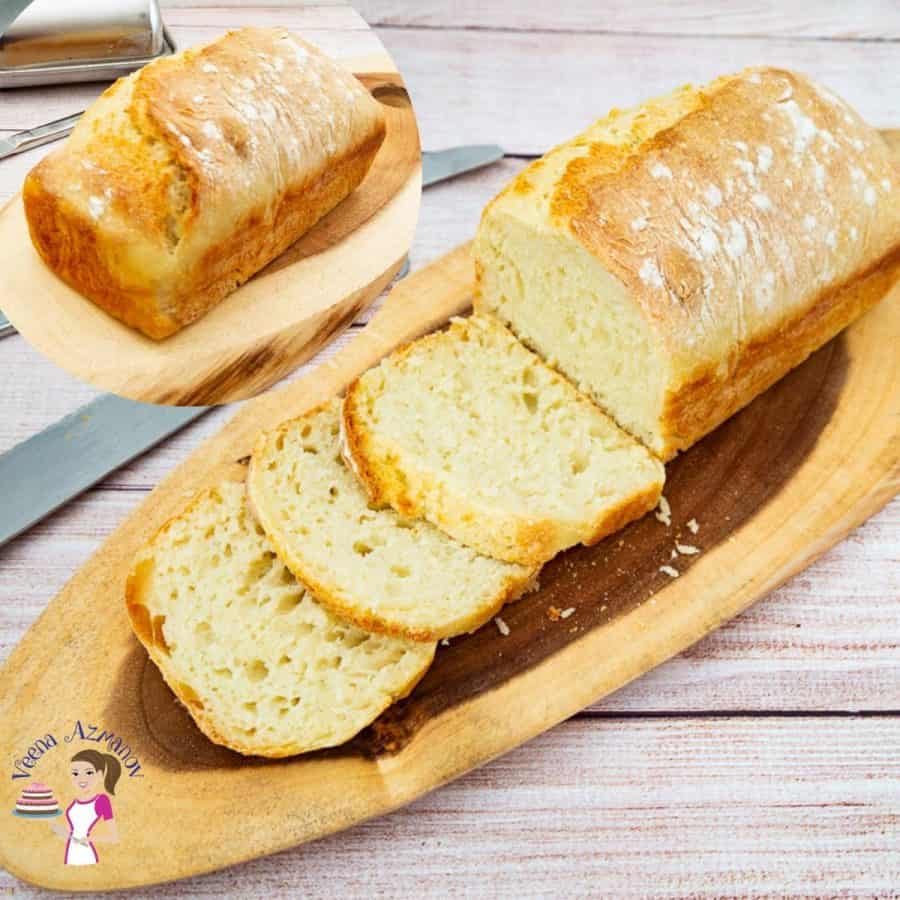
Classic Sandwich Bread


This homemade white sandwich bread is a classic staple, perfect for sandwiches, toast, or simply enjoyed on its own. Made with simple ingredients and easy-to-follow instructions, this recipe produces a soft, tender loaf with a delicious flavor and texture. Say goodbye to store-bought bread and enjoy the satisfaction of baking your own fresh, homemade bread.

The first time I made sandwich bread at home, I was completely hooked. The aroma of freshly baked bread filling my kitchen was enough to make me vow never to buy store-bought sandwich bread again. And then, the taste—it was soft, slightly sweet, and so much better than anything I’d ever bought from a store.
While life sometimes gets in the way and we still buy bread when time is tight, this homemade sandwich bread has become a family staple. Its rich, wholesome flavor and tender texture make it worth every moment in the kitchen—and for good reason!
Why is this the best recipe
- Versatility: This bread is perfect for sandwiches, toast, or simply enjoyed on its own. Its neutral flavor pairs well with a variety of toppings and fillings, making it a versatile staple in any kitchen.
- Customizable: While the recipe is delicious as is, it also serves as a great base for experimentation. You can easily customize the bread by adding herbs, cheese, seeds, or other flavorings to suit your taste preferences.
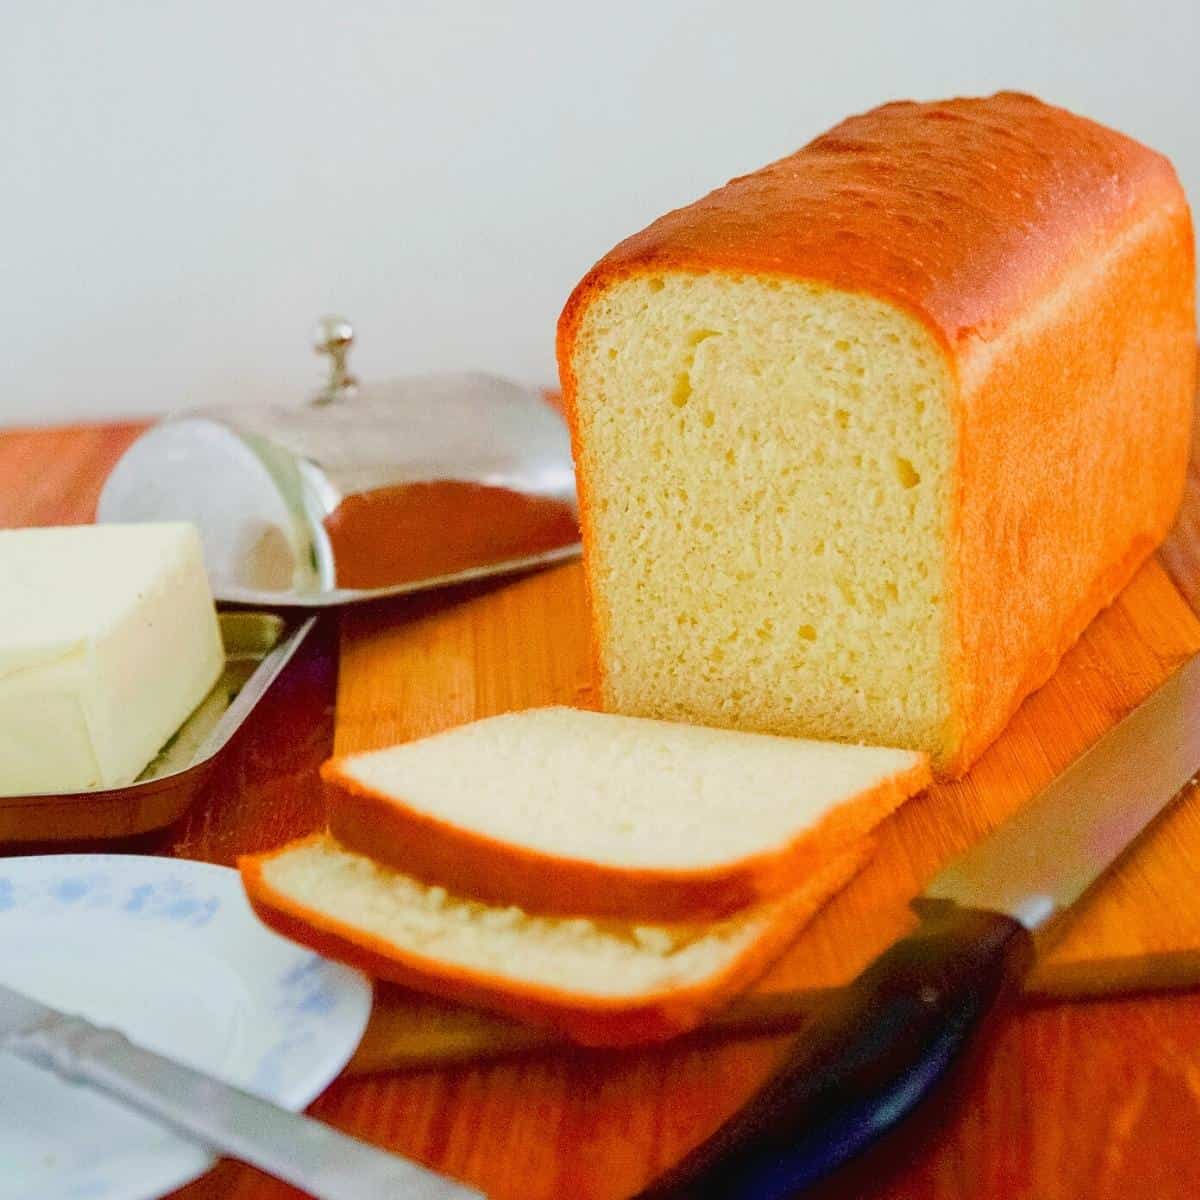
- Texture: The bread has a soft and tender crumb, making it ideal for sandwiches and toast. It’s not overly dense or dry, ensuring a delightful eating experience every time.
- Consistent Results: With clear instructions and tips for success, this recipe yields consistent and reliable results. Whether you’re a seasoned baker or new to bread making, you can trust that this recipe will deliver a delicious loaf of bread.

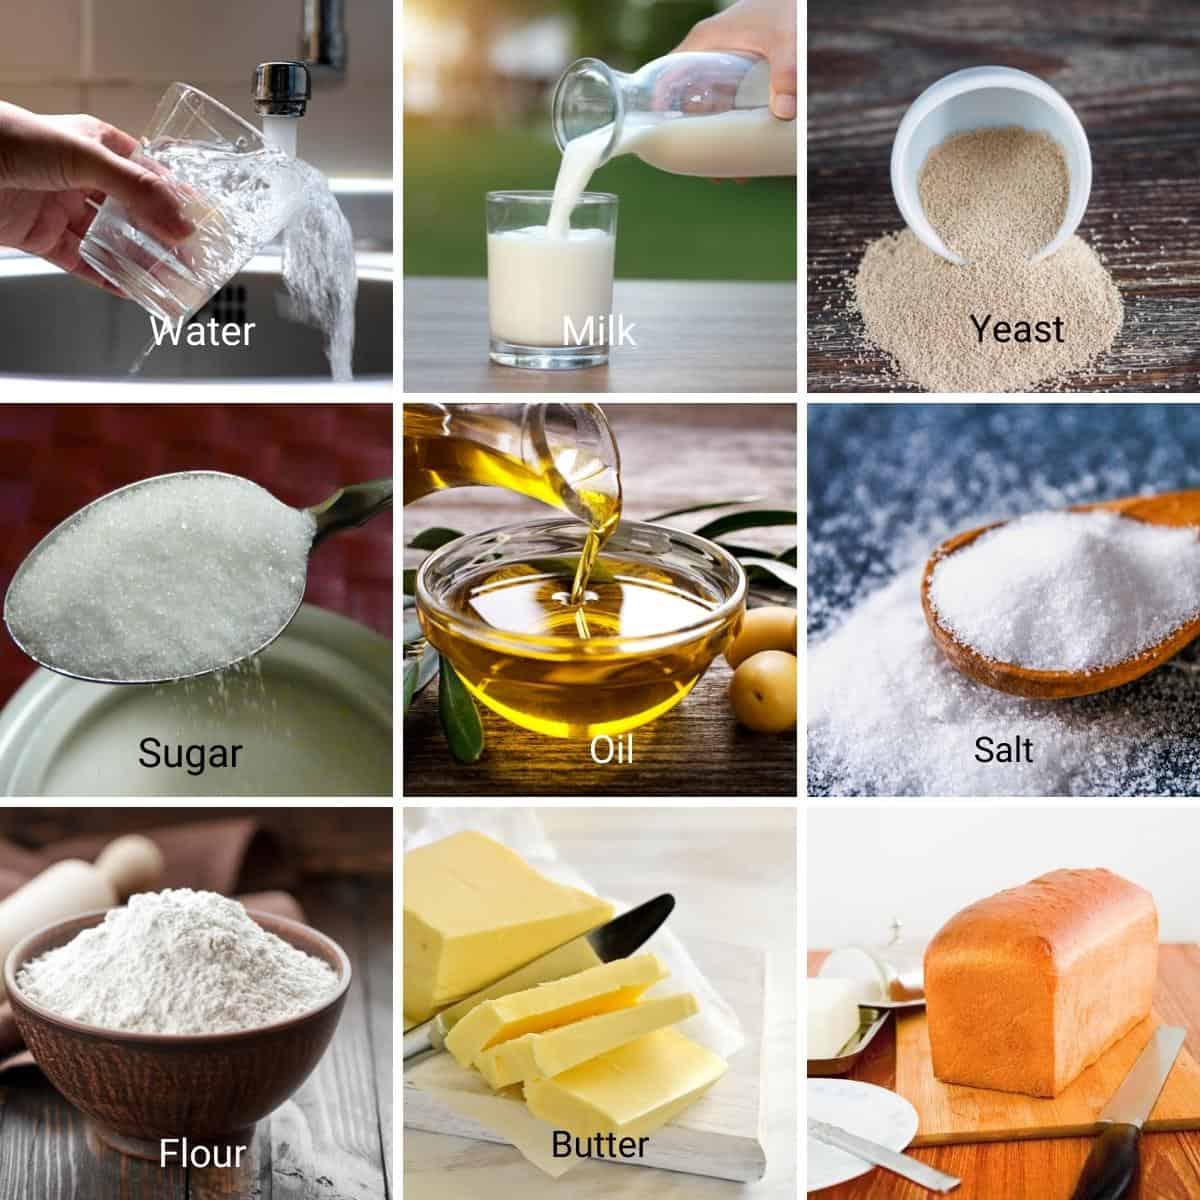
Ingredients and substitutes
- Bread Flour: Provides structure and chewiness to bread due to its higher protein content than all-purpose flour. Substitute all-purpose flour if bread flour is unavailable; the texture may be slightly different.
- Yeast: Leavens the bread by producing carbon dioxide gas, which causes the dough to rise. Active dry yeast and instant yeast are common types used in bread making and can usually be used interchangeably.
- Sugar: Feeds the yeast and adds a hint of sweetness to the bread. Honey or maple syrup can be used as substitutes, but they may affect the flavor slightly.
- Salt: Enhances the flavor of the bread and helps control the fermentation process. Use sea salt or kosher salt as substitutes for table salt.
- Water: Hydrates the flour and activates the yeast. Milk can be used as a substitute for water, which adds richness to the bread.
- Oil or Butter: Adds moisture and richness to the bread. Vegetable oil, olive oil, or melted butter can be used interchangeably.
- Milk: Adds richness and flavor to the bread. You can use dairy milk or non-dairy milk, such as almond or soy milk, as a substitute.
Step-by-step: Easy Homemade Sandwich Bread
Dough
- Yeast mixture– In a small bowl or measuring cup, combine the warm water (110°F), instant yeast, sugar, and olive oil.
- Flour – In the large bowl of a stand mixer with the dough hook attachment, add the flour and salt. Stir to combine. Then add the warm milk and yeast mixture. Combine with a wooden spoon or dough whisk. Scrape the sides of the bowl to ensure all dry flour is incorporated.
- Knead – Continue to knead the dough on medium speed for 8 to 10 minutes. Add the room-temperature butter and knead for 4 to 5 minutes more.
- Rise – Transfer the dough to a greased bowl and leave it to rise on the counter for up to 60 to 90 minutes or until doubled in volume.

Shape & Proof
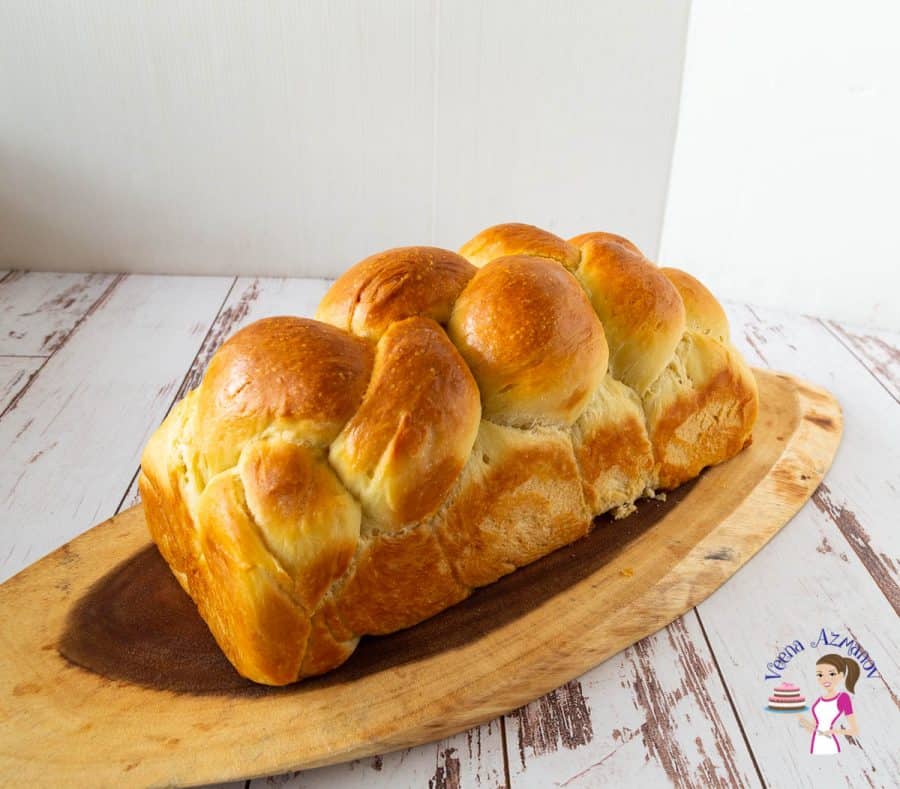
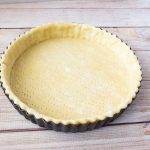
- Shape – When the dough is doubled in volume, transfer it to a well-dusted floured surface. De-gas, reshape into a ball. Shape each portion into a tight roll. To do this correctly, flatten the dough on an unfloured surface. Fold the top and two sides in. Then roll towards you into a sausage or log shape.
- Proof (second rise) – Place the shaped log in a 9-inch loaf pan. Cover with a clean kitchen cloth or plastic wrap and leave in a warm place for about 45 minutes until almost doubled in size.
Pro tip – Spray the plastic wrap with oil to prevent it from sticking to the rolls.

Bake
- Oven & Pan – When the bread is almost double in volume at about 30 minutes, preheat the oven to 375°F / 190°C / Gas Mark 5. Grease the right-size loaf pan with butter (ingredients given for 9-inch as well as 13-inch loaf pan)
Pro tip – You can also use an oil spray for the loaf pan; however, the butter will give a wonderful golden crust with a tender crumb.
- Bake on the middle rack until lightly golden on top. The 9-inch loaf will take about 40 to 50 minutes, while the 13-inch loaf will take about 60 to 70 minutes. If the top of the sandwich bread is getting too dark, tent it with aluminum foil. When baked, brush with melted butter.
Pro tip – This is optional, but it adds a nice flavor and keeps the top crust soft. - Cool – Take it out of the pan and cool it on the wire rack. Cover it with a clean kitchen towel for at least 10 minutes to keep the loaf soft
Pro tip – Do not leave the bread in the pan for too long, as the steam will make the bread soggy on the bottom.
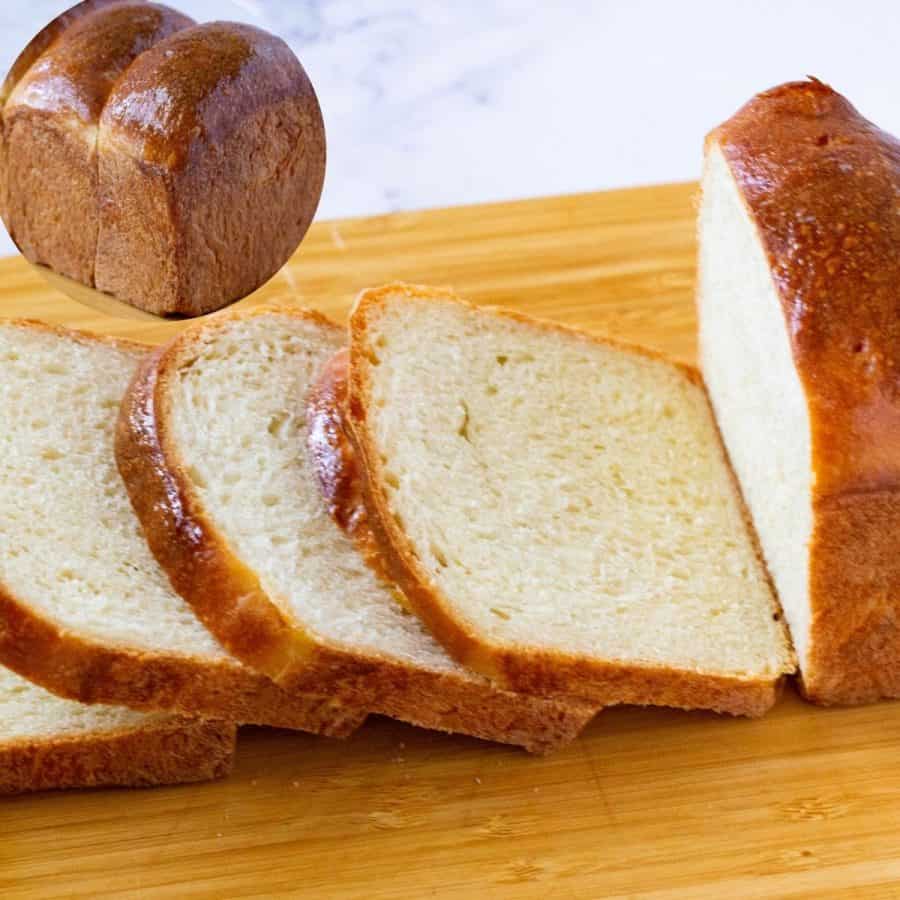
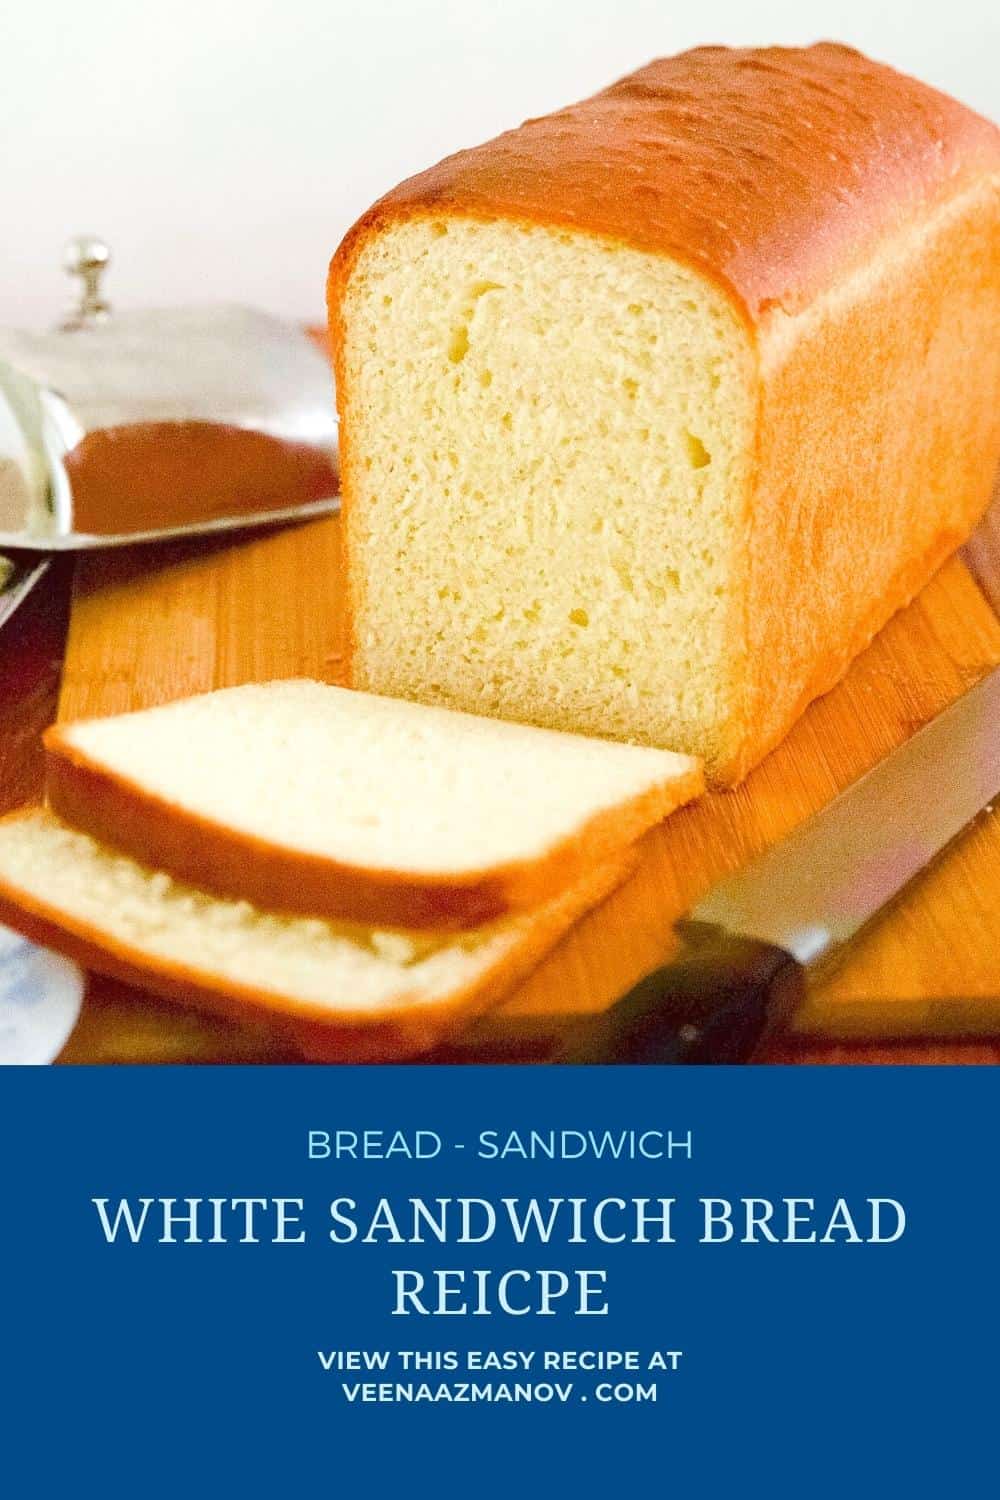
BEST Sandwich Bread Recipe
It's easy to make your own sandwich bread, and the result is fresher, tastier, and cheaper than most store-bought varieties. This white bread is quick, easy, and inexpensive to make. Use it for toasted sandwiches or for peanut butter and jelly sandwiches. In addition, it can be great for French toast too
Video
Ingredients
- 120 ml (½ cup) Warm water at 110 F
- 9 g (2¼ tsp) Instant dry yeast 1 envelope
- 14 g (1 tbsp) Olive oil
- 24 g (2 tbsp) Sugar
- 240 ml (1 cups) Warm milk at 110 F
- 30 g (2 tbsp) Butter unsalted, room temperature
- 500 g (4 cups) Bread flour (or all-purpose flour)
- 9 g (1½ tsp) Salt
- 120 ml (½ cups) Warm water at 110 F
- 12 g (3 tsp) Instant dry yeast
- 30 g (2½ tbsp) Sugar
- 20 g (1¾ tbsp) Olive oil
- 320 ml (1½ cups) Warm milk at 110 F
- 45 g (3¼ tbsp) Butter unsalted , room temperature
- 650 g (5¼ cups) Bread flour or all-purpose flour
- 12 g (2 tsp) Salt
Method
- Yeast mixture– In a small bowl or measuring cup, combine the warm water (110F), instant yeast, sugar, and olive oil.120 ml Warm water at 110 F , 9 g Instant dry yeast, 24 g Sugar, 14 g Olive oil
- Flour – In the large bowl of a stand mixer with the dough hook attachment, add the flour and salt. Stir to combine. Then add the warm milk and yeast mixture. Combine with a wooden spoon or dough whisk. Scrape the sides of the bowl to ensure all dry flour is incorporated.500 g Bread flour, 9 g Salt, 240 ml Warm milk at 110 F
- Knead – Continue to knead the dough on medium speed for 8 to 10 minutes. Add the room-temperature butter and knead for 4 to 5 minutes more.30 g Butter
- Rise – Transfer the dough to a greased bowl and leave it to rise on the counter for up to 60 to 90 minutes or until double in volume.
- Shape – When the dough is double in volume, transfer to a well-dusted floured surface. De-gas, reshape into a ball. Shape each portion into a tight roll. To do this correctly, flatten the dough on an unfloured surface. Fold the top and two sides in. Then roll towards you into a sausage or log shape.
- Proof – Place the shaped log in the loaf pan. Cover with a clean kitchen cloth or plastic wrap and leave in a warm place for about 45 minutes until almost double in size.
- Oven & Pan – When the bread is almost double in volume at about 30 minutes, preheat the oven to 375°F / 190°C / Gas Mark 5. Grease the right size loaf pan with butter (ingredients given for 9-inch as well as 13-inch loaf pan)
- Bake on the middle rack until lightly golden on top. The 9-inch loaf will take about 40 to 50 minutes, while the 13-inch loaf will take about 60 to 70 minutes. If the top of the sandwich bread is getting too dark, tent it with aluminum foil. When baked, brush with melted butter.
- Cool – Take it out of the pan and cool on the wire rack. Cover it with a clean kitchen cloth for at least 10 minutes to keep the loaf soft
Notes
- Use the right yeast: Make sure to use active dry yeast or instant yeast for this recipe. Check the expiration date to ensure the yeast is fresh and active.
- Proper kneading: Kneading the dough helps develop gluten, which gives the bread its structure and texture. Knead the dough until it’s smooth and elastic, which usually takes about 10 minutes by hand.
- Consistent rising: Allow the dough to rise in a warm, draft-free place. The dough should double in size during the rising process. If your kitchen is cold, you can place the dough in a slightly warmed oven (turned off) or near a warm stovetop.
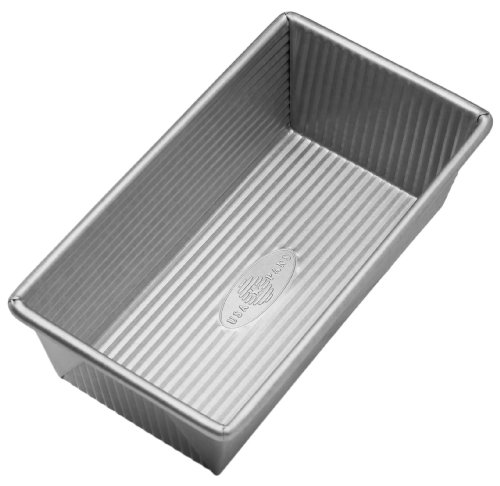
- Correct pan size: A 9×4 inch loaf pan is the perfect size for this recipe. Using a different size pan can affect the baking time and the shape of the loaf.
- Baking temperature and time: Bake the bread until it’s golden brown on top and sounds hollow when tapped on the bottom. Over-baking can result in a dry loaf, so keep an eye on it towards the end of the baking time.
- Cooling properly: Allow the bread to cool in the pan for 10 minutes before transferring it to a wire rack to cool completely. Slicing the bread too soon can cause it to be gummy inside.
- Storage: Once cooled, store the bread in an airtight container or plastic bag at room temperature. It’s best to consume homemade bread within a few days or freeze it for longer storage.
- Experiment: Feel free to experiment with different flours, such as whole wheat or rye, to create variations of this bread. Adding seeds or grains to the dough or sprinkling them on top before baking can also add flavor and texture.
Equipment you will need

Nutrition
Tried this recipe?
Mention @veenaazmanov_kitchen or tag #veenaazmanovkitchen!Troubleshooting- Classic Sandwich Bread
| Problem | Likely Cause | Solution |
|---|---|---|
| The dough did not rise | The liquid was too cold or too hot; the yeast was inactive | Use liquid at about 110°F / 41°C. Let the yeast sit for 5 minutes — if it bubbles and becomes foamy, it’s active. If not, replace the yeast or recheck the liquid temperature. |
| The bread turned out dense | Too much flour was added | The dough should be soft, elastic, and slightly sticky when kneading. Avoid adding excess flour; use the recipe and video as a guide for proper dough consistency. |
| The bread deflated while baking | The dough was overproofed | Proof the dough for about 45 minutes or until almost doubled. Overproofed dough can rise and then collapse during baking. |
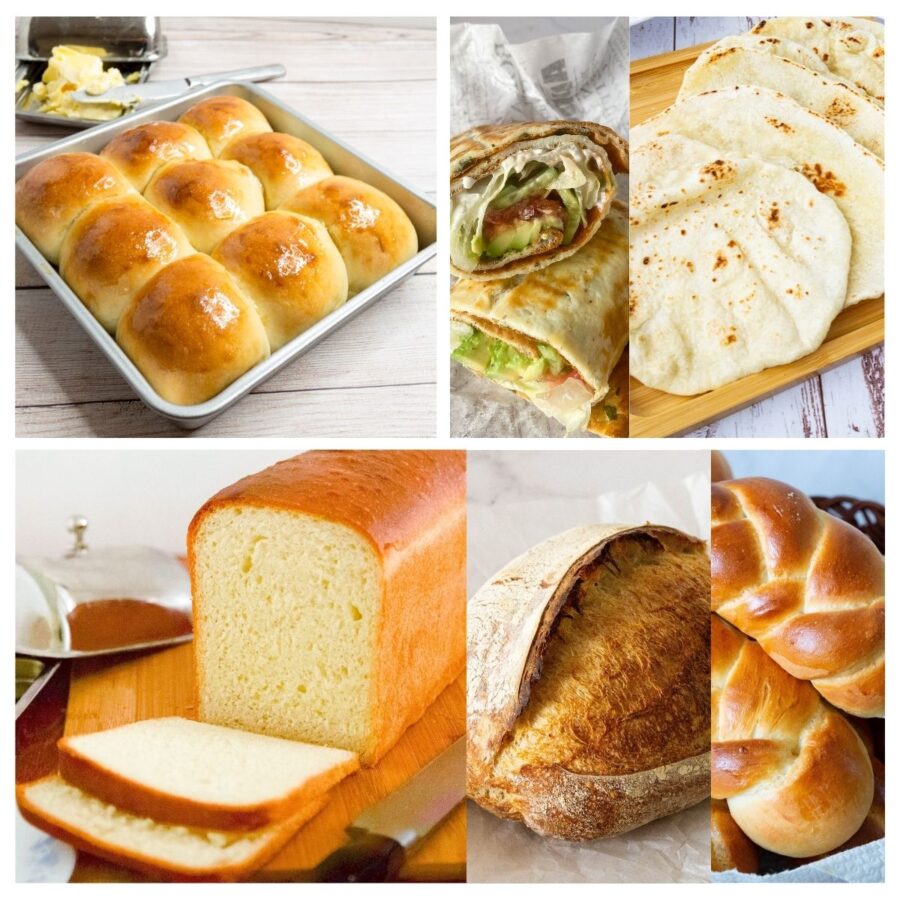
more sandwich bread recipes
Frequently asked questions
If stored properly, this white bread will stay for 4 to 5 days at room temperature. It can be frozen for up to 3 months. Never store bread in the fridge as it dries out.
Yes, you can freeze this bread. Once the bread has cooled completely, wrap it tightly in plastic wrap and then aluminum foil before placing it in the freezer. To thaw, let the bread sit at room temperature for a few hours or overnight in the refrigerator.
It is very important that you buy a good-quality pan. Nothing is worse than spending time on bread only to have it stick to the pan. A high-quality pan will last you for years and be a pleasure to use over and over again. Since I bake almost every week, I have quite a few baking pans, and yet I keep using these three over and over again.
I love loaf pans with high sides. I have this large Pullman sandwich loaf pan and this small Pullman sandwich loaf pan, which works great not just for the Pullman bread but also for this type of classic loaf bread. So basically, you can use that one pan for both types of loaves. Make sure to buy the lids if you plan to make the Pullman bread as well.
Yes. Pour all ingredients into the pan. Set to dough or manual. Start and let the dough run its cycle for about 9 to 10 minutes – continue with the recipe as shown above.
you may also like
- 10 Best Gifts for Bread Bakers
- 15+ Beginner Bread Recipes for Everyday Baking
- Learn Bread Baking at Home • Step by Step 😄
- Homemade Ciabatta Recipe
- Mini Sausage Rolls


Don’t lose this recipe! Save it for Later!
📌 Save this Recipe for later on Pinterest so you can easily find it again.
⭐ Add Veena Azmanov Kitchen to your Google Preferred Sources.
It helps Google show you more of our recipes.
📧 Subscribe for new recipes delivered to your inbox.
🎥 Follow us for more recipes


done day 4
day 4 done
Which baking temperature and time is correct? The directions say for a 9″ loaf, to preheat oven to 375° and bake for 40-50 minutes. But under “NOTES” it says to bake at 350° for 30-35 minutes.
Also, do you think this recipe would work in a covered loaf pan?
Hey Missy – bake at 375F (the 350F) was supposed to be a note for fan ovens but I removed it to avoid confusion. Thanks