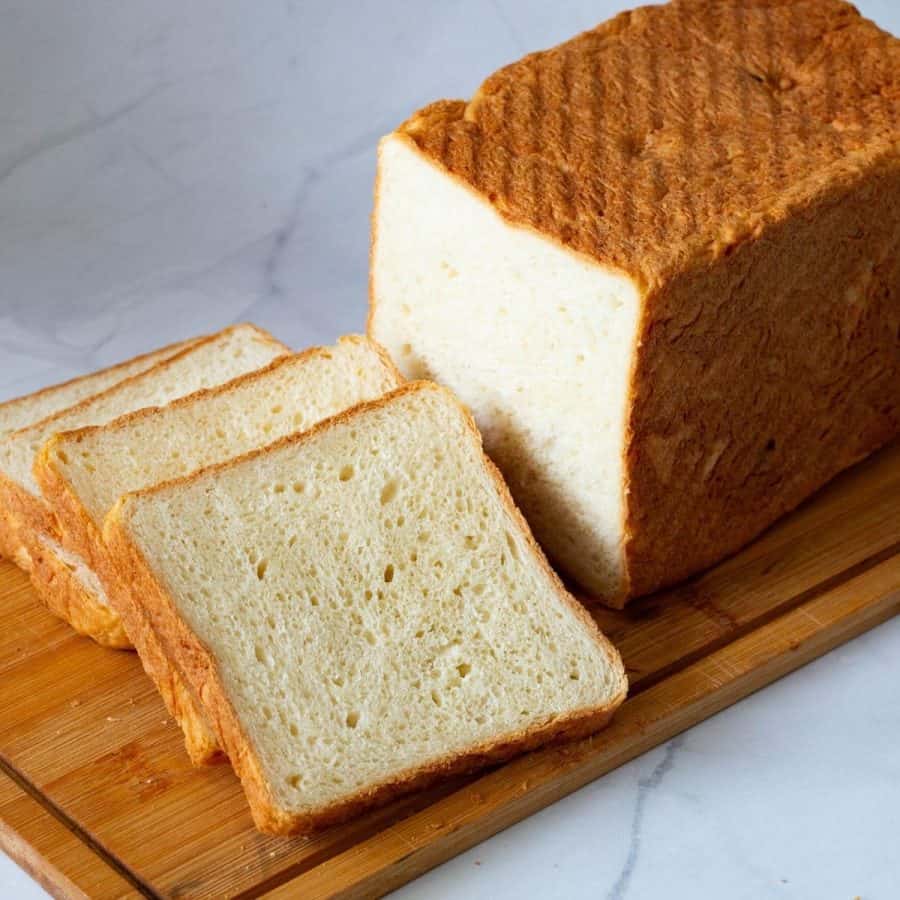
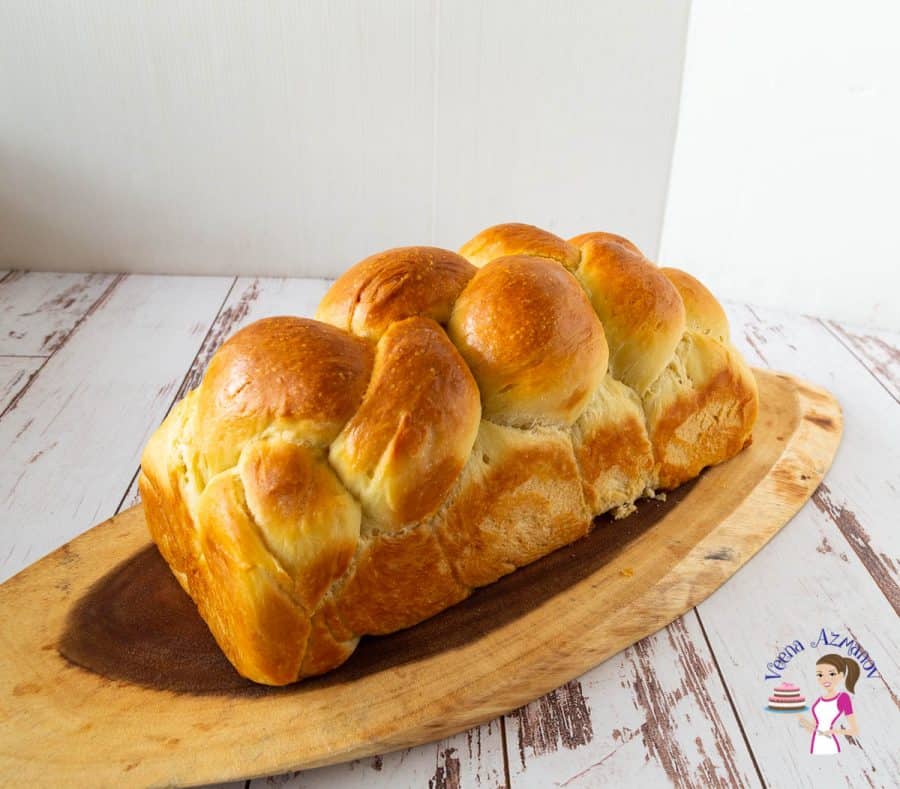
Whole Wheat Sandwich Bread
 Prep Time 10 minutes Cook Time 45 minutes Total Time 2 hours 55 minutes

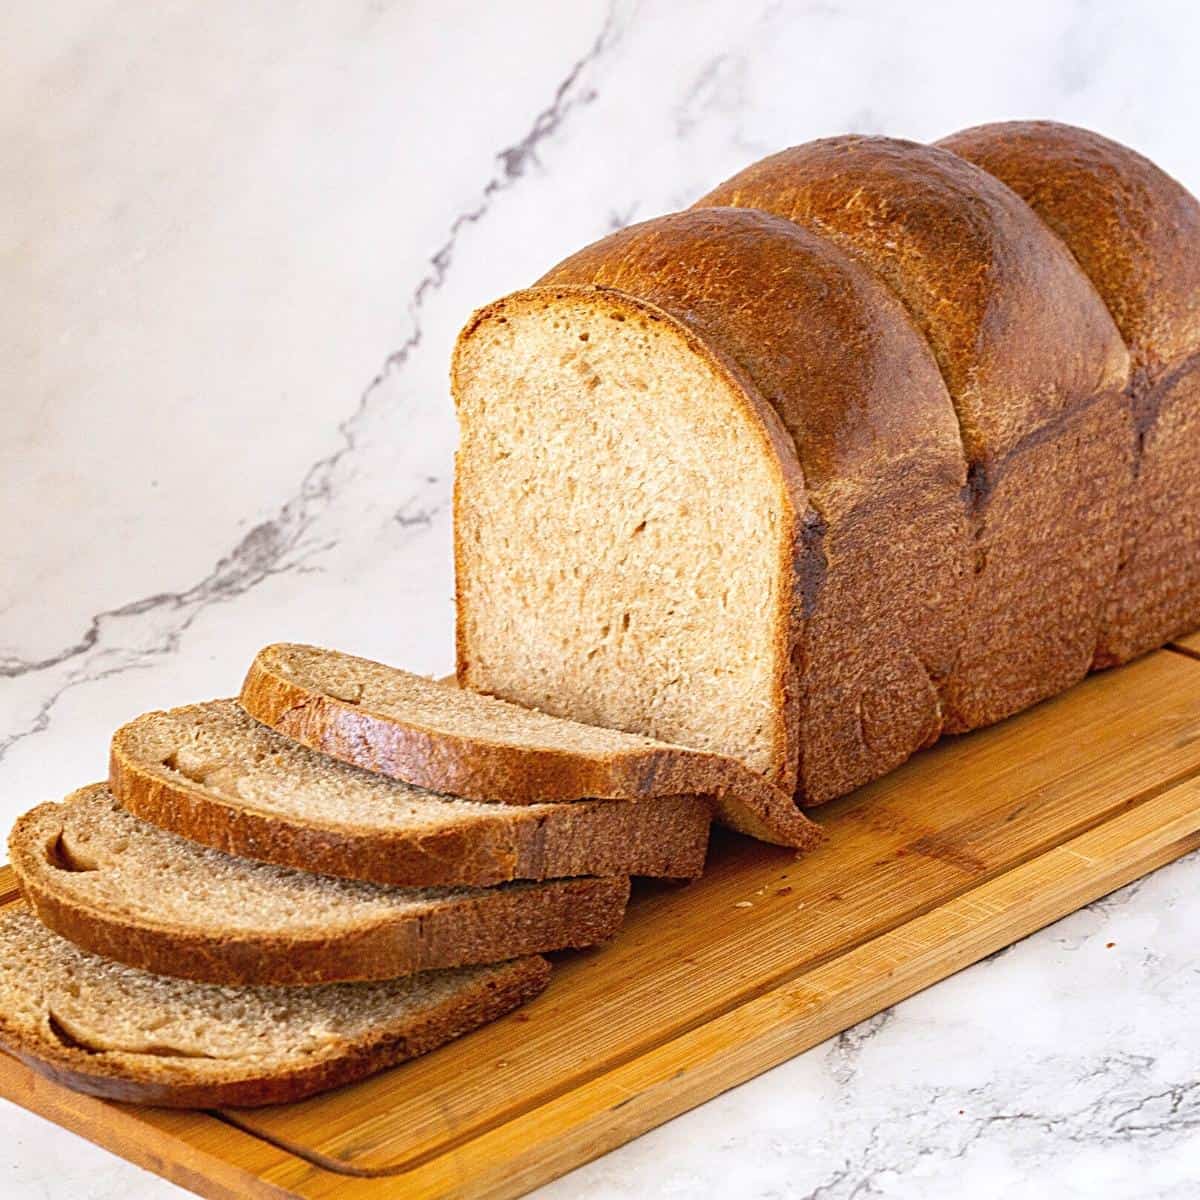
Whole wheat sandwich bread is a healthy alternative to white bread. Do you know how to make your bread light and fluffy with a soft, tender crumb? Here’s my little trick that helps soften the gluten in the whole wheat flour. This will soon become your new favorite sandwich bread. I promise.
I love making bread at home. I can honestly say that if you make good homemade bread, you will not buy store-bought bread often. The process is so therapeutic. Watching that gluten develop into a light, airy, yet soft and chewy bread is fun.
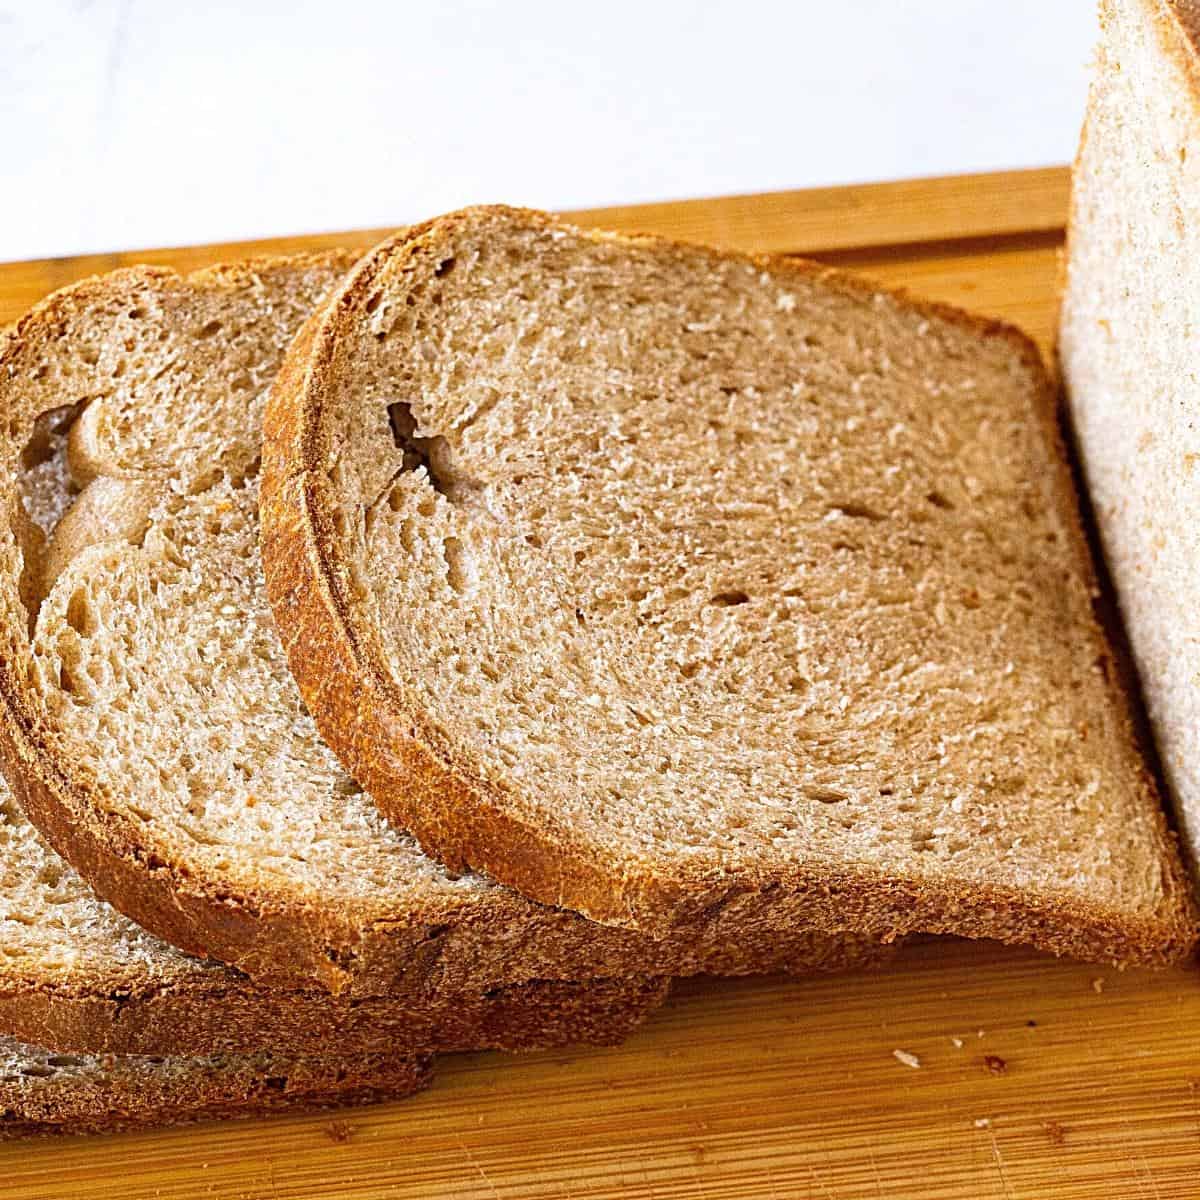
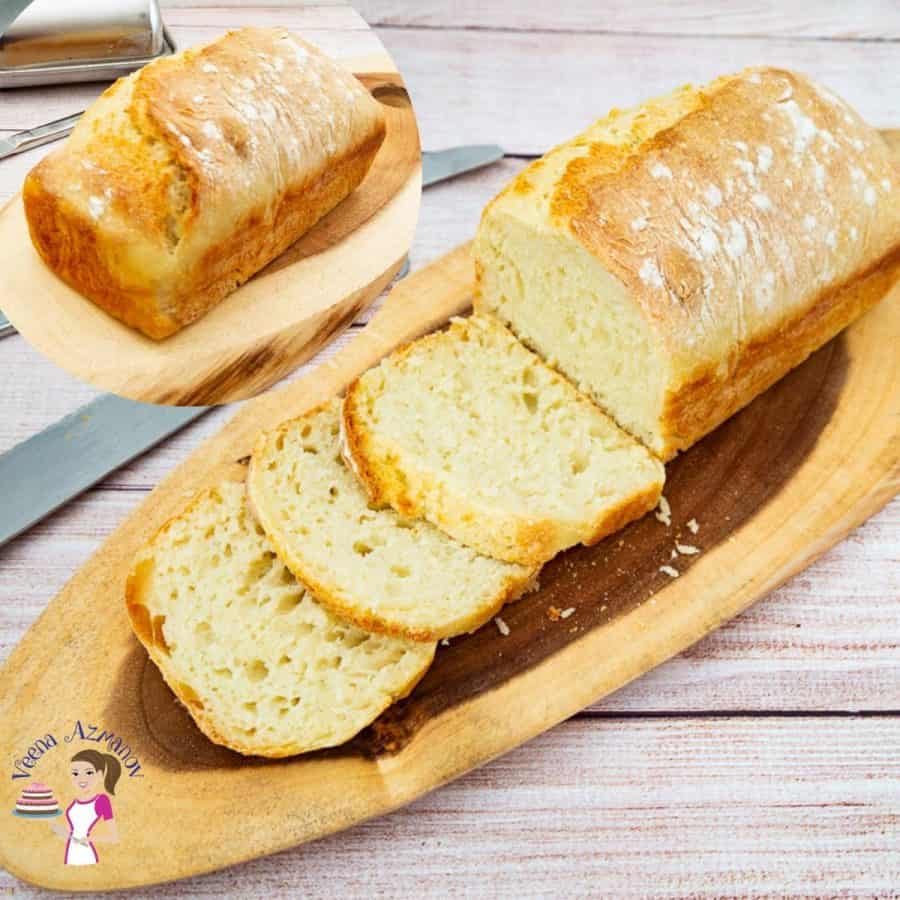
I wish you could touch and see how soft and tender the crumb on this whole wheat sandwich bread is. I must admit that I love my white sandwich bread so much that I have had a hard time switching to whole wheat. And yet, over the years, I have perfected this recipe, and it’s now one of our favorite sandwich bread recipes.
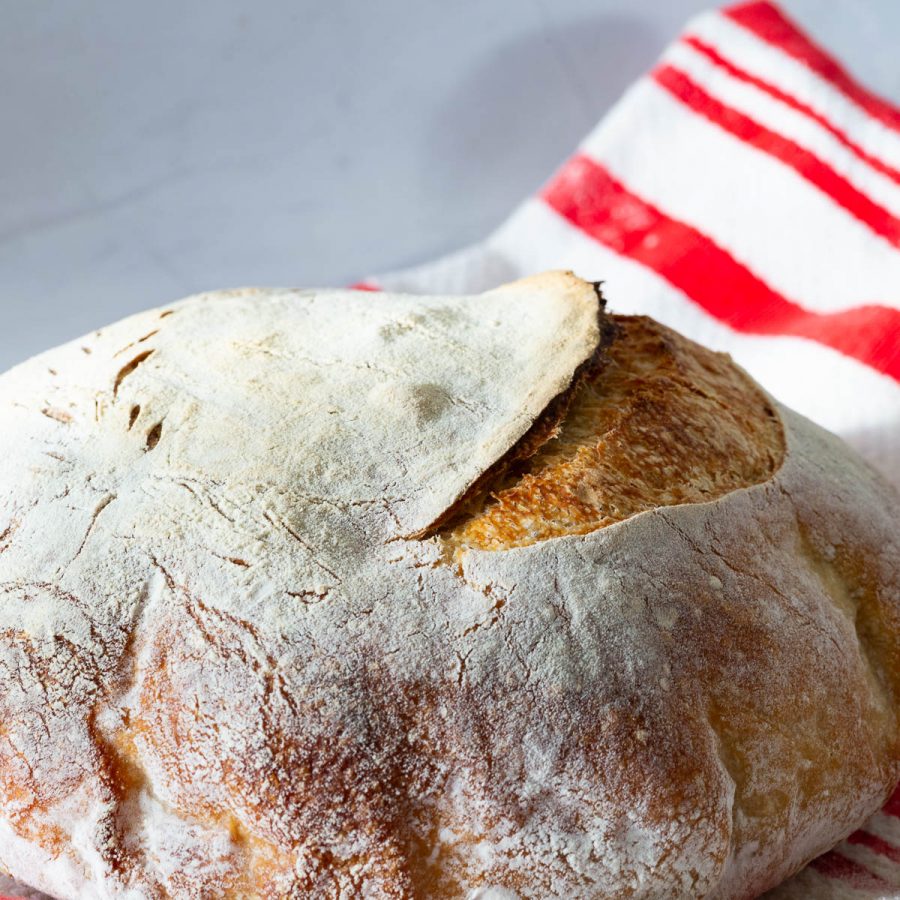
The popularity of whole wheat bread is growing. Whole-grain bread is rich in vitamins and minerals. It contains more dietary fiber than white bread, and whole-wheat loaves are often higher in vitamin E. Whole-wheat bread can also provide a nutty taste and a hearty feel.
Why make this recipe?
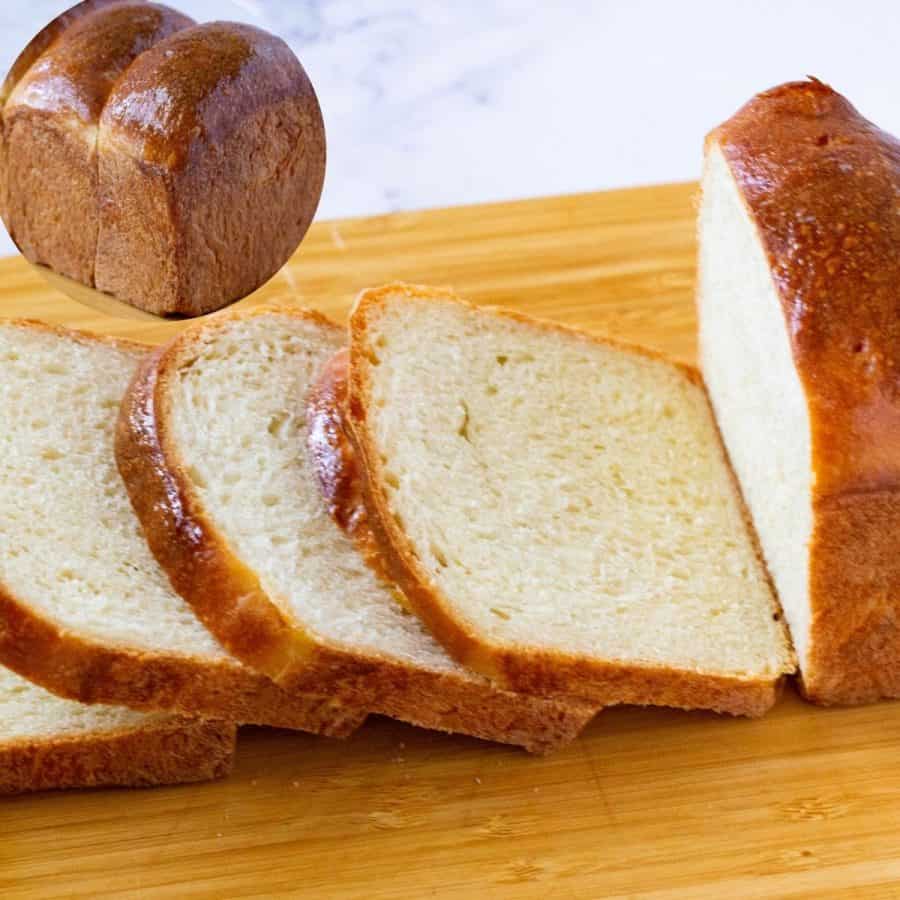
- This is the most delicious whole wheat loaf you will make! Soft, light, and airy with a tender crumb.
- The recipe is very simple and easy to make. I recommend using a stand mixer if you have one. This dough needs a bit of kneading to activate the gluten.
- Whole wheat can be dense, so we do not use 100% whole wheat. We do take advantage of the gluten present in white flour.
- If you look at the method below, I soak my flour in hot milk for a few minutes. This is a great way to soften the gluten in whole-wheat flour and develop it. Often a process used in sourdough baking. I highly recommend that you don’t skip that step. The resulting bread is softer than regular whole-wheat bread.
- Leftover bread slices can be used to make French toast.
Ingredients and substitutes
- Flour – In this bread recipe, I use both whole wheat and bread flour, but all-purpose flour works too. You can use 100% whole wheat if you prefer, but I find that whole wheat sometimes tends to get a bit denser. This ratio of whole wheat and all-purpose flour gives a lovely, light, and fluffy bread.
- Instant dry yeast – I like to use instant yeast because I’ve always had great success with it. You will need 2 1/4 tsp or one packet if you have to use active dry yeast. And if you use fresh yeast, you will need about 21 grams.
- Liquid – I love adding a bit of richness to the dough, and milk works great. Water will work just as well. I use hot milk because it softens the gluten and gives a delicate, soft crumb when baked. It does take a few extra minutes to cool the dough, but it’s worth the effort.
- Honey – I think the flavor of honey works best with whole wheat. But you can use 2 tbsp of sugar instead.
- Fat – I use olive oil as well as butter for flavor. You can also use vegetable oil. I’ve used almost-melted room-temperature butter, but soft butter works just fine.

Step-by-step Instructions: Whole wheat sandwich bread
- Autolyze – In the large bowl of a stand mixer, combine the whole wheat flour and bread flour. Pour the hot, almost boiling milk and stir to combine. Leave it alone for 30 minutes until it becomes warm or close to room temperature.
Pro tip – The hot milk will soften the gluten in the whole wheat flour, which gives us a nice soft bread. - Yeast mixture – In the meantime, in a mixing bowl or measuring cup, add warm water, yeast, eggs, honey, and oil. Combine well and set aside for a few minutes.
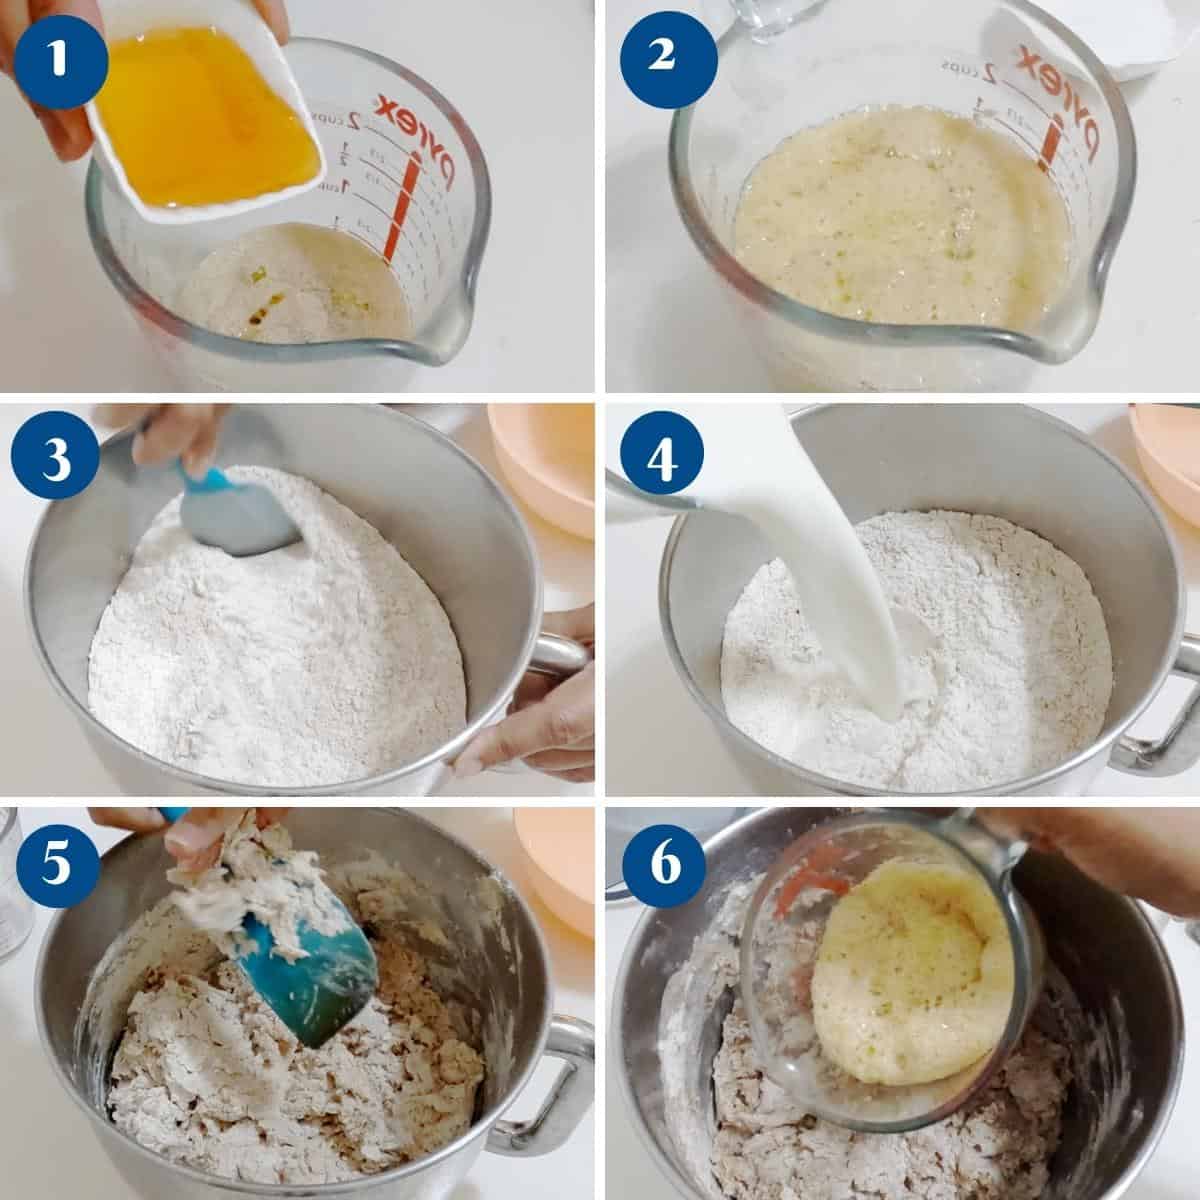
- Knead – When the flour mixture is barely warm, add the yeast mixture. Turn the mixer on with the dough hook attachment and knead on medium-high speed for about 7 minutes or by hand for 10 minutes. Scrape the bottom and sides of the bowl.
Pro tip – If you do not like kneading, I highly recommend using a stand mixer with the hook attachment. - Butter – Next, gradually add the salt and soft room temperature butter. Knead for another 4 minutes until you have a smooth, soft, elastic, but slightly sticky dough.
Pro tip – The dough will split and break apart when you add the butter, but it will come together as you continue to knead.
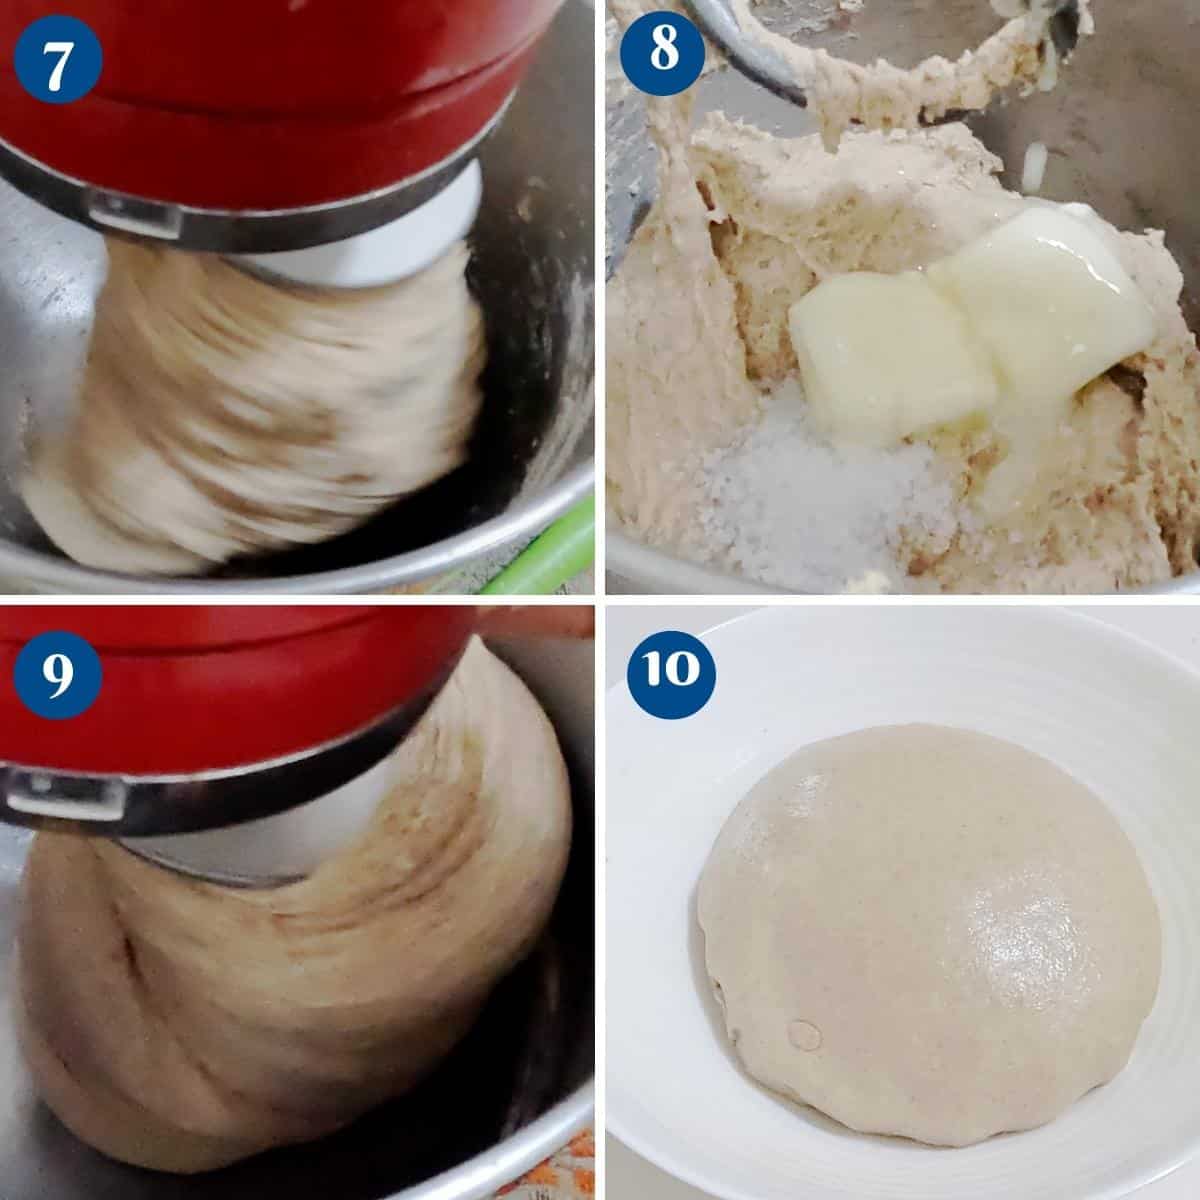
- Rise – Transfer the dough to an oiled bowl. Cover with plastic wrap or a clean kitchen towel and leave to rise in a warm place for about 90 to 120 minutes until doubled in volume.
Pro tip – In winter, you may need 90 minutes or more. But in summer, the dough may double in 45 minutes. If you can’t attend to it at that moment, de-gas, reshape, and let it double in volume again. - Divide – Once doubled in size, remove the dough onto a lightly floured surface. Degas or remove air, then divide the dough into 4 portions
Pro tip – At this point, there is no need for additional flour. So use a light dusting of flour. - Shape – Shape each portion into a ball, then shape each ball into a sausage.
- Flatten each ball into a dough disc
- Then the two sides meet in the middle.
- Roll from the top towards the bottom like a log to the same size as the width of the loaf pan.
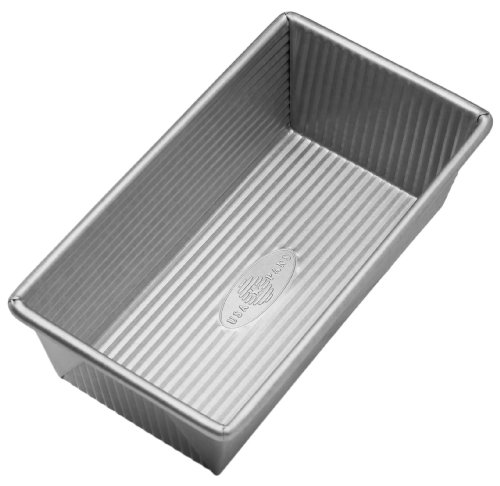
- Place the four sausages into a greased or sprayed loaf pan.

- Proof – Place the four sausages into a greased or sprayed loaf pan seam-side down. Cover the loaf pan with plastic wrap or a clean kitchen cloth and leave it in a warm place for about 45 to 90 minutes or until it almost doubles in volume.
Pro tip – You can also place the loaf pan in the fridge to slow proof for about 14 to 16 hours.

- Oven – About 20 minutes before baking, preheat the oven to 350°F / 177°C / Gas Mark 4.
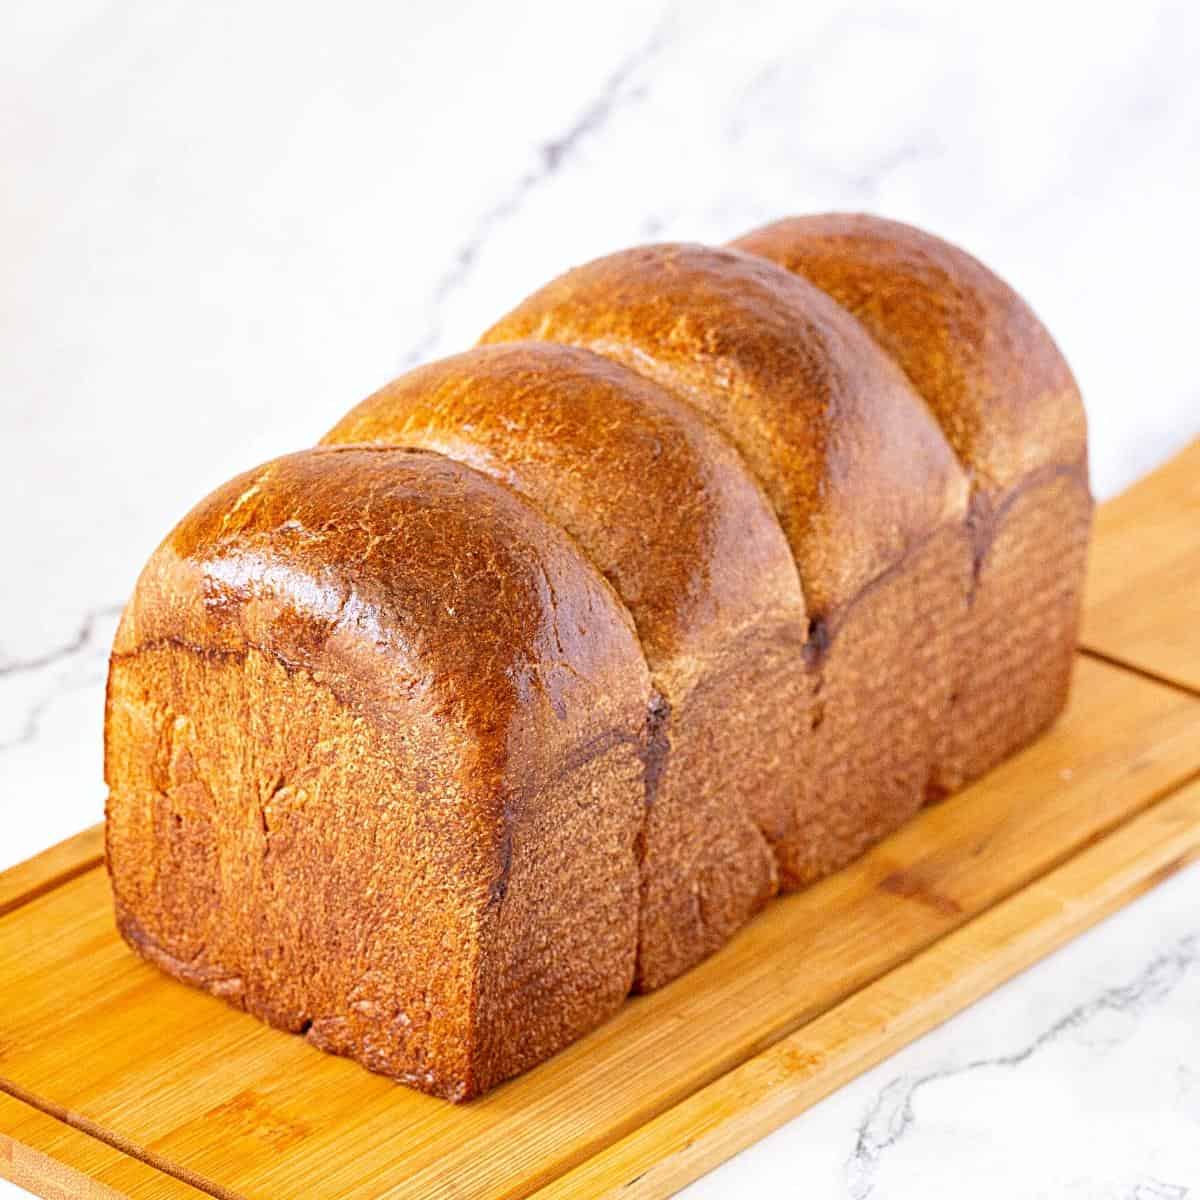
- Egg wash – Brush the bread with a beaten egg. You can even sprinkle with some sesame or poppy seeds.
Pro tip – Egg wash is 1 whole egg with 2 tbsp of water. An egg wash will give a nice golden color. If you can’t use egg, milk or cream will work just as well. Do not use oil or butter, as it will create a crust. - Bake – Place the loaf in the oven and bake until you have a nice golden brown color. The 13-inch loaf pan will take about 70 to 90 minutes, and the 9-inch loaf will take about 40 to 55 minutes. If the top starts to get too dark, tent with an aluminum foil sheet.
Pro tip – When baked, the internal temperature of the bread should be about 195°F. The bread will have a hollow sound on the bottom when tapped.
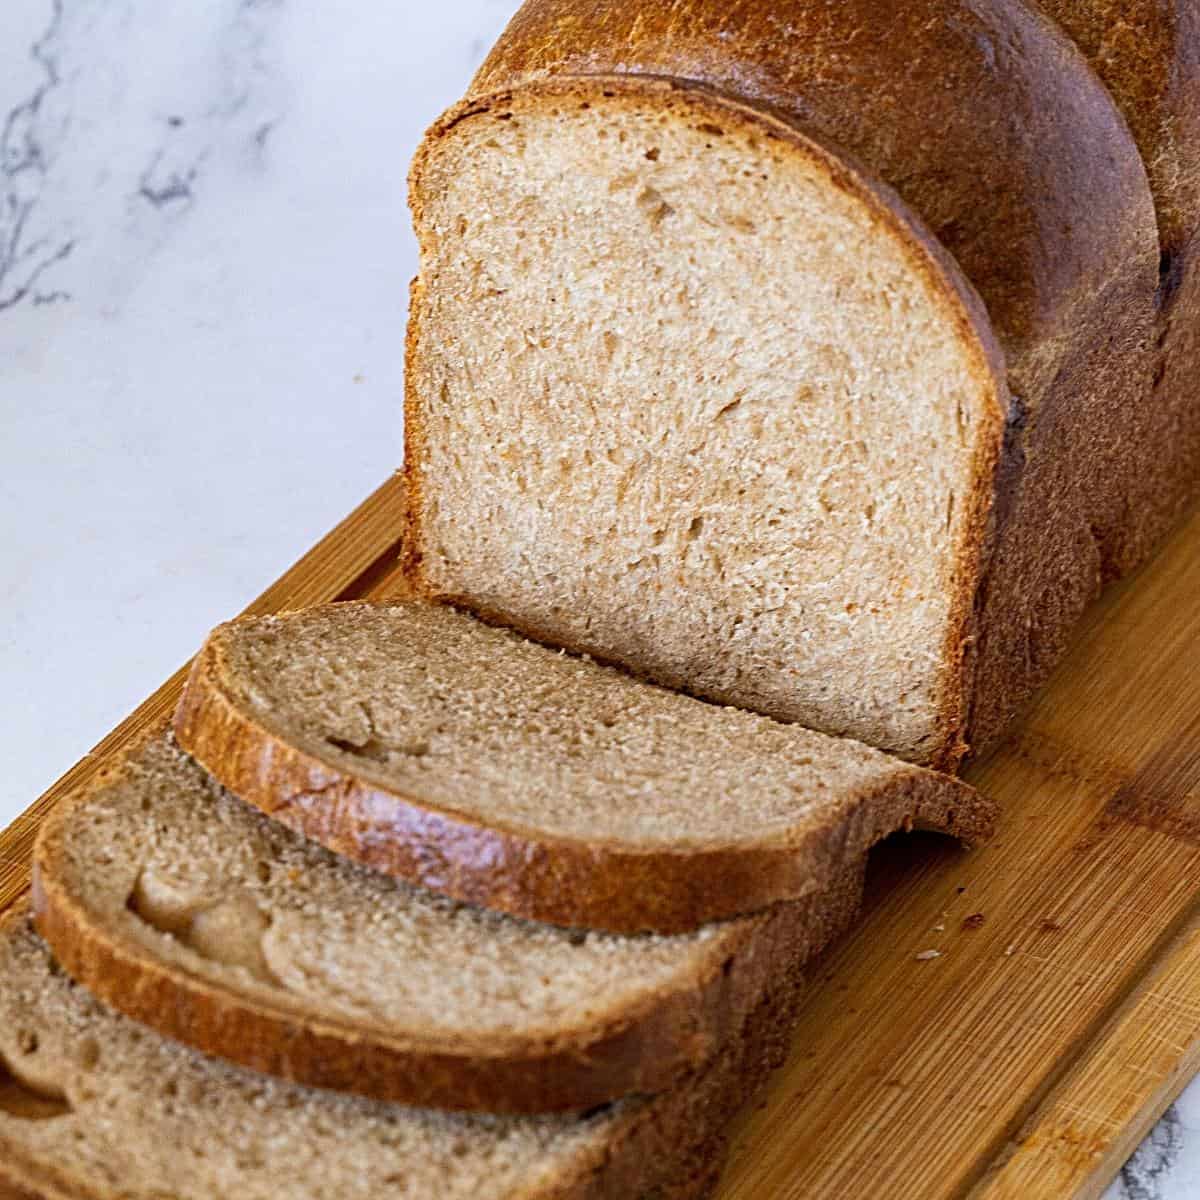
- Cool – Remove from the oven and cool in the pan for no more than 10 minutes. Then, cool completely on the wire rack.
Pro tip – Do not leave the loaf in the loaf pan for too long, as the steam will make the bread soggy on the bottom. - Keep warm – Cover the loaf with a clean kitchen cloth to keep it soft. Let the bread cool completely for at least 15 minutes before you slice.
Pro tip – Covering the bread with a cloth will help it retain moisture and prevent it from drying out. - Enjoy!
Whole Wheat Sandwich Bread
Whole wheat sandwich bread is a healthy alternative to white bread. Do you know how to make your bread light and fluffy with a soft tender crumb? Here's my little trick that helps softens the gluten in the whole wheat flour. This will soon become your new favorite sandwich bread. I promise.
Video
Ingredients
- 470 g (4 cups) Whole wheat flour
- 225 g (1¾ cups) Bread flour
- 320 g (1 ⅓ cups) Hot milk (almost boiling)
- 120 g (½ cup) Warm water (110 °F )
- 14 g (1½ tbsp) Instant dry yeast
- 45 g (3 tbsp) Honey
- 30 g (2 tbsp) Olive oil Olive or cooking
- 100 g (2 large) Large Eggs
- 12 g (2 tsp) Kosher salt
- 45 g (3 tbsp) Butter unsalted, room temperature
- 370 g (3 cups) Whole wheat flour
- 125 g (1 cup) Bread flour
- 320 g (1 ¼ cups) Whole milk (almost boiling)
- 60 g (¼ cup) Warm water (110F)
- 50 g (1 large) Large Egg
- 9 g (1 tbsp) Instant dry yeast
- 30 g (2 tbsp) Honey
- 15 g (2 tbsp) Olive oil
- 7 g (1 tsp) Kosher salt
- 30 g (2 tbsp) Butter unsalted, room temperature
Method
- Autolyze – In the bowl of a stand mixer combine the whole wheat flour and bread flour. Pour the hot, almost boiling milk and stir to combine. Leave it alone for 30 minutes until it becomes warm or close to room temperature.470 g Whole wheat flour, 225 g Bread flour , 320 g Hot milk
- Yeast mixture – In the meantime, in a mixing bowl or measuring cup, add warm water, yeast, eggs, honey, and oil. Combine well and set aside for a few minutes.120 g Warm water, 14 g Instant dry yeast, 45 g Honey , 30 g Olive oil, 100 g Large Eggs
- Knead – Add the yeast mixture when the flour mixture is barely warm. Turn the mixer on with the hook attachment and knead on medium-high speed for about 7 minutes or by hand for 10 minutes.
- Butter – Next, gradually add the salt and soft room temperature butter. Knead for another 4 minutes until you have a smooth, soft, elastic, but slightly sticky dough.45 g Butter , 12 g Kosher salt
- Rise – Transfer the dough to an oiled bowl. Cover with plastic wrap or a clean kitchen cloth and leave to rise in a warm place for about 90 to 120 minutes until double in volume.
- Divide – Once double in size, remove the dough onto a lightly floured surface. Degas or remove air then divide the dough into 4 portions
- Shape – Shape each portion into a ball then shape each ball into a sausage. – Flatten each ball into a dough disc– Then the two sides into the middle. – Roll from the top towards the bottom like a log to the same size as the width of the loaf pan. – Place the four sausages into a greased or sprayed loaf life.
- Proof – Place the four sausages into a greased or sprayed loaf life. Cover the loaf pan with plastic wrap or clean kitchen cloth and leave it in a warm place for about 45 to 90 minutes or until it almost doubles in volume.
- Oven – About 20 minutes before baking preheat the oven at 350°F / 177°C / Gas Mark 4.
- Egg wash – Brush the bread with a beaten egg. You can even sprinkle with some sesame or poppy seeds.
- Bake – Place the loaf in the oven and bake until you have a nice golden brown color. The 13-inch loaf pan will take about 70 to 90 minutes and the 9-inch 40 to 55 minutes. If the top starts to get too dark, tent with an aluminum foil sheet.
- Keep warm – Cover the loaf with a clean kitchen cloth to keep it soft. Let the bread cool completely for at least 15 minutes before you slice.
Notes
- Measure all ingredients ahead of time so you don’t forget anything at the last minute.
- For accuracy use a weight measure for the ingredients because every cup of flour can weigh differently depending on how you fill it.
- The milk must be hot when you add it to the flours. But, remember to let it cool down to room temperature before you add the instant yeast mixture.
- Though instant dry yeast has a long shelf life, it can get ruined. Always check the expiry of the yeast. If unsure, combine the yeast with liquid ingredients and let stand 5 minutes. If it gets foamy the yeast is good to go if not best to buy fresh yeast or check the temperature of the milk
- Keep salt away from yeast as it can kill the yeast. I like to combine it with the flour and then add it to the yeast mixture.
- A soft loose well-hydrated dough is not necessarily a bad thing, it often will give you soft fluffy bread so don’t be tempted to add more flour than mentioned in the recipe.
- Kneading is key to making good bread. While kneading by hand can be therapeutic using a stand mixer is easier and quicker
- Leave the dough at room temperature to rise until it doubles in volume. While not recommended when in haste you can place it in a warm (not hot) oven this will expedite the rise.
- Bread does not have to be time-consuming. You can leave the dough in the fridge to rise for a few hours (even overnight) while you go about your chores. A slow rise will develop flavor to the bread.
- Always preheat the oven for at least 30 minutes before you place bread in or the low temperature will spread the dough too much.
Equipment you will need

Nutrition
Tried this recipe?
Mention @veenaazmanov_kitchen or tag #veenaazmanovkitchen!more sandwich bread recipes

Frequently asked questions
If stored properly, this whole wheat bread will stay for 4 to 5 days at room temperature. It can also be frozen for a month or more. However, never store bread in the fridge as it dries out.
Yes, you can, but whole-wheat flour has low gluten content, so the bread will be denser. Using some white flour in combination with whole wheat takes advantage of the gluten in white flour to make it light, airy, and chewier.
I find the best way to freeze whole-wheat sandwich bread is to cut the bread into slices and store them in freezer-safe bags. Remove just the number of slices you need to toast for your sandwiches.
you may also like
- 10 Best Gifts for Bread Bakers
- 15+ Beginner Bread Recipes for Everyday Baking
- Learn Bread Baking at Home • Step by Step 😄
- Homemade Ciabatta Recipe
- Mini Sausage Rolls


Don’t lose this recipe! Save it for Later!
📌 Save this Recipe for later on Pinterest so you can easily find it again.
⭐ Add Veena Azmanov Kitchen to your Google Preferred Sources.
It helps Google show you more of our recipes.
📧 Subscribe for new recipes delivered to your inbox.
🎥 Follow us for more recipes


done day 7
Hi Veena I tried this recipe & measured everything with kitchen scales, however I ended up with a very sticky dough. I’m not sure what went wrong.
I’m sorry to hear that, but check the list of ingredients again. This is a tried and tested recipe, as you can see from the comments below; many have made it successfully. Could it be possible that you didn’t knead it long enough? You can also add one or two tablespoons of flour if necessary; sometimes, that’s all it needs.
I made this recipe in a 13″ pullman pan with lid because I didn’t want the dome shape. It turned out fantastic! Thank you for another well written recipe!
Thank you so much Amy for this feedback
I have been making your white Pain de Mei pullman recipe for years and love it. My question here is, can this wheat recipe be made in a pullman pan with lid? I am looking for a square finish rather than a domed top.
Thank you!
Amy, I have not tried it with a lid yet. If you do, let me know as well, please. Thanks
Veena, I did make it in the pullman pan and rated here (I don’t know why a star was snipped off of my question, that was not intentional!) This recipe worked perfectly for the 13″ pullman pan. I followed all instructions except for the egg wash, also placed the lid on partially opened before the final proof was too high and then closed before baking. I did check the temperature of the loaf and found that it took less time to bake in the pullman pan.
Thank you so much for giving me this feedback. Appreciate you coming back. I am so happy it worked for you.
Hi, lovely bread congratulations ? have you got a recipe for Whole wheat Pullman sandwich bread? Thanks
I have a few Pullman bread recipes, but not the whole wheat recipe yet.
Please let us know when available! Thanks
Day 7 done