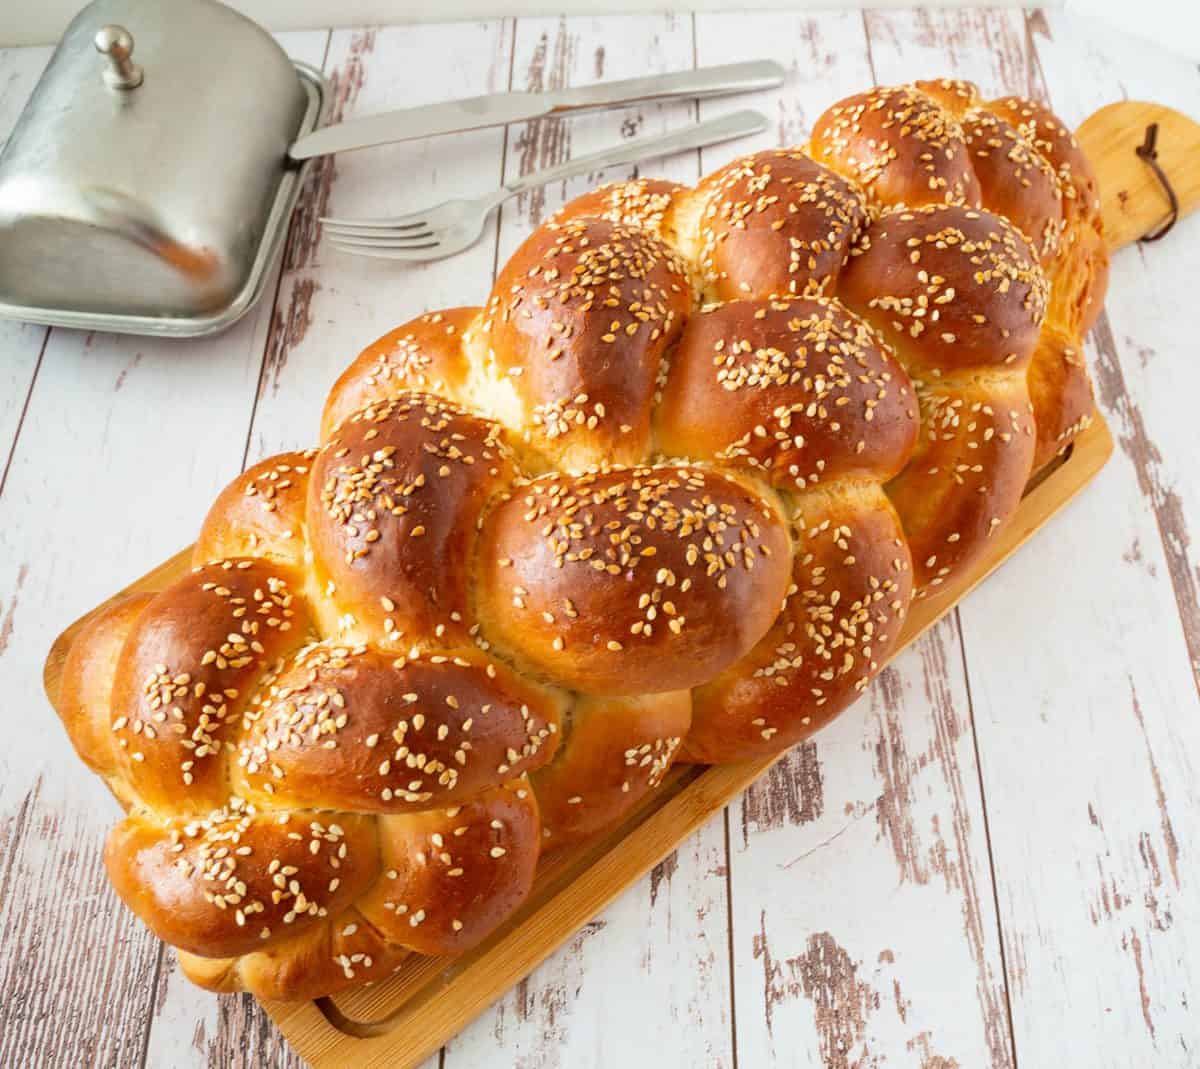
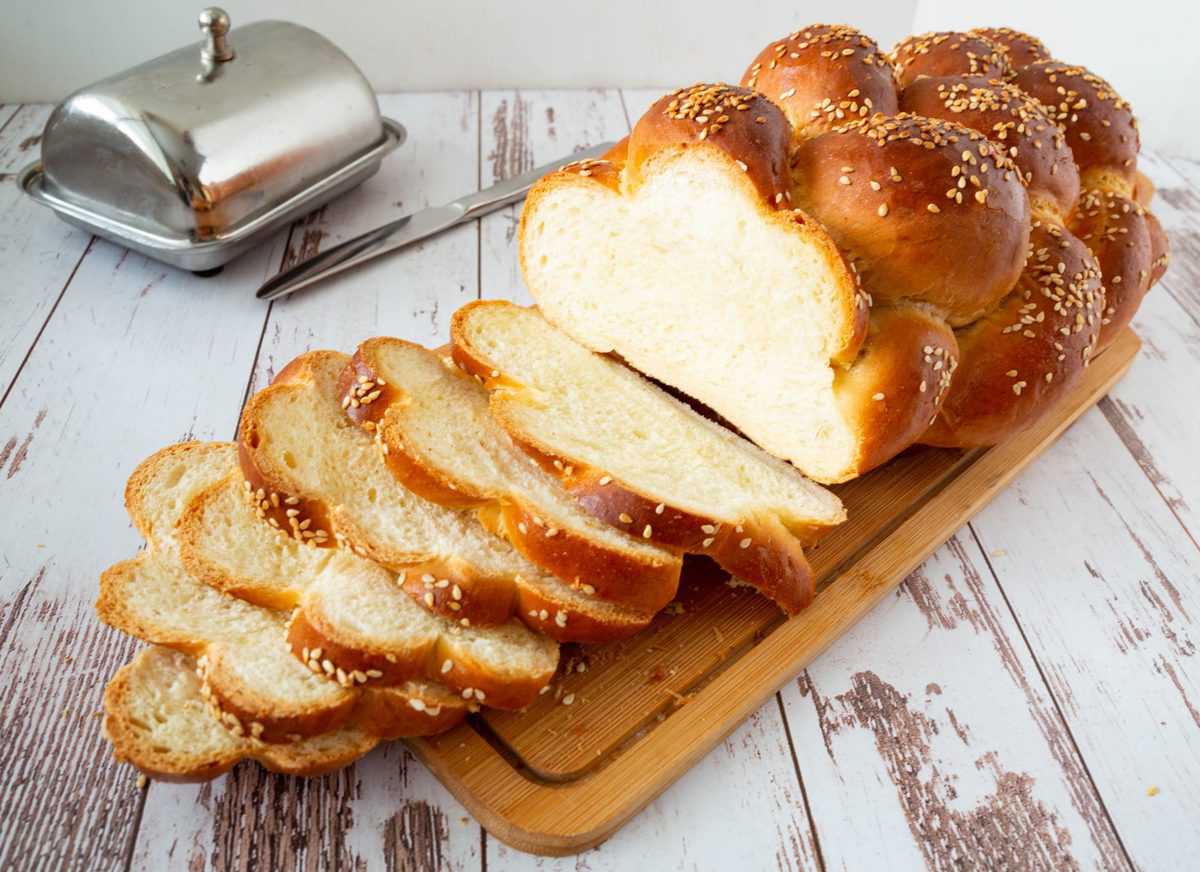
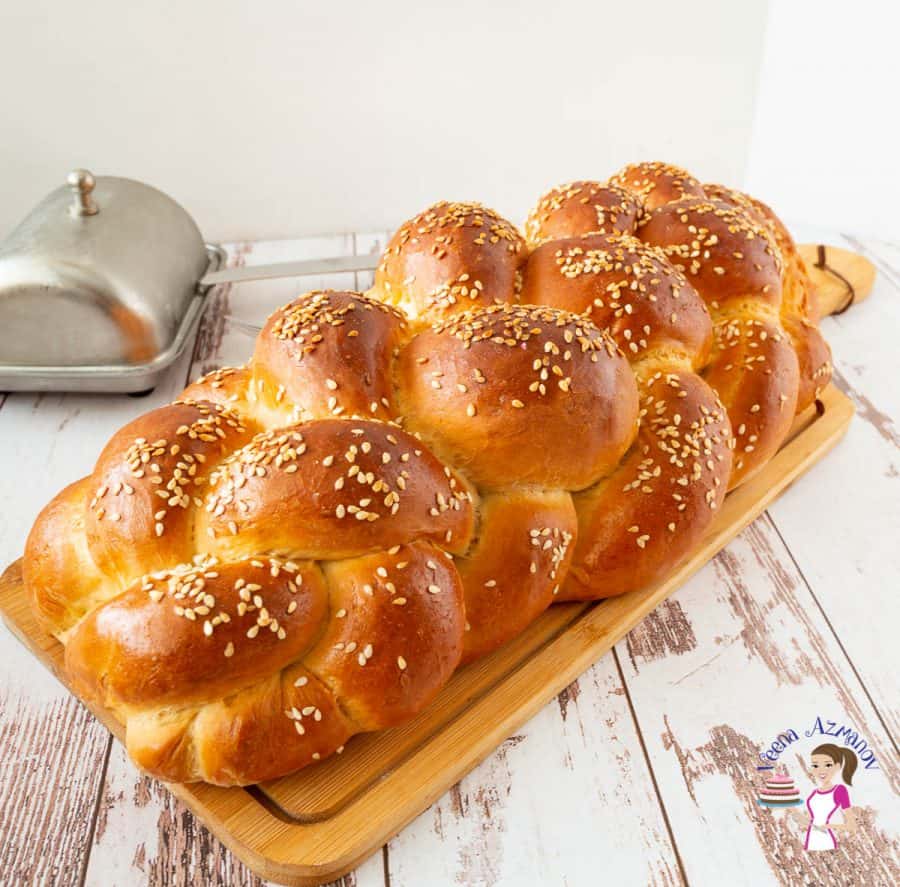
Enriching the classic challah recipe with milk and honey, this six-strand braided challah is a treat. Absolutely delicious on its own, and leftovers make perfect French toast.

The very first time I heard about challah was years before I moved to Israel. Everyone described it as a traditional Jewish bread, and because Israel is often called the “land of milk and honey,” I simply assumed challah was always made with both milk and honey.
Of course, I later learned that traditional challah is usually made without dairy. But by then I had already fallen in love with this richer version. The milk makes the crumb incredibly soft, while the honey adds just enough sweetness without making it taste like dessert. Even after all these years, it’s still one of my favorite challah recipes to bake for family dinners.
Why is this the best challah recipe?
- Rich and Sweet: The addition of milk and honey provides a rich, sweet flavor that enhances the overall taste of the challah. The natural sweetness of honey pairs beautifully with the creamy texture of milk, creating a delightful balance.
- Soft and Moist: Milk contributes to a softer, more tender crumb, making the challah moist and delicious. The fats and proteins in milk help create a finer, more delicate texture compared to water-based doughs.
- Caramelization: The sugars in honey and the fats in milk help achieve a beautiful, golden-brown crust during baking. This not only makes the challah visually appealing but also adds a slight caramelized flavor to the crust.
- Natural Sweeteners and Dairy: Honey is a natural sweetener with trace nutrients and antioxidants, while milk provides calcium, protein, and other essential nutrients. This makes the challah not only delicious but also slightly more nutritious.
Ingredients and substitutes
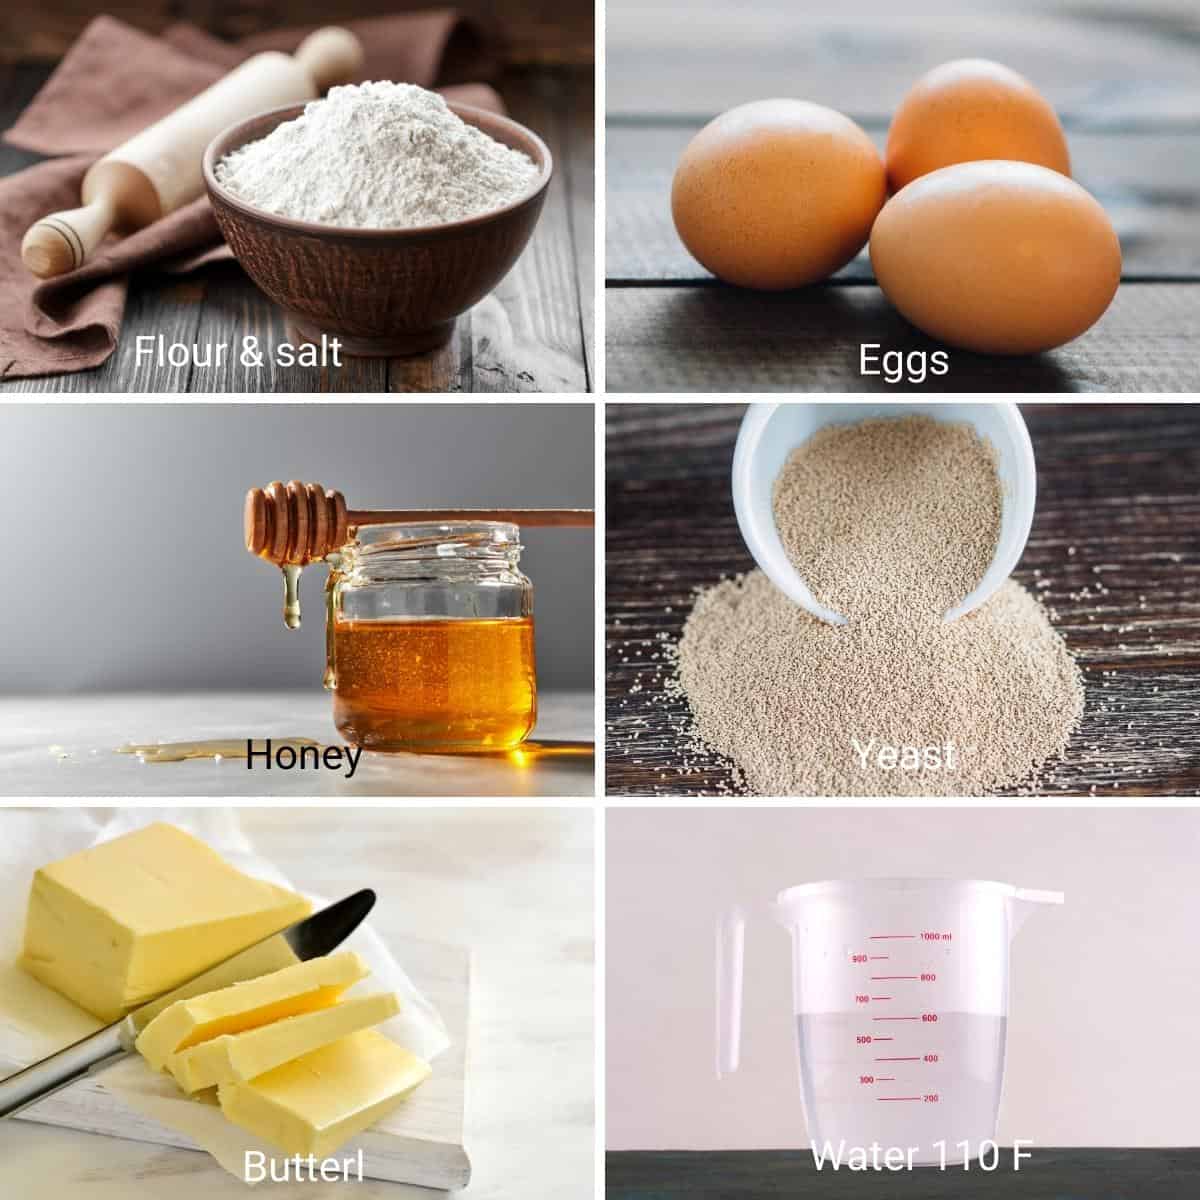
- Flour – I like using bread flour for this challah. It gives a soft chew bread with a tender crust. But, for years, I have made this with all-purpose flour, and it works wonderfully too. So, use either bread or all-purpose flour.
- Milk – Traditionally, challah is made with water, but we use milk for this one. You can definitely use warm water (110°F). It is important that the water is warm, not hot. Hot water will kill the yeast, and cold water will not activate the yeast culture.
- Instant dry yeast – I like to use instant dry because I’ve always had great success with it. If you have to use active dry yeast, you will need 2 1/4 tsp or one packet. And if you use fresh yeast, you will need about 21 grams.
- Sweetener – This is not necessarily a very sweet dough. Traditionally, honey is used, but sugar can be used too.
- Fat – Traditionally, oil is used in challah. I love to use butter for the rich flavor it provides.
- Egg – Adds a lot of flavor to the bread, gives a tender crumb, and strengthens the texture. The egg is also a leavening agent that helps the bread rise.
Step-by-step: Milk and honey challah bread
- Yeast mixture – In a small bowl or measuring cup, combine warm milk (110°F), yeast, honey, butter, and eggs. Whisk and set aside to foam for 3 minutes.
- Dry ingredients – Measure the flour and salt (you can also use kosher salt) in a large bowl or the bowl of a stand mixer with the dough hook. Add the yeast mixture and combine well with a spatula or a wooden spoon.

- Knead – transfer to a well-dusted worktop and knead for 5 to 6 minutes by hand or in the stand mixer on medium speed for 4 to 5 minutes.
- First rise – When the dough is soft and shiny but still slightly sticky, shape it into a ball. Place the dough in an oiled bowl, seam side down. Coat the surface with oil to prevent drying. Cover with a clean kitchen towel or plastic wrap. Leave in a warm place. Let it rise for 60 to 90 minutes until it doubles in volume.
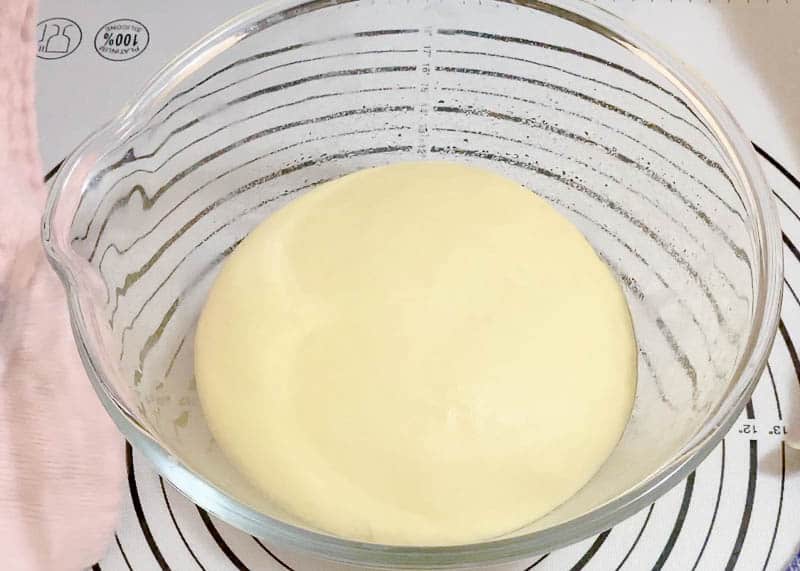
- Divide – When the dough is doubled in volume, transfer to a well-dusted floured surface. De-gas, reshape into a ball. Then, roll into a small log. Then, using a bench scraper or knife, divide the dough into 6 portions. They need to be approximately the same weight. I use a kitchen scale to measure the dough.
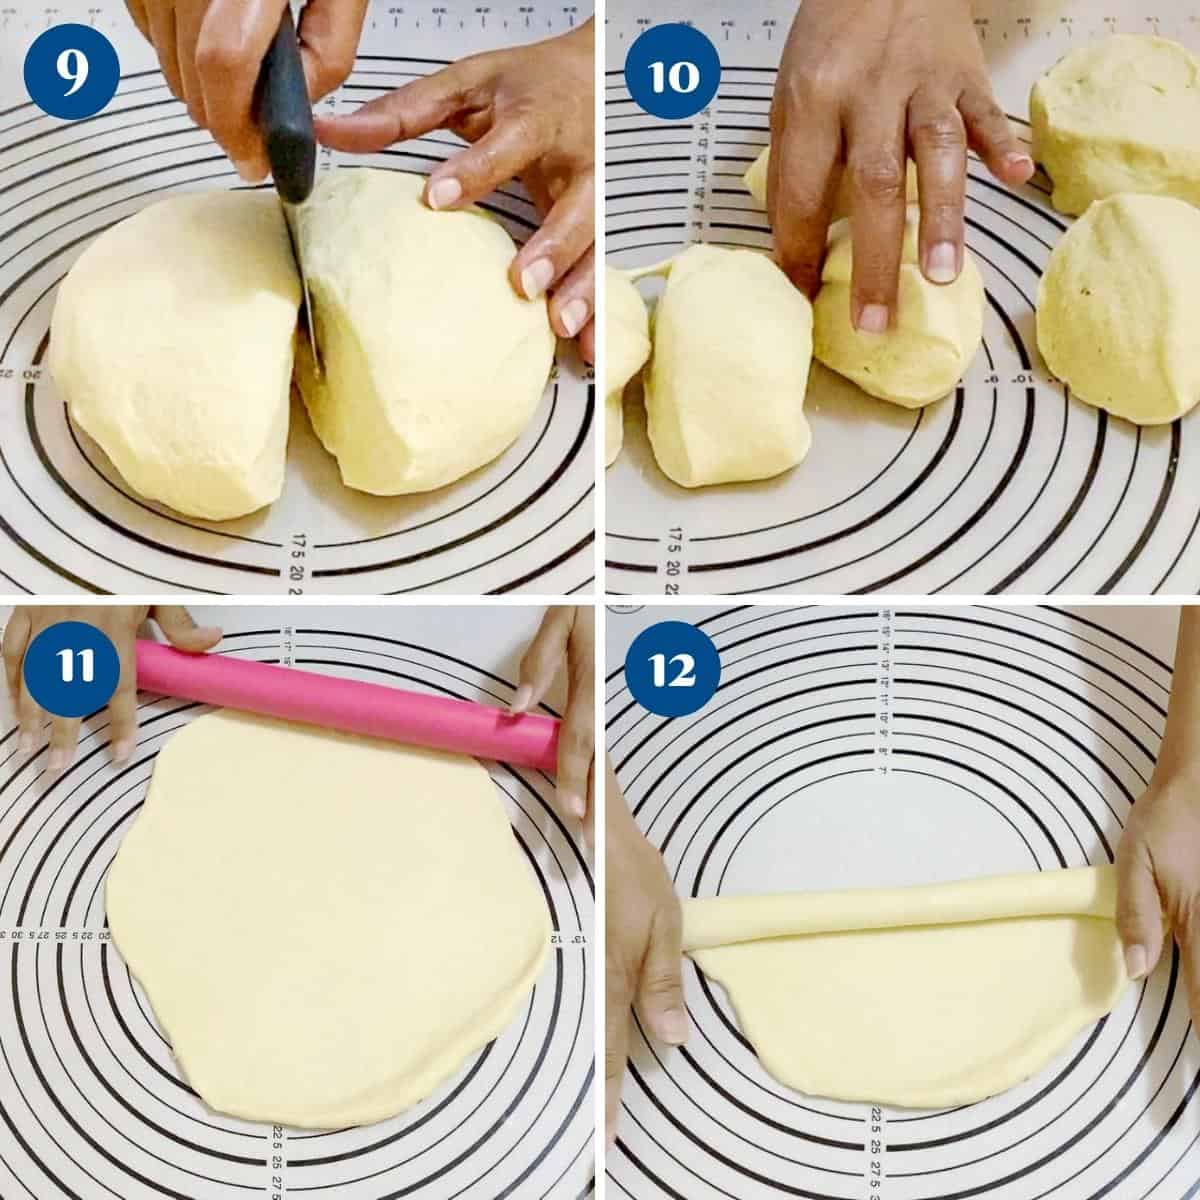
- Ropes – Shape each into a ball. If necessary, let it rest for 5 to 10 minutes. Roll each ball with a rolling pin on an unfloured work surface (see video). Then, roll like a jelly roll into a rope about 18 inches long (see video). A smaller challah can be rolled into shorter lengths.
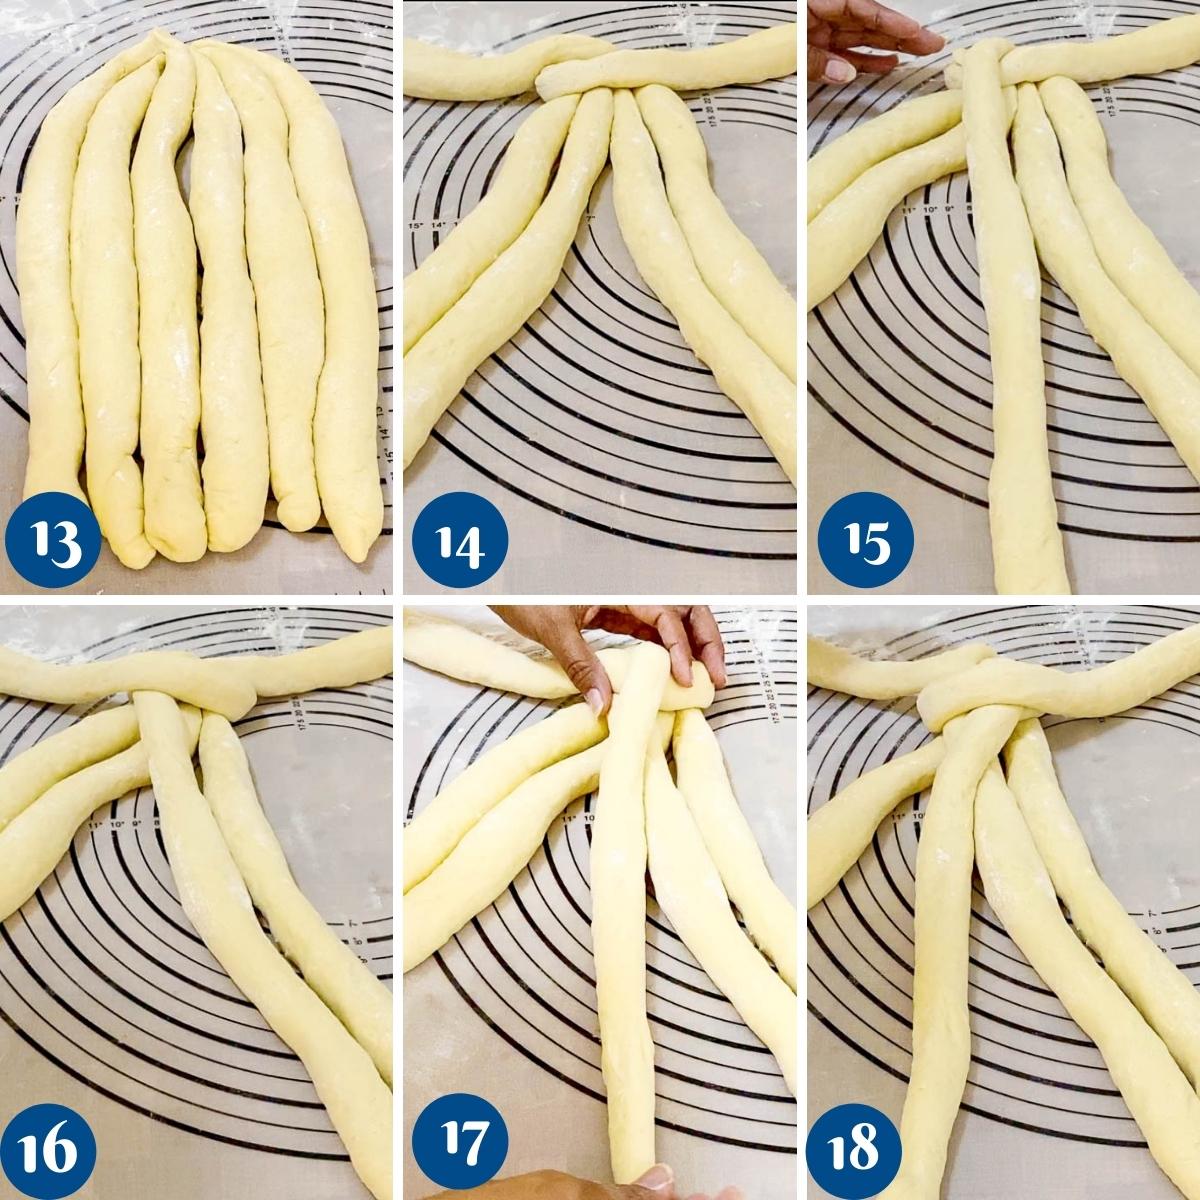
- Braid the Challah: To braid the challah, follow these steps:
- Arrange the ropes parallel to each other and pinch the tops together.
- Spread them out so that there are three on the left and three on the right.
- Always start with the outermost rope and bring it to the center.
- From the right: Move the outermost right rope to the center.
- From the left: Move the outermost left rope to the center.
- Continue alternating sides, bringing the outermost rope to the center until you reach the end.
- Pinch the ends together and tuck them under the loaf.
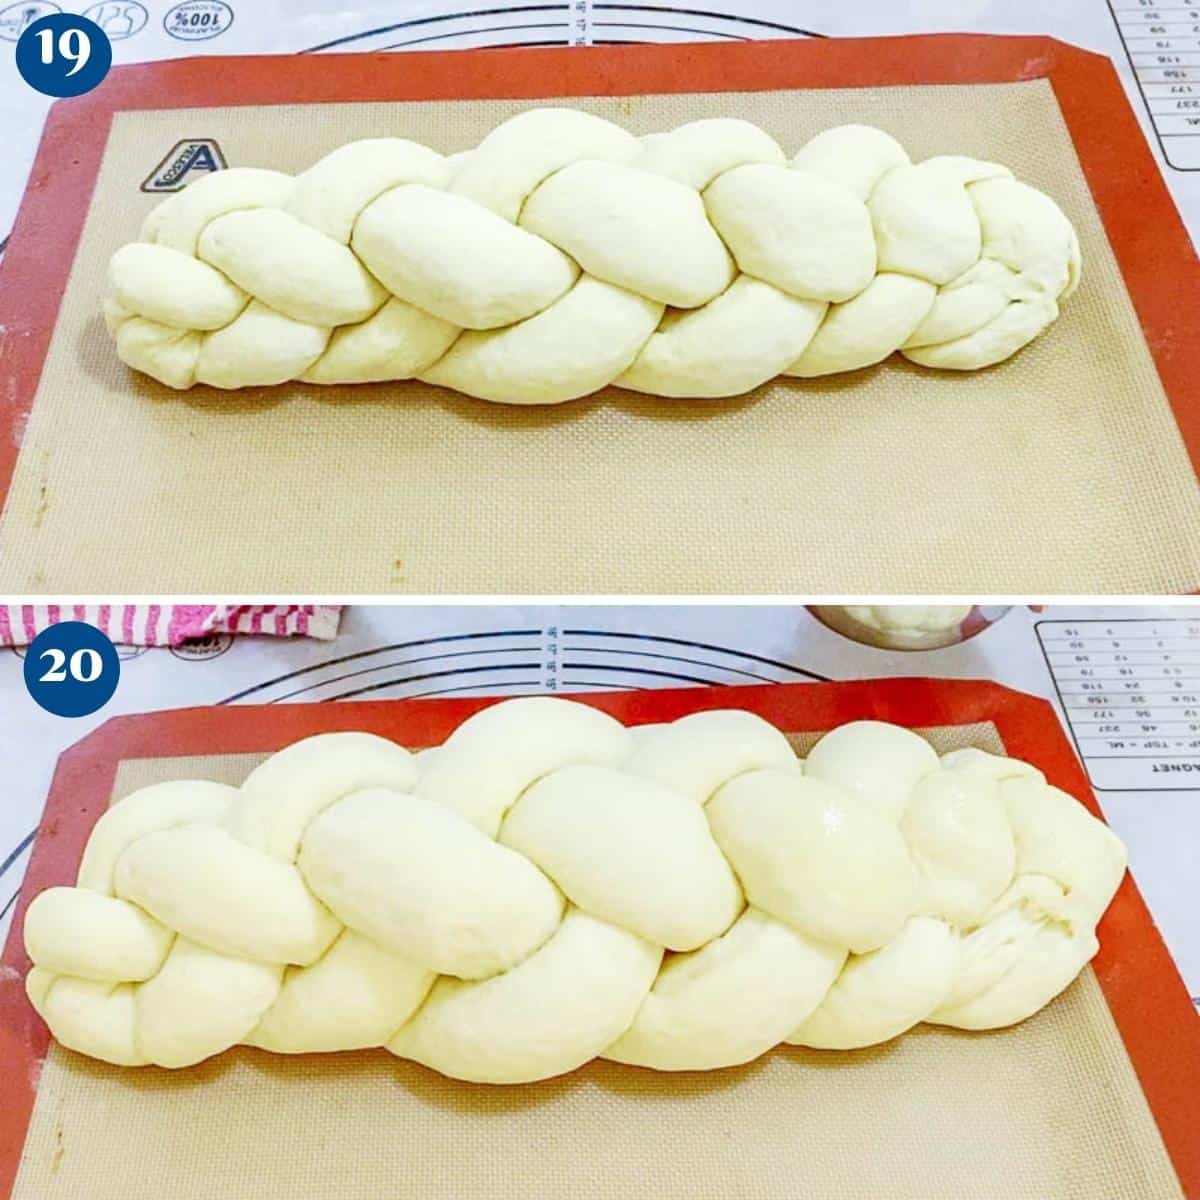
- Second rise / Proof – Place on a baking sheet. Cover it with plastic wrap or a clean kitchen cloth and let it proof for 30 to 45 minutes or until it is almost doubled in size.
- Oven/ egg wash – 20 minutes before baking, preheat the oven to 350°F /177°C / Gas Mark 4. Brush the bread with a beaten egg. Sprinkle a pinch of sesame seeds (or poppy seeds).
- Bake – If you make two challah breads with this dough, bake each for 20 to 25 minutes until they are nice and golden brown. If you make one large challah (as I have here), bake for 45 to 50 minutes until it is nice and golden brown.
- Cool – Remove and let cool on a wire rack for 5 minutes. Then, cover it with a clean kitchen cloth to keep it soft.
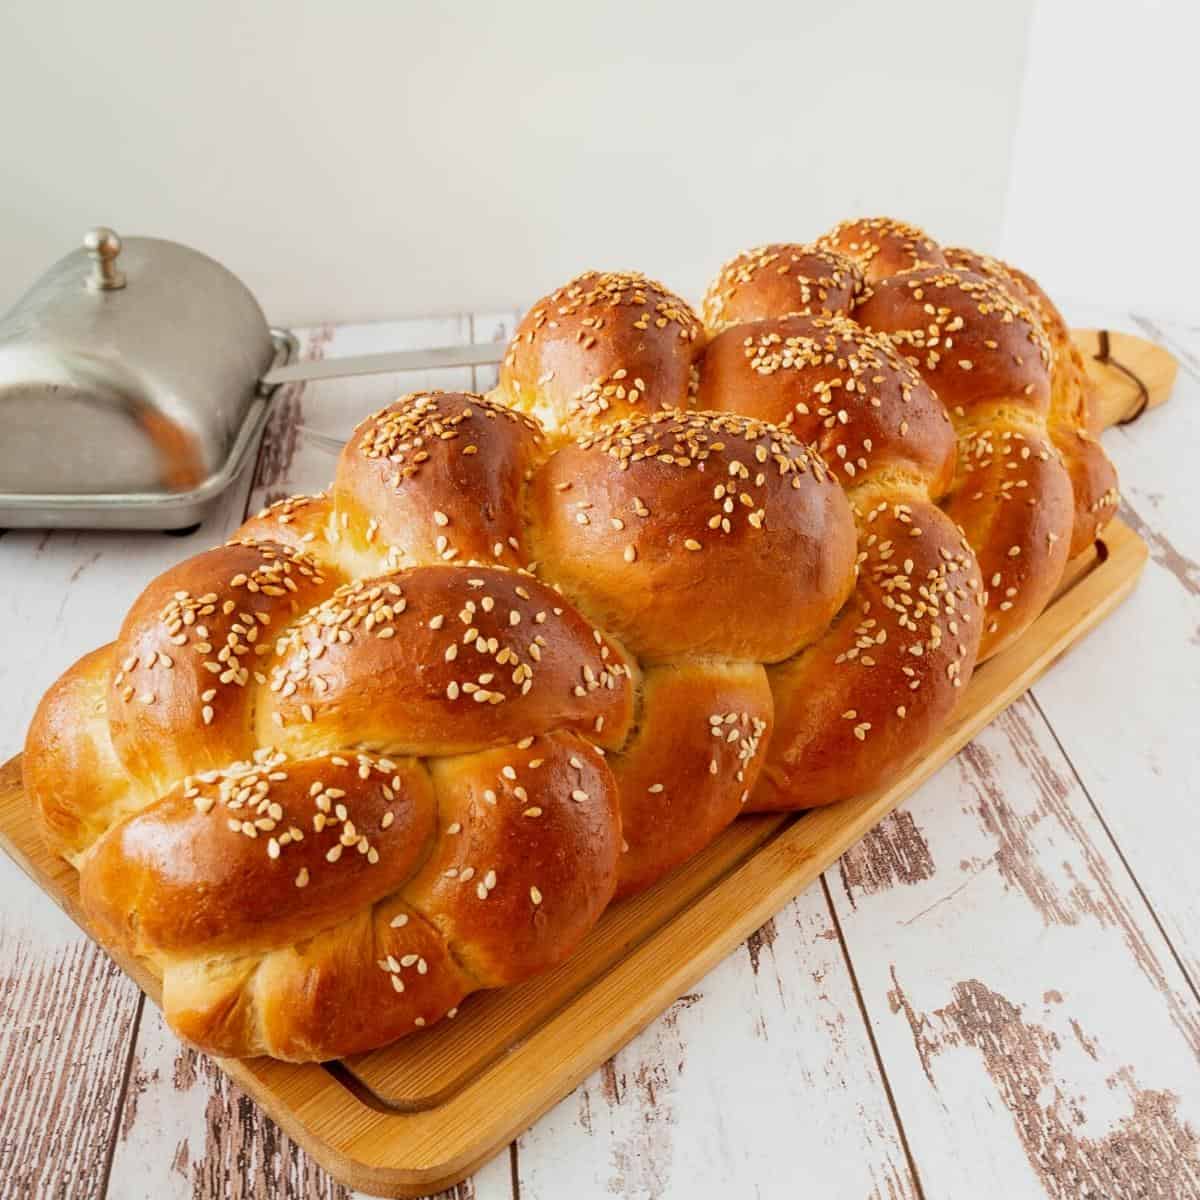


Milk and Honey Challah Recipe
Ingredients
Total dough – 900 grams
- 240 grams (1 cup) Warm milk 110F
- 2¼ tsp (2¼ tsp) Instant dry yeast (or 21 g bakers fresh yeast)
- 30 grams (2 tbsp) Honey
- 30 grams (2 tbsp) Butter olive or cooking
- 100 grams (2 large) Eggs large
- 500 grams (500 g) Bread flour (or all-purpose flour)
- 9 grams (1¼ tsp) Salt
Instructions
- Yeast mixture – In a mixing bowl or measuring cup, combine warm milk (110°F), yeast, honey, butter, and eggs. Stir and set aside to foam for 3 minutes.240 grams Warm milk, 2¼ tsp Instant dry yeast, 30 grams Honey, 30 grams Butter, 100 grams Eggs
- Dry ingredients – Measure the flour and salt in a mixing bowl or stand mixer with the dough hook. Add the yeast mixture and combine well.500 grams Bread flour , 9 grams Salt
- Knead – Transfer to a well-dusted worktop and knead for 5 to 6 minutes or in a stand mixer for 4 to 5 minutes. When the dough is soft and shiny but still slightly sticky, shape it into a ball.
- First rise – Place the dough in an oiled bowl, seam side down. Coat the surface with oil to prevent drying. Cover with a clean kitchen cloth or plastic wrap. Leave in a warm place. Let rise for 60 to 90 minutes until it doubles in volume.
- Divide – When the dough has doubled in volume, transfer it to a well-dusted, floured surface. Degas and reshape it into a small log. Then, divide the dough into six portions. They need to be approximately the same weight. I use a kitchen scale to measure the dough.
- Ropes – Shape each into a ball. If necessary, let rest for 5 to 10 minutes. Roll each ball with a rolling pin on an unfloured work surface (see video). Then, roll like a jelly roll into a rope about 18 inches long (see video). Smaller challah can be rolled into shorter lengths.
- Braid the Challah: To braid the challah, follow these steps:– Arrange the ropes parallel to each other and pinch the tops together.– Spread them out so there are three on the left and three on the right.– Always start with the outermost rope and bring it to the center.– From the right: Move the outermost right rope to the center.– From the left: Move the outermost left rope to the center.– Continue alternating sides, bringing the outermost rope to the center until you reach the end.– Pinch the ends together and tuck them under the loaf.
- Proof – Place on a baking tray. Cover with a plastic wrap or clean kitchen cloth and let proof for 30 to 45 minutes.
- Oven/Eggwash – About 20 minutes before baking, preheat the oven to 350°F /177°C / Gas Mark 4. Brush the bread with a beaten egg. Sprinkle with sesame seeds.
- Bake – If you make two challah breads with this dough, bake each for 20 to 25 minutes until they are nice and golden brown. If you make one large challah (as I have here), bake for 45 to 50 minutes until they are nice and golden brown.
- Cool – Remove and let cool on a wire rack for 5 minutes. Then, cover it with a clean kitchen cloth to keep it soft.
Video
Notes
- Instant yeast can be mixed directly with the flour. If using active dry yeast, proof it first in the warm milk.
- Honey adds moisture and helps the loaf stay soft for several days.
- This challah is delicious served fresh, toasted with butter, or used for French toast the next day.
- Store in an airtight container at room temperature for up to 3 days or freeze for up to 3 months.
- If your kitchen is cool, allow extra time for the dough to rise—the timing can vary from one kitchen to another.
Equipment


Made this recipe?
I’d love to see how yours turned out! Share a photo on Instagram and tag @veenaazmanov_kitchen or use #veenaazmanovkitchen. And don’t forget to leave a rating and review!
Tips for Success
- Warm the milk gently. It should feel warm to the touch, not hot, so it doesn’t damage the yeast.
- Don’t add too much flour. The dough should be soft and slightly tacky. A softer dough gives you a lighter, fluffier challah.
- Give the dough plenty of time to rise. Because this is an enriched dough with milk and honey, it may take a little longer than a basic bread dough.
- Brush with egg wash before baking. This creates the beautiful shiny, golden crust that makes challah so inviting.
- Bake until golden brown. If the loaf starts browning too quickly, loosely cover it with foil for the last part of baking.
More challah recipes


Troubleshooting
| Problem | Solution |
|---|---|
| The dough is very sticky | Resist adding lots of extra flour. Lightly flour your hands and work surface, and the dough will become easier to handle as you knead. |
| The challah is heavy | The dough may not have risen long enough or may have had too much flour. Let it double in size and knead until smooth and elastic. |
| The loaf cracked while baking | It likely needed a little more proofing before going into the oven. Bake once the loaf is light and puffy. |
| The crust is getting too dark | Tent the loaf loosely with foil during the last 10–15 minutes of baking. |
Frequently asked questions
The challah will keep at room temperature for 2 to 3 days. Once cut, make sure to wrap the cut side of the bread well to prevent drying out. Also, leftovers can be used to make French toast and bread pudding.
Absolutely, I do it every week. I cut the bread into slices. Place it in a reusable silicone storage bag and freeze it. When I need it, I just thaw slices in the microwave for 15 to 30 seconds.
Yes, raisins, dried cranberries, and almonds are very common in challah and taste delicious.
Of course, I have made challah bread for years with all-purpose flour before I had the luxury of bread flour, and it works equally well. Bread flour gives softer, chewier bread with a tender crumb.
sourdough and festive challah
- Sourdough Challah Bread
- Sourdough Mini Challah • Dinner Rolls
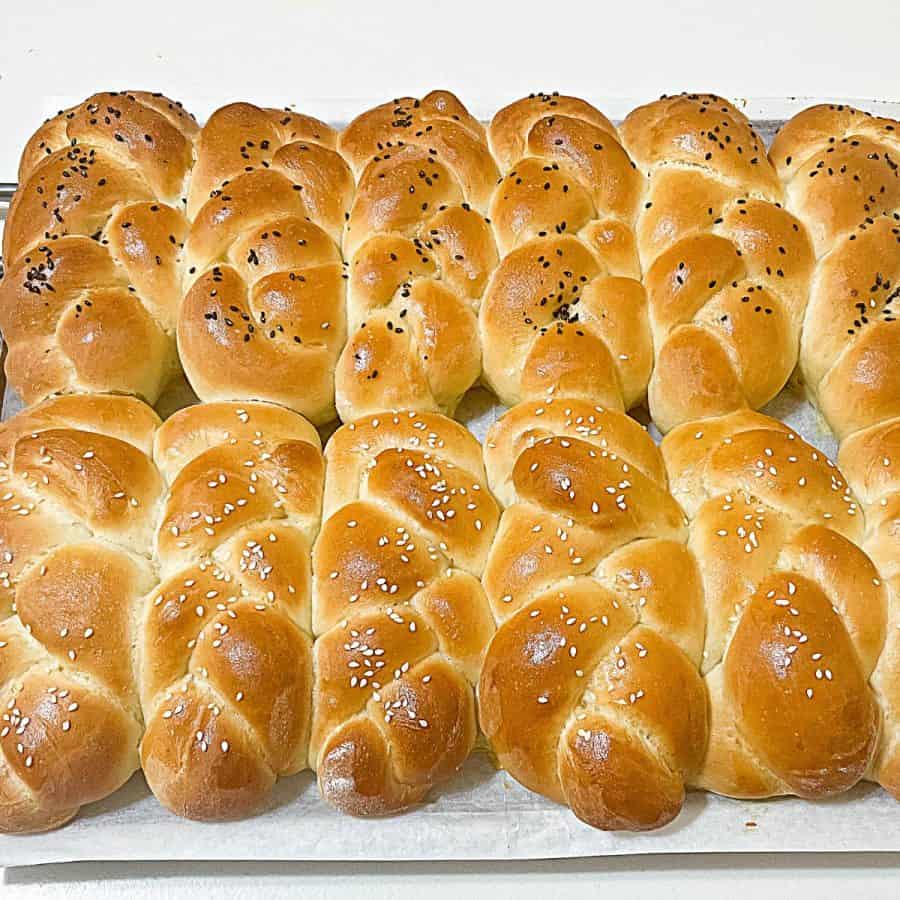
- Delicious Mini Challah Rolls • Single Braid
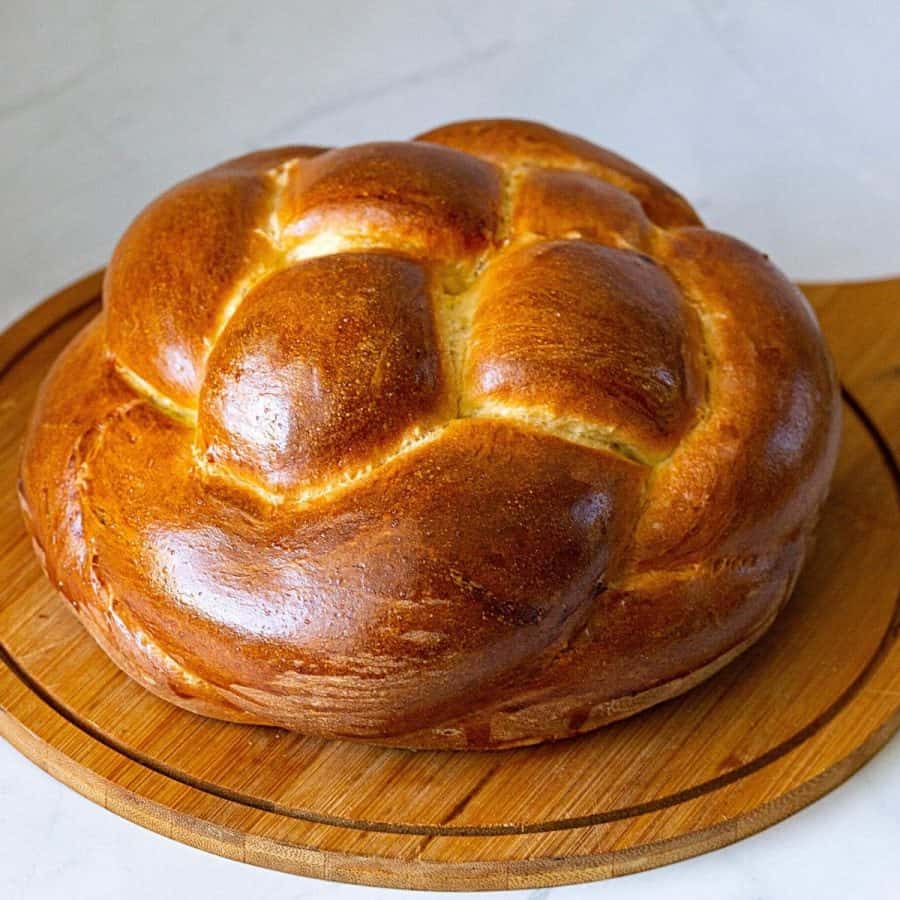
- Round Challah Recipe
- Round Apple Honey Challah
- Braided Chocolate Challah
Don’t lose this recipe! Save it for Later!
📌 Save this Recipe for later on Pinterest so you can easily find it again.
⭐ Add Veena Azmanov Kitchen to your Google Preferred Sources.
It helps Google show you more of our recipes.
📧 Subscribe for new recipes delivered to your inbox.
🎥 Follow us for more recipes

Hi, I’m Veena
I’m the recipe developer, baker, and food photographer behind Veena Azmanov Kitchen.
I’ve spent years developing and testing recipes, from everyday meals and homemade breads to cakes and desserts.
I share the practical tips and little details I’ve learned along the way so you can get great results in your own kitchen.



I HAVE FINALLY FOUND MY CHALLAH BREAD RECIPE! Thank you so much for this recipe. I have tried so many recipes over the last 20 years. My dough came out perfect! I plan on making more and yes it was easy. I believe all of my failures of Challah bread making made it very intimidating and now I can’t wait to make more! Thank you!
Thank you Stella.