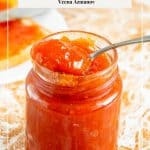
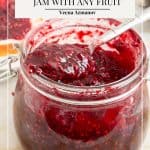
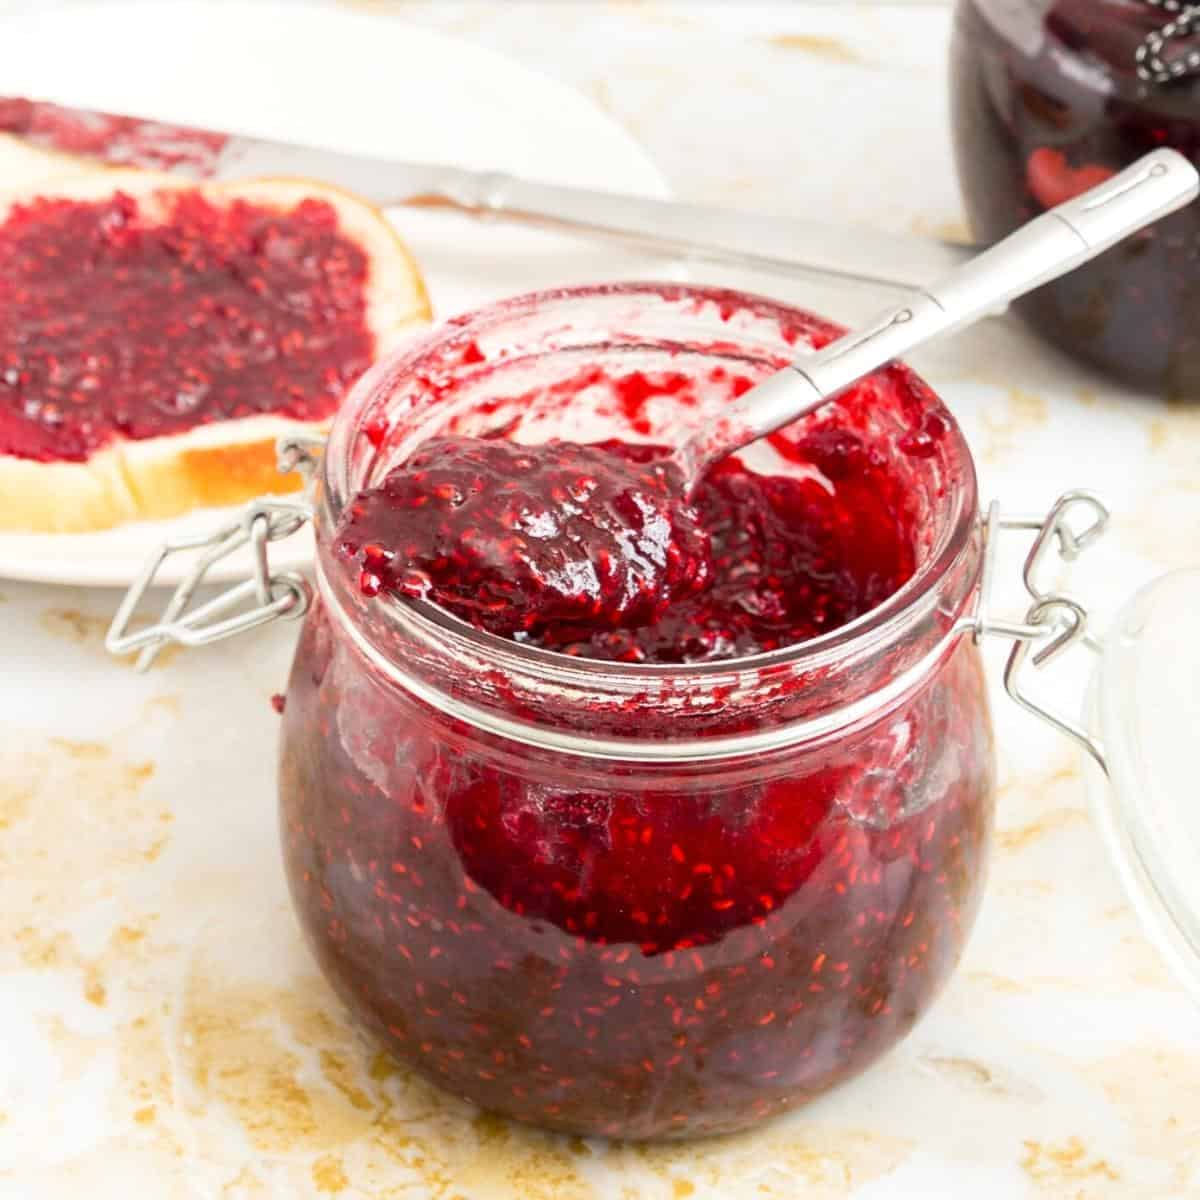
How to Make Homemade Jam with Any Fruit


Many of us remember the smell of warm homemade jam bubbling away on the stovetop, stirring up fond childhood memories. Making jam is a craft that anyone can enjoy with the right ingredients and a little patience and practice. Whether you are a seasoned jam-maker or are gathering the courage to try it for the first time, this is your go-to guide.
One of my fondest childhood memories revolves around my mom’s homemade jams. You see, my siblings and I were fond of jams, but my mom was concerned about the high sugar content in commercial ones. So, she took matters into her own hands and started making jams at home.
Her dedication to using fresh, seasonal fruits made her jams so special. The best part was the variety of fruits she used. From plump strawberries to fragrant peaches to tangy apricots, sweet mangoes to tropical pineapples, there was always a new flavor for us to try. And because she made them herself, my mom could control the sweetness, ensuring that we got all the fruity goodness without the excess sugar.
Whenever our friends came over for sleepovers, they’d be amazed by the unique flavors we’d have at home. They couldn’t believe that we had jams made from fruits they’d never even heard of, let alone tasted.
Thanks to my mom’s dedication to making jams, I inherited the bug too! Now, my kids enjoy homemade jams with unique flavors throughout the year.
Why make your own jams?
- Crafting your jam allows you to select the ripest, freshest fruits available, ensuring superior flavor and quality. This control over ingredients also enables you to tailor your jam to your taste preferences, whether you prefer a chunky texture or a smoother consistency or want to experiment with unique flavor combinations.
- Homemade jams are often free from artificial preservatives, additives, and excessive sugar, making them a healthier choice for those conscious of their dietary intake. Additionally, the act of making jam at home can be a fulfilling and satisfying experience, connecting you with traditional culinary practices and allowing for creative experimentation in the kitchen.
- Moreover, crafting homemade fruit jam can be a cost-effective option, especially if you have access to abundant fruit during the peak of the season or if you grow your own fruit. It’s a sustainable way to use up excess produce and reduce food waste.
- Homemade jams also make for thoughtful and personalized gifts, providing a touch of love and effort that store-bought options can’t match.
- Beyond the culinary advantages, the aroma that fills your kitchen as the fruit simmers and the satisfaction of filling your pantry with jars of your creations are experiences that make homemade jam-making a rewarding and enjoyable endeavor for novice and experienced home cooks.

Ingredients and substitutes
- Fruit: The primary ingredient in any jam is the fruit itself. It provides the flavor, natural sweetness, and pectin content necessary for the jam to set. The fruit should be ripe but not overripe, as overripe fruit may have reduced pectin levels and can affect the flavor of the jam. Different fruits contain varying amounts of pectin, so the choice of fruit will impact the jam’s consistency and setting ability. High-pectin fruits like apples, currants, and citrus fruits are excellent choices for no-pectin jams.
- Sugar: Sugar plays a crucial role in jam-making for several reasons. It acts as a preservative, helping to extend the shelf life of the jam by reducing water activity and inhibiting the growth of microorganisms. Sugar also enhances the flavor of the fruit, balances its natural acidity, and contributes to the jam’s sweetness. In addition, sugar helps create a thicker, more stable gel in the jam by bonding with the pectin and fruit acids during cooking. The ratio of sugar to fruit can vary depending on the type of fruit and your personal preference, but it is an essential component of no-pectin jam.
- Acid: Acid is another critical ingredient in no-pectin jam-making. It helps set the jam by interacting with the pectin in the fruit and promoting the gelling process. Common acid sources in jams include citric acid, naturally present in many fruits, and the addition of lemon juice or other citrus juices. The acid also contributes to the jam’s flavor by balancing the sweetness and adding a pleasant tartness. The exact amount of acid required may vary depending on the fruit used, but it is essential to include some form of acid for a successful no-pectin jam.
- Optional ingredients
- When it comes to achieving the perfect consistency, you can use pectin. Pectin is a natural substance found in fruits that helps jams thicken and set. While some recipes require commercially available pectin, others rely on the natural pectin content in the fruit itself. If you’re using fruits with low pectin levels, such as strawberries or peaches, you can add additional pectin to achieve the desired texture. Alternatively, you can use pectin substitutes like agar agar or gelatin to achieve a similar result.
- Finally, let’s not forget about the added extras that can take your homemade jams to the next level. Spices like cinnamon, nutmeg, or cardamom can infuse your jams with warm, aromatic notes. For a touch of acidity, consider adding a splash of lemon or lime juice. And if you’re feeling adventurous, try incorporating herbs like mint or basil for a unique twist. The possibilities are endless when it comes to experimenting with complementary flavors and adding your own personal touch.

Homemade jam ratios – Fruit: Sugar: Acid
| Type of fruit | Fruit | Sugar | Lemon |
| Strawberry | 2 lbs/1 kg | 1 lb/ 450 g | 2 tbsp |
| Berries | 2 lbs/1 kg | 1 lb /450 g | 2 tbsp |
| Apricot, Peach, Figs | 2 lbs / 1 kg | 1 lb / 450 g | 2 tbsp |
| Oranges, plums, kiwi, | 3 lbs /1.5 kg | 1 lbs / 450 g | 1 tbsp |
Step-by-step: Homemade jam
- Prepare Your Equipment: Wash the canning jars, lids, and bands in hot, soapy water. Rinse thoroughly and sterilize them in a boiling water bath for 10 minutes. Keep the jars hot until ready to use. Also, set up your water bath canner or stockpot with a rack and bring water to a simmer.
- Prepare the Fruit: Wash, peel (if necessary), and chop the fruit into small pieces. Remove any stems, seeds, or cores.

- Combine: Place the chopped fruit, sugar, lemon juice, and any optional flavorings or spices in a large, heavy-bottomed pot. Cook over medium-low heat, stirring occasionally, until the fruits break down and release their juices and the sugar dissolves completely. The sugar will help thicken the jam and preserve it.
- Boil: Once the sugar dissolves, increase the heat to medium-high and bring the mixture to a rolling boil. Simmer for two minutes on high and reduce the heat to low.
- Simmer: Continue to cook on low, stirring frequently to prevent sticking and burning, until the jam thickens and reaches the desired consistency. This can take anywhere from 20 to 45 minutes, depending on the fruit and the size of your batch.
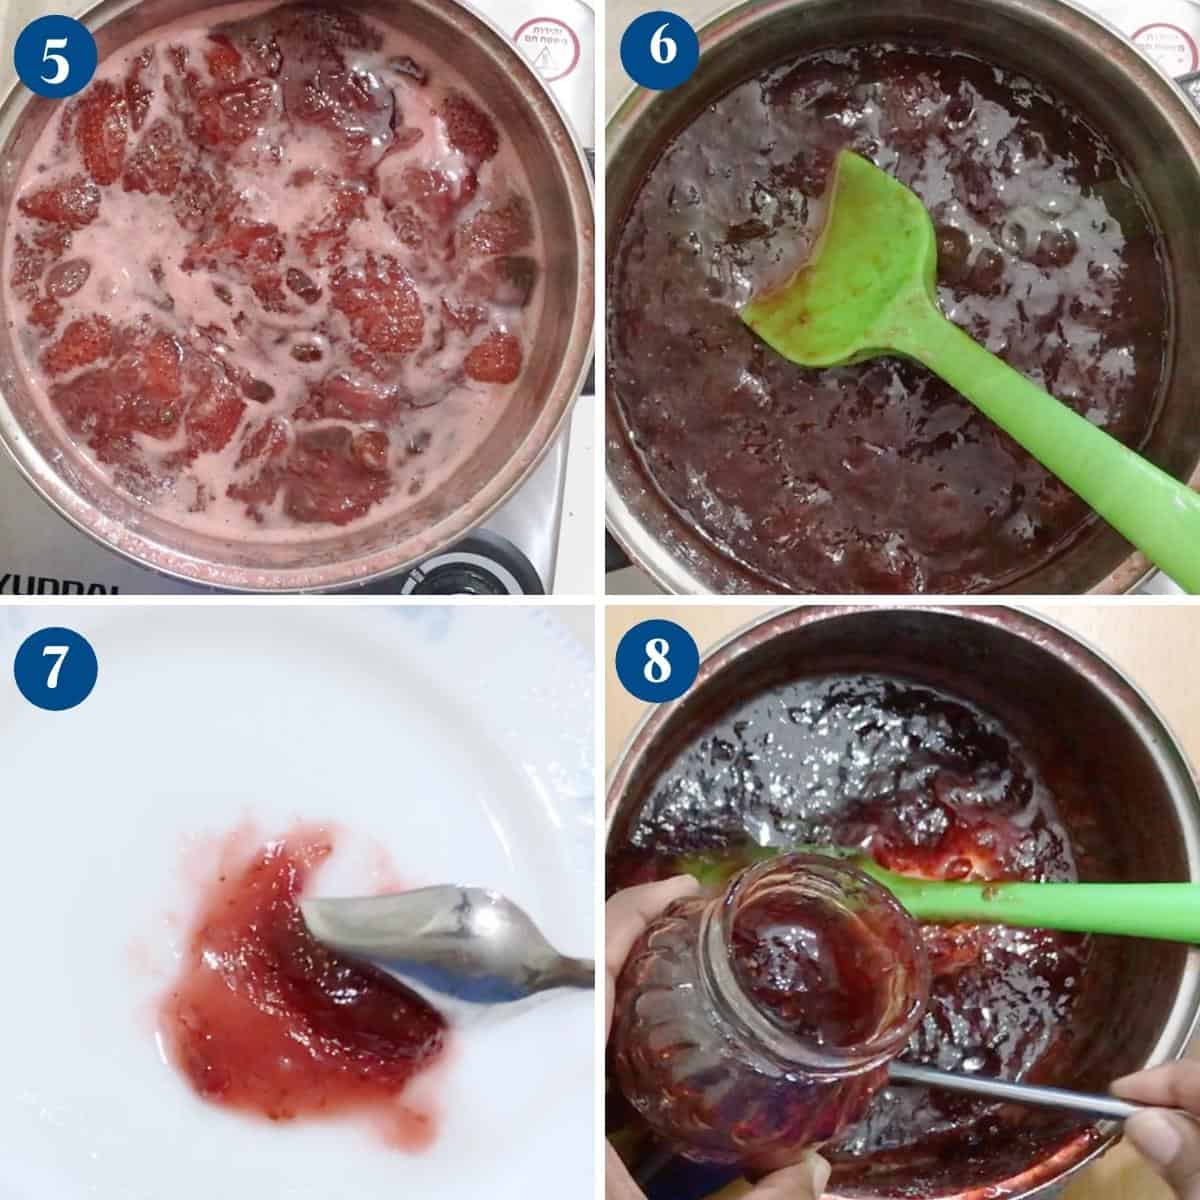
- Test for Set: To check if the jam has reached the desired consistency, you can perform a “wrinkle test.” Place a small amount of the hot jam on a chilled plate and let it sit for a minute. Push the jam with your finger; it’s ready if it wrinkles and sets. If not, continue cooking and repeat the test until it sets.
- Prepare Jars: Remove the hot, sterilized jars from the water bath canner or stockpot and place them on a clean towel. Use a canning funnel (if available) to ladle the hot jam into the jars, leaving about 1/4-inch of headspace. Wipe the jar rims with a clean, damp cloth to ensure a proper seal.
- Seal Jars: Place the sterilized lids on the filled jars, followed by the screw bands. Tighten the bands until they are fingertip-tight, ensuring they do not over-tighten.
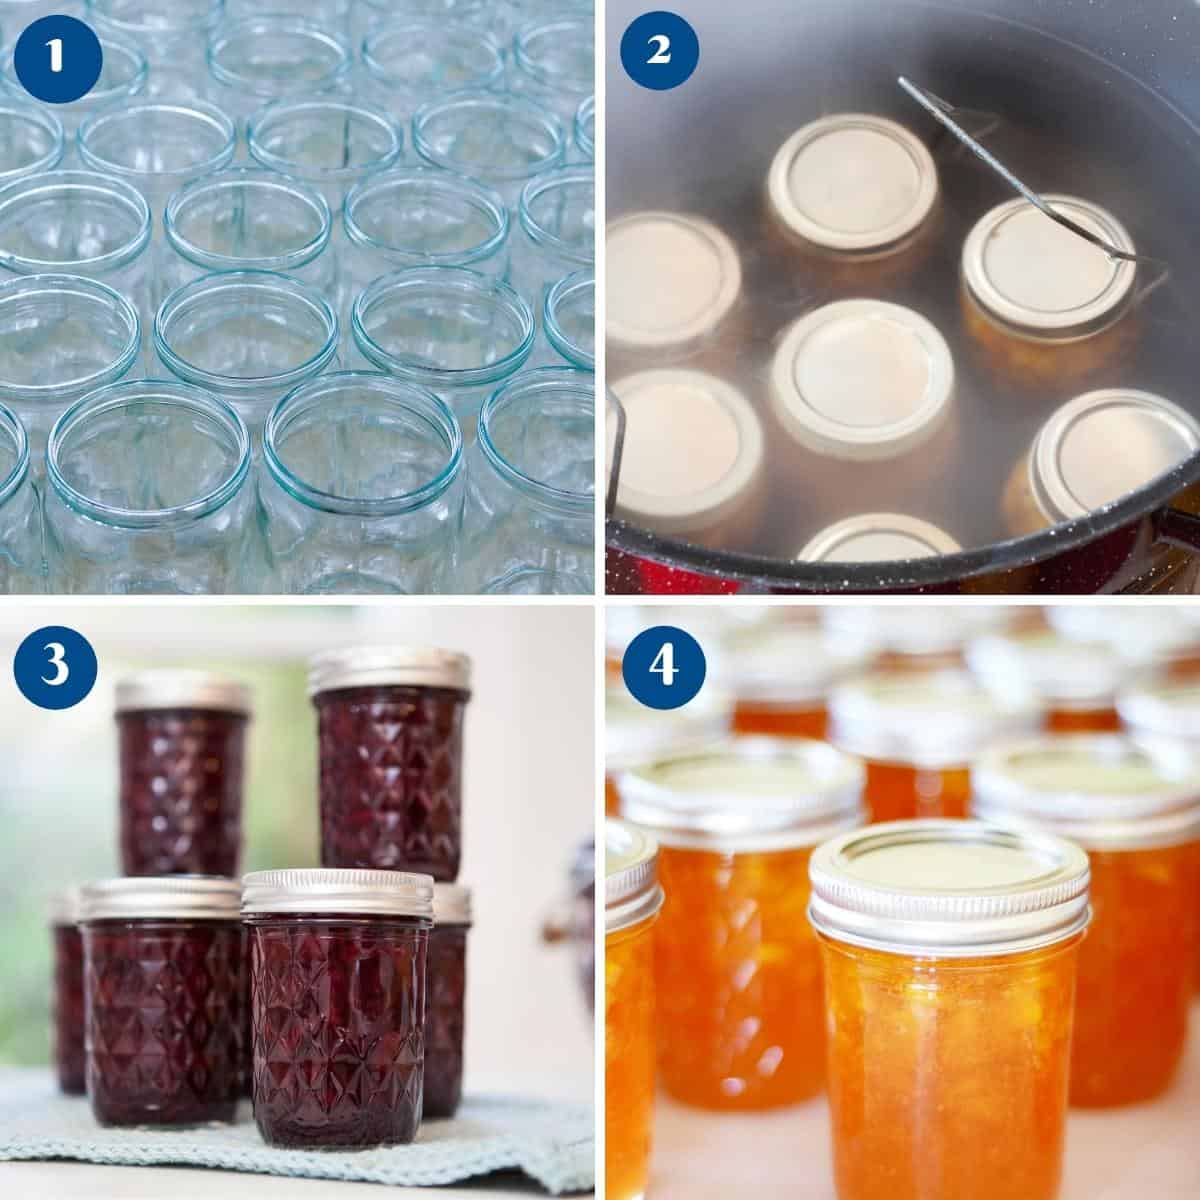
- Process in a Water Bath: Carefully place the filled and sealed jars back into the water bath canner or stockpot, ensuring they are submerged in water by at least 1-2 inches. Bring the water to a boil and process the jars for about 10-15 minutes (adjust the time for altitude; consult a canning guide). This step helps create a vacuum seal and preserves the jam.
- Cool and Store: Carefully remove the jars from the water bath using jar lifters and place them on a clean towel or cooling rack. Allow them to cool undisturbed for 12-24 hours. You’ll hear the lids pop as they seal.
- Check Seals: After cooling, check the seals by pressing the center of each lid; they should not flex or pop. You can refrigerate any unsealed jars and use them within a few weeks.
- Label and Store: Label your sealed jars with the date and type of jam. Store the sealed jars in a cool, dark, dry place for up to a year. Once opened, store the jam in the refrigerator for several weeks.

Difference between -Jam, preserve, jelly, and marmalade
Jams, preserves, jellies, and marmalades are all fruit spreads, but they differ in terms of their ingredients, texture, and preparation methods:
- Jam:
- Jam is made from crushed or chopped fruits (including the pulp and often some of the fruit’s skin) cooked with sugar and pectin, a natural gelling agent found in fruits.
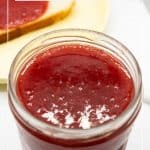
- Jams have a thicker consistency, with small fruit pieces or chunks dispersed throughout the spread.
- They often have a sweet and slightly tart flavor due to the fruit’s natural acidity.
- Preserves:
- Preserves are similar to jams but typically contain larger, whole fruit pieces or chunks, along with the fruit’s pulp and skin.
- The texture of preserves is chunkier and less smooth compared to jam.
- Preserves have a robust fruit flavor and are ideal for those who prefer a more pronounced fruit presence in their spreads.
- Jelly:
- Jelly is made from fruit juice rather than crushed or whole fruits.
- To achieve a clear, smooth consistency, the fruit juice is strained to remove solids and then combined with sugar and pectin.
- Jellies have a translucent appearance and a firm, gel-like texture.
- They often have a sweeter and less fruity flavor compared to jams and preserves.
- Marmalade:
- Marmalade is a type of fruit spread made primarily from citrus fruits such as oranges, lemons, or grapefruits.
- It includes both the fruit pulp and zest (the outer peel), which gives marmalade its distinctive bitter and tangy flavor.
- Marmalade has a chunky texture due to the presence of citrus peel, and its consistency can vary from fairly smooth to quite chunky.
No posts
10 Tips to making homemade jam
- Use good fruit – Use fresh, undamaged fruits when they are at their peak in season. Avoid underripe or firm fruits. Firm-ripe, slightly overripe works too. Ripe fruits will give you the most flavor, pectin, and color. Fresh fruits are best, but you can also make jam with frozen fruits.
- Macerate the fruit – Time permitting, let the sugar and fruit macerate for a few hours or overnight in the fridge. This helps soften the fruit and enhances its flavor.
- Dissolve the sugar – Cook the sugar and fruit on low first until the sugar is dissolved. Always make sure the sugar is dissolved before that first rolling boil.
- Cook low and slow – Pectin is a naturally occurring substance that gives jam its gelatinous texture. This process happens when you cook it low and slow, letting the fruit go through its natural process.
- Make manageable quantities – Make jam in small, manageable batches rather than one big batch that’s hard to handle. A large quantity will also take a long time to reach the setting point, which can be exhausting if you do not have experience making jams. So, work at a comfortable pace.
- Test for setting – While you do not need a thermometer to know when the jam is set, the setting point for jams is 105°C.
- When jam sets, the jam is thicker and syrupy, and the big lar boiling bubbles are now small, relaxed, and slow. The jam looks glossy, and the syrup is thicker.
- Always test the jam to prevent under or over-cooking. The best testing method is to place a small sauce plate in the fridge for 15 minutes.
- When you are ready to test, bring the cold plate out and put a spoonful of jam on it. The cold plate will instantly cool the jam, giving you an indication of how much it has set.
- Simply put the jam on the plate from the corner towards the center. If it wrinkles, it is set.
- It is time to remove the jam from the heat. If not, continue with a few more tests—every 3 to 5 minutes.
- Skim the scum – Start removing the scum close to the jam setting rather than in the beginning. To get rid of the scum on top, stir in the jam in one direction. This will get all the scum to gather in the center – then use a spoon to pick the blob out. An old trick to get rid of scum is to add a piece of butter at the end. (I have used this method in my video). The butter helps dissolve the scum.
- Sterilize the jars – Always use clean, sterilized jars when making jams, pickles, or chutneys. Wash with soapy water, rinse, and place the jars upside down in a warm oven for at least an hour (preheat the oven to 50C, then switch it off ). This helps dry off any moisture in the jars.
- Cover the top – When canning condiments, cover the surface of the jam with wax or parchment paper. This prevents mold from forming on the top when storing. Seal the jar tightly and tie the top with a clean cloth and rubber band.
- Storage – Store jam jars in a cool, dark place (this prevents them from getting darker in color). If stored well, jams can last in the pantry for 12 to 14 months. Once opened, a jam must be stored in the refrigerator. An open jam will last for a month up to three months.

No posts
Frequently asked questions?
Yes, it is. The trick is understanding how these three ingredients work together to make jam. Fruits contain a natural substance called pectin in their cells. When you cook the fruit, this substance separates and then joins back together, connecting into a gelatinous mass that gives us that jam-like consistency. This process occurs with low-slow cooking, so it is never advisable to jam on high too quickly.
All fruits have pectin, a naturally occurring substance. Some fruits, like apples, berries, and others, have more pectin than others. Our grandmother did not use any artificial pectin, either, but they’ve made us some amazing jams. Low, slow cooking is the key to making a good jam because that’s when the pectin is naturally released.
If canning, the canned jam will stay in a cool, dry place in the pantry for up to a year or more
When not canned, the jam will stay at room temperature for a month or more in good weather.
You can also keep the jam in the fridge for three months.
You can also freeze uncanned jam for up to 6 months.
Label the jar with the name and date so you know what is in it and when you made it.
No. Both are used to thicken liquids and add a gel-like texture. Gelatin is obtained from the collagen of beef bones, connective tissue, and pig or fish skin, while pectin is found in apples, berries, grapes, and cherries.
Almost all jams use lemon juice. Lemon is a great way to cut down on sweetness with a citrus edge. It also prevents the sugar from crystallizing. Most importantly, lemon helps prevent the growth of bacteria when canning the jam.
Yes, it is possible to overcook jam. It is better to undercook rather than overcook a jam because undercooked jam can be cooked again, but once overcooked, you have to add water to thin the jam. Once you add water, you reduce the shelf life of the jam.
Often, jam is not set though reduced to half because it has not been boiled enough. The low, slow cooking is what makes jam reach its setting point. If cooked too fast, the liquid is reduced without going through the natural process of setting. So, low, slow cooking is the key to perfect jam.
We often say low, slow cooking is what makes good jam. This means it takes a short time. Usually, about 1 kg/2 lbs of fruit jam needs about 20 minutes to reach the setting point. You can start checking jams after 18 to 20 minutes.
Homemade jams made with sugar and fresh fruit can also have a long shelf life. If processed with the canning method and stored properly in a cool, dark place, a strawberry jam can last up to 2 years. Once opened, it can be kept in the refrigerator for up to 3 months.
An acid like lemon juice is necessary to keep the sugar from crystallizing, so all jam recipes have lemon juice. To fix crystallization, heat the jam in a microwave or clean saucepan. Add lemon juice and cook until the sugar has melted again. This should fix it.
Often, the answer is yes. Because the ingredients in jam and preserve are the same. However, some recipes may require that you strain or mash the preserve to achieve the right consistency.
While jam and preserve often work interchangeably, I always prefer to use a preserve when I want to make pastry or a tart. If I need jam on a cake, I usually pick a preserve because I like the chunky bite of fruit in my desserts.
No matter what jam you make, there is so much you can do with it other than just spread it on toast. I often use jam in my macarons for a quick fruit filling. My kids love to help me make shortbread cookies so they can stick their thumb in the center and add jam. Nothing beats the luxury of fresh, homemade fried donuts filled with a jam that melts in the mouth. I also make classic Linzer cookies every year for gifts with all types of jams I have from that year.
If the jam is too thick, it means you cooked it a bit longer. It’s okay; all you need to do is add a little fruit juice to the jam and give it a good mix. Find a juice that will blend well with the jam flavor, or use one that is neutral, such as apple juice or grape juice.
A good jam is best achieved by slowly cooking the fruit on medium-low. The sugar and lemon juice help break down the fruit and cook it in its juices. This is an essential process of jam-making and natural pectin development. If you cook it on high, all the juices will evaporate, leaving the fruit still firm and not jelly-like pectin. All is not lost; you can still continue to make the jam. Just add ¼ cups of water and continue to cook the jam until you reach perfect jam consistency.
No posts
How to Make Jam
Making homemade jam without pectin is a rewarding process that relies on the natural pectin content of the fruit and proper cooking techniques. Here's a step-by-step process for making no-pectin jam:
Video
Ingredients
- 4 cups (1 kg) Ripe fruit (e.g. strawberries, blueberries, raspberries, or peaches), washed, peeled, and chopped if necessary
- 3 cups (600 g) Granulated sugar (adjust depending on the fruit's natural sweetness)
- 1 – 2 tbsp Lemon juice or more depending on the fruit's acidity)
- Optional flavorings or spices (e.g. vanilla extract, cinnamon, or grated citrus zest)
Method
- Prepare Your Equipment: Wash the canning jars, lids, and bands in hot, soapy water. Rinse thoroughly and sterilize them in a boiling water bath for 10 minutes. Keep the jars hot until ready to use. Also, set up your water bath canner or stockpot with a rack and bring water to a simmer.
- Prepare the Fruit: Wash, peel (if necessary), and chop the fruit into small pieces. Remove any stems, seeds, or cores.
- Combine: Place the chopped fruit, sugar, lemon juice, and any optional flavorings or spices in a large, heavy-bottomed pot. Cook over medium-low heat, stirring occasionally, until the fruits break down and release their juices and the sugar dissolves completely. The sugar will help thicken the jam and preserve it.4 cups Ripe fruit , 3 cups Granulated sugar , 1 – 2 tbsp Lemon juice , Optional flavorings or spices
- Boil: Once the sugar dissolves, increase the heat to medium-high and bring the mixture to a rolling boil. Simmer for two minutes on high and reduce the heat to low.
- Simmer– Continue to cook on low, stirring frequently to prevent sticking and burning, until the jam thickens and reaches the desired consistency. This can take anywhere from 20 to 45 minutes, depending on the fruit and the size of your batch.
- Test for Set: To check if the jam has reached the desired consistency, you can perform a “wrinkle test.” Place a small amount of the hot jam on a chilled plate and let it sit for a minute. Push the jam with your finger; it’s ready if it wrinkles and sets. If not, continue cooking and repeat the test until it sets.
- Prepare Jars: Remove the hot, sterilized jars from the water bath canner or stockpot and place them on a clean towel. Use a canning funnel (if available) to ladle the hot jam into the jars, leaving about 1/4-inch of headspace. Wipe the jar rims with a clean, damp cloth to ensure a proper seal.
- Seal Jars: Place the sterilized lids on the filled jars, followed by the screw bands. Tighten the bands until they are fingertip-tight, ensuring they do not over-ighten.
- Process in a Water Bath: Carefully place the filled and sealed jars back into the water bath canner or stockpot, submerging them in water by at least 1-2 inches. Bring the water to a boil and process the jars for about 10-15 minutes (adjust the time for altitude; consult a canning guide). This step helps create a vacuum seal and preserves the jam.
- Cool and Store: Carefully remove the jars from the water bath using jar lifters and place them on a clean towel or cooling rack. Allow them to cool undisturbed for 12-24 hours. You'll hear the lids pop as they seal.
- Check Seals: After cooling, check the seals by pressing the center of each lid; it should not flex or pop. Any unsealed jars can be refrigerated and used within a few weeks.
- Label and Store: Label your sealed jars with the date and type of jam. Store the sealed jars in a cool, dark, and dry place for up to a year. Once opened, store jam in the refrigerator for several weeks.
Notes
- Use good fruit – Use fresh, undamaged fruits when they are at their peak in season. Avoid underripe or firm fruits. Firm-ripe, slightly overripe works too. Ripe fruits will give you the most flavor, pectin, and color. Fresh fruits are best, but jam can be made with frozen fruits too.
- Macerate the fruit – Time permitting, let the sugar and fruit macerate for a few hours or overnight in the fridge. This helps soften the fruit and enhances its flavor.
- Dissolve the sugar – Cook the sugar and fruit on low first until the sugar is dissolved. Always make sure the sugar is dissolved before that first rolling boil.
- Cook low and slow – Pectin is a naturally occurring substance that gives jam that gelatinous texture but this process happens when you cook it low and slow letting the fruit go through its’ natural process.
- Make manageable quantities – Make jam in small manageable batches rather than one big batch that’s hard to handle. A large quantity will also take a long time to reach the setting point. If you are not experienced in making jams, this can be exhausting. So, work at a comfortable pace.
- Test for setting – While you do not need a thermometer to know when the jam is set, the setting point for jams is 105°C.
- When jam sets, the jam is thicker, syrupy, and the big lar boiling bubbles are now small, relaxed, and slow. The jam looks glossy, and the syrup is thicker.
- Always test the jam to prevent under or over-cooking. While old school the best testing method is to place a small plate or sauce in the fridge for 15 minutes.
- When you are ready to test – bring the cold plate out. Put a spoonful of jam on the plate. The cold plate will instantly cool the jam giving you an indication of how much it has set.
- Simply put the jam on the plate from the corner towards the center. If it wrinkles it is set.
- It is time to take the jam off the heat. If not, continue with a few more tests – every 3 to 5 minutes.
- Skim the scum – Start removing the scum close to jam setting rather than in the beginning. To get rid of the scum on top, stir in the jam in one direction. This will get all the scum to gather in the center – then use a spoon to pick the blob out. An old trick to get rid of scum is to add a piece of butter at the end. (I have used this method in my video). The butter helps dissolve the scum.
- Sterilize the jars – Always use clean, sterilized jars when making jams, pickles, or chutneys. Wash with soapy water, rinse, and place the jars upside down in a warm oven for at least an hour ( Preheat the oven to 50C, then switch it off ) this helps dry off any moisture in the jars.
- Cover the top – When canning condiments, cover the surface of the jam with wax or parchment paper. This prevents any mold from forming on the top when storing. Seal the jar tightly and tie the top with a clean cloth and rubber band.
- Storage – Store jam jars in a cool, dark place (this prevents them from getting darker in color) If stored well, jams can last in the pantry for 12 to 14 months. Once opened, a jam must be stored in the refrigerator. An open jam will last for a month up to three months.
Nutrition
Tried this recipe?
Mention @veenaazmanov_kitchen or tag #veenaazmanovkitchen!Don’t lose this recipe! Save it for Later!
📌 Save this Recipe for later on Pinterest so you can easily find it again.
⭐ Add Veena Azmanov Kitchen to your Google Preferred Sources.
It helps Google show you more of our recipes.
📧 Subscribe for new recipes delivered to your inbox.
🎥 Follow us for more recipes

No posts


so.i put wax paper or parchment paper on top before canning?
Yes, Olivia – This prevents mold from forming on the top.
I was surprised how easy this was! I always thought jam-making was super complicated but your post broke it down so well.
I’m so glad, Elijah! It’s one of those things that feels fancy but is totally doable—especially once you get the hang of it.
I followed your recipe with mango and a pinch of cardamom—tastes just like my mom used to make in India.
That sounds divine, Mia! I love the cardamom idea—thanks for sharing such a nostalgic variation.
Can I use frozen fruit or does it have to be fresh?”
Hi Arjun! Frozen fruit works great too—just cook it straight from frozen and adjust the sugar slightly if it’s already sweetened.
I tried this with strawberries and blueberries and it turned out perfect! So satisfying to make my own jam.
That combo sounds delicious, Holly! Homemade jam really does feel magical, doesn’t it?