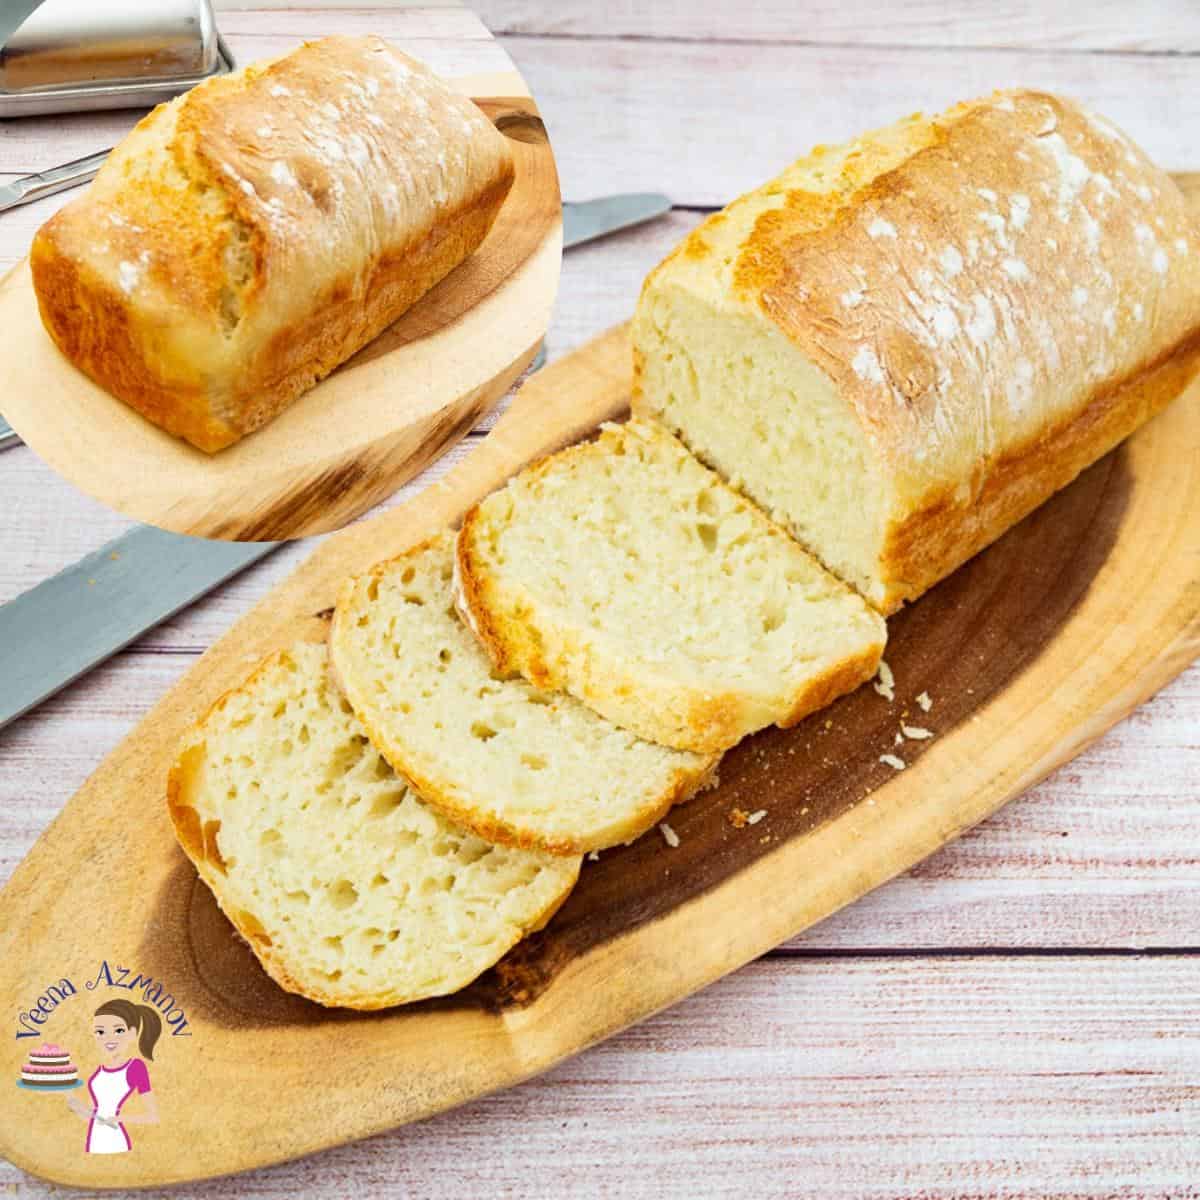
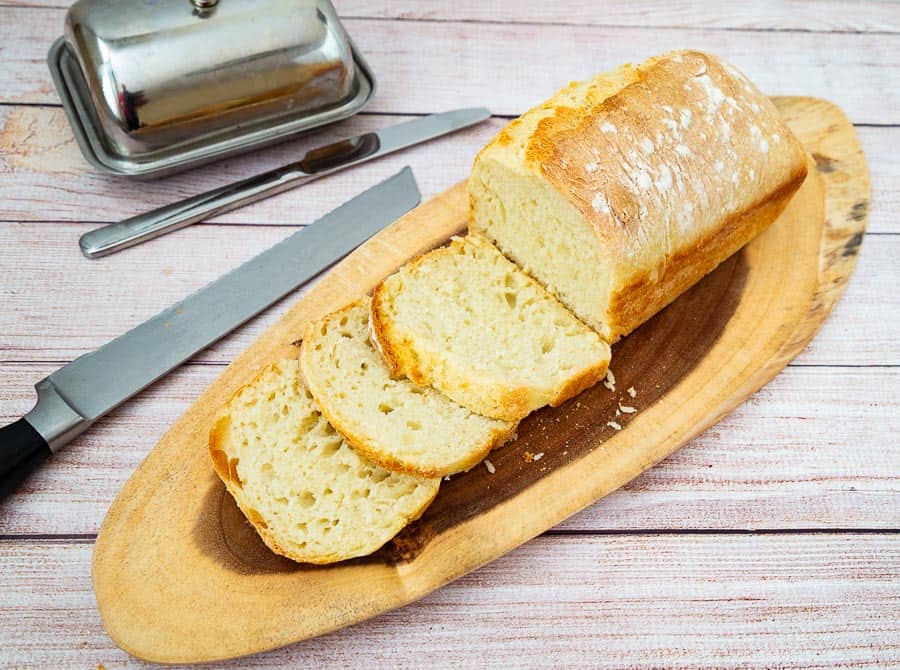
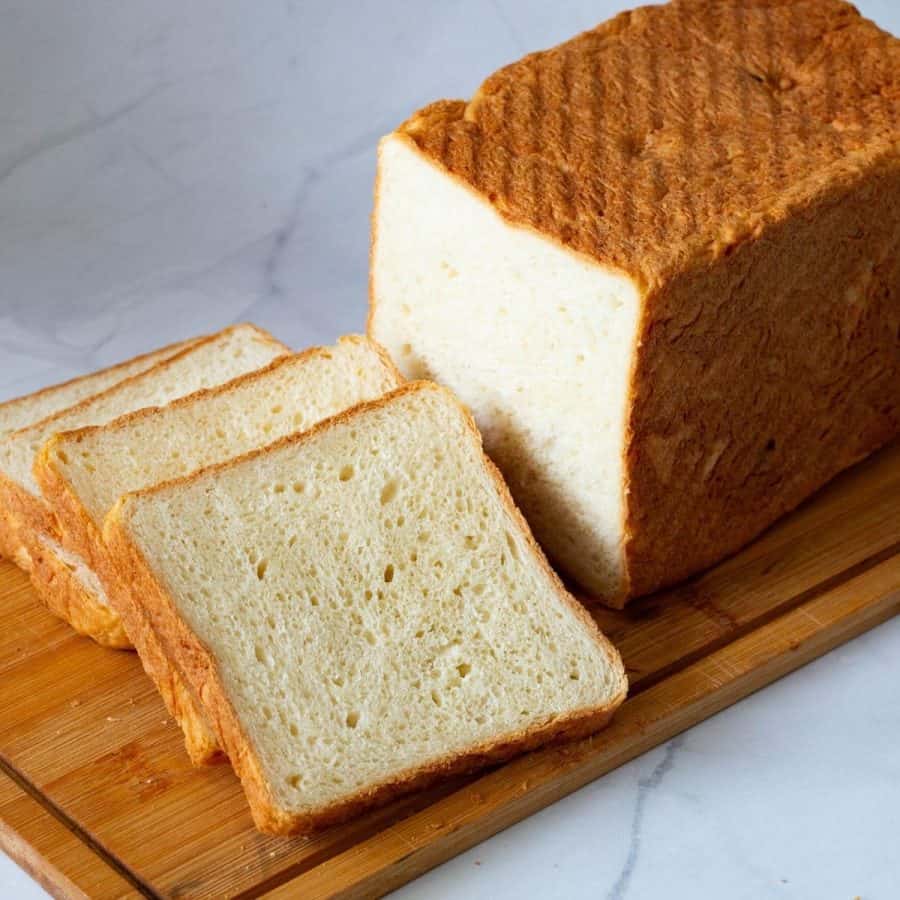
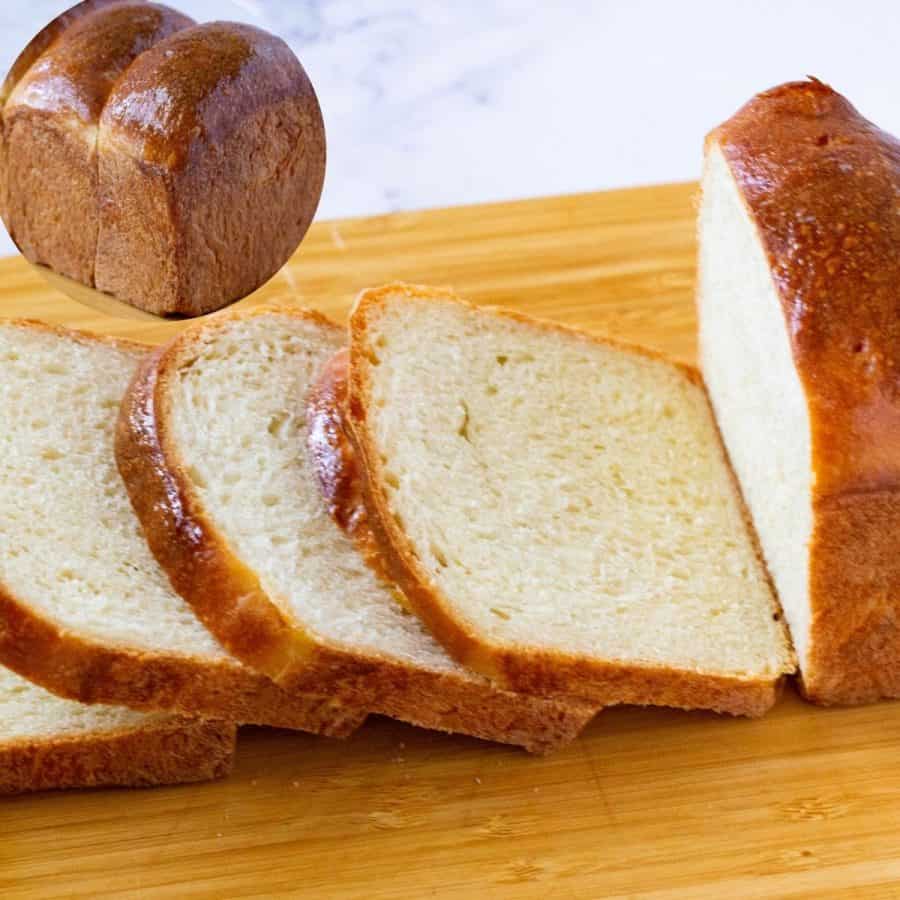
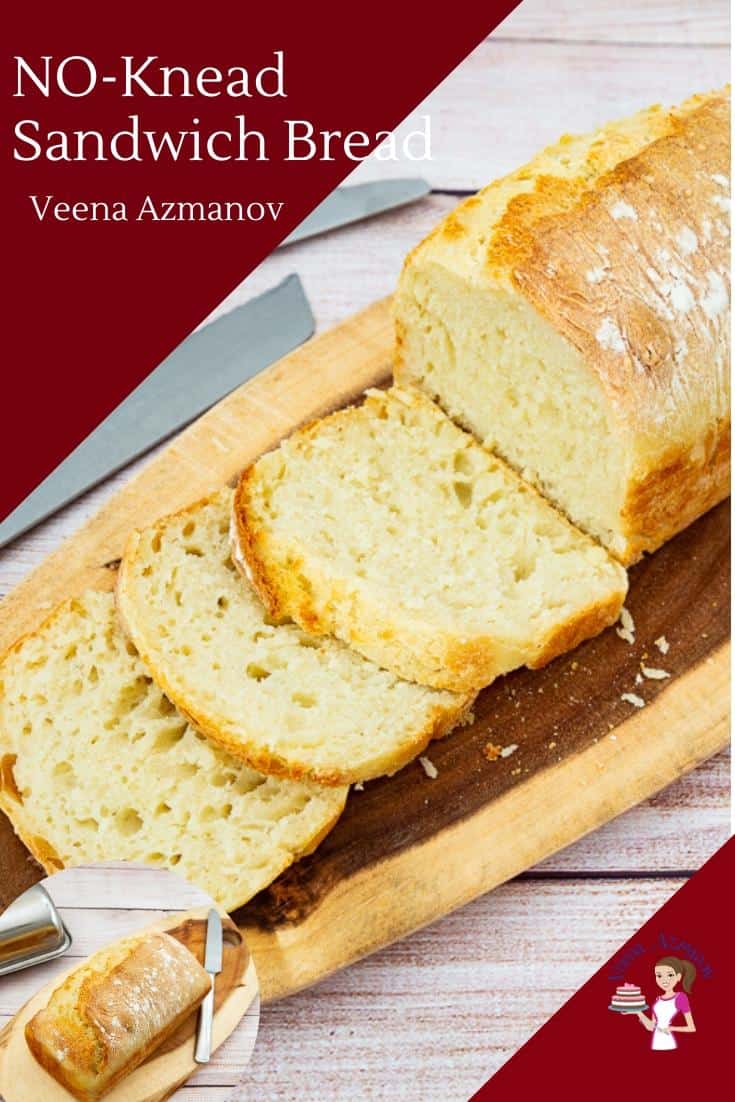
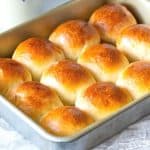
No-Knead Sandwich Bread


This no-knead sandwich bread is a great recipe for those days when you don’t want to spend time kneading the dough. The slow proofing of six hours is the secret to building flavor in this bread. With 5 minutes to mix and 40 minutes to bake, this has now become our family’s favorite recipe.
The most popular recipes on the blog at the moment are bread recipes. And while I have many sandwich bread recipes, many of you have been asking if my no-knead crusty white bread can be used to make sandwich bread.
Well, there was only one way to find out. I decided to test a few methods and found just the right time and temperature for you to make this no-knead sandwich bread.
Why make this bread
- No-knead beginner’s recipes – This bread is perfect for anyone who loves sandwich bread but does not want to knead the dough. It is also a great recipe for those who have never made bread before.
- The dough is soft, wet, and sticky, which gives it a beautiful crust on the outside and a soft, moist bread on the inside.
- We do not knead the dough. But the slow proofing of six hours, compared to the usual one hour, helps develop the gluten and flavor in this bread. The longer you leave it to proof, the more flavorful the dough becomes.
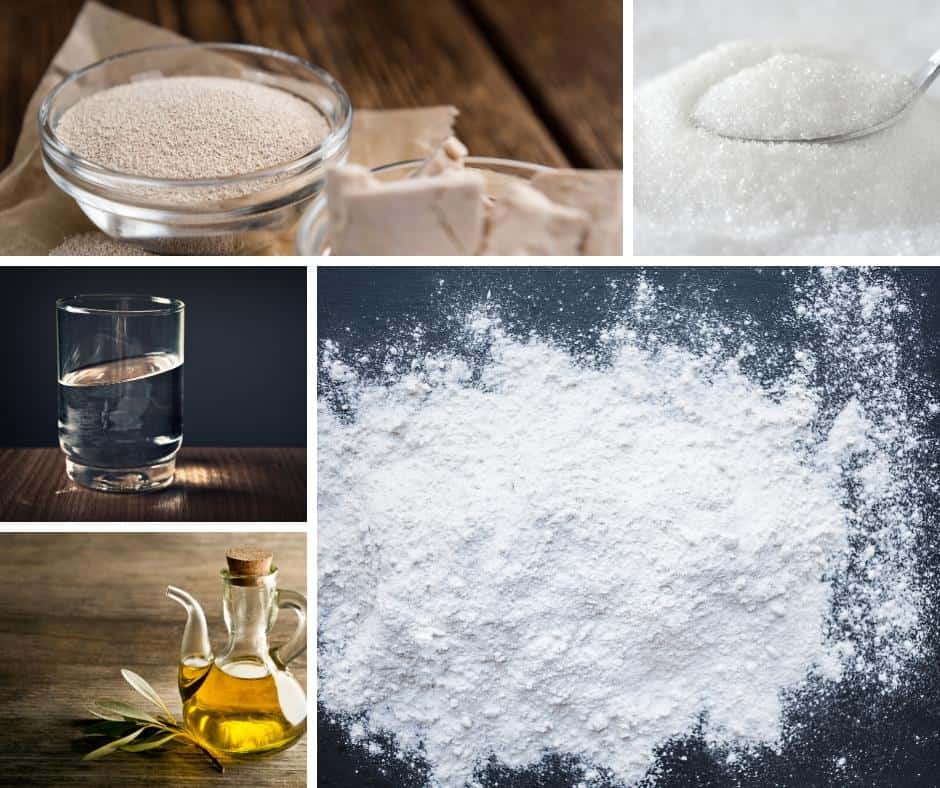
Ingredients and substitutes
- Flour – I have always used all-purpose flour for this bread.
- Water – It is very important to use warm water, not cold or hot water. Cold water will not revive the yeast, and hot water will kill it.
- Instant dry yeast – I like to use instant dry because I’ve always had great success with it. However, if you must use active dry yeast, you will need 2 1/4 teaspoons or one packet. And if you use fresh yeast, you will need about 21 grams.
- Sugar – The sugar here is not really to add sweetness. So no, the one tablespoon won’t make your homemade dinner rolls sweet.
- Olive oil – A good source of food for the yeast, and adds a nice flavor as well.
Step-by-step: No-knead sandwich bread
Prepare the dough
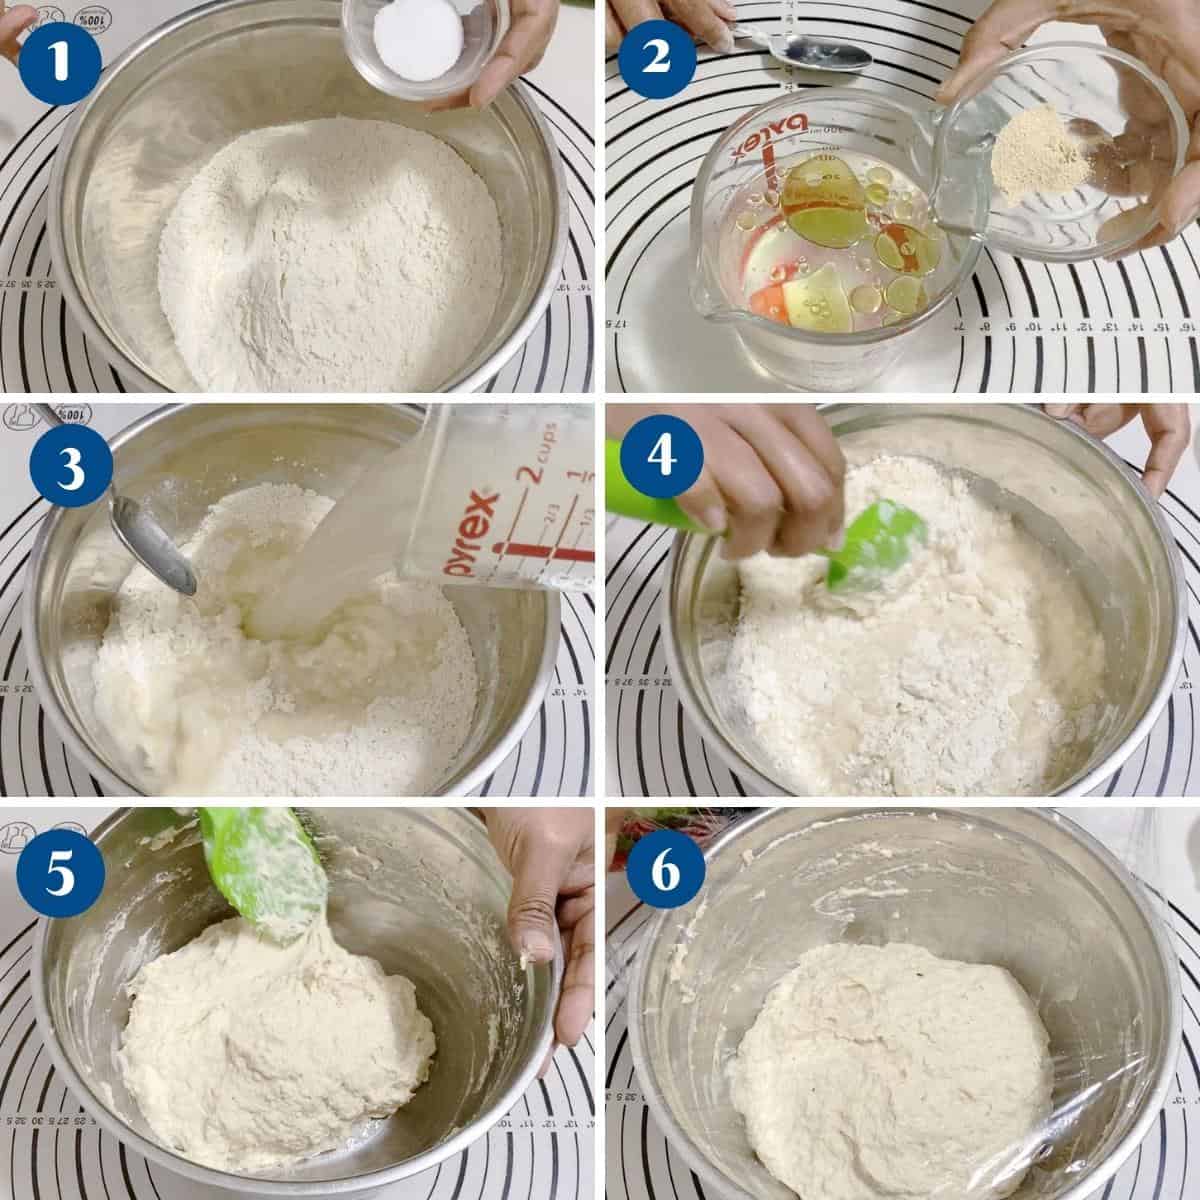
- Dry Ingredients – In a bowl, combine the flour and salt, then set aside.
- Yeast mixture – In a measuring cup, measure the warm water, and add olive oil, sugar, and yeast. And combine well.
- Combine – Add the yeast mixture to the flour mixture. Then, use a wooden spoon or spatula to thoroughly combine the ingredients, ensuring that no dry flour remains on the bottom.
Pro tip – This is a very wet dough, so don’t try touching it with your hands. - Rise – Cover with a clean kitchen cloth or plastic wrap. Let it rest on the countertop for an hour. Then, place in the fridge for 6 hours (up to 24 hours).
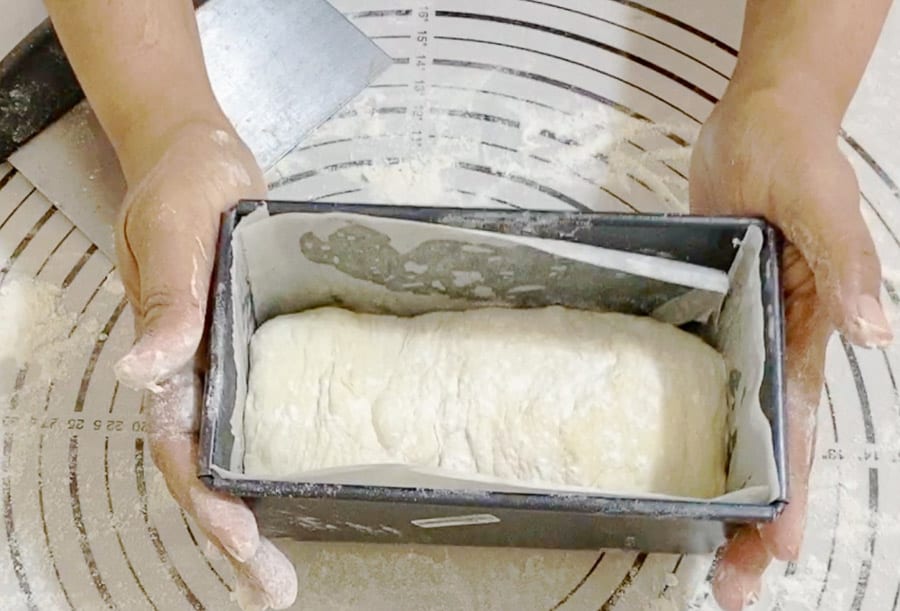
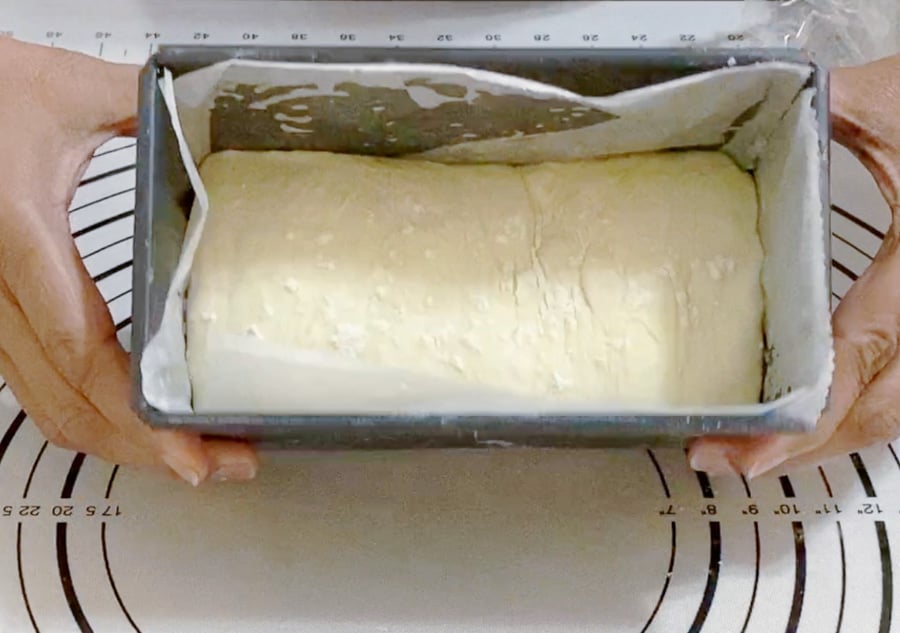
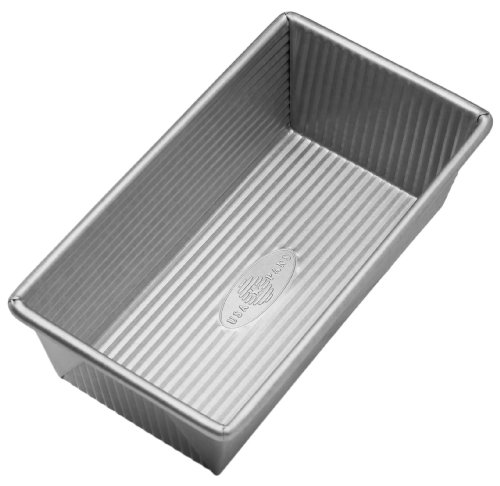
- Pan – Line a 9 x 4-inch loaf pan with parchment paper and set aside. Since this is a wet dough, the sides can sometimes stick to the pan.
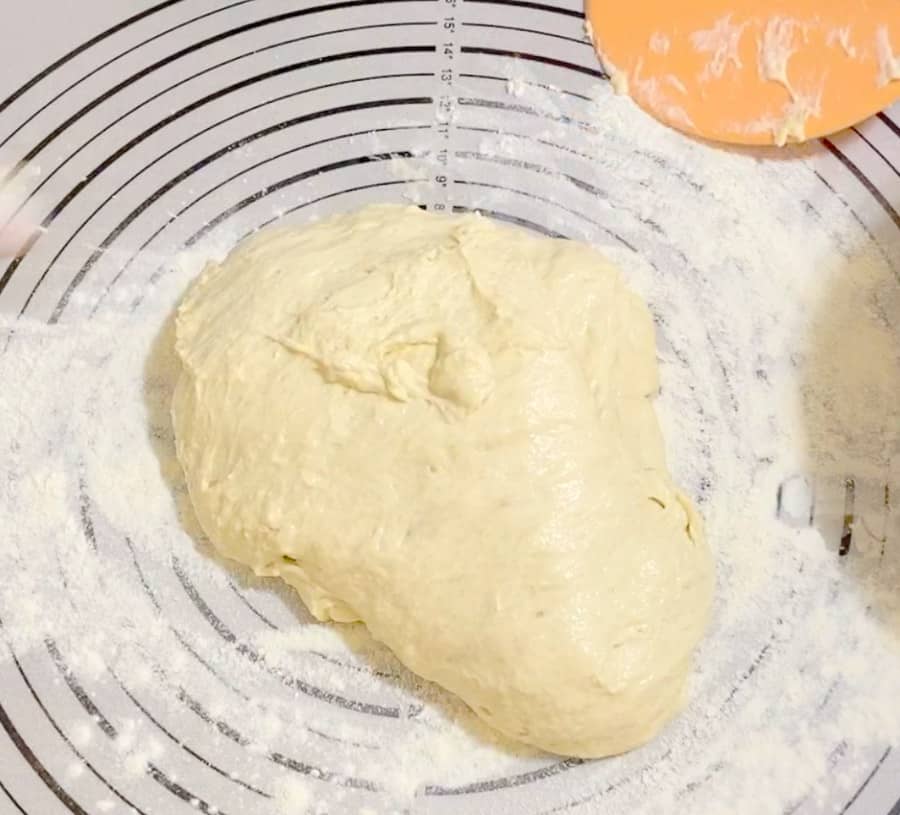
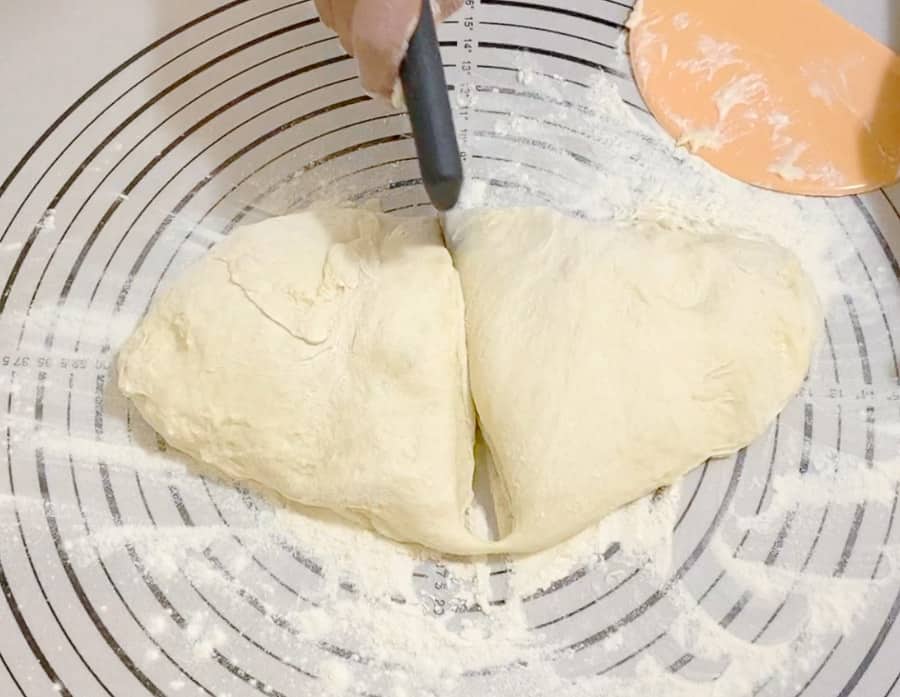
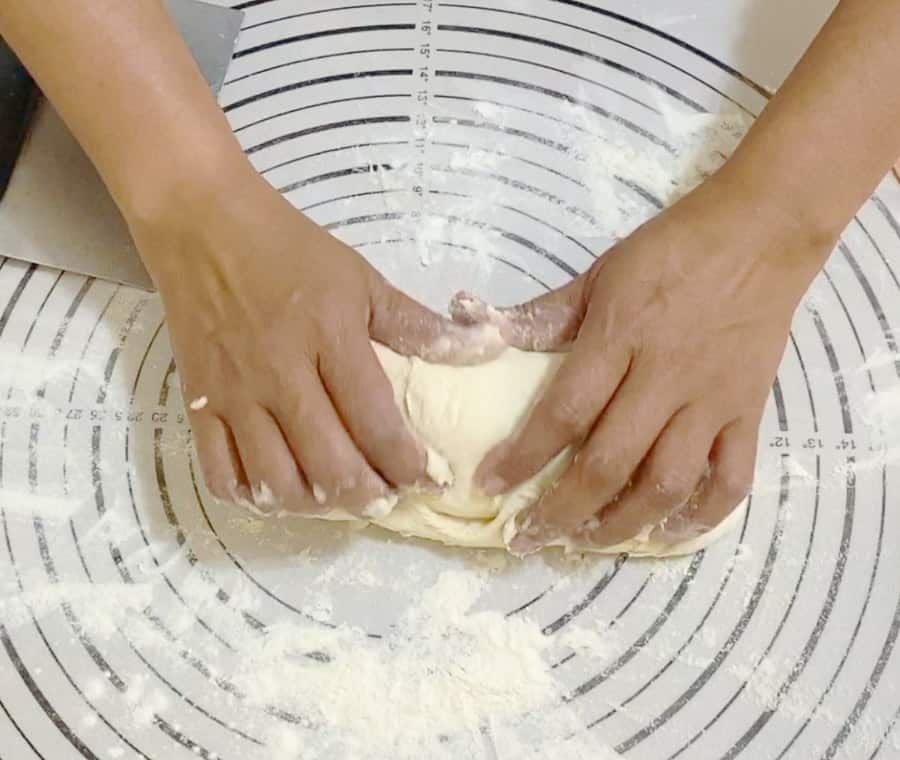
Pro tip – The parchment prevents sticking as well as too much browning. - Shape – Remove the dough from the fridge onto a well-dusted work surface. Make sure to use sufficient flour on the work surface and shape it into a loaf shape (see video). Next, place the dough into the prepared baking pan or pans.
Pro tip – A spatula and flexible bench scraper work best; if not, use a silicone spatula.
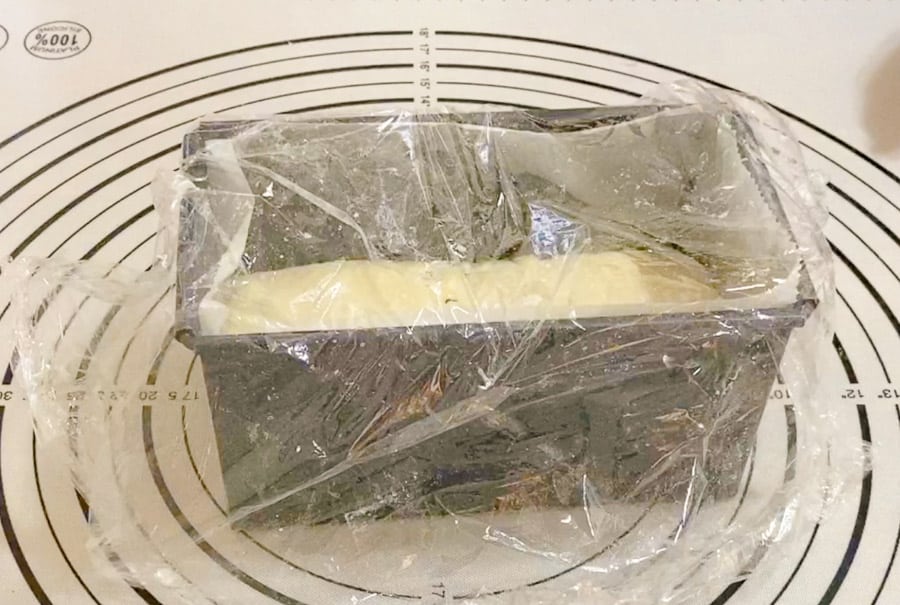
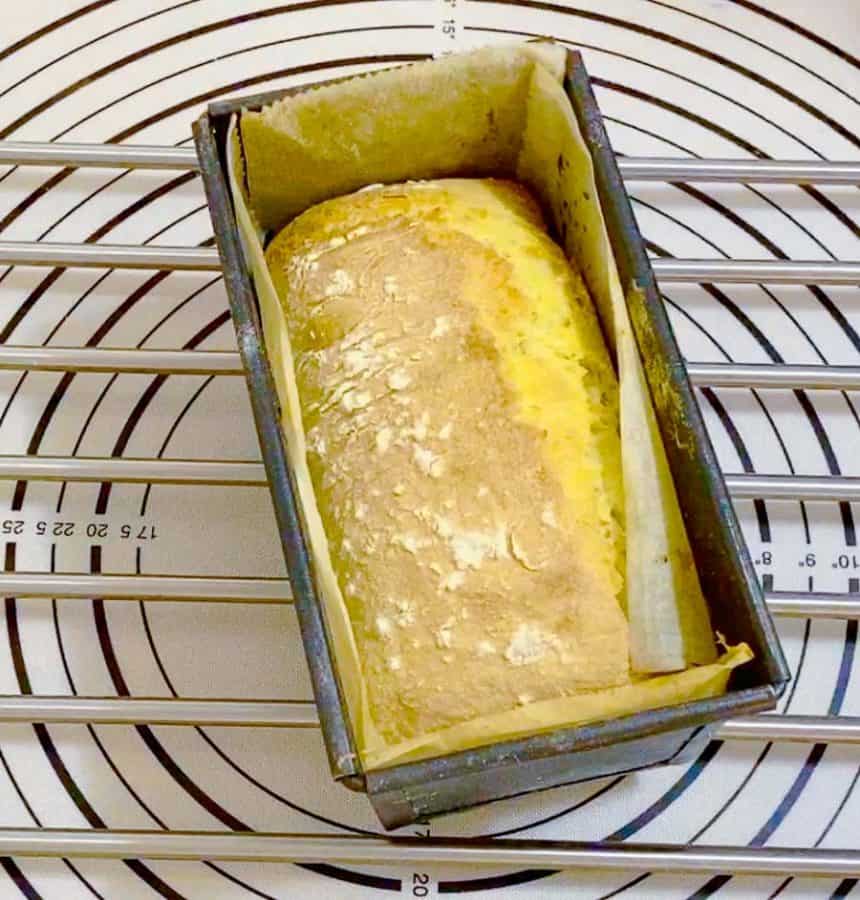
- Proof – Cover and let the proof rise until it is almost doubled in volume. About 60 to 90 minutes in a warm place.
Pro tip – Since the dough is cold, it will take longer to proof. You can also proof it overnight in the fridge. - Oven – About 20 minutes before baking, preheat the oven to 400°F/200°C/ Gas Mark 7
- Slash – Sprinkle a little flour on the top of the loaf. Then, make two lines with a knife (air vents) to prevent bursting (I prefer the natural burst).
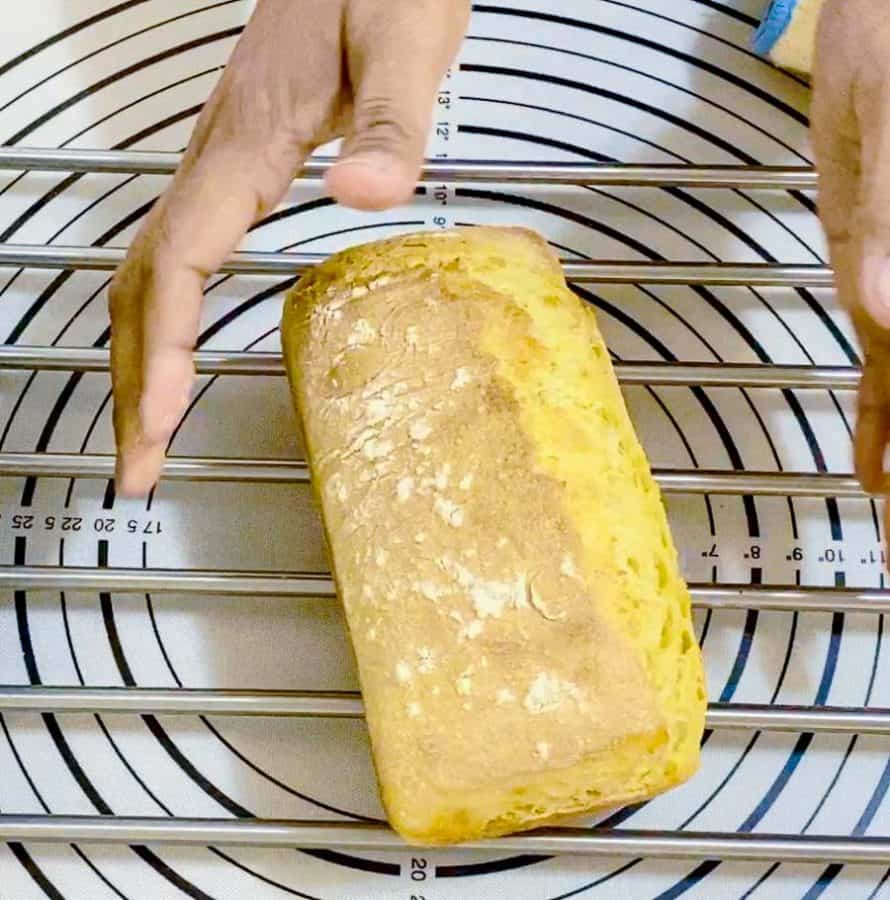
- Bake – Transfer to the oven on the middle rack and bake for 40 to 45 minutes.
- Cool – Remove the bread from the oven and transfer it to a cooling rack. Let it cool for at least 20 minutes before you cut into it
Pro tip – Cutting the bread while still hot will dry it out. - Enjoy!
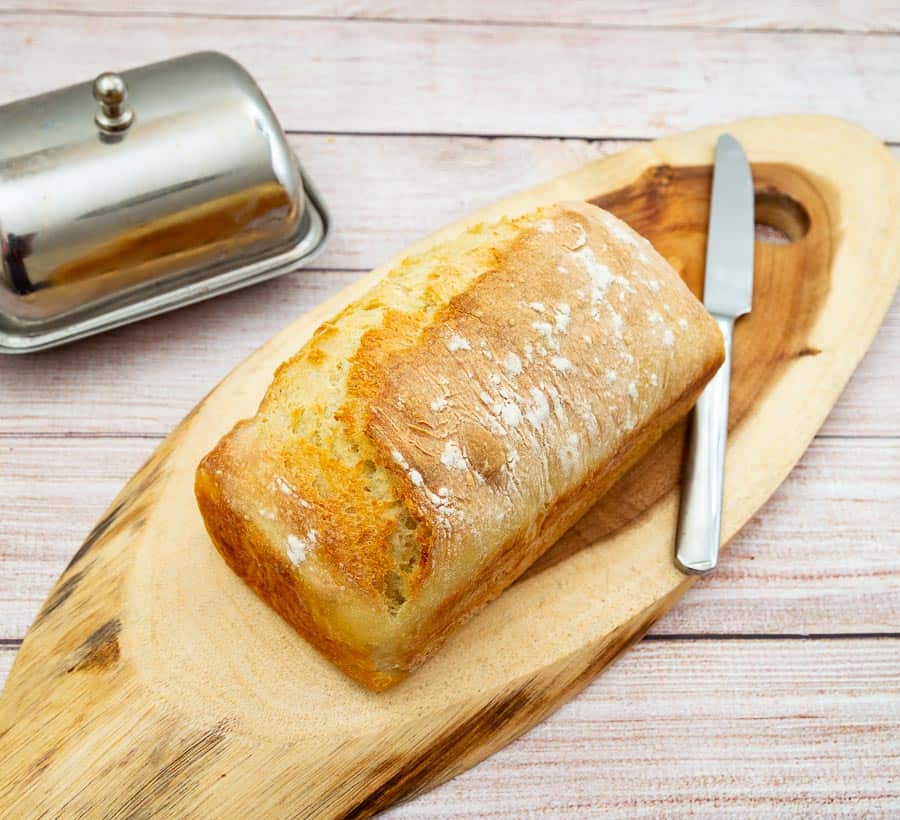

No-Knead Sandwich Bread Recipe
This no-knead sandwich bread is a great recipe for those days when you don't want to spend time kneading the dough. The slow proofing of six hours is the secret to building flavor in this bread. With 5 minutes to mix and 40 minutes to bake, this has now become our family favorite recipe.
Video
Ingredients
- 500 g (4 cups) All-purpose flour
- 7 g (1¼ tsp) Salt
- 3 g (1 tsp) Instant dry yeast
- 400 g (1¾ cups) Water (1 3/4 cup) warm 110 F
- 15 g (1 tbsp) Olive oil
- 15 g (1 tbsp) Sugar
Method
- Dry Ingredients – In a bowl, combine the flour and salt, then set aside.500 g All-purpose flour, 7 g Salt
- Yeast mixture – In a measuring cup, measure the warm water, and add olive oil, sugar, and yeast. Combine well.3 g Instant dry yeast, 400 g Water, 15 g Olive oil, 15 g Sugar
- Combine – Add the yeast mixture to the flour mixture. Use a wooden spoon or spatula to combine the ingredients thoroughly, ensuring that no dry flour remains on the bottom.
- Rise – Cover with a clean kitchen cloth or plastic wrap. Let it rest on the countertop for an hour. Then place in the fridge for 6 hours (up to 24 hours).
- Pan – Line a 9 x 4-inch loaf pan with parchment paper. Set aside. Since this is a wet dough, the sides can sometimes stick to the pan.
- Shape – Remove the dough from the fridge onto a well-dusted work surface. Make sure to use sufficient flour on the work surface and shape it into a loaf shape (see video). Place the dough into the prepared baking pan or pans.
- Proof – Cover and let proof until it is almost doubled in volume—about 60 to 90 minutes in a warm place.
- Oven – About 20 minutes before baking, preheat the oven to 400°F/200°C/ Gas Mark 7
- Slash – Sprinkle a little flour on the top of the loaf. Make two lines with a knife (air vents) to prevent bursting (I prefer the natural burst)
- Bake – Transfer to the oven on the middle rack and bake for 40 to 45 minutes.
- Cool – Remove the bread from the oven and transfer it to a cooling rack. Let it cool for at least 20 minutes before you cut into it.
Notes
- This dough is a high-hydration bread, which means it has to be soft, wet, and sticky. Don’t add more flour.
- Use warm water – neither hot nor cold. Cold water will not revive the yeast; hot water will kill it.
- Do not try to knead it. Because it has too much water, kneading it will be difficult and not worth the effort.
- Don’t make haste with the proofing. We use less yeast in this bread, so the proofing is slow. But it also helps develop flavor and structure.
- When baking, the top of the bread will have a burst effect because steam is trying to escape. If you do not like the burst effect, you can score the bread on top before baking. Mark an X or just two slashes. This will direct steam to come out from those designated vents you created.
- Take the bread out of the tray as soon as it is out of the oven. This will prevent the bread from getting soggy on the bottom.
- Do not cut the bread for at least 20 minutes after it has cooled out of the oven. This will prevent moisture in the form of steam from escaping from the bread, resulting in dry bread.
- Do not cover or wrap the bread while it is warm. The steam will soften the crust.
- Do not store bread in the fridge as it will dry out. Leave it on the counter at room temperature for 2 to 3 days. This is a great bread to freeze, and it’s even better to freeze slices instead of the whole loaf.
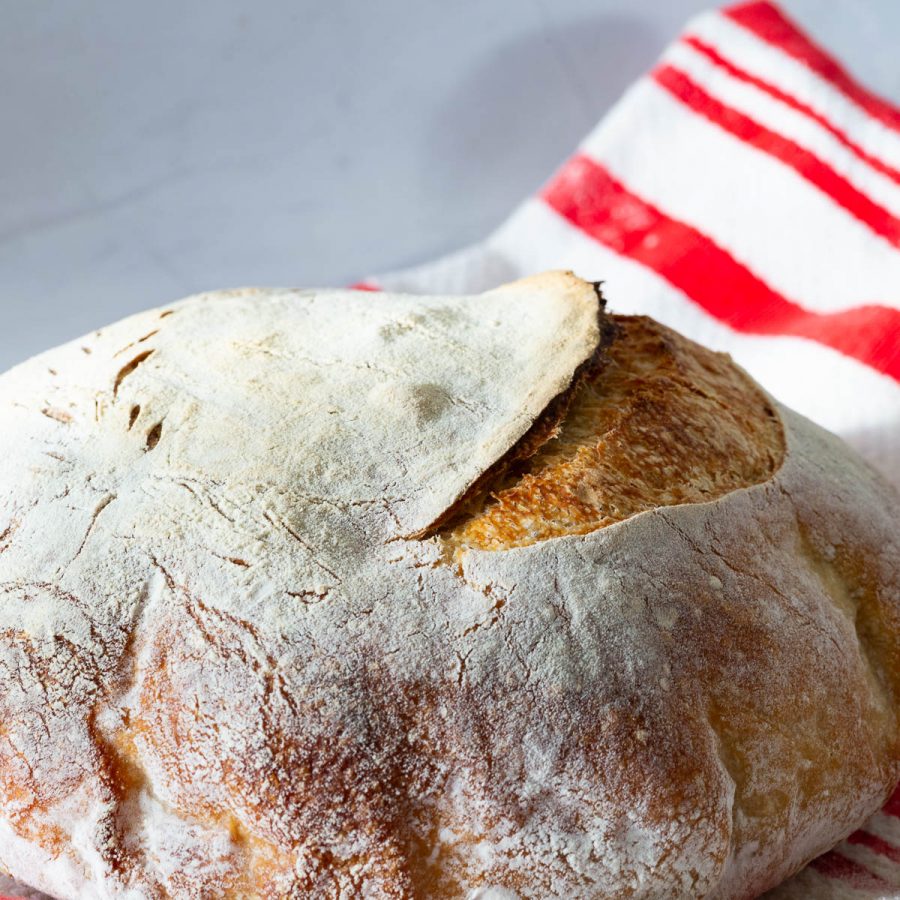
- If you have a Dutch oven, use it. This bread gives a wonderful crust when baked in a Dutch oven (See this video).
Equipment you will need


Nutrition
Tried this recipe?
Mention @veenaazmanov_kitchen or tag #veenaazmanovkitchen!Troubleshooting
- Why did my bread sink? The oven must be very hot, which is why we start to bake this in a very hot oven. If the oven is not hot enough, the dough will sink.
- Why is my dough too dense? The dough needs to be soft, wet, and sticky. The lower yeast content, high water content, and slow rise help with gluten development. If you add too much flour, the dough will be dense.
- Why did my dough not rise after 6 hours? You must use warm water or room-temperature water. Warm water will revive the yeast, while hot water will kill the yeast, and the dough will not rise. If the water is at the correct temperature, then check the yeast; it may have expired.
- No-Knead Olive Bread
- No-Knead Bread Without a Dutch Oven
- and No-Knead flatbread recipe
- Crusty No-Knead Bread
- Soft Flatbread Without Yeast (no-knead)
- No-Knead Beer Bread
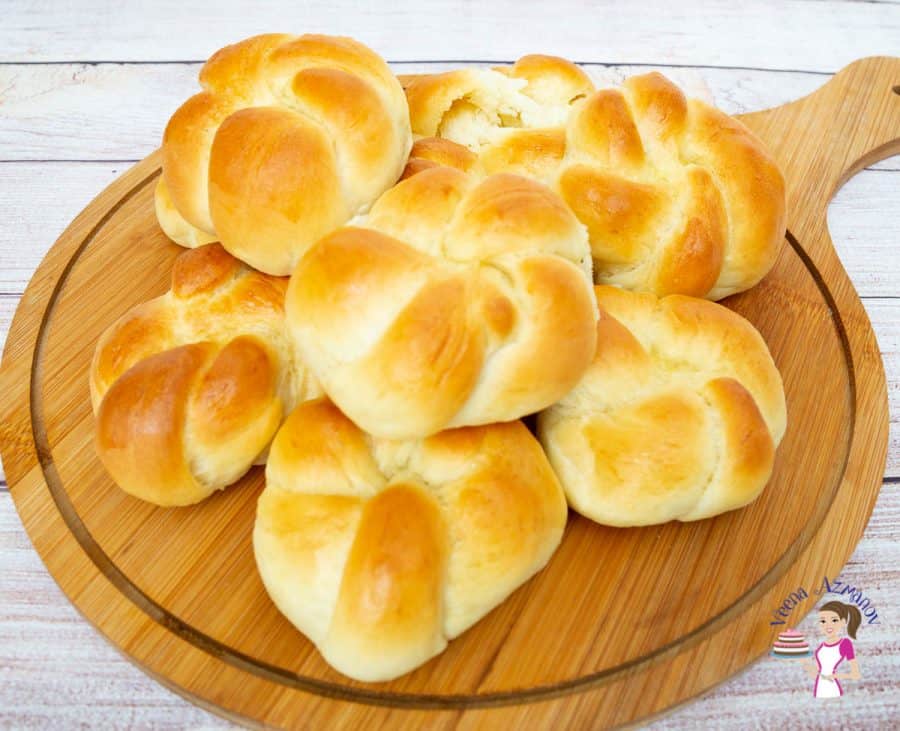
- No-Knead Knotted Rolls
- Soft Flatbread Without Yeast (no-knead)
- No-Knead flatbread recipe


Frequently asked questions
This no-knead bread will keep at room temperature for 2 to 3 days. Once cut, be sure to wrap the cut side of the bread well to prevent it from drying out.
You can use bread flour. Personally, I prefer the texture of the dough with all-purpose flour. Bread flour gives a softer, chewier bread with a tough crust.
Yes, you can let the dough rise up to 24 hours.
- Classic Sandwich Bread
- Sandwich Brioche Bread Recipe
- Whole Wheat Sandwich Bread
- Shokupan Sandwich Bread
- Challah Sandwich Bread
Don’t lose this recipe! Save it for Later!
📌 Save this Recipe for later on Pinterest so you can easily find it again.
⭐ Add Veena Azmanov Kitchen to your Google Preferred Sources.
It helps Google show you more of our recipes.
📧 Subscribe for new recipes delivered to your inbox.
🎥 Follow us for more recipes


could i add in olives, seeds, or other toppings in if so how much measurements?
Absolutely! Add up to 2 cups of chopped anything you want into the dough.
Day 9 done
I’ve made this Bread with some shredded Cheedar cheese of at least 1 1/2 cup and it taste so good. Thank you Veena.
Just a question. Can I add in some shredded room temperature cheese while working on a lightly floured surface, shaping into a round loaf at this no knead dough bread and bake with some cheese toppings?
Thank you.
08/10/23
Yes, Jane. This is a very versatile dough. You can add grated cheese to the loaf either during the initial dough-making or at the time of shaping it too. Thanks.
Day 9 Done
Day 9 Done
Day 9 Done