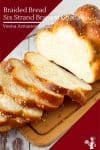
6 Braid Challah Recipe
 Prep Time 20 minutes Cook Time 30 minutes Total Time 2 hours 50 minutes

Today, I’m sharing how to make the six-strand braided bread, challah. Sounds complicated, but with my step-by-step and video, you will be making it like a pro in no time.

If there’s one challah that always gets compliments, it’s this six-strand braid. It has that beautiful bakery look that makes everyone think it must be difficult, but honestly, it just takes a little patience more than anything else.
After making challah for so many Friday dinners, I’ve learned that the braid isn’t what people remember most. It’s the warm slices passed around the table, everyone pulling off pieces before dinner even starts, and realizing halfway through the meal that there probably won’t be any leftovers.
Why make this braided egg bread?
- Soft and Fluffy Texture: The perfect balance of ingredients, especially the right amount of water and oil, ensures the challah bread is soft, fluffy, and slightly chewy, making each bite delightful.
- Rich Flavor: The combination of sugar, eggs, and optional vanilla extract adds a rich, slightly sweet flavor that enhances the overall taste of the bread, making it perfect for both savory and sweet toppings.
- Versatile Uses: This challah bread is incredibly versatile. It can be enjoyed plain, with butter or jam, used for sandwiches, or even transformed into French toast, bread pudding, or croutons.
- Simple Ingredients: The recipe uses simple, everyday ingredients that are likely already in your pantry, making it easy and convenient to prepare without the need for special trips to the store.
Ingredients and substitutes
- Flour – I like using bread flour for this challah. It gives a soft chew bread with a tender crust. And yet, for years, I have made this with all-purpose flour, and it works wonderfully too. So, use either bread or all-purpose flour.
- Water – As I said above, traditionally, challah is made with warm water because the Jewish do not eat dairy and meat together. But you can also use milk, as I have in my recipe for milk-and-honey challah.
- Instant dry yeast – Today, I am using fresh baker’s yeast, but you can also use 2 1/4 tsp or one envelope of instant dry yeast or active dry yeast.
- Sweetener –This is not necessarily a very sweet dough. Traditionally, honey is used, but sugar can be used too.
- Fat – Traditionally, oil is used in challah. But, often, I do love to use butter for the rich flavor it provides.
- Eggs – Add a lot of flavor to the bread, give a tender crumb, and strengthen the texture. The egg is also a leavening agent that helps the bread rise.

Step-by-step: Braided challah – 6 braids
- Yeast mixture: In a mixing bowl or measuring cup, combine lukewarm water (110°F), yeast, honey, oil, and eggs. Stir and set aside to foam for 3 minutes.
- Dry ingredients: Measure the flour and salt in a mixing bowl or stand mixer with the dough hook. Add the yeast mixture and combine well.
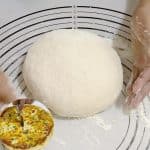
- Knead – Transfer to a well-dusted worktop and knead for 5 to 6 minutes, or knead in a stand mixer for 4 to 5 minutes. When the dough is soft and shiny but still slightly sticky, shape it into a ball.
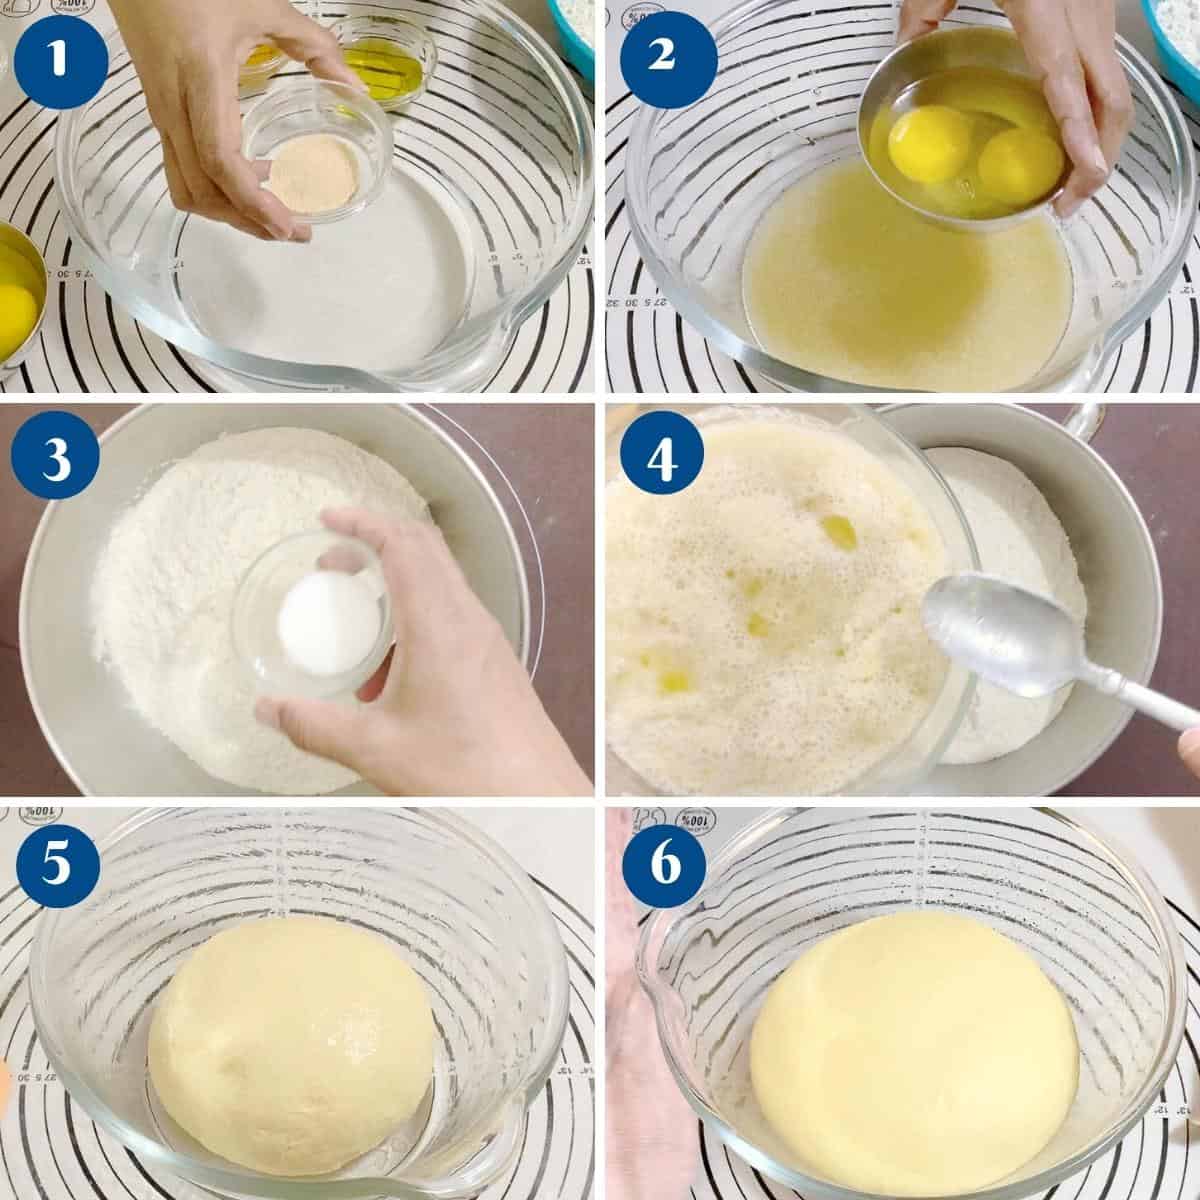
- First rise: Place the dough in an oiled bowl, seam side down. Coat the surface with oil to prevent drying. Cover with a clean kitchen cloth or plastic wrap. Leave in a warm place. Let it rise for 60 to 90 minutes until it doubles in volume.
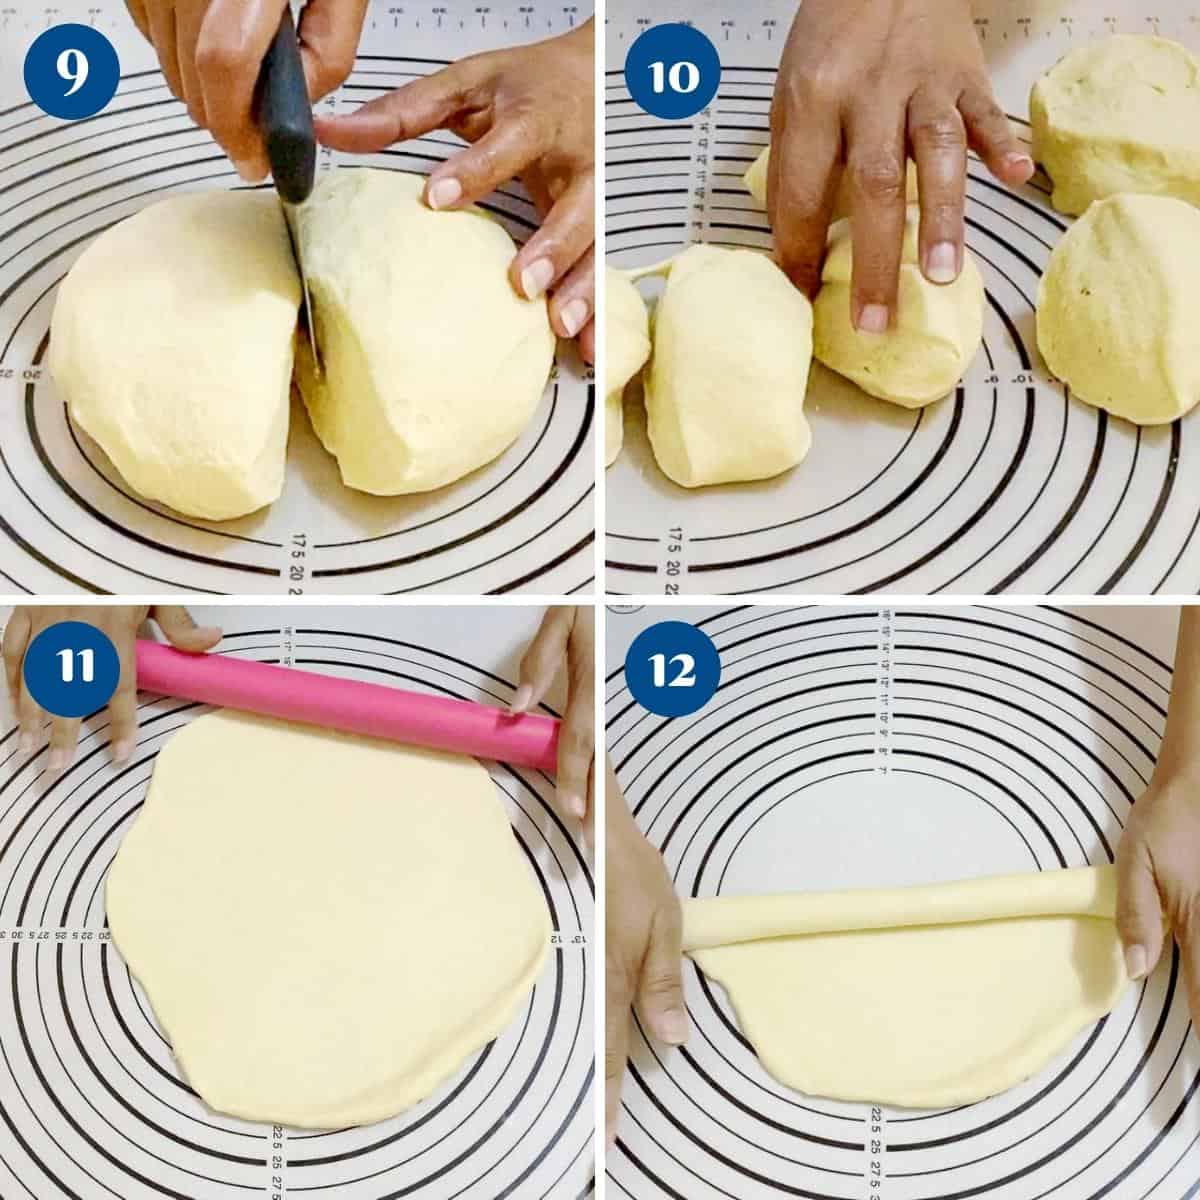
- Divide: Punch the dough down and divide it into 6 portions. They need to be approximately the same weight. I use a kitchen scale to measure the dough. Shape each into a ball. If necessary, let it rest for 5 to 10 minutes. Roll each ball with a rolling pin on an unfloured work surface. Then, roll like a jelly roll into a rope about 18 inches long (see video).

- Braid the Challah: To braid the challah, follow these steps:
- Arrange the ropes parallel to each other and pinch the tops together.
- Spread them out so that there are three on the left and three on the right.
- Always start with the outermost rope and bring it to the center.
- From the right: Move the outermost right rope to the center.
- From the left: Move the outermost left rope to the center.
- Continue alternating sides, bringing the outermost rope to the center until you reach the end.
- Pinch the ends together and tuck them under the loaf.

- Second Rise: Place the braided loaf on a baking sheet lined with parchment paper. Cover with a damp cloth or plastic wrap and let it rise for another 30-45 minutes until puffy.
- Oven – 20 minutes before baking, preheat the oven to 350°F / 177°C / Gas Mark 4

- Egg Wash: In a small bowl, beat the egg yolk with 1 tablespoon of water. Brush the egg wash over the loaf, making sure to coat all the crevices. Sprinkle with sesame or poppy seeds if desired.
- Bake the Challah: Bake in the preheated oven for 30-35 minutes, or until the challah is golden brown and sounds hollow when tapped on the bottom. If the top is browning too quickly, you can tent it with aluminum foil during the last 10-15 minutes of baking.
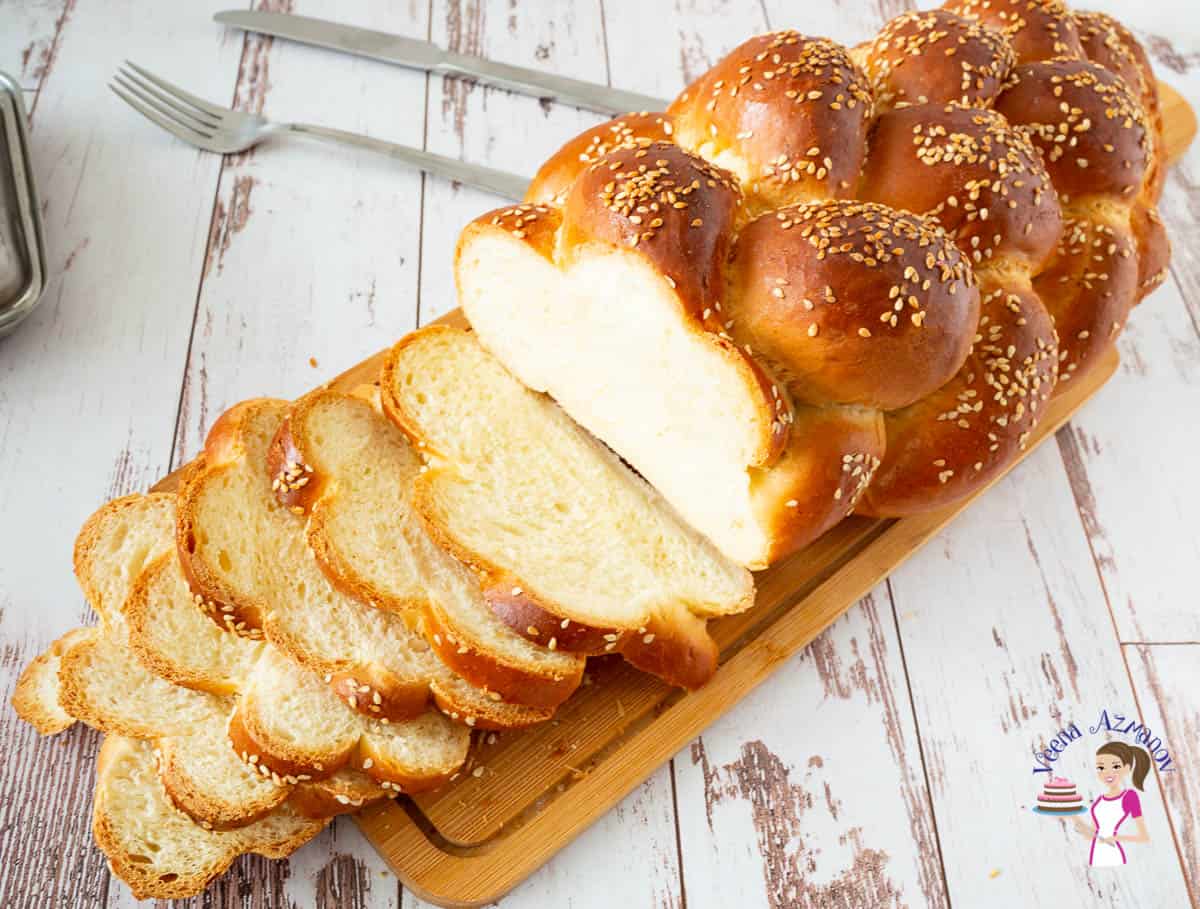
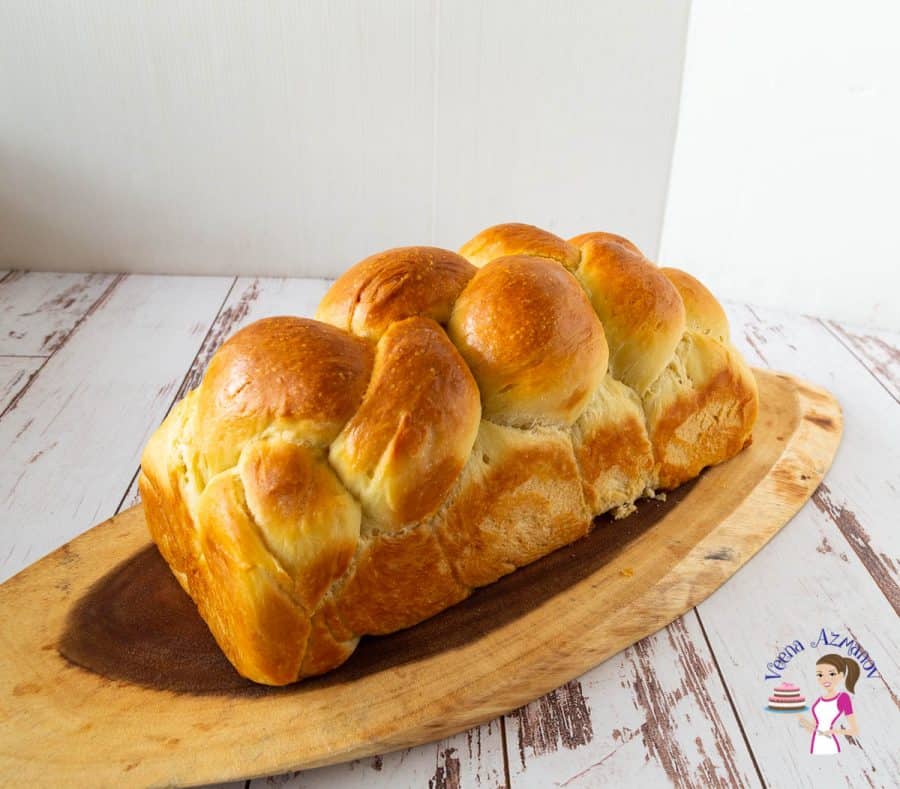
- Cool and Serve: Remove the challah from the oven and let it cool on a wire rack before slicing.
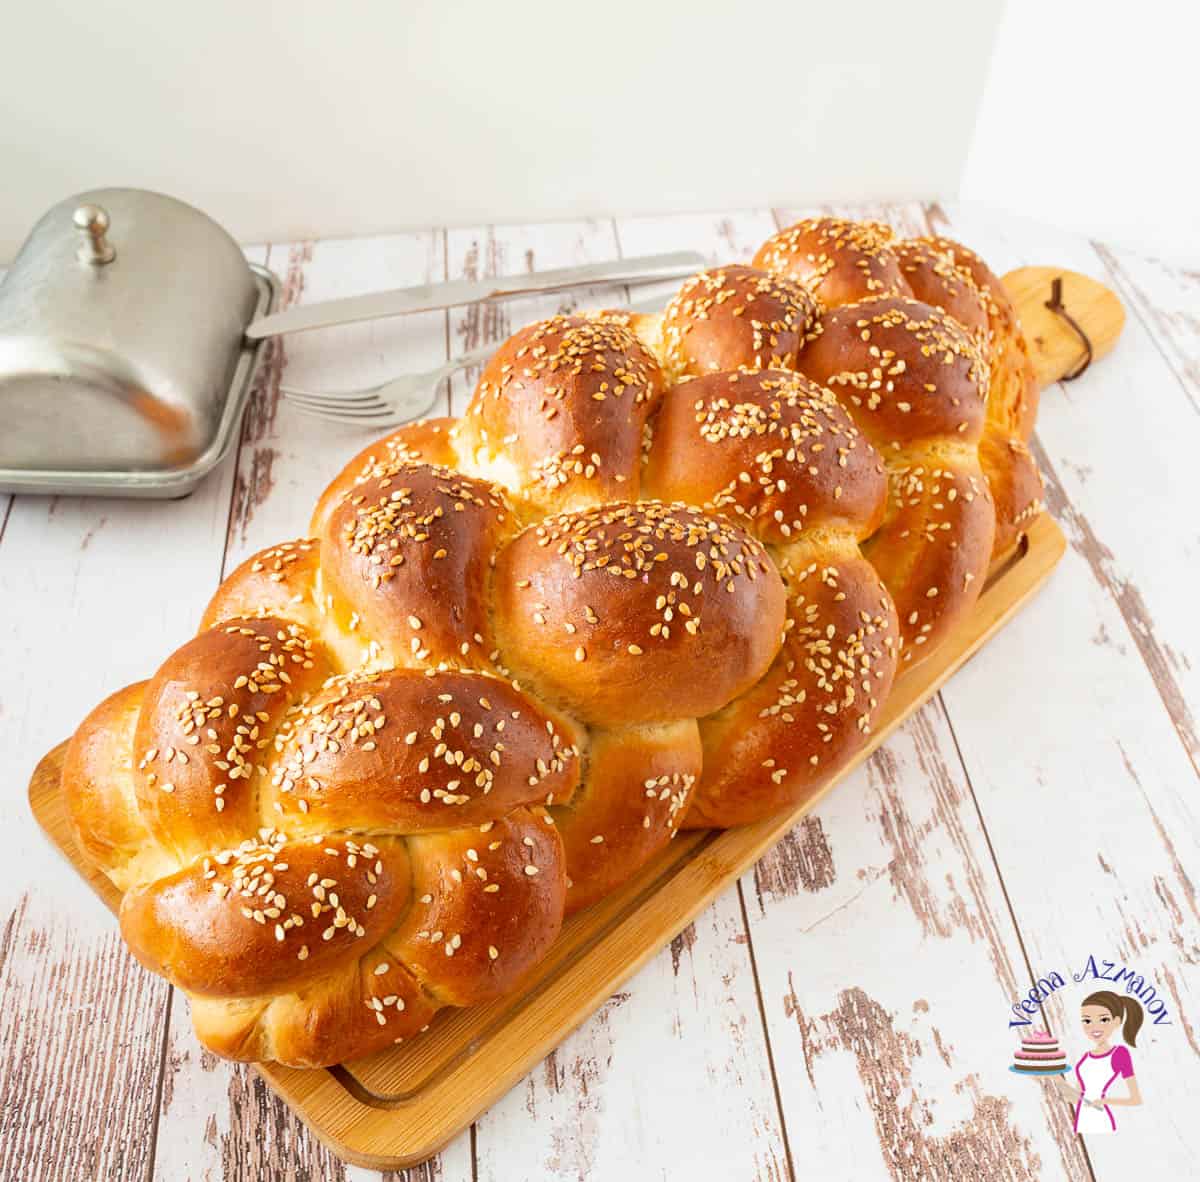
Six-Strand Braided Bread Challah
Today, I'm sharing how to make the six-strand braided bread, challah. Sounds complicated, but with my step-by-step and video, you will be making it like a pro in no time at all.
Video
Ingredients
- 240 grams (240 ml) Warm water 110°F
- 100 grams (2 large) Eggs large
- 30 grams (2 tbsp) Honey or sugar
- 30 grams (2 tbsp) Olive oil
- 9 grams (2¼ tsp) Instant yeast (21 g bakers yeast)
- 500 grams (4 cups) Bread flour (or all-purpose flour)
- 9 grams (1¼ tsp) Salt
Method
- Yeast mixture: In a mixing bowl or measuring cup, combine lukewarm water (110 F), yeast, honey, oil, and eggs. Stir and set aside to foam for 3 mins.240 grams Warm water, 100 grams Eggs, 30 grams Honey, 30 grams Olive oil, 9 grams Instant yeast
- Dry ingredients: Measure the flour and salt in a mixing bowl or stand mixer with the dough hook. Add the yeast mixture and combine well.500 grams Bread flour, 9 grams Salt
- Knead – transfer to a well-dusted worktop and knead for 5 to 6 minutes, or knead in a stand mixer for 4 to 5 minutes. When the dough is soft and shiny but still slightly sticky, shape it into a ball.
- First rise: Place the dough in an oiled bowl, seam side down. Coat the surface with oil to prevent drying. Cover with a clean kitchen cloth or plastic wrap. Leave in a warm place. Let rise for 60 to 90 minutes until it doubles in volume.
- Divide: Punch the dough down and divide the dough into six portions. They need to be approximately the same weight. I use a kitchen scale to measure the dough. Shape each into a ball. If necessary, let rest for 5 to 10 minutes. Roll each ball with a rolling pin on an unfloured work surface. Then, roll like a jelly roll into a rope about 18 inches long (see video).
- Braid the Challah: To braid the challah, follow these steps:– Arrange the ropes parallel to each other and pinch the tops together.– Spread them out so there are three on the left and three on the right.– Always start with the outermost rope and bring it to the center.– From the right: Move the outermost right rope to the center.– From the left: Move the outermost left rope to the center.– Continue alternating sides, bringing the outermost rope to the center until you reach the end.– Pinch the ends together and tuck them under the loaf.
- Second Rise: Place the braided loaf on a baking sheet lined with parchment paper. Cover with a damp cloth or plastic wrap and let it rise for another 30-45 minutes until puffy.
- Oven – 20 minutes before baking, preheat the oven to 350°F / 177°C / Gas Mark 4
- Egg Wash: In a small bowl, beat the egg yolk with one tablespoon of water. Brush the egg wash over the loaf, making sure to coat all the crevices. Sprinkle with sesame or poppy seeds if desired.
- Bake the Challah: Bake in the preheated oven for 30-35 minutes, or until the challah is golden brown and sounds hollow when tapped on the bottom. If the top is browning too quickly, you can tent it with aluminum foil during the last 10-15 minutes of baking.
- Cool and Serve: Remove the challah from the oven and let it cool on a wire rack before slicing.
Notes
- Six-strand challah takes a little practice, but don’t worry if your first loaf isn’t perfect—each one gets easier.
- Rising times can vary depending on the warmth of your kitchen, so watch the dough rather than the clock.
- For extra shine, brush the loaf with a second coat of egg wash just before baking.
- Let the challah cool completely on a wire rack before slicing.
- Freeze the whole loaf or individual slices in an airtight container for up to 3 months.
Equipment you will need


Nutrition
Tried this recipe?
Mention @veenaazmanov_kitchen or tag #veenaazmanovkitchen!Tips for Success
- Use a well-rested dough. If the dough springs back while rolling the ropes, let it rest for 10–15 minutes before continuing.
- Roll six even strands. Keeping the ropes the same length and thickness will give you a uniform, bakery-style braid.
- Keep the strands organized. Spread the ropes out as you braid so it’s easier to see which strand moves next.
- Don’t over-proof the loaf. Bake when the challah is light and puffy to help the braid keep its beautiful definition.
- Bake until rich golden brown. If the top browns too quickly, loosely tent it with foil for the final 10–15 minutes.
more challah recipes


Troubleshooting
| Problem | Solution |
|---|---|
| The braid looks uneven | Roll the strands to the same length and thickness before you begin braiding. |
| I keep losing the braid pattern | Work slowly and move one strand at a time. Straighten the ropes whenever they become tangled. |
| The braid lost its definition after baking | The loaf may have over-proofed. Bake once it is puffy rather than letting it double in size. |
| The challah is dry | Avoid adding too much flour and bake only until the loaf is golden and fully cooked. |
Frequently asked questions
The challah will keep at room temperature for 2 to 3 days. Once cut, make sure to wrap the cut side of the bread well to prevent drying out. Also, leftovers can be used to make French toast and bread pudding.
Absolutely, I do it every week. I cut the bread into slices. Place it into a reusable silicone storage bag in the freezer. When I need I just thaw slices in the microwave for 15 to 30 seconds.
Yes, raisins, dried cranberries, and almonds are very common in challah and taste delicious.
Of course, I have made challah bread for years with all-purpose flour before I had the luxury of bread flour, and it works equally well. Bread flour gives a softer, chewier bread with a tender crumb.
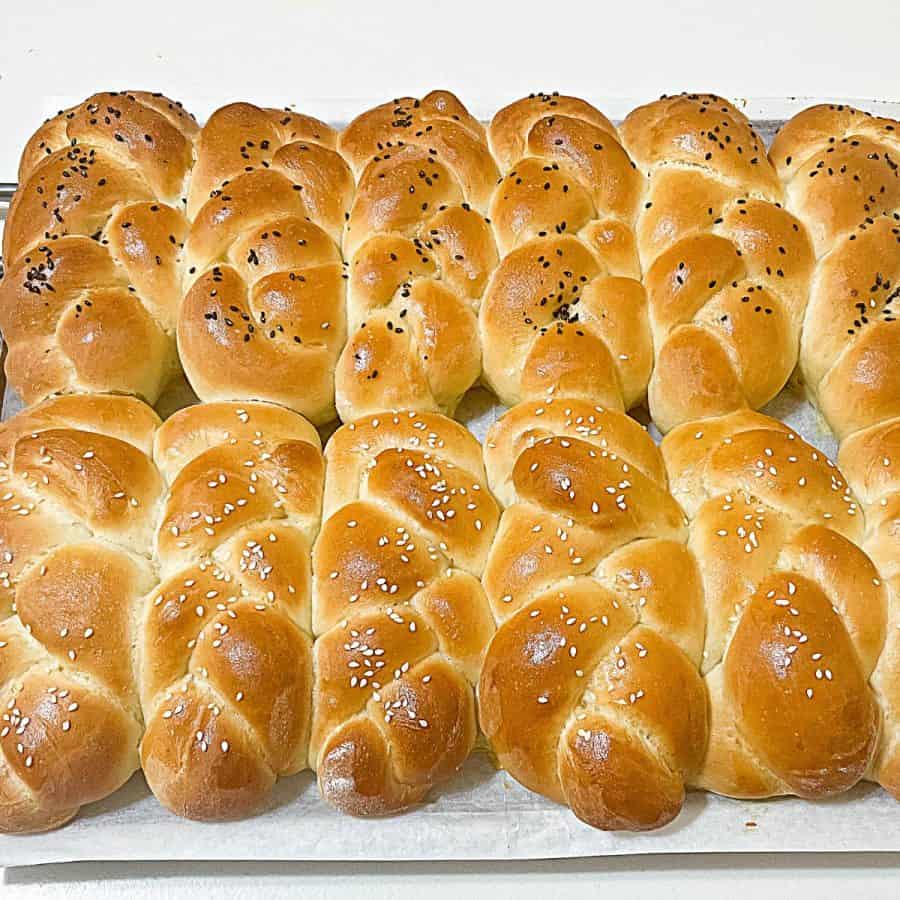
Yes, if you want, you can make one large braided bread as I have in the video, or two small loaves as well.
sourdough and festive challah
- Sourdough Challah Bread
- Sourdough Mini Challah • Dinner Rolls
- Delicious Mini Challah Rolls • Single Braid
- Round Challah Recipe
- Round Apple Honey Challah
- Braided Chocolate Challah


Don’t lose this recipe! Save it for Later!
📌 Save this Recipe for later on Pinterest so you can easily find it again.
⭐ Add Veena Azmanov Kitchen to your Google Preferred Sources.
It helps Google show you more of our recipes.
📧 Subscribe for new recipes delivered to your inbox.
🎥 Follow us for more recipes


Day 3 Done
This bread looks great! Thanks for showing the step by step photos. Now I think I could braid the bread on my own.
Thanks, Erika. I hope you try it soon
I was always intimidated by braided bread, love your step by step pictures!
Thank you, Amanda
Such a gorgeous loaf and brilliant instructions too to get it right.
Thank you, Amanda
I love Baking as I find it very therapeutic. Though I have tried making challah bread, this aeema fantastic recipe to begin with.
Thaks. Lata
So impressive and absolutely beautiful – this is perfect for when you have guests over. It is stunning!
Thank you, Alexandra. I am so happy you liked it.
I’ve always wanted to give this a try and it came out perfectly! The step by step instructions were so helpful!
Thank you, Suzy. I am so happy to hear that
This bread looks and tastes beautiful. Will be making it again!
Thank you, Nart. Happy you enjoyed it