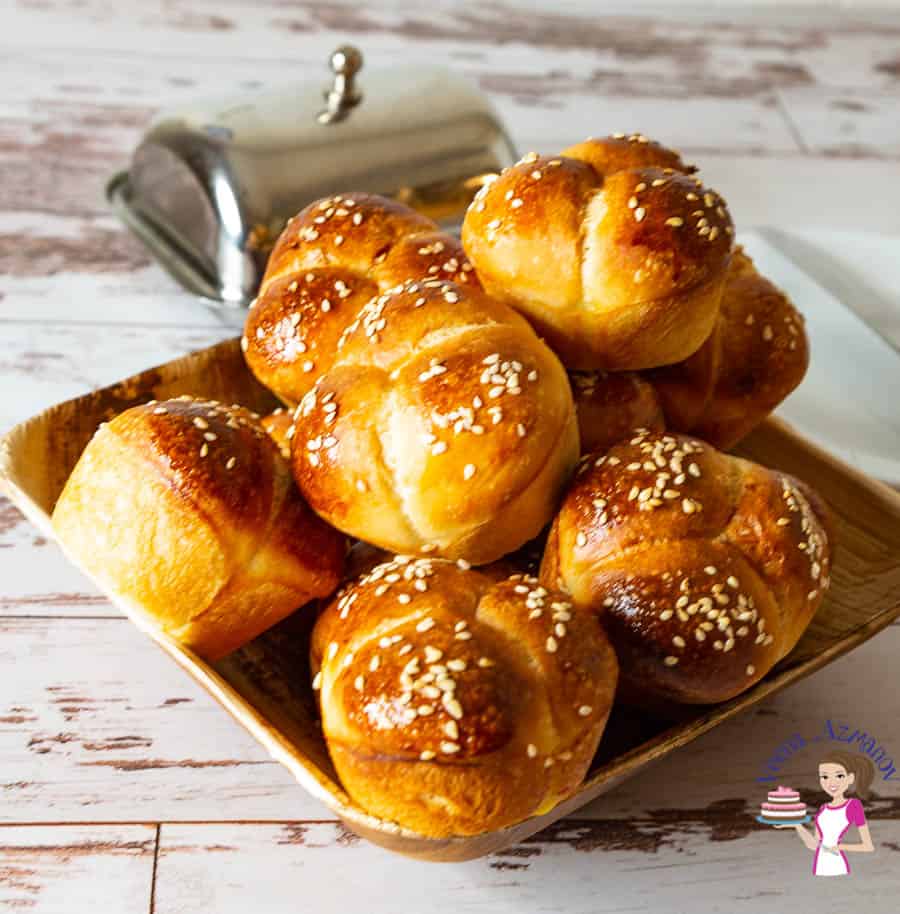
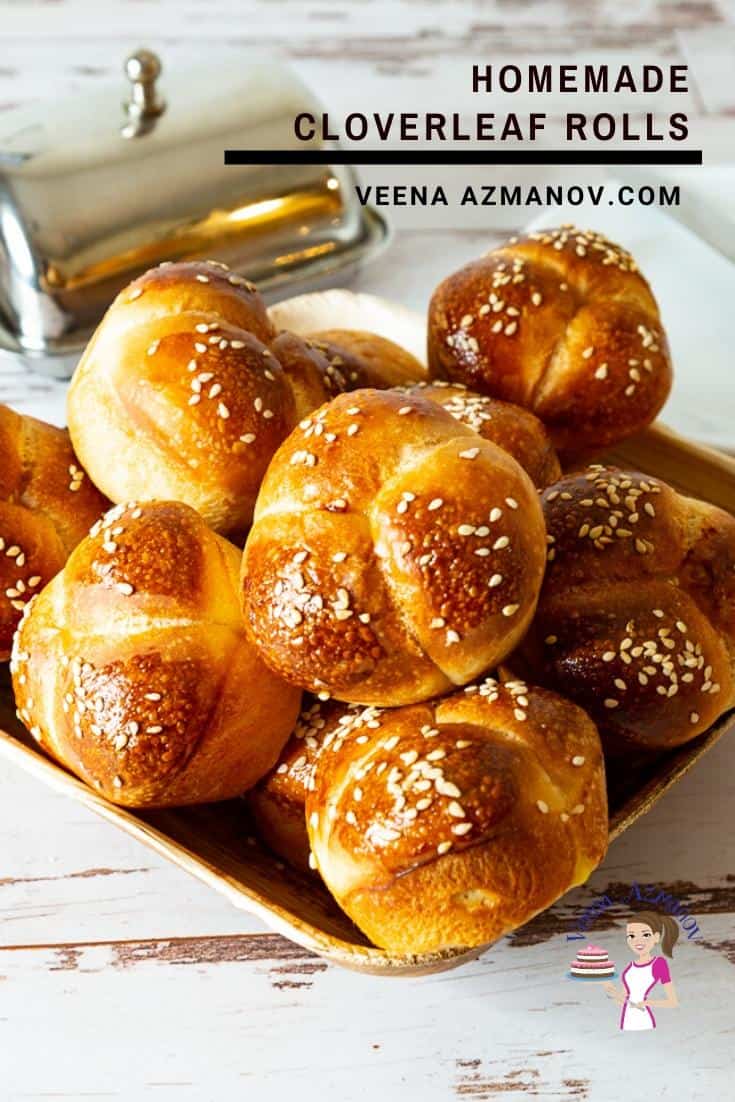
Fluffy Cloverleaf Rolls


Classic old-fashion cloverleaf rolls are an absolute treat and very versatile. These simple cloverleaf shaped dinner rolls pair well with any food, sweet or savory and are perfect for any meal from breakfast to dinner. Serve it for breakfast with butter and jam or for dinner alongside your favorite roast or gravy.

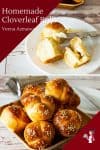
Cloverleaf rolls are small, soft, and fluffy yeast rolls that are shaped like a three-leaf clover. They are typically made from a slightly sweet, enriched dough and are baked in muffin tins, which gives them their distinctive shape.
They are a variation of Parker House rolls, created at the Parker House Hotel in Boston in the 19th century. Cloverleaf rolls are named for their shape, which resembles a three-leaf clover. They have become a popular side dish in American cuisine, especially during holidays and special occasions.
Why is this the best recipe
- Flavorful: The rolls are made with a slightly sweet, enriched dough that is both tender and flavorful, making them a delicious addition to any meal.
- Versatile: These rolls can be served in a variety of ways, from savory to sweet, making them suitable for breakfast, lunch, or dinner.
- Easy to Make: Despite their impressive appearance, these rolls are relatively easy to make and require basic baking ingredients and equipment.
- Customizable: The recipe can be easily customized to suit your preferences by adding different herbs, cheeses, or fillings to create unique flavor combinations.
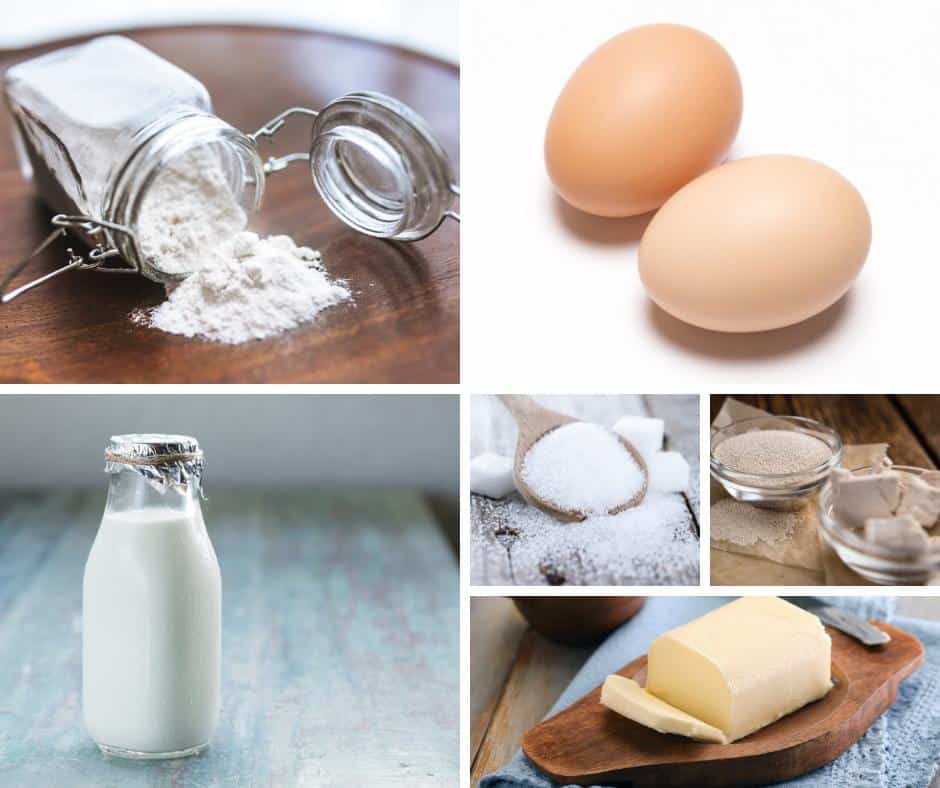
Ingredients and substitutes
- All-Purpose flour – You can use bread flour if you prefer. And yet, it’s not necessary, and this dough is very forgiving and works just fine with all-purpose flour.
- Egg – I love the stability the egg adds to the dough and enriches it.
- Milk – I prefer to use milk instead of water. It not only adds taste but also makes a nice soft crumb bread.
- Sugar – It’s not much, so it won’t sweeten the bread. It helps the yeast. Also, it absorbs some of the liquid, slowing the formation of the gluten strand. As a result, it makes the enriched dough just perfect.
Step-by-step: Cloverleaf rolls
- Yeast mixture – In a large bowl of a stand mixer with the dough hook attachment, combine warm water, sugar, and yeast. Then, add the milk, butter, and egg.
- Dough – Add the flour and salt. Knead the dough on medium speed for 6 to 8 minutes. Alternatively, turn onto a floured surface; knead by hand until smooth and elastic, about 8 -10 minutes.

- Rise – Place in a greased bowl, turning once to grease the top. Cover and let it rise in a warm place until doubled, about 1 hour.
- Divide/Proof – Punch the dough down. Turn onto a lightly floured surface; divide into 36 pieces (10g each). Shape each into a ball. Place three balls in each greased muffin cup. Cover and let rise until doubled, about 30 to 45 minutes. Brush with melted butter.

- Bake – Preheat the oven to 375°F / 190°C / Gas Mark 5. Bake rolls for 12-15 minutes or until golden brown. Remove from pans to wire racks. Brush with melted butter. Serve warm.
- Whole Wheat Dinner Rolls
- Soft and Fluffy Dinner Rolls: The Perfect Side for Any Meal
- Easy Pumpkin Dinner Rolls
- A Twist on Classic Rolls: Feta Olive Garlic Rolls
- How to Make Cinnamon Rolls


Frequently asked question
If stored properly, these cloverleaf dinner rolls will stay for 4 to 5 days at room temperature. It can be frozen for a month or more, too. Never store bread in the fridge as it dries out.
Yes, you can prove the dough in the fridge for a longer time instead of at room temperature. It will take longer to rise, but it will still rise. Make sure to bring the dough to room temperature. Form the rolls and prove them again before baking.
Yes, you can also do the first rise at room temperature, form the cloverleaf-shaped rolls, and let them rise in the fridge before baking. Cover the shaped rolls tightly with cling wrap, leaving enough space for them to rise. You can leave them overnight in the fridge, but make sure to thaw them at room temperature before baking.
These are just like dinner rolls. They are great with any soup, stew, chili, or slow-cooked meat.
Soup, salad, and dinner rolls are a complete meal in our home.
They are perfect to soak up the gravy in slow-cooked lamb, beef or chicken dishes.
My kids love lamb stew or chili with bread.
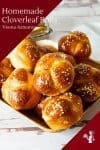
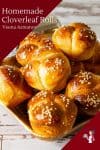
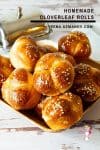
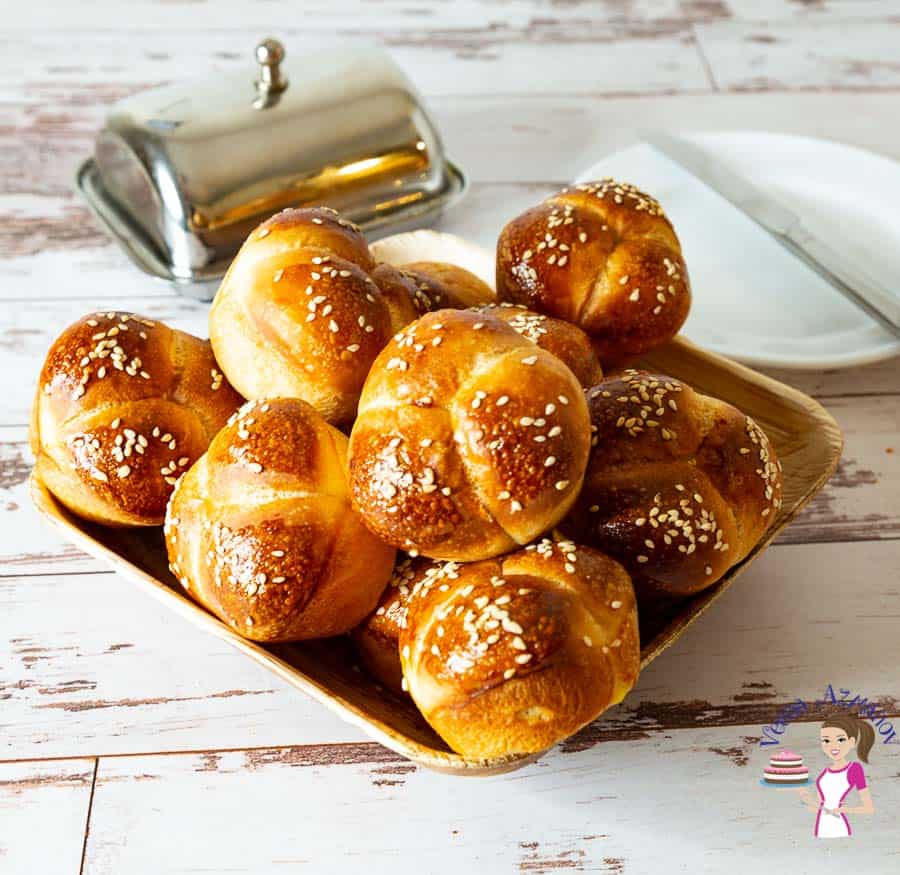
Homemade Cloverleaf Rolls
Classic old-fashion cloverleaf rolls are an absolute treat and very versatile. These simple cloverleaf shaped dinner rolls pair well with any food, sweet or savory and are perfect for any meal from breakfast to dinner. Serve it for breakfast with butter and jam or for dinner alongside your favorite roast or gravy.
Video
Ingredients
- 60 ml (¼ cups) Warm water (110℉)
- 30 grams (2 tbsp) White sugar
- 6 grams (1 tsp) Active dry yeast
- 120 ml (½ cup) Warm milk (110℉)
- 45 grams (3 tbsp) Unsalted butter melted
- 50 grams (1 large) Eggs beaten
- 355 grams (2¾ cups) All-purpose flour
- 6 grams (1 tsp) Salt
- ¼ cup Additional melted butter for brushing
Method
- Yeast mixture – In a large bowl of a stand mixer with the dough hook attachment, combine warm water, sugar, and yeast. Then, add the milk, butter, and egg.60 ml Warm water , 30 grams White sugar, 6 grams Active dry yeast , 120 ml Warm milk , 45 grams Unsalted butter, 50 grams Eggs
- Dough – Add the flour and salt. Knead the dough on medium speed for 6 to 8 minutes. Alternatively, turn onto a floured surface; knead by hand until smooth and elastic, about 8 -10 minutes.355 grams All-purpose flour, 6 grams Salt
- Rise – Place in a greased bowl, turning once to grease the top. Cover and let it rise in a warm place until doubled, about 1 hour.
- Divide/Proof – Punch the dough down. Turn onto a lightly floured surface; divide into 36 pieces (10g each). Shape each into a ball. Place three balls in each greased muffin cup. Cover and let rise until doubled, about 30 to 45 minutes. Brush with melted butter.¼ cup Additional melted butter for brushing
- Bake – Preheat oven to 375°F / 190°C/ Gas Mark 5. Bake rolls for 12-15 minutes or until golden brown. Remove from pans to wire racks. Brush with more melted butter. Serve warm.
Equipment you will need


Nutrition
Tried this recipe?
Mention @veenaazmanov_kitchen or tag #veenaazmanovkitchen!Don’t lose this recipe! Save it for Later!
📌 Save this Recipe for later on Pinterest so you can easily find it again.
⭐ Add Veena Azmanov Kitchen to your Google Preferred Sources.
It helps Google show you more of our recipes.
📧 Subscribe for new recipes delivered to your inbox.
🎥 Follow us for more recipes
Your recipes are simple and best. I tired today with cheese inside n brushed it with minced garlic butter. Heavens it tastes so good. If possible can i skip eggs?? If no then what’s the subsitiute ??
Do you bake low carbs breads or pastries or desserts? For keto fellows?
Thanks
Hey Khampy, So happy you enjoyed this recipe and enjoyed it.
You can omit the eggs, you will need less than the flour required in the recipe – perhaps 1/2 cup less.
I sometimes try to make low carb or gluten-free but I do not specialize in them. I do not do keto baking at all.
Thanks
Love these rolls. Tried them last week – so easy to make and the kids had fun making the balls. Thank you for sharing.
Thank you Srinivas. So happy to hear that you have great success with this recipe. Appreciate you coming back to write this feedback. Always love to read feedback.
Rolls are my weakness and those glossy tops are killing me! I want to make these and top them with some whipped cinnamon honey butter. *drools* Will come back to let you know how well they turn out.
Absolutely Britt. You will love these with honey butter too. They are very versatile.
There’s nothing like warm, fresh from the oven pull-apart rolls.
Thank you Kristina. These are not pull apart rolls. These are made individually!!
Clover leaf rolls are such an easy indulgence. I love it all buttery and hot with nothing else! A good bread needs nothing but butter and salt! Great recipe!
Absolutely Rezel. We buy regular salted butter for bread makes a huge difference. Thanks
Such a cute thought of you helping mom prepare the bread. An you are so lucky to have such great kitchen helpers. I wish you could send them my way as I could always use some extra hands in the kitchen. Love the shape of this bread. It is such a fun change.
Thank you Lynn. I love my kitchen helps both of them are very fond of messing around in the kitchen. Thanks.
These rolls look amazing! There’s nothing quite like warm rolls fresh out of the oven…I have to stop myself from slathering them with butter and eating them all!
Thank you Karyl. SO true aint’ nothing like warm fresh bread out of the oven.
I love making rolls – they’re so easy, and everyone is so impressed! Your directions are clear, and everyone who wants will be able to make this classic!
Thank you Anne. Glad you find my directions clear.