
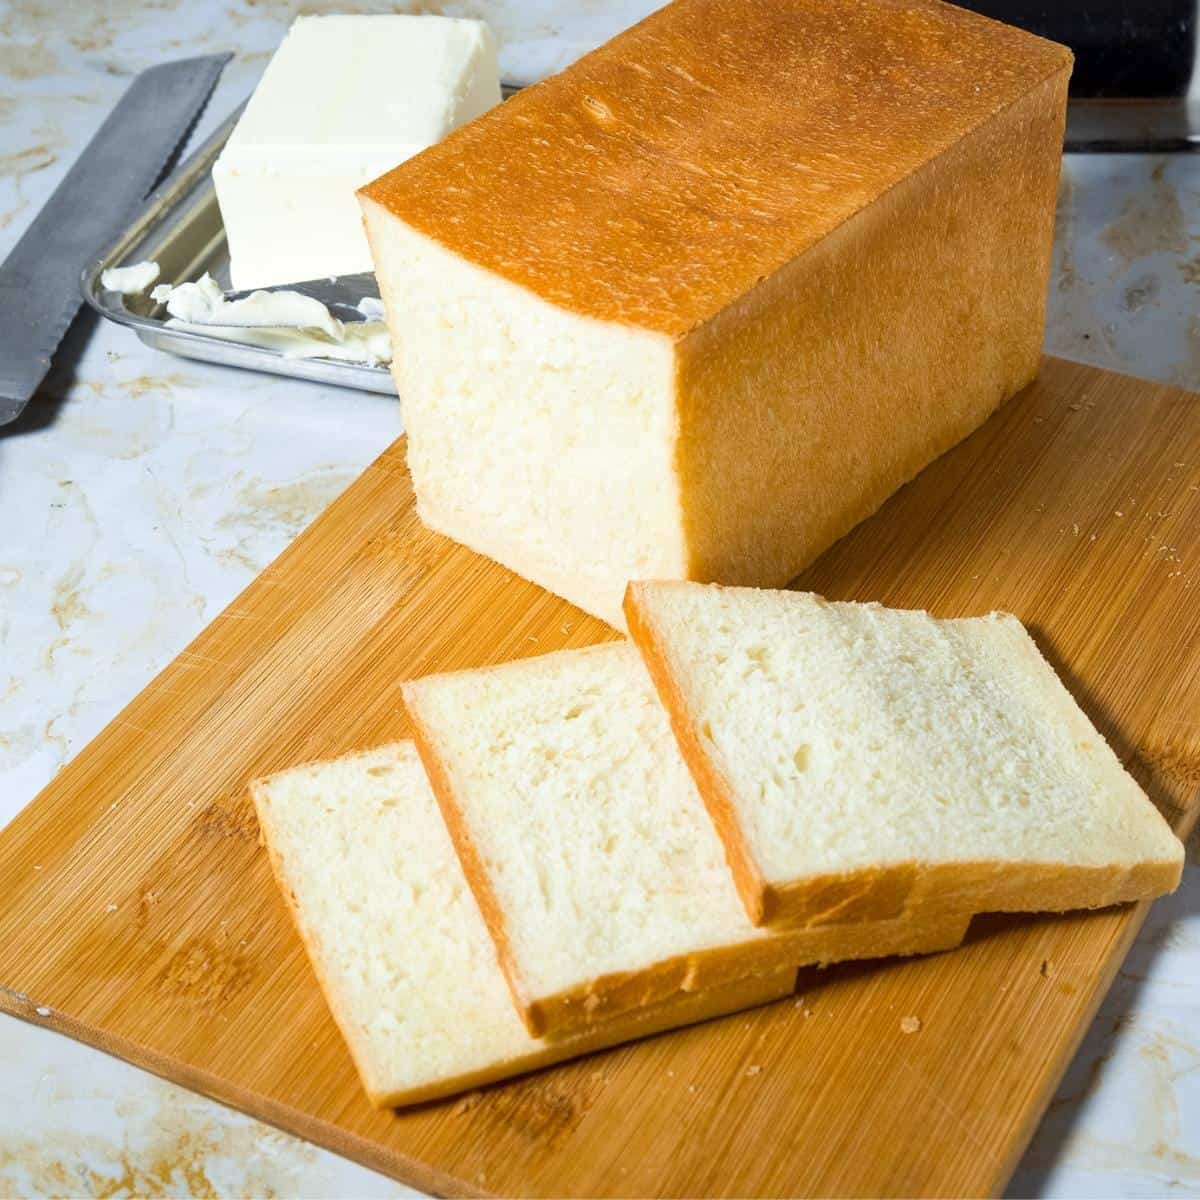





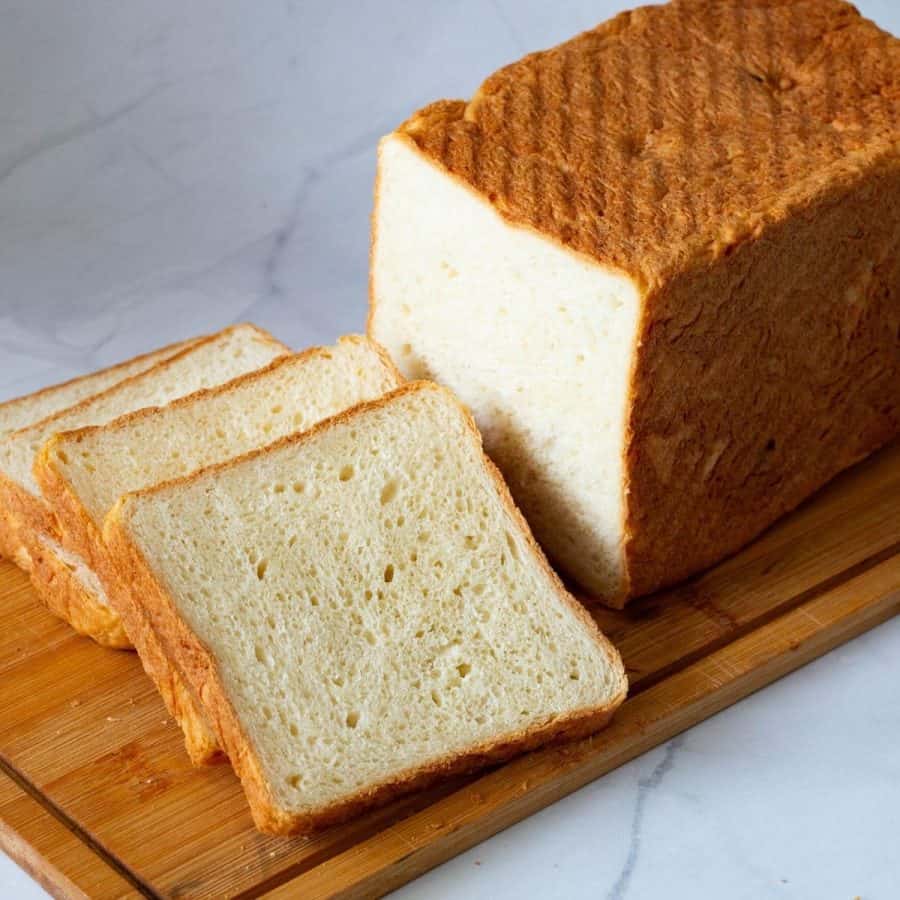
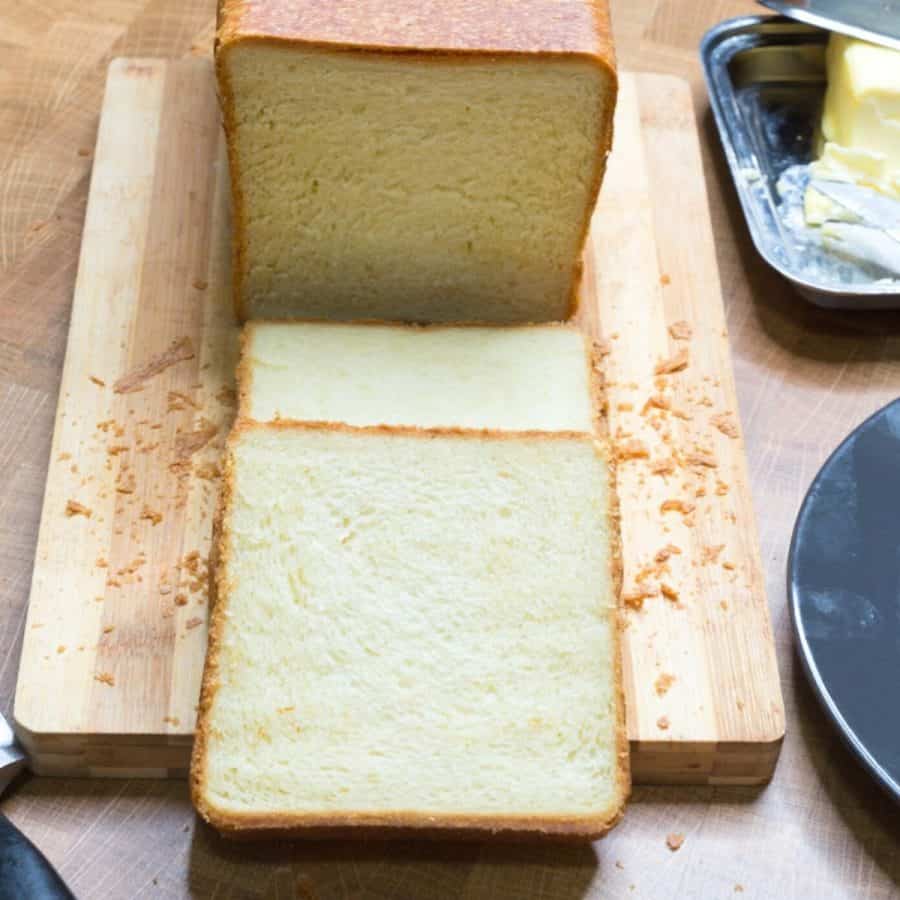
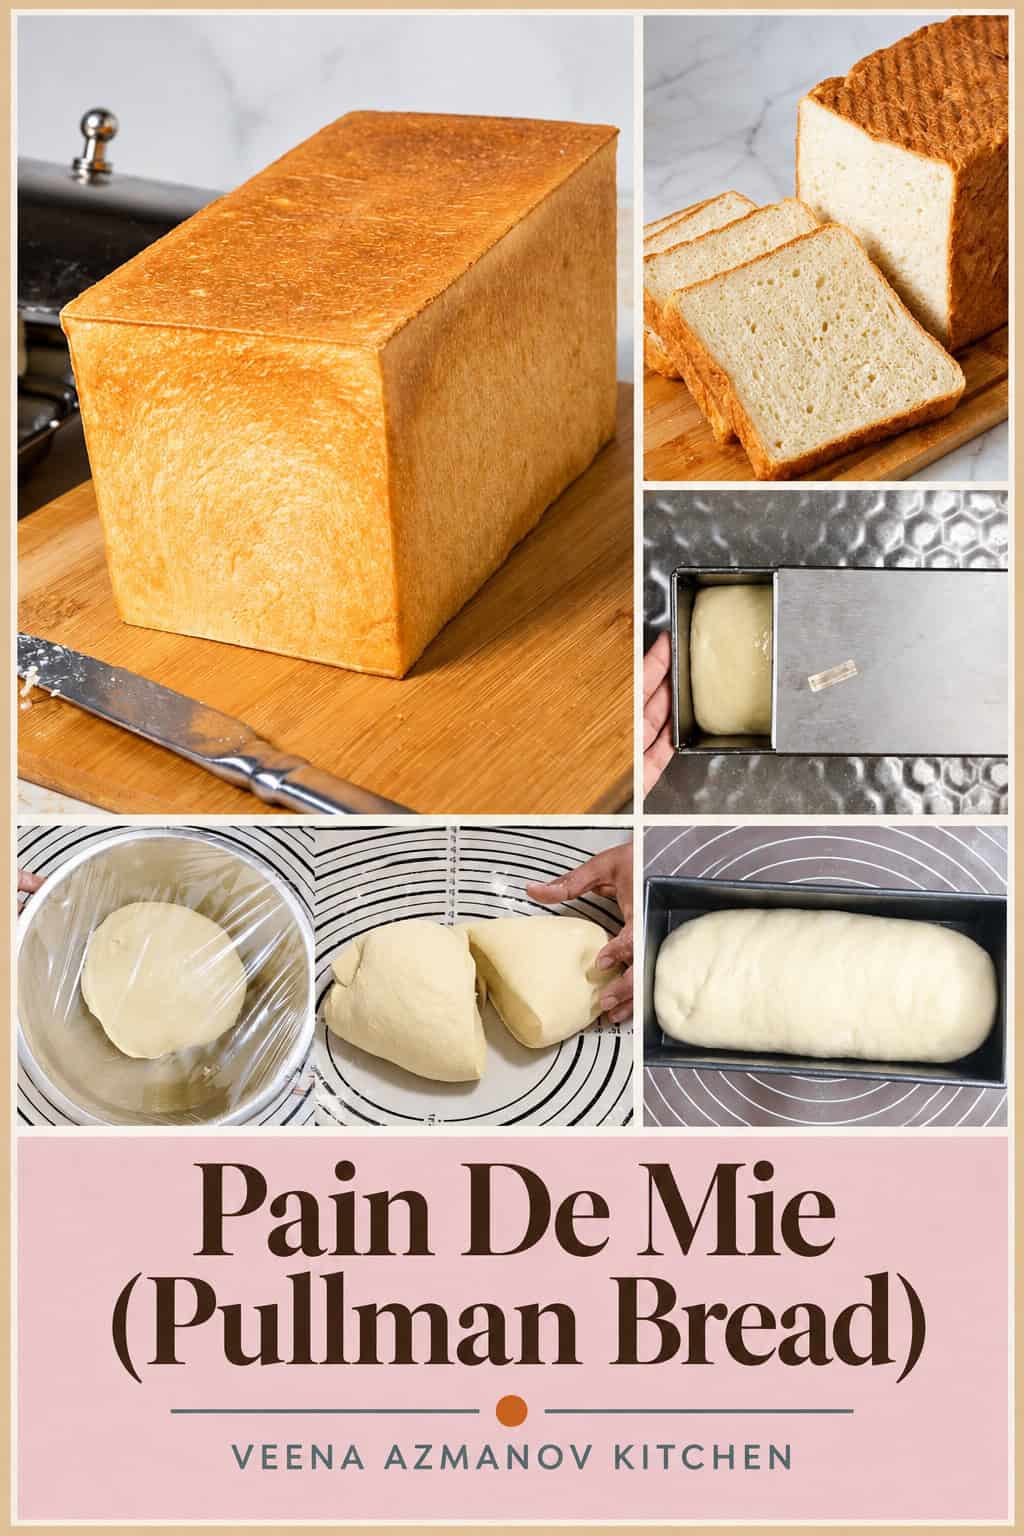
Pain de mie is a French sandwich bread with four square corners baked in a Pullman loaf pan. This simple and easy recipe for Pullman sandwich bread makes a light and fluffy loaf of bread with perfect four square corners. And, it has a delicate soft texture, soft crumb, and delicious flavor.
One of my fondest childhood memories revolves around the perfectly square sandwiches my mom used to pack for my school lunches.
What made these sandwiches extra special was the bread—my mom’s homemade bread. It was soft, fluffy, and perfectly square. I remember how it would squish gently when I took a bite, the crust revealing a pillowy interior that practically melted in my mouth. It was the only bread we used for butter sandwiches or jam sandwiches. I don’t ever remember eating a dinner roll or any other bread with butter, jam, or peanut butter
Now, as a parent myself, I find myself recreating this cherished tradition for my own kids. I take just as much care in making their sandwiches as my mom did for me. Watching my kids dig into their sandwiches brings me immeasurable joy. It’s a simple pleasure, to be sure, but one that connects us across generations and brings back cherished memories of childhood.
In a world that often moves too fast, there’s something comforting about slowing down and savoring the simple things in life – like a perfectly square sandwich made with love and shared with those we hold dear.
What is Pullman bread?
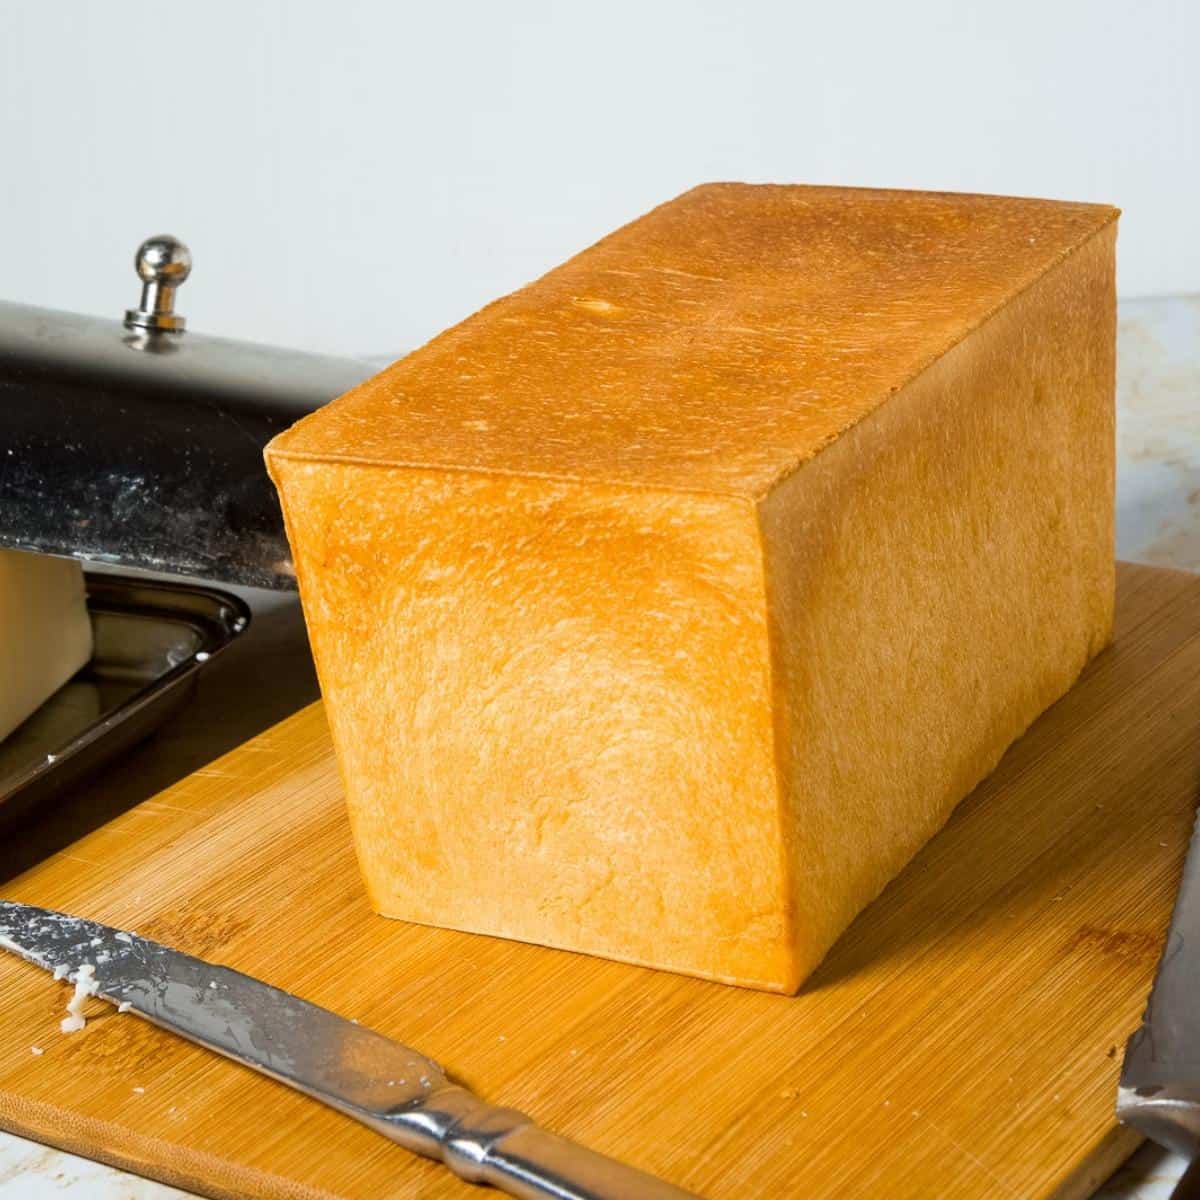
Pullman bread is a soft sandwich bread baked in a special Pullman loaf pan with a sliding lid. As the dough rises and bakes, the lid keeps it from doming, creating the loaf’s distinctive square shape and straight sides.
Also known as pain de mie, it has a soft, fine crumb and thin crust. The even shape makes it especially good for sandwiches, toast, and French toast.
The key is using the right amount of dough for your Pullman pan so the loaf fills the pan without becoming too dense.
Why you’ll love this bread
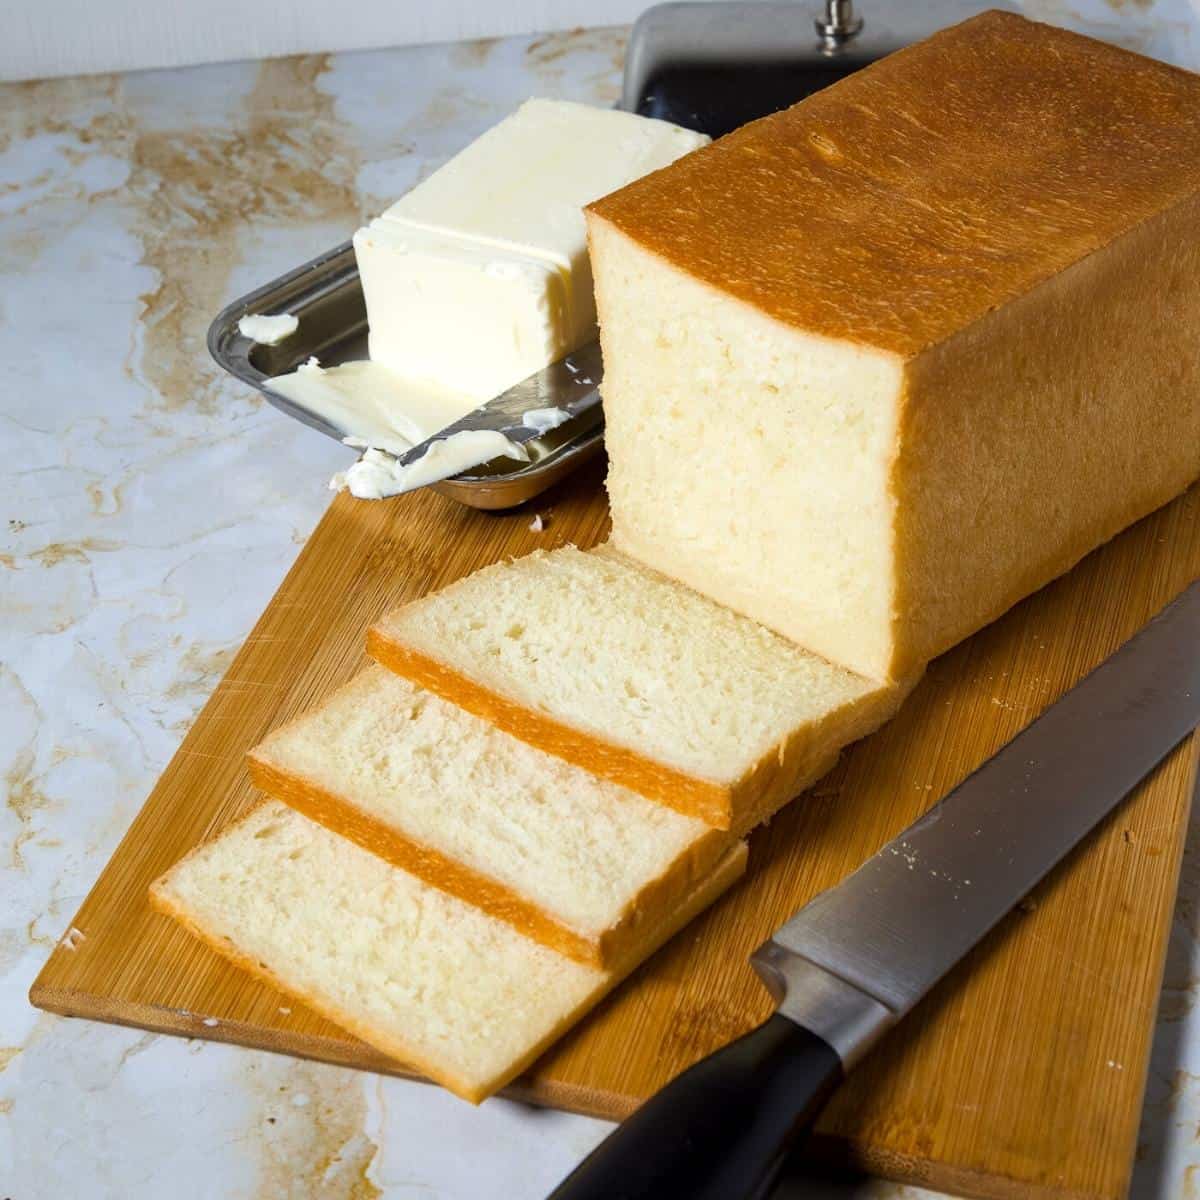
- Soft, fine crumb – Enriched with milk, eggs, and butter, this bread stays soft and tender while still being sturdy enough for sandwiches.
- Perfect square slices – Baking it in a Pullman loaf pan gives you that classic straight-sided loaf with neat, even slices.
- Versatile everyday bread – Use it for sandwiches, toast, French toast, grilled cheese, or simply warm with butter.
- Easy yeast dough – Made with instant yeast and everyday ingredients, with a straightforward dough that can be kneaded in a stand mixer or by hand.
Ingredients and substitutes
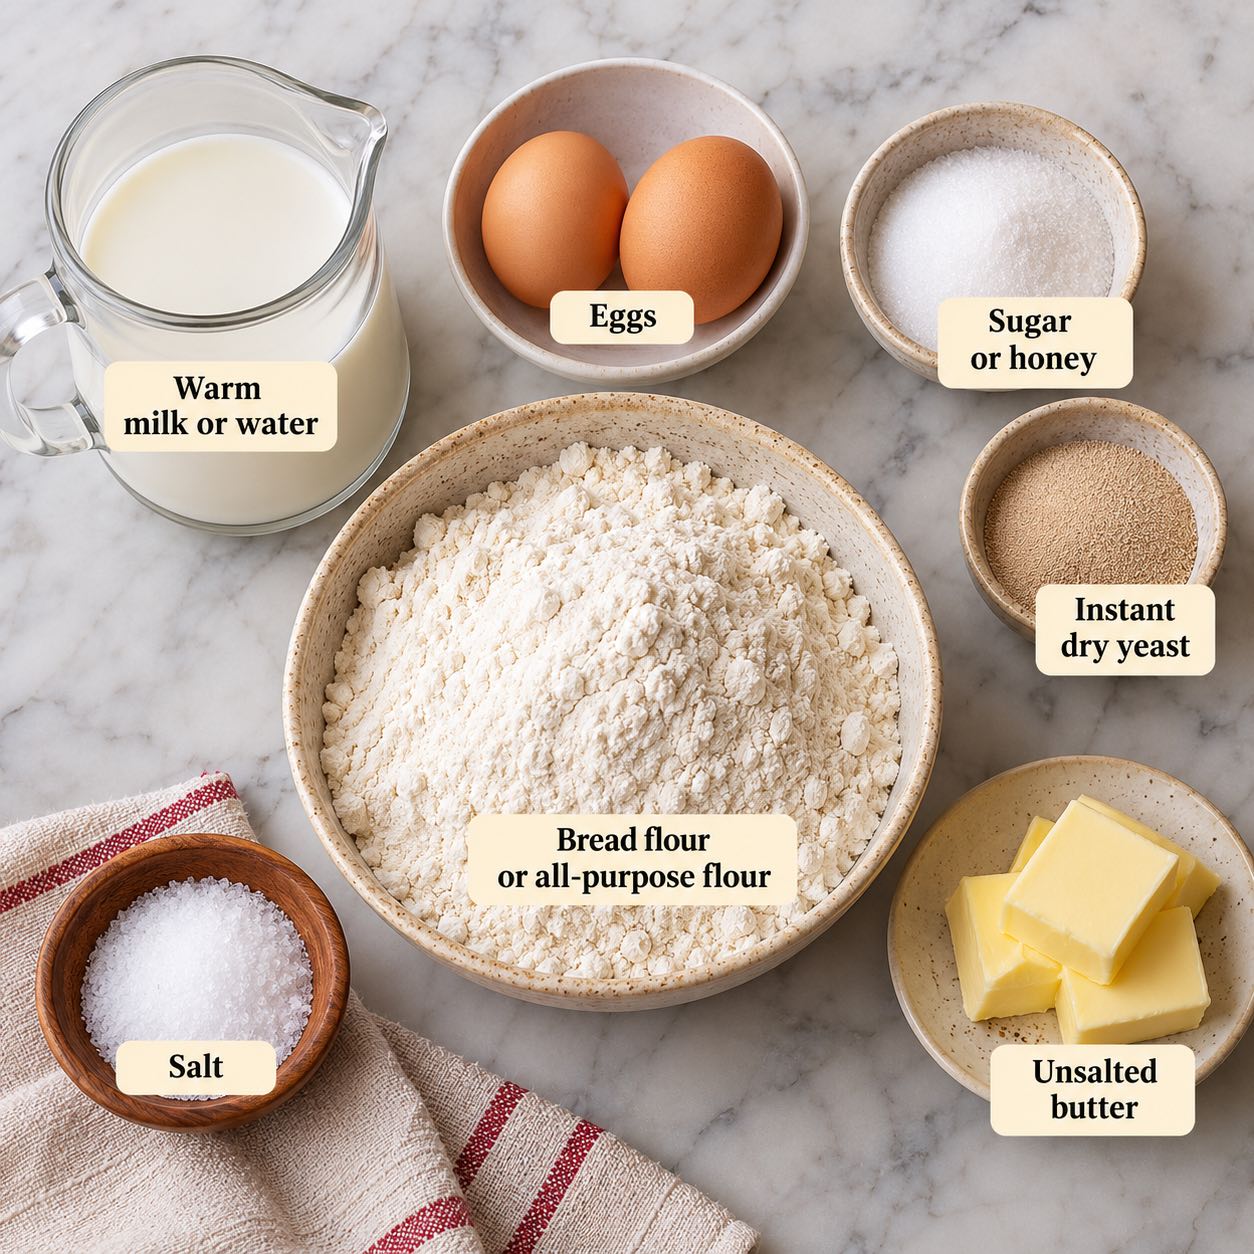
- Flour – Often, bread flour is recommended for making homemade bread, but this one works perfectly with all-purpose flour.
- Instant dry yeast – I like to use instant dry because I’ve always had great success with it. If you have to use active dry yeast, you will need 2 1/4 tsp or one packet. And if you use fresh yeast, you will need about 21 grams.
- Sugar – Not much, so it won’t make the dough sweet, but it will help feed the yeast and help it ferment quicker. If you prefer, you can also substitute sugar with 2 tbsp of honey.
- Butter – Will add richness and feed the yeast, helping it ferment quicker. You can also substitute the butter for 2 tbsp of oil in this recipe.
- Eggs – You can also omit the egg to make an eggless Pullman bread and replace it with 1/2 cup warm milk.
- Milk – Enhances the flavor and tenderizes the dough, giving it a soft texture.
Step-by-step: Best Pullman sandwich bread recipe
Dough
- Liquid ingredients – Ensure milk is warm, not hot (about 110°F). In a small bowl, add the yeast, sugar, and egg. Stir and set aside to foam for 5 mins.
- Dry ingredients – In the large bowl of a stand mixer, with the dough hook attachment, combine the flour and salt. Then, add the yeast mixture. Combine with a wooden spoon or rubber spatula.
Pro tip – If you do not like kneading, I highly recommend using a stand mixer with the hook attachment. - Combine – Add the yeast mixture to the flour mixture and combine on medium-high speed for about 3 minutes, scraping the sides of the bowl as necessary.
Pro tip – Avoid the temptation to add more flour. We want soft, light, and fluffy bread, and this is only possible when the dough is soft, elastic, yet slightly sticky.

- Knead – Once all the flour is incorporated, knead the dough for 8 to 10 minutes on medium speed until smooth. The dough will be soft and sticky.
Pro tip – A soft and sticky dough is a light and airy bread, so don’t add more flour. - Butter – Next, add the soft room-temperature butter a little at a time. Knead again for another 10 to 12 minutes until smooth and elastic.
Pro tip – When you add the butter, it will seem like the dough is falling apart. Trust the process and keep kneading. It will become smooth and shiny. - Bowl – Remove the dough from the mixer bowl onto a lightly floured surface. Shape it into a ball. Then, place in an oiled bowl.
Pro tip – Using a flexible bread scraper does a good job of removing the sticky dough from the bowl.
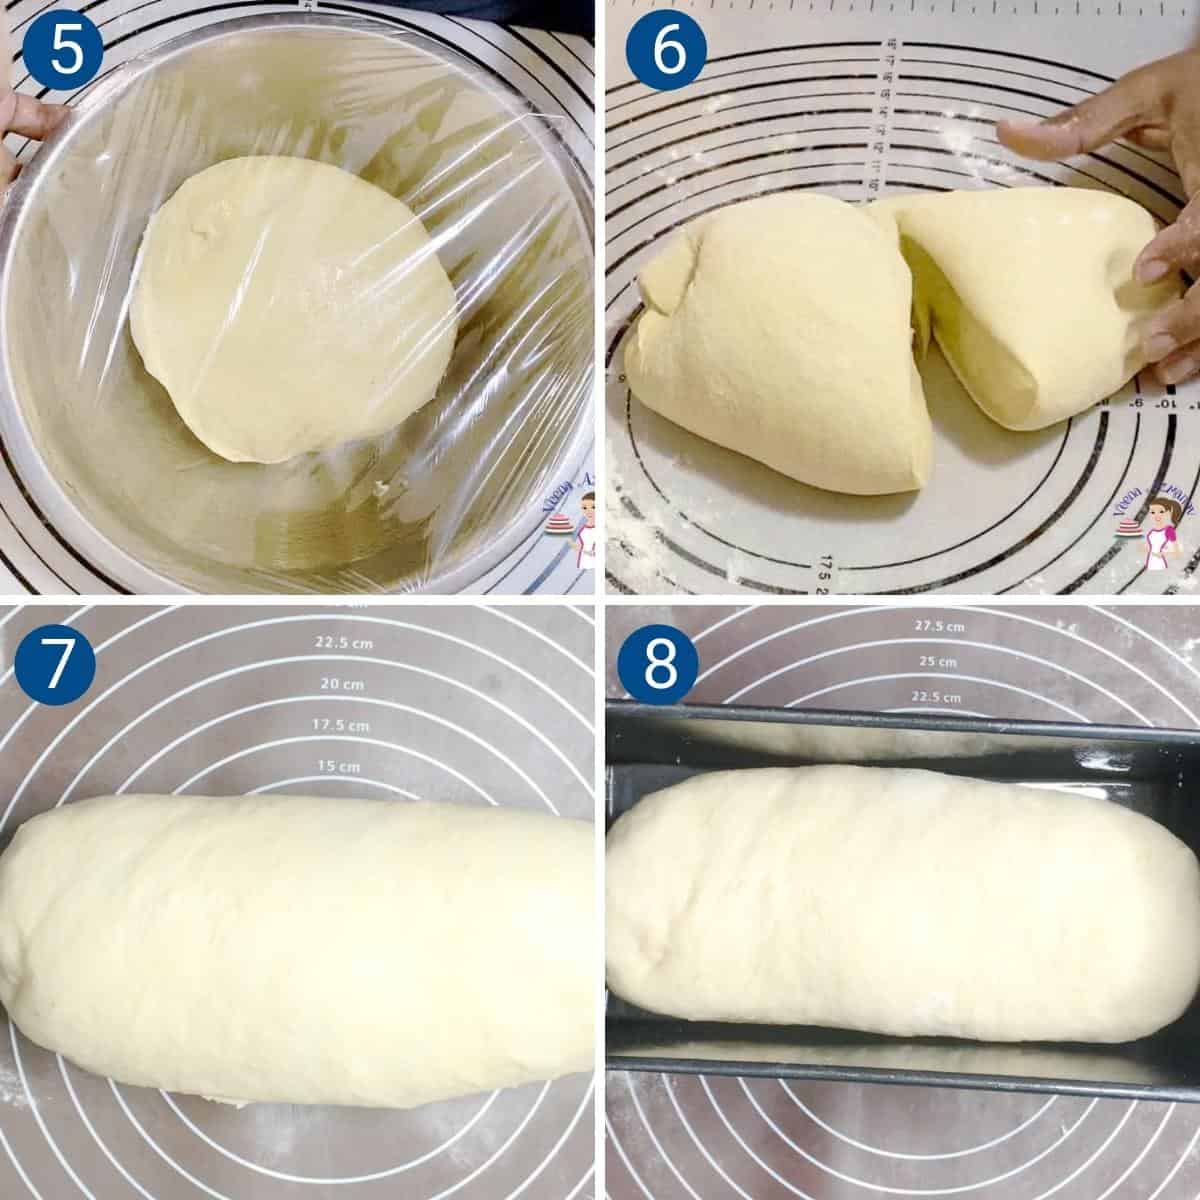
Rise, Shape, Proof
- Rise – Cover with plastic wrap or a clean kitchen cloth. Leave to rise in a warm place for about an hour until doubled in volume.
Pro tip – In winter, you may need 90 minutes or more. But in summer, the dough may double in 45 minutes. If you can’t attend to it at that moment, de-gas, reshape, and let doubles in volume again. - Shape – When the dough has doubled in volume, invert it onto a lightly floured surface. Next, start to roll like a jelly roll. Fold from the top to the center, then again once more towards the end. Pinch the seams together.
Pro tip – The idea is to fold the dough into a nice, tight package. Folding helps strengthen the gluten strands and prevents loose, floppy bread. - Proof – Place into a buttered Pullman loaf pan seam side down. Then, cover the loaf pan with plastic wrap or a clean kitchen cloth. Let rise in a warm place for about 45 minutes until almost 2 inches from the top rim of the loaf pan.
- Cover – Once you see your dough is almost halfway up the sides, spray the cover of the Pullman pan lid and place it on.
Pro tip – You want to place the lid on before it rises to the top, so you don’t ruin the rise.

Bake
- Oven – Once you see your dough is almost halfway up the sides, preheat the oven to 380°F / 190°C / Gas Mark 5 for at least 20 minutes.
- Bake – Place the loaf pans on a baking sheet and into the oven.
- Bake the 13-inch loaf for about 45 to 50 minutes,
- Bake the 9-inch loaf for about 25 to 30 minutes,
- and the 7-inch loaf for about 20 to 25 minutes.
Pro tip – The bread is done when you tap the bottom of your loaf, and you will hear a hollow sound (or the internal temperature registers between 160° and 180°F on an instant-read thermometer.
- Cool – Partially open the lid and let it cool for 10 minutes – before you invert it onto a cooling rack. Then, cover it with a clean kitchen towel for 5 minutes to keep it soft.
Pro tip – Wrapping the bread in a kitchen cloth will let the steam cool in the bread, keeping it soft. - Note – Always let bread rest for at least an hour before you cut it – this is the hardest part!! But it will prevent the steam from escaping and making the bread dry.
- Enjoy!
Storage and Make Ahead
- Room temperature: Once completely cool, store the bread in an airtight container or bread bag at room temperature for 4 to 5 days. Avoid refrigerating it, as the refrigerator makes bread stale faster.
- Make ahead: Prepare the dough, let it complete its first rise, then cover and refrigerate overnight. The next day, shape it, place it in the Pullman pan, and let it proof until ready before baking.
- Freeze the loaf: Wrap the completely cooled loaf well and freeze for up to 3 months. Thaw at room temperature while still wrapped.
- Freeze slices: For sandwiches and toast, slice the loaf before freezing and separate portions with parchment. You can remove only what you need and toast slices straight from frozen.
- Refresh: If the bread has started to lose some softness, warm it briefly before serving.
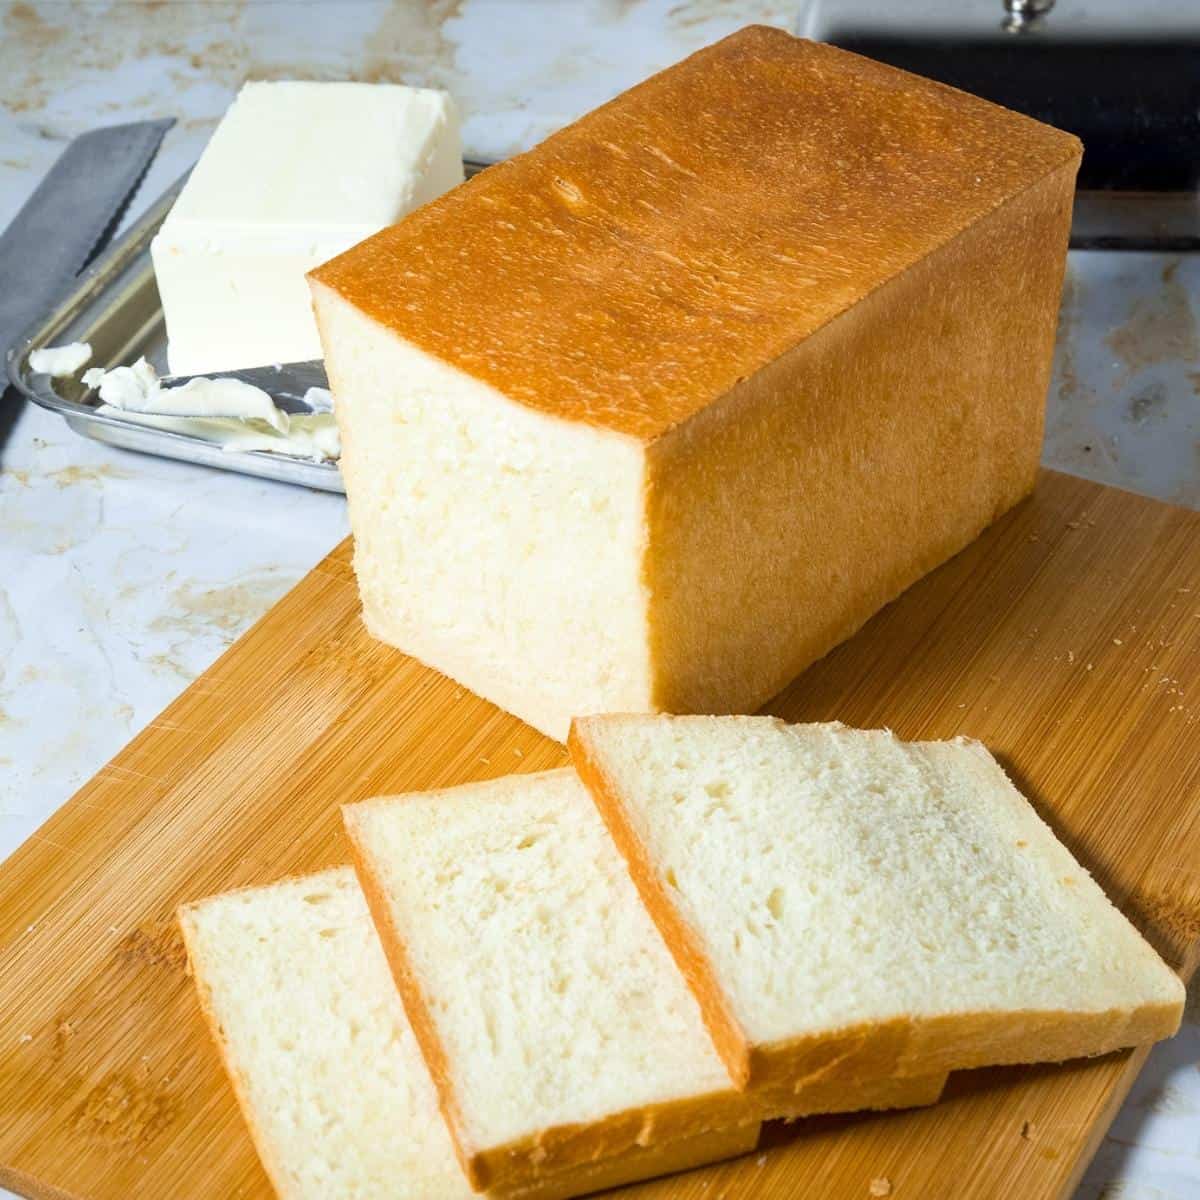
Pullman Sandwich Bread aka Pain de Mie
Video
Ingredients
- 276 ml (1¼ cups) Warm milk or water (110℉)
- 100 g (2 large) Egg
- 50 g (4 tbsp) Sugar or honey
- 9 g (3 tsp) Instant dry yeast
- 562 g (4.5 cups) Bread flour or all-purpose flour
- 12 g (2 tsp) Salt
- 60 g (4 tbsp) unsalted Butter room temperature (or ¼ cup oil)
- 180 ml (¾ cup) Warm milk or water (110℉)
- 60 g (1 large) Egg
- 40 g (2½ tbsp) Sugar or honey
- 7 g (2¼ tsp) Instant dry yeast
- 400 g (3¼ cups) Bread flour or all-purpose flour
- 9 g (1½ tsp) Salt
- 42 g (3 tbsp) unsalted Butter room temperature (or 2½ tbsp oil)
- 160 g (⅔ cup) Warm milk or water (110℉)
- 50 g (1 large) Egg
- 25 g (1½ tbsp) Sugar or honey
- 5 g (1½ tsp) Instant dry yeast
- 370 g (3 cups) Bread flour + 2 tbsp more for consistency
- 7 g (1¼ tsp) Salt
- 35 g (2½ tbsp) unsalted Butter room temperature (or 2 tbsp oil)
Method
- Liquid ingredients – Ensure milk is warm, not hot (about 110 F). In a small bowl add the milk, yeast, sugar, and egg. Stir and set aside to foam for 5 mins.276 ml Warm milk or water (110℉), 100 g Egg, 50 g Sugar, 9 g Instant dry yeast
- Dry ingredients – In the large bowl of a stand mixer, with the dough hook attachment combine the flour and salt. Then, add the yeast mixture. Combine with a wooden spoon or rubber spatula562 g Bread flour , 12 g Salt
- Combine– Add the yeast mixture to the flour mixture and combine on medium-high speed for about 3 minutes scraping the sides of the bowl as necessary.
- Knead – Once all the flour is incorporated, knead the dough for 8 to 10 minutes on medium speed until smooth. The dough will be soft and sticky.
- Butter – Next, add the soft room-temperature butter a little at a time. knead again for another 10 to 12 minutes until smooth and elastic.60 g unsalted Butter
- Bowl – Remove the dough from the mixer bowl onto a lightly floured surface. Shape it into a ball. Place in an oiled bowl.
- Proof – Cover with plastic wrap or clean kitchen cloth. Leave to rise in a warm place for about an hour until doubled in volume.
- Shape – When the dough is doubled in volume invert the risen dough onto a lightly floured surface. Start to roll like a jelly roll. Fold from the top to the center then again once more towards the end. Pinch the seams together.
- Proof – Place into a buttered Pullman loaf pan seam side down. Cover the loaf pan with plastic wrap or a clean kitchen cloth. Let rise in a warm place for about 45 minutes until almost 2 inches from the top rim of the loaf pan.
- Cover – Once you see your dough is almost halfway up the sides – spray the cover of the Pullman pan lid and place it on.Pro tip – you want to place the lid on before it rises to the top so you don't ruin the rise.
- Oven – Once you see your dough is almost halfway up the sides preheat the oven to 380°F / 190°C / Gas Mark 5 for at least 20 minutes.
- Bake – Place the loaf pans on a baking sheet and into the oven. Bake – the 13-inch loaf for about 45 to 50 minutes, – the 9-inch loaf for about 25 to 30 minutes, – and the 7-inch loaf for about 20 to 25 minutes. Pro tip – The bread is done – when you tap the bottom of your loaf and you will hear a hollow sound (or the internal temperature registers between 160° to 180°F on an instant-read thermometer.
- Cool – Partially open the lid and let it cool for 10 minutes – before you invert it onto a cooling rack. Cover it with a clean kitchen towel for 5 minutes to keep soft.
- Note – Always let bread rest for at least an hour before you cut it – this is the hardest part!! But, it will prevent the steam from escaping and making the bread dry.
Notes
-
Knead until smooth and elastic.
A well-developed dough rises higher and gives you that soft, even Pullman crumb. -
Keep the dough slightly firm.
A tighter dough holds its shape, fills the corners of the pan, and bakes into a square, even loaf. -
Chill the dough for 10–15 minutes before shaping.
A short rest firms it up just enough to roll tightly, which prevents gaps and tunnels. -
Fill the Pullman pan just under halfway.
This gives the dough room to rise without popping the lid or overflowing.
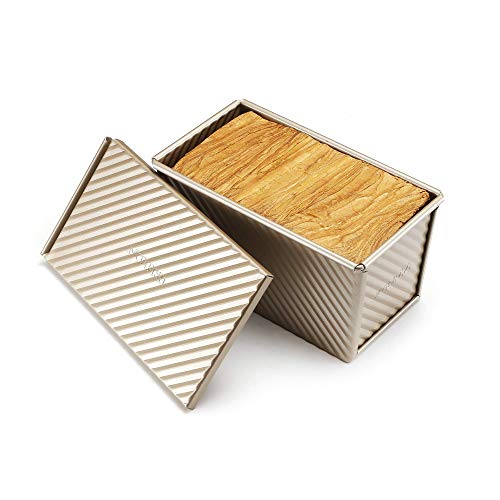
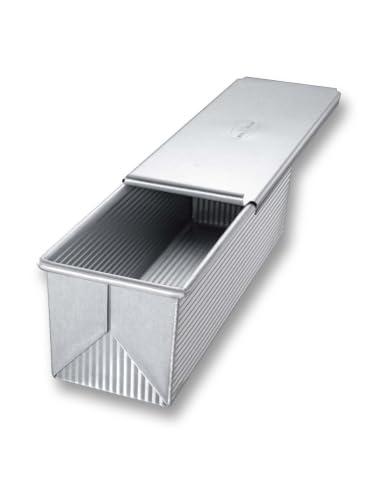
Equipment you will need

Nutrition
Tried this recipe?
Mention @veenaazmanov_kitchen or tag #veenaazmanovkitchen!Best Pullman Pan


Tips for Success
- Knead until smooth and elastic – A well-developed dough rises higher and gives you that soft, even Pullman crumb.
- Keep the dough slightly firm -A tighter dough holds its shape, fills the corners of the pan, and bakes into a square, even loaf.
- Chill the dough for 10–15 minutes before shaping – A short rest firms it up just enough to roll tightly, which prevents gaps and tunnels.
- Fill the Pullman pan just under halfway – This gives the dough room to rise without popping the lid or overflowing.
more pullman bread variations
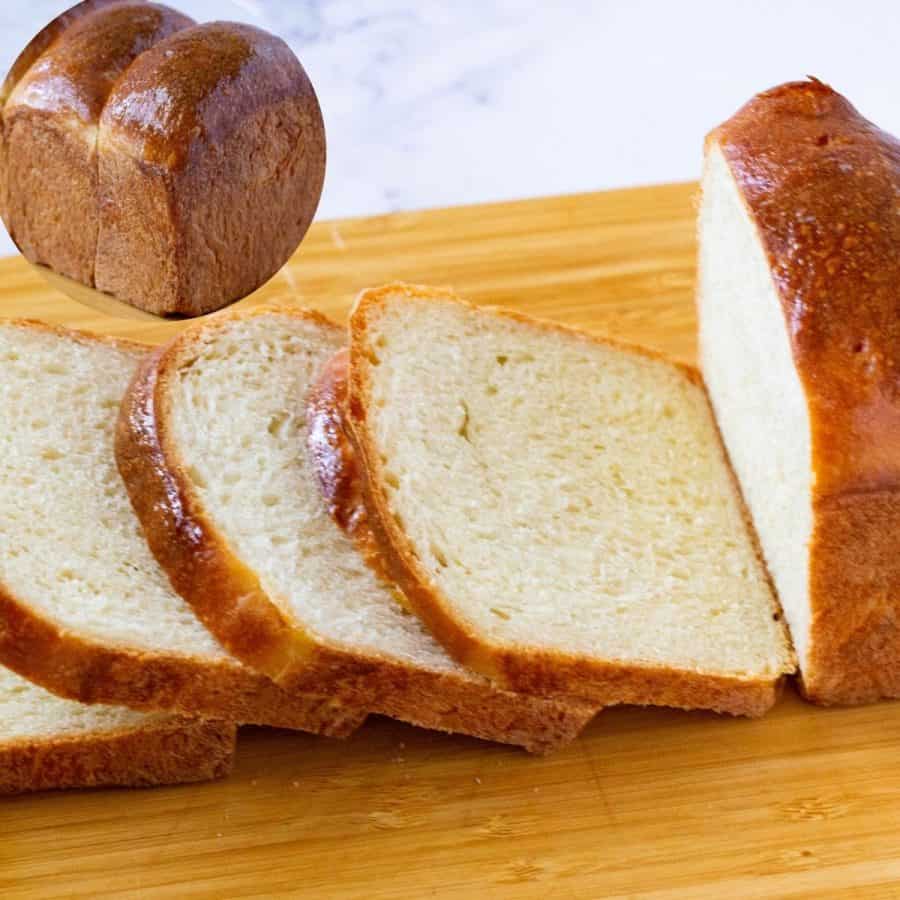
- If you like Brioche bread try my Brioche Pullman Bread
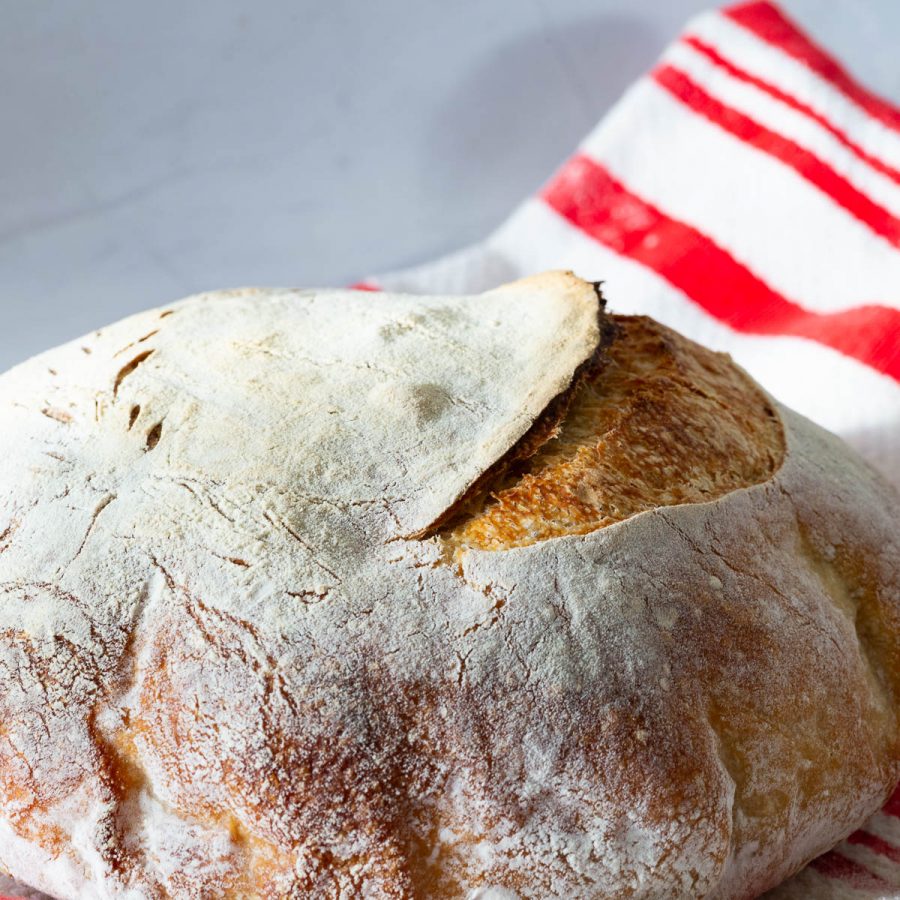
- And if you have sourdough make my Sourdough Pullman Loaf (Pain de Mie)
Troubleshooting Pullman Sandwich Bread
| Issue | What Went Wrong | How to Fix It |
|---|---|---|
| The loaf is dense, or didn’t rise enough | The dough was under-kneaded or proofed in a cool environment | Knead until windowpane; proof at 26–28°C; extend rise if needed |
| Lid popped open, or loaf ballooned | Overproofed or too much dough placed in the Pullman pan | Shorten final proof; weigh dough correctly for your pan size |
| Sides pulled in or shrank while cooling | The loaf was underbaked, so the structure didn’t set | Bake 5–8 minutes longer; aim for internal temp 93–95°C (200–205°F) |
| Crumb has tunnels or large gaps | Shaping was loose, or air pockets weren’t expelled | Roll tightly, pinch seams well, and tap the pan before proofing |
more sandwich bread recipes
- White sandwich bread recipe
- Brioche sandwich bread or Brioche Pullman Loaf
- No-knead sandwich bread
- Whole wheat sandwich bread
- Challah Sandwich Bread
- Challah Recipe – 3 strands, 4 strands, 5 strands, 6 strands
- See all Sandwich Bread recipes

Frequently asked questions
If stored properly, this white bread will stay for 4 to 5 days at room temperature. It can also be frozen for a month or more, too. However, never store bread in the fridge as it dries out.
Pain de mie is a soft, white or brown sliced bread in French. ‘Pain’ means bread, and ‘(de) la mie’ refers to the soft part of the bread. In English, pain de mie is similar to a Pullman loaf or regular sandwich bread.
Yes, the only difference is that a Pullman is baked in a square pan, and you need to use the right amount of dough in the pan. Too little and it won’t reach the corners for a square shape, too much may cause the bread to explode in the pan during baking.
The smart choice? If you must buy one loaf pan, buy the Pullman sandwich loaf pan, so that you can make regular bread without the lid or Pullman sandwich bread with the lid. It is very important that you buy a good-quality pan. Nothing is worse than spending time on bread and having it stuck in the pan, or the lid does not work after one or two bakes. (often an issue with low-quality metal)
A good quality pan will last you for years and will be a pleasure to use over and over again. Here are three pans that I own and love very much: a 13 x 4 x 4 Pullman pan, a 9 x 4 x 4 Pullman pan, and this 8 x 4 x 4 Pullman pan can be used for this recipe.
Each Pullman pan will have its own guide for total dough weight.
16x4x4 about 1300 – 1400 grams
13x4x4 about 1100 – 1200 grams
9x4x4 about 750 – 850 grams
7x4x4 about 550 – 650 grams
you may also like
- 10 Best Gifts for Bread Bakers
- 15+ Beginner Bread Recipes for Everyday Baking
- Learn Bread Baking at Home • Step by Step 😄
- Homemade Ciabatta Recipe
- Mini Sausage Rolls
- Homemade Ciabatta Recipe

Don’t lose this recipe! Save it for Later!
📌 Save this Recipe for later on Pinterest so you can easily find it again.
⭐ Add Veena Azmanov Kitchen to your Google Preferred Sources.
It helps Google show you more of our recipes.
📧 Subscribe for new recipes delivered to your inbox.
🎥 Follow us for more recipes

Hi, I’m Veena
I’m the recipe developer, baker, and food photographer behind Veena Azmanov Kitchen.
I’ve spent years developing and testing recipes, from everyday meals and homemade breads to cakes and desserts.
I share the practical tips and little details I’ve learned along the way so you can get great results in your own kitchen.










This bread tastes amazing. However, I’ve made it twice and both times it didn’t fill the bread pan. After the second proof, it was almost the full size of the pan, about an inch from the top….but then it didn’t get any bigger. I am using brand new yeast, checked the temp of my water, and made sure to allow adequate time for rising. What am I doing wrong? The flour that is reserved for kneeding…do you use all of it?
Hi Lauren, Sorry to hear that.
I have just adjusted the flour and water by a bit today because I was testing the recipe again. I think this should do it.
Usually, If you are using a stand mixer then you will need to add the reserved flour in the mixer to get a not so sticky dough.
If you are kneading then you will use that to knead by hand.
I hope this helps. Thank you so much for the flour.
Hi, there. I just came across this recipe when researching bread/loaf pans. It looks yummy! My question is, if you only have one loaf pan, and the dough is divided, what do you do with the dough half not being immediately baked? Thanks.
You can use that dough to make a different type of bread… like
1. a rustic loaf (just shape it into a log or a ball, proof, eggwash,and bake)
2. you can also make dinner rolls – divide into 9 small or 6 big portions, roll into small balls, place in an 8-inch square baking pan.. proof, eggwash, bake
3. You can also roll it, sprinkle savory fillings like ham and cheese – roll like a jelly roll. place in an 8 inch round baking pan.. proof, eggwash and bake.
I hope this helps.
Hi. I tried this recipe but it looked quite small for 2 7x4x4 pan so I combined into just 1. When I split the dough in 2, they didn’t rise to even 2 inch off the rim… is that normal? The first rise was double.
Hey Lou, Sorry to hear that. I do bake this in my 7 x 4 x 4-inch pan. It does rise well and square in every corner. The pictures in this post are my 7 inch loaf. Perhaps you needed to let it rise a little longer. Also, the bread should be light and airy, not dense. What about your bread?
Hi Veena
Thanks for the recipe. My bread turned up nice n fluffy. This recipe is definitely a keeper.
I used k-attachment with my stand mixer to knead the dough for 5 minutes and continued with hand kneading.
I followed the recipe to a T.
Thanks again.
Celyn from Malaysia
Thank you, Celyn. I am so happy to hear that. Do share the pictures with us on the Facebook group. Thanks for coming back to write this feedback
This bread is delicious. I did use 1 1/2 cups milk and all the flour. My second rise did not take as long as indicated on the recipe. I will definitely make again.
Thank you, Beth. Yes, every flour absorbs liquid differently and the rise depends on the temperature at the time and place. Thank you for the feedback.
Hey there!
What temp should the bread be when it’s done? I have a broken wrist and can’t be flipping it out of the pan to tap it on the back, lol.
Also, if making in the 13″ pan, do I need to lower the oven temperature at all? I don’t want it getting overcooked and tough.
Thanks!
Hey Anneliese. Sorry to hear about your wrist. The internal bread temperature should be about 190 F. You don’t need to reduce temperature but you will need to adjust the cooking time. Thanks
Hey there!
What temp should the bread be when it’s done? I have a broken wrist and can’t be flipping it out of the pan to tap it on the back, lol.
Also, if making in the 13″ pan, do I need to lower the oven temperature at all? I don’t want it getting overcooked and tough.
Thanks!
Hey Anneliese. Sorry to hear about your wrist. The internal bread temperature should be about 190 F. You don’t need to reduce temperature but you will need to adjust the cooking time. Thanks
Making this bread right now. Question: I am using my bread machine to knead the dough, so do I need to add the extra cup of flour to the dough since I’m not using the extra flour for kneading?
Sarah, You may need at least half the extra flour I suggest start with half then add more if necessary. I don’t have a bread machine so I can’t tell you from experience, sorry.
Is this recipe for a 13″ or 9″ pan?
What if I use the adjustment tool on the web page to 1 loaf?
Sandra. As I say in the post. This recipe will make one 13 x 4 x 4 loaf or two 7 x 4 x 4 loaves. So you can half the recipe and make one 7 inch loaf
Thanks for the recipe. I have a pullman loaf pan with sliding lid. When I’m midway through the baking process, the lid pops off leading to bad results.
I have used this recipe before and it worked great. Then the last two times, I had an issue with the lid. The sliding lid is very tight when closed.
Does anyone know what could cause the build up in pressure that would make the lid pop open?
Hey Ted. were you using the same recipe the last two times as before? There could be two possibilities
1. The dough inside is more so the pressure built up in baked bread pushes out the lid to make more space.
2. The metal in the Pullman pan is not secure. It opens up when heated and comes off. This won’t happen with good quality pans. [eafl id="58561" name="Pullman loaf pan" text="good quality pans. "]
I hope this helps