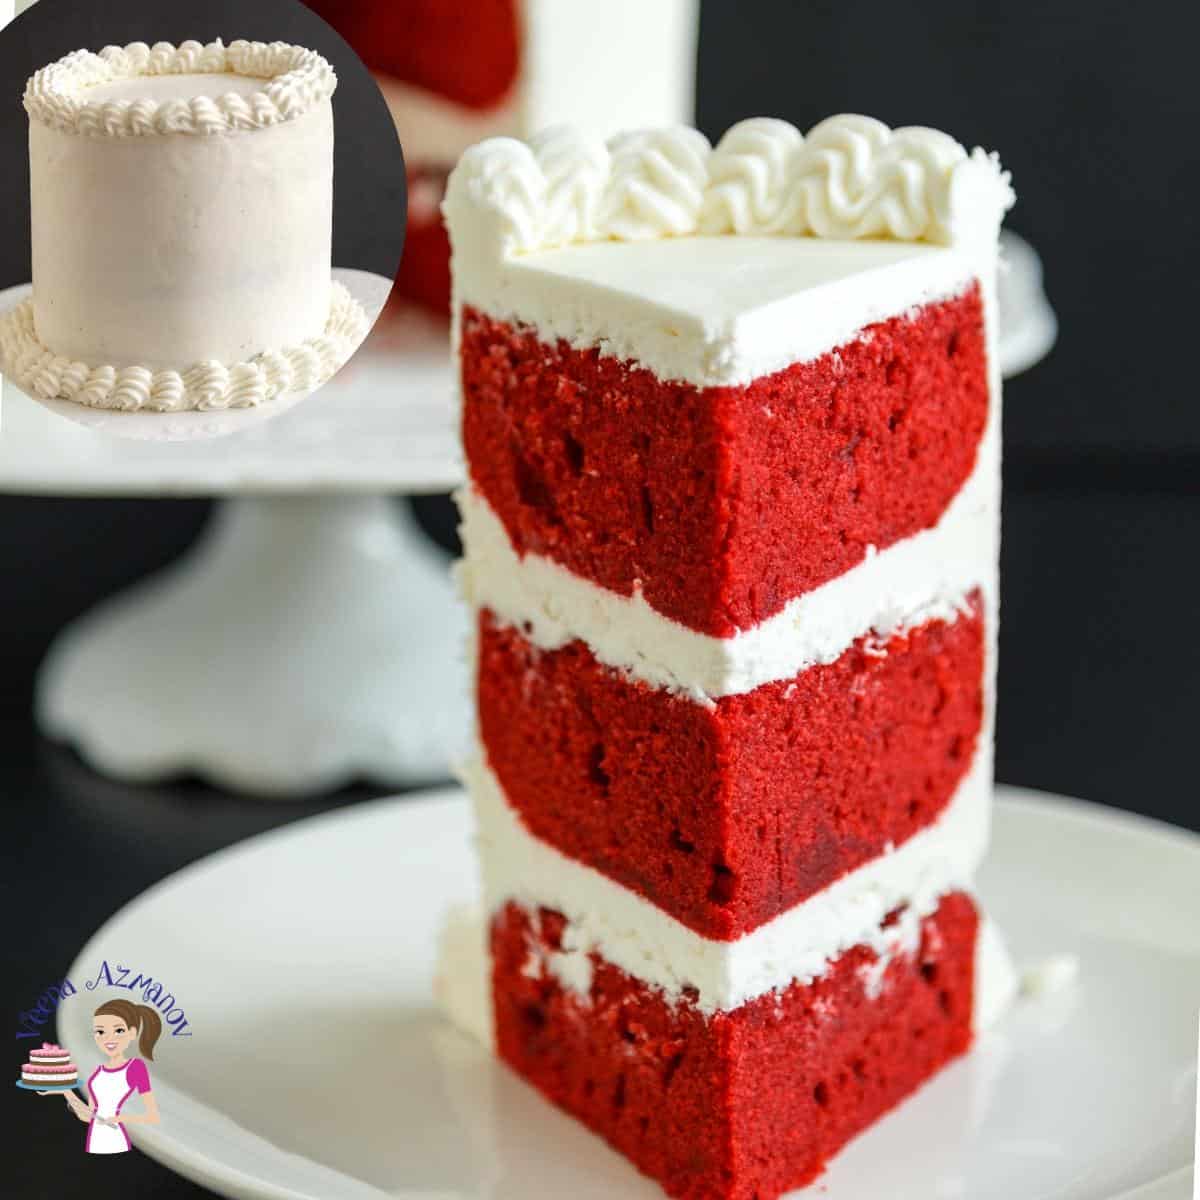
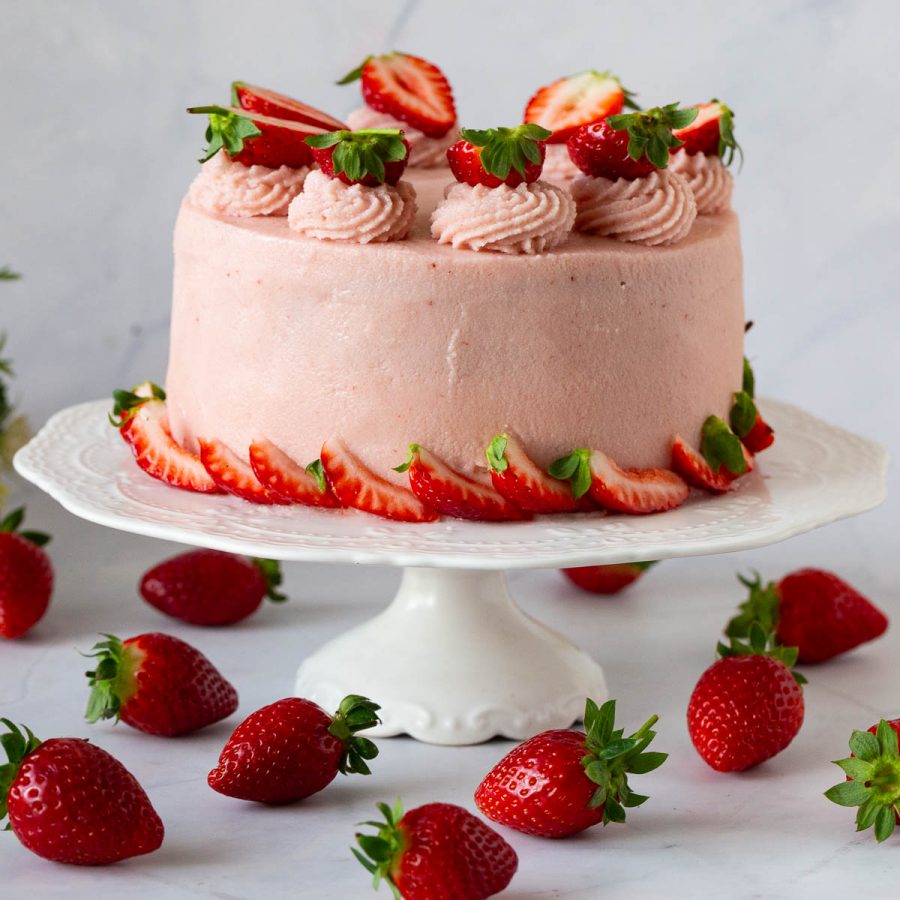
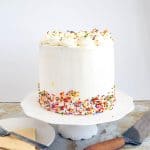
Red Velvet Cake with Cream Cheese Frosting

Are you in the mood for baking something special but not quite sure where to start? Look no further than this perfect red cake! A Red velvet cake is a classic, with layers of moist cake, a hint of cocoa, and a rich cream cheese frosting.
The first time I made red velvet cake was for a friend’s 21st birthday. I was completely fascinated by the vibrant red color—that’s what made me try the recipe in the first place! It was also my first time using vinegar in a cake, which felt so unusual but made the texture wonderfully light and airy. My friends loved it, and it was a huge hit!
Years later, when I started my cake business, red velvet became one of the most popular cakes on my menu—especially for sweet 16s and teen birthdays. Funny how a simple cake experiment turned into a customer favorite!
Why make this cake
- For starters, this recipe is perfect for beginners. It’s simple to follow and doesn’t require any complicated techniques.
- Plus, all of the ingredients can be easily found at your local grocery store.
- But perhaps the best reason to make this red velvet cake recipe is the taste. The combination of cocoa powder, buttermilk, and vanilla extract gives this cake a complex and delicious flavor profile that is sure to satisfy your sweet tooth. And with the addition of cream cheese frosting, it’s the perfect balance of sweet and tangy.
- So if you’re looking for a crowd-pleasing dessert that is both easy to make and delicious, look no further than this red velvet cake recipe.
- Today, I am using the classic cream cheese frosting, and the other is my NO Buttercream cheese frosting. But, the options for frosting are endless, see all my over 30 buttercream frosting recipes
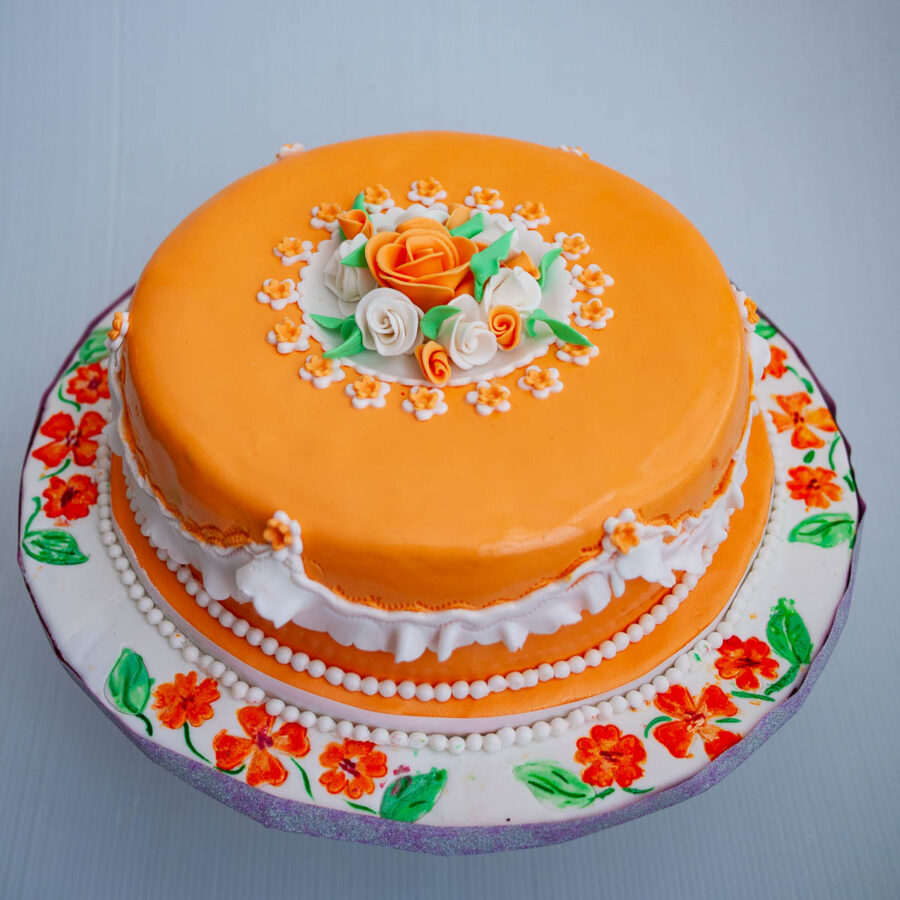
- If you are looking to make a red velvet wedding cake, then this would be great. This cake can be covered with fondant. Just make sure to chill the cake well. It is also a great cake to use for tiered cakes such as wedding cakes, birthdays, and anniversaries.

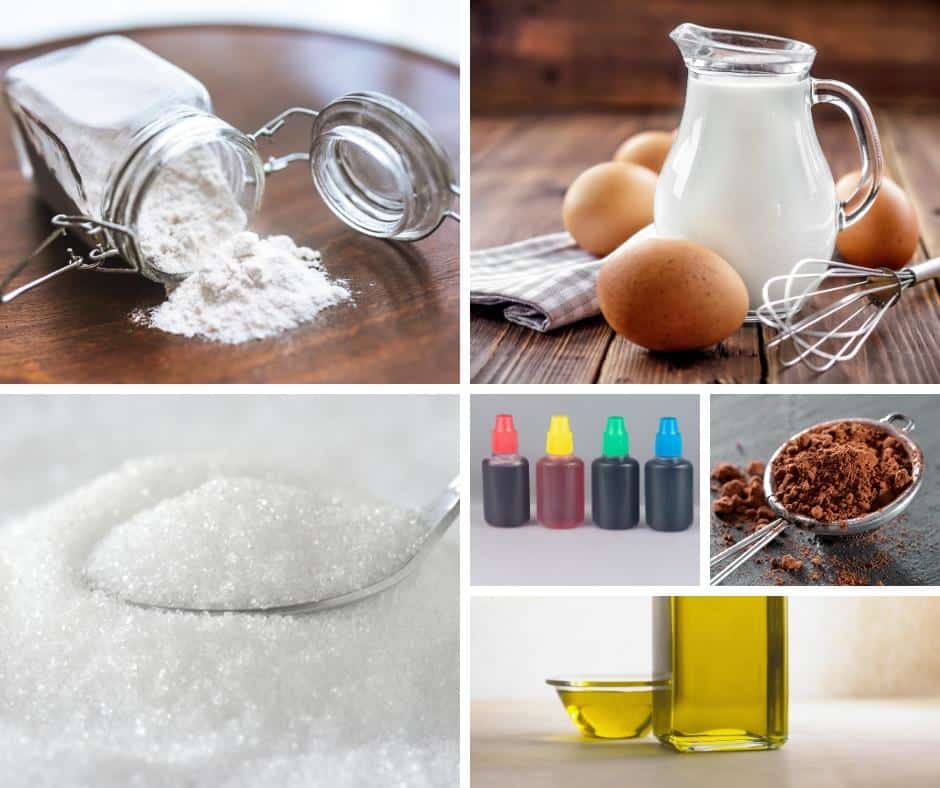
Ingredients and substitutes
- Oil – The oil in this cake makes for a moist sponge cake. If you prefer to use unsalted butter, follow my butter-based red velvet recipe.
- Eggs – Always use large-size eggs when baking unless specified. The size of eggs varies significantly these days. So, as a guide, large eggs weigh between 50 and 60 grams.
- Use Cake Flour – Cake flour has less protein than all-purpose flour, which makes it ideal for cakes. The lower protein content results in a lighter, fluffier cake. If you don’t have cake flour, you can make your own by combining all-purpose flour and cornstarch.
- Use Natural Cocoa Powder – Natural cocoa powder gives red velvet cake its signature flavor and color. It’s important to use natural cocoa powder, not Dutch-processed cocoa powder, which won’t react with the baking soda to create the desired rise.
- Buttermilk – keeps the cake moist with a soft crumb. There is no need for a buttermilk substitute because you can make a cup of buttermilk at home in just 5 minutes.
- Vanilla extract – Always use a good-quality vanilla extract, vanilla bean paste, or replace a few tablespoons of the sugar with vanilla sugar.
- Color – I am using red gel food coloring. But, if you don’t have red food coloring, you can use beet juice or pomegranate juice to give your cake a natural red hue. And if you’re looking for a healthier alternative, you can use beet powder or raspberry powder too.
Step-by-step: Best red velvet cake recipe
Cake
- Oven & Pans -Preheat oven to 350°F (175°C). Grease and line two 9-inch round cake pans or 3 x 7-inch round cake pans with parchment paper.
- Dry ingredients – Sift together the flour, salt, baking soda, and cocoa powder – set aside
- Eggs – In the large bowl of a stand mixer fitted with the whisk attachment, beat the whole eggs with a pinch of salt on medium-low speed for 2 minutes. Then, gradually add the sugar one tbsp at a time. Once all the sugar is in, turn the mixer to medium-high speed and whip until light and fluffy (ribbon stage)
- Wet ingredients – Once eggs are whipped, gradually add the buttermilk and vinegar, then the oil, vanilla extract, and gel food coloring.
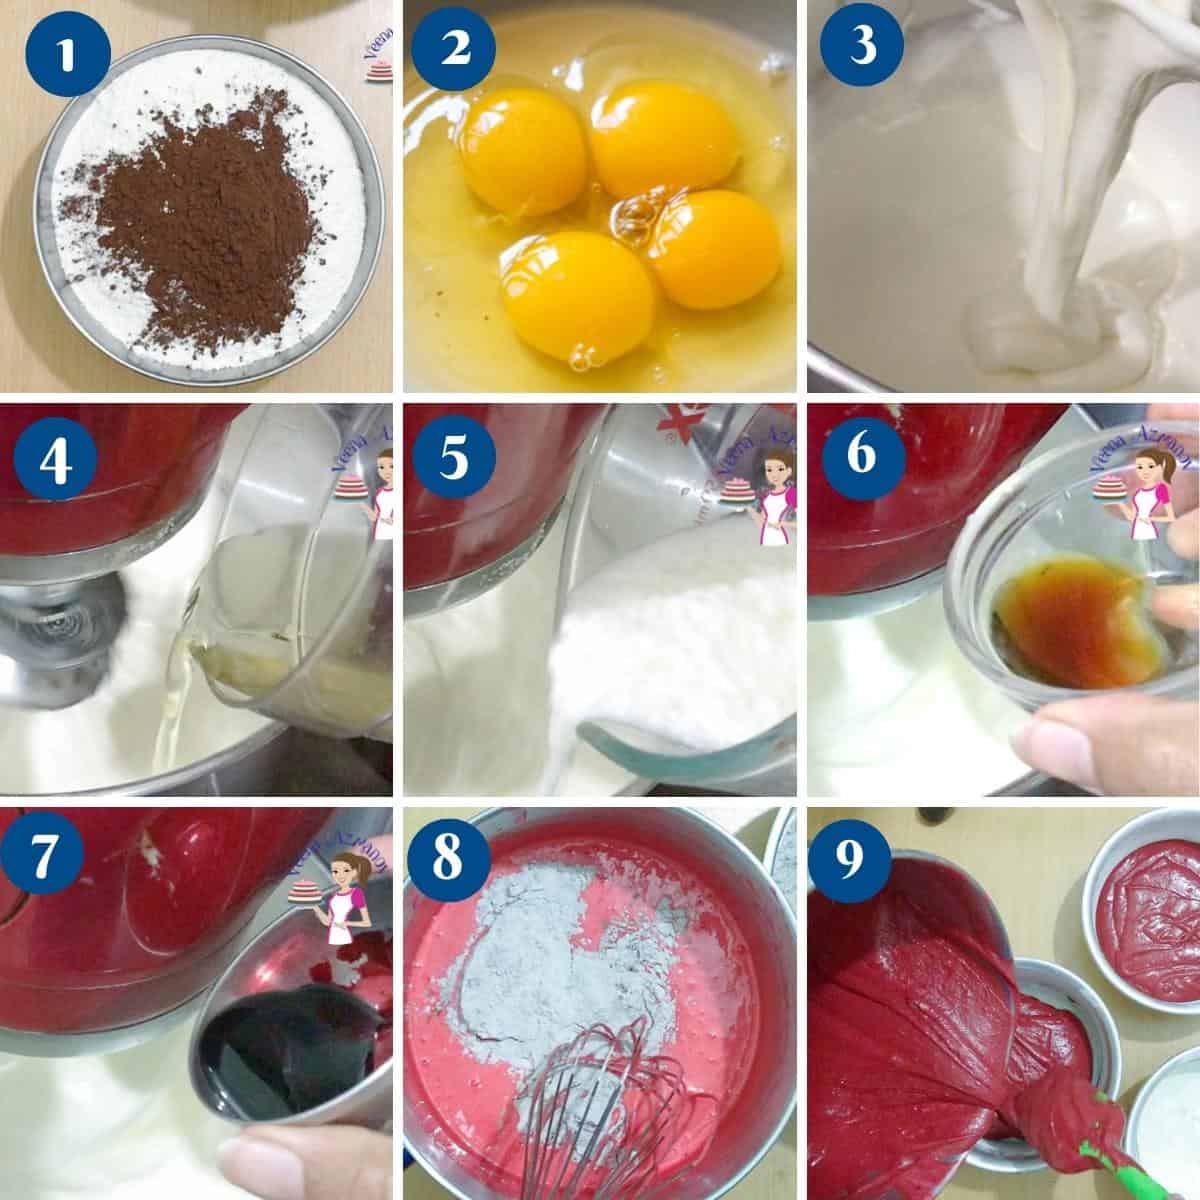
- Dry to wet – Continue to use the whisk attachment and add the flour mixture in three additions until you have a smooth batter. Scrape the sides of the bowl with a spatula.
- Pans – Divide the batter between the prepared baking pans. Tap on the counter three times to remove large air pockets.
- Bake in a preheated oven for about 25 to 30 minutes or until a toothpick or skewer inserted in the center of the cake comes out clean.
- Cool – once baked, cool in the pan for 5 minutes, then invert onto a wire rack completely before you decorate.
Cream cheese frosting
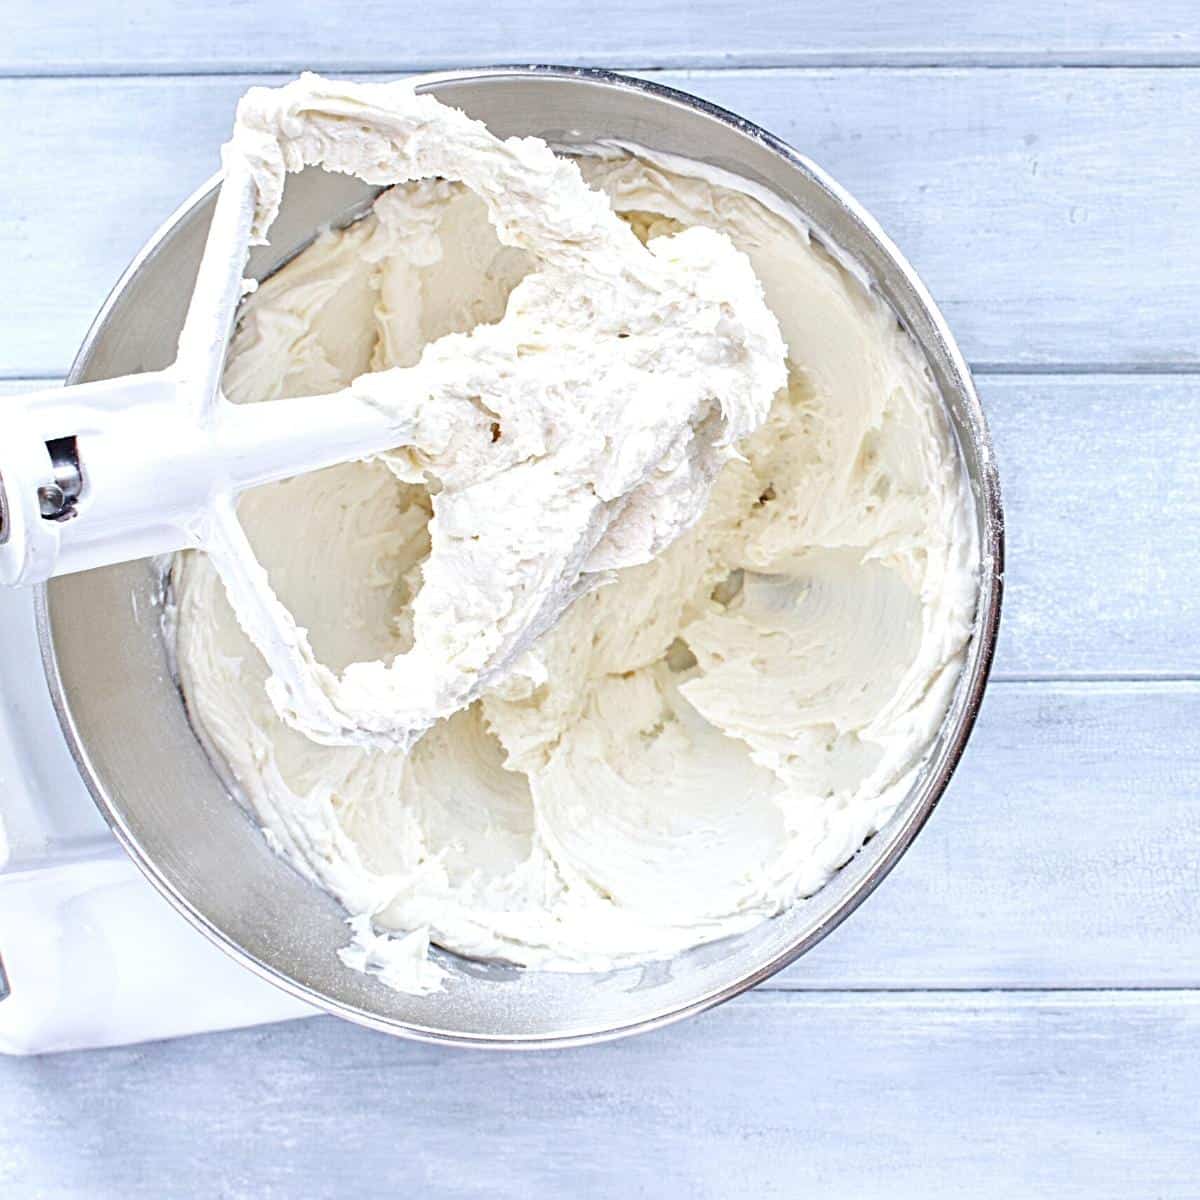
- Cream – In the bowl of a stand mixer with the paddle attachment, cream the cream cheese and butter to remove any lumps. Add 2 tbsp of heavy cream, salt, lemon juice, and vanilla extract to the cream for another minute.
- Sugar – Next, add powdered sugar one cup at a time. Once all the powdered sugar has been used, whip for 2 to 3 minutes on medium-high speed until light and fluffy.
Check consistency – If necessary, add more powdered sugar to stiffen it, or more whipping cream to loosen it.

Assemble
- Prepare simple syrup – Boil the sugar, water, and lemon juice on medium heat. Once all the sugar has dissolved, boil for two minutes more. Then, cool completely before using.
Pro tip – Simple syrup is optional, but it is used to ensure the cake layers are moist. - Level – Using a bread knife or cake leveler, cut the domes off the cake layers. Torte the cakes horizontally in half. Then, brush each layer with the cooled simple syrup.
- Stack – place a cake layer on the cake board or cake stand. Top with a big dollop of buttercream – spread evenly using a straight-edge spatula. Then top the second cake layer on top, followed by more buttercream and the last layer.
- Chill – Place the cake in the fridge to chill for 10 to 15 minutes.
Pro tip – Chilling the cake at this point will ensure the layers don’t move when you frost the outside. Though if you leave the cake uncovered in the fridge for too long, it can dry out. So, 10 minutes is all you need. - Frost – Spread the remaining buttercream on the top and sides of the cake.
Pro tip – A straight-edge spatula for the top, an offset spatula, and a bench scraper for the sides work better. - Pipe – Once smooth, place the remaining cream cheese frosting in a piping bag with a star or round tip and pipe borders on the top and bottom of the cake. Alternatively, you can crumble the cake domes (scrap cake) into crumbs and use them around the bottom of the cake.


Frequently asked questions
You can store this cake in an airtight container in the refrigerator for up to 3 days. If you want to store it for longer, you can freeze it for up to 2 months.
Yes, you can make this cake in advance. You can bake the cake layers ahead of time and freeze them until you’re ready to assemble the cake. You can also make the frosting in advance and store it in the refrigerator until you’re ready to use it. Just make sure to let it come to room temperature before frosting the cake
You can make red velvet from scratch using natural food coloring. Substitute the red color with approximately 1 tsp of beet powder.
You can also use the liquid from one can of beets. But, you will need to reduce it over a gentle heat until you have about 1/4 cup. Then, use just enough (about 2 to 4 tbsp) for the cake.
Yes, you can freeze red velvet cake for later enjoyment. To do so, wrap the cooled cake tightly in a double layer of plastic wrap, followed by a layer of aluminum foil. When you’re ready to thaw and serve, allow the cake to defrost in the refrigerator overnight before unwrapping it.
Red Velvet Cake with Cream Cheese Frosting
Are you in the mood for baking something special but not quite sure where to start? Look no further than this perfect red cake! A Red velvet cake is a classic, with layers of moist cake, a hint of cocoa, and a rich cream cheese frosting.
Video
Ingredients
- 2 ½ cup (310 g) Cake flour or all-purpose flour
- 2 tbsp (10 g) Natural cocoa Powder
- 1 tsp Baking soda
- ½ tsp Kosher salt
- 3 large Eggs
- 1¾ cup (350 g) White granulated sugar
- 1 cup (240 ml) Cooking oil
- 1 cup (240 ml) Buttermilk
- 1 tbsp White vinegar
- 2 tsp Vanilla extract
- 2 tsp Red Gel food color (or 2 tbsp regular food gel color)
- 8 oz (226 g) Cream cheese 38% fat or more
- 4 oz (113 g) Butter unsalted
- 2 tbsp Whipping cream or milk
- ½ tbsp Lemon juice
- ¼ tsp Salt
- 1 tsp Vanilla extract
- 4 cup (480 g) Powdered sugar confectioner's sugar
- ½ cup (120 ml) Simple Syrup
Method
- Oven & Pans -Preheat oven to 350°F (175°C). Grease and line two 9-inch round cake pans or 3 x 7-inch round cake pans with parchment paper.
- Dry ingredients – Sift together the flour, salt, baking soda, and cocoa powder – set aside2 ½ cup Cake flour, 2 tbsp Natural cocoa Powder, 1 tsp Baking soda, 1 tbsp White vinegar, ½ tsp Kosher salt
- Eggs – In the large bowl of a stand mixer with the whisk attachment on medium-low speed, whip the whole eggs with a pinch of salt for two minutes. Then, gradually add the sugar one tbsp at a time. Once all the sugar is, in turn, the mixer to medium-high speed and whip until light and fluffy (ribbon stage)3 large Eggs, 1¾ cup White granulated sugar
- Wet ingredients – Once eggs are whipped gradually add the buttermilk and vinegar, followed by the oil, vanilla extract, and gel food coloring.1 cup Cooking oil , 1 cup Buttermilk, 2 tsp Vanilla extract, 2 tsp Red Gel food color , 1 tbsp White vinegar
- Dry to wet – Continue to use the whisk attachment and add the flour mixture in three additions until you have a smooth batter.
- Pans – Divide the batter between the prepared baking pans. Tap on the counter three times to remove large air pockets.
- Bake in a preheated oven for about 25 to 30 minutes or until a toothpick or skewer inserted in the center of the cake comes out clean.
- Cool – once baked, cool in the pan for 5 minutes then invert onto a wire rack completely before you decorate.
- Cream – In the bowl of a stand mixer with the paddle attachment cream the cream cheese and butter to remove any lumps. Add 2 tbsp of heavy cream, salt, lemon juice, and vanilla extract– cream another minutePro tip – do not overwhip cream cheese as it can separate or curdle.8 oz Cream cheese, 4 oz Butter, 2 tbsp Whipping cream, 1/2 tbsp Lemon juice, 1/4 tsp Salt, 1 tsp Vanilla extract
- Sugar – Next, add powdered sugar one cup at a time. Once all the powdered sugar has been used whip for 2 to 3 minutes on medium-high speed until light and fluffy.4 cup Powdered sugar
- Prepare simple syrup – Boil the sugar, water and lemon juice on medium heat. Once all the sugar has dissolved boil for two minutes more. Then, cool completely before using.Pro tip– Simple syrup is optional but it is used to ensure the cake layers are moist.1/2 cup Simple Syrup
- Level – Using a bread knife or cake leveler cut the domes off the cake layers. Torte the cakes horizontally in half. Then, brush each layer with the cooled simple syrup.
- Stack – pace a cake layer on the cake board or cake stand. Top with a big dollop of buttercream – spread evenly using a straight-edge spatula. Then top the second cake layer, followed by more buttercream and the last layer.
- Chill – Place the cake in the fridge to chill for 10 to 15 minutes.
- Frost – Spread the remaining buttercream on the top and sides of the cake. A straight-edge spatula for the top, an offset spatula and a bench scraper for the sides work better.
- Pipe – One smooth, place the remaining cream cheese frosting in a piping bag with a star or round and pipe borders on the top and bottom of the cake.
Notes
- Line the cake pan with parchment paper. This will prevent the cake from sticking to the pan and make removing it easier.
- It’s essential to use room-temperature ingredients, especially oil and eggs, to ensure they mix properly. Room-temperature ingredients blend better, resulting in a smoother batter and a more evenly baked cake.
- Use fine-grain sugar – this ensures the sugar melts into the whipping eggs easily, leaving no trace of sugar grains
- Don’t Over-mix the Batter: When mixing the batter, make sure you don’t overdo it. Overmixing the batter can cause the cake to become dense and dry. Mix the ingredients until just combined.
- Cake strips are highly recommended for this cake so you have a lovely pale baked cake that is not dark. The top crust comes off easily. You can also make cake strips at home DIY
- Bake in the Middle of the Oven: For even baking, place the cake in the middle of the oven. This will ensure the cake bakes evenly and doesn’t rise too much in the center.
- Keep cakes moist by brushing the layers with simple syrup – simple syrup is a mixture of sugar and water boiled until the sugar is dissolved.
- Keep it simple: You don’t need to be a professional baker to create a stunning cake. Sometimes, less is more. A simple dusting of powdered sugar or a few fresh berries can be all you need to make your cake look beautiful.
- Use frosting sparingly: While frosting is a must-have for any red velvet cake, it’s important not to go overboard. Too much frosting can overpower the cake’s flavor and make it look messy. Stick to a thin layer, and add a few decorative swirls.
- Get creative with toppings: The best part of any cake is the toppings! Add crushed nuts, chocolate shavings, or even edible flowers to your red velvet cake for a pop of color and texture.
- Use piping bags: If you’re feeling extra ambitious, try using a piping bag to create fun and intricate designs on your cake. Practice on a piece of parchment paper first to perfect your technique.
Equipment you will need


Nutrition
Tried this recipe?
Mention @veenaazmanov_kitchen or tag #veenaazmanovkitchen!Don’t lose this recipe! Save it for Later!
📌 Save this Recipe for later on Pinterest so you can easily find it again.
⭐ Add Veena Azmanov Kitchen to your Google Preferred Sources.
It helps Google show you more of our recipes.
📧 Subscribe for new recipes delivered to your inbox.
🎥 Follow us for more recipes


How long would you do 8 inch pans?
Ashley, an 8-inch would usually take between 20 to 25 mins. Thanks