Crusty No-Knead Bread
 Prep Time 5 minutes Cook Time 45 minutes Total Time 6 hours 50 minutes

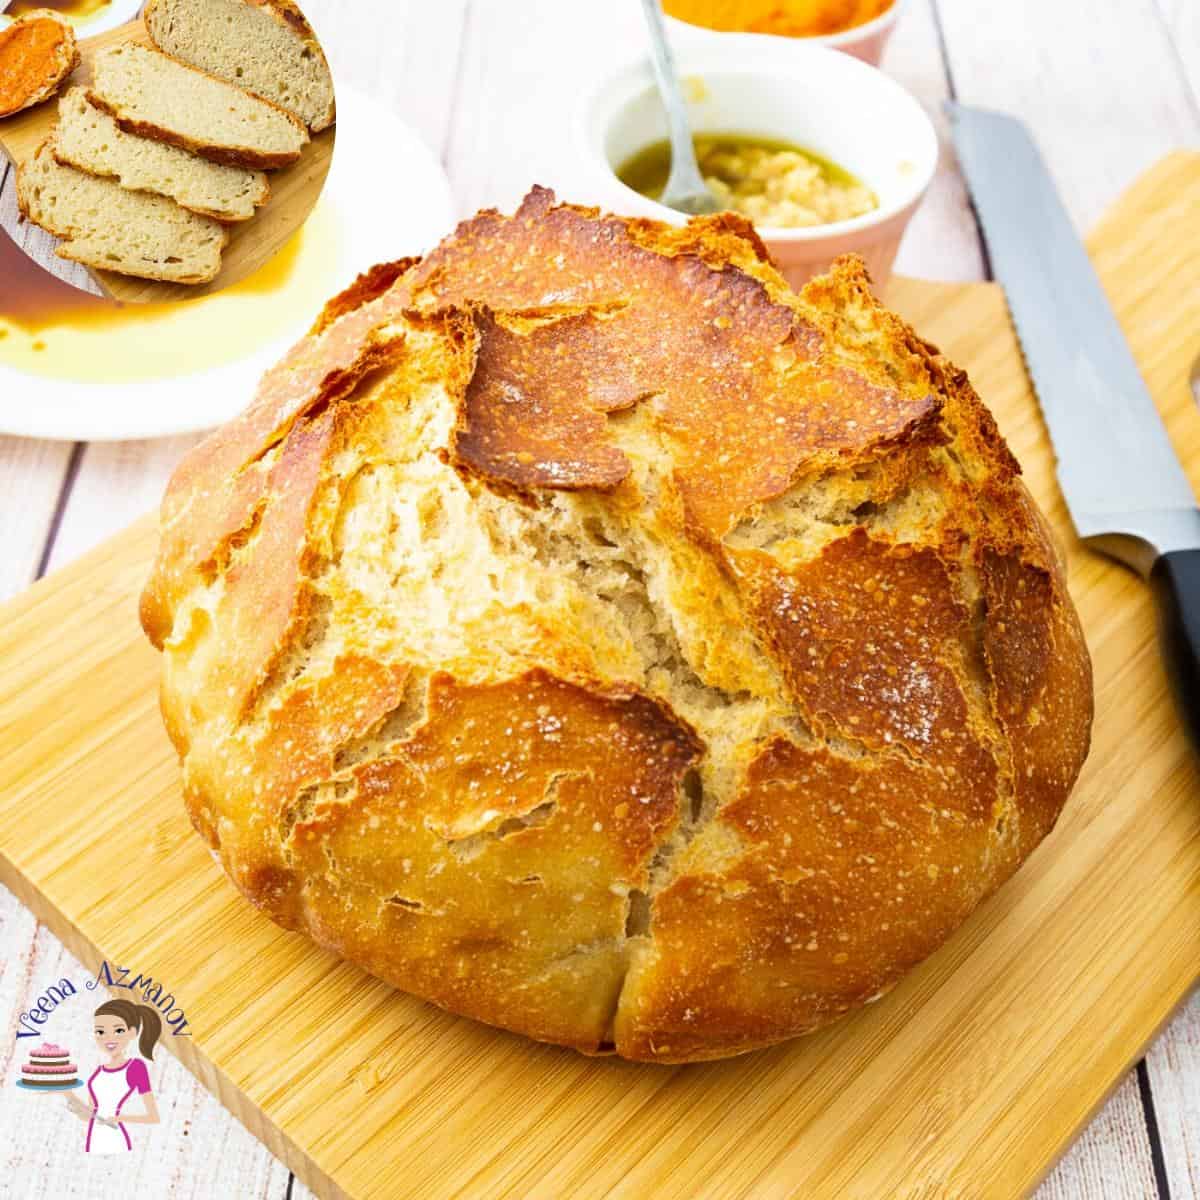
Crusty No-Knead Bread is one of the easiest recipes I’ve ever made. And it produces some of the most delicious bread I’ve ever tasted. It needs just 6 ingredients, takes less than 5 minutes to combine, and 4 hours of proofing. Despite no-kneading, it has an amazing crust outside, yet light and airy texture on the inside. The best part is that it looks absolutely gorgeous and your guest won’t believe you baked it.
If you’re looking for an easy way to bake, try a no-knead bread recipe. This method was made famous by Jim Lahey, owner of Sullivan Street Bakery in New York. It’s wildly popular with almost everybody, from novice to seasoned bakers, and for good reason.
I call this my lazy bread, and it’s also a family favorite. Everyone must have some lazy bread days, right? You don’t need an electric mixer or stand mixer. Just a large bowl and a wooden spoon.
Why make this crusty bread?
- It has a wonderful crust and a nice soft, light, and airy center.
- This bread is perfect for anyone who loves bread but does not want to knead it. In fact, if you have never made bread before, this is a great recipe to start with. Very rewarding.
- The dough is very forgiving. Soft, wet, and sticky, and yet that is what gives it a beautiful crust on the outside and a soft, moist bread on the inside.
- There’s no need to rush – the slow proofing of four hours, compared to the usual hour, helps develop both the gluten and flavor in this bread. The longer you leave it to proof, the more flavorful the dough becomes.

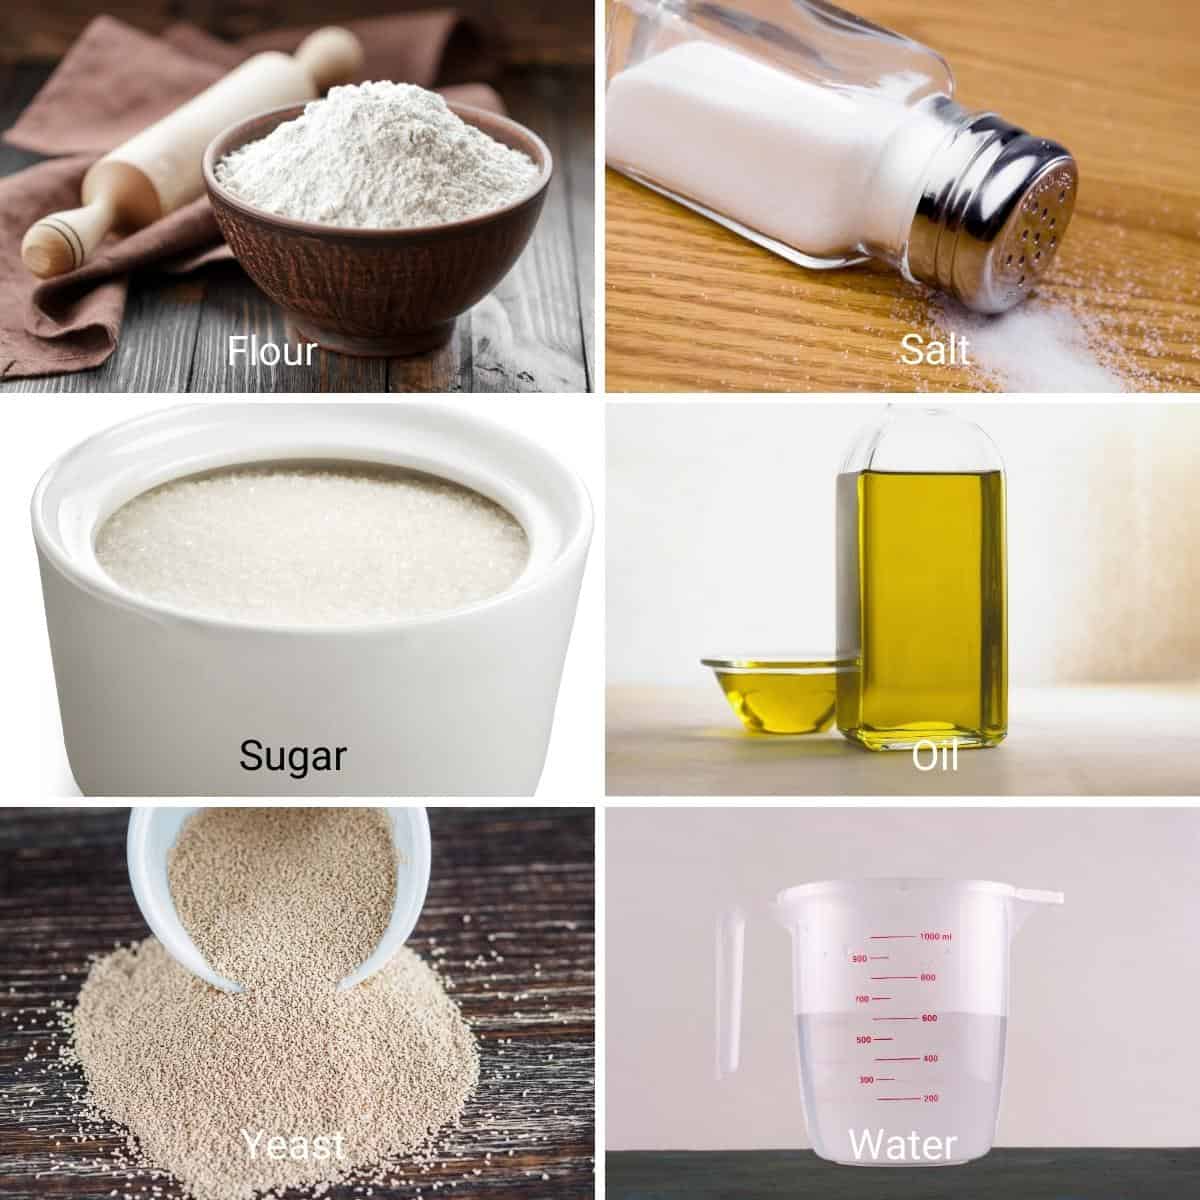
Ingredients and substitutes
- Flour – I have always used all-purpose flour for no-knead bread in the past, but bread flour is perfect for this bread. It has more gluten, which makes the bread stronger and chewier, and that’s what we want!
- Water – It is very important to use warm water, not cold or hot water. Cold water will not revive the yeast, and hot water will kill it. The water must be about 110°F.
- Instant dry yeast – I like to use instant yeast because I’ve always had great success with it. You can also use 1 1/4 tsp – Active dry yeast or 16 grams of fresh or baker’s yeast.
- Sugar – If you prefer, you can substitute sugar with 2 tbsp of honey.
- Olive oil – A good source of food for the yeast, and adds a nice flavor as well.
Step-by-step: No-Knead Bread Recipe
Dough
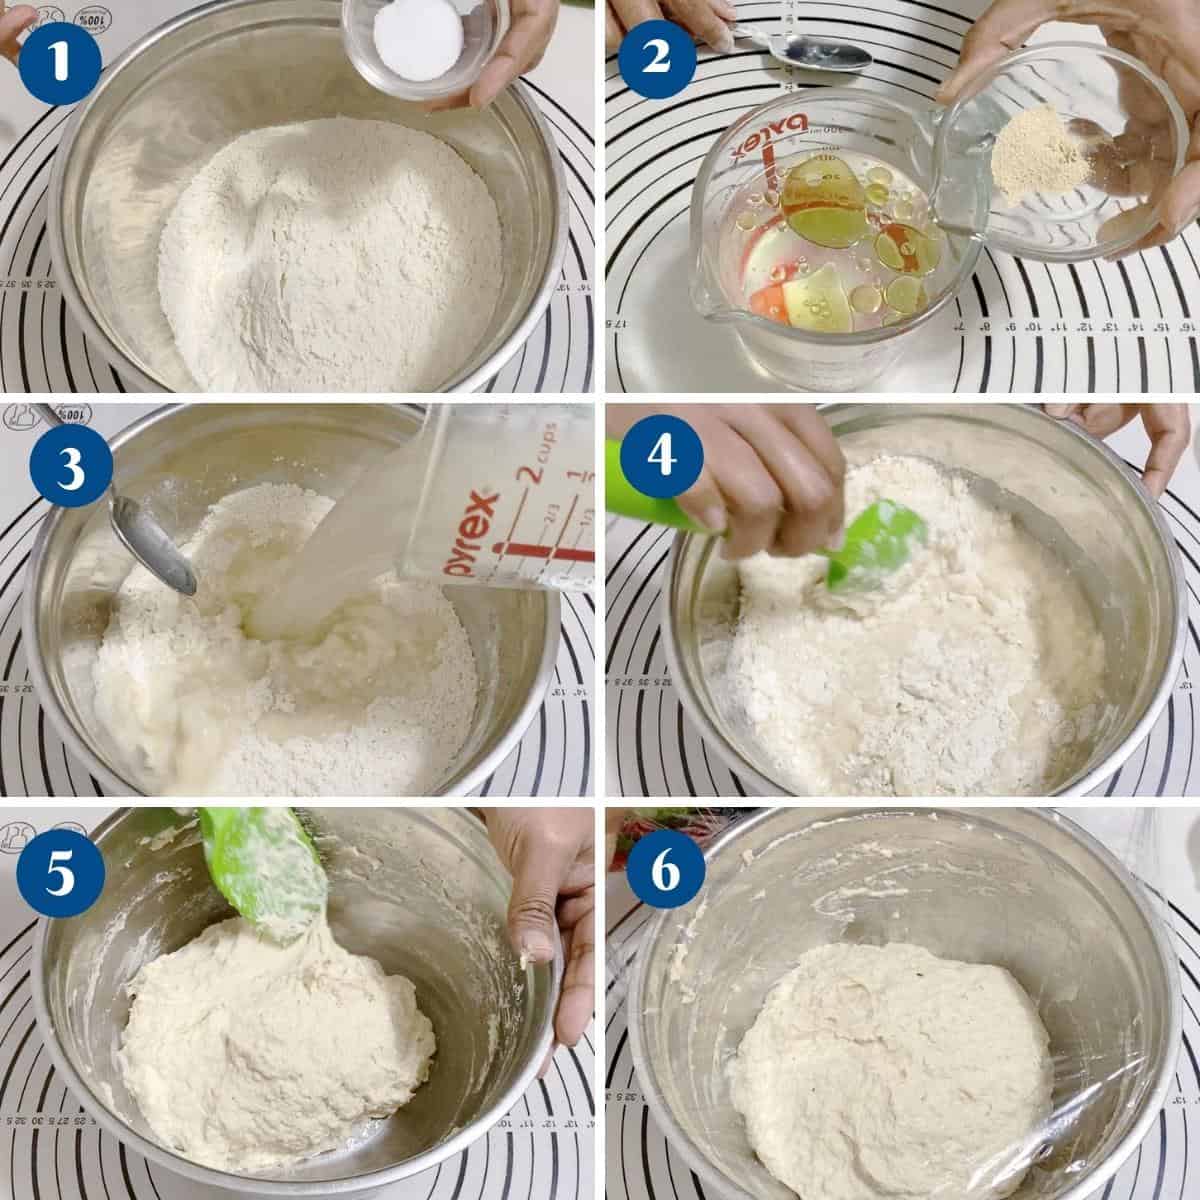
- Dry Ingredients – In a large bowl, combine the flour and salt, stirring to combine, and set aside.
- Wet ingredients – In a measuring cup or medium bowl, measure the warm water, add olive oil, sugar, and yeast. Combine well.
- Combine the wet and dry ingredients – Add the yeast mixture to the flour mixture. Use a wooden spoon or spatula to combine the ingredients thoroughly, ensuring no dry flour remains on the bottom. This is a very wet dough, so avoid touching it with your hands.
Pro tip – The high hydration in the dough (water-to-flour ratio) is what gives us that crust on top and light and airy texture on the inside. - Rise – Cover bowl with a kitchen cloth (cotton towel) or plastic wrap. Leave at a warm room temperature for an hour. Then, place in the fridge for 4 to 6 hours, up to 12 hours.
Pro tip – The longer you proof artisan bread, the more developed the flavor of the yeast. I would not recommend proofing longer than 18 hours.
Shape
- Remove the dough from the fridge. Preheat the oven at 390°F / 200°C / Gas Mark 6
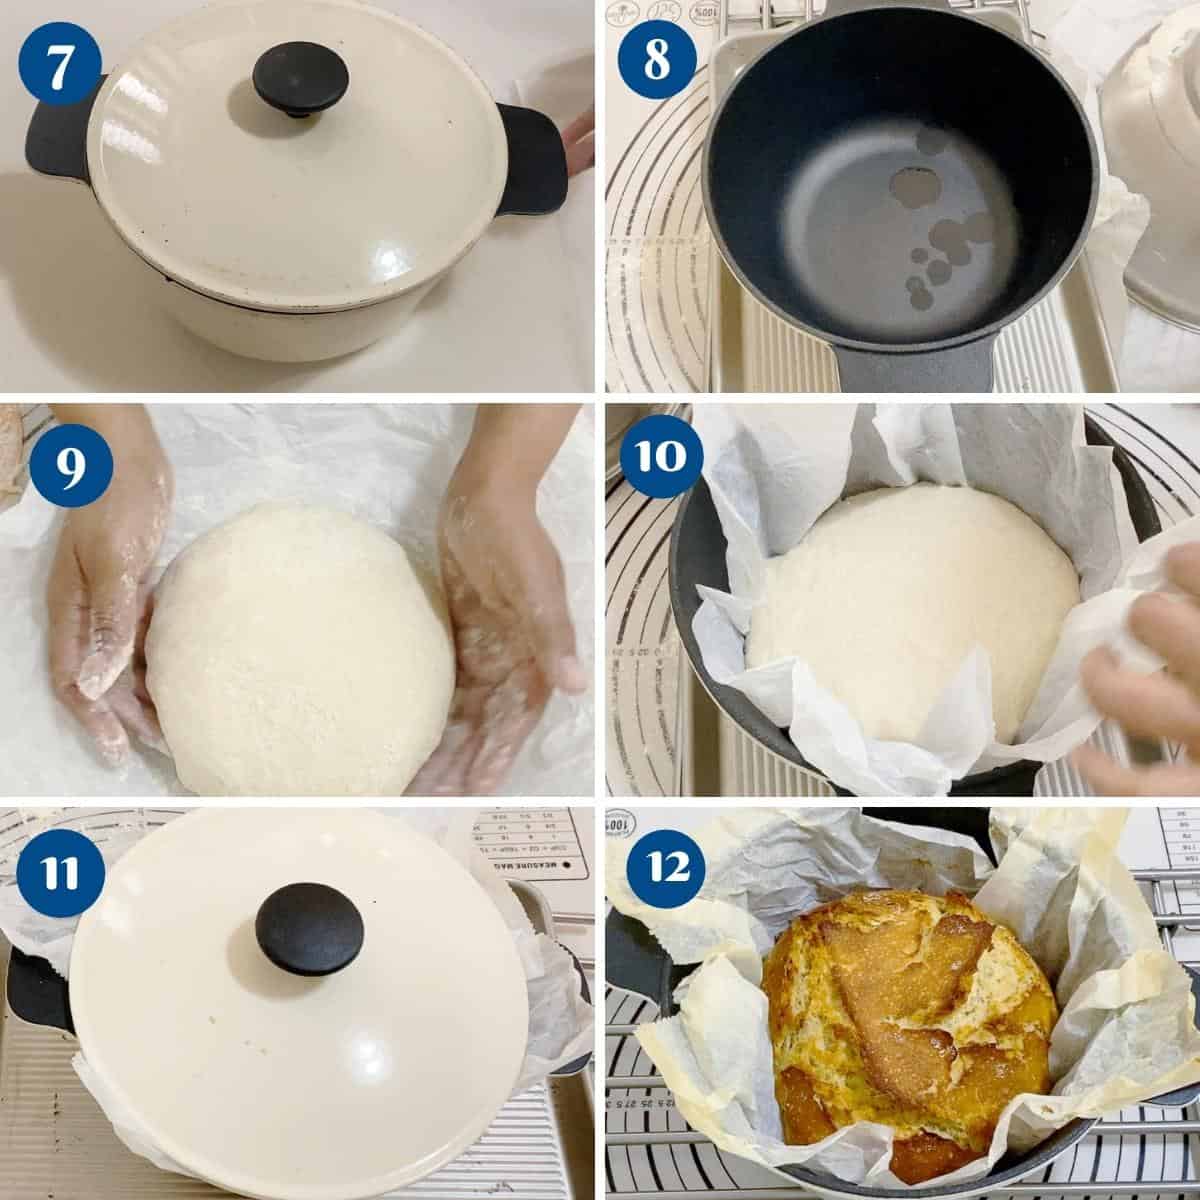
- Place a 6-quart cast-iron or Dutch oven with its lid in the oven for 30 minutes.
Pro tip – I like to use my 4-quart Dutch oven because I like a taller loaf of bread. You can also use a ceramic pan if you don’t have a cast-iron pan. - The dough will have tripled in size but will still be very soft, sticky, and elastic, with lots of air pockets.
- Dust your work surface generously with flour. Turn the dough onto the floured work surface. It is best to use a dough scraper or spatula when working with this dough.
Pro tip – Flour is an absolute necessity when handling this dough; otherwise, it will stick to your hands, and you will lose a lot of volume and quantity of bread. - Using a plastic scraper, bring the dough together into a ball. Use flour on your hands and roll them around in the flour to prevent the dough from sticking to the work surface.
- Take a piece of parchment paper and scrunch it into a ball. Then open it. Dust the parchment paper with enough flour to prevent sticking. Place the dough onto the parchment paper, seam side down.
Pro tip – Crunching the paper makes it easier to slide the loaf into the hot pan later. - Place an inverted bowl over it while you wait for the cast-iron pan to heat up.
Pro tip – Dust a little flour on top of the dough if you like a rustic loaf. Also, do not cover the dough with plastic wrap, as it will stick to it.
Bake
- Once 30 minutes (half an hour) are up, remove the cast-iron pan or Dutch oven from the oven. Pick up the dough with the parchment paper and lower it into the pan
Pro tip – DO NOT TOUCH the pan as it is VERY hot. Wear your oven gloves at all times so you don’t burn yourself. - Bake for 20 minutes covered, then remove the lid and continue baking for another 20 minutes uncovered. Or until it bursts and turns golden on top. It takes about 40 to 45 minutes to cook.
Pro tip – The bread will have a burst effect on the top surface (that’s normal), and it should now have a lightly golden crust on top. Alternatively, you can use a sharp knife and make a cut on top before baking. - Carefully remove the pan from the oven. Lift the bread out by lifting the parchment paper. Transfer the bread to a wire rack – this will prevent the bread from getting soggy on the bottom.
Pro tip – You don’t want to keep the bread in the pan for long, as the steam will cause the bread to become soft, losing that crusty top and bottom. - Let the bread cool for at least 20 minutes before cutting into it.
Pro tip – Never cut bread while it’s hot because steam escapes, and along with it, all the moisture from the bread makes it dry. Patience!


Crusty No-Knead Bread
This no-knead bread needs just six ingredients, takes less than 5 minutes to combine, and 4 hours of proofing. Despite being no-knead, it has an amazing crust on the outside, yet a light and airy texture on the inside. The best part is that it looks absolutely gorgeous, and your guests won't believe you baked it.
Video
Ingredients
- 500 g (4 cups) Bread flour or all-purpose flour
- 7 g (1 tsp) Salt
- 5 g (1½ tsp) Instant dry yeast
- 470 ml (2 cups) Water warm (110 F)
- 15 ml (1 tbsp) Olive oil
- 15 g (1 tbsp) Sugar
Method
- Dry ingredients – In a large bowl, combine flour and salt, and set aside.500 g Bread flour, 7 g Salt
- Wet ingredients – In a measuring cup or medium bowl, measure the warm water, add olive oil, sugar, and yeast. Combine well.5 g Instant dry yeast, 470 ml Water, 15 ml Olive oil, 15 g Sugar
- Combine the wet and dry ingredients – Add the yeast mixture to the flour mixture.
- Use a wooden spoon or spatula to combine the ingredients thoroughly, ensuring no dry flour remains on the bottom. This is a very wet dough, so avoid touching it with your hands.
- Cover the dough with a kitchen cloth (cotton towel) or plastic wrap. Leave at a warm room temperature for an hour. Then, place in the fridge for 4 to 6 hours, or up to 24 hours.
- Remove the dough from the fridge. Preheat the oven at 390°F / 200°C / Gas Mark 6
- Place an 8-quart cast-iron or Dutch oven with its lid in the oven for 30 minutes. I like to use my 6-quart Dutch oven because I like a taller loaf of bread. You can also use ceramic if you don't have cast iron.
- The dough will have tripled in size but will still be very soft, sticky, and elastic, with lots of air pockets.
- Dust your work surface generously with flour. Turn the dough onto the floured work surface. It is best to use a dough scraper or spatula when working with this dough.
- Using a plastic scraper, bring the dough together into a ball. Use flour on your hands and roll it around in the flour to prevent the dough from sticking to the work surface.
- Take a parchment paper and scrunch it into a ball. Then open it. Dust the parchment paper with enough flour to prevent sticking. Place the ball of dough onto the parchment paper.
- Place an inverted bowl over it while you wait for the cast-iron pan to heat up.
- Once 30 minutes are up, remove the cast-iron pan or Dutch oven from the oven. Pick up the dough with the parchment paper and lower it into the pan.
- Bake for 20 minutes covered, then remove the lid and continue baking for another 20 minutes uncovered. Or until it bursts and turns golden on top. It takes about 40 to 45 minutes to cook.
- Carefully remove the pan from the oven. Lift the bread out by lifting the parchment paper. Transfer the bread to a wire rack – this will prevent the bread from getting soggy on the bottom.
- Let the bread cool for at least 20 minutes before cutting into it.
Notes
- Pizza stone – The Dutch oven heats the bread at a very high temperature, which gives it that nice rise. At the same time, because we use the lid, it creates steam inside the pan. This steam settles on top of the bread, which then bakes into a nice hard crust.
Alternatively, you can bake this without a Dutch oven directly on a pizza stone, and place a bowl of water at the back of the oven. This will give you a good crust, but the bread does spread, giving you a shorter loaf similar to my no-knead beer bread. - Your bread is done when the bottom of the loaf sounds hollow or the internal temperature of the dough reads 210°F on an instant-read thermometer.
- Take the bread out of the tray as soon as it is out of the oven. This will prevent the bread from getting soggy on the bottom.
- Do not cut the bread for at least 20 minutes after it has cooled out of the oven. This will prevent moisture in the form of steam from escaping from the bread, resulting in dry bread.
- Do not cover or wrap the bread while it is warm. The steam will soften the crust.
- Do not store bread in the fridge as it will dry out. Leave it on the counter at room temperature for 2 to 3 days.
- This is a great bread to freeze for up to 3 months, and yet freeze slices rather than the whole bread.
- Bread sank to the bottom? The pan in the oven must be very hot, which is why I asked you to let it heat for at least 30 minutes. If the dough is placed in a pan that’s not hot enough, it will sink.
- Dense dough? – The dough needs to be soft, wet, and sticky. The low yeast, high water content, and slow rise help gluten development. If you add too much flour, the dough will be dense.
- The dough did not rise after 6 hours? You must use warm water or room temperature water. Warm water will revive the yeast, while hot water will kill the yeast, and the dough will not rise. If the water is at the correct temperature, then check the yeast; perhaps the yeast is past its expiration date.
- Whole wheat bread – Unlike whole-wheat flour, white flour contains gluten, which is what makes this bread light and airy. You can replace half the white flour with whole wheat as we did in our no-knead whole wheat olive bread. All whole wheat will require more yeast and will result in a denser bread if not kneaded.
Equipment you will need


Nutrition
Tried this recipe?
Mention @veenaazmanov_kitchen or tag #veenaazmanovkitchen!Tips for Success
- This dough is a high-hydration bread, which means it has to be soft, wet, and sticky. Don’t add more flour.
- Use warm water – Neither hot nor cold. Cold water will not revive the yeast; hot water will kill it. Read here – Baking with Yeast: A Beginner’s Guide.
- Flavor ideas – you can add so many ingredients to flavor this bread, from chopped rosemary and thyme to olives, sun-dried tomatoes, caramelized onions, roasted garlic, parmesan, cinnamon, and pumpkin spice.
- Do not try to knead it. Because it has too much water, trying to knead it will not only be difficult but also not worth the effort.
- Don’t make haste with the proofing. We use less yeast in this bread, so the proofing is slow. But it also helps develop flavor and structure. You can leave this in the fridge for up to 24 hours.
- When baking, the top of the bread will have a burst effect because of steam trying to escape. If you don’t like the burst effect, you can score the bread on top before baking. Mark an X or just two slashes. This will direct steam to come out from those designated vents you created.

Troubleshooting
- Bread sank to the bottom? The pan in the oven must be very hot, which is why I asked you to let it heat for at least 30 minutes. If the dough is placed in a pan that’s not hot enough, it will sink.
- Dense dough. The dough needs to be soft, wet, and sticky. The low yeast content, high water content, and slow rise help facilitate gluten development. If you add too much flour, the dough will be dense.
- The dough did not rise after 6 hours? You must use warm or room-temperature water. Warm water will revive the yeast, while hot water will kill the yeast, and the dough will not rise. If the water is at the correct temperature, check the yeast; it may be past its expiration date.
- Whole wheat bread – Unlike whole-wheat flour, white flour has gluten, and it is what makes this bread light and airy. You can replace half the white flour with whole wheat, as we did in our no-knead whole wheat olive bread.
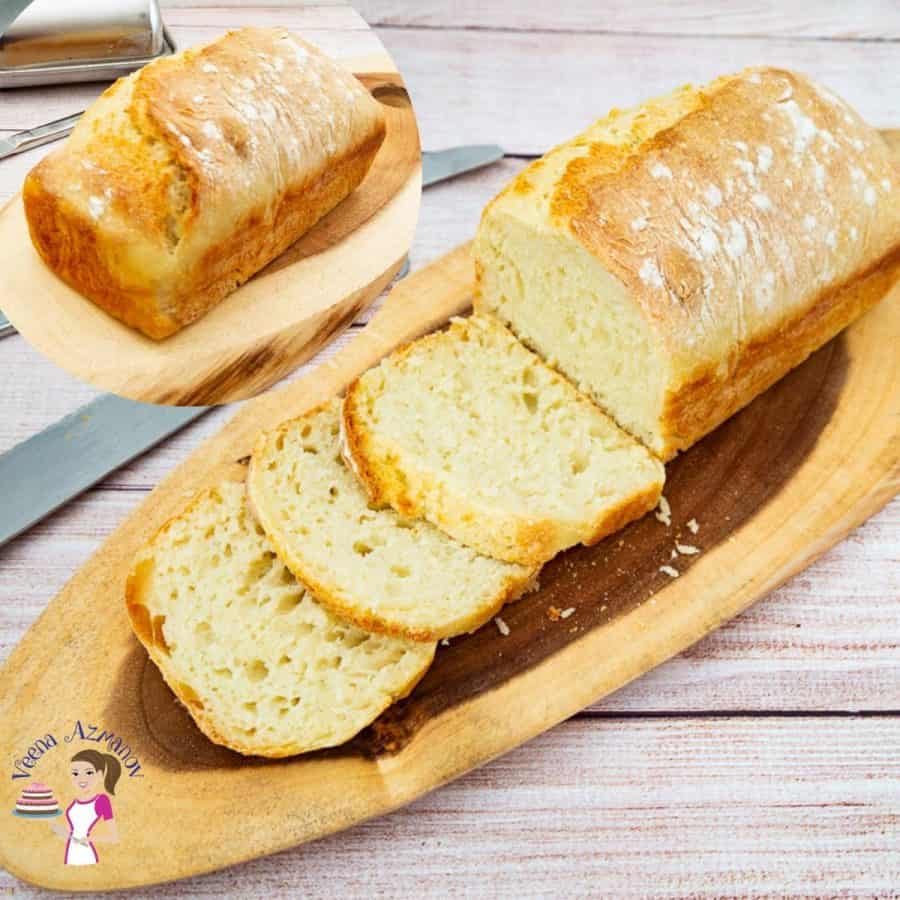
- No-Knead Sandwich Bread
- Easy Soft Flatbread Without Yeast (no-knead)
- No-Knead Beer Bread – (yeast-risen)
- See all no-knead bread recipes


Frequently asked questions
The crusty no-knead bread will keep at room temperature for 2 to 3 days. Once cut, be sure to wrap the cut side of the bread well to prevent it from drying out.
The Dutch oven heats the bread at a very high temperature, which gives it a nice rise. At the same time, because we use the lid, it creates steam inside the pan. This steam settles on top of the bread, which then bakes into a nice, hard crust.
Alternatively, you can bake this without a Dutch oven directly on a pizza stone and place a bowl of water at the back of the oven. This will give you a good crust, but the bread does spread, giving you a shorter loaf similar to my no-knead beer bread.
Absolutely. I cut the bread into slices. Place it into a reusable silicone storage bag in the freezer. When I need it, I just thaw slices in the microwave for 15 to 30 seconds.
This is the perfect bread to serve alongside any main course. My kids had it today with their bolognese sauce. We often serve it with slow-cooked meat dishes, such as beef bourguignon, beef in red wine, and lamb shanks. On its own, this bead is perfect with simple olive oil and balsamic or roasted garlic, olive tapenade, etc.
- No-Knead Bread Recipe Without a Dutch Oven
- No-Knead Olive Bread
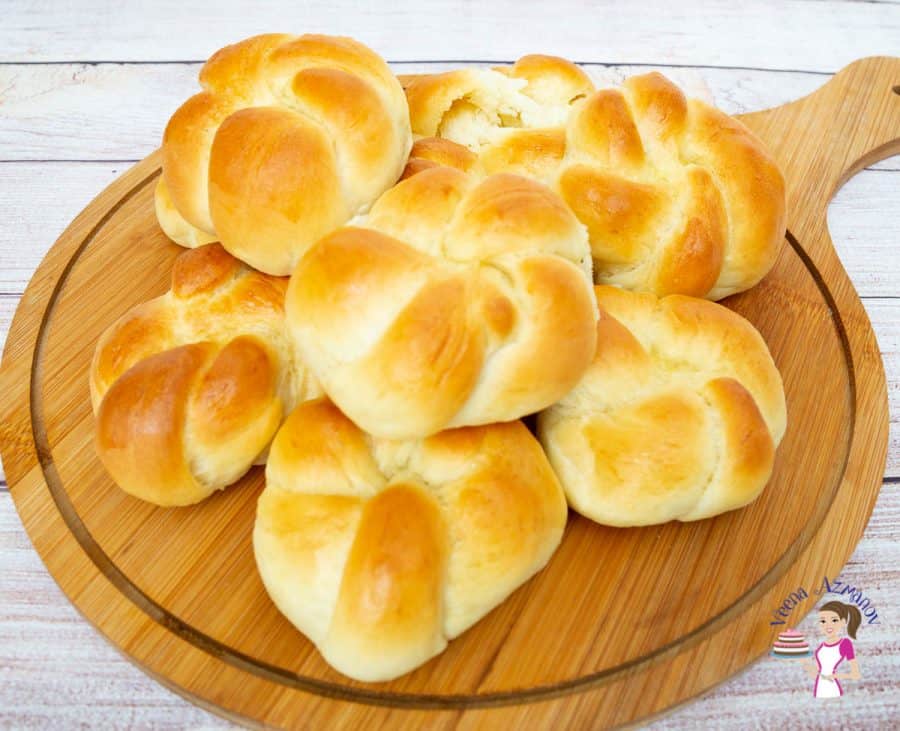
- and No-Knead Knotted Rolls
- No-Knead Pizza Dough
- No-Knead flatbread recipe

Don’t lose this recipe! Save it for Later!
📌 Save this Recipe for later on Pinterest so you can easily find it again.
⭐ Add Veena Azmanov Kitchen to your Google Preferred Sources.
It helps Google show you more of our recipes.
📧 Subscribe for new recipes delivered to your inbox.
🎥 Follow us for more recipes


day nine done
Done with Day 9
great recipe. tip. if you ever burn yourself. wet or lick immediately. cover with sugar. yes SUGAR. wast used during CIViL WAR it works great pain got 30 seconds no blistering.
That is correct! I remember my grandmom used to use wet sugar on wounds, and if we got hurt, she’d put sugar in our mouths, saying sugar would make it better.
Hello! I love your recipes and I’m very grateful you have shared them with all of us. Yesterday, I started making the Crusty- No need to knead bread recipe but the crust did not burst. What can cause this effect? I appreciate any help and suggestions.
Thank you.
Hey Liz. usually, the burst won’t happen if the oven is not HOT enough.
Day 9 done
Hi – I made this bread last night to eat with our spaghetti. It was delicious, but I have a couple of questions please –
1. My bread was crusty, and did crack on top, just like the pictures; but it did not brown at all. What can I do to remedy this?
2. I had leftover bread and this morning it is not crispy. What can I do to bring back the crispness of the crust? Thanks
Hey Karen. Sounds like the bread needed more open baking time. Next time bake it open without the lid for a longer time. That should help with color.
Store it in a paper bad not plastic and that should help keep the bread from getting softer.
Glad you enjoyed this recipe. Thanks for the feedback.
Day 9 Done
I have my bread in the oven now. I plan to have it with our spaghetti dinner tonight!
So easy!!
This bread is outstanding we LOVE it
Thanks ❤️
Thank you, Hetty.