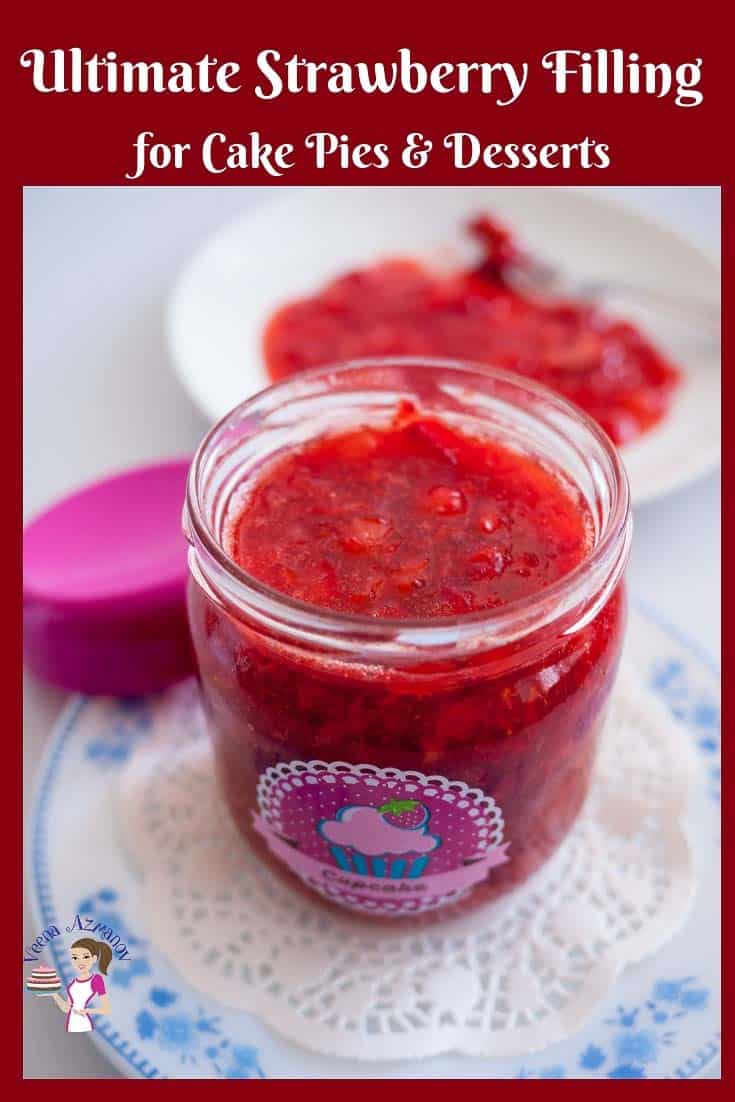
Ultimate Strawberry Filling for Cakes
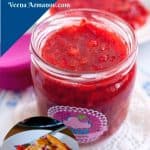
Strawberry filling is an ultimate ingredient that works excellently in countless dessert recipes. Including cake fillings, tart fillings, and fruit tarts. You can also use it as a topping for your favorite ice cream or breakfast pancakes. In addition, this recipe is so simple and easy that you will never want to use a store-bought strawberry filling again.
Many of my friends buy strawberry filling from the supermarket. Often, because they don’t know how easy it is to make it at home. It is super easy, and you can use fresh or frozen fruits to make it.
So, what do you do when you have extra strawberries in season? Well, I do a few things.
- First of all, I make a delicious strawberry filling and place the extra in a ziplock bag, so they use less space.
- And, I also love to freeze strawberries individually. As a result, I have frozen strawberries year-round for my desserts and smoothies.
- In addition, I also make a big batch of strawberry jam without pectin. And my recipe is low in sugar; therefore, you can eat more of it.
Why make a homemade strawberry filling?
- A fruit-filling recipe is so versatile. Of course, it is delicious on its own, but there is so much more you can do with fruit fillings apart from using it as a filling for cakes, pies, tarts, pastries, desserts, cheesecakes, etc. (more on that below)- try it over pancakes, waffles, French toast.
- Homemade fruit fillings are less sweet, fruitier, and unlike commercial fruit fillings, they are not loaded with sugar, flavorings, and additives
- The best part is that it takes just 5 to 7 minutes to make it. And, it has a shelf life of up to 4 days in the fridge. Leftovers can be kept in the fridge for months.
- The list of ingredients is just 4: fruit, lemon juice, sugar, cornstarch, and water.
Ingredients and substitutes
- Fresh Strawberries – While I’m using fresh strawberries in season, I have also used frozen ones.
- Sweetened or unsweetened frozen strawberries – And if you do use frozen strawberries, make sure to check if they are sweetened or unsweetened. Some frozen brands have sugar added as a preservative. You can still use them, and yet reduce the sugar as appropriate for the recipe.
- Cornstarch – I think this is by far the most commonly used and preferred ingredient. And yet, if you cannot use cornstarch, try arrowroot powder or potato starch. I have used both on two different occasions – and they are almost the same.
They both thicken the filling and work pretty much the same way. So, I would say use a tad less. And yet, since I used both only once so far, I’d say instead of adding all the slurry at once, save a little until the end and see if you need it. - Sugar – I prefer to use fine-grain sugar for this, so I don’t overcook the strawberries to a pulp.
- Lemon Juice – Really brings out the flavor so much more.

Step-by-step: Strawberry Cake Filling
- Prep – Wash, clean, and hull strawberries. Chop them into equal-sized pieces
Pro tip – Hull simply means to remove the stalk and core (core is the white stalk below the green leaves because it stays hard)

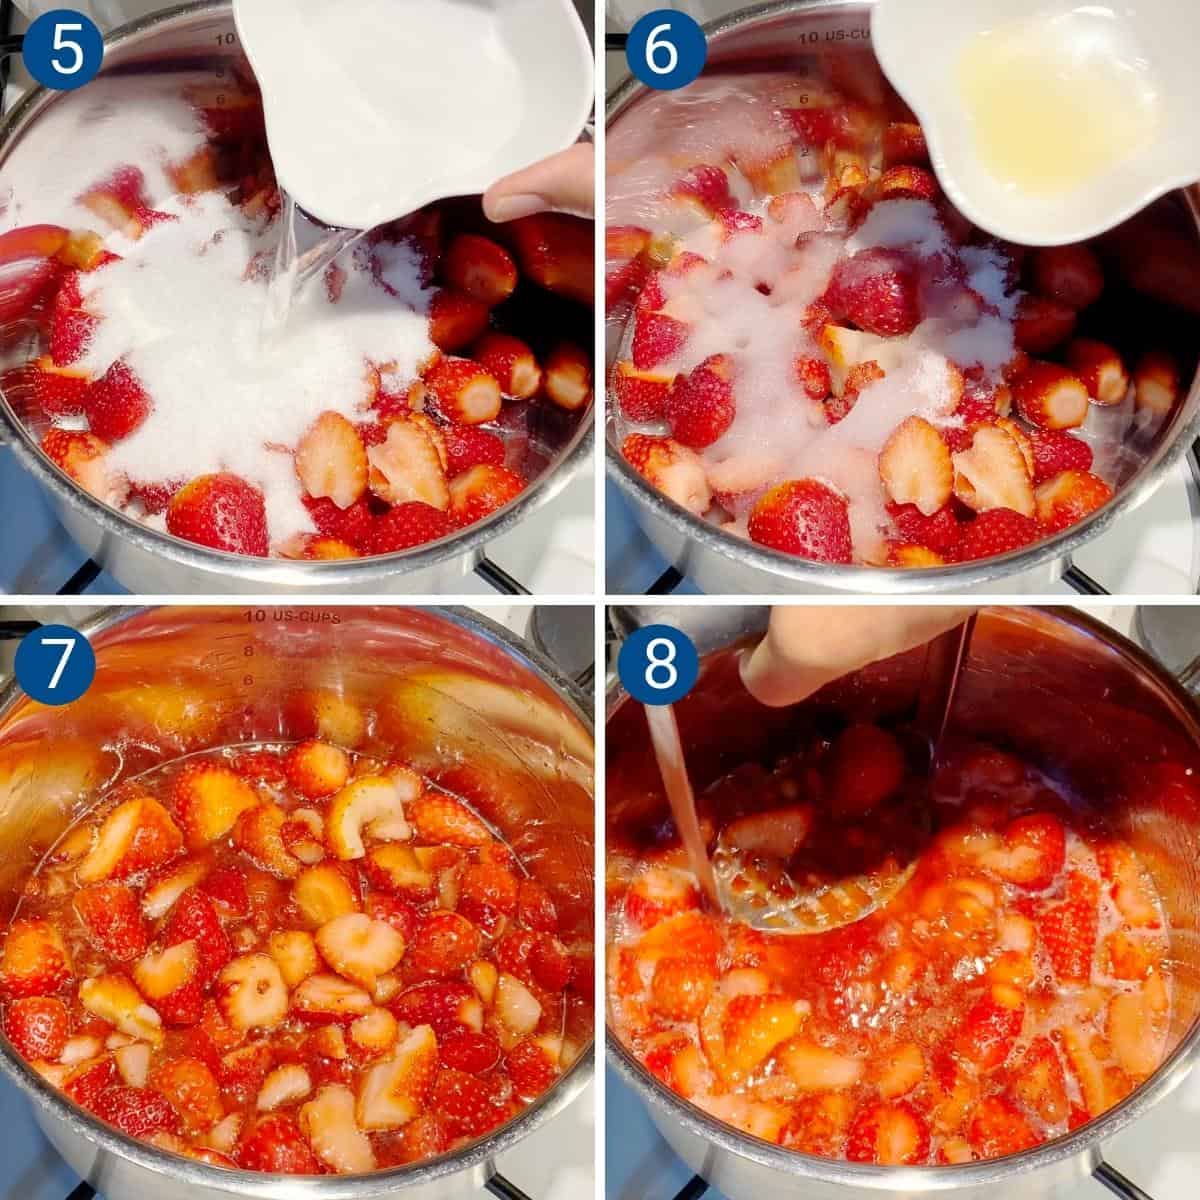
- Combine – Place strawberries in a saucepan with half the water, sugar, lemon juice, and salt. Place it on medium heat until all the sugar is dissolved, shaking the pan to cook evenly.
Pro tip – The sugar will melt, and the mixture will look very runny. But it will be ok as it cooks. - Simmer – Continue to cook a minute more, then use a vegetable or potato masher and mash the fruit.
Pro tip – Mashing the fruit is optional, but it will create a softer, smoother-textured filling - Slurry – Add cornstarch to the remaining water and stir well. Add it to the strawberries
Pro tip – Cornstarch tends to settle down, so make sure to stir before you add it to anything
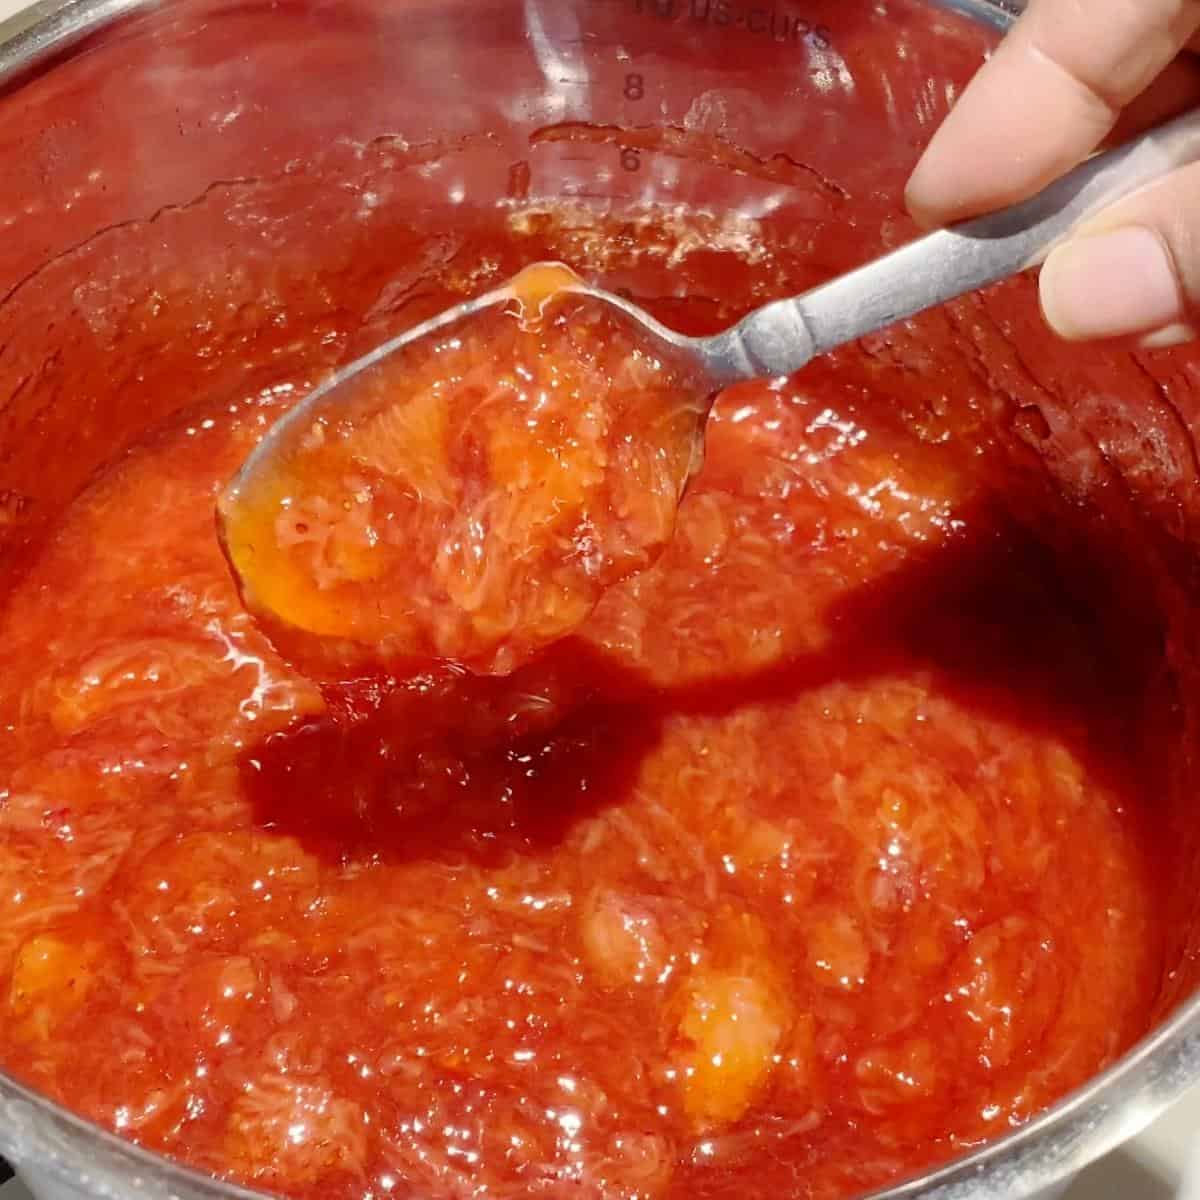
- Thicken – Continue to cook on medium until it comes to a boil- the mixture will thicken and look glossy. The color will change from an opaque light red to a translucent deep red. When glossy and thick enough to coat the back of a wooden spoon or spatula, it’s ready.
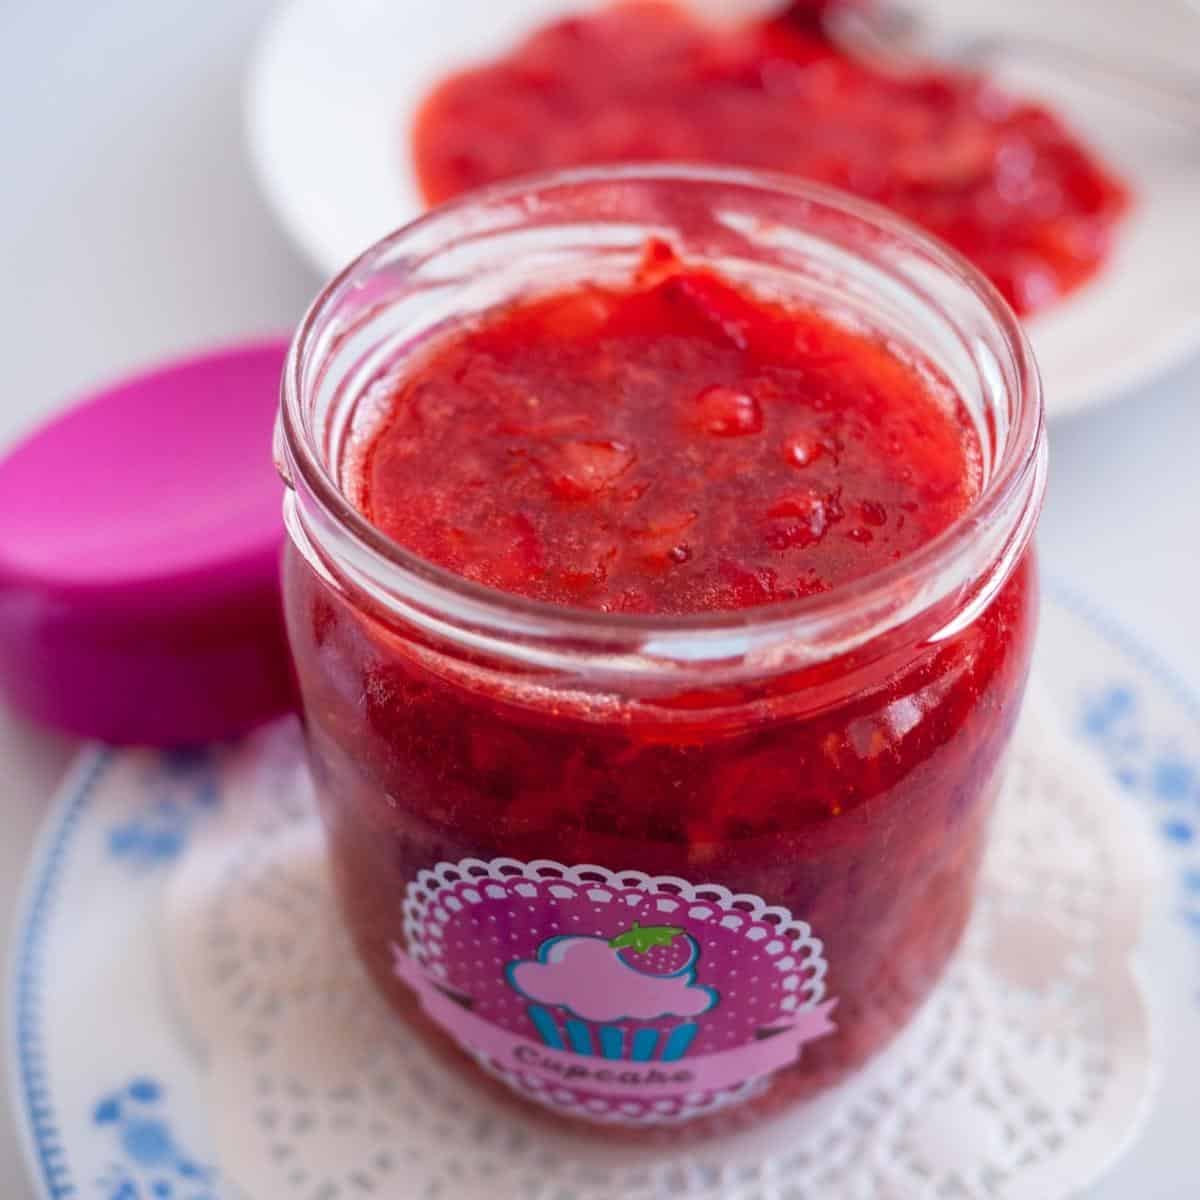
Pro tip – It is important that the cornstarch comes to a boil; only then will it go from opaque to a transparent, glossy sheen. This means the cornstarch is cooked. - Optional – At this point, you can strain the filling by pouring it through a sieve. I like to leave it fruity and chunky just as I have here.
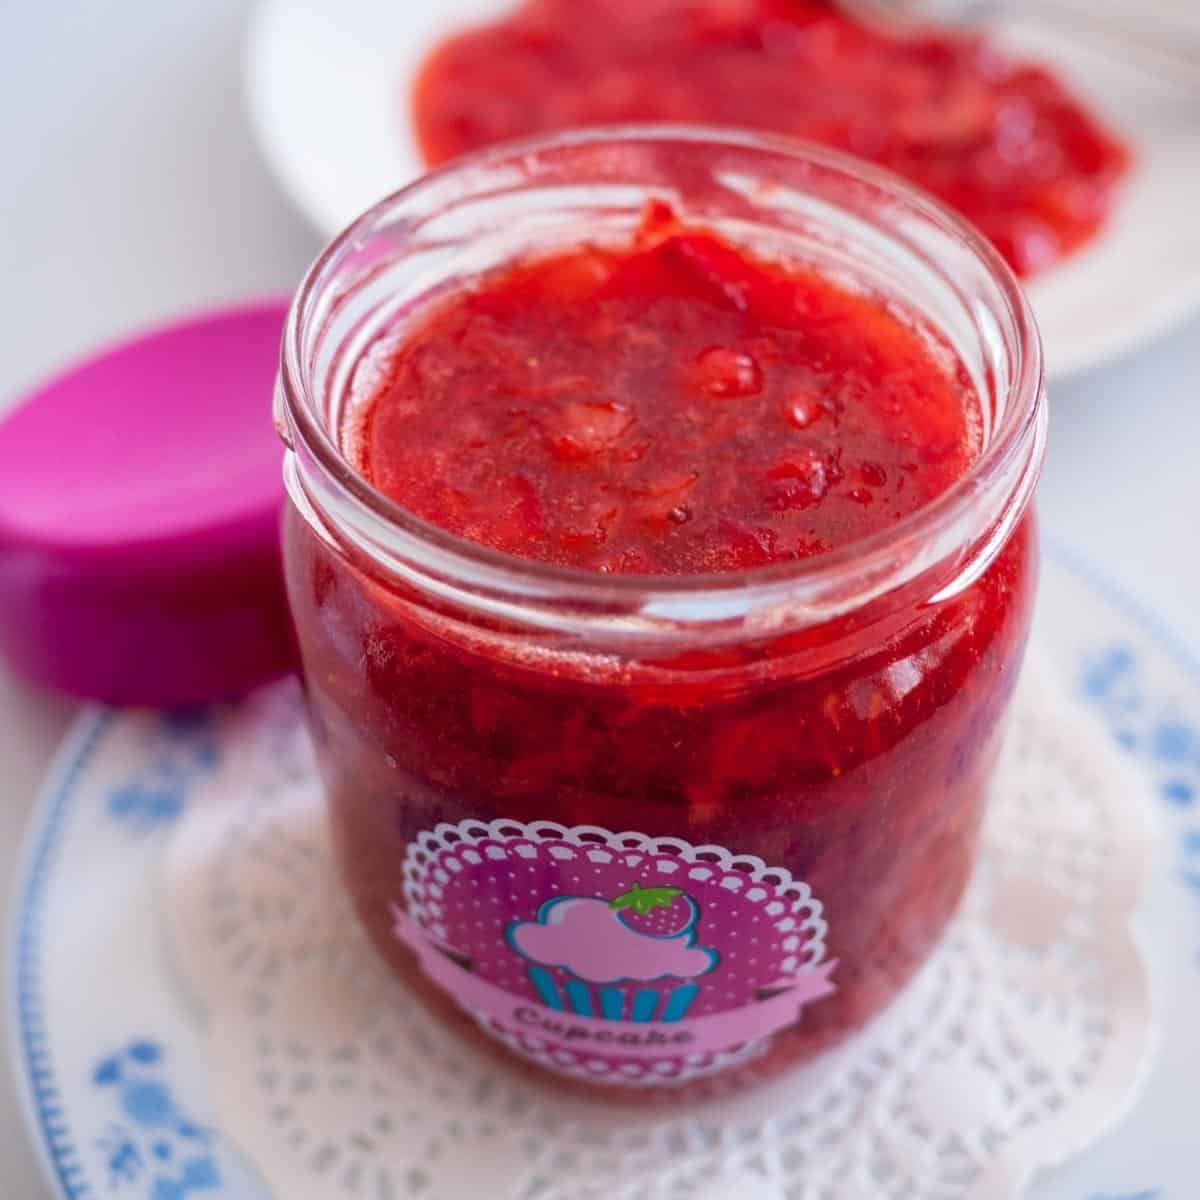
Pro tip – Straining will remove all the fruit fiber and give a smoother filling consistency, which may be ideal for some desserts - Store – Remove from heat. Pour into a mason jar. Let cool completely.

Consistency
- The cornstarch will continue to thicken as the filling cools. You can add a few tablespoons of hot water to adjust the consistency.
- For a cake filling, I like to make a thick consistency so it does not ooze out of the cake sides.
- For pies and tarts, I like a bit of syrup.
- And for desserts, I like to mash the fruit more so it is almost like a thick syrup consistency.
Tips for Success
- You can use fresh or frozen fruits. Make sure to check if the fruits are sweetened and adjust the sweetness accordingly.
- Also, if the fruits are frozen, you may need a little less water. You can omit the additional water and add only sugar, lemon juice, and salt. Once the sugar has dissolved, adjust the water as needed.
- Use fine-grain white sugar so it dissolves easily and does not affect the filling’s color. For example, brown sugar can give a very dull red color.
- Overcooking the fruit filling causes the cornstarch to become lumpy. If that happens, just add a little water and cook until it reaches the right consistency.
- This filling will stay in the fridge for a week, but can be frozen in the fridge for up to 3 months.
- This batch would be enough
- cake filling for 2 x 8-inch cake layers,
- a tart filling for one 9-inch tart and
- dessert servings with a 9-inch cheesecake.
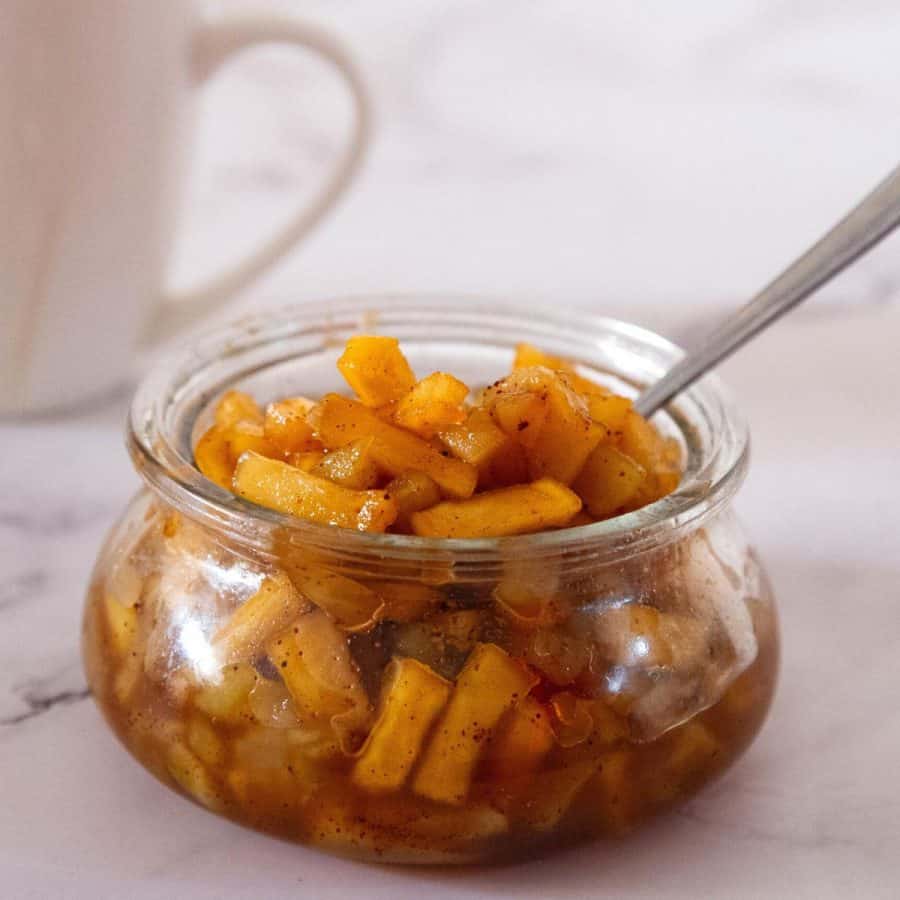
- You can use this same recipe to make any other fruit filling, such as blueberry, blackberry, raspberry, mango, cherry, etc.
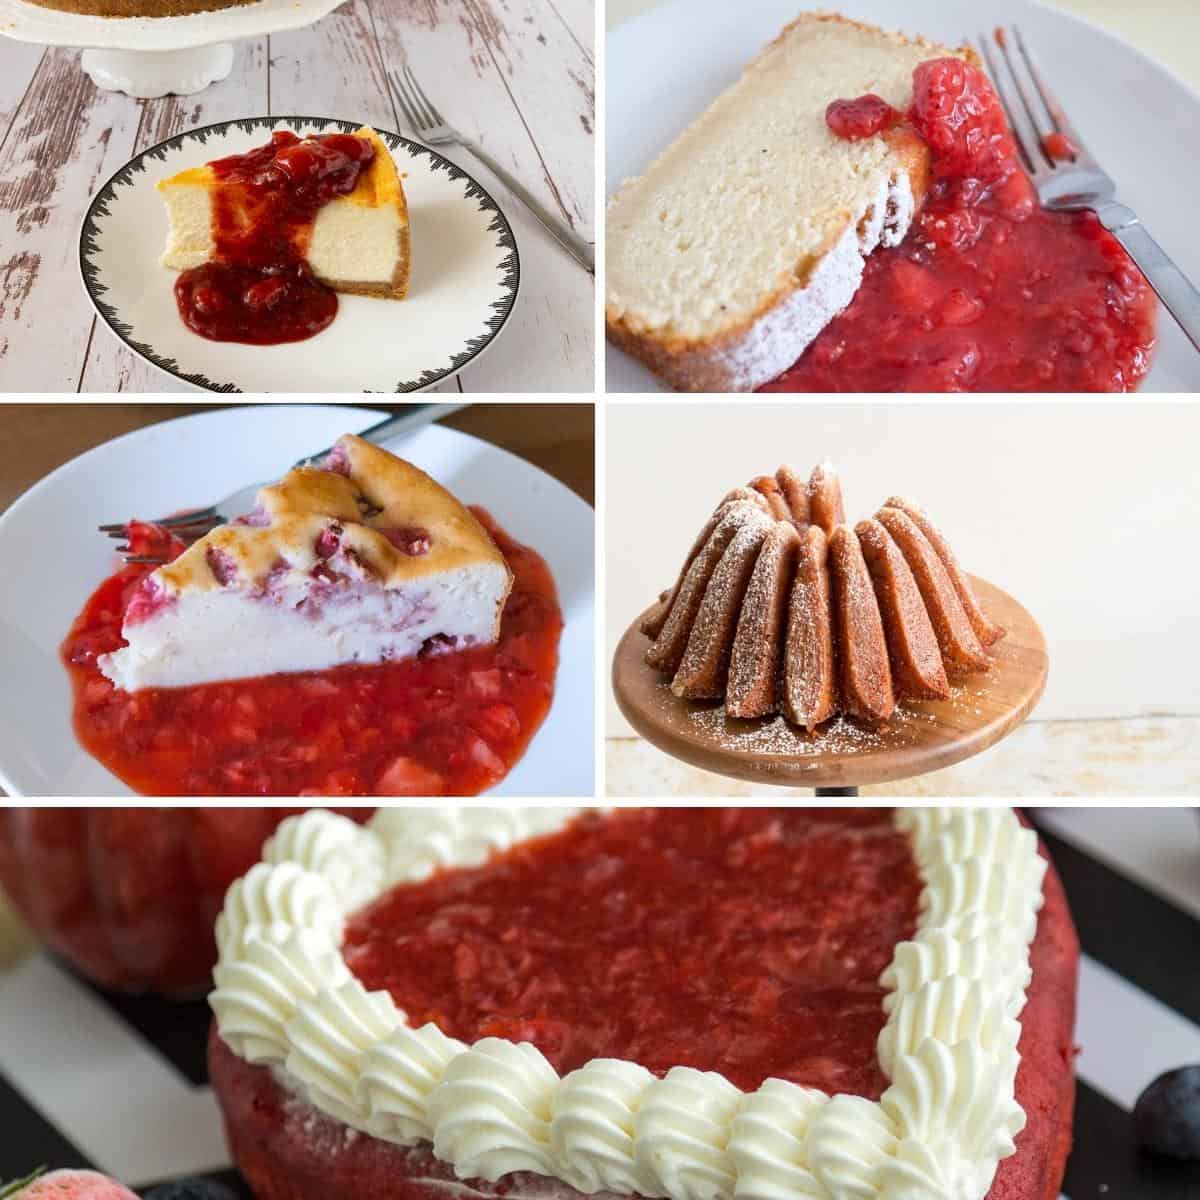
How to use strawberry fillings?
- Cake filling – You can use fruit filling instead of jam filling in cakes between layers of cake with a buttercream frosting dam and more fresh fruits. See how to fill and frost cakes. Fruit fillings are especially delicious with whipped cream or cream cheese frosting.
- Cake sides – I love to serve it on the side of my vanilla or chocolate pound or bundt cakes.
- Pie filling – Spread it on a prebaked shortcrust pastry shell with vanilla pastry cream as a base, and also top it with whipped cream.
- Spoon fruit fillings over pancakes or waffles for a delicious breakfast or brunch treat.
- Crepes – The strawberry filling makes a delicious filling for crepes. Simply spoon some filling onto a cooked crepe and fold it up.
- Tart filling – line a tart pan with rich shortcrust pastry, pour in the cooled strawberry filling, and top with a lattice crust. Bake until golden.
- Deserts – A fruit filling can take any dessert to the next level. Serve it with pound Cake.
- Pastry – bake it in puff pastry or Danish pastry dough over pastry cream or cream cheese filling, similar to this strawberry braided pastry, blackberry braided pastry, or Danish pastry rolls.
- Turnovers – Use cake filling for homemade turnovers. Simply spoon some filling onto a square of puff pastry, fold it over, and seal the edges.
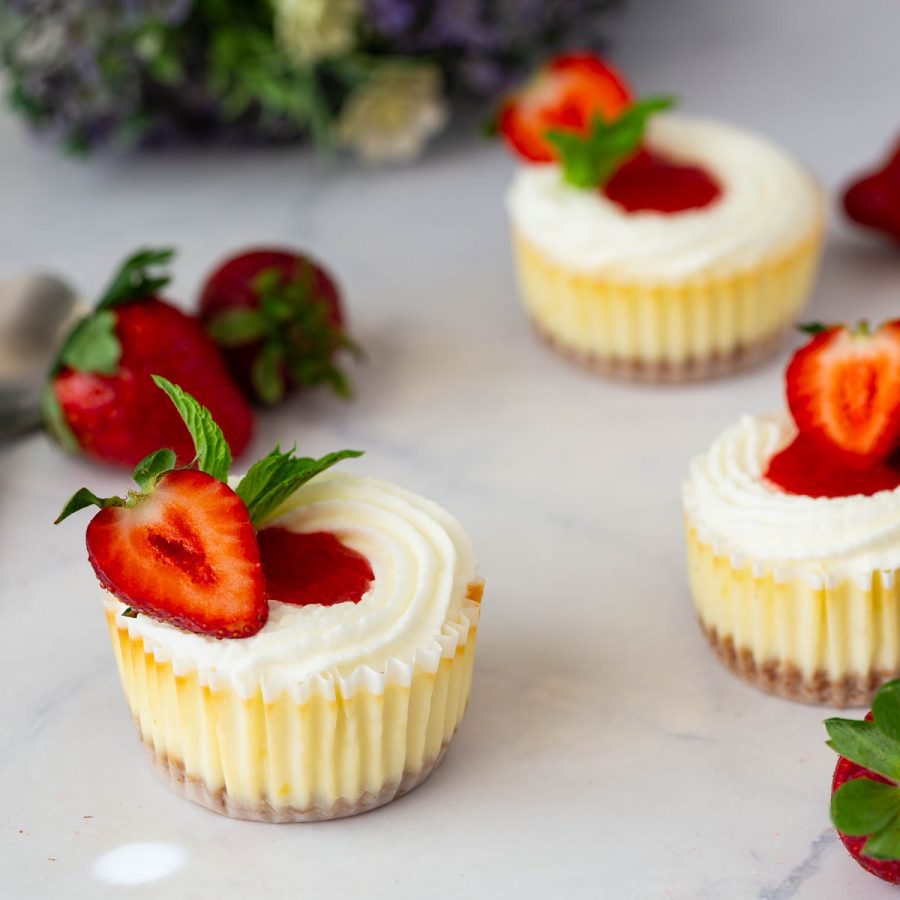
- Cheesecake– Top it over your favorite New York cheesecake or mini strawberry or raspberry cheesecakes. Try this Crustless Strawberry Ricotta Cheesecake with Strawberry Sauce.
- Yogurt or oatmeal parfaits: Spoon strawberry filling over plain yogurt or oatmeal for a delicious and filling breakfast.
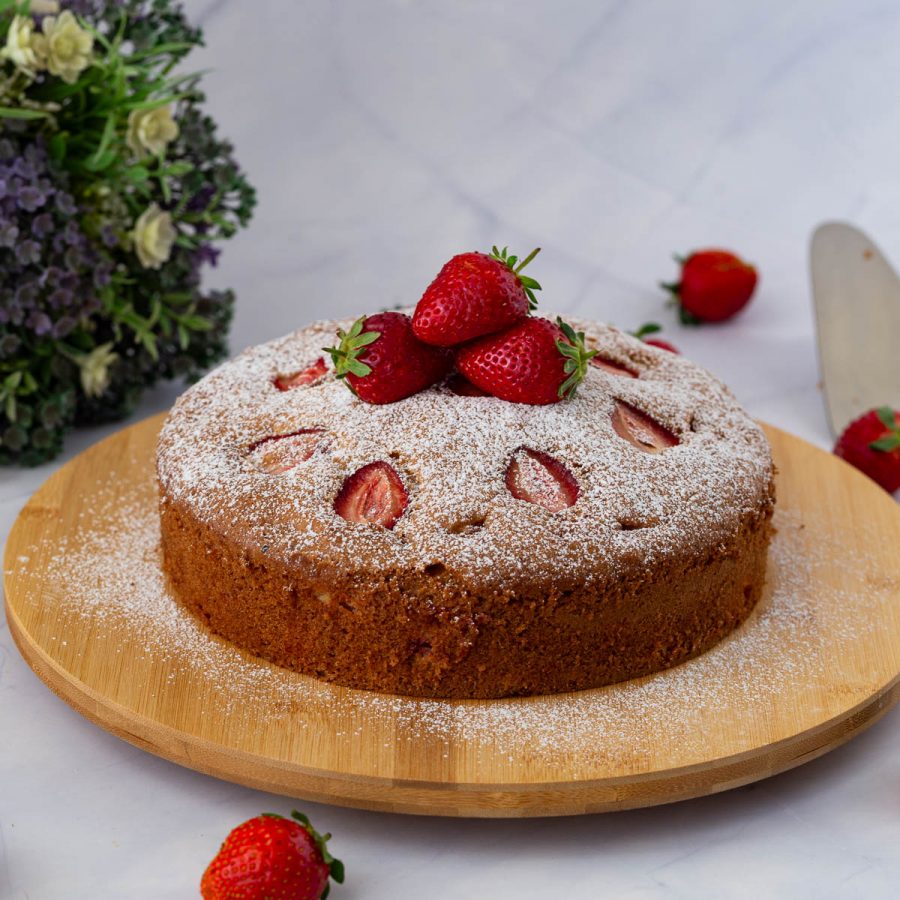
- Strawberry Cake with Swiss Meringue Buttercream
- Strawberry Cake Recipe
- or Strawberry Cheesecake – Baked
- Strawberry Jam – No Pectin, Microwave Strawberry Jam, Strawberry Jelly
- Strawberry Ice Cream, Strawberry Popsicles – Just 3 ingredients
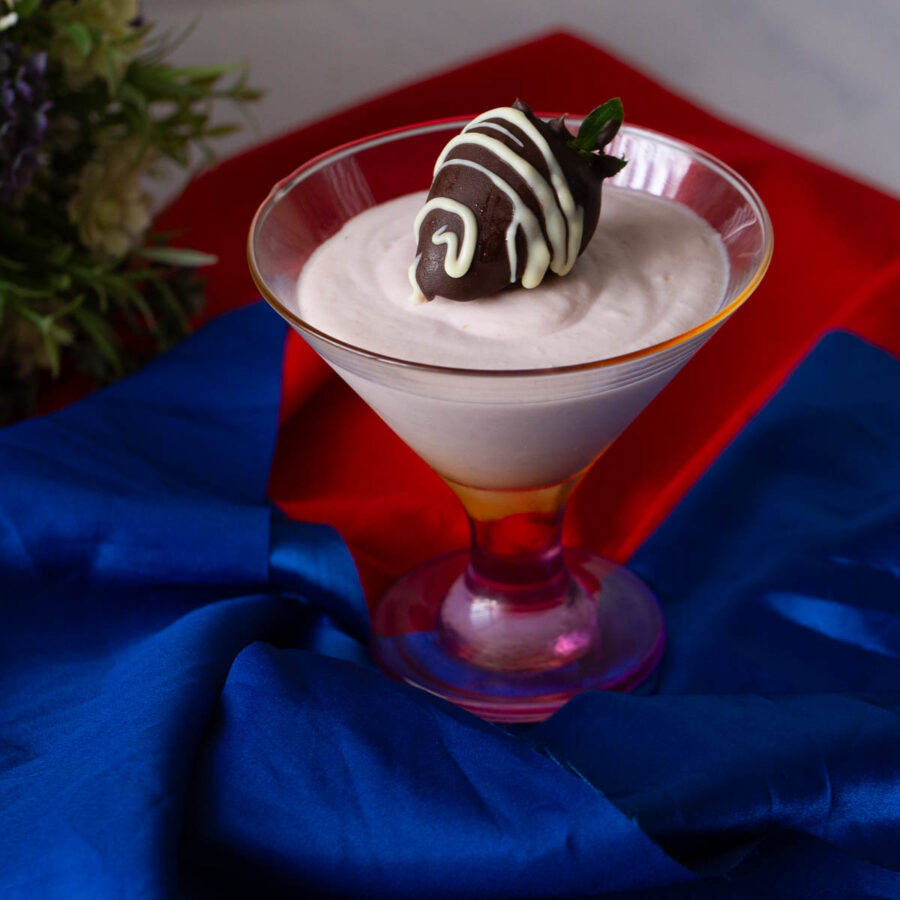
- Best Strawberry Mousse, Strawberry Mousse Domes with Pastry Cream
- Strawberry Moscow Mule
- See all strawberry recipes


Frequently asked questions
This filling can be kept at room temperature for a few hours. And it will last in the fridge for up to 4 or 5 days. It can also be frozen for over a month. Always keep filling recipes well-wrapped to prevent drying out.
All fresh fruits are considered perishable. So yes, a cake with the strawberry filling will need to be kept in the fridge.
You will need twice this recipe for a strawberry tart. And you can use fresh or frozen strawberries. If you have fresh, save some for garnish.
You can make a strawberry pie similar to my cherry pie. Prepare a double pie crust dough. Line the pie pan and pour in the strawberry filling. Add the top crust and crimp the edges. Bake for 30 to 40 minutes at 375°F/190 °C/Gas Mark 5.
I have a detailed video and progress pictures showing how to level, tort, and fill a cake. The process is simple
– Bake your favorite cake batter in the right-sized cake pans.
– Cool cake layers, then level or torte them using a serrated knife.
– Brush the cake with simple syrup using a pastry brush.
– Pipe a buttercream frosting dam around the edge of the cake.
– Fill the center with the fruit filling, e.g., strawberry filling
– Top with the next cake layer.
– Continue with the dam and filling until you have used all cake layers.
– Chill the cake for 15 minutes, then frost the top and sides
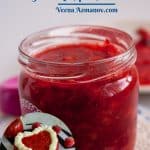
Strawberry Filling for Cakes Tarts and Desserts
A strawberry filling is an ultimate ingredient that works excellent in endless dessert recipes. Including cake fillings, tart fillings, and fruit tarts. You can also use it as a topping for your favorite ice cream or breakfast pancakes. In addition, this recipe is so simple and easy. As a result, you will never want to use a store-bought strawberry filling again
Video
Ingredients
- 1 lb (450 g) Strawberries
- ½ cup (100 g) White sugar
- 2 tbsp Cornstarch
- 1 tbsp Lemon juice
- ½ cup (120 ml) Water (divided)
- ⅛ tsp Salt (pinch)
Method
- Prep – Wash, clean, and hull strawberries. Chop them into equal size pieces Pro tip – hull simply means to remove the stalk and core (core is the white stalk below the green leaves because it stays hard)
- Combine – Place strawberries in a saucepan with half the water, sugar, lemon juice, and salt. Place it on medium heat until all the sugar is dissolved shaking the pan to cook evenly. Pro tip – the sugar will melt and the mixture will look very runny. But it will be ok as it cooks.1 lb Strawberries, ½ cup White sugar, 1 tbsp Lemon juice, 1/8 tsp Salt (pinch), ½ cup Water
- Simmer – Continue to cook a minute more, then, use a vegetable or potato masher and mash the fruit. Pro tip – mashing the fruit is optional but it will create a softer smoother textured filling
- Slurry – Add cornstarch to the remaining water and stir well. Add it to the strawberriesPro tip – cornstarch tends to settle down so make sure to stir before you add it to anything2 tbsp Cornstarch, ½ cup Water
- Thicken – Continue to cook on medium until it comes to a boil- the mixture will thicken and looks glossy. The color will change from an opaque light red to a translucent deep red color. When glossy and thick enough to coat the back of a wooden spoon or spatula it's ready.Pro tip – it is important that the cornstarch comes to a boil only then will it go from opaque to a transparent glossy sheen. This means the cornstarch is cooked.
- Optional – At this point, you can strain the filling by pouring it thru a sieve. I like to leave it fruity and chunky just as I have here.Pro tip – straining will remove all the fruit fiber and give a smoother filling consistency which may be ideal for some desserts
- Store – Remove from heat – Pour into a mason jar. Let cool completely.
- The cornstarch will continue to thicken as the filling cools. You can add a few tablespoons of hot water to adjust the consistency.For a cake filling, I like to make a thick consistency so it does not ooze out of the cake sides. For Pies and tarts, I like a bit of syrup and, for desserts, I like to mash the fruit more so it is almost like a thick syrup consistency.
Notes
- You can use fresh or frozen fruits. Make sure to check if the fruits are sweetened and adjust sweetness accordingly.
- Also, if the fruits are frozen you may need a little less water. You can omit the additional water and add only sugar, lemon juice, and salt. Once the sugar dissolves adjust water if necessary.
- Use fine-grain white sugar so it dissolves easily and does not affect the color of the filling. For example, brown sugar can give a very dull red color.
- Overcooking the fruit filling causes the cornstarch to become lumpy. If that happens just add a little water and cook to the right consistency.
- This filling will stay in the fridge for a week but can be frozen in the freezer for up to 3 months.
- This batch would be enough a
- cake filling for 2 x 8-inch cake layers,
- a tart filling for one 9-inch tart, and
- dessert servings with a 9-inch cheesecake.
- You can use this same recipe to make any other fruit filling such as blueberry, blackberry, raspberry, mango, cherry, etc.
- Doubling the recipe – If you double the amount do not double the amount of water and cornstarch. You can add 1/2 cup water with 1 tbsp of cornstarch for up to 500 grams / 15 oz of fruit. Otherwise, it takes longer to reduce the water.
- The cornstarch needs to be activated for the filling to thicken up. Otherwise, it will be very syrupy with a starchy taste.
- If the filling is too thick means the water is reduced considerably, you can add a little more to bring it to consistency. Add regular water when still hot or warm water when the filling has cooled.
- When cooled, if the filling is too thick, first give it a good mix, only then add a few tablespoons of water as necessary.
- If used to fill a cake, make sure to fruit filling make so to make a frosting dam around the edges of the cake. This will prevent the filling from coming out of the sides of the cake. See my video, how to level, fill, torte a cake
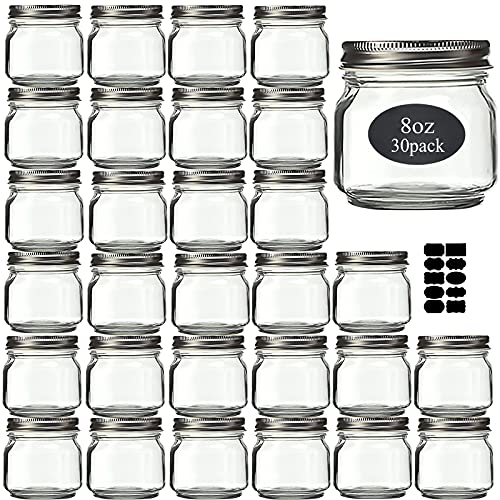
Equipment you will need


Nutrition
Tried this recipe?
Mention @veenaazmanov_kitchen or tag #veenaazmanovkitchen!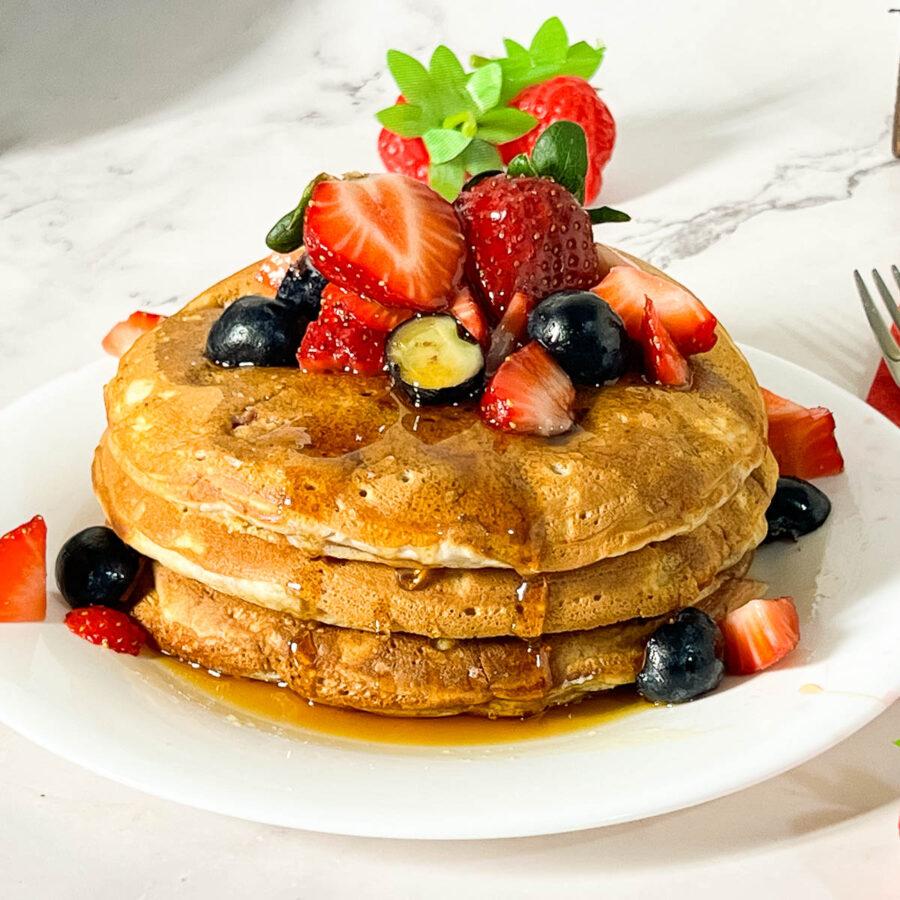
Don’t lose this recipe! Save it for Later!
📌 Save this Recipe for later on Pinterest so you can easily find it again.
⭐ Add Veena Azmanov Kitchen to your Google Preferred Sources.
It helps Google show you more of our recipes.
📧 Subscribe for new recipes delivered to your inbox.
🎥 Follow us for more recipes


This recipe is absolutely perfect and easy to make. It turns our right every single time. I use this for cake filling, but I’ve also used it on various pastries. Since I’ve made this a million times by now, I’ve experimented with fresh berries,frozen berries. strawberries and mixed berries. I’ve made it thicker and thinner, it’s a flexible recipe and the ratios are perfect!
Thank you so much, Dana, for the lovely feedback. I am so happy you enjoyed this filling so much. I do too. In fact, I often use this in place of jam for breakfast. They love it with their pancakes and waffles too.
This is my go to recipe for all of my fruit cake fillings. I’ve made various types, blackberry, blueberry, strawberry, etc. It turns out great every time!
Thank you so much, Anna, for the lovely feedback. I am so happy you enjoy my cake filling recipes.
The original recipe says just 1 cup of water, but the individual parts of the directions mention a full cup of water for one part and another full cup for the slurry which would make it two cups of water initially. Is there supposed to be 2 cups of water divided into 2 1-cup portions? Or does each part of this recipe only use a half a cup?
No! The recipe says to use half the water! The water in the ingredients says divided.
Half in the saucepan and half to make the slurry!
Taste is pretty good, but the filling is way too liquidy for a cake filling. I used buttercream dams and it still tried to come out; plus, the liquid seeped into the cake some making it mushy overnight. if you are looking for a cake filling, pass on this recipe.
Suzanne. You have to cook the filling down until it becomes thick. Sounds like you needed to thicken it more. Even with a buttercream dam any filling must be thick consistency.
Can I store the strawberry filling in 1/2 or pint jars with two piece lids using the water bath (10 minutes) canning method.
You can use the canning method to store strawberry filling, or you can also store it in the freezer.
I’m a bit confused. You say to use half the water, sugar, salt and lemon juice when you start cooking the strawberries, but you never say when to add the other half.
Whoops, I see what I did now. You meant half the water but add the full amount of everything else! I only added half of everything, but it still tastes good! Very runny though, I may have to add more cornstarch once it cools.
I was going to put this on top of cheese tarts, but it came out like soup, even after adding more cornstarch. Disappointed. I have a recipe for blueberry pie filling that comes out great everytime. Don’t know what happened with this.
You can still thicken it over the stovetop until it becomes thick and glossy which coats the back of a wooden spoons.
Your directions failed to mention to bring it to a boil. For those who have never done anything like this before, that is an important thing to mention, especially if they don’t watch the video.
JD – it is mentioned in the recipe twice that you must bring it to a boil. Also, says to let it become thick and glossy until it coats the back of a wooden spoon.
I will try and rephrase but I think the instructions are detailed plus you do have progress pictures and a video.