How to Stabilize Whipped Cream (Best Method)


Ever made a beautiful dessert topped with whipped cream—only to watch it melt or deflate a few hours later? Yeah… same. That’s why I always stabilize my whipped cream when I need it to hold its shape—for cakes, cupcakes, or even layered trifles.
In this post, I’ll show you how to stabilize whipped cream using tried-and-tested methods: from bakery-style gelatin to easy pantry swaps like cornstarch and pudding mix. You’ll learn which method is best for piping, which one is great for hot weather, and which works when you just need a quick fix.

As a cake decorator for so many years, I never offered cakes with whipped cream on my menu. Why? Simple—regular whipped cream just doesn’t hold up. The shelf life was too short, and I didn’t want to risk a cake losing its perfect look before my customers even got to enjoy it.
Then, one day, I ran a special offer and decided to try stabilized whipped cream. And let me tell you—GAME CHANGER! Not only did it hold its shape beautifully, but it lasted over two days without weeping or deflating! I couldn’t believe I had been sleeping on this trick for so long.
Since then, stabilized whipped cream is a staple in my kitchen, giving me the best of both worlds—light, fluffy texture with the staying power every decorator dreams of. If you’ve ever struggled with whipped cream melting away too soon, trust me, this is the secret you need.
What Is Stabilized Whipped Cream?
Stabilized whipped cream is just regular whipped cream—but with an added ingredient that helps it keep its shape longer. Instead of melting, weeping, or turning soft after a few hours, stabilized whipped cream stays fluffy, firm, and pipeable for much longer (some methods last up to 3 days).
You don’t need anything fancy—just a small amount of gelatin, cornstarch, cream cheese, or even pudding mix can do the trick.
Why Stabilize Whipped Cream?
- Prevents melting or weeping
- Holds piped shapes and frosting swirls
- Keeps desserts looking fresh for longer
- Essential for cakes, layered desserts, or make-ahead prep
When Should You Stabilize Whipped Cream?
Stabilizing whipped cream isn’t always necessary—but there are specific times when it’s an absolute game-changer. Here’s when you should take that extra step:
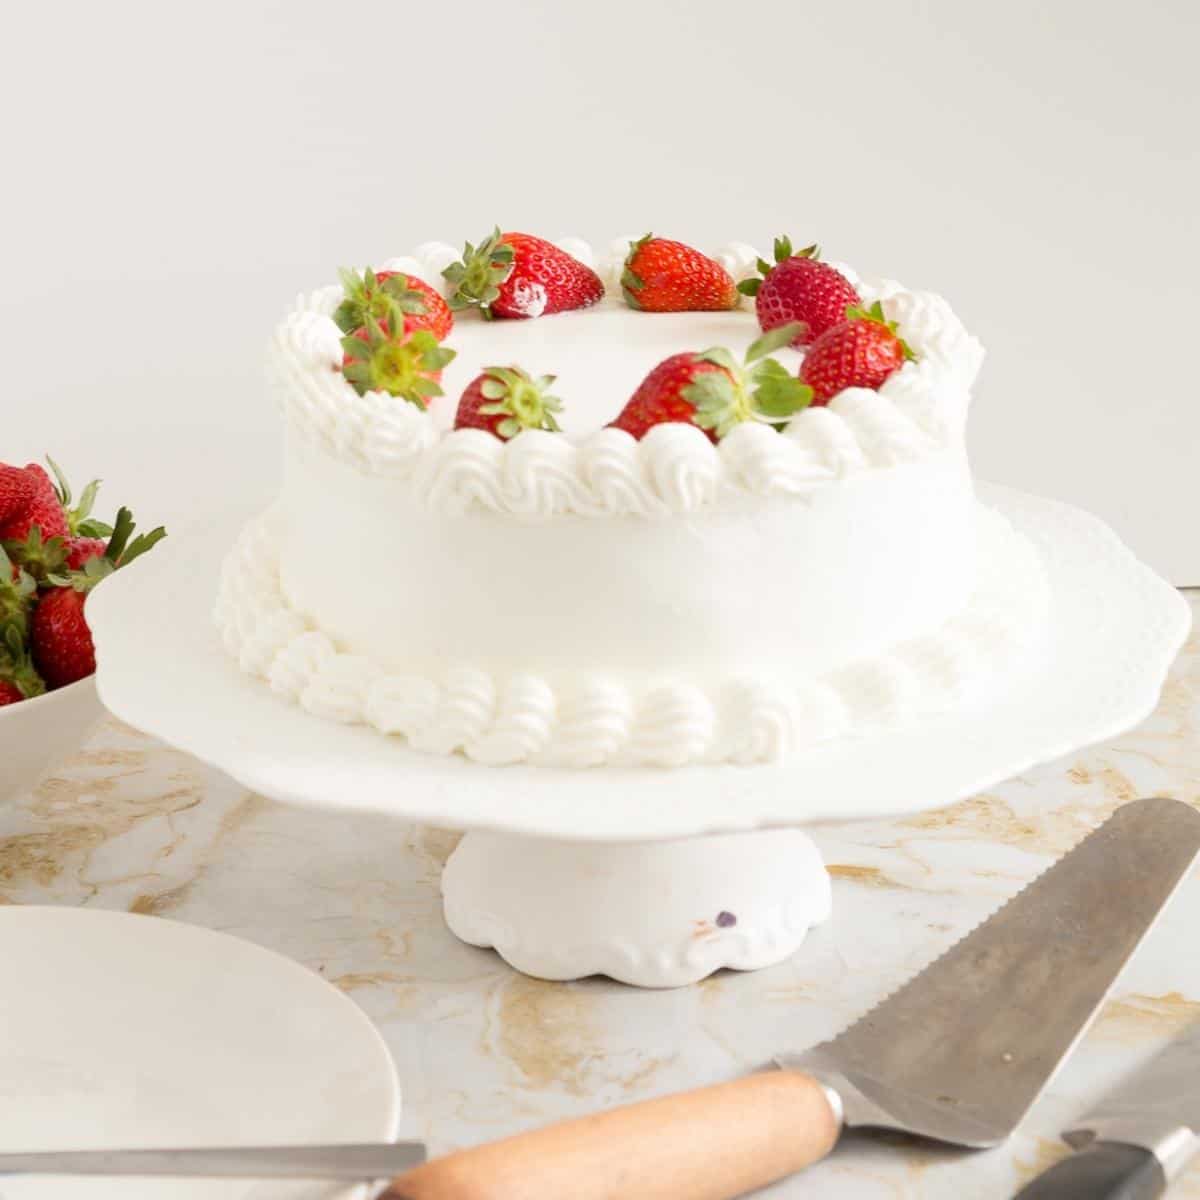
- You’re frosting a cake or cupcakes: Regular whipped cream will start to soften and slide off. Stabilizing keeps your swirls tall and beautiful.
- You need it to last a few hours (or days): Hot weather, transport, or make-ahead desserts? Stabilized whipped cream stays fluffy without weeping.
- You want clean layers in a trifle or parfait: Nothing ruins a pretty glass dessert like droopy cream sinking into the fruit.
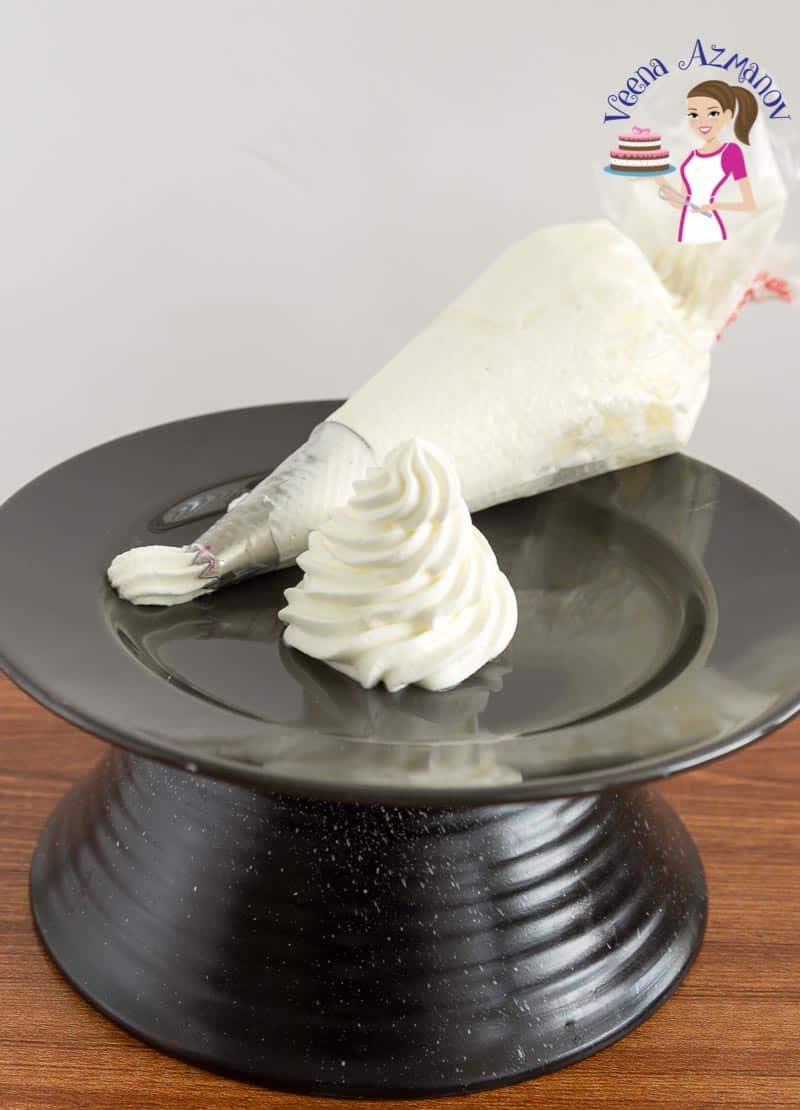
- You’re piping decorative shapes: Rosettes, borders, or piped designs hold their form better with structure.
- You’re adding it to warm desserts: Even the gentle heat from pies or cobblers can melt whipped cream unless it’s stabilized.
How to stabilize whipped cream with Gelatin (Bakery Method – Strongest Hold)
Gelatin is a classic way to stabilize whipped cream for professional results.
- 1 tsp Unflavored gelatin (I use Knox )
- 2 tbsp Water
- 12 oz (340 ml) Heavy whipping cream
- 2 oz (55 g) Powdered sugar
- 1 tsp Vanilla extract (optional) for flavoring
- Prep the Gelatin:In a small bowl, sprinkle unflavored gelatin over the cold water. Let it sit for 5 minutes to absorb the water and bloom. After blooming, gently heat the gelatin mixture in the microwave for about 10 seconds, or until it has dissolved completely. Let it cool slightly, but not so much that it sets.
- Whip the Cream: In a cold mixing bowl, add the heavy whipping cream and start whipping on medium speed. As it begins to thicken, add powdered sugar and vanilla extract (if using).
- Add the Gelatin: While the cream is still whipping, slowly drizzle the cooled gelatin mixture into the cream. Continue whipping until stiff peaks form. Be careful not to overwhip at this point, or it will become lumpy and start to churn into butter.
- Storage: Use immediately or store in the fridge. Gelatin-stabilized whipped cream should stay firm for 2-3 days.

Other ways to Stabilize Whipped Cream
If you just need a quick solution for whipped cream that won’t melt, here’s a cheat sheet:
- Gelatin gives you the firmest results, perfect for cakes that need to hold up.
- Cream cheese is an easy alternative if you prefer to avoid gelatin,
- while cornstarch or milk powder offer quick fixes for everyday desserts.
| Method | Stability Time | Texture | Flavor Impact | Difficulty | Best For |
|---|---|---|---|---|---|
| Gelatin | 2–3 days | Firm, pipable | Neutral if done right | Moderate | Cakes, hot weather, transport |
| Cream Cheese | 1–2 days | Soft but holds | Slight tang | Easy | Frosting cupcakes, layer cakes |
| Cornstarch | ~12 hours | Light, airy | Slight powdery feel | Very Easy | Quick desserts, no gelatin users |
| Milk Powder | ~12 hours | Slightly thicker | Mild dairy note | Very Easy | Fruit bowls, mousse toppings |
| Pudding Mix | 1–2 days | Smooth, creamy | Adds sweetness & flavor | Easy | Kids’ desserts, flavored toppings |
Can you stabilize whipped cream with Cornstarch? (Pantry Friendly)
- 1 cup heavy whipping cream (chilled)
- 2 tablespoons powdered sugar
- 1 teaspoon vanilla extract (optional)
- 1 tablespoon cornstarch (sifted)
Cornstarch is a simple way to stabilize whipped cream using pantry ingredients. It’s perfect when you need a quick fix for trifles or pies. Begin by whipping chilled cream…
- Pour chilled heavy whipping cream into the bowl and begin whipping on medium speed until it starts to thicken. Add powdered sugar and vanilla extract (if using), then gradually sprinkle in sifted cornstarch as the cream reaches soft peaks. Continue whipping until stiff peaks form. Use immediately or store in the fridge for up to 8 hours—perfect for topping desserts when you need a little extra hold.
- Best for: Topping pies, trifles, or no-bake desserts that will be served within a few hours.
- Hold time: About 6–8 hours in the fridge. Not ideal for piping or decorating cakes.
Can you stabilize whipped cream with Instant Pudding Mix (Foolproof Shortcut)
- 1 cup heavy whipping cream (cold)
- 1 tablespoon instant pudding mix (vanilla or other flavor)
- 2 tablespoons powdered sugar
- 1 teaspoon vanilla extract (optional)
Using pudding mix to stabilize whipped cream is a quick and foolproof trick—especially when you want flavor and structure in one step.
- In a chilled mixing bowl, whip the heavy cream on medium speed until it begins to thicken. Add the powdered sugar, vanilla extract if using, and instant pudding mix.
- Continue whipping until the cream forms stiff peaks. The pudding mix helps stabilize the whipped cream, giving it a thicker texture that holds its shape for 2 to 3 days—great for cupcakes, trifles, and make-ahead desserts.
Best for: No-bake desserts, trifles, cupcake topping
Hold time: 2 to 3 days refrigerated

Can you stabilize whipped cream with cream of tartar?
- 1 cup heavy whipping cream (cold)
- 2 tablespoons powdered sugar
- 1 teaspoon vanilla extract (optional)
- 1/4 teaspoon cream of tartar
Cream of tartar can help stabilize whipped cream with a clean, light texture—great for short-term desserts.
- In a chilled mixing bowl, whip the heavy cream on medium speed until it starts to thicken. Add the powdered sugar, vanilla extract if using, and cream of tartar.
- Continue whipping until stiff peaks form. The cream of tartar acts as an acid stabilizer, helping the whipped cream hold its shape longer while maintaining a light texture—ideal when you want a natural stabilizer without added starches or gelatin.
Best for: Light desserts, short-term piping, serving the same day
Hold time: 12 to 24 hours refrigerated
Can you to stabilize whipped cream with powdered milk
- 1 cup heavy whipping cream (cold)
- 2 tablespoons powdered sugar
- 1 teaspoon vanilla extract (optional)
- 1 tablespoon powdered milk (nonfat dry milk)
Powdered milk adds structure to whipped cream by boosting protein content. It’s subtle but effective—perfect for fruit bowls or mousse toppings. Just add while whipping…
- In a chilled mixing bowl, whip the heavy cream on medium speed until it begins to thicken. Add the powdered sugar, vanilla extract if using, and powdered milk.
- Continue whipping until stiff peaks form. The powdered milk adds protein that helps reinforce the structure of the whipped cream, making it slightly firmer without affecting the flavor—an easy, shelf-stable option for a subtle hold.
Best for: Everyday desserts, topping fruit, short-term frosting
Hold time: 12 to 24 hours refrigerated

Can you stabilize whipped cream with Cream Cheese (Rich & Pipeable)
- 1 cup heavy whipping cream (cold)
- 2 tablespoons powdered sugar
- 1 teaspoon vanilla extract (optional)
- 2 tablespoons cream cheese (softened, full-fat)
Stabilizing whipped cream with cream cheese gives it a rich, frosting-like texture—ideal for cupcakes or cakes. Start by beating the cream cheese until smooth…
- In a chilled mixing bowl, whip the heavy cream until it begins to thicken. In a separate bowl, beat the softened cream cheese until smooth and lump-free.
- Add the cream cheese, powdered sugar, and vanilla extract to the whipped cream and continue whipping until stiff peaks form. The cream cheese adds body and structure, giving you a rich, pipeable whipped cream that holds beautifully and tastes like a light frosting.
Best for: Cupcakes, cakes, fruit dip, frosting
Hold time: 2 to 3 days refrigerated
Tips for Success
- Chill your bowl and beaters before starting
- Don’t overheat gelatin—just warm enough to dissolve
- Add stabilizer at soft peak stage, not too early or too late
- Stop whipping once you reach stiff peaks
- Use stabilized whipped cream immediately, or refrigerate right away
Troubleshooting
- Not Thickening: If your whipped cream is not thickening, it could be because the cream, mixing bowl, or beaters weren’t cold enough. Ensure everything is well chilled before whipping.
- Overwhipped: If you’ve overwhipped your cream, it may become grainy, curdled, or even turn into butter. Unfortunately, there’s no way to reverse this. Start with fresh cream and be cautious not to whip it too much.
- Underwhipped: If your whipped cream is too soft and doesn’t hold its shape, it’s likely underwhipped. Keep whipping until it forms stiff peaks.
- Separation: If your whipped cream starts to separate and become watery, it could be due to overwhipping or using cream with too low fat content. Start over with fresh cream and whip it just until it forms stiff peaks.
- Lumps: Lumps in whipped cream may occur if your stabilizing agent (such as gelatin or cornstarch) wasn’t fully dissolved before adding it to the cream. Ensure proper dissolution and gradual incorporation.
- Grainy Texture: A grainy texture in whipped cream can result from overwhipping or using expired cream. Start fresh with cold cream and avoid overwhipping.
- Chocolate Cake with Whipped Cream
- Cream Puffs with whipped cream
- Pumpkin Cake with Whipped Cream Buttercream
- Vanilla Sour Cream Cupcakes with Whipped Cream Buttercream
- Mascarpone cream cake


Frequently asked questions
Depending on the method, it can last 6 hours to 3 days. Gelatin is the most stable.
You can pipe it onto parchment, freeze, then store in an airtight container. Thaw in the fridge before using.
Low-fat creams (25% fat) can be whipped if you work with them while very chilled. Chill the cream, as well as all the equipment used to whip it. Additionally, place the bowl of whipped cream over a bowl of ice while whipping it. Low-fat creams can also be stabilized; however, the consistency of these will be quite loose and won’t hold shape.
Yes! Try cornstarch, pudding mix, or cream cheese—each gives different results depending on how long you need it to last.
Use gelatin or cream cheese methods—they hold their shape best for rosettes and swirls.
How to Stabilize Whipped Cream
We all need our whipped cream dessert to look just as beautiful tomorrow as it does today. But keeping whipped cream fresh longer can be tricky. These five simple and easy methods to stabilize whipped cream will make sure your cakes, cupcakes, and desserts look fresh longer. You can try any of these five methods that work best for your current project
Video
Ingredients
- 1 tsp Unflavored gelatin I use Knox flavorless gelatin
- 2 tbsp Water
- 12 oz (340 ml) Heavy whipping cream or double cream 38% chilled
- 2 oz (55 g) Powdered sugar (optional) to taste
- 1 tsp Vanilla extract (optional) for flavoring
Method
- Prep the Gelatin: In a small bowl, sprinkle unflavored gelatin over the cold water. Let it sit for 5 minutes to absorb the water and bloom. After blooming, gently heat the gelatin mixture in the microwave for about 10 seconds, or until it has dissolved completely. Let it cool slightly, but not so much that it sets.1 tsp Unflavored gelatin , 2 tbsp Water
- Whip the Cream: In a cold mixing bowl, add the heavy whipping cream and start whipping on medium speed. As it begins to thicken, add powdered sugar and vanilla extract (if using).12 oz Heavy whipping cream, 2 oz Powdered sugar , 1 tsp Vanilla extract
- Add the Gelatin: While the cream is still whipping, slowly drizzle the cooled gelatin mixture into the cream. Continue whipping until stiff peaks form. Be careful not to overwhip at this point, or it will become lumpy and start to churn into butter.
- Storage: Use immediately or store in the fridge. Gelatin-stabilized whipped cream should stay firm for 2-3 days.
Notes
Tips for Success – Gelatin-Stabilized Whipped Cream
- Chill everything – Cold cream, a cold bowl, and cold beaters are non-negotiable. Warm cream won’t whip, and the gelatin can react poorly if things heat up too early.
- Bloom the gelatin properly – Don’t skip this step. Let the gelatin sit in cold water for a few minutes so it absorbs fully—this avoids grainy bits later.
- Don’t overheat the gelatin – Heat just until melted and smooth. If it boils or gets too hot, it loses strength and won’t stabilize anything.
- Cool the gelatin before adding – Let the melted gelatin cool slightly so it’s still liquid but no longer warm—hot gelatin + cold cream = disaster.
- Add gelatin at soft peaks – If you wait too long, it won’t incorporate. Add it when the cream is thickened but not stiff yet, then whip to firm peaks.
- Don’t overwhip – Once you hit stiff peaks, stop! Overwhipping leads to grainy, clumpy cream—or butter.
- Use within a few minutes – The gelatin starts setting quickly, so get piping or frosting soon after whipping.
- Refrigerate immediately – Stabilized whipped cream is best stored cold. It holds for 2–3 days, but always keep it covered and chilled.
Equipment you will need


Nutrition
Tried this recipe?
Mention @veenaazmanov_kitchen or tag #veenaazmanovkitchen!- How to Make Yogurt or Greek Yogurt
- How to cook basmati rice
- Homemade Caramel Sauce
- Homemade Butterscotch Sauce


Don’t lose this recipe! Save it for Later!
📌 Save this Recipe for later on Pinterest so you can easily find it again.
⭐ Add Veena Azmanov Kitchen to your Google Preferred Sources.
It helps Google show you more of our recipes.
📧 Subscribe for new recipes delivered to your inbox.
🎥 Follow us for more recipes


Can I use agar agar instead of gelatin? We’re vegetarian and I’d love an option that still pipes well.
Absolutely, Maya! Use ½ tsp agar agar powder instead of gelatin. Just boil it in water for 1-2 mins until fully dissolved before adding it to the whipped cream—works beautifully and holds strong!
We followed your gelatin method exactly and piped rosettes on our anniversary cake. It held up all evening—even after sitting out for 2 hours! This post is a keeper.
That’s so lovely to hear! Happy anniversary to you both—and hats off for homemade rosettes! Thanks for the kind words.
The comparison chart is SO helpful. I bookmarked this post immediately. You just saved my summer desserts!
Aw, thank you Natalie! That chart was a labor of love—I’m so happy it’s useful. Stabilized whipped cream = summer dessert superhero ?
If I already whipped the cream and forgot to add gelatin, can I still fix it?
Great question, Emily! If it’s still at soft peaks, you can carefully mix in the dissolved gelatin. If it’s already stiff, it’s harder to incorporate without deflating it—but worth a gentle try.
This post was so helpful! I used to think stabilizing whipped cream was only for professionals. Tried the cream of tartar one and it’s surprisingly easy!
Right? It’s amazing how a tiny pinch of cream of tartar can make such a difference. Glad you found it approachable, David!
How far in advance can I make the gelatin-stabilized cream for a birthday cake? Need it to look perfect the next day.
Hi Heather! You can definitely make the gelatin-stabilized version a day in advance. Just store it covered in the fridge—it should hold its shape beautifully for 2 to 3 days.
I tried the pudding mix trick and the kids loved it on their fruit salad. I used chocolate pudding and it tasted like mousse!
That sounds delicious, Liam! Chocolate pudding with whipped cream is such a nostalgic combo—thanks for sharing!
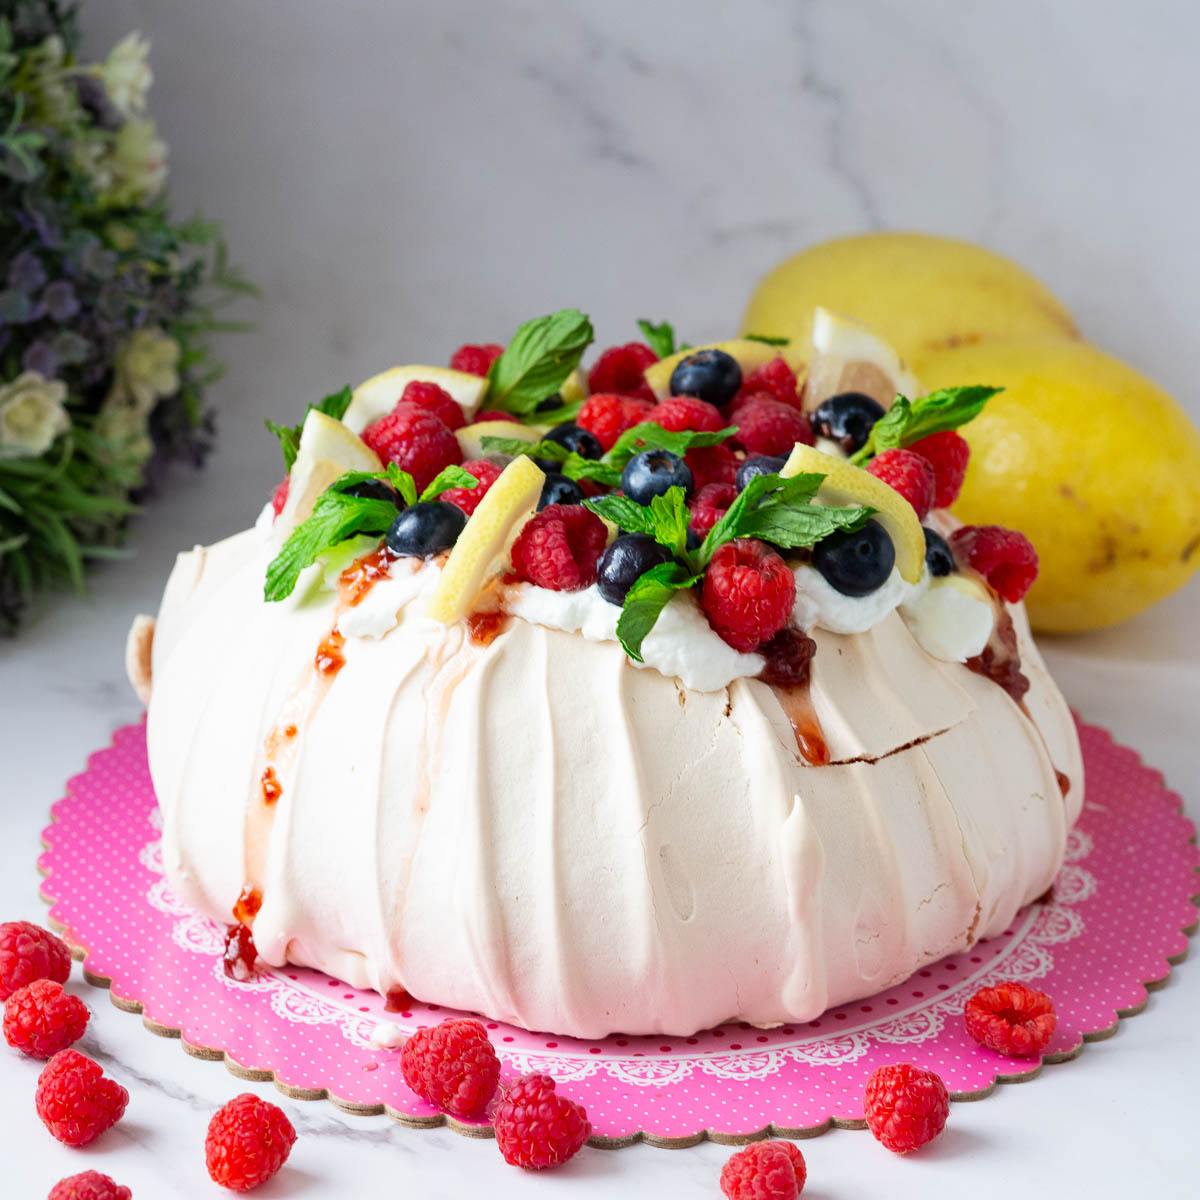
Can I use the powdered milk method for a pavlova? I’m looking for something light but not too sweet.
Hi Sara! Yes, powdered milk works great for a pavlova topping if you want that subtle structure without added sweetness. Just be sure to use nonfat dry milk and chill everything well!
This is gold! I’ve always struggled with whipped cream turning runny after a few hours. Just tried the cream cheese version on cupcakes—it was like frosting. Total win.
Thanks so much, Amit! I love the cream cheese method too—it’s rich but still fluffy. Glad it held up for you on cupcakes!
I had no idea whipped cream could be stabilized so many ways! I tried the cornstarch version for a no-bake pie and it held up perfectly for dinner. Thank you!
Thanks, Jessica! I’m so glad the cornstarch method worked for your pie—it’s such a quick pantry fix, right? Next time, give the gelatin one a go if you need it to last even longer!