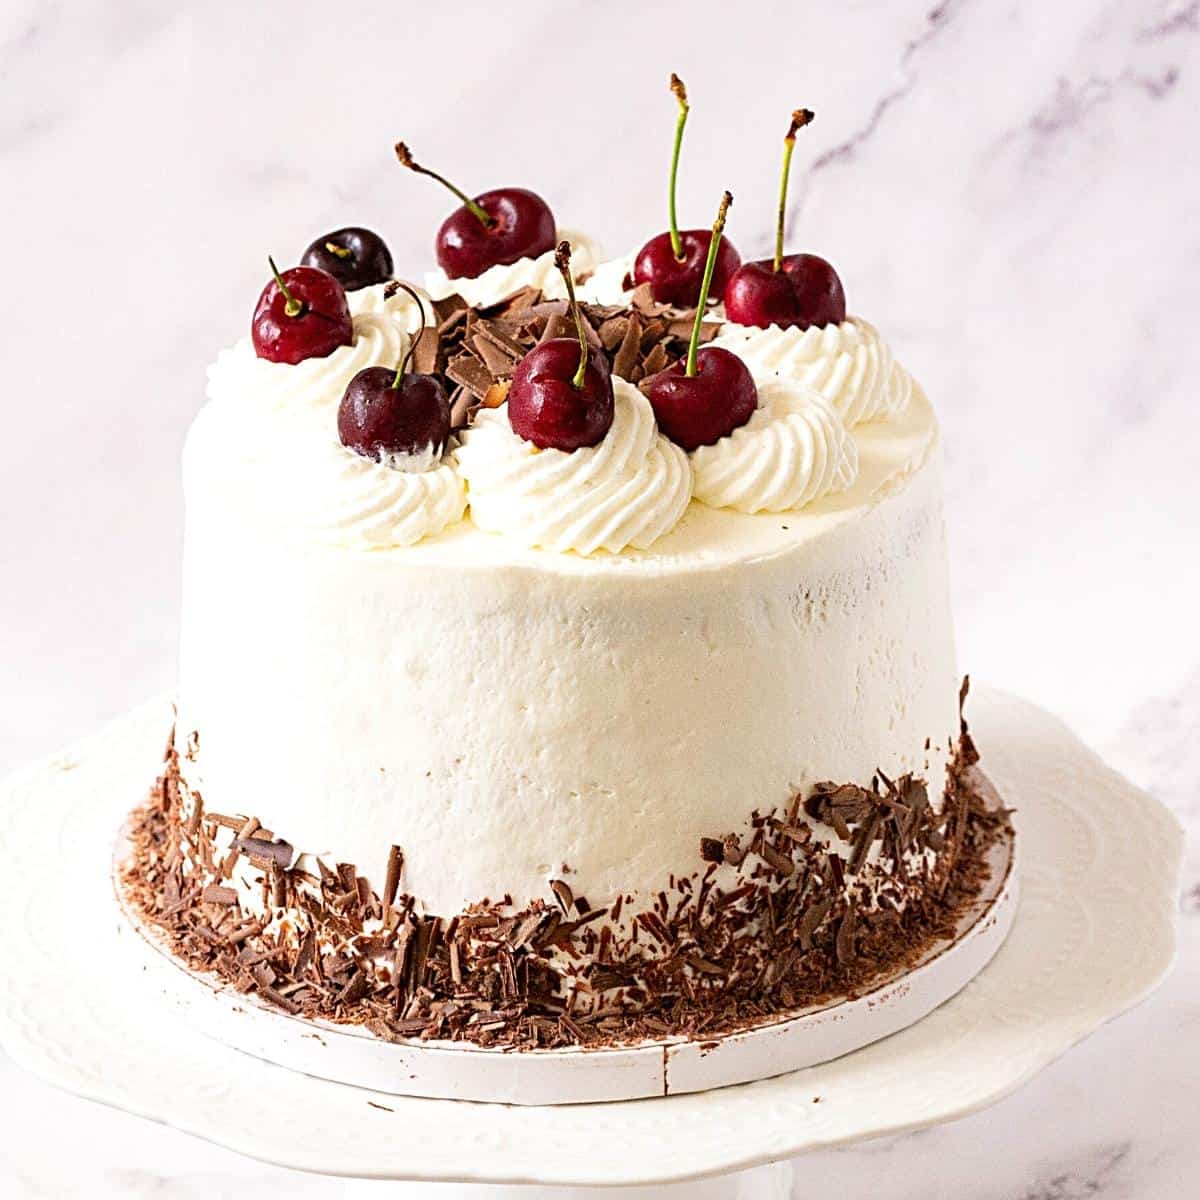
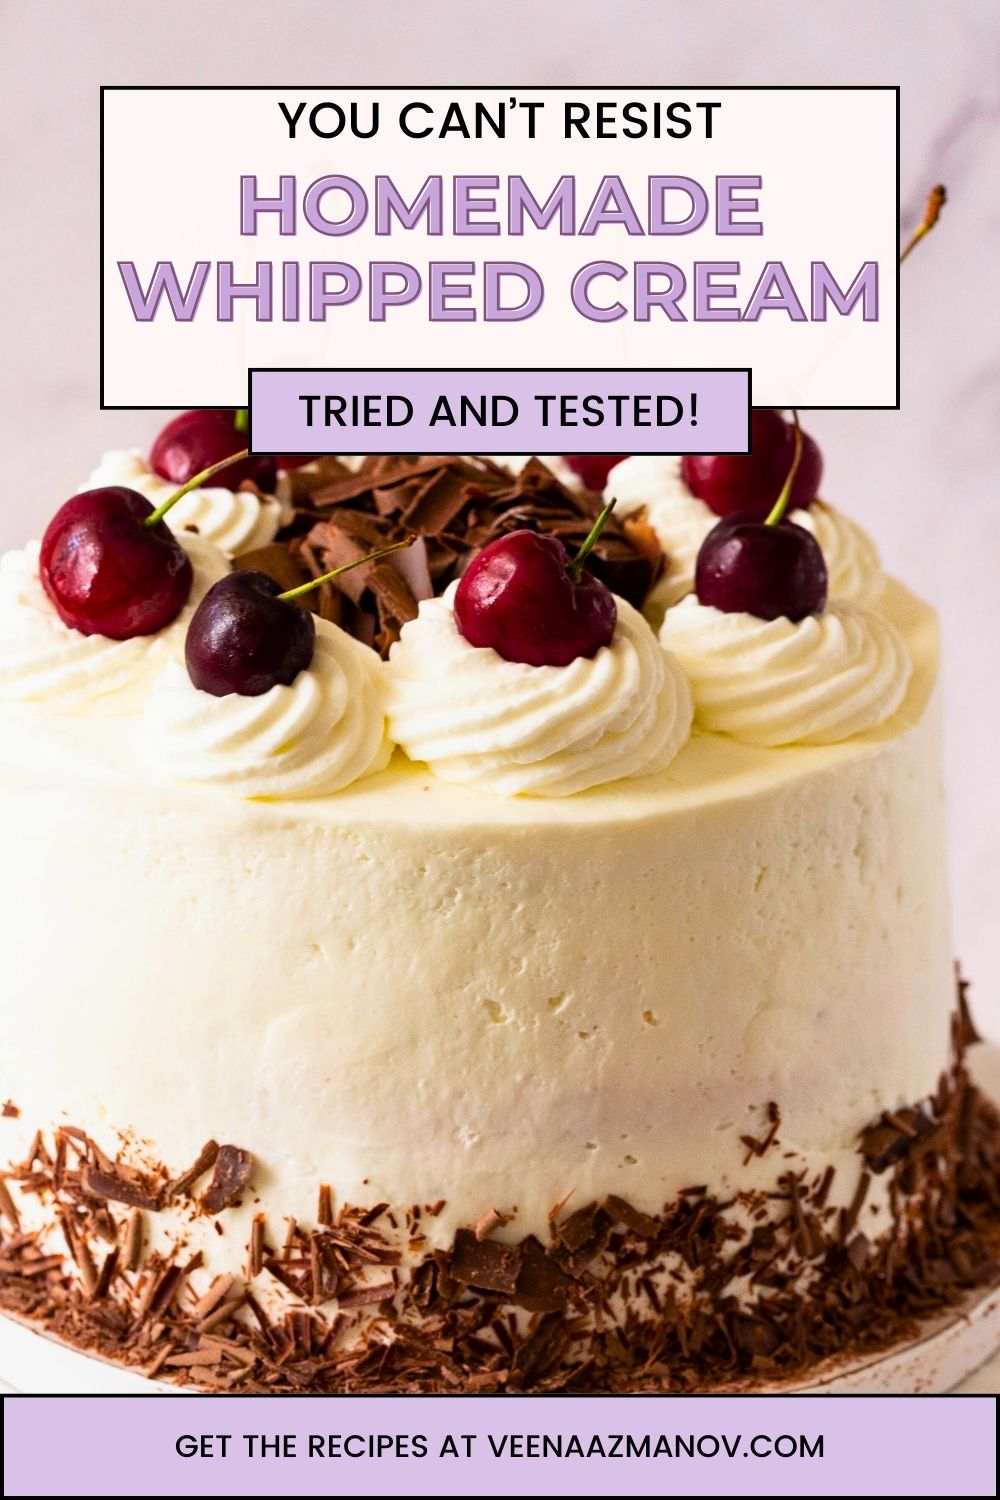
Homemade Whipped Cream (Chantilly Cream)


This homemade whipped cream—also known as Chantilly cream—is rich, fluffy, and takes just 5 minutes to whip up. Made with only heavy cream, powdered sugar, and vanilla, it’s the perfect topping for cakes, fruit, and more. A true classic with endless possibilities!
If you’ve followed me for a while, you probably know that when I was working as a cake decorator, I relied heavily on gelatin-stabilized whipped cream. It was my secret weapon for tiered cakes, outdoor events, and those extra-hot summer weddings that made even fondant sweat!
But at home? When I wasn’t prepping for client orders and just wanted a quick, fluffy topping for a pie or fresh berries, I always turned to this simple, classic version. No gelatin, no special steps—just cream, sugar, and vanilla. Sometimes, the simplest recipes really are the best.
This homemade whipped cream—aka Chantilly cream—is still one of my most-loved go-to recipes. It takes just a few minutes and instantly makes any dessert feel special. I love that it’s easy enough for beginners but luxurious enough to serve at a dinner party. Whether you’re swirling it onto cupcakes or just eating it with a spoon (no judgment here), this recipe always delivers.
Why This is the BEST Homemade Whipped Cream
- Just 3 ingredients, 5 minutes, and zero drama – No gelatin, no stabilizers—just simple, real ingredients you probably already have.
- Fluffy but rich, sweet but not too sweet – Perfectly balanced so it doesn’t overpower fruit, pies, or desserts—just complements them like a pro.
- Customizable for any dessert – Add cocoa powder, citrus zest, almond extract, or even liqueurs to make it your own.
- Way better than store-bought – No plastic tub taste or weird preservatives—just fresh, creamy, cloud-like perfection.
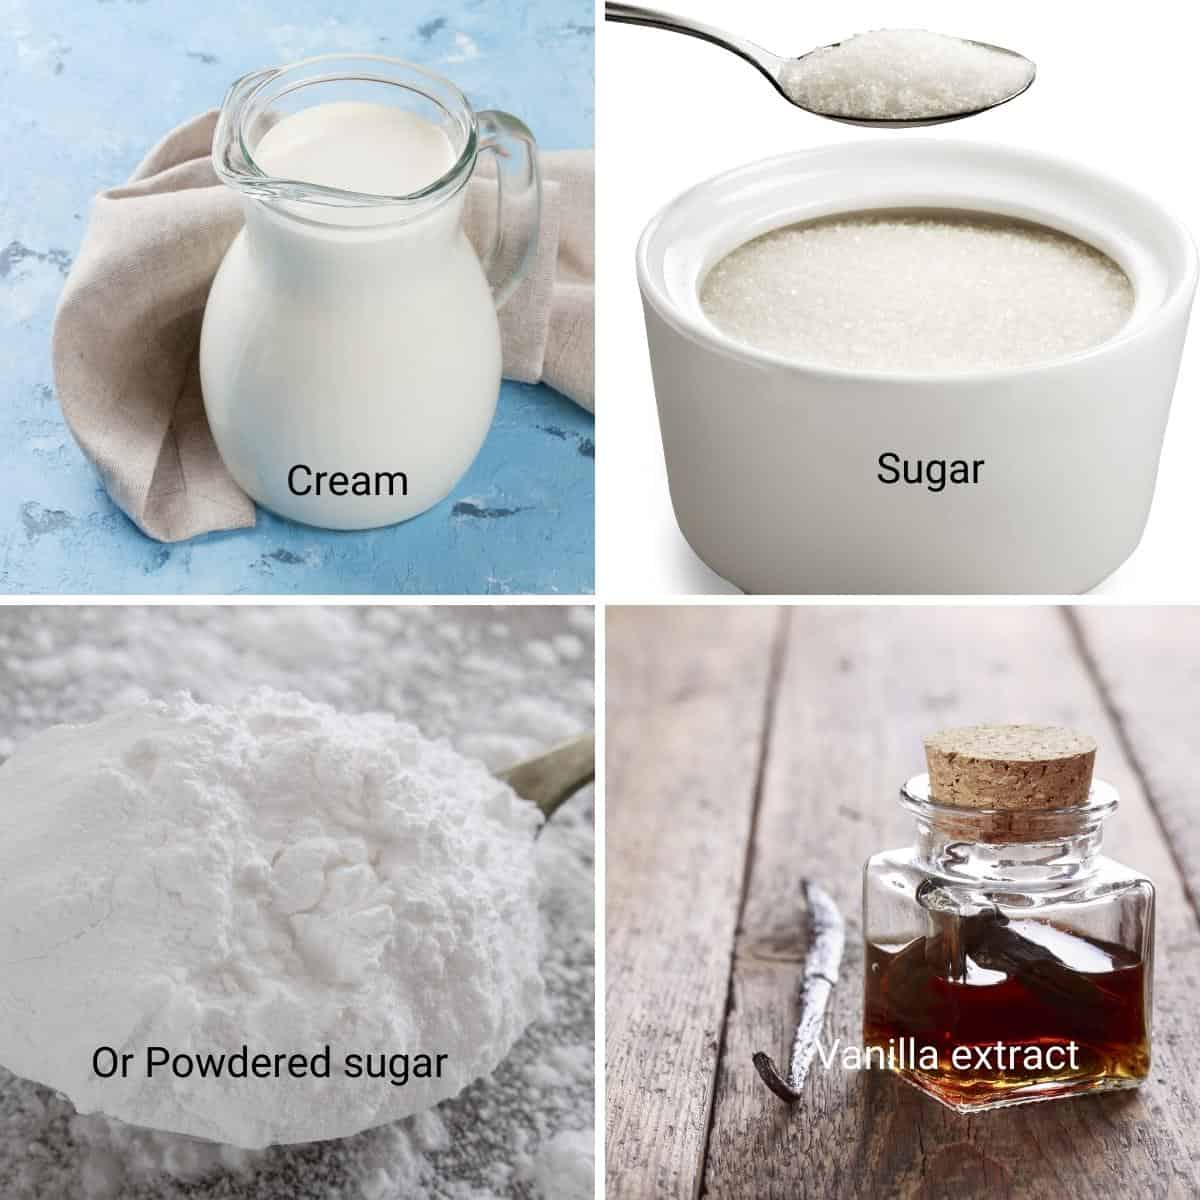
Ingredients and substitutes
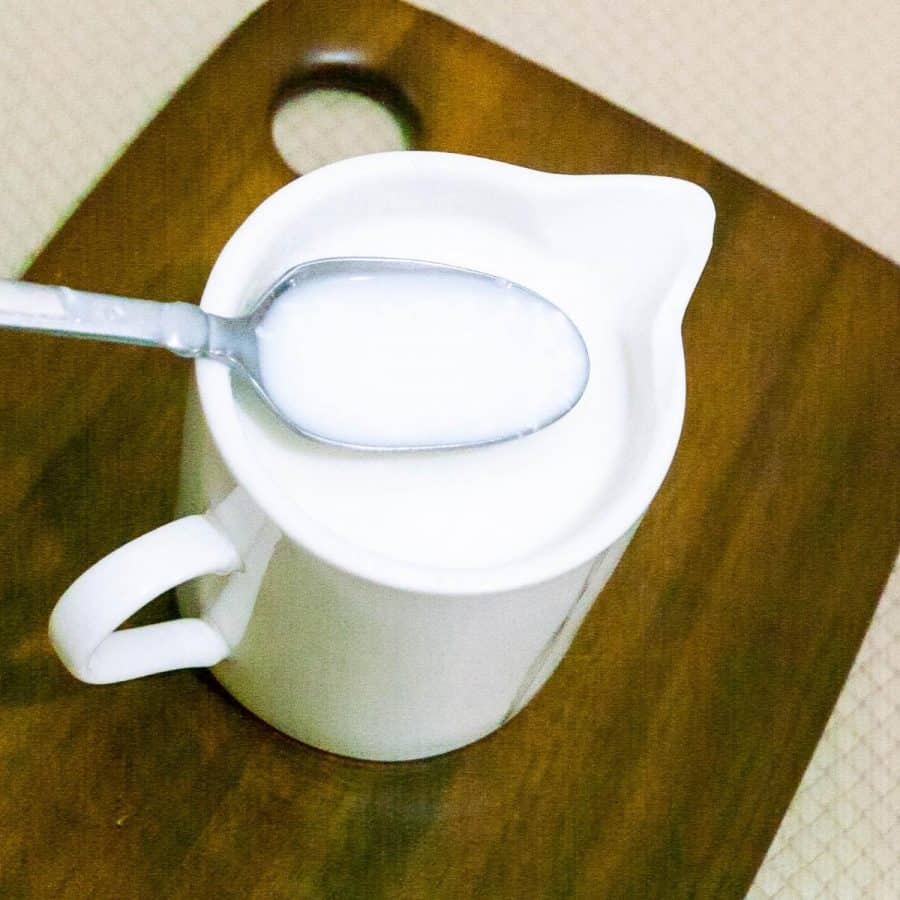
- Heavy whipping cream – Use cream with at least 35% fat. UK folks can use double cream (whip it slowly!). Half-and-half or light cream won’t work.
- Powdered sugar – Blends easily and gives a smooth texture. You can use superfine/caster sugar if needed, but granulated sugar may leave a gritty finish.
- Vanilla extract – Swap with almond extract, citrus zest, maple, or even rose water, depending on the dessert!
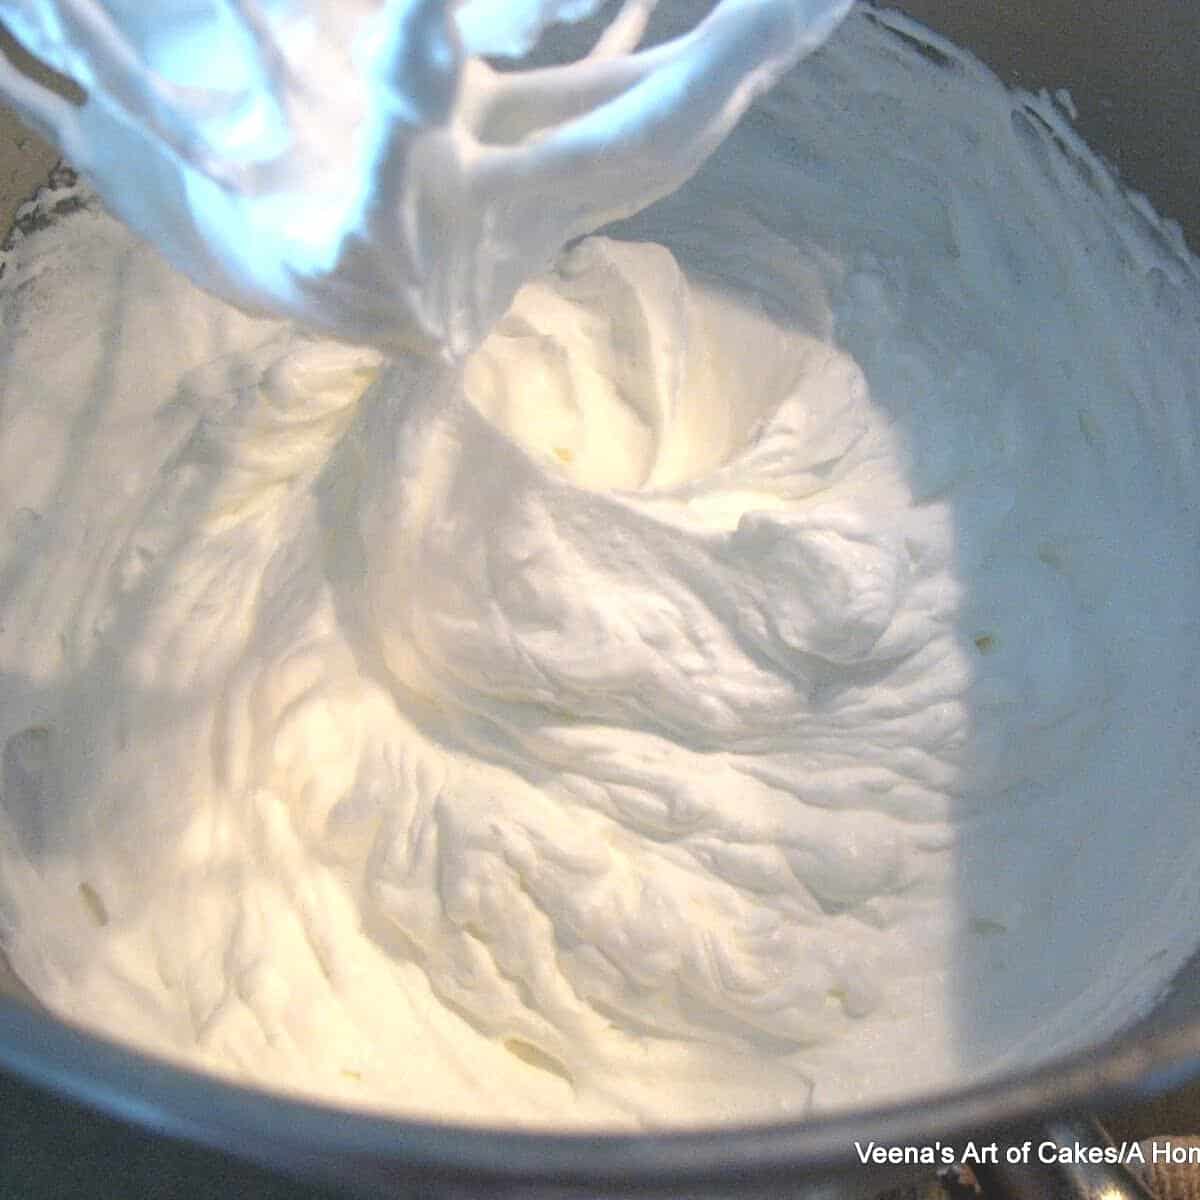
Step-by-step: Homemade whipped cream
- Step 1 – Chill your tools (optional but helpful): Place your mixing bowl and beaters in the fridge or freezer for 10–15 minutes. Cold equipment gives better volume and structure.
- Step 2 – Add ingredients to the bowl: Pour the cold heavy cream into the chilled bowl. Add the powdered sugar and vanilla extract.
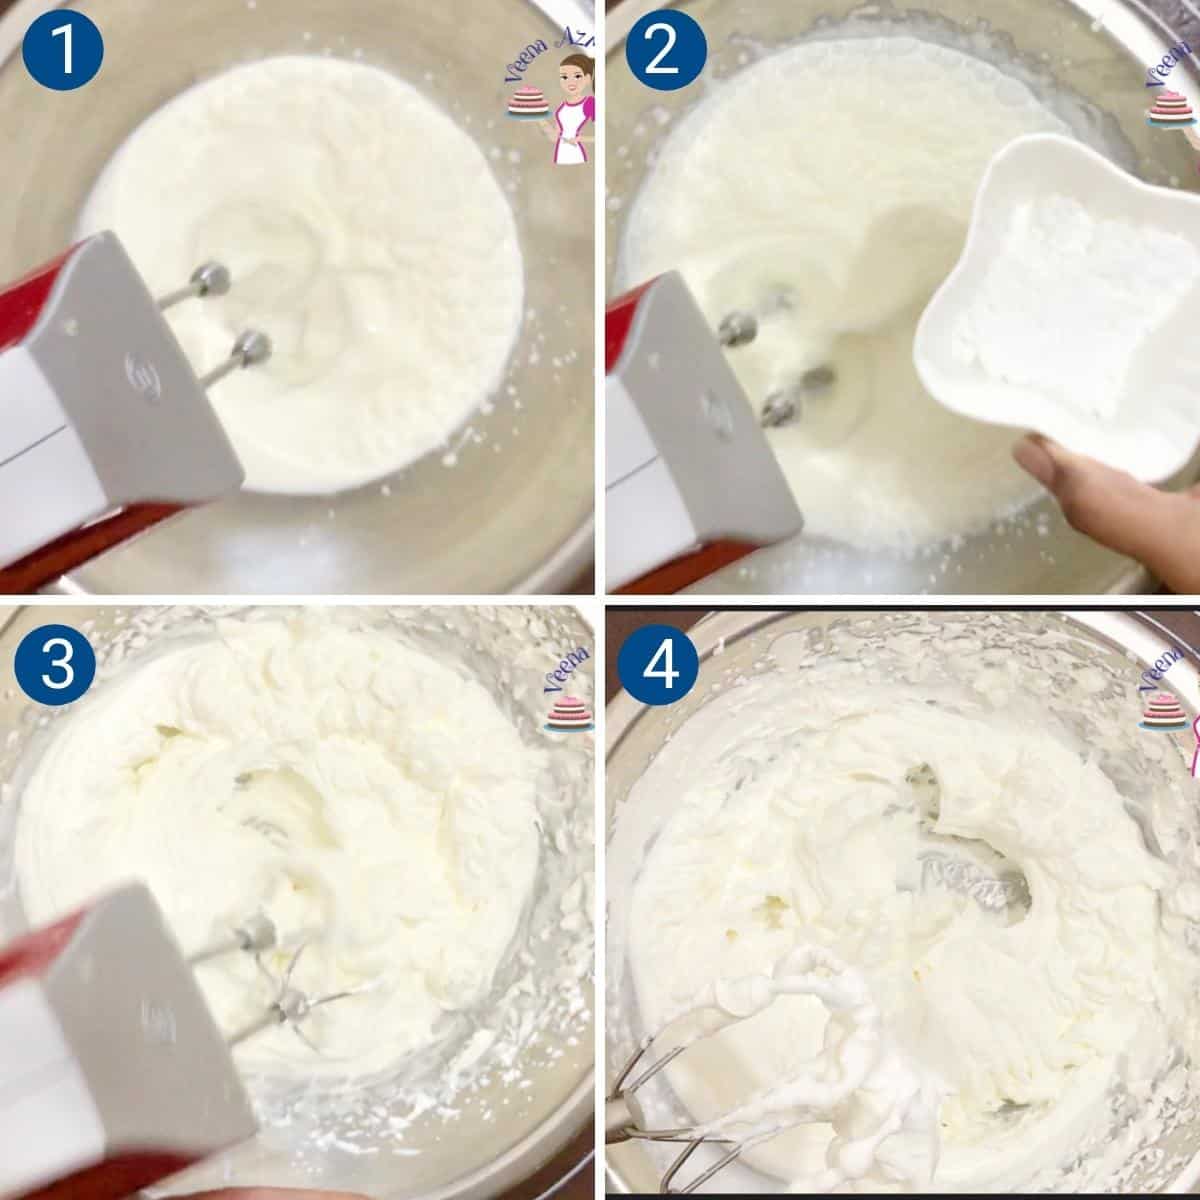
- Step 3 – Whip it up: Using a hand mixer or stand mixer with a whisk attachment, beat on medium-high speed until soft peaks form. For a firmer consistency (great for piping), whip to stiff peaks—but don’t overwhip or it may turn grainy or start turning into butter.
- Use immediately or chill: Use right away or store in the fridge for up to 24 hours. For longer-lasting whipped cream, see tips below for stabilized options.
- Mom’s Vanilla Cake Recipe
- Vanilla Ice Cream
- No-Churn Ice Cream
- Lemon Ice Cream – No Churn
- BEST Fluffy Vanilla Cake


Frequently asked questions
Up to 24 hours in the fridge. It may lose some volume but can be lightly rewhipped if needed. Yes! Pipe dollops onto a tray and freeze. Once solid, transfer to a container. Use straight from the freezer for hot cocoa or as a dessert topping.
Yes! Chantilly cream is simply the French name for sweetened whipped cream with vanilla.
Heavy cream, often referred to as double cream, has a higher fat content (36 to 38%) than whipping cream (30 to 32%).
You can easily use whipping cream with most desserts. However, heavy cream will hold its shape for a longer period of time. Whipping cream is lighter with softer peaks and will stay good for some time.
For all the other creams – please read my Tip Thursday – Different Types of Creams and their uses
Yes! Add 1–2 tbsp mascarpone or cream cheese to help it hold its shape longer. Or try the gelatin method to stabilize whipped cream.
Homemade Whipped Cream
Light, fluffy, and irresistibly creamy—this homemade whipped cream (also known as Chantilly cream) is the perfect 3-ingredient topping for cakes, pies, and more. No preservatives, no stabilizers—just classic flavor made in minutes!
Video
Ingredients
- 1 cup (240 g) Heavy whipping cream or double cream, cold
- 3 tbsp Powdered sugar – or to taste
- 1 tsp Pure vanilla extract
Method
- Chill your tools (optional but helpful): Place your mixing bowl and beaters in the fridge or freezer for 10–15 minutes. Cold equipment gives better volume and structure.
- Add ingredients to the bowl: Pour the cold heavy cream into the chilled bowl. Add the powdered sugar and vanilla extract.1 cup Heavy whipping cream, 3 tbsp Powdered sugar , 1 tsp Pure vanilla extract
- Whip it up: Using a hand mixer or stand mixer with a whisk attachment, beat on medium-high speed until soft peaks form. For a firmer consistency (great for piping), whip to stiff peaks—but don’t overwhip or it may turn grainy or start turning into butter.
- Use immediately or chill: Use right away or store in the fridge for up to 24 hours. For longer-lasting whipped cream, see the tips below for stabilized options.
Notes
- Keep it cold – The colder the cream and tools, the better it will whip.
- Don’t overwhip – Once it forms peaks, stop! It can quickly go from soft cream to butter.
- Want to stabilize it? Add 2 tbsp mascarpone, cream cheese, or use a gelatin-based method.
- Make it ahead – Whip just shy of stiff peaks, cover, and store for up to 24 hours.
What Can You Use Whipped Cream For?
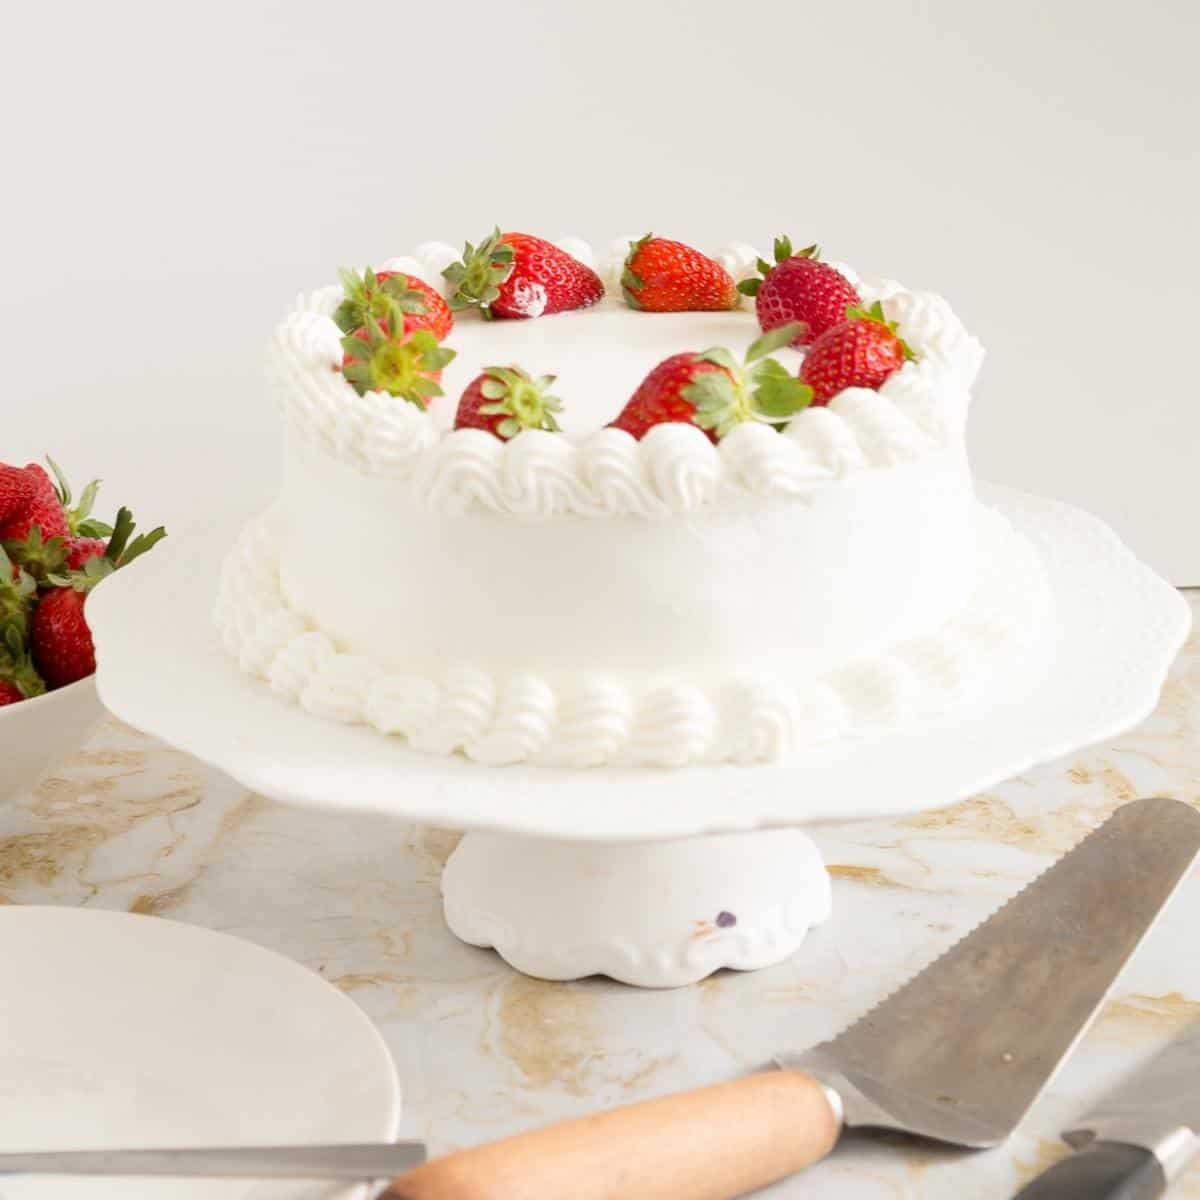
- Topping for cakes, cupcakes, pies, or cheesecakes
- Layering into trifles, parfaits, and mousse
- Dolloped over hot chocolate, pancakes, waffles, or crepes
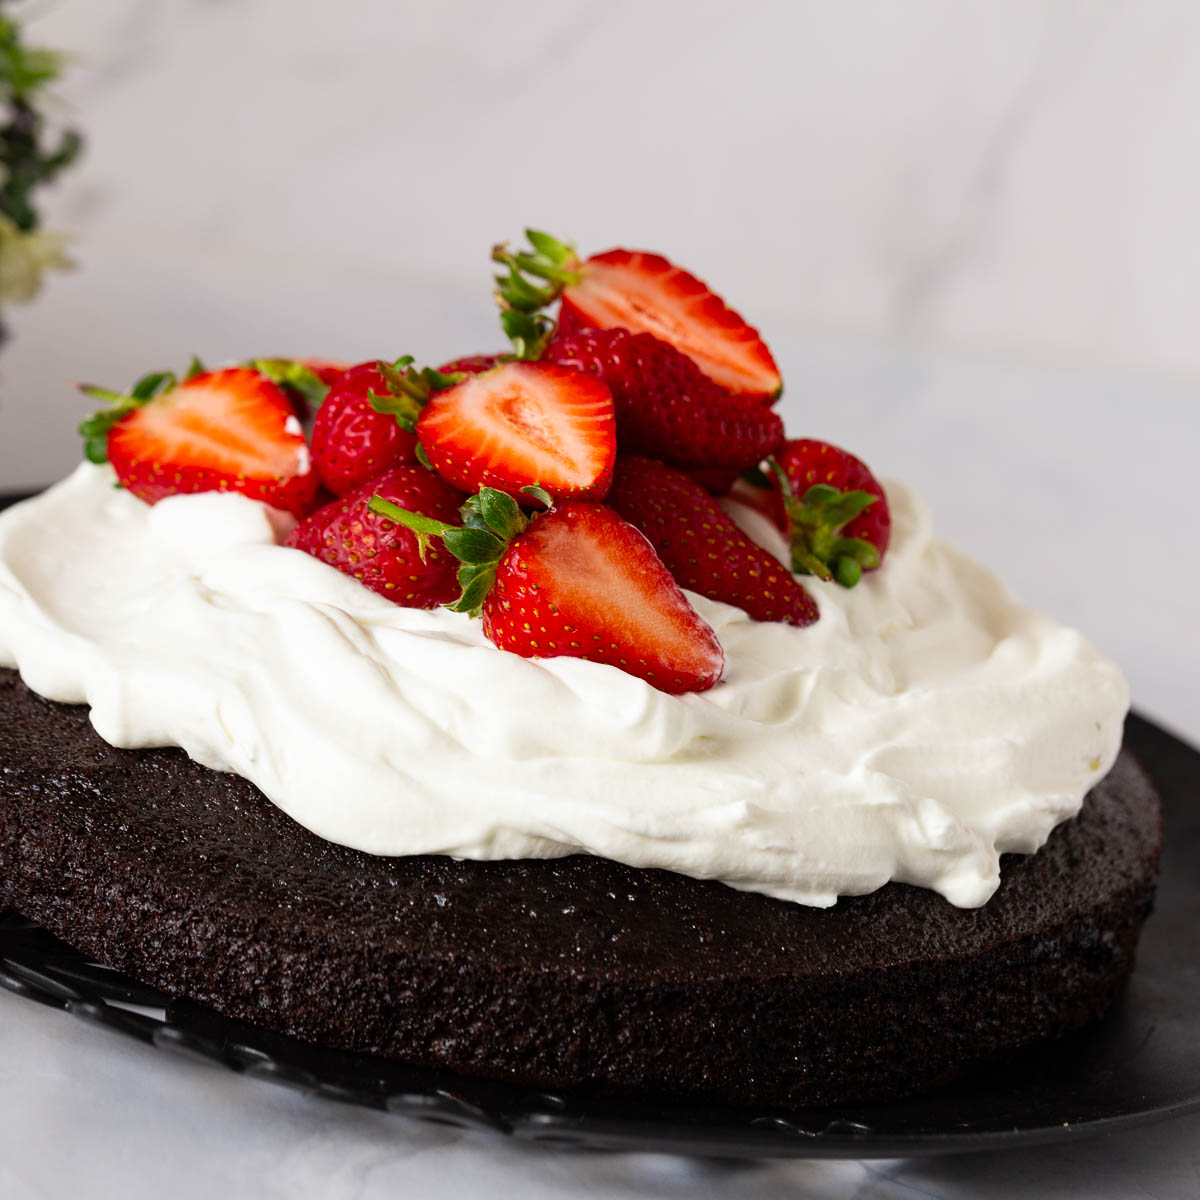
- Served with fresh berries or roasted fruit
- Folded into no-bake desserts or used in fruit dips
Equipment you will need


Nutrition
Tried this recipe?
Mention @veenaazmanov_kitchen or tag #veenaazmanovkitchen!

Don’t lose this recipe! Save it for Later!
📌 Save this Recipe for later on Pinterest so you can easily find it again.
⭐ Add Veena Azmanov Kitchen to your Google Preferred Sources.
It helps Google show you more of our recipes.
📧 Subscribe for new recipes delivered to your inbox.
🎥 Follow us for more recipes


Pastry day 12 done.
cannot print some of the recipes for day 12 e.g., no butter cream cheese frosting. Stabilized whipped cream.
Pastry day 12 done
PASTRY DAY 12 DONE
Pastry day 12 done
Pastry Day 12 DONE
Pastry Class – Day 11 – Done
“Pastry Day 12 DONE”
Pastry Day 12 Done
Hi Veena
Love your website. Are you familiar with the cream available in India? Every time I whip the fresh heavy cream we buy from the local dairies it never reaches piping consistency.
I’ve tried all the tips but it doesn’t work. Not sure which other cream I can use. Thank you.
Vandana. As long as you have a minimum 38% fat you should be able to whip it to stiff peaks anywhere in the world.
If you live in a hot and humid place like India it is best to keep a bowl of ice under the bowl of whipping cream.
this ensures the cream is cold at all times. The cream must be thoroughly chilled, not frozen, and not warm for it to whip.
I’m really puzzled. I don’t understand why so many people add sugar and vanilla to whipped cream. Do their countries produce lousy cream? I find it revolting. Good cream needs nothing but itself—and, of course, something to whip it with. I use a small electrical hand mixer. At one time it might have had a bowl and stand, but I bought it second-hand.
Hey Loraine, No these countries don’t produce lousy cream. They just have the option of unsweetened cream. I like a little sweetness to my cream.