Raspberry Filling Recipe


This homemade raspberry filling recipe is simple and easy. It can be made from fresh or frozen raspberries. Also, this filling is so versatile it goes well between cake layers, macarons, tarts, and pies, as well as on the side of a delicious dessert.
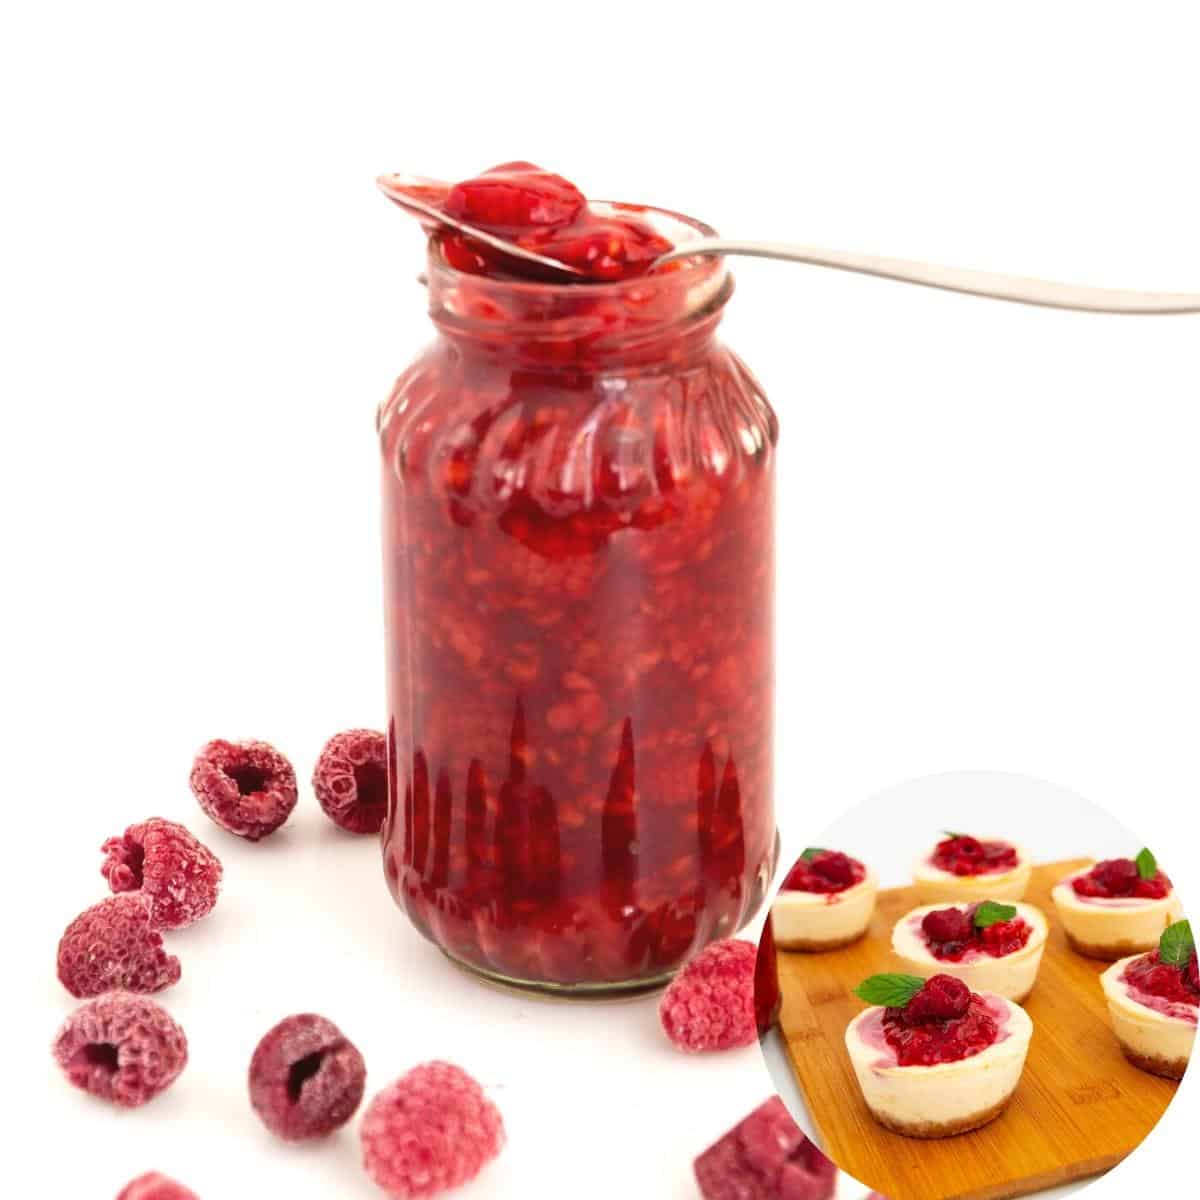
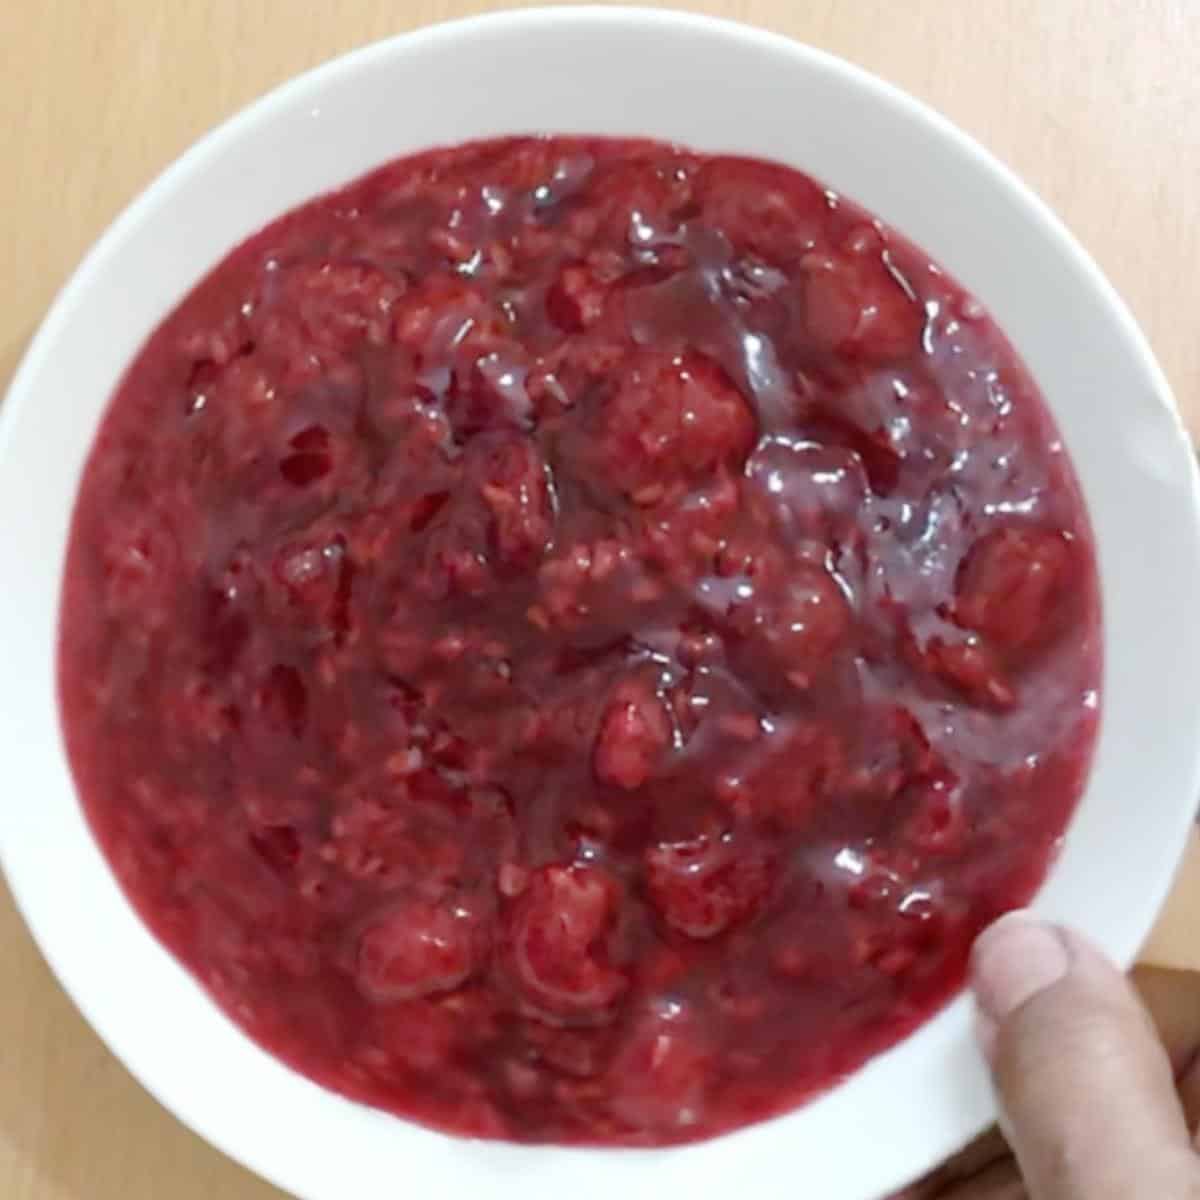
One of my favorite things about a tasty raspberry filling is the color. Look at that deep raspberry-red color! Can you imagine that between layers of a cake? And especially between the layers of my white wedding cake?
A fruit filling is always in my freezer. Mostly in tiny little bags. Just enough to top small desserts or pancakes for the kids’ breakfast. So when I have a cake order that includes a fruit filling, you can bet that I will make at least twice the amount needed.
Why make homemade fruit filling?
- A fruit-filling recipe is so versatile. Of course, it is delicious on its own, but there is so much more you can do with fruit fillings apart from using it as a filling for cakes, pies, tarts, pastries, desserts, cheesecakes, pastry, etc. (more on that below)- try it over pancakes, waffles, French toasts.
- Homemade fruit fillings are less sweet and fruitier, and, unlike commercial fruit fillings, are not loaded with sugar, flavorings, and additives.
- The best part is that it takes just 5 to 7 minutes to make it. And, it has a shelf life of up to 4 days in the fridge. Leftovers can be kept in the fridge for months.
Ingredients and substitutes
- Fresh or frozen fruit – You can use either. Fresh berries are not always available to me. So, frozen is often my option. I prefer to use frozen fruit, as it breaks down nicely, giving you that melt-in-the-mouth texture and mouthfeel. And if you notice, unlike most other recipes that call for mashing the fruit up, I prefer to leave them whole, so they look like a berry in the desert. Since that mouthful of fruit, when you bite into a dessert, is decadent on its own.
- Cornstarch – I think this is by far the most commonly used ingredient. And yet, if, for some reason, you cannot use cornstarch, try arrowroot powder or potato starch. I have used both on two separate occasions, and there is not much difference between them.
- Sugar – I prefer to use fine-grain sugar for this, so I get a nice thick syrup consistency.
- Lemon Juice – Helps cut the sweetness and also brings out the flavor.

Step-by-step: Raspberry cake filling
- In a saucepan, over medium heat, add the raspberries, sugar, lemon juice, and 1/4 cup water. Cook on low to medium heat until all the sugar has dissolved. Use a vegetable masher to mash some of the fruit.
Pro tip – Mashing will add a nice, thicker consistency to the topping, but make sure to leave some raspberries whole. - Make a cornstarch slurry by combining the remaining water with cornstarch. Add it to the raspberry mixture. Continue cooking over medium heat until the filling comes to a boil and thickens and becomes glossy. Remove and let cool for a while.
Pro tip – Cornstarch can settle to the bottom of the water. So, you must stir it just before adding it to the saucepan.

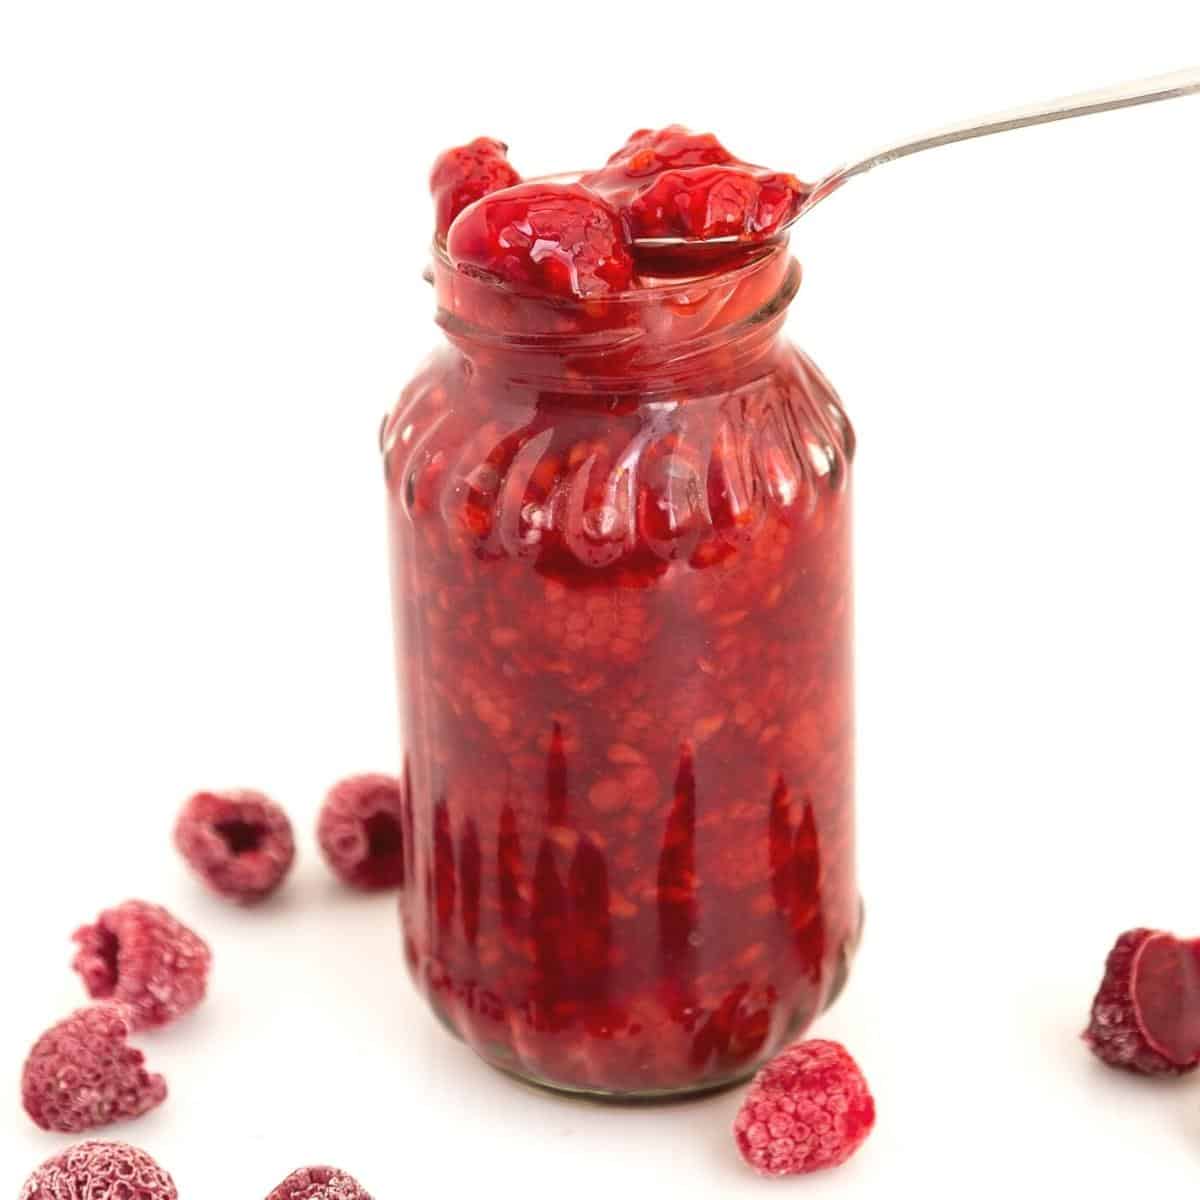
- At this point, you can strain through a fine mesh strainer to remove the seeds. Or leave it fruity and chunky, just as I have done here.
- Remove and pour into a large bowl or mason jar. Let cool completely, or use as directed in your recipe.
Pro tip – The filling will thicken as it cools, so keep that in mind when you remove it from the heat. - Enjoy!
How to use raspberry filling?
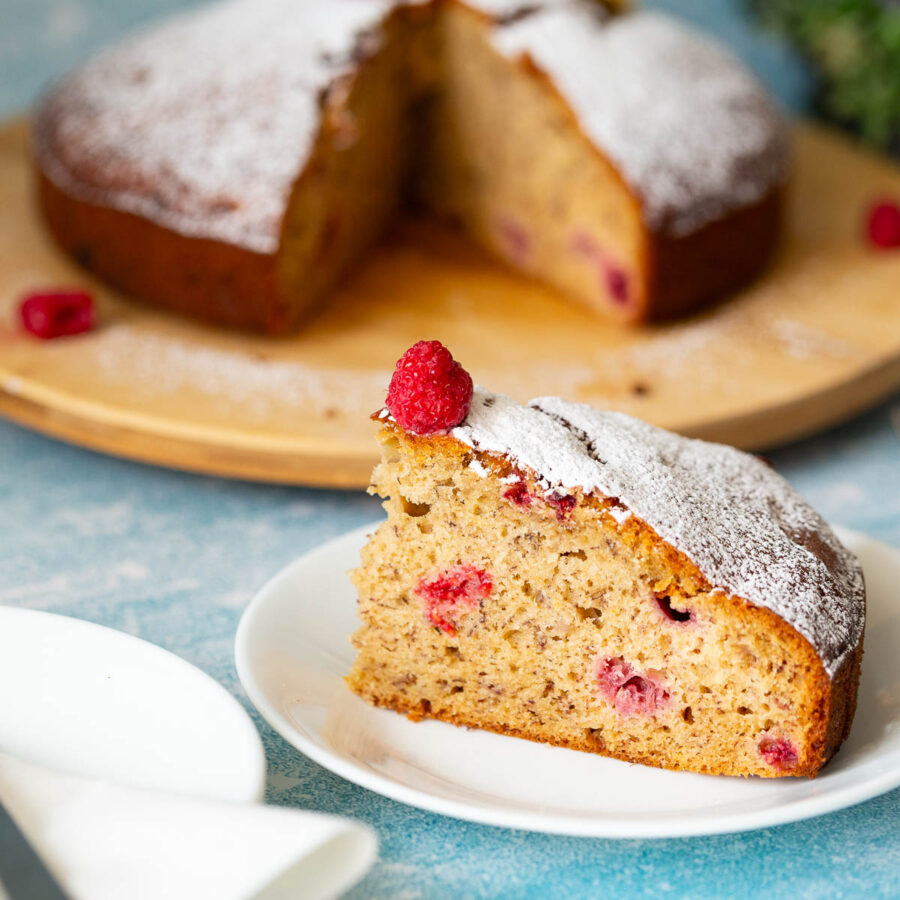
- Cake filling – You can use fruit filling instead of jam filling in cakes between cake layers with a buttercream frosting dam and more fresh fruits. See how to fill and frost cakes. Fruit fillings are especially delicious with whipped cream or cream cheese frosting.
- Cake sides – I love to serve it on the side of my vanilla or chocolate pound or bundt cakes.
- Pie filling – Spread it on a prebaked shortcrust pastry shell with vanilla pastry cream as a base, and also top it with whipped cream.
- Tart filling – line a tart pan with rich shortcrust pastry, pour in the cool raspberry filling, and top with a lattice crust. Bake until golden.
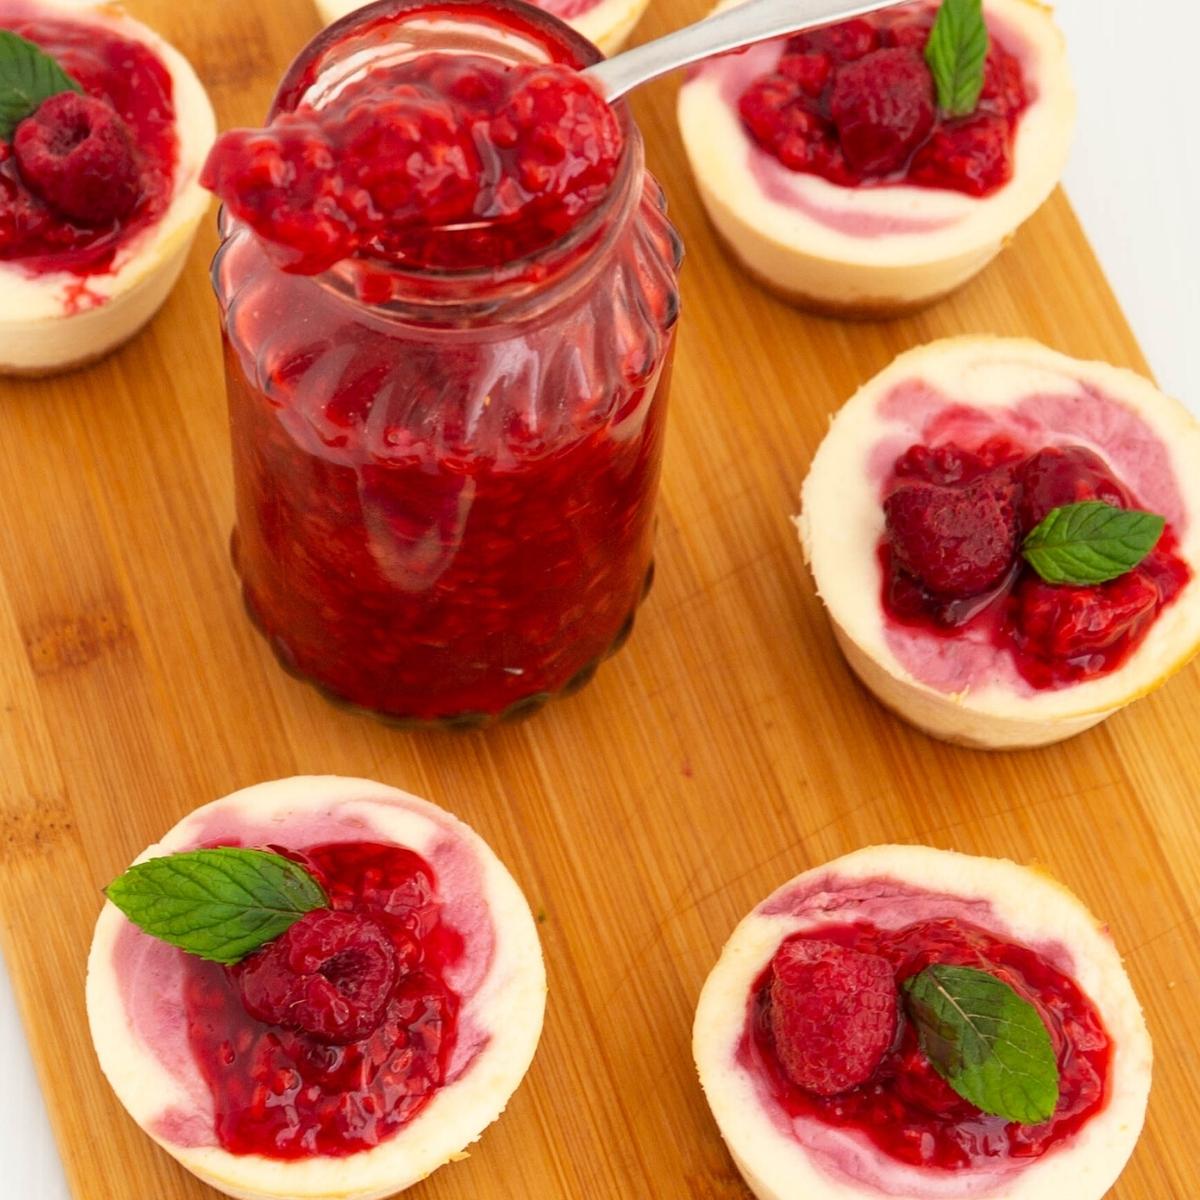
- Deserts – A fruit filling can take any dessert to the next level. Serve it with pound Cake. Top it over your favorite New York cheesecake or mini raspberry cheesecake.
- Pastry – bake it in puff pastry or Danish pastry dough over pastry cream or cream cheese filling, similar to this strawberry braided pastry, blackberry braided pastry, or Danish pastry rolls.
More raspberry recipes
- White Chocolate Raspberry Cake – you can also use dark chocolate.
- Raspberry Linzer Cookies
- Mini Cheesecakes – Raspberry
- Raspberry Pavlova Ice Cream
- Raspberry Doughnuts
- French macarons – raspberry
- Raspberry Crumble Recipe


Frequently asked questions
The raspberry filling can be kept at room temperature for up to two days. It will also last in the fridge for up to 4 or 5 days and can be frozen for over a month. Always keep filling recipes well-wrapped to prevent them from drying out.
Absolutely. I get fresh raspberries in season. And yet, during the year, I have to use frozen raspberries. Also, the frozen ones are more affordable and work best for cake and pie fillings.
You will need twice (double batch) this recipe for a raspberry pie. You can use either fresh or frozen raspberries. And if you have fresh raspberries, save some for garnish.
The raspberry filling works excellently on a simple vanilla cake or chocolate cake. You can also try my vanilla cream cake or simple moist chocolate cake.
A fruit jam like raspberry jam is sweeter, gelatinous, and more concentrated. Jam gets its unique flavor from slow cooking, which caramelizes the sugar and releases pectin from the fruit juices. This creates that jelly texture that helps the jam set. Fruit fillings like this raspberry filling are more fruity and less sweet, using a quick cooking method that preserves the taste of fresh fruit. It is thickened with the help of a cornstarch slurry. The shelf life of jam can be years, while fruit filling will last for months in the freezer.
The Ultimate Raspberry Filling
This homemade raspberry filling recipe is simple and easy. It can be made from fresh or frozen raspberries. Also, this filling is so versatile that it goes well between cake layers, macarons, tarts, and pies, as well as on the side of a delicious dessert.
Video
Ingredients
- 8 oz (225 g) Raspberries
- ¼ cup (50 g) White sugar
- 1 tbsp Cornstarch
- 1 tbsp Lemon juice
- ½ cup (120 ml) Water (see notes)
- ½ tsp Salt
Method
- In a saucepan, over medium heat, add the raspberries, sugar, lemon juice, and 1/4 cup water. Cook on low to medium heat until all the sugar has dissolved. Use a vegetable masher to mash some of the fruit.
- Make a cornstarch slurry by combining the remaining water with cornstarch. Add it to the raspberries. Continue to cook on medium heat until the filling comes to a boil and becomes thick and glossy. Remove and let cool for a while.
- At this point, you can pass the mixture through a fine-mesh strainer to remove the seeds. Or leave it fruity and chunky, just as I have done here.
- Remove the mixture and pour it into a large bowl or mason jar. Let it cool completely, or use it as directed in your recipe.
- Enjoy!
Notes
-
- You can use fresh or frozen fruits. Make sure to check if the fruits are sweetened and adjust the sweetness accordingly.
-
- Also, if the fruits are frozen, you may need a little less water. You can omit the additional water and add only sugar, lemon juice, and salt. Once the sugar dissolves, adjust the water if necessary.
-
- Use fine-grain white sugar so it dissolves easily and does not affect the color of the filling. For example, brown sugar can give a very dull red color.
-
- Overcooking the fruit filling causes the cornstarch to become lumpy. If that happens, just add a little water and cook until it reaches the right consistency.
-
- This filling will stay in the fridge for a week, but you can also freeze it for up to 3 months.
-
- This batch would be enough cake filling for 2 x 8-inch cake layers.
-
- A tart filling for one 9-inch tart and
-
- dessert servings with a 9-inch cheesecake.
-
- You can use this recipe to make other fruit filling, such as blueberry, blackberry, strawberry, mango, cherry, etc.
Equipment you will need

Nutrition
Tried this recipe?
Mention @veenaazmanov_kitchen or tag #veenaazmanovkitchen!Don’t lose this recipe! Save it for Later!
📌 Save this Recipe for later on Pinterest so you can easily find it again.
⭐ Add Veena Azmanov Kitchen to your Google Preferred Sources.
It helps Google show you more of our recipes.
📧 Subscribe for new recipes delivered to your inbox.
🎥 Follow us for more recipes


Thank you for this recipe! This is my first time trying to make it. It’s in the fridge right now and I have some puff pastry I’m going to use it with!!
That sounds delicious. Thanks Amanda
Week2 Day Three done.
I little delayed in doing and then further in posting.
Thank you for having a cornstarch free option. I have a corn allergy and you wouldn’t believe how hard corn is to avoid! I used potato starch and it turned out well. I’m happy.
Great. Thank you for the lovely feedback. Jaime