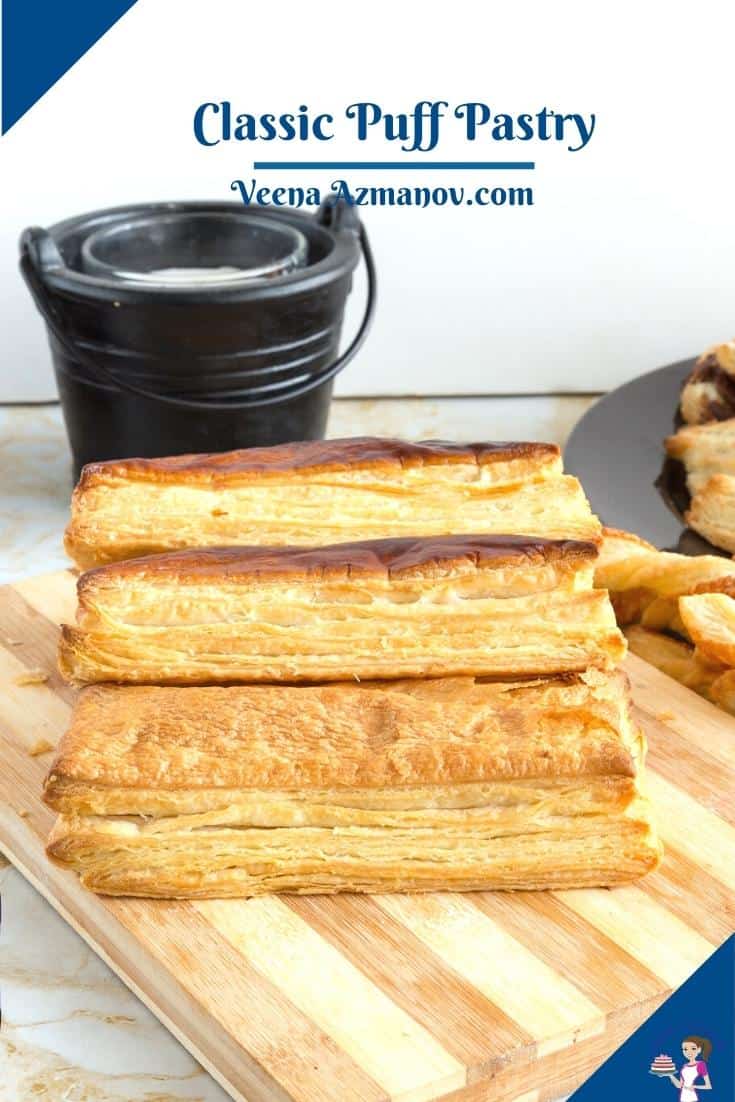
Classic Puff Pastry – Pate Feuillettee

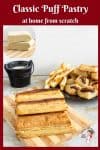
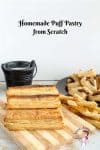


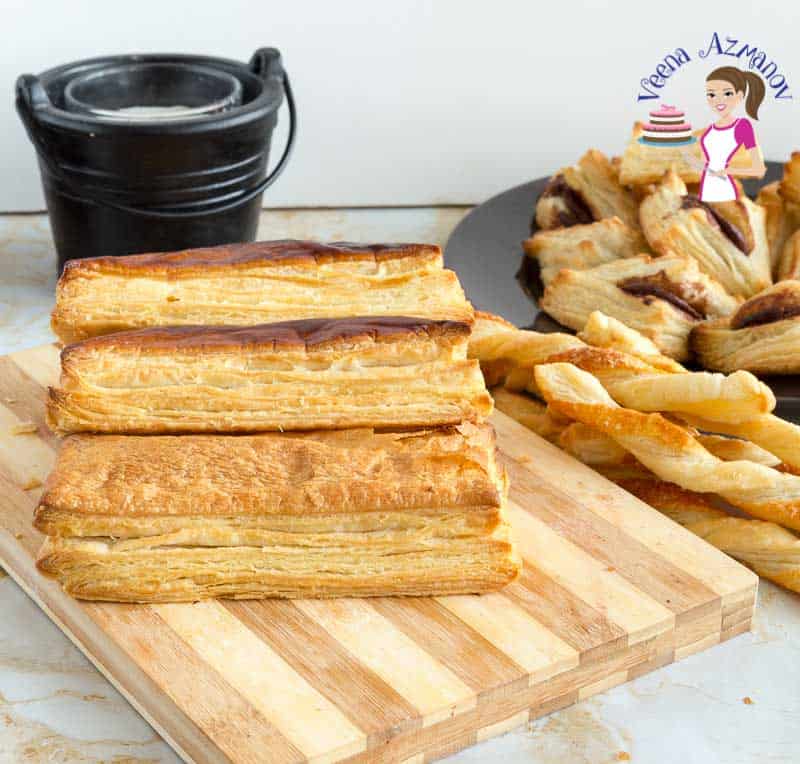
The traditional puff pastry has been around for generations and is the base of many wonderful pastries. Create sweet or savory treats, from breakfast to desserts, using homemade puff pastry. Made using the classic method, this pastry is flaky, buttery, and much better than store-bought ones. Learn to make it from scratch using my no-fail method, step-by-step progress pictures, and video.
When I first learned to bake, puff pastry felt like something only professional pastry chefs could master. Where I lived at the time, ready-made puff pastry wasn’t even available in stores, so if I wanted to make apple tarts or chicken pot pies, I had no choice but to make it from scratch.
The first few times, I was nervous about all those folds and chills, but once I understood the rhythm — fold, rest, repeat — it became almost therapeutic. Today, even though I can buy puff pastry easily, I still love making my own because nothing compares to the buttery, flaky layers of homemade dough. And trust me, if I can master this with no formal training back then, you can too.
What is puff pastry?
The classic puff pastry, or pâte feuilletée, is a laminated dough made with:
- Détrempe (flour dough)
- Beurrage (butter block)
- Pâton (the dough package formed by combining the two)
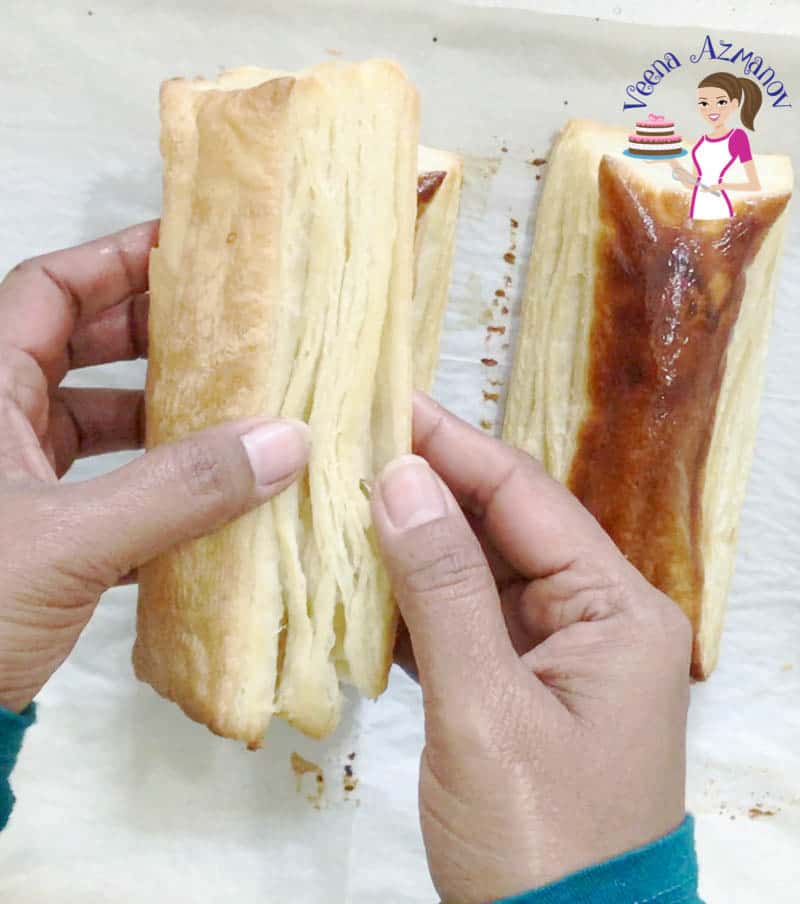
Unlike croissants or Danish pastries, puff pastry has no yeast. All the rise comes from steam created when butter melts between thin dough layers. The result? Buttery, crisp, golden pastry with hundreds of flakes.
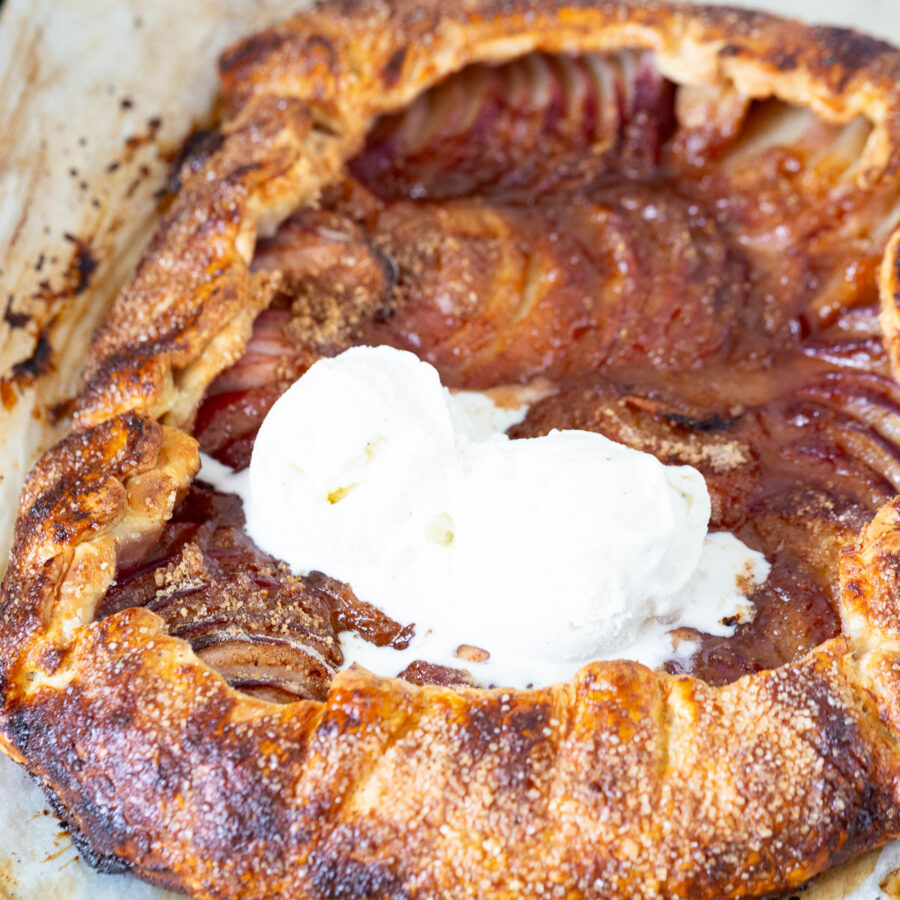
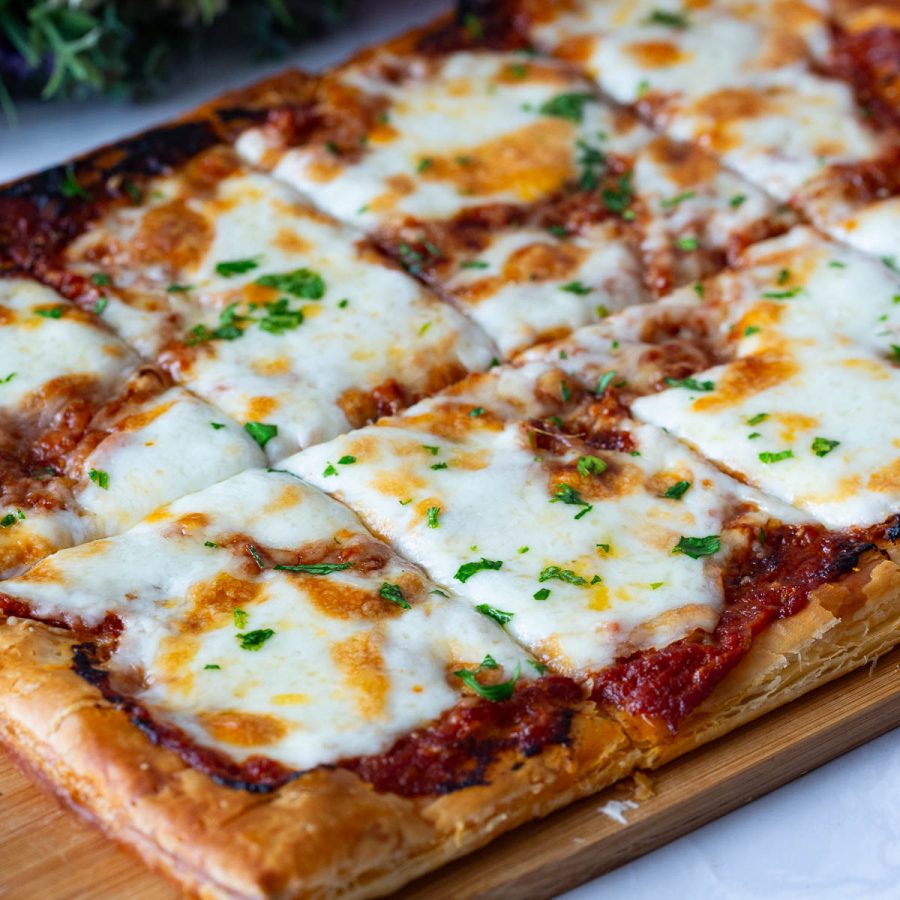
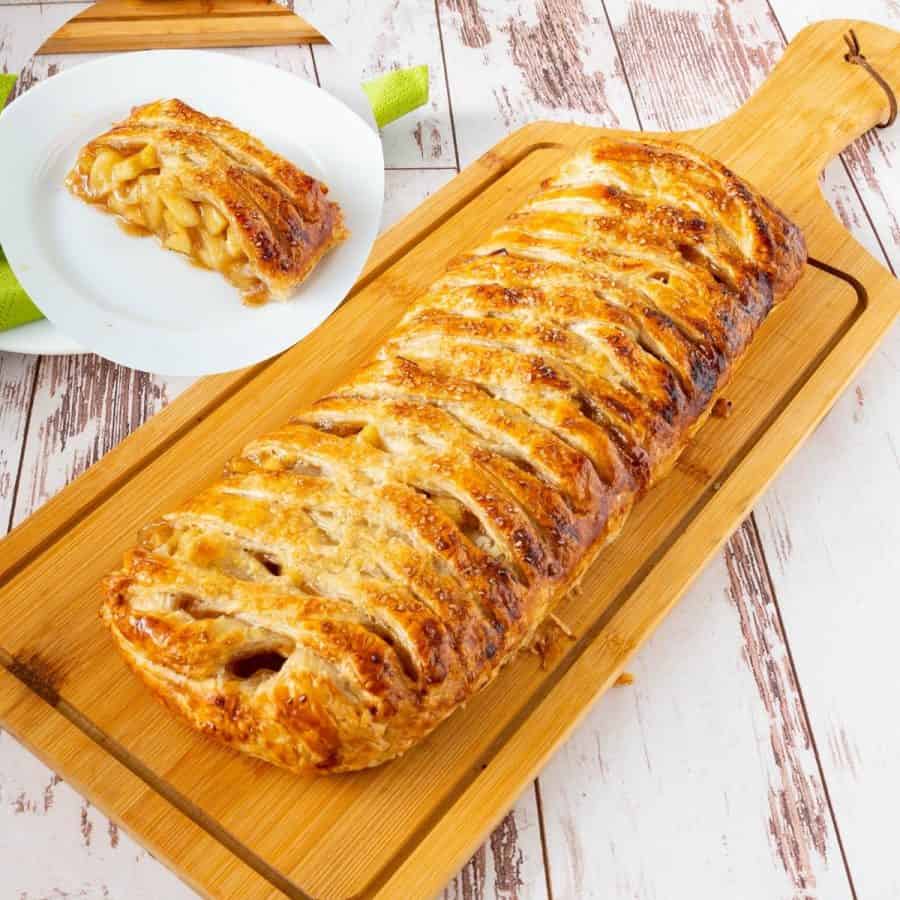
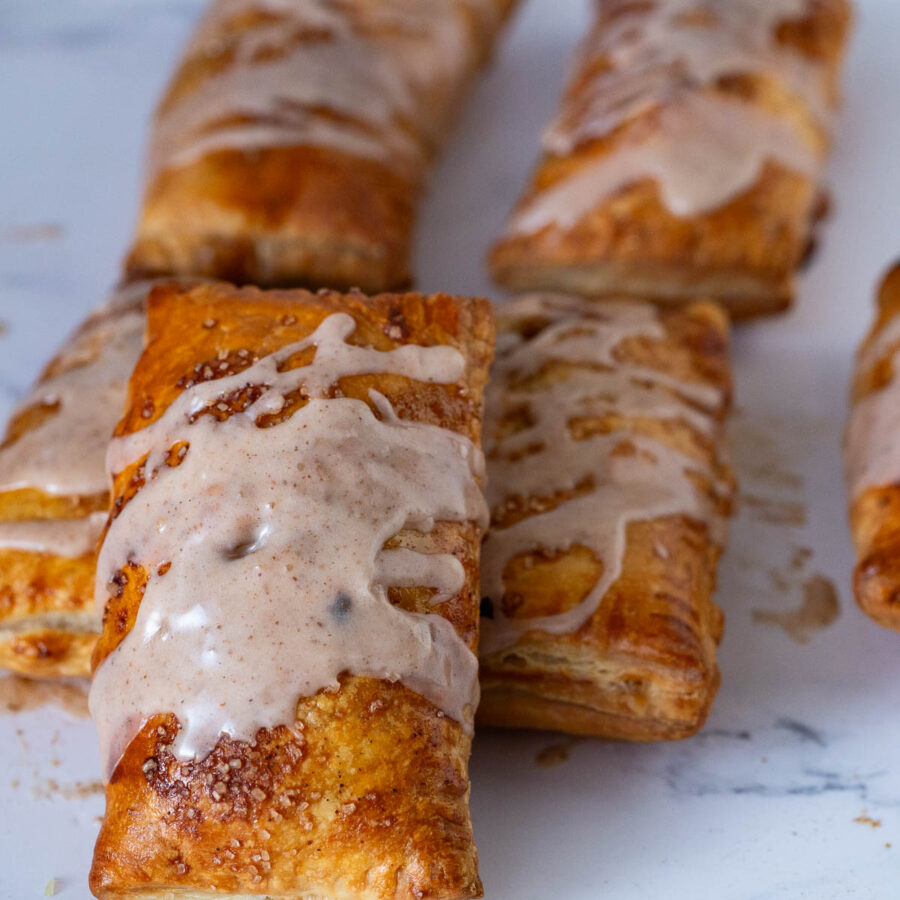
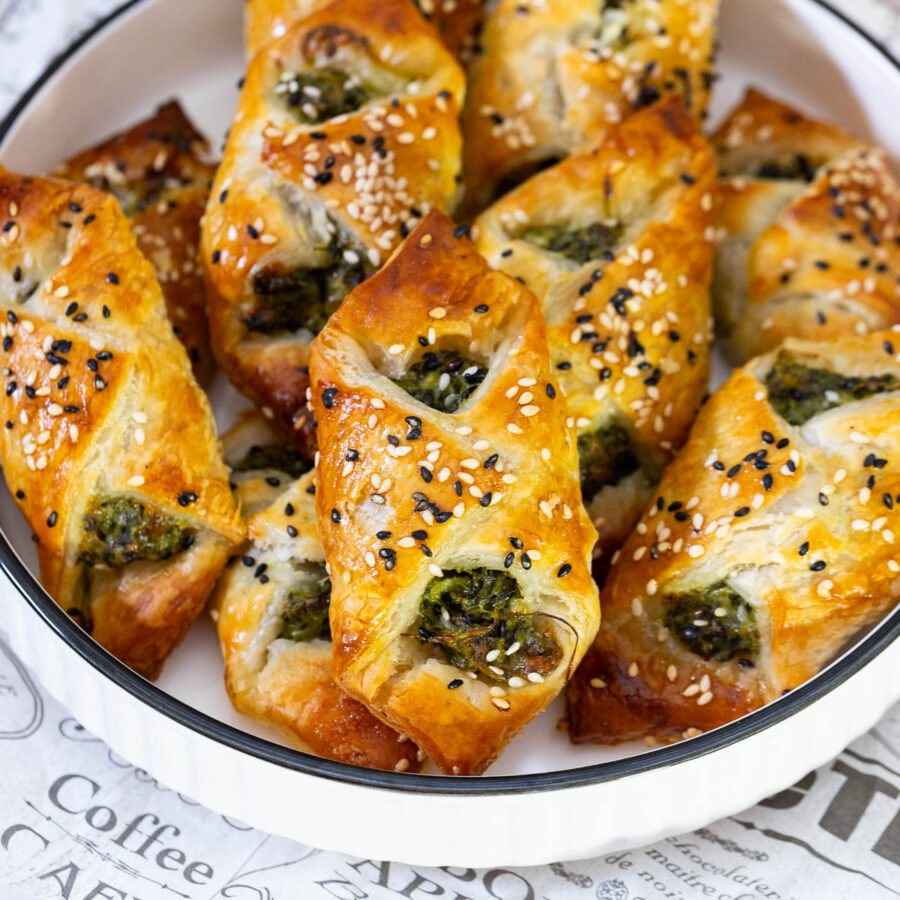
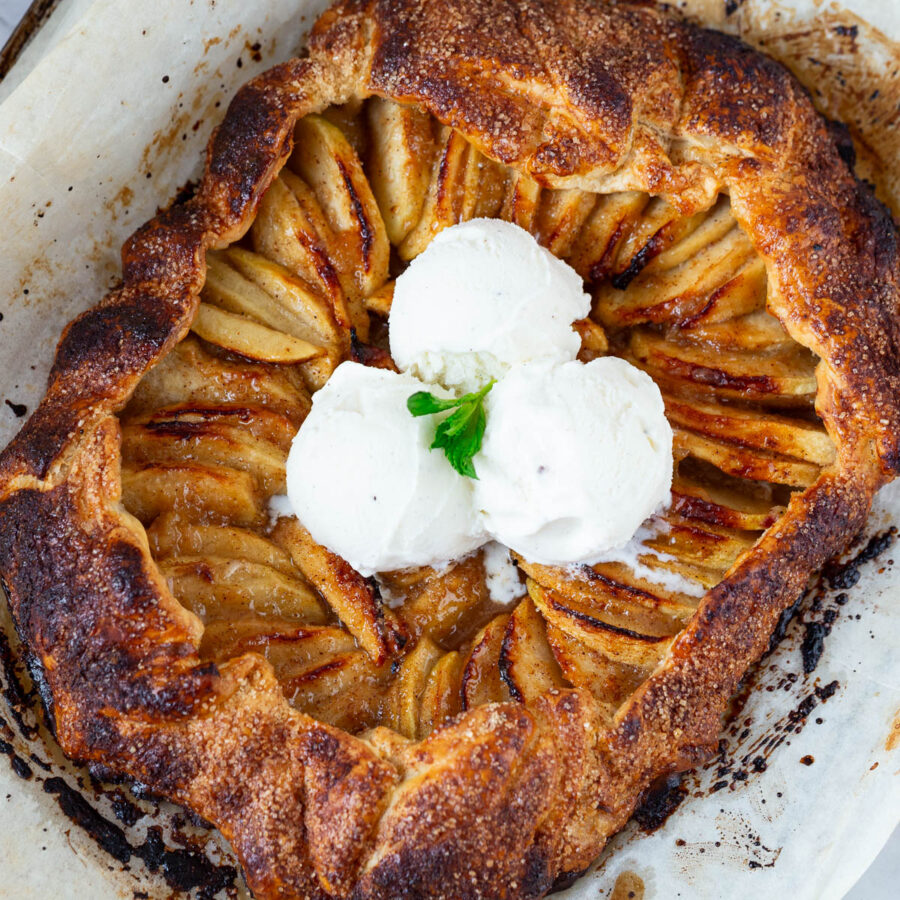
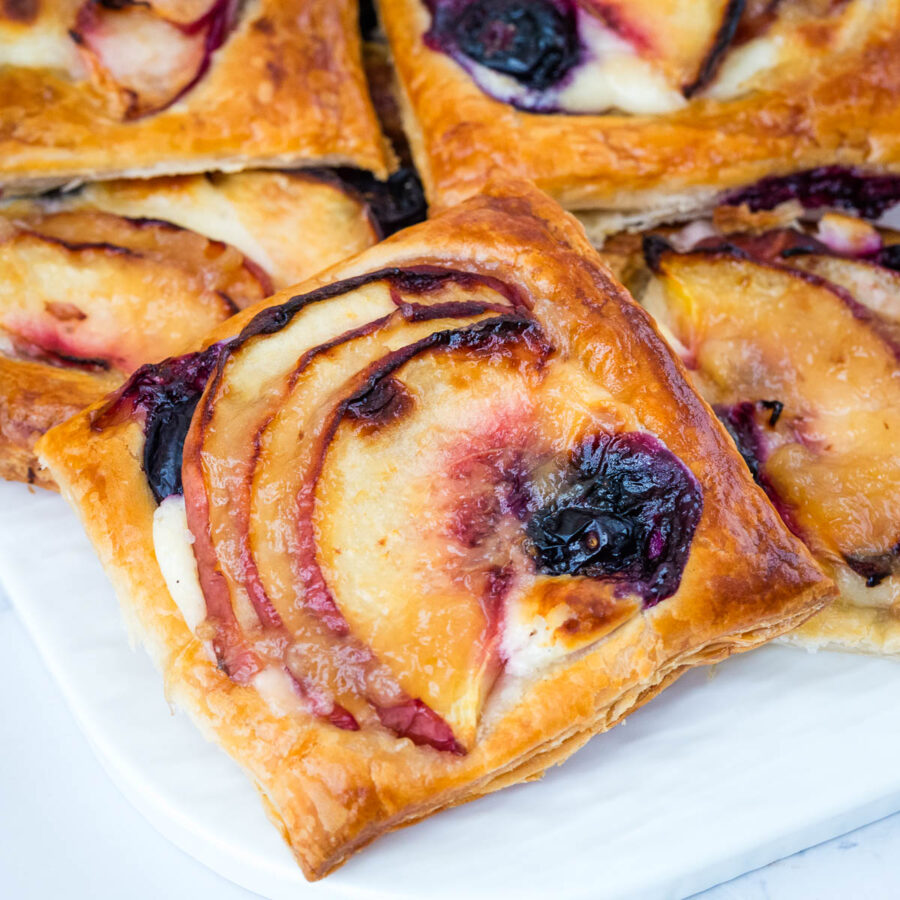
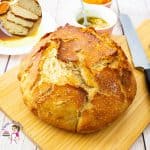
You can use puff pastries to make turnovers, breakfast fruit tarts, Danishes, Galettes, mille feuille, braided pastries, and meat patties.
Why you’ll love this recipe?
- Classic method made simple – step-by-step photos and video guide you through the intimidating parts.
- Beginner-friendly – clear instructions and pro tips make this accessible even if it’s your first laminated dough.
- Better than store-bought – buttery, flaky, golden layers that melt in your mouth.
- Versatile – use it for both sweet pastries (apple tart, palmiers, fruit braids) and savory bakes (meat pies, turnovers, pot pie).
- Freezer-friendly – make ahead, freeze, and always have puff pastry ready.

Traditional method timeline
Making puff pastry is easy but time-consuming because of the chilling between folds.
- Make dough (5–7 mins)
- Make butter block (5–7 mins)
- Chill both (30 mins)
- Combine dough + butter (10 mins)
- Six folds/turns with chilling (90 mins)
- Final chill (60 mins)
👉 Total: ~230 mins (180 mins inactive chilling, only 50 mins active work).
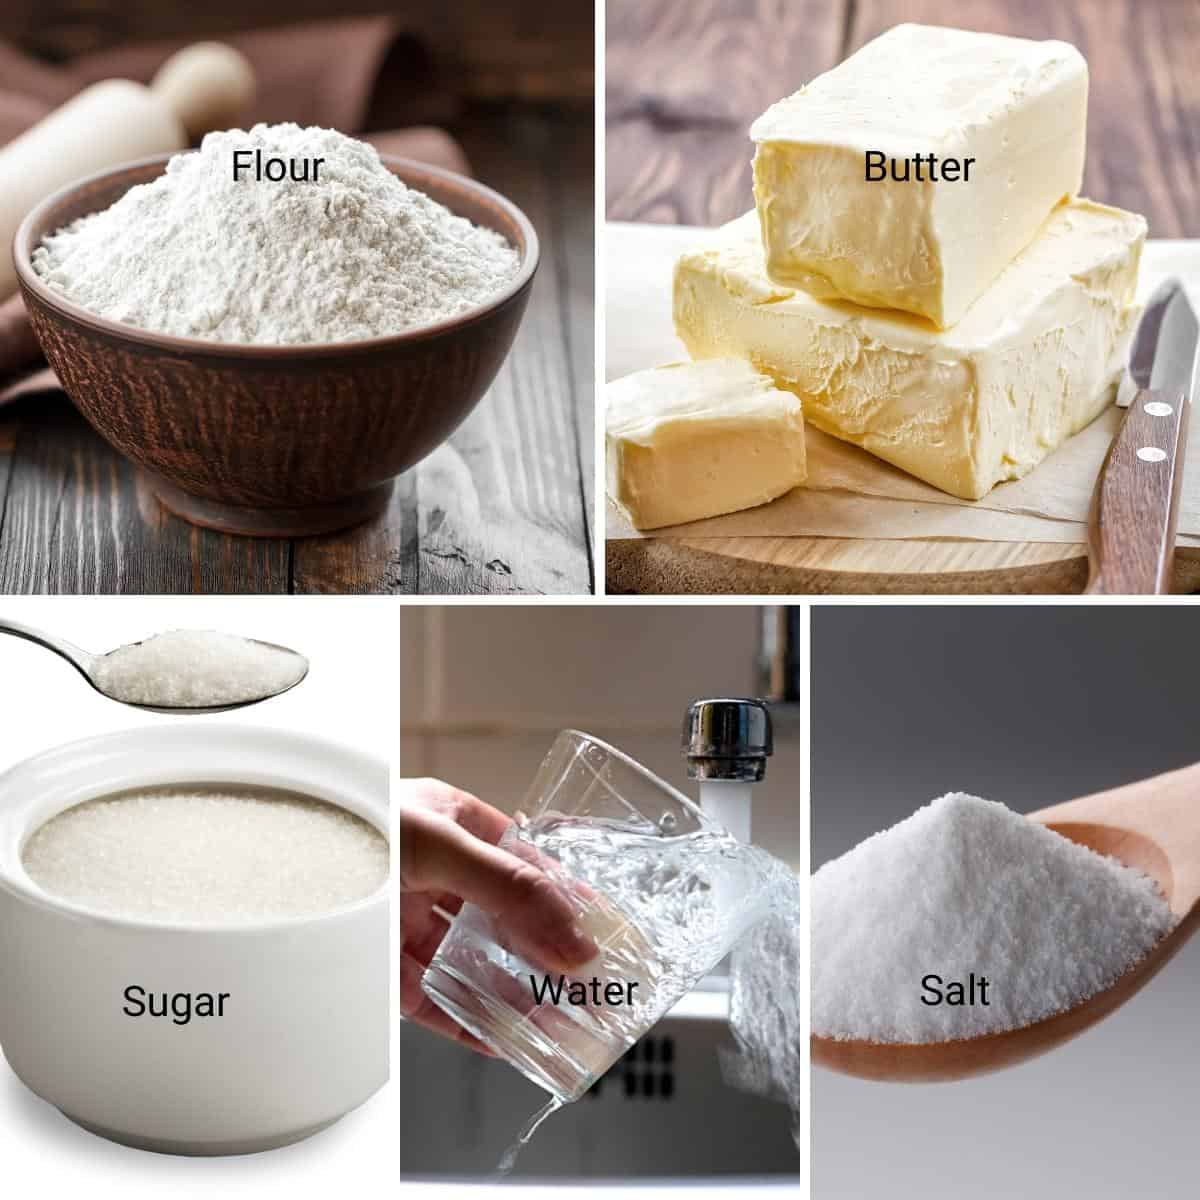
Ingredients and substitutes
- Butter: Use high-fat European butter (less water = flakier pastry).
- Flour: Bread flour gives strong gluten and flakier layers, but all-purpose works too.
- Sugar: Adds tenderness and flavor.
- Liquid: Water or milk works best. Cream darkens the pastry too much.
Step-by-Step: How to Make Traditional Puff Pastry
Dough (Détrempe)
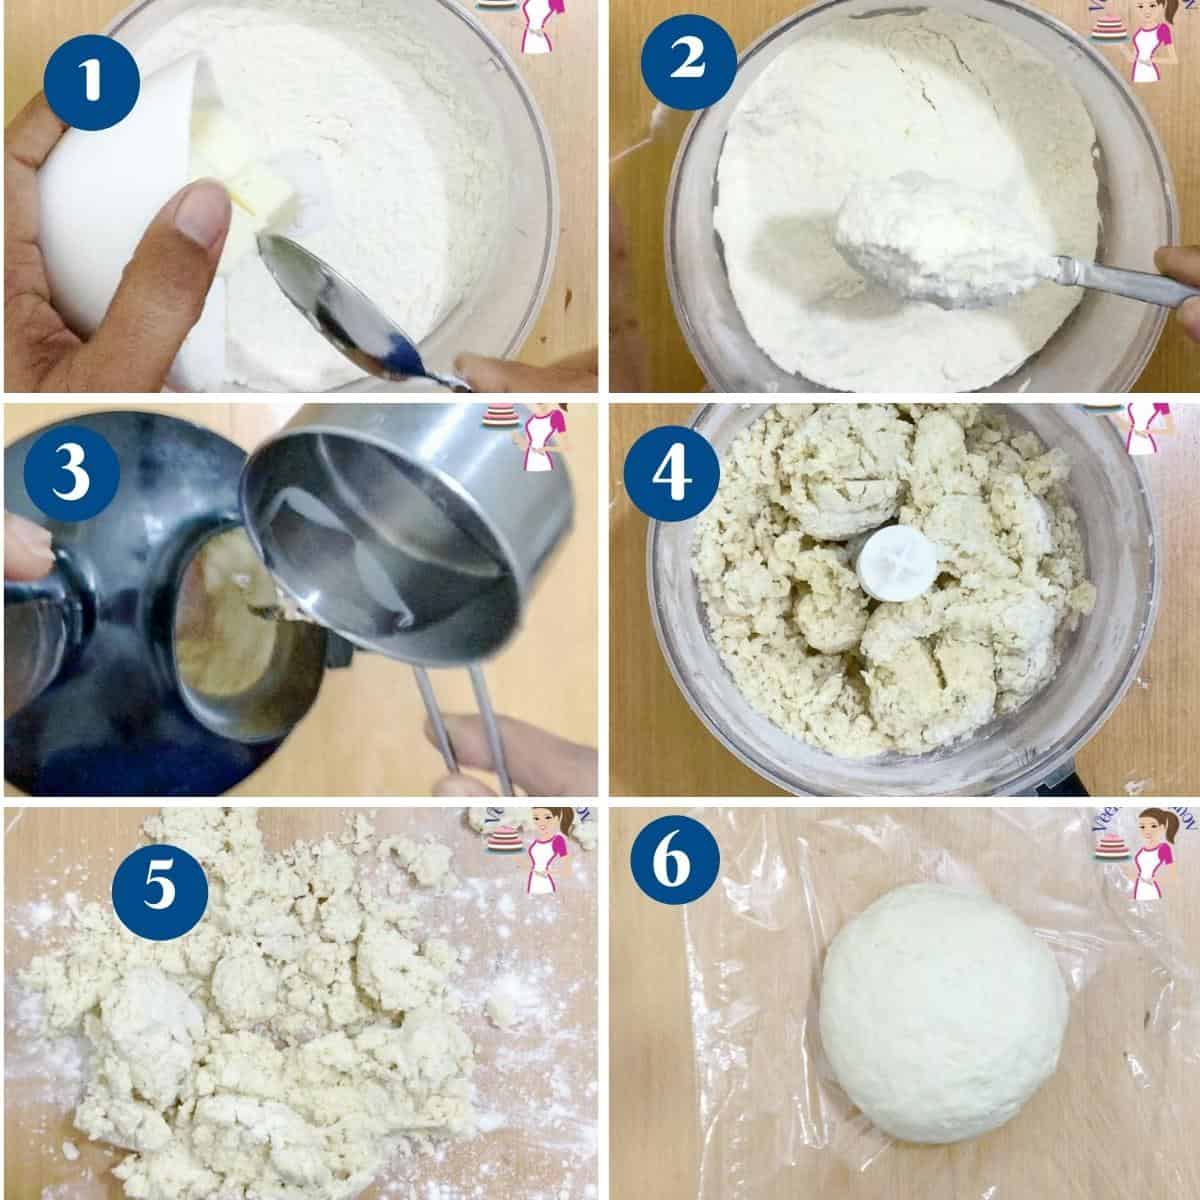
- In a food processor: pulse flour, salt, sugar, and butter until crumbly. Slowly add water until dough forms. Knead lightly 2 mins until smooth. Chill 30 mins.
- By hand: rub butter into flour, then add water to form dough. Knead briefly. Chill 30 mins.
Butter Block (Beurrage)
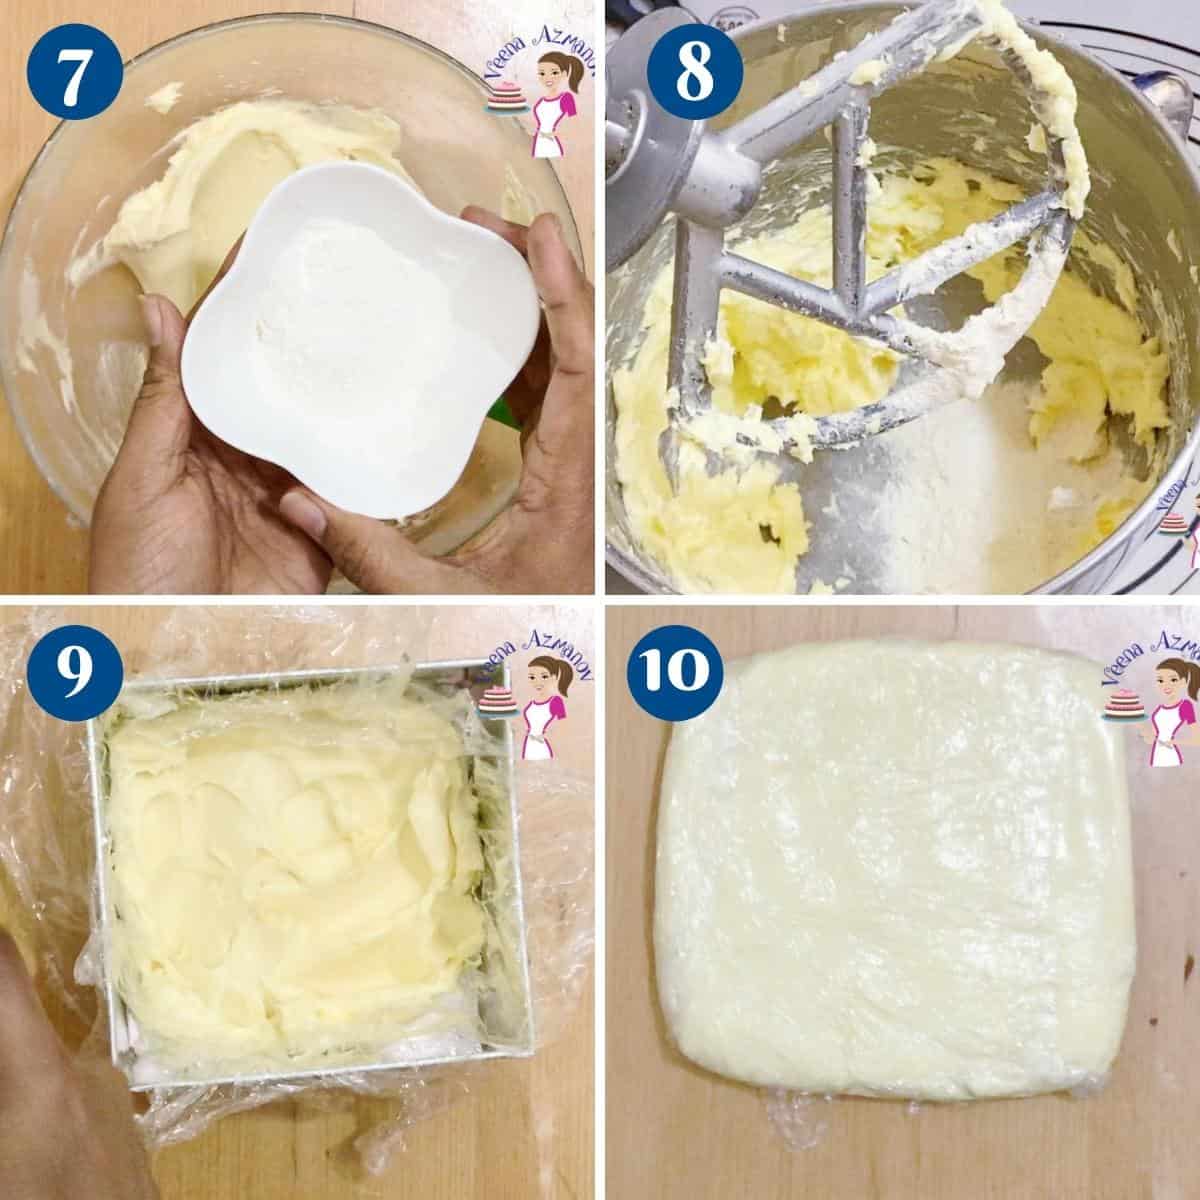
- Beat butter with flour until smooth.
- Shape into a 6-inch square, wrap, and chill 30 mins until firm but pliable.
Laminate (Pâton)
- Roll dough to a 13×7 rectangle.
- Place butter block on one half. Fold dough over, seal edges.
- Chill 15 mins.

Folds (Tours)
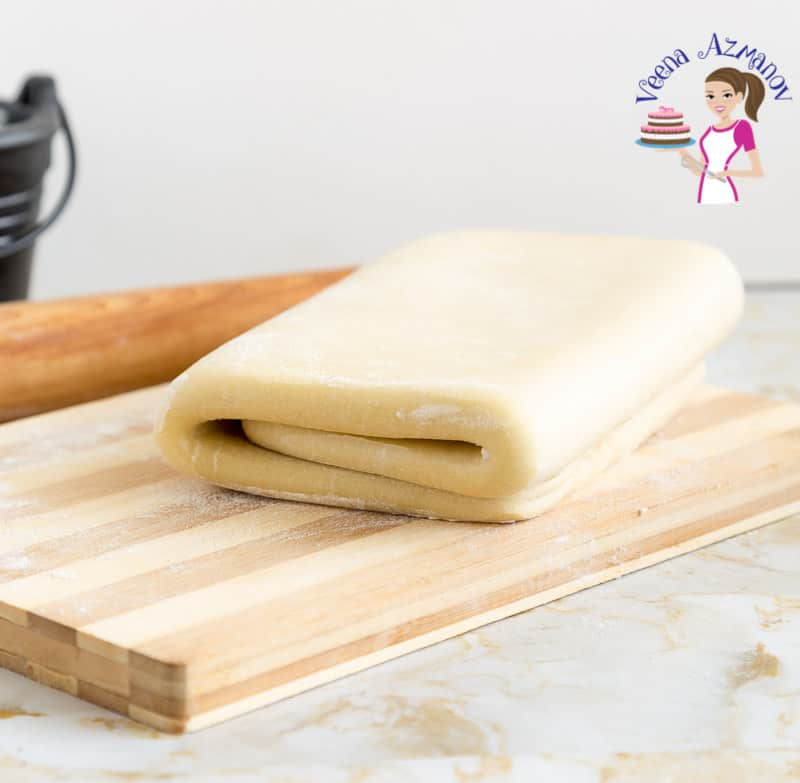
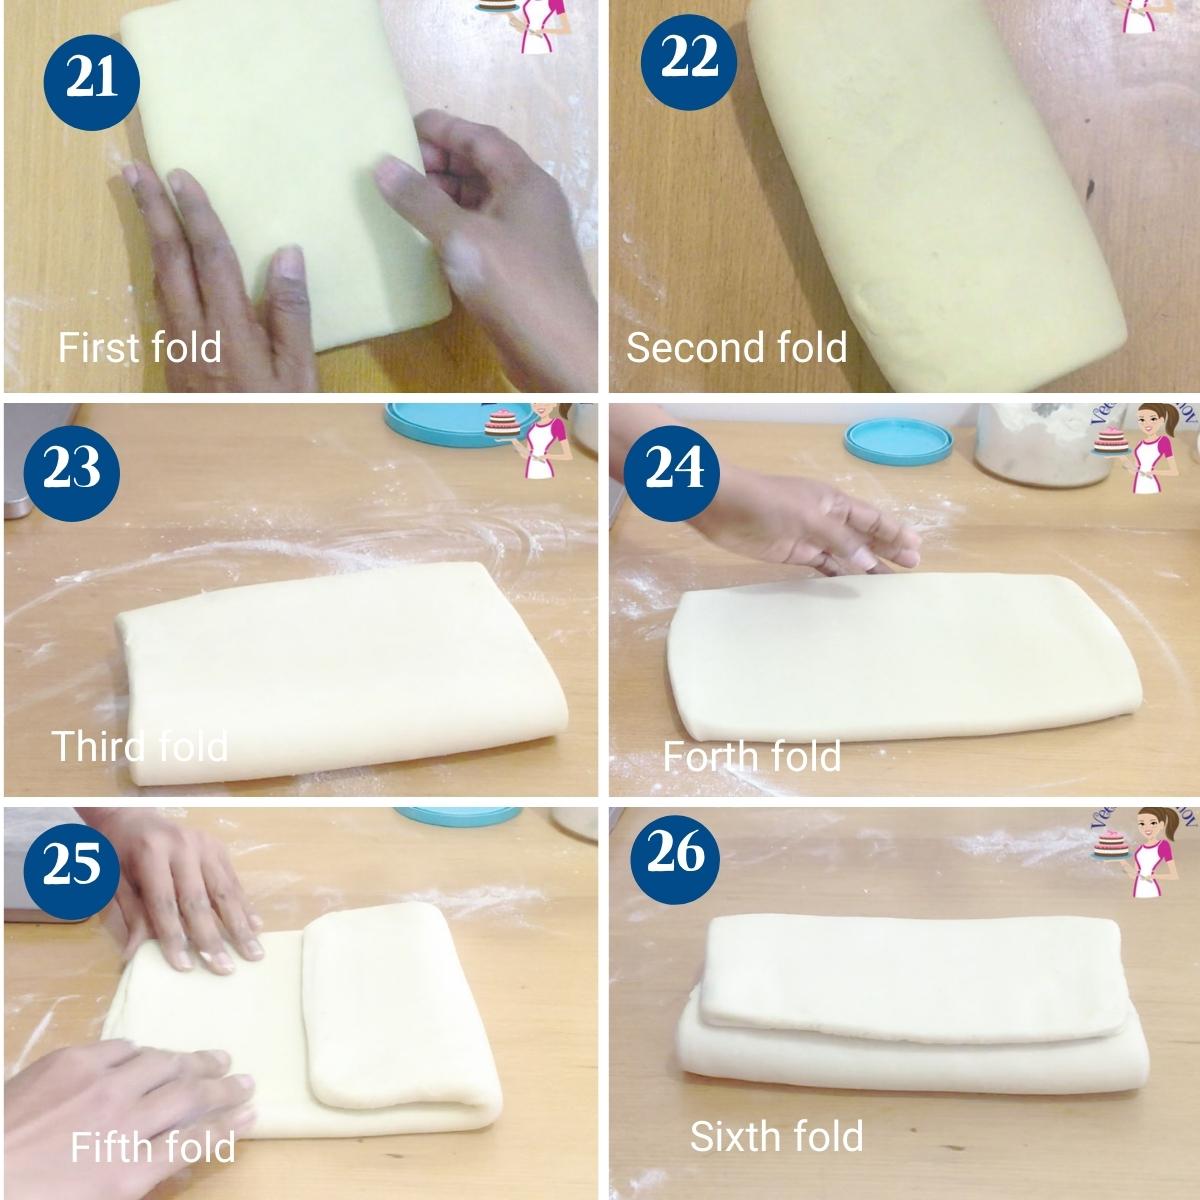
- Roll dough to ~20×10 inches. Fold into thirds (like a book). Chill 15 mins.
- Repeat this six times total, always chilling between folds.
- If the dough is firm, you may do two folds before chilling.
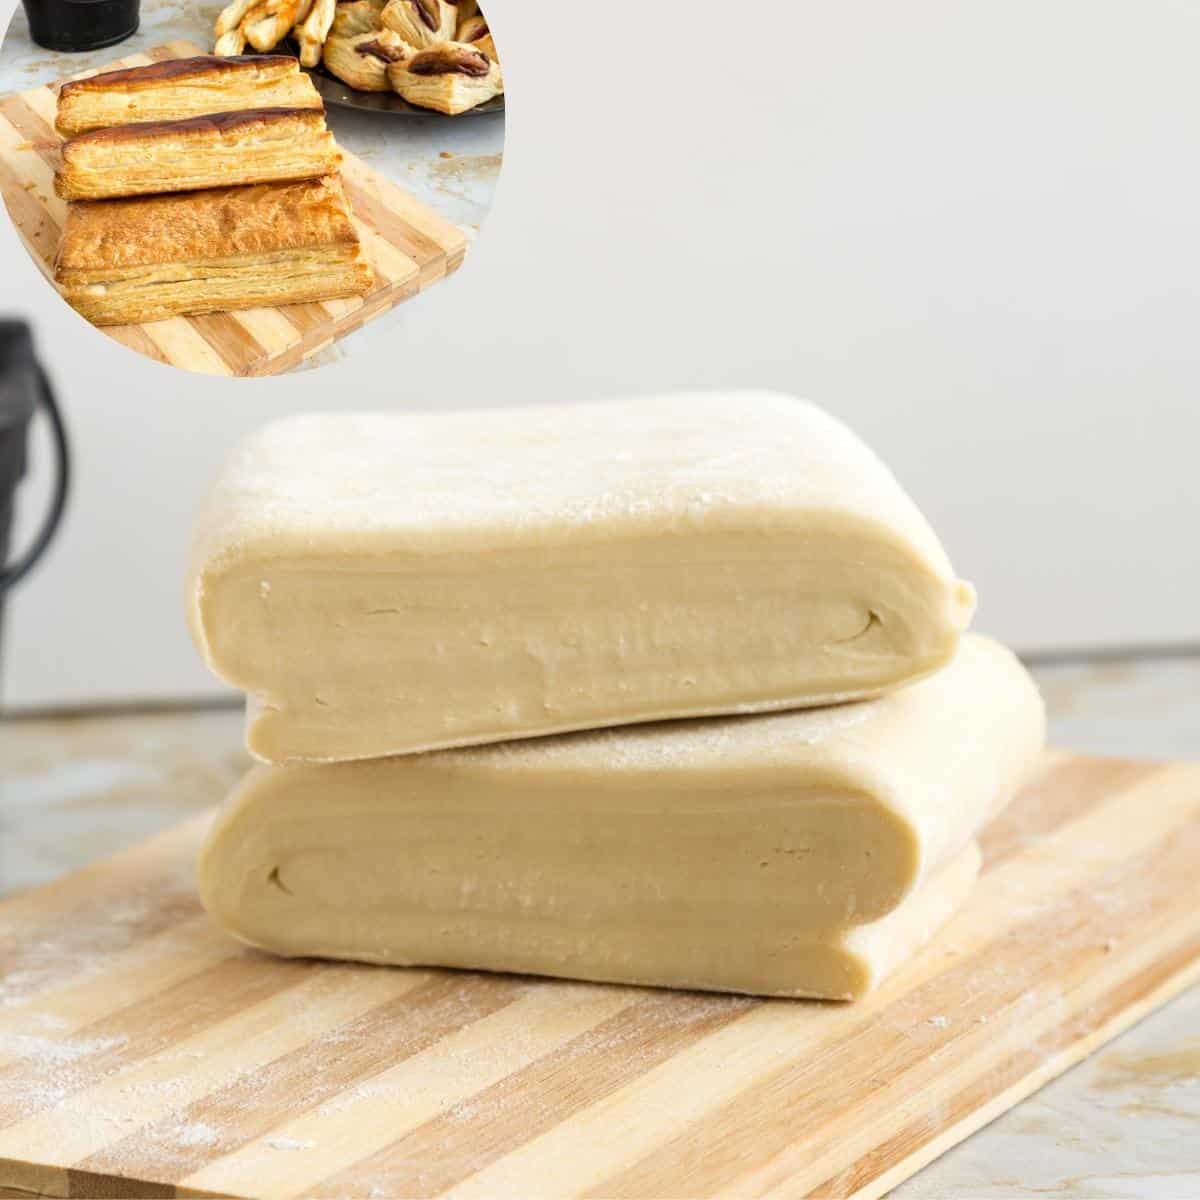
Storage
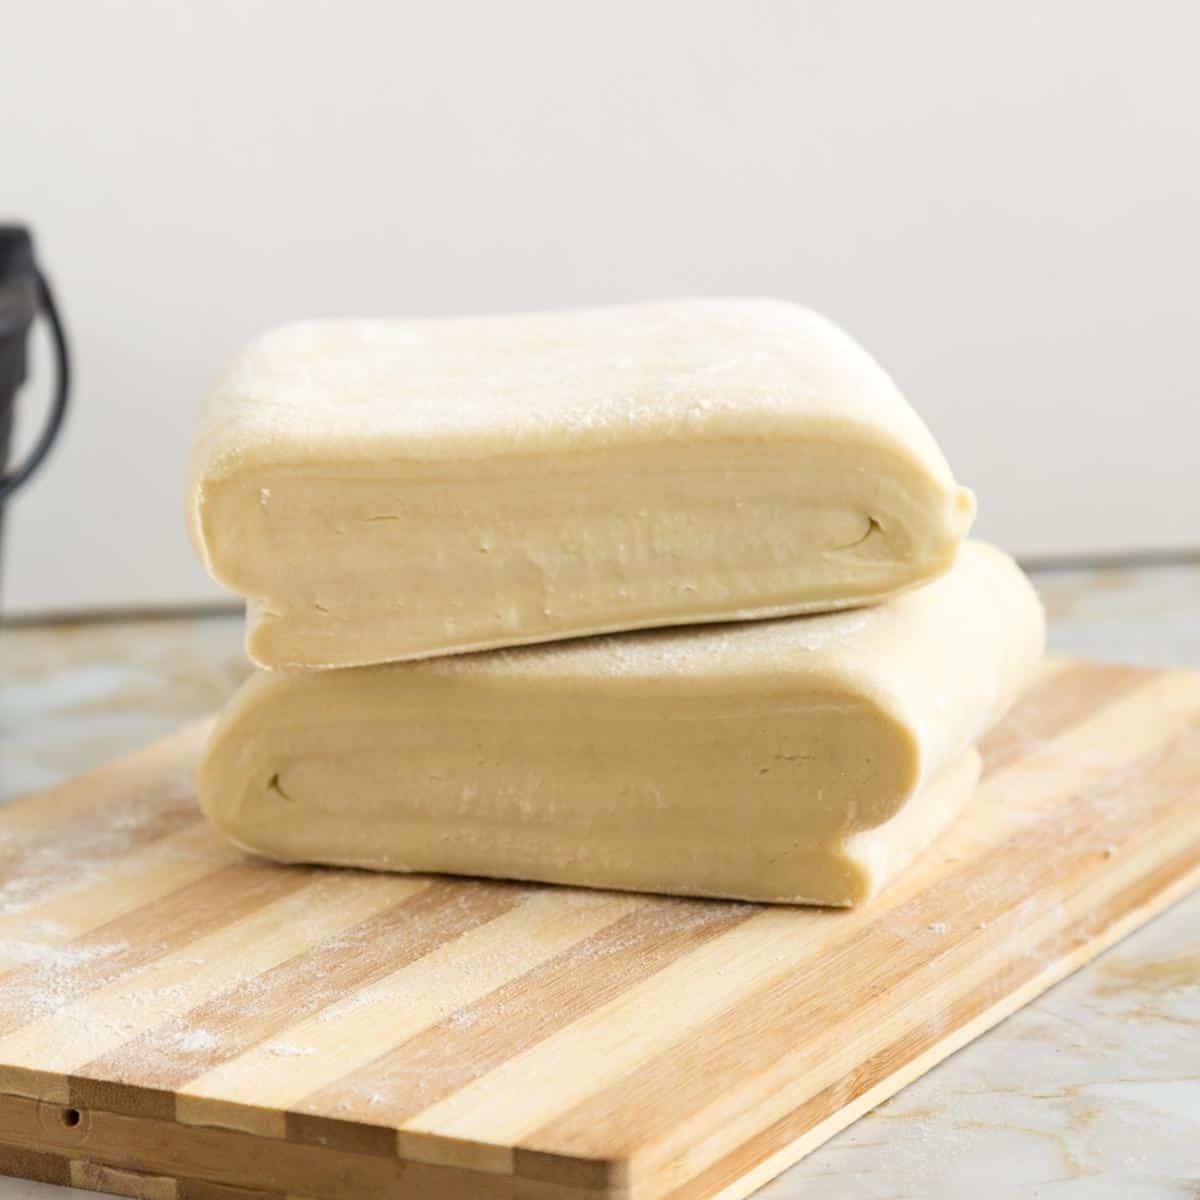
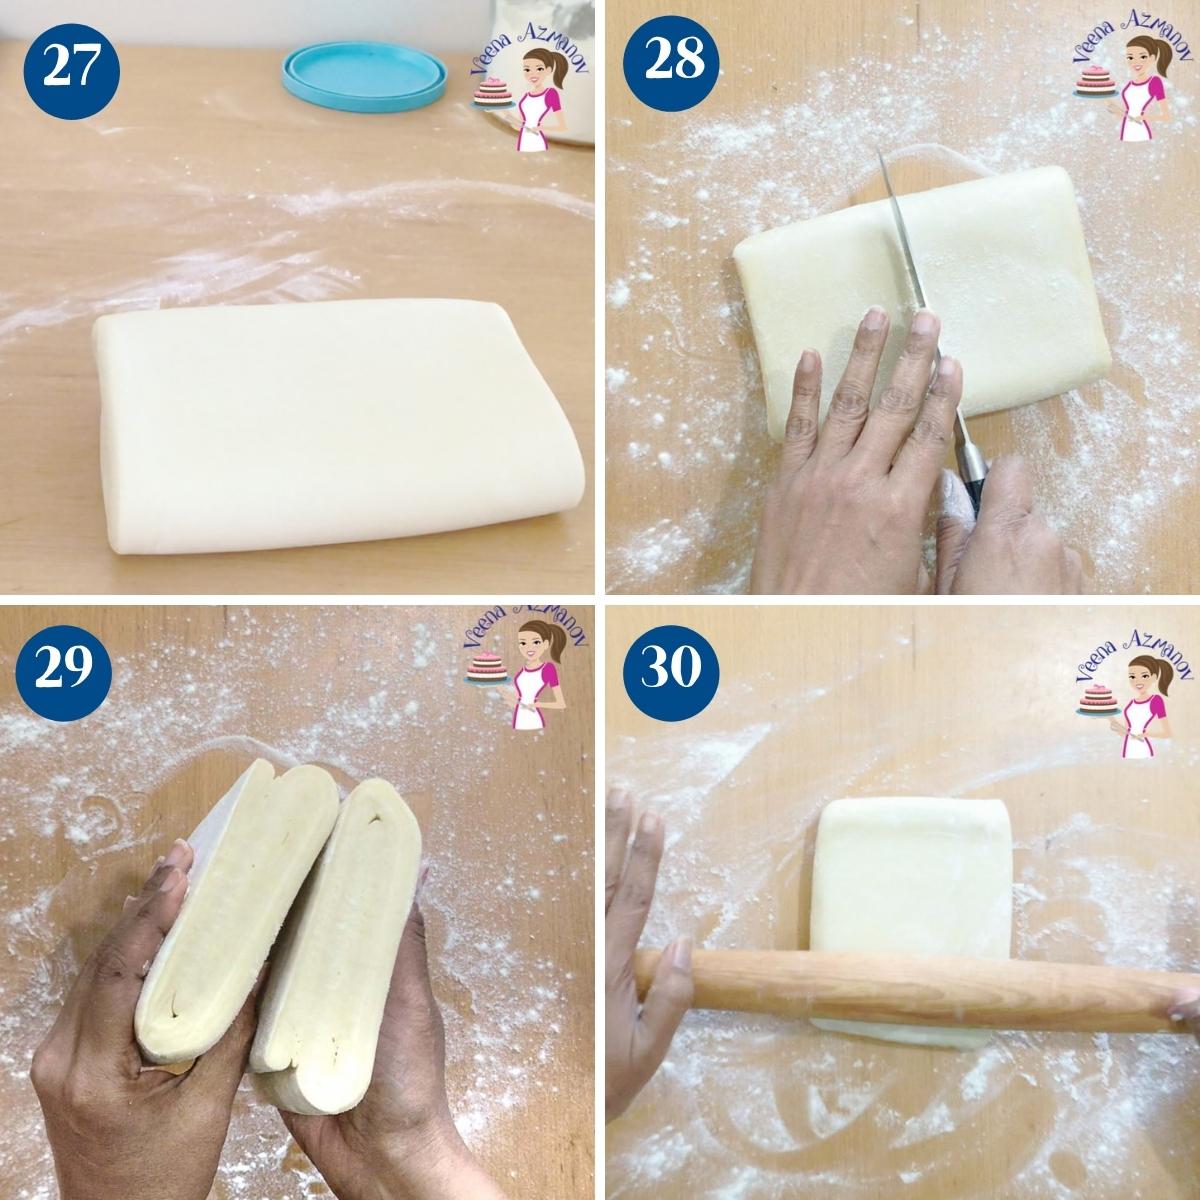
- After the last fold, rest dough 1 hr.
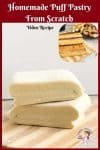
- Divide into halves. Wrap well.
- Store in fridge up to 5 days, or freeze 3 months.
Using homemade puff pastry dough
- Roll dough to ⅛–¼ inch thickness.
- For tarts, pies, or turnovers, shape and fill as desired.
- Always chill shaped pastry before baking (butter must be cold).
- Bake at 400°F (200°C) for 10 mins, then reduce to 375°F (190°C) until golden.
- Use this for: Apple Tart, Meat Patties, Chicken Pot Pie, Strawberry Braided Pastry, and more.

Easy Puff Pastry Recipe from Scratch ((Traditional Pâte Feuilletée)
The classic puff pastry is the base of many wonderful pastries. Create sweet or savory treats, from breakfast to desserts, using homemade puff pastry. And it's flaky, buttery, and much better than store-bought. Learn to make puff pastry from scratch using my no-fail method, step-by-step progress pictures, and video.
Video
Ingredients
- 340 g (12 oz) Unsalted butter room temperature
- 60 g (½ cup) All-purpose flour
Method
- Make the Dough (détrempe) – In a food processor, combine flour, salt, sugar, and cold butter. Pulse until crumbly, then add water slowly until dough forms. Knead briefly until smooth. Wrap and chill 30 minutes.(Alternatively, you can rub butter into flour by hand and add water to form a dough.)450 g Bread flour, 113 g Butter, 2 tbsp Sugar, 1 tsp Salt, 240 ml Water
- Butter Block (beurrage)Mix butter and flour until smooth, then press into a 6-inch square. Wrap and chill 30 minutes.340 g Unsalted butter, 60 g All-purpose flour
- Laminate (Paton) – Roll the dough into a rectangle, place the butter block inside, fold over, and seal the edges. Roll and fold into thirds, like a book. Chill.
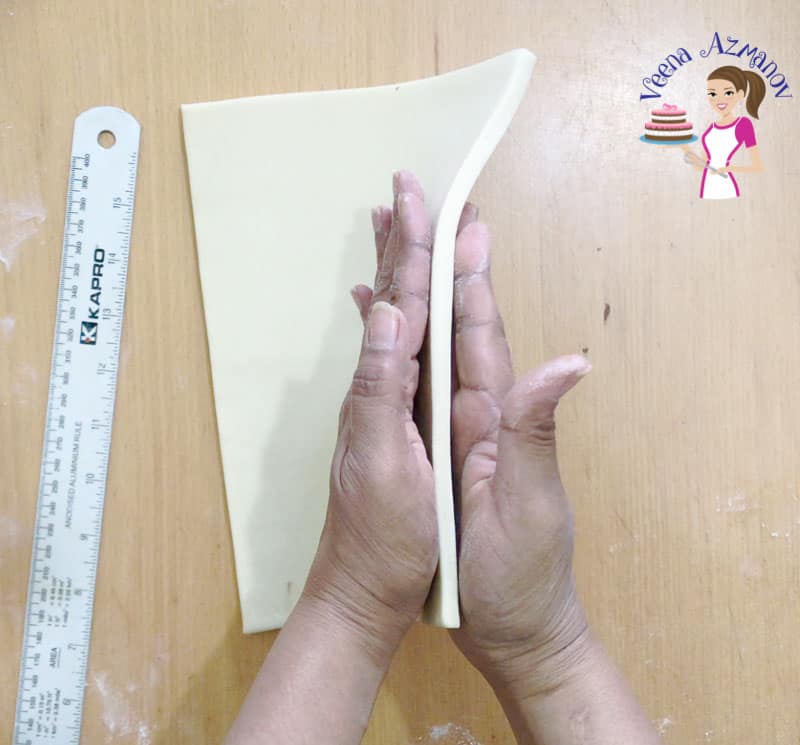
- Place the dough on a lightly floured surface so the seam is towards the top. Start by lightly tapping the dough with the rolling pin on the top surface – this will soften the butter inside, preventing it from cracking. Tap from the bottom edge to the top – gently. Do it no more than 2 times. Then roll the dough to approximately 20 inches long by 10 inches wide.To create the fold, imagine you are dividing the dough into thirds. Just like a book – – Fold the top third to the middle.– Then fold the bottom third over the middle. This is your first fold.Wrap in plastic wrap again and chill for 15 minutes.Repeat this process of tapping, rolling, and folding five more times. Total six-folds, making sure to chill between each fold or every two folds.
- Using homemade puff pastry dough – Roll the dough to a thickness of ⅛–¼ inch.For tarts, pies, or turnovers, shape and fill as desired. Always chill shaped pastry before baking (butter must be cold). Bake at 400°F (200°C) for 10 minutes, then reduce the temperature to 375°F (190°C) until golden.
- Storage – Puff pastry is best when eaten on the day it is made, but leftovers can be stored in an airtight container for up to 3 days. Leftovers can also be preheated at 375°F/ 190°C/ Gas Mark 5 for a few minutes.
Notes
Tips for Success
- Keep everything cold → chill often.
- Don’t skip resting times → prevents shrinking.
- Roll evenly → too thin squashes layers, too thick gives bulky pastry.
- Bake hot → a well-preheated oven is crucial.
Equipment you will need


Nutrition
Tried this recipe?
Mention @veenaazmanov_kitchen or tag #veenaazmanovkitchen!Tips for Success
- Keep everything cold → chill often.
- Don’t skip resting times → prevents shrinking.
- Roll evenly → too thin squashes layers, too thick gives bulky pastry.
- Bake hot → a well-preheated oven is crucial.
Troubleshooting
| Problem | What Happened | How to Fix It |
|---|---|---|
| Butter leaking out | Dough or butter got too warm and melted. | Chill between folds. Work quickly. If butter oozes, refrigerate 20 mins before continuing. |
| Butter breaking inside dough | Butter block was too cold and brittle. | Let butter rest 2–3 mins before laminating so it’s pliable but cool. |
| Pastry not puffing | Oven wasn’t hot enough or layers fused. | Preheat oven to 400°F/200°C. Keep dough chilled before baking. |
| Layers blending together | Rolled too thin or folded too many times. | Stick to 6 folds. Roll evenly to ⅛–¼ inch thickness. |
| Dough shrinking | Gluten too tight from over-kneading or skipping rests. | Rest dough longer between folds to relax gluten. |
Recipes using puff pastry
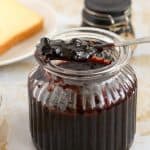
- Blackberry Braided Puff Pastry
- Apple Tart with Puff Pastry
- Meat Patties – Meat Stuffed Puff Pastry
- Braided Apple Puff Pastry
- Strawberry Braided Pastry
- Chicken Pot Pie with Puff Pastry


Frequent asked questions
The unbaked pastry will stay good in the fridge for 4 to 5 days. Make sure to wrap it well in plastic to prevent the dough from drying out. Baked puff pastry is best eaten fresh. Personally, I bake only as much as I need for the day and save the rest in the freezer.
No, while, they are all laminated dough, meaning they are all layers of flour and butter, and yet they are all different from each other.
Puff pastry has no yeast, so it’s flakier with six folds,
Croissants are a yeasted laminated dough, making them airy and bread-like and has only 3 or 4 folds.
Danish pastry has yeast as well as eggs with about 3 turns (folds)
Lastly, puff pastry has a flaky, crusty quality, while croissant has a more bread-like quality, and Danish pastry has a chewier texture.
They are two completely different doughs, and yes, in some cases, you can use puff pastry instead of filo.
For example, you can make apple strudel with filo as well as with puff pastry. And you can also make samosa with puffs or filo. However, you can’t always use them interchangeably. For example, a Baklava is best made with filo and would be a disaster with this pastry.
Yes. Bread flour gives stronger gluten for better lift. All-purpose flour works if that’s what you have.
You can make the détrempe by hand by rubbing chilled butter into flour, then adding water to form dough. It just takes a bit more effort than a food processor.
Absolutely. Wrap well and freeze up to 3 months. Thaw overnight in the fridge.
Usually because butter melted into the dough. Chill often and bake in a very hot oven.
Learn how to make
- Sweet Shortcrust Pastry • Pâte Sucrée
- Rich Shortcrust Pastry • Pâte Sablée
- Choux Pastry Recipe (Pâte à Choux)
- Danish Pastry • Dough, filling, and shaping
- Homemade Pie Crust Recipe: (Pâte Brisée)
- Homemade Croissants or Chocolate Croissants
Don’t lose this recipe! Save it for Later!
📌 Save this Recipe for later on Pinterest so you can easily find it again.
⭐ Add Veena Azmanov Kitchen to your Google Preferred Sources.
It helps Google show you more of our recipes.
📧 Subscribe for new recipes delivered to your inbox.
🎥 Follow us for more recipes


how long should I chill the dough in between each fold?
Usually, 30 minutes between each turn should do – that way, the butter is cold but still pliable to roll and spread between layers, Juliana
Can you freeze this puff pastry??
Yes, absolutely!
Save yourself a LOT of headache and quit making the butter block. Jaques Pepin just lays the butter on the dough and folds it. He doesn’t make a butter block at all. lay the butter on the rectangle of dough you roll out, fold, roll fold roll fold etc… It takes just 30 minutes his way.
Totally agree—Jacques Pépin’s method is a fantastic shortcut and works great for quick rough puff or laminated dough when you’re short on time!
In this recipe though, I’m showing the classic puff pastry method with a butter block, which gives you that super flaky, layered result that’s hard to beat for pastries like vol-au-vent or mille-feuille.
Both methods have their place—just depends on the texture you’re going for ?
Thanks.
First time making a full puff and it came out great! Very clear instructions and great recipe. Thank you!
Pastry Day 14: Puff Pastry- Done