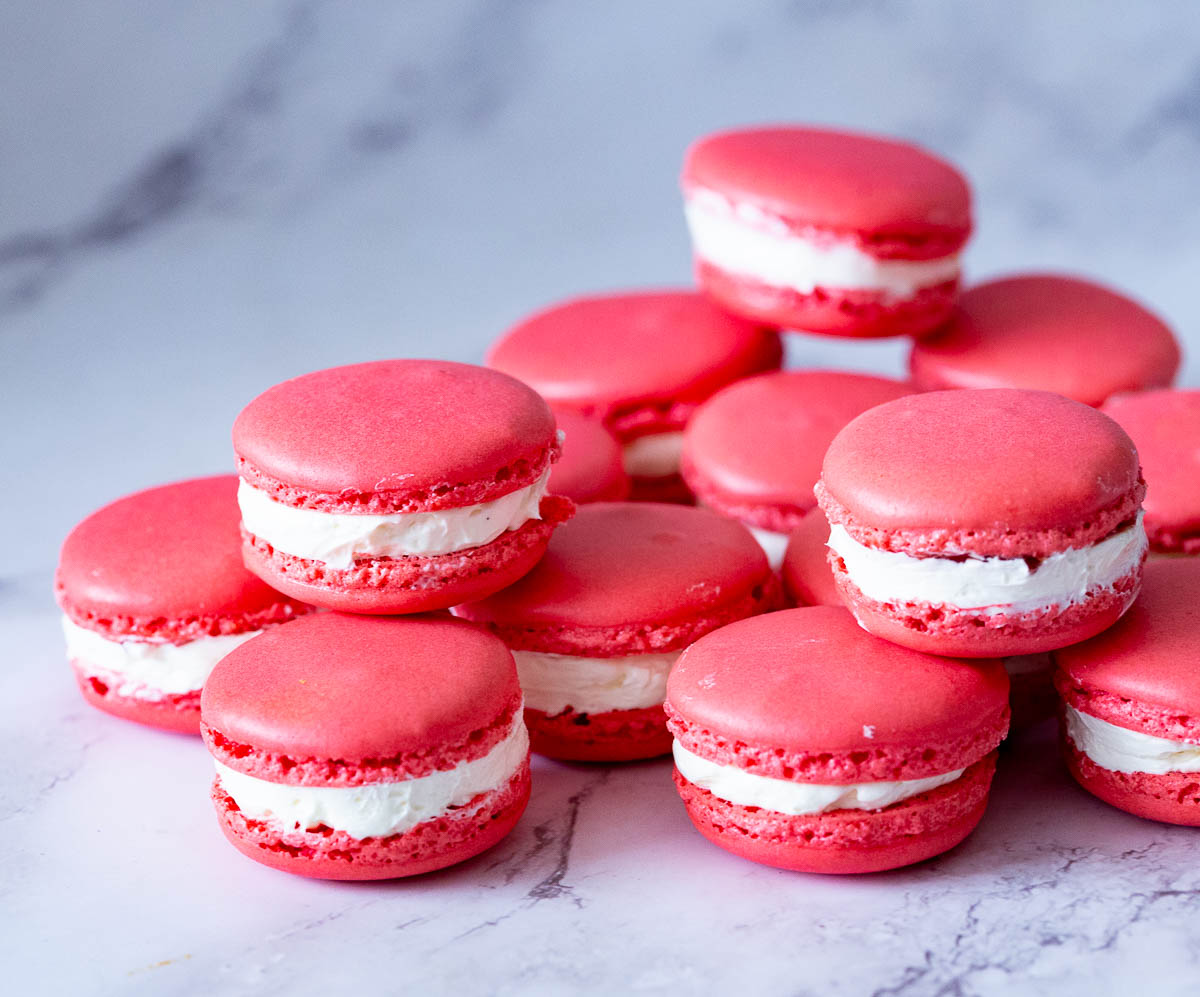
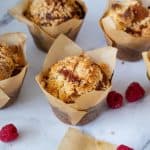
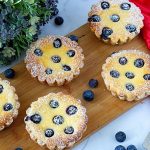
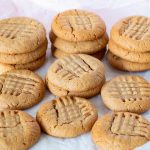
Raspberry Macarons


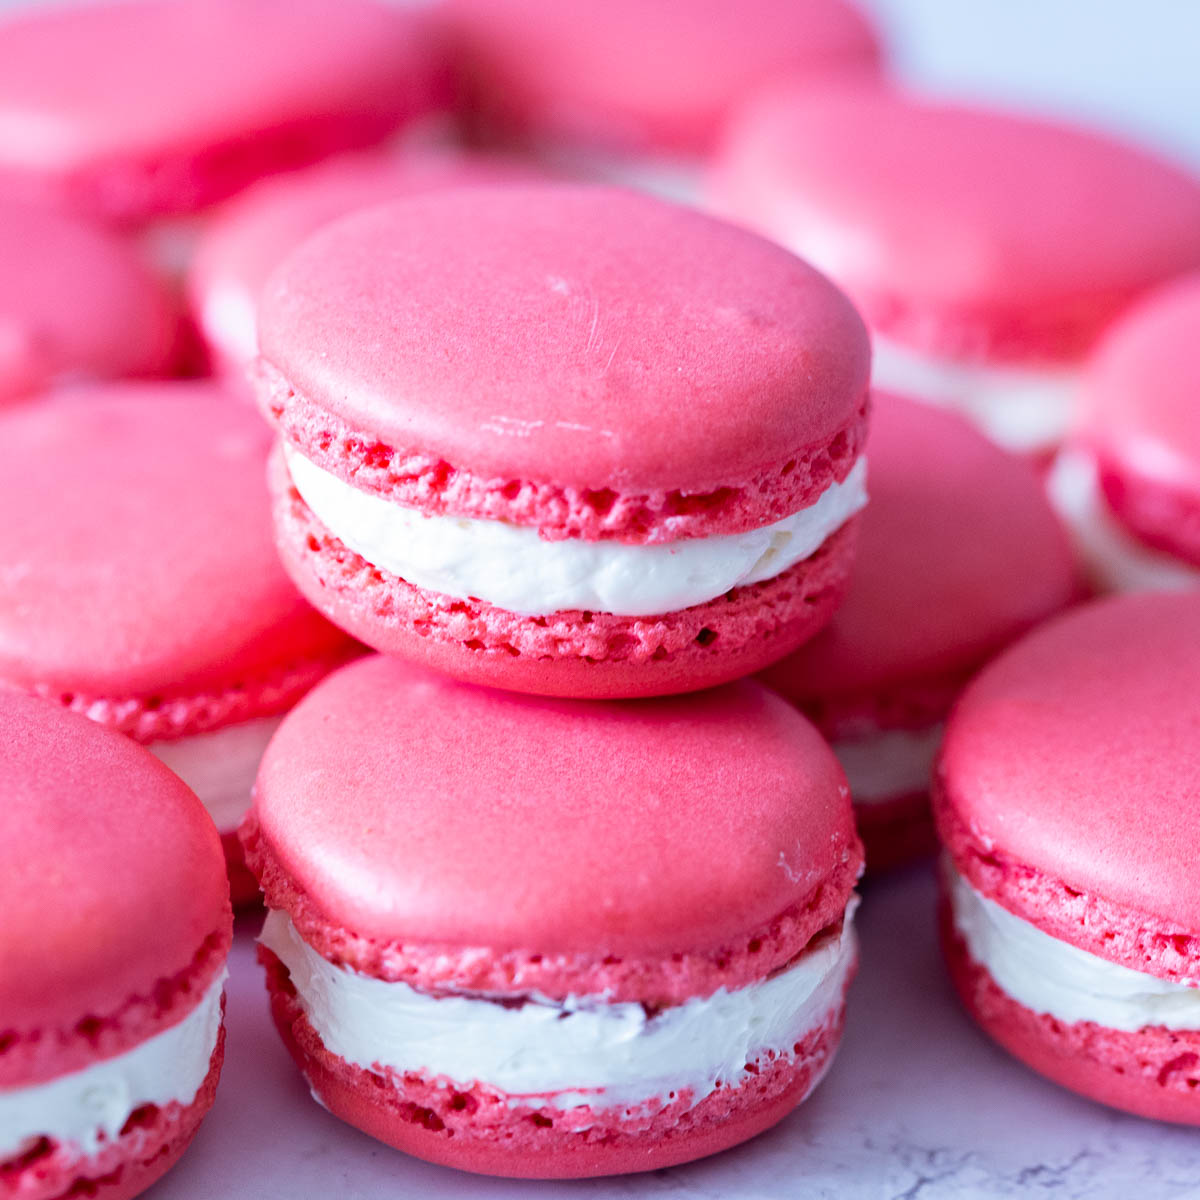
These raspberry macarons are filled with a lightly sweet mascarpone cream and a dollop of raspberry jam. A bakery-style treat you can make at home, complete with tips, troubleshooting, and step-by-step instructions.
Raspberry has always been one of my favorite flavors to pair with mascarpone — it’s that sweet-tart contrast that just works. I first made these raspberry macarons for a dessert table I was styling during my cake business days. The bride wanted something pink, elegant, and different from the usual cupcake spread. Naturally, macarons were the answer.
They were a hit — but the real surprise came afterward, when I brought the extras home. My husband, who usually avoids anything too sweet, asked if I had “any more of those raspberry things with the creamy stuff inside.” I knew then these had to become a regular. Since then, I’ve made them for brunches, tea parties, and way too many “just because” moments. They’re pretty, yes — but they’re also full of flavor, easy to adapt, and honestly, not as fussy once you get the hang of them.
Why you will love this recipe
- Bright & Fruity – That raspberry jam center gives each bite a pop of real berry flavor.
- Elegant Look, Simple Filling – Mascarpone makes the filling feel fancy without much effort.
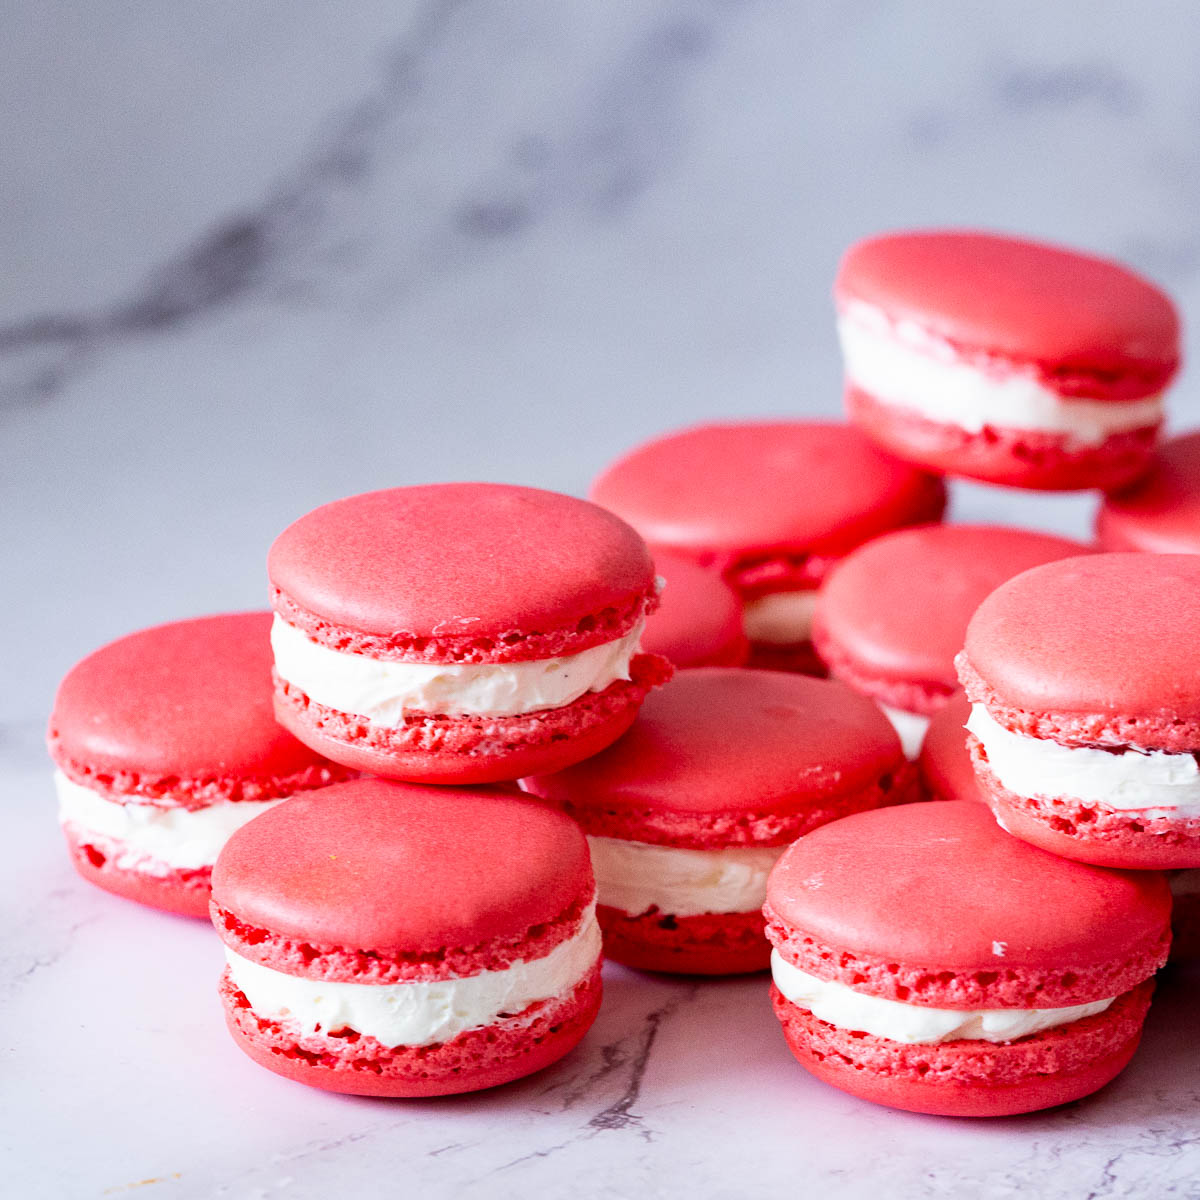
- Perfect Texture – Crisp shell, chewy center, and creamy inside — just like a bakery.
- Great for Gifting – These pink beauties are perfect for Valentine’s Day, birthdays, or edible thank-yous.
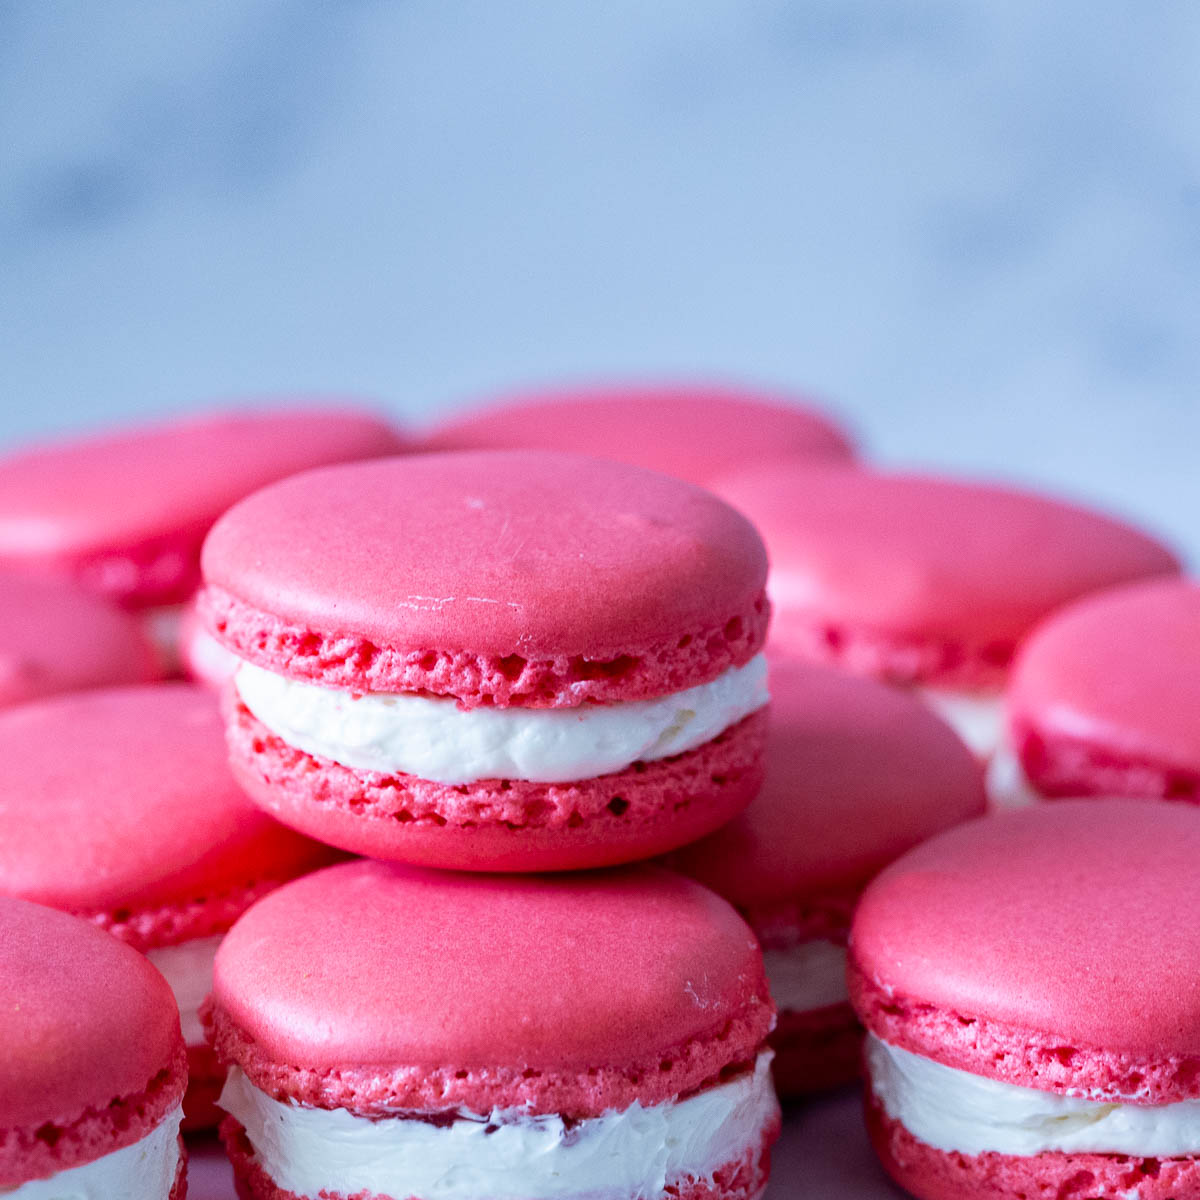
Ingredients and substitutes
- Egg whites – Use fresh whites aged for stability.
- Almond flour – No substitute; must be blanched and finely ground.
- Mascarpone – Sub with full-fat cream cheese if needed.
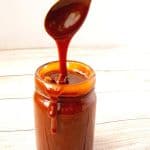
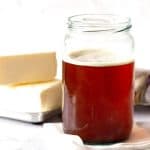
- Raspberry jam – Use thick jam or reduce a runny one on the stove.
- Gel coloring – Liquid colors can ruin your batter. Use gel or powder.
Step-by-step: Raspberry macarons
- Prep Ahead – Pulse the almond meal and powdered sugar in a food processor for a few seconds. Sift them twice. Line baking trays with parchment or silicone mats. Prepare piping bags for both the shells and filling.
- Make the Meringue – Whip egg whites + pinch of salt until foamy. Slowly add granulated sugar; continue whipping until stiff, glossy peaks form (8–10 minutes). Add a few drops of pink or rose pink gel color and whip just until combined.
- Macaronage – Fold sifted almond/powdered sugar into the meringue. Mix until batter flows in thick ribbons and you can form a figure-8 without breaking. Don’t overmix — the batter should still hold its shape for a few seconds.

- Pipe the Shells – Pipe 1½-inch (4 cm) circles onto trays. Tap trays on the counter 3–4 times. Pop any bubbles with a toothpick. Rest until dry to the touch — usually 30–60 minutes.
- Bake – Preheat oven to 300°F / 150°C. Bake each tray for 12–14 minutes, one at a time. Shells should not wobble and should lift cleanly. Cool completely.
- Mascarpone Cream Filling – Beat mascarpone, powdered sugar, and vanilla until smooth. Add cold cream and whip until thick and pipeable. Transfer to a piping bag.
- Assemble – Pair similar shells. Pipe a ring of mascarpone cream. Add ½ tsp raspberry jam in the center. Sandwich with another shell. Chill 24–48 hours before serving.
Troubleshooting
- Cracked shells? – Not rested long enough or oven too hot.
- No feet? – Overmixed batter or low oven temp.
- Hollow shells? – Meringue under-whipped or shells underbaked.
- Runny filling? – Cream or mascarpone was too warm or overwhipped.
- Shells stuck to parchment? – Underbaked or not cooled before removing.
No posts
Frequently asked questions
Macarons can be made ahead of time and kept in the fridge for 2 days. Wrap them in plastic wrap to prevent them from drying out.
The shells will keep in the freezer for up to 3 months while the fill macarons will freeze for up to a month.
Yes — unfilled shells can be stored in an airtight container at room temp for up to 5 days or frozen for 1 month.
Yes. Once matured (after 24 hours in the fridge), you can freeze them in a single layer, then transfer to a container. Thaw in the fridge.
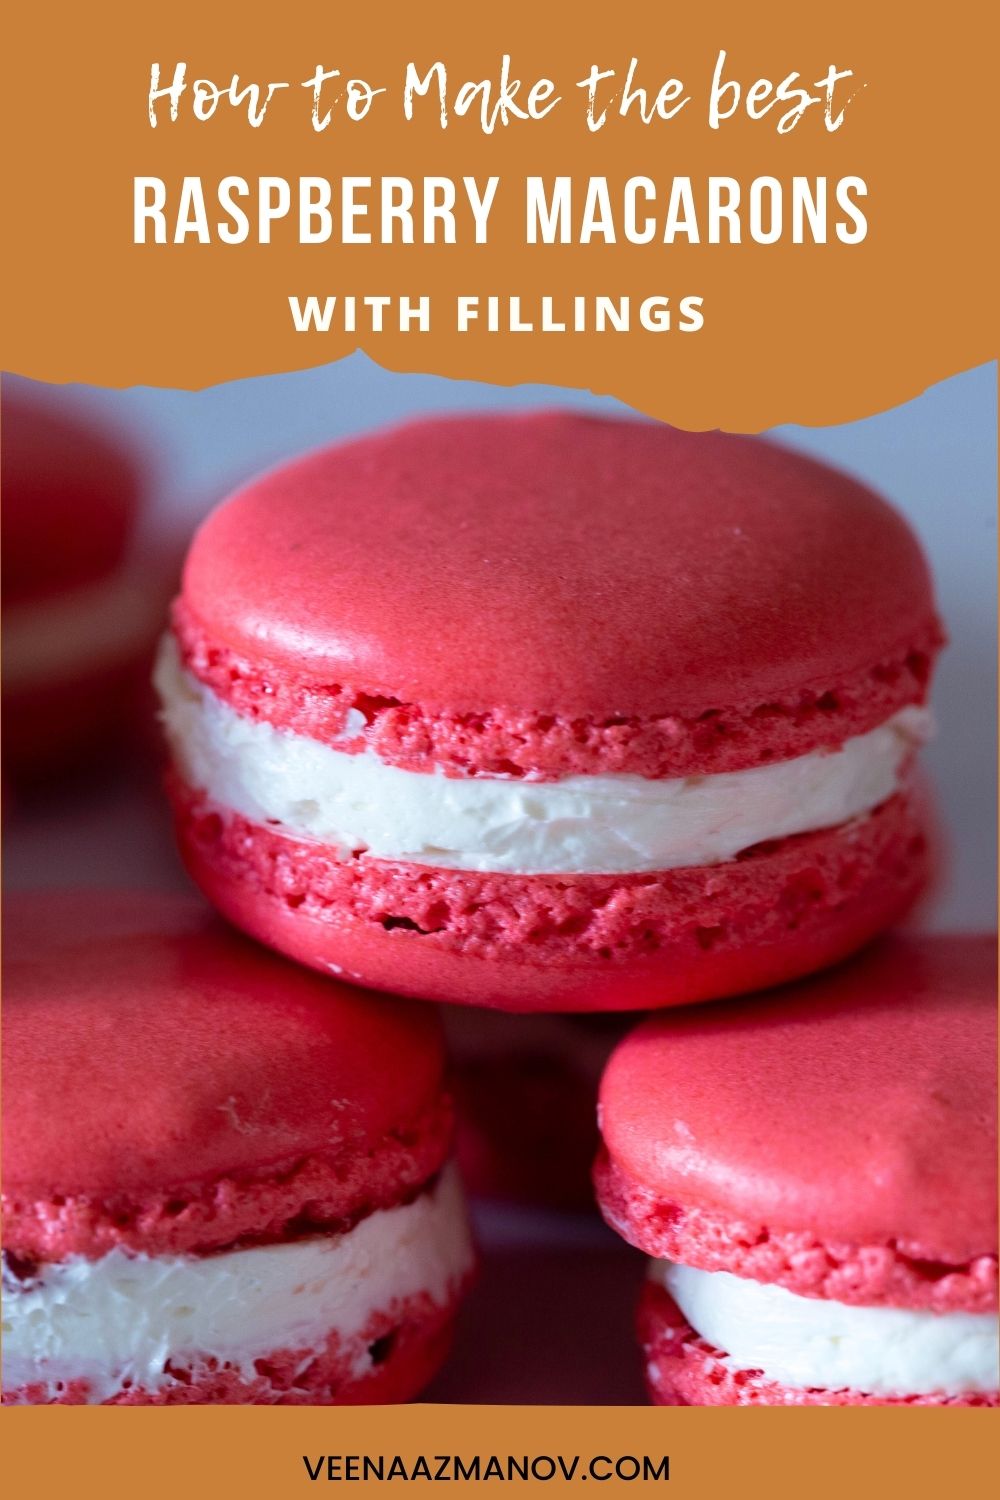
Raspberry Macarons – French
These raspberry macarons are a delightful combination of crisp almond shells, tangy raspberry filling, and creamy Swiss meringue buttercream. Each bite offers a burst of fruity flavor and a perfect balance of sweetness and tanginess. With their vibrant color and exquisite taste, these macarons are a treat for both the eyes and the palate.
Video
Ingredients
- 100 g (3 large) Egg whites about 3 large eggs (weigh for accuracy)
- 100 g (½ cups) Granulated sugar
- 100 g (¾ cups) Powdered sugar
- 100 g (1 cups) Almond flour
- A pinch of salt
- Pink/Rose Pink gel food coloring a few drops (not liquid)
- 125 g (4 oz) Mascarpone cheese
- 50 g (½ cups) Powdered sugar
- ½ tsp Vanilla extract
- 60 ml (¼ cup) Heavy cream cold
- 50 g (3 tbsp) Raspberry jam (thick or seedless preferred)
Method
- Prep Ahead – Pulse the almond meal and powdered sugar in a food processor for a few seconds. Sift them twice. Line baking trays with parchment or silicone mats. Prepare piping bags for both the shells and filling.100 g Powdered sugar , 100 g Almond flour
- Make the Meringue – Whip egg whites + pinch of salt until foamy. Slowly add granulated sugar; continue whipping until stiff, glossy peaks form (8–10 minutes). Add a few drops of pink or rose pink gel color and whip just until the color is combined.100 g Egg whites , 100 g Granulated sugar , A pinch of salt, Pink/Rose Pink gel food coloring
- Macaronage – Fold sifted almond/powdered sugar into the meringue. Mix until batter flows in thick ribbons and you can form a figure-8 without breaking. Don’t overmix — the batter should still hold its shape for a few seconds.
- Pipe the Shells – Pipe 1½-inch (4 cm) circles onto trays. Tap trays on the counter 3–4 times. Pop any bubbles with a toothpick. Rest until dry to the touch — usually 30–60 minutes.
- Bake – Preheat oven to 300°F / 150°C. Bake each tray for 12–14 minutes, one at a time. Shells should not wobble and should lift cleanly. Cool completely.
- Mascarpone Cream Filling – Beat mascarpone, powdered sugar, and vanilla until smooth. Add cold cream and whip until thick and pipeable. Transfer to a piping bag.125 g Mascarpone cheese , 50 g Powdered sugar , ½ tsp Vanilla extract, 60 ml Heavy cream
- Assemble – Pair similar shells. Pipe a ring of mascarpone cream. Add ½ tsp raspberry jam in the center. Sandwich with another shell. Chill 24–48 hours before serving.50 g Raspberry jam
Notes
- Weigh your ingredients — especially egg whites. Precision is key.
- Sift dry ingredients twice — clumps ruin smooth shells.
- Whip meringue until stiff peaks — not soft or foamy.
- Let shells dry before baking to avoid cracks and get those classic macaron “feet.”
- Rest filled macarons 24–48 hours — they taste and feel better the next day.
- Use thick jam — thin jam will ooze out and make a mess.
Equipment you will need


Nutrition
Tried this recipe?
Mention @veenaazmanov_kitchen or tag #veenaazmanovkitchen!No posts
Don’t lose this recipe! Save it for Later!
📌 Save this Recipe for later on Pinterest so you can easily find it again.
⭐ Add Veena Azmanov Kitchen to your Google Preferred Sources.
It helps Google show you more of our recipes.
📧 Subscribe for new recipes delivered to your inbox.
🎥 Follow us for more recipes
I am a new baker and macarons are my all-time favorite dessert to eat. I made them once with a different recipe and they turned out horrible. I have since made two batches using these recipes and they have turned out perfect. These macaron recipes are so detailed and easy to follow. They will definitely be my go-to in the future and I am looking forward to trying out more of them!!
Thank you so much Jennifer. I am so happy you found your go-to macaron recipe. Now you can create so many wonderful flavors. Have fun.
Oh my Veena… I’m seriously craving your macarons. Can you send me a bunch of these please? These pink raspberry ones are so adorable, because of the color and I bet these taste heavenly good. Just yum!
Thank you, Natalie. I so wish I could send you some. If only you were closer Natalie. These are so delish and everyone loved them so much.
I have only ever tried making macarons once, and it was an EPIC fail!! Love this step by step video which makes it look so easy, I am definitely going to have to try again, the kids will be so excited 🙂
Aww, I am so sorry to hear that Donna. Macarons can be temperamental and we’ve all had our love-hate relationship with them. No matter how good you think you are with macarons It does have a way of getting to you. I’d say NEVER give up. Those that try do succeed. I have a detailed post on 20 Tips for Successful Macarons. I recommend you read that – sometimes it’s the tiniest darn thing that can be the culprit.