Vanilla Birthday Cake Recipe
 Prep Time 20 minutes Cook Time 35 minutes Total Time 1 hour 25 minutes
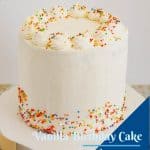
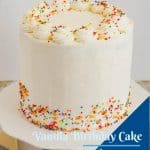
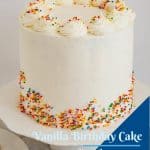
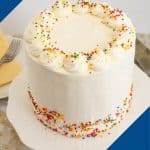
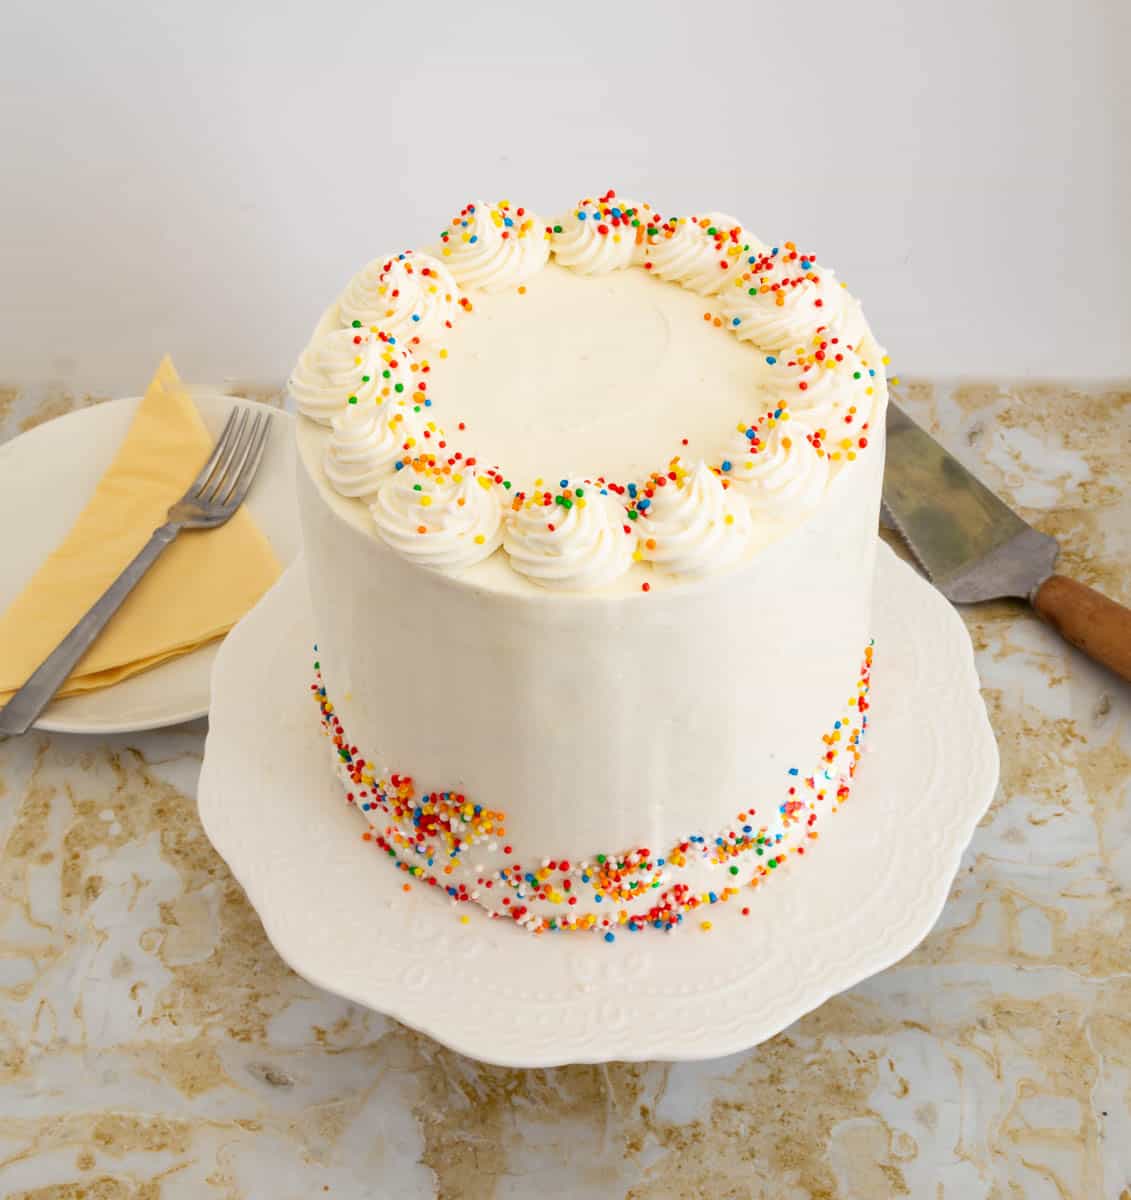
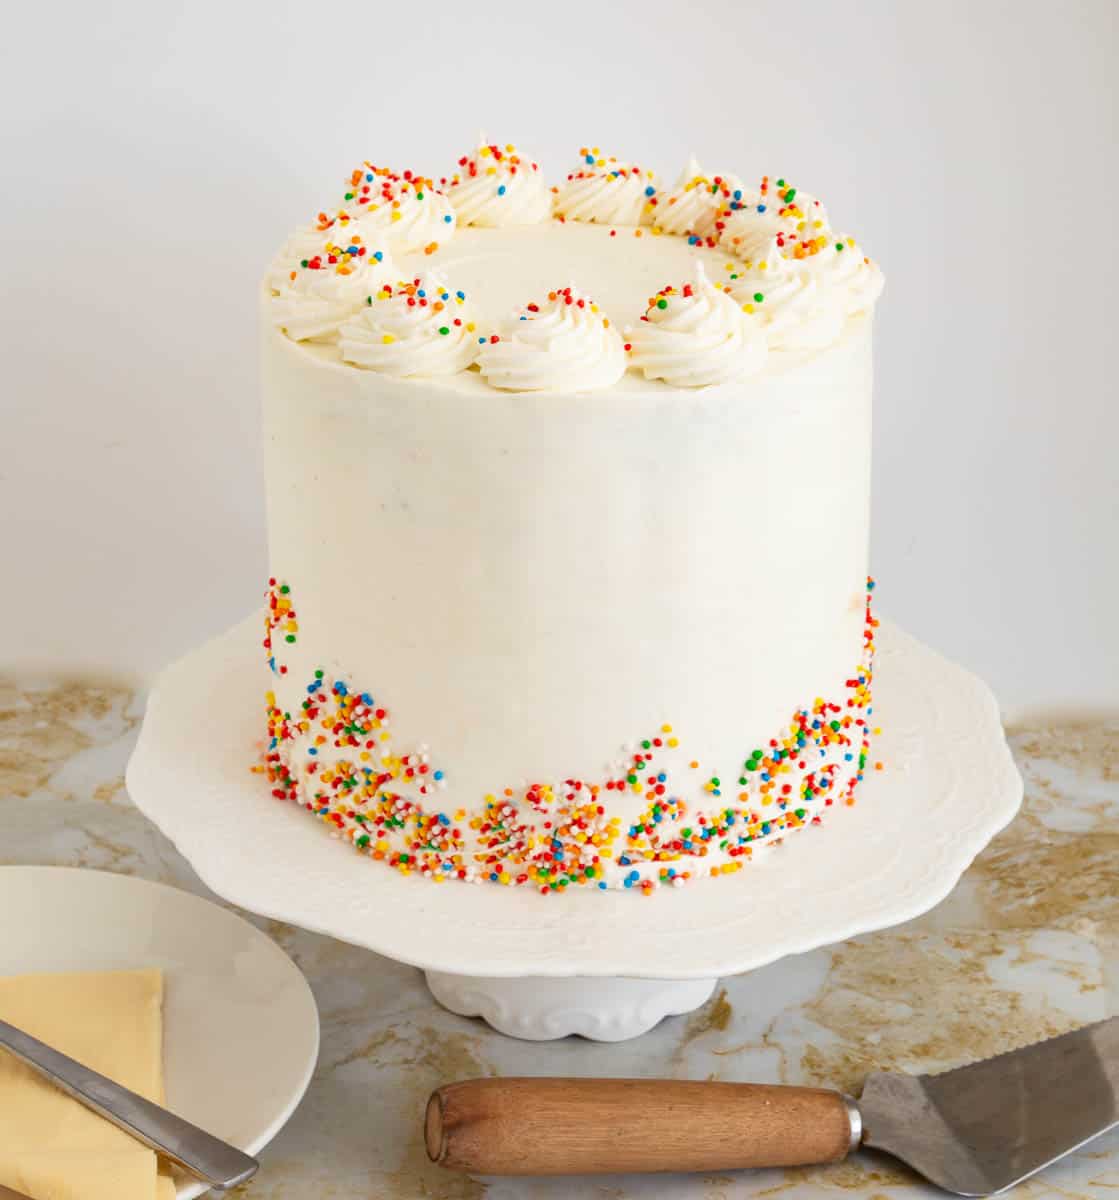
A moist butter-based vanilla cake paired with a silky, smooth bakery-style vanilla buttercream. It makes for a perfect homemade vanilla birthday cake. Baked from scratch, this cake is surprisingly simple and easy to make from baking to frosting. And a few sprinkles make this a celebration cake for any occasion, whether you are five or fifty.
Baking your own birthday cake is one of the most rewarding ways to celebrate a special day. Every baker, whether a hobbyist or professional, needs at least one trusted vanilla or chocolate cake recipe that’s perfect for any birthday celebration.
Having run a successful cake business for many years, I’ve learned that despite the countless wonderful cake recipes on offer, it’s the classic vanilla birthday cake and indulgent chocolate birthday cake that have always been the most popular choices. They’re timeless, versatile, and loved by all—making them the ultimate crowd-pleasers for any occasion. With a dependable recipe, you can create a cake that’s as delicious as it is meaningful, straight from your own oven.
Why make this vanilla cake?
- Buttery Vanilla Flavor – Made with the perfect balance of butter, vanilla extract, and a hint of salt, this cake delivers a rich, classic vanilla flavor that’s both nostalgic and irresistible.
- Light and Fluffy Texture -The cake’s airy with a moist crumb because it has the right ingredient ratios and mixing techniques, making every bite melt in your mouth while staying sturdy enough for layering.
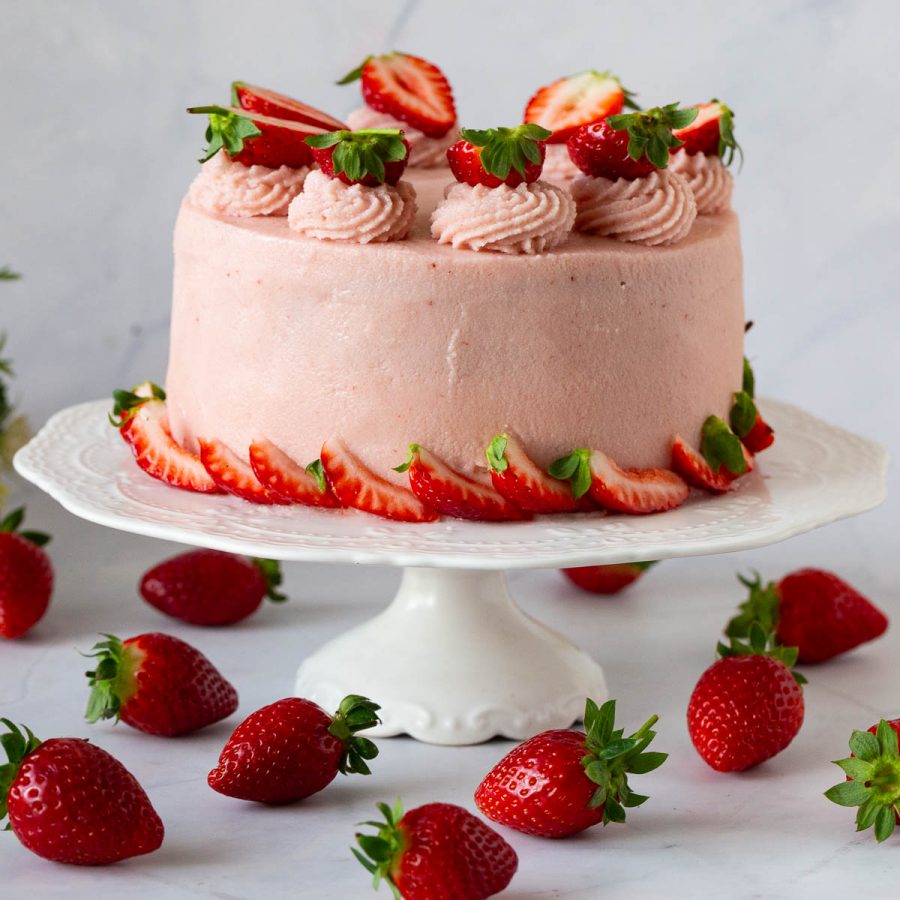
- Versatility for Customization – This recipe is a true crowd-pleaser that can be adapted with fillings, frostings, or decorations, making it perfect for any theme or celebration.
- Foolproof Results -The recipe is foolproof, not just because it’s as simple as creaming wet ingredients in one bowl, dry ingredients, and combining the two to make a simple, easy batter.

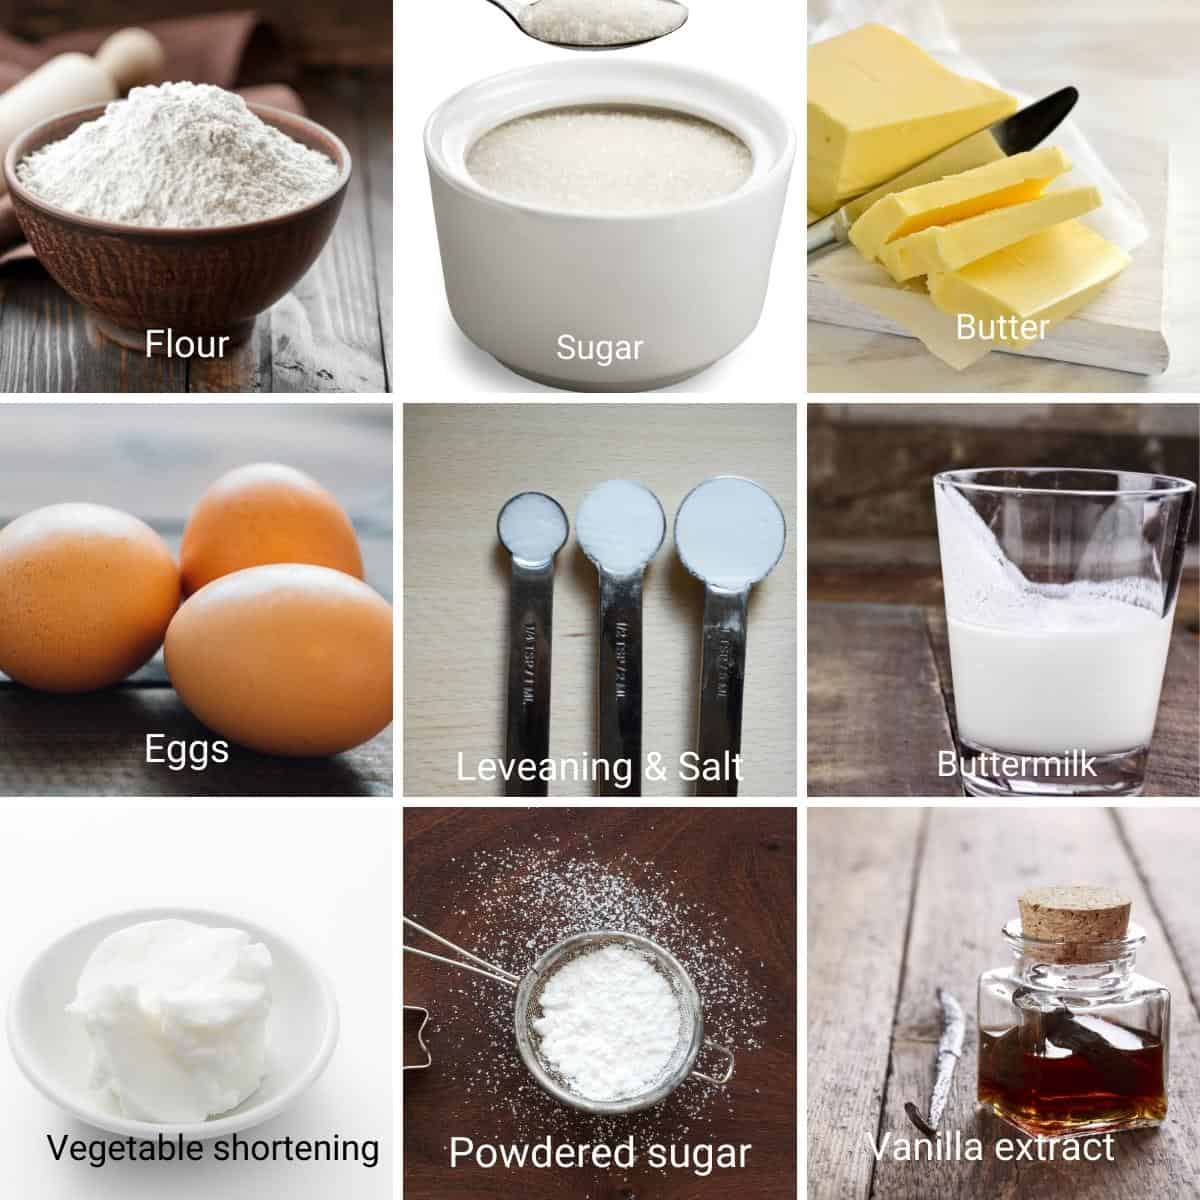
Ingredients for this Vanilla Birthday cake
- Cake flour – Cake flour gives the softest cakes a tender crumb. And if you can’t find cake flour, you can make your own cake flour substitute
- Butter – I always use unsalted so I can control the amount of salt. And yet, if salted butter is all you have, use it and omit salt in the recipe.
- Eggs – We use large whole eggs and add them to the creaming butter and sugar. And, there is no need to separate the egg whites.
- Sugar – I’m using white sugar so I can have a white cake. It’s always best to use fine-grain white sugar so it dissolves easily in the butter.
- Buttermilk – If you don’t buttermilk on hand, don’t worry. It takes just 5 minutes to make homemade buttermilk for baking.
- Vanilla – A good quality vanilla is very important, especially in a vanilla cake. I’m using vanilla bean paste but you can also use vanilla extract.
Step-by-step: Best vanilla Birthday Cake Recipe
Cake
- Oven and Pans – Preheat the oven to 325 °F/ 165 °C/ Gas Mark 3. Grease and line 3 x 8-inch round cake pans or 2 x 9-inch round cake pans.
- Dry ingredients – In a medium bowl, combine the flour, baking powder, baking soda, and salt. Use a whisk to combine.
- Wet ingredients – In the bowl of a stand mixer, with the paddle attachment on medium speed, cream the butter and sugar until light and fluffy. Next, add the eggs, one at a time, followed by the vanilla extract.
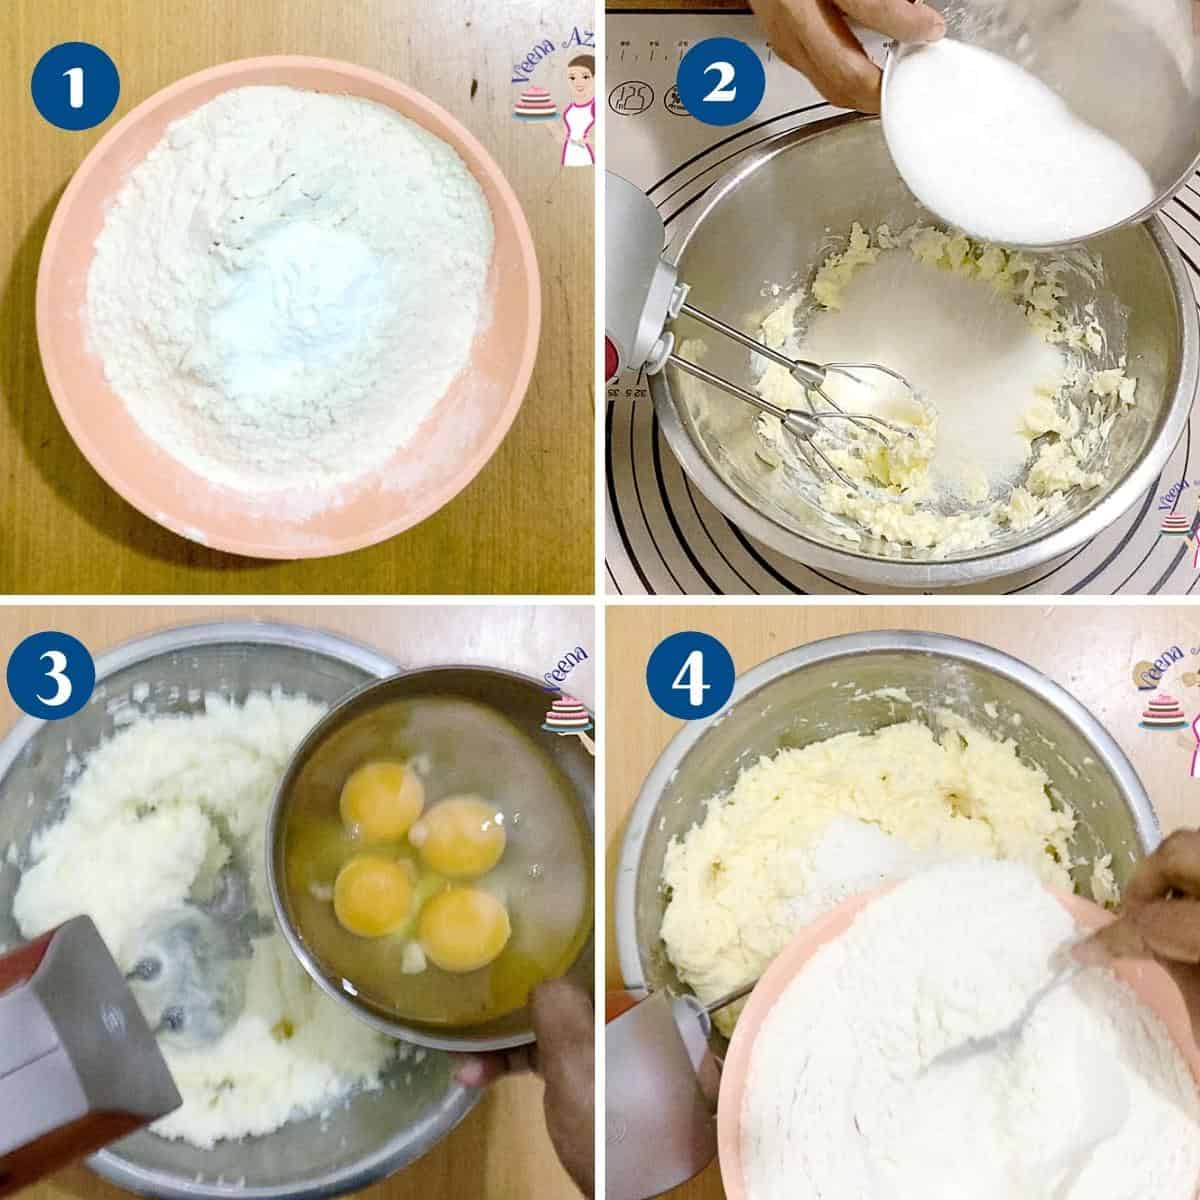
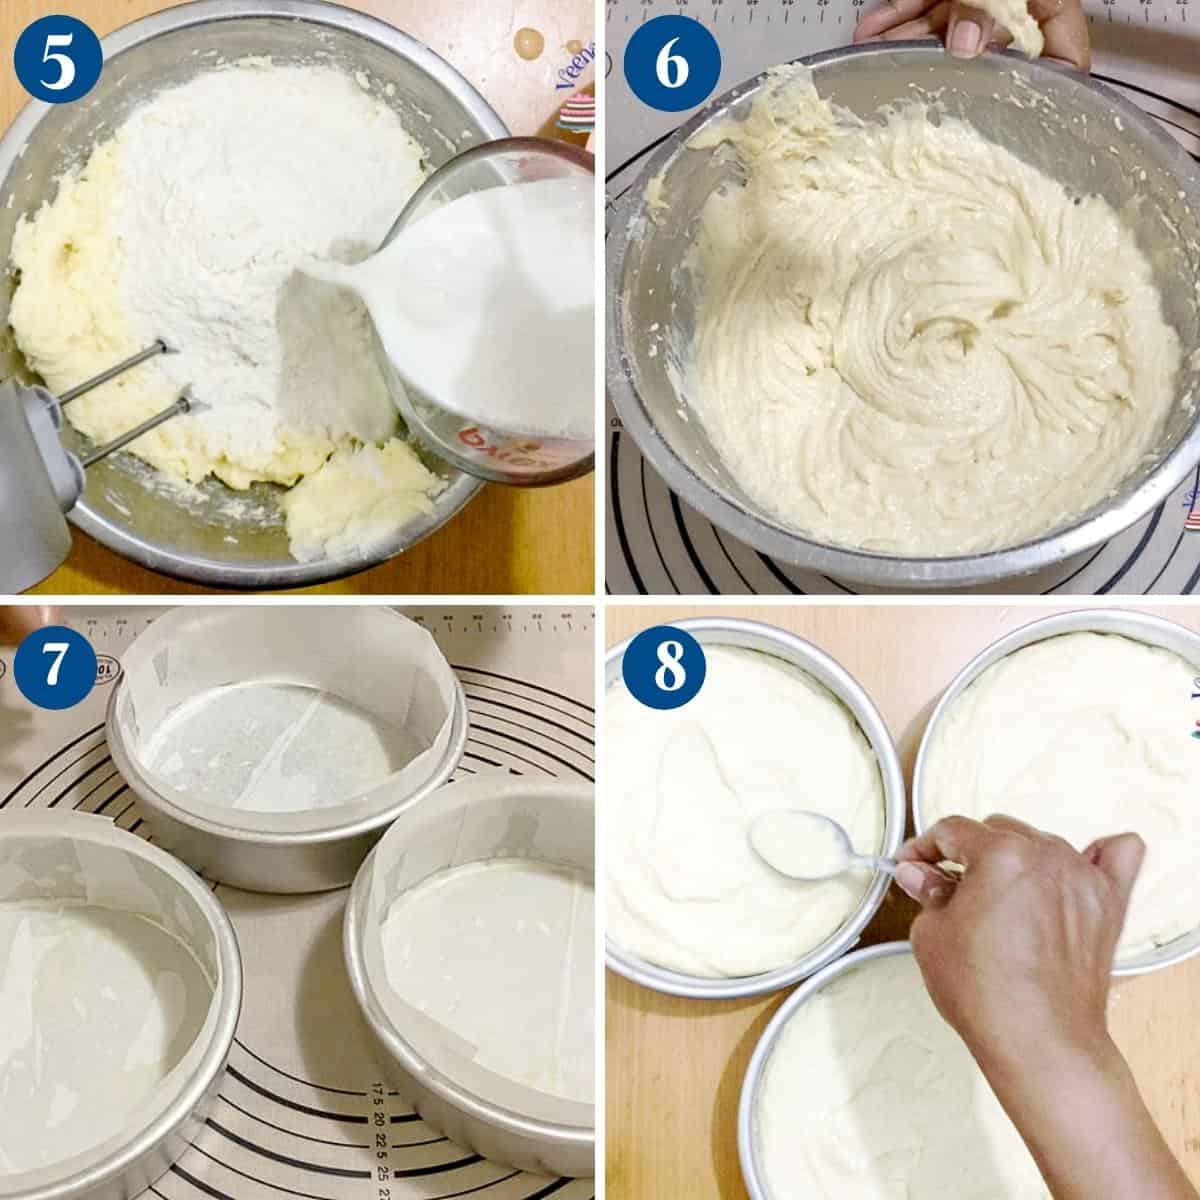
- Flour – dd the flour mixture and buttermilk in three batches. Scrape the sides and bottom of the bowl with a rubber spatula to ensure you have a smooth batter.
- Pans – Divide the batter equally between the prepared pans.
Pro tip – I like to use cake strips to ensure my layer cakes bake flat. - Bake – Place the pan on the middle rack in the oven and bake for 30 to 35 minutes or until a toothpick inserted in the center of the cake comes out clean.
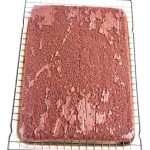
- Cool in the baking pan for 5 minutes. Invert and cool on a cooling rack completely before you decorate.
Bakery style buttercream frosting
- Watch this video of me making this bakery-style buttercream.
- In the bowl of a stand mixer, with the paddle attachment, cream butter and shortening for about 2 minutes, until light and fluffy.
- Then, add cornstarch to the hot water and add it to the creaming mixture.
Pro tip – Add the water to the cornstarch at the time you want to add it to the butter otherwise it will become lumpy. - Continue to cream until it’s a smooth mixture again. Then, add vanilla extract and combine well.
- Finally, start adding the powdered sugar, one cup at a time. Once all the sugar is in – whip the buttercream for a good three minutes until light and fluffy.
Pro tip – It is important to whip so you have a whipped-cream like consistency. Otherwise, the buttercream will be too soft to spread.

Assemble
- Once cooled, cut the domes off the cake layers using a serrated knife. Brush each layer with the cooled, simple syrup.
- Place a cake layer on the cake board or cake stand.

- Top with a big dollop of buttercream – spread evenly using a straight-edge spatula.
- Then, top the second cake layer on top followed by buttercream and the last cake.
- Place the cake in the fridge to chill for 10 to 15 minutes.

- Spread the remaining buttercream around and on top of the cake.
Pro tip – A straight-edge spatula for the top, an offset spatula, and a bench scraper for the sides work better. - Place the remaining frosting in a piping bag with a star tip. Pipe swirls on top of the cake.
- Decorate with sprinkles or as desired.
Storage
- Once decorated, the cake does not need to be refrigerated.
- It can stay at room temperature for two days or in the fridge for up to 5 days.
- Once cut, always cover the cut side of the cake with plastic wrap so the cake does not dry out.
BEST Vanilla Birthday Cake with Vanilla Buttercream
A moist butter-based vanilla cake paired with a silky, smooth bakery-style vanilla buttercream. It makes for a perfect homemade vanilla birthday cake. Baked from scratch, this cake is surprisingly simple and easy to make from baking to frosting. And a few sprinkles make this a celebration cake for any occasion whether you are five or fifty.
Video
Ingredients
- 375 g (3 cups) Cake flour
- 2 tsp Baking powder
- ½ tsp Baking soda
- ½ tsp Kosher salt
- 280 g (1¼ cups) Butter
- 400 g (2 cups) White sugar
- 4 large Eggs
- 240 g (1 cup) Buttermilk
- 2 tsp Vanilla extract or bean paste
- 180 g (¾ cup) Unsalted butter room temperature
- 100 g (½ cup) Vegetable shortening
- 600 g (5 cups) Powdered sugar
- 2 tbsp Hot water
- 1 tbsp Cornstarch
- 2 tbsp Vanilla extract
- ¼ tsp Kosher salt
- ½ cup Sprinkles for decorating
Method
- Oven & Pans – Preheat the oven to 325 °F/ 165 °C/ Gas Mark 3. Grease and line 3 x 8-inch round cake pans or 2 x 9-inch round cake pans.
- Dry ingredients – In a medium bowl, combine the flour, baking powder, baking soda, and salt.375 g Cake flour, 2 tsp Baking powder, ½ tsp Baking soda, ½ tsp Kosher salt
- Wet ingredients – In the bowl of a stand mixer, with the paddle attachment on medium speed, cream the butter and sugar until light and fluffy. Next, add the eggs, one at a time, followed by the vanilla extract.280 g Butter, 400 g White sugar, 4 large Eggs, 2 tsp Vanilla extract
- Combine – add the flour mixture and buttermilk in three batches. Scrape the sides and bottom of the bowl with a rubber spatula to ensure you have a smooth batter.240 g Buttermilk
- Pans – Divide the batter equally between the prepared baking pans. Pro tip – I like to use cake strips to ensure my layer cakes bake flat.
- Bake – Place the pan on the middle rack in the oven and bake for 30 to 35 minutes or until a skewer inserted in the center of the cake comes out clean.
- Cool in the baking pan for 5 minutes. Invert and cool on a cooling rack completely before you decorate.
- In the bowl of a stand mixer with the paddle attachment, cream butter and shortening for about 2 minutes until light and fluffy. Next, add cornstarch to the hot water and the creaming mixture. Continue to cream until it’s a smooth mixture again. Then, add vanilla extract and combine well.180 g Unsalted butter, 100 g Vegetable shortening, 2 tbsp Hot water, 1 tbsp Cornstarch, 2 tbsp Vanilla extract
- Finally, start adding the powdered sugar one cup at a time. Once all the sugar is in – whip the buttercream for a good three minutes until light and fluffy.600 g Powdered sugar, ¼ tsp Kosher salt
- Once cooled, cut the domes off the cake layers using a serrated knife. Brush each layer with the cooled, simple syrup. Place a cake layer on the cake board or cake stand.
- Top with a big dollop of buttercream – spread evenly using a straight-edge spatula. Then, top the second cake layer, followed by buttercream and the last cake. Place the cake in the fridge to chill for 10 to 15 minutes.
- Spread the remaining buttercream around and on top of the cake. A straight-edge spatula for the top, an off-set spatula, and a bench scraper for the sides work better.
- Place the remaining frosting in a piping bag with a star tip. Pipe swirls on top of the cake.½ cup Sprinkles
- Decorate with sprinkles or as desired.
Notes
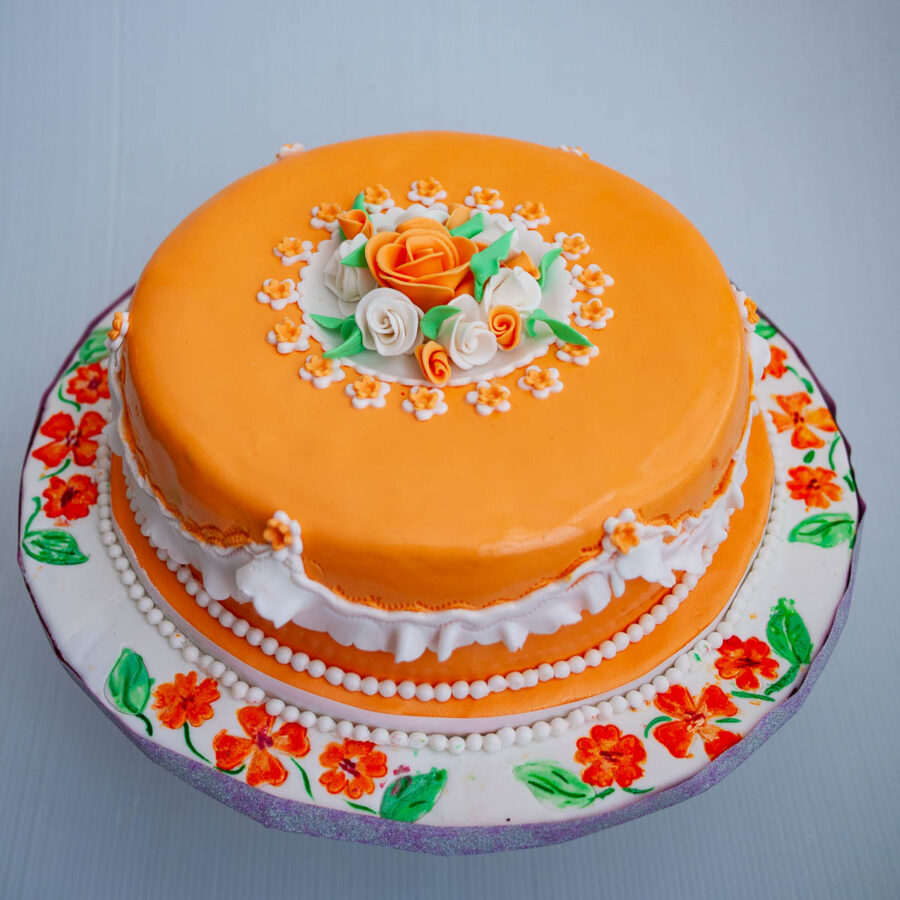
- Fondant cake – This cake can be covered with fondant. It is a butter-based cake and works beautifully in tiered wedding cakes.
- Lighter cake – You can whip the eggs separately to make the cake light and fluffy just as I have done in my recipe for light and fluffy vanilla cake.
- Naked cake – This is a fairly simple recipe that can be used to make a naked cake. And yet, I do have a one-bowl vanilla cake recipe decorated as a naked-cake. Perhaps you can try using that recipe as a base.
- Freezing the cake – Freeze it on a baking tray for a few hours then wrap well in cling/plastic wrap, followed by a parchment paper and then aluminum foil. Thaw wrapped in the fridge for 24 hours so the condensation will stay on the papers, not the cake.
Storage
- Once decorated the cake does not need to be refrigerated.
- It can stay at room temperature for two days or in the fridge for up to 5 days.
- Once cut always cover the cut side of the cake with cling/plastic wrap so the cake does not dry out.
Other pan suggestions
- If you don’t want to make a layer cake like this,
- You can make this into a sheet cake – a ‘Vanilla Sheet Cake’.
- You can also pour the batter into a well-greased and dusted bundt pan for a ‘Vanilla Bundt Cake‘.
- This recipe can also be baked into 24 beautiful vanilla cupcakes
Equipment you will need


Nutrition
Tried this recipe?
Mention @veenaazmanov_kitchen or tag #veenaazmanovkitchen!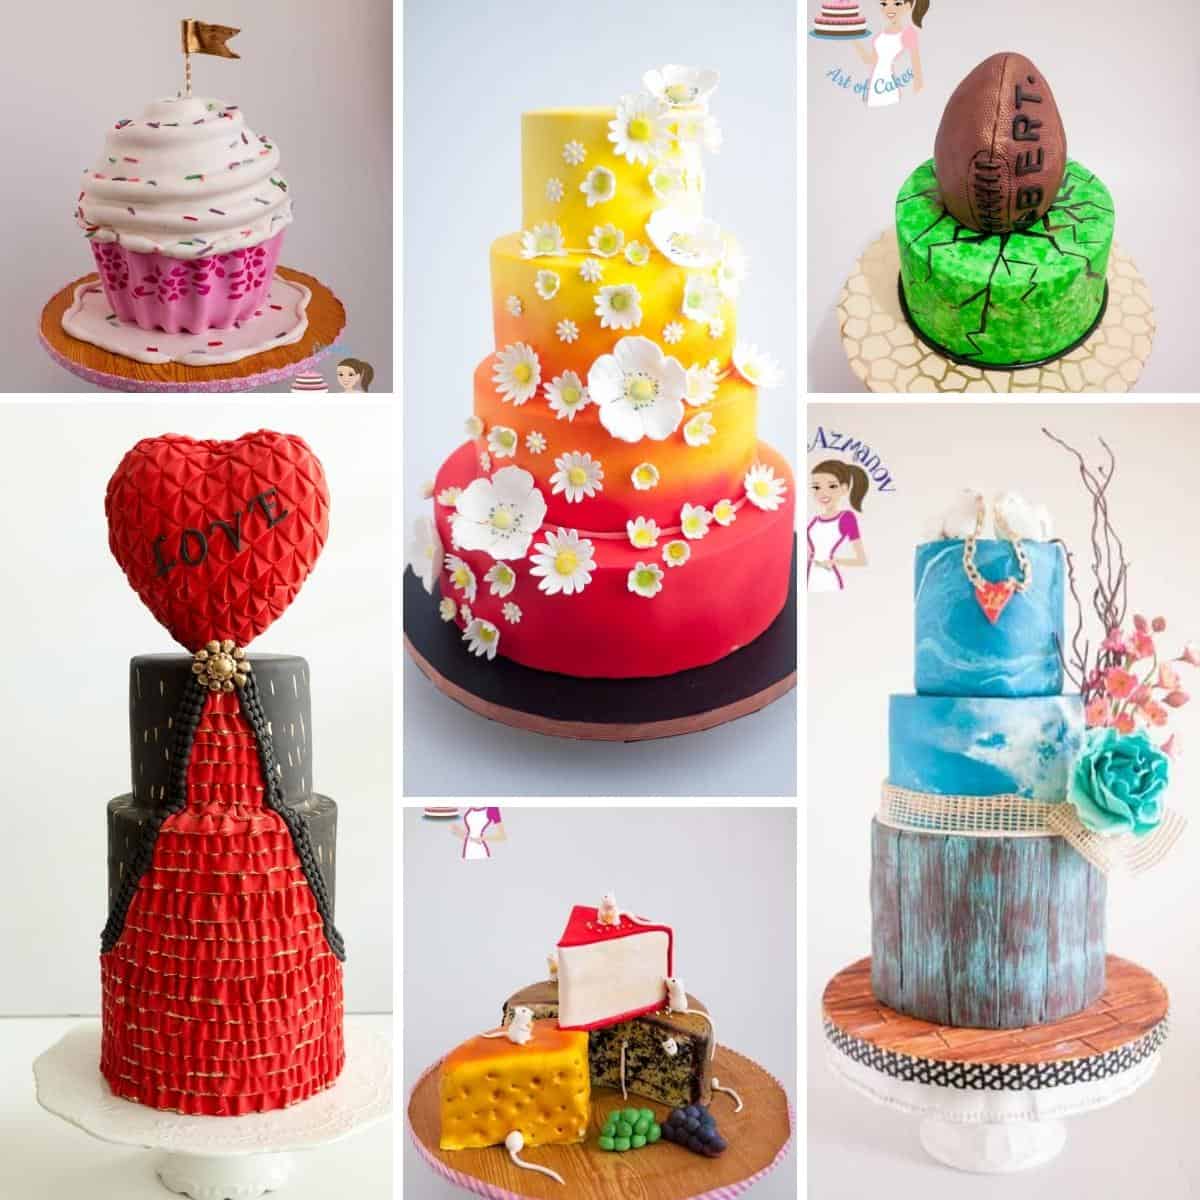


Frequently asked questions
If properly stored, this cake will last for 2 to 3 days at room temperature. It can be kept in the fridge for up to 5 or 6 days.
No, this recipe works best with eggs but you can use my Eggless Vanilla Cake or Eggless Chocolate Cake to make a birthday cake.
A white cake is usually made with only egg whites and no egg yolks and in some cases fewer egg yolks. This means the cake does not have the yellow color from the yolks. A vanilla cake such as this is usually made with whole eggs. A yellow cake is a butter-based cake with more egg yolks. So the color of the yellow butter and yellow yolks gives the cake a very yellow cake. A vanilla cake is made with whole eggs.
Yes. You can bake the vanilla birthday cake layers 1–2 days in advance. Once completely cooled, wrap each layer tightly in plastic wrap and store at room temperature for one day or refrigerate for up to two days.
For longer storage, freeze the wrapped layers for up to 2 months. Thaw overnight in the fridge before frosting.
Pro tip: Slightly chilled layers are easier to level and frost neatly.
Moisture comes from a few important things:
1. Properly measured flour (don’t overpack it)
2. Not overbaking
3. Using ingredients like butter, oil, or buttermilk
4. Bake just until a toothpick comes out with a few moist crumbs — not dry.
5. Once cooled, wrap the layers well to prevent air exposure. Air is what dries cakes out.
Classic vanilla buttercream is the most popular choice for a traditional vanilla birthday cake. It’s stable, pipes beautifully, and pairs perfectly with sprinkles.
Other great options:
Swiss meringue buttercream (silkier, less sweet)
Cream cheese frosting (slightly tangy)
Chocolate buttercream (for contrast)
If decorating with tall layers or warm weather serving, use a stable buttercream.
Yes. This batter works beautifully for cupcakes. Fill liners about ⅔ full. Bake at the same temperature, Start checking at 18–20 minutes. You’ll get soft, fluffy vanilla birthday cupcakes with the same flavor and texture.
- Moist Vanilla Pound Cake, Moist Vanilla Bean Cake
- Vanilla Cafe Latte Cake with Coffee Buttercream
- Genoise Sponge Cake, Moist Genoise Cream Cake

Don’t lose this recipe! Save it for Later!
📌 Save this Recipe for later on Pinterest so you can easily find it again.
⭐ Add Veena Azmanov Kitchen to your Google Preferred Sources.
It helps Google show you more of our recipes.
📧 Subscribe for new recipes delivered to your inbox.
🎥 Follow us for more recipes


🙂
Week 2 Day 2- done I have made my cake.
Can I replace butter with oil?
Zolisa. This cake works better with butter.
Hello ms. Veena, i really like your vanilla cake, it’s so moist. Can i make it in 2 rectangular pan 9×13
Thank you, karis. Yes, this recipe would work in a 9 x 13 pan as well. Happy you are enjoying this recipe
Week 2 day 2
Hi Veena,
Really love your cake recipes. Thank you for sharing it.
Can I use amul whipping cream or any other substitute instead of vegetable shortening in the vanilla Butter Cream. ?
Amul whipping cream can be used as a substitute for whipping cream in the recipe, not for the vegetable shortening.
You can use butter, firm ghee, or firm coconut oil instead of vegetable shortening for the buttercream