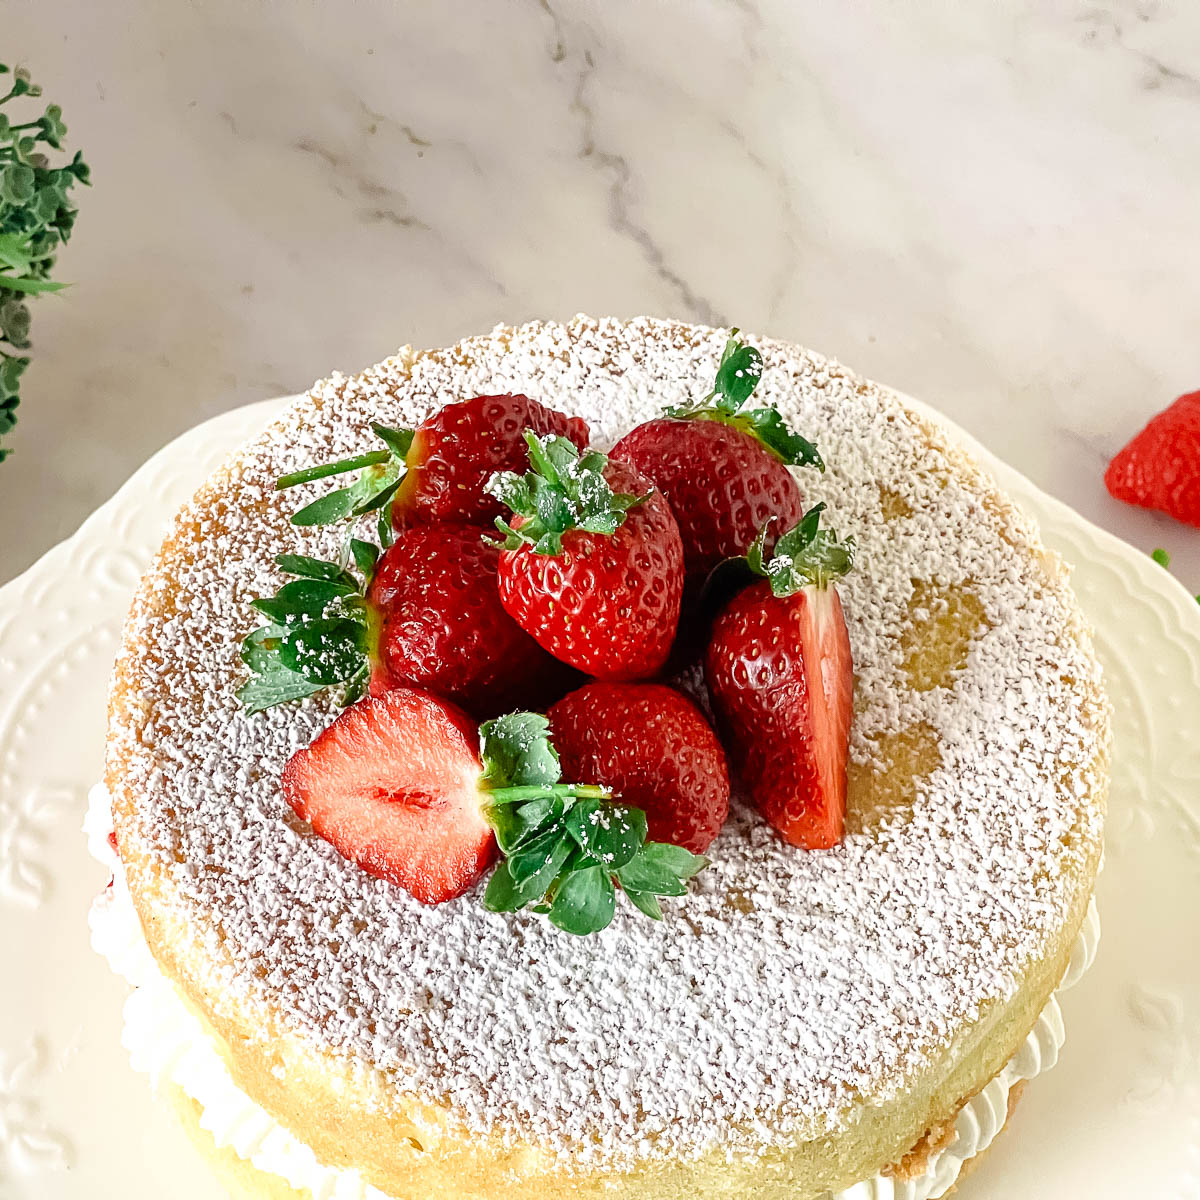
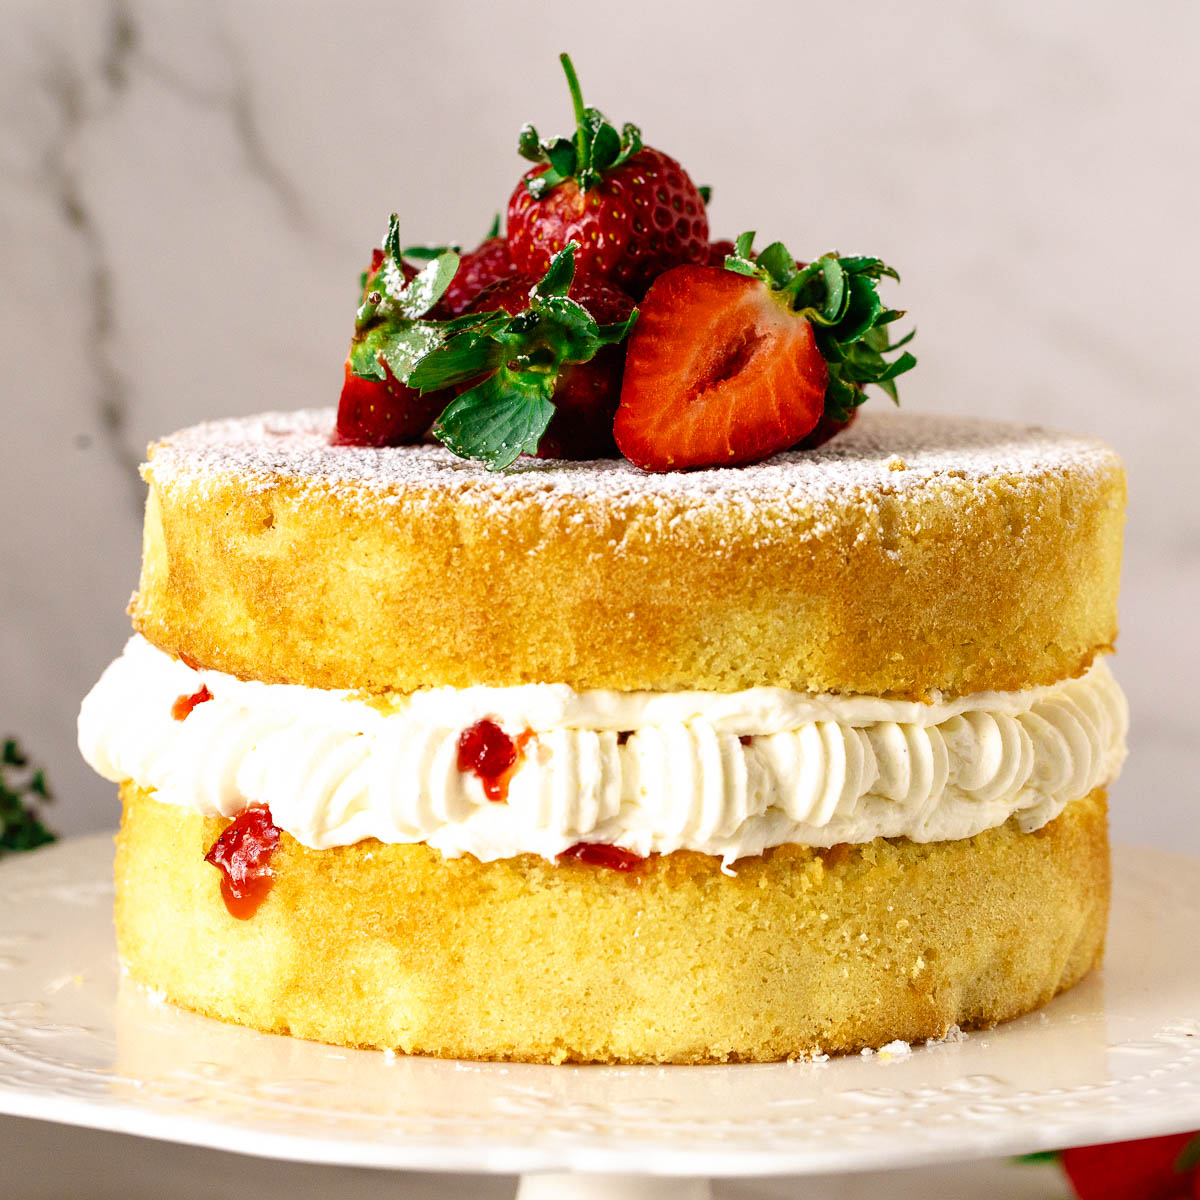
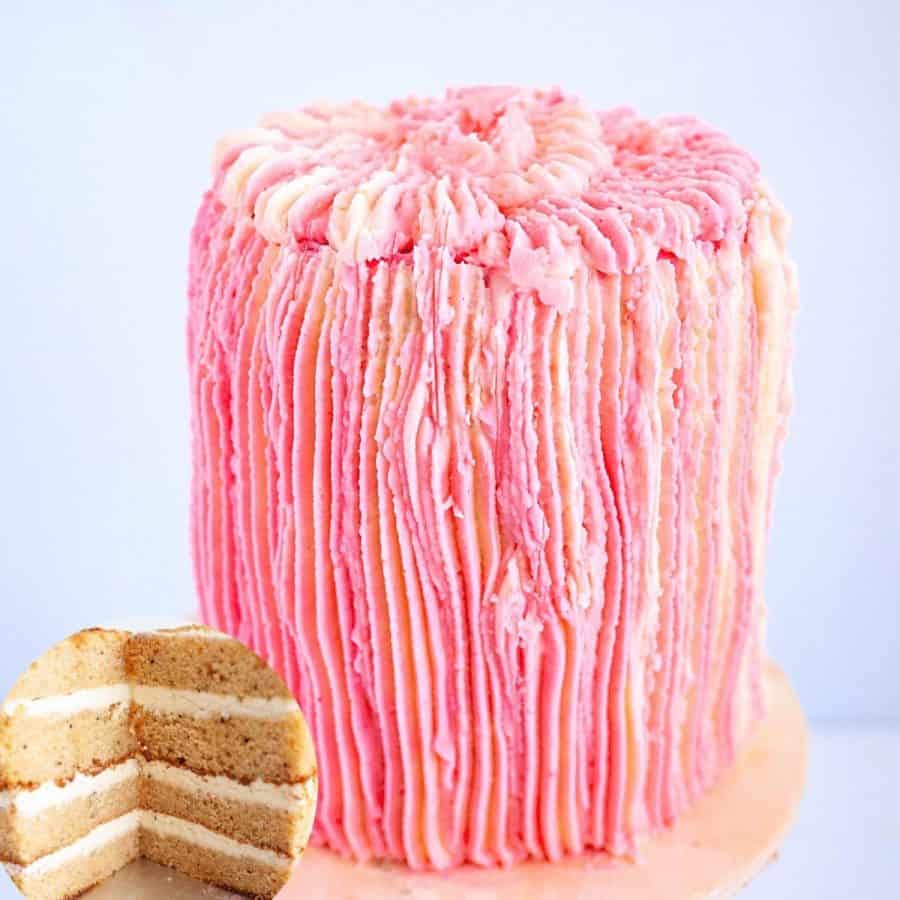
Victoria Sponge Cake (Jam Sandwich Cake)


A classic Victoria sponge cake is a British favorite made with soft, buttery cake layers and a simple filling. Traditionally served with jam and cream, this cake is light yet tender, easy to make, and perfect for afternoon tea or special occasions. Over the years, this recipe has become one of my most reliable go-to cakes, whether for family celebrations or professional cake orders.
When I ran my cake business, Victoria sponge cake was one of the most requested classics. While whipped cream is traditional, I often used vanilla buttercream instead, especially for ordered cakes. Buttercream is far more stable, holds up better in warm and humid weather, and allows the cake to be kept at room temperature for longer without compromising structure.
Living in Israel, humidity and heat are always a consideration. Buttercream gave me the flexibility to assemble, transport, and display these cakes with confidence—something whipped cream simply doesn’t allow in warmer climates. This version reflects that real-world experience, not just theory.
Why you’ll love this recipe
- Classic Victoria sponge, done right – Soft, buttery cake layers with a simple, timeless flavor that works every time.
- Stable and practical filling – Using buttercream instead of whipped cream makes this cake easier to assemble, transport, and serve, especially in warm or humid climates.
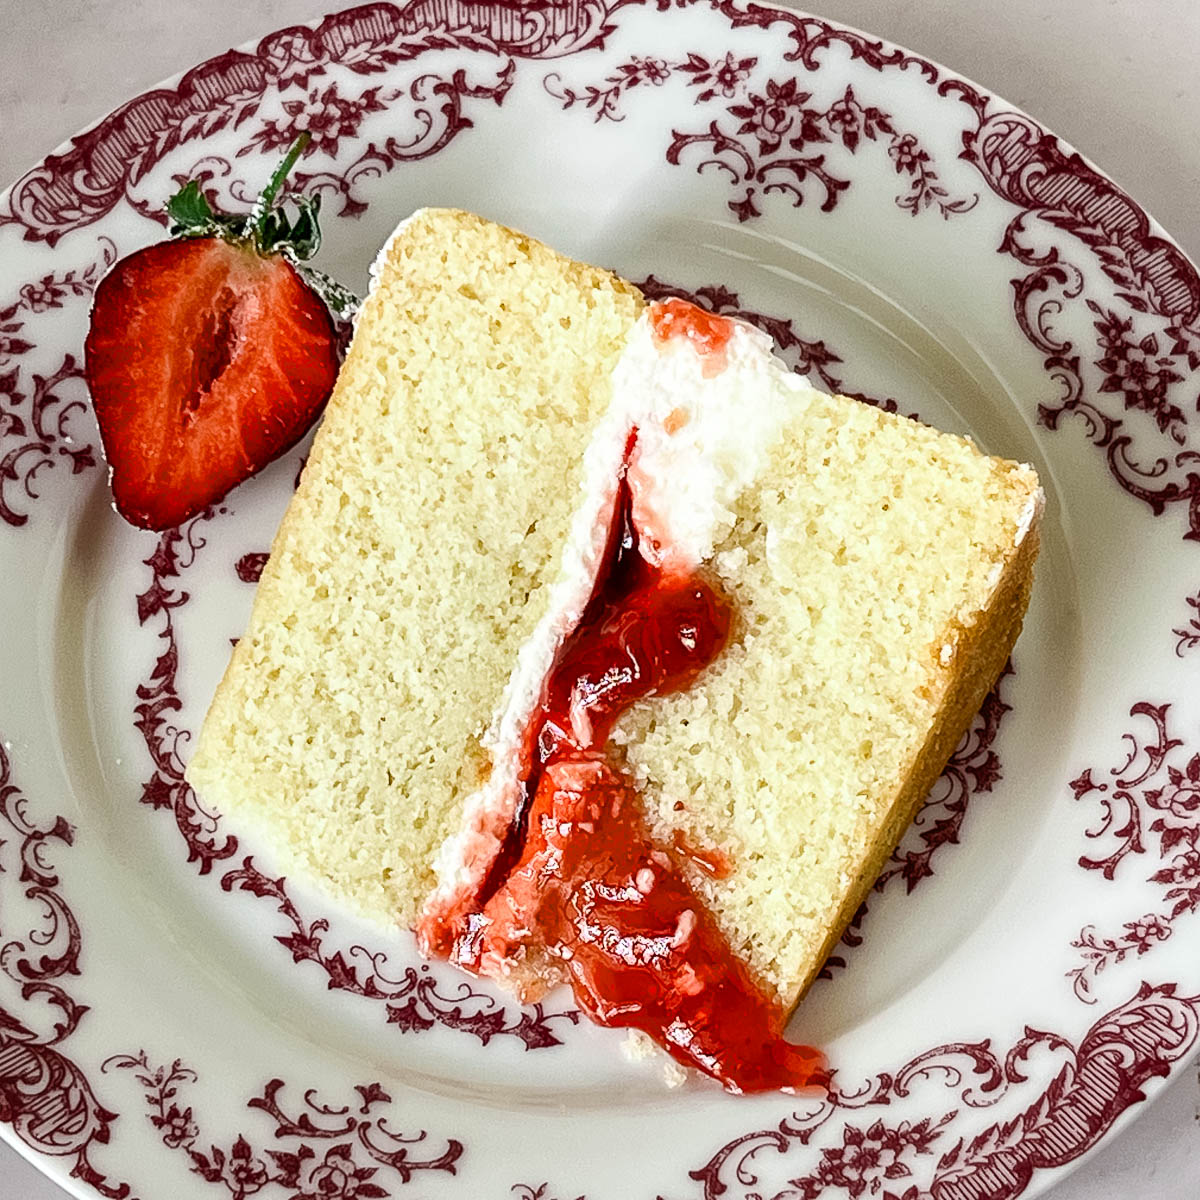
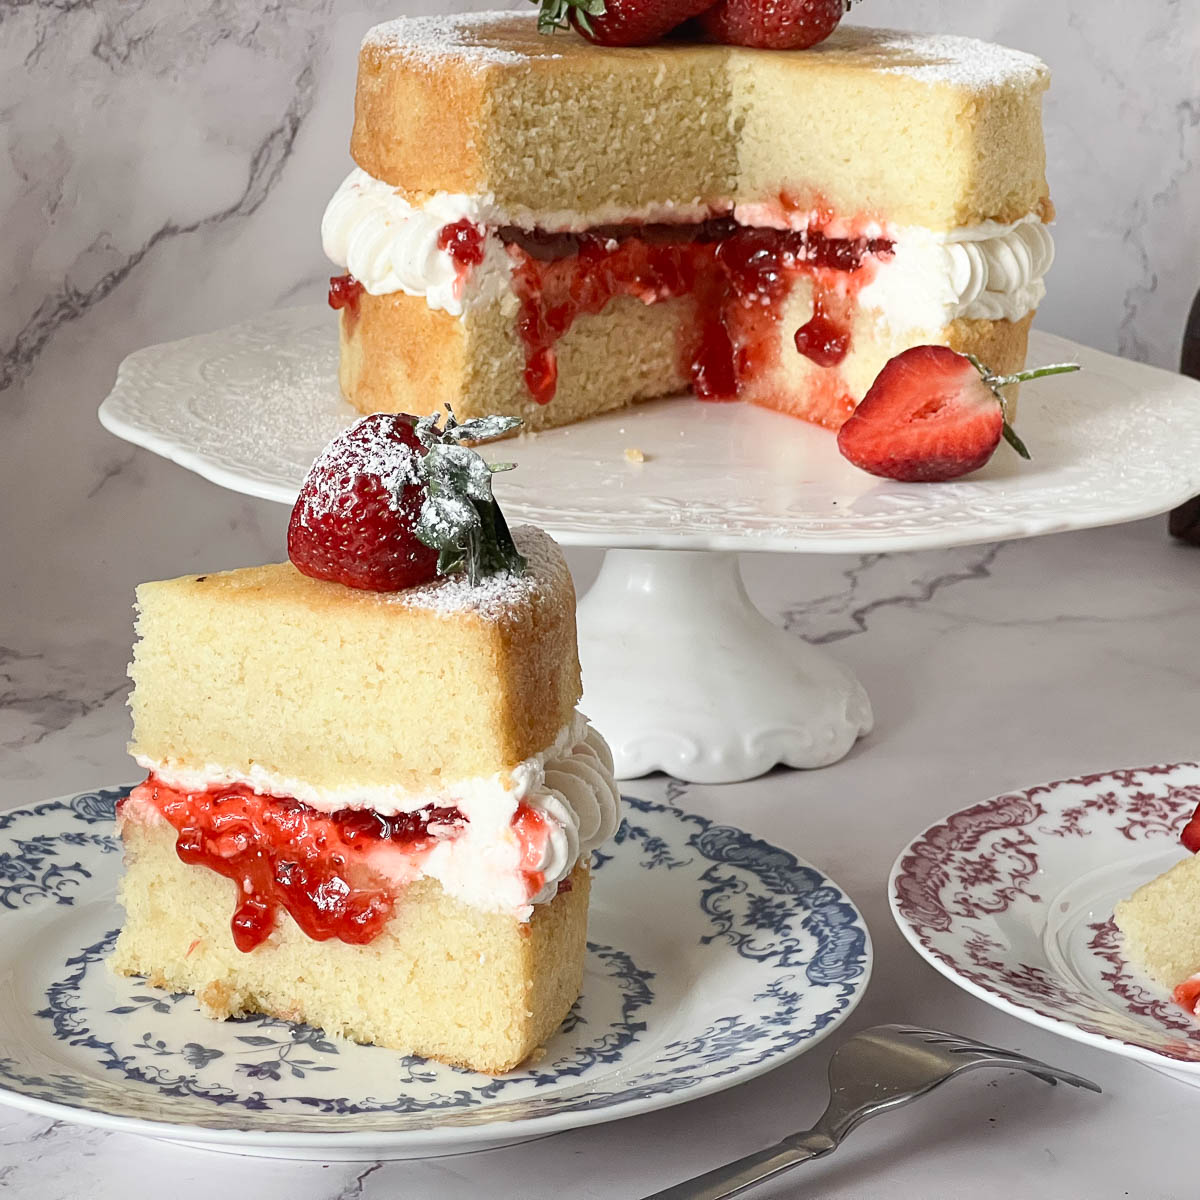
- Light but sturdy texture – The cake stays tender without being fragile, so it layers beautifully and slices cleanly.
- Reliable for real life – This is the version I used for cake orders because it holds up well and doesn’t need constant refrigeration.
- Easy to adapt – Keep it traditional with jam and buttercream, or use the chocolate variation when you want something different.
This recipe gives you the classic Victoria sponge texture with a filling that’s more practical for decorating and serving.
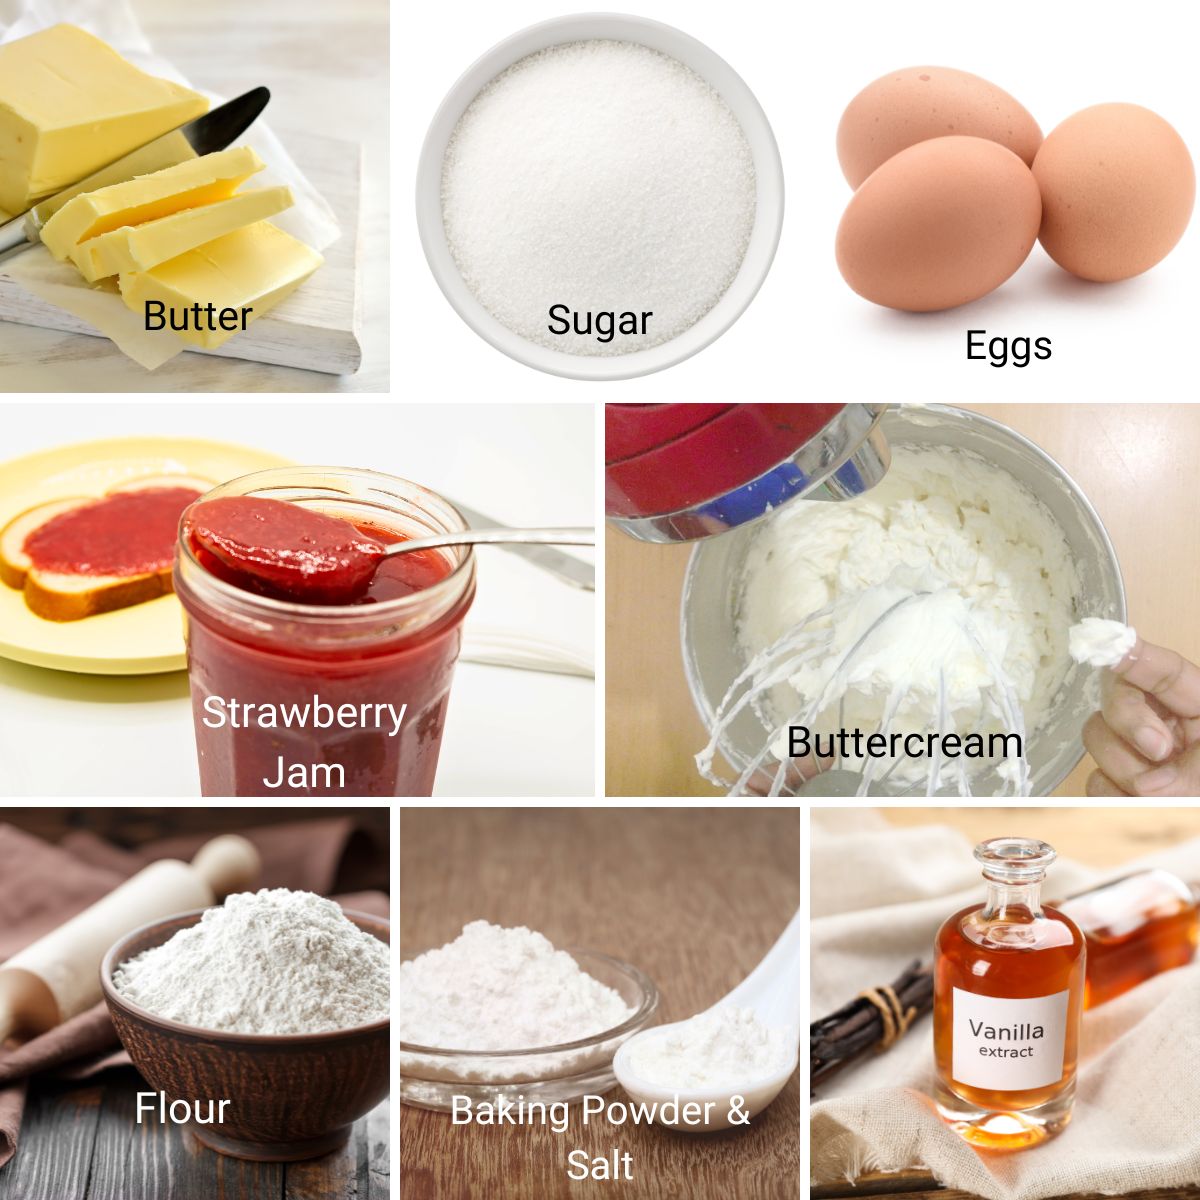
Ingredients and substitutes
- Cake flour – Keeps the crumb soft and tender. You can use all-purpose flour, but cake flour gives a lighter texture.
- Sugar – White granulated sugar keeps the cake pale and classic.
- Butter – Unsalted butter allows you to control the salt and adds richness.
- Eggs – Use large eggs at room temperature so they incorporate smoothly.
- Oil – A small amount of oil keeps the cake moist for longer than butter alone.
- Milk – Adds moisture and helps loosen the batter.
- Vanilla – Use good-quality vanilla extract or vanilla bean paste.
- Baking powder & salt – Just enough lift and balance.
- Strawberry jam – Traditional and classic.
- Vanilla buttercream – More stable than whipped cream and ideal for warm climates.
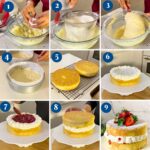
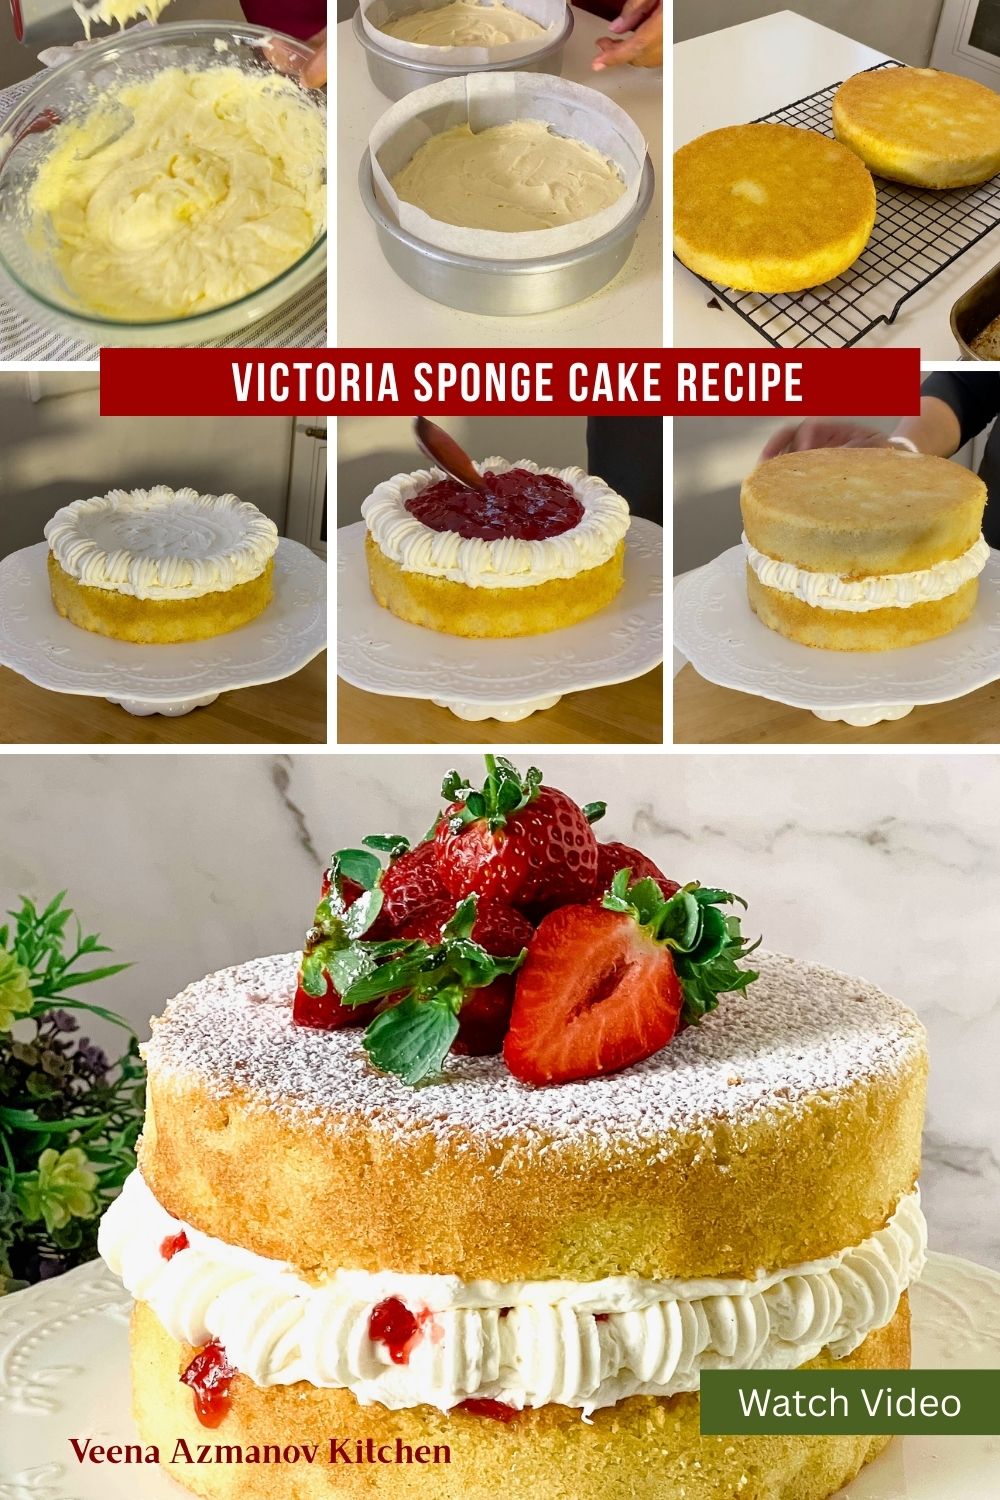
Step-by-step: Victoria sponge cake (Jam Sandwich Cake)
Victoria Cake Batter
- Preheat the oven to 170°C / 340°F (conventional, no fan).
Grease and line 2 × 8-inch round cake pans with parchment paper.
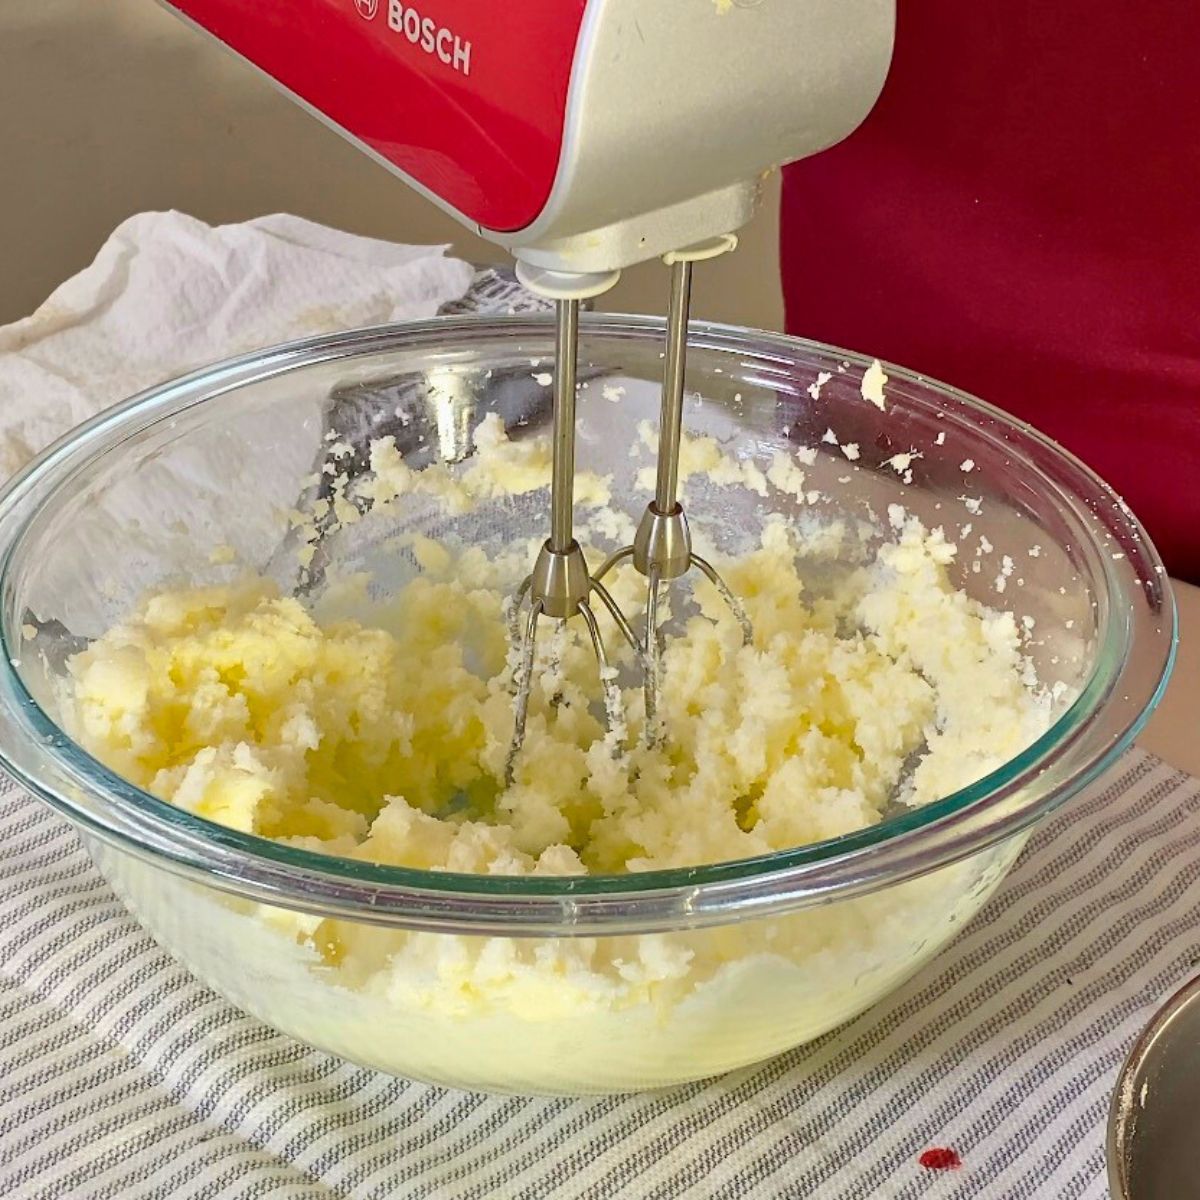
- Cream butter and sugar in the bowl of a stand mixer with the paddle attachment until pale, light, and fluffy. This step builds structure and air into the cake.
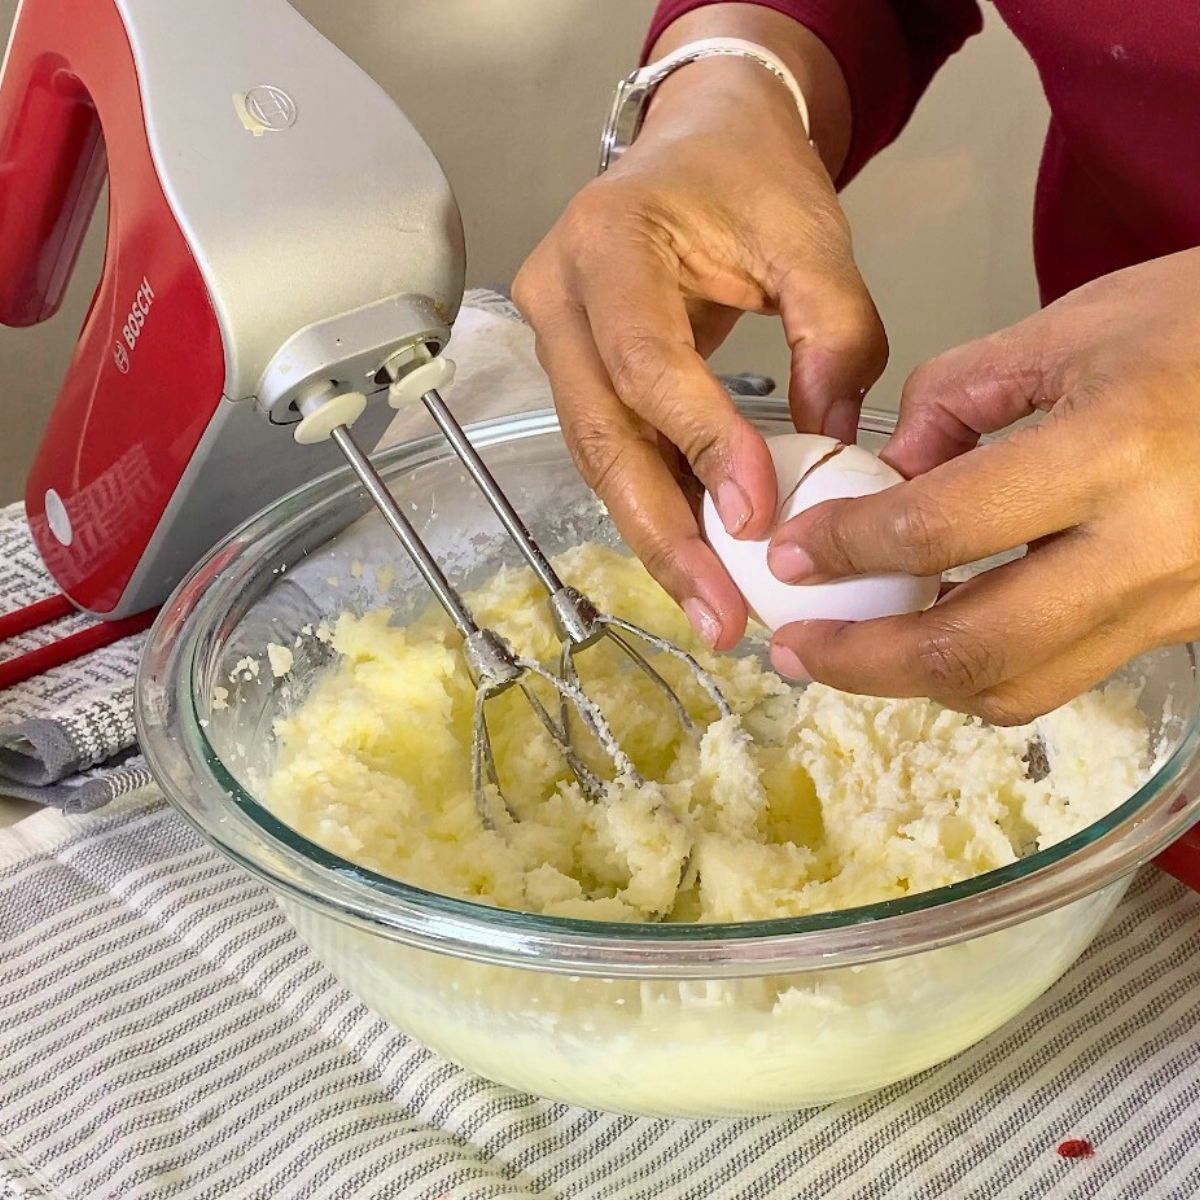
- Add the eggs, one at a time, mixing well after each addition.
Scrape the bowl as needed to keep the batter smooth.
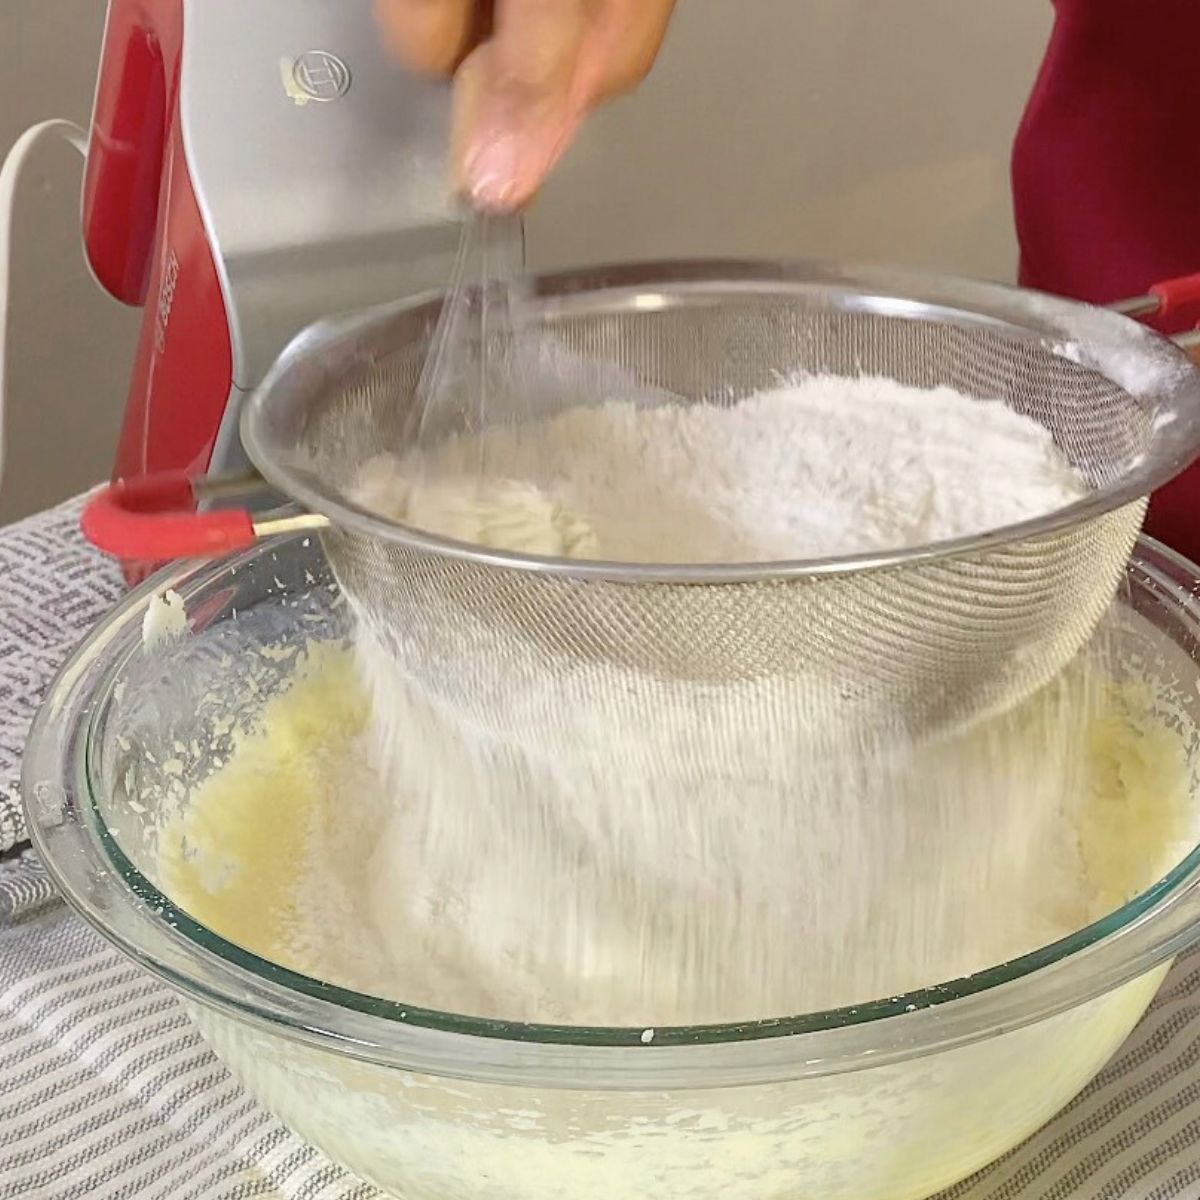
- Sift together the cake flour, baking powder, and salt.
- Add the dry ingredients to the batter in two additions, alternating with the milk. Mix on low speed just until combined.

- Add the vanilla extract and the oil. Mix briefly until smooth.
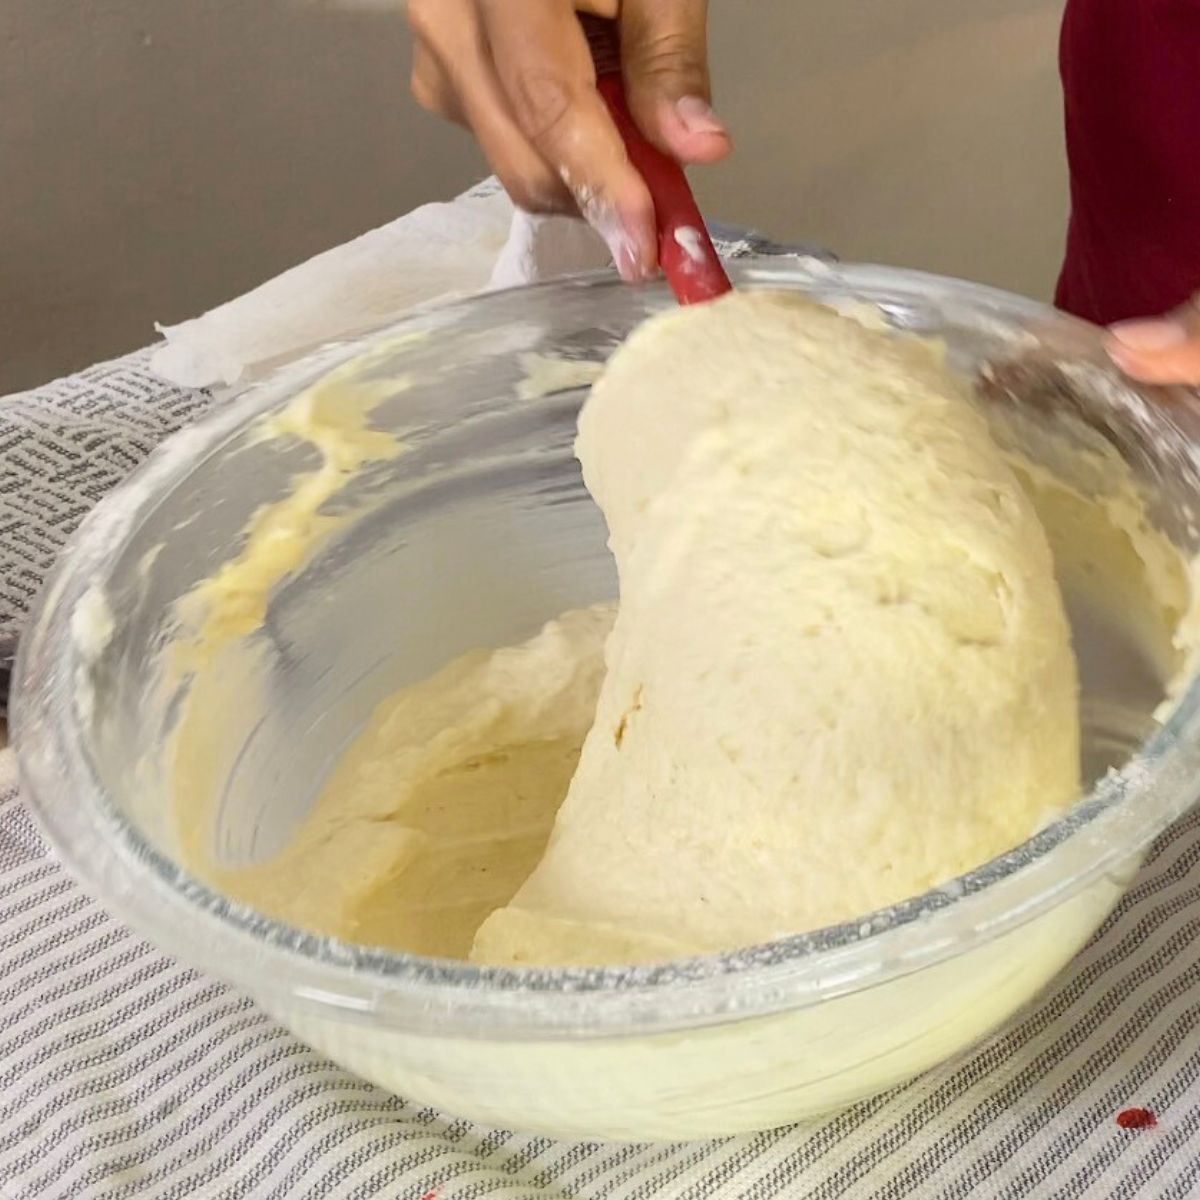
- Pro tip: The batter should be soft, smooth, and pourable—not thick.
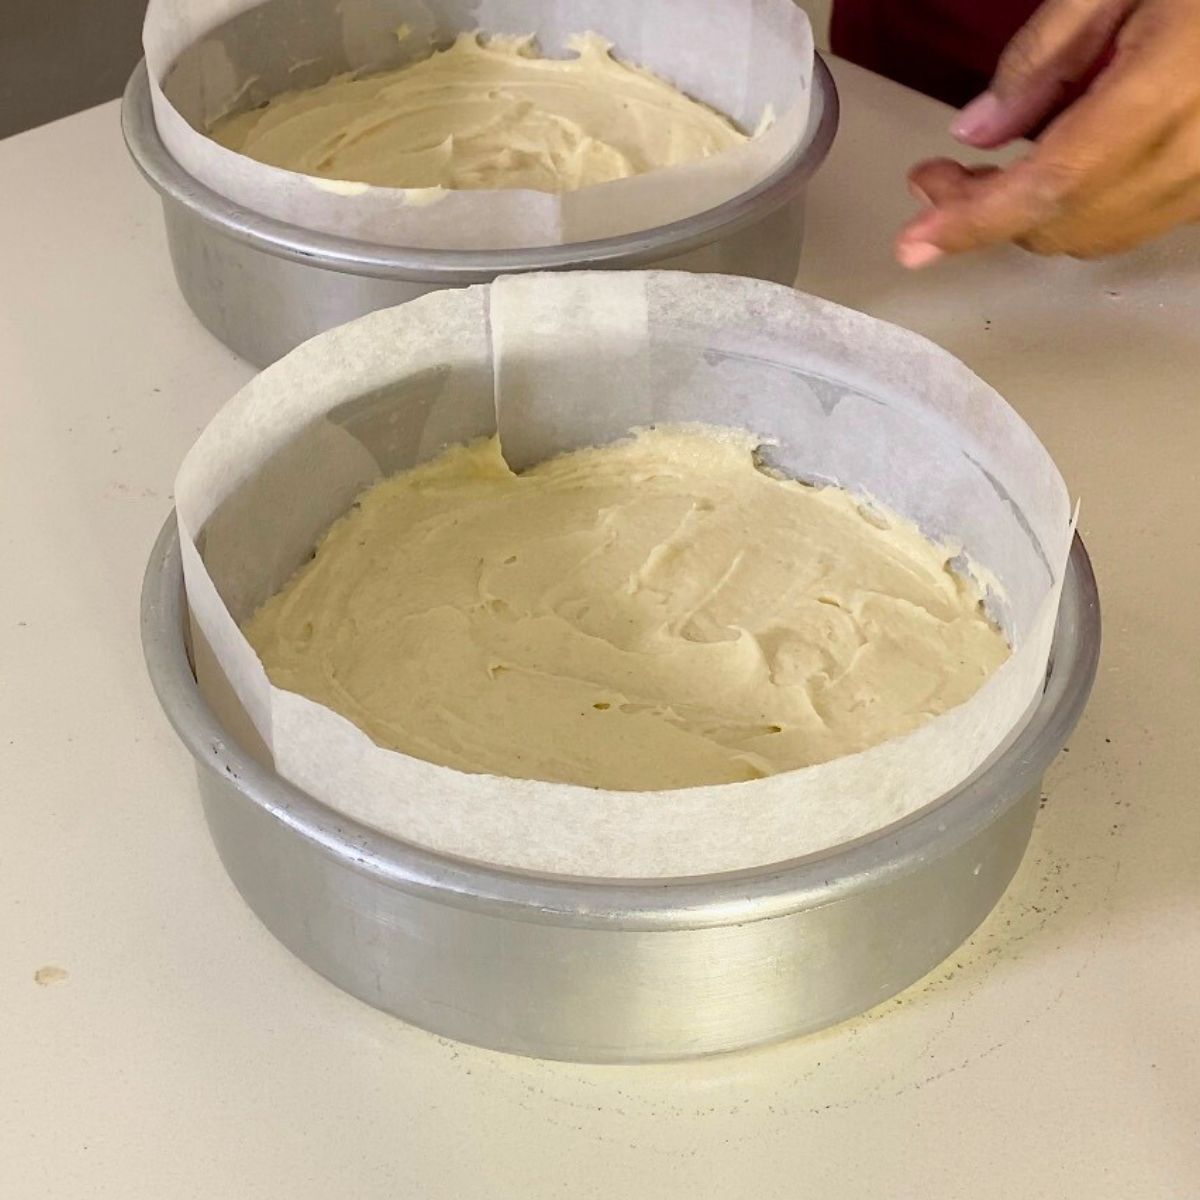
- Divide the batter evenly between the prepared pans and level the tops.
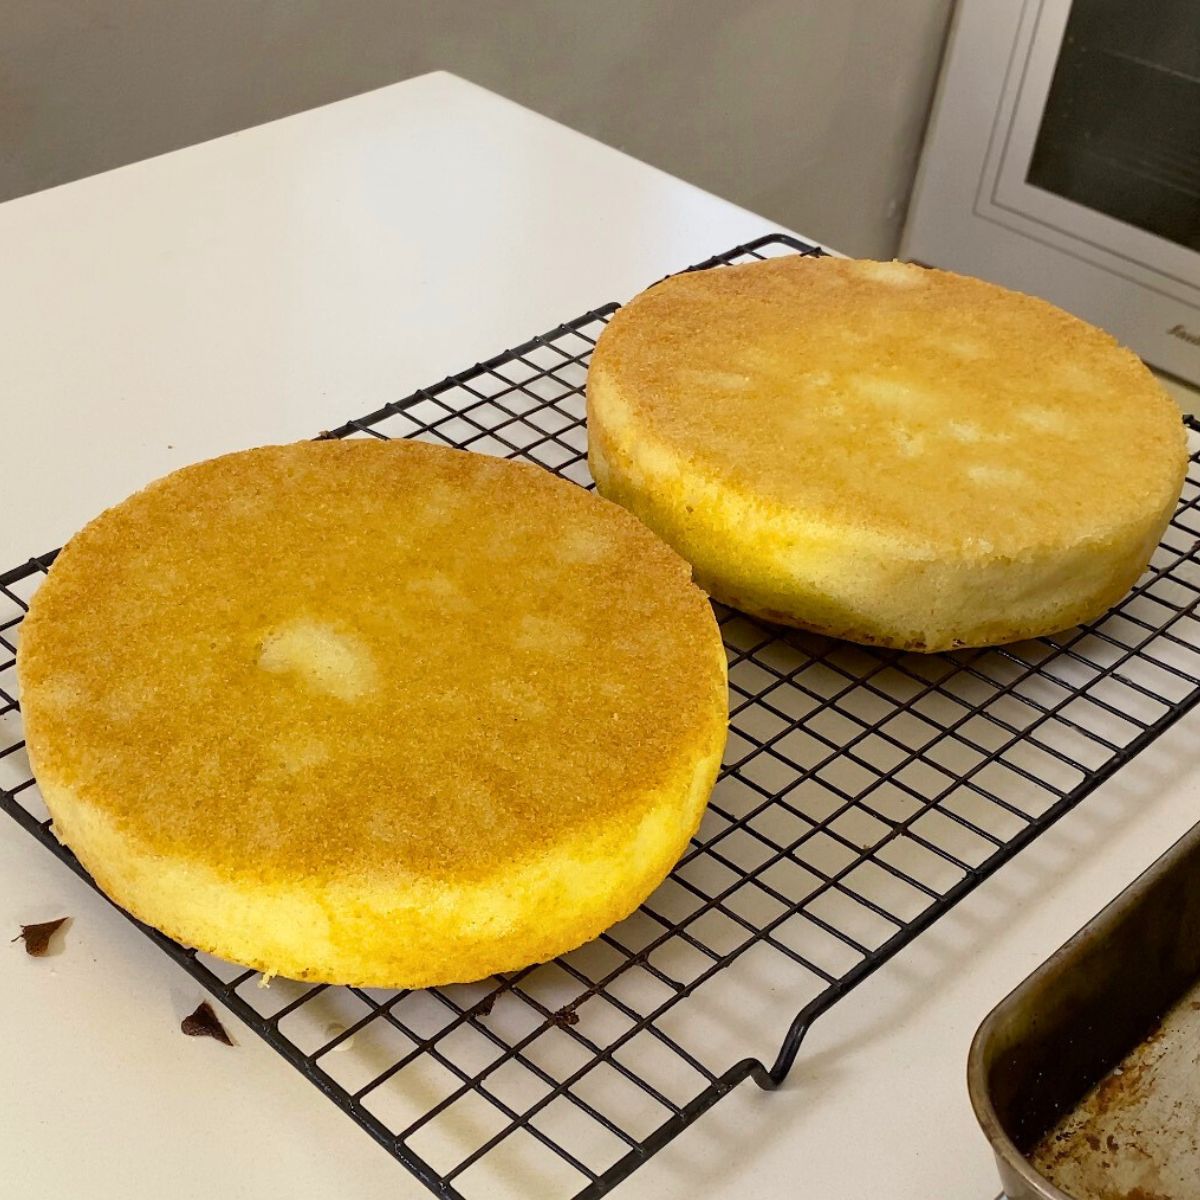
- Bake for 25–30 minutes, until the cakes are lightly golden and spring back when touched.
- Cool in the pans for 10 minutes, then turn out onto a wire rack and cool completely.
Vanilla buttercream (stable filling option)
- Beat unsalted butter with a pinch of salt until smooth.
- Gradually add powdered sugar, mixing well.
- Add vanilla extract and a small amount of cream or milk.
- Whip until light, smooth, and spreadable.

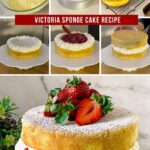
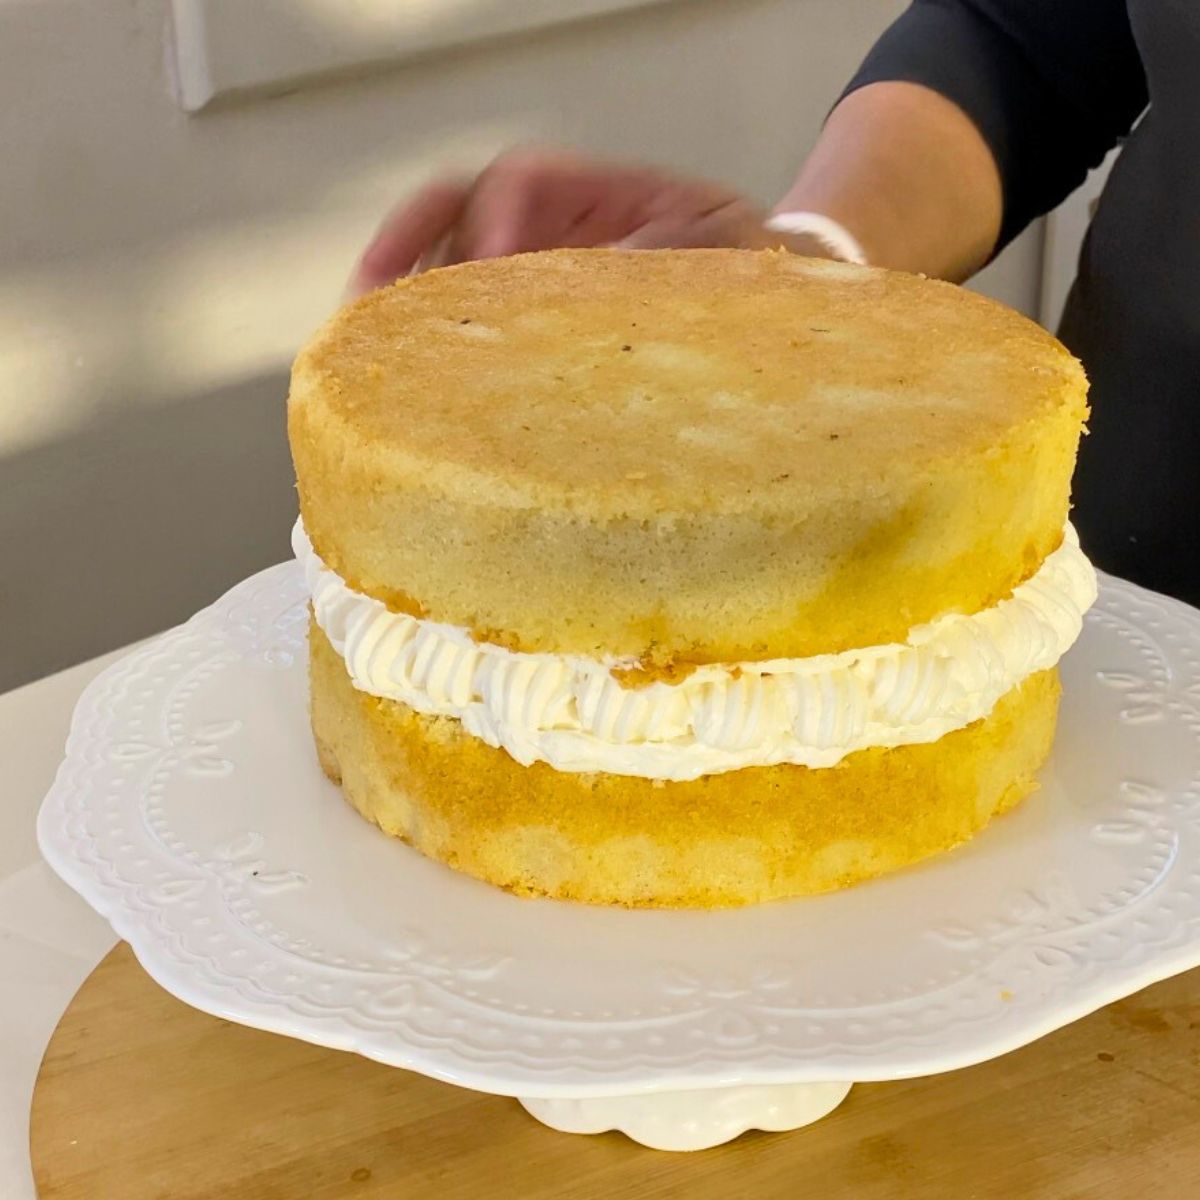
Assemble the Victoria sponge cake
- Place one cake layer on a serving plate or cake board.
- Spread an even layer of strawberry jam.

- Top with a generous layer of vanilla buttercream.
- Place the second cake layer on top.
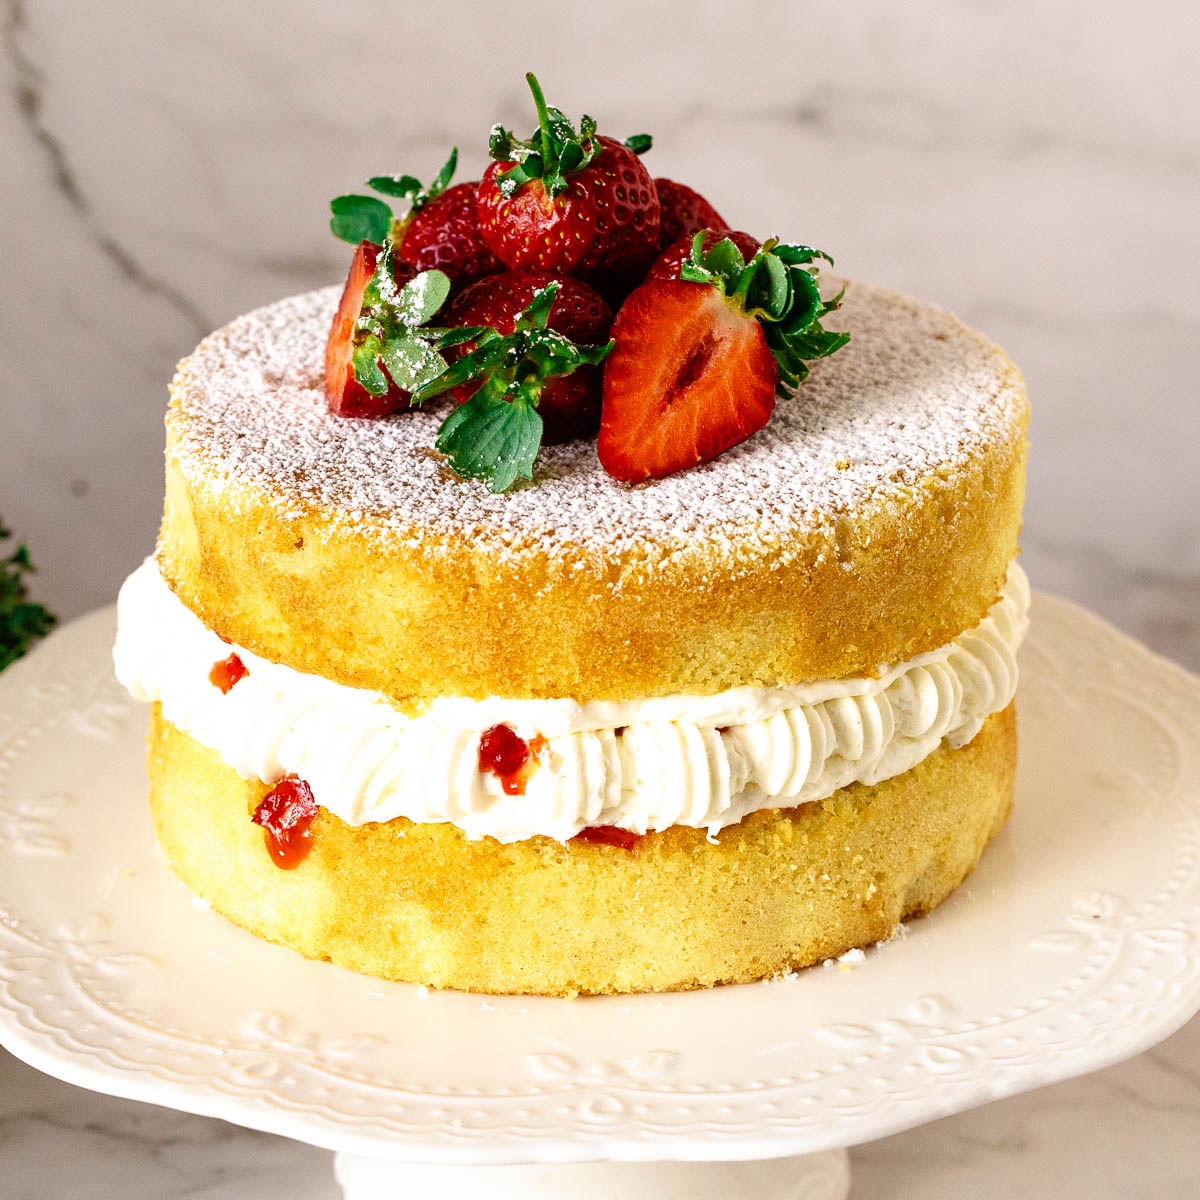
- Finish with a light dusting of powdered sugar, if desired.

Victoria Sponge Cake (Classic British Recipe)
A classic Victoria sponge cake made with soft, buttery vanilla cake layers, filled with strawberry jam and stable vanilla buttercream. This version is ideal for warm or humid climates, making it perfect for celebrations, afternoon tea, and decorated cakes.
Ingredients
- 226 g (1 cup) Unsalted Butter room temperature
- 200 g (1 cup) White sugar fine grain or castor
- 4 large Eggs
- 226 g (1 cups) Cake flour
- 1 tsp Baking powder
- ½ tsp Salt
- 4 tbsp (¼ cup) Milk
- 2 tsp Vanilla extract
- 226 g (1 cup) Butter unsalted, room temperature
- 500 g (1 lb) Powdered sugar
- ½ tsp Salt
- 2 tbsp Whipping cream 38%
- ¼ cup Strawberry Jam
Method
- Oven and Pans – Preheat the oven to 170°C / 340°F (conventional, no fan). Grease and line two 8-inch round cake pans with parchment paper.
- Wet Ingredients – In a large bowl or stand mixer with the paddle attachment, cream the sugar and oil briefly, then add the eggs one at a time, mixing well after each addition. Add the vanilla extract and mix briefly until smooth. The batter should be soft and pourable.226 g Unsalted Butter, 200 g White sugar, 4 large Eggs, 2 tsp Vanilla extract
- Dry ingredients – In a separate bowl, sift together the cake flour, baking powder, and salt. Add the dry ingredients to the batter in two additions, alternating with the milk. Mix on low speed just until combined.226 g Cake flour , 1 tsp Baking powder, ½ tsp Salt, 4 tbsp Milk
- Pan – Divide the batter evenly between the prepared pans and level the tops.
- Bake and Cool – Bake for 25–30 minutes, or until lightly golden and the center springs back when gently pressed. Cool in the pans for 10 minutes, then turn out onto a wire rack and cool completely before filling.
- Vanilla Buttercream – Beat the butter and salt until smooth and creamy. Gradually add the powdered sugar, mixing well. Add the vanilla and cream, then whip until light, smooth, and spreadable.226 g Butter , 500 g Powdered sugar, ½ tsp Salt, 2 tbsp Whipping cream
- Fill the cake – Place one cake layer on a serving plate or cake board. Spread an even layer of strawberry jam.¼ cup Strawberry Jam
- Frost – Top with a generous layer of vanilla buttercream. Place the second cake layer on top. Dust lightly with powdered sugar, if desired.
Notes
- This Victoria sponge uses buttercream instead of whipped cream for better stability, especially in warm or humid climates.
- Bring the cake to room temperature before serving for the best texture.
- Do not overmix once the flour is added to keep the cake light.
- Replace 25 g (¼ cup) of the flour with cocoa powder
- Add 1–2 tbsp extra milk
- Follow the same method
- Store at room temperature for up to 2 days
- Refrigerate for up to 5 days; bring slices to room temperature before serving
- Once cut, cover exposed cake to prevent drying
Nutrition
Tried this recipe?
Mention @veenaazmanov_kitchen or tag #veenaazmanovkitchen!Tips for success
- Use room-temperature ingredients for a smooth batter.
- Do not overmix once the flour is added.
- Bake using conventional heat, not fan, for even rise.
- Allow cakes to cool completely before filling.
Troubleshooting Victoria Sandwich Cake
| Problem | Likely Cause | Simple Fix |
|---|---|---|
| Cake is dense or heavy | Butter and sugar not creamed enough | Cream until pale and fluffy; this step creates the cake’s light texture. |
| Cake sinks in the center | Oven opened too early or underbaked | Keep the oven closed for the first 20 minutes and bake until the center springs back. |
| Batter curdles | Eggs too cold | Use room-temperature eggs and add them one at a time. |
| Cake is dry | Overbaked or too much flour | Weigh the flour and remove the cake as soon as it’s baked through. |
| Buttercream soft or unstable | Warm or humid environment | Use buttercream instead of whipped cream and assemble in a cool room. |

Frequently asked questions
A Victoria sponge cake is a classic British cake made with soft, butter-based sponge layers filled with jam and either whipped cream, buttercream, or custard. It’s traditionally simple, lightly sweet, and served without heavy frosting.
A traditional sponge cake relies mainly on whipped eggs for structure, while a Victoria sponge cake is a butter-based cake made using the creaming method. Despite the name, a Victoria sponge is richer and more stable than a true sponge cake.
The cake is named after Queen Victoria, who was known to enjoy a slice of sponge cake with jam during afternoon tea. Over time, the cake became associated with her name and is now a British classic.
Traditionally, a Victoria sponge cake is filled with strawberry or raspberry jam and whipped cream. However, many well-known British bakers also use buttercream or custard, especially when a more stable filling is needed.
Yes. While whipped cream is classic, buttercream is a common and practical alternative. It’s more stable, holds up better in warm or humid conditions, and was often used in professional cake-making and bakery settings.
- Vanilla Birthday Cake,
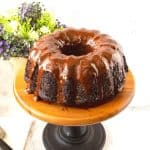
- Homemade Chocolate Birthday Cake
- Microwave Vanilla Mug Cake,
- Chocolate Fudge Mug Cake


Don’t lose this recipe! Save it for Later!
📌 Save this Recipe for later on Pinterest so you can easily find it again.
⭐ Add Veena Azmanov Kitchen to your Google Preferred Sources.
It helps Google show you more of our recipes.
📧 Subscribe for new recipes delivered to your inbox.
🎥 Follow us for more recipes


Hi Veena,
Does this recipe work at high altitude!
Thank you,
Paula
Baking at high altitudes needs raising the temperature by 15 to 25% and baking a bit longer but I have not tested it so I can’t tell you how long.
Hey! First off, thanks for sharing this recipe, I’ve been using it for 4 years now! I love making it. I recently needed a new copy and noticed some stuff changed. Was just curious why the milk went up from 4 tbsp to 1/2 cup? Not much has changed between the two besides that and maybe about 30 more grams of flour, so I just wanted to understand the process. Thanks in advance!
Hey Dawn, Thank you for the lovely feedback. Yes, I recently retested this recipe (as I often do with most of my recipes) I found the batter a little thick but also thought perhaps a little more flour would help stability. I hope you find the same. It’s not much but sometimes little tweaks can make a big difference. Since you’ve made this recipe a few times I’d love to get your feedback if you try it again. Thanks so much