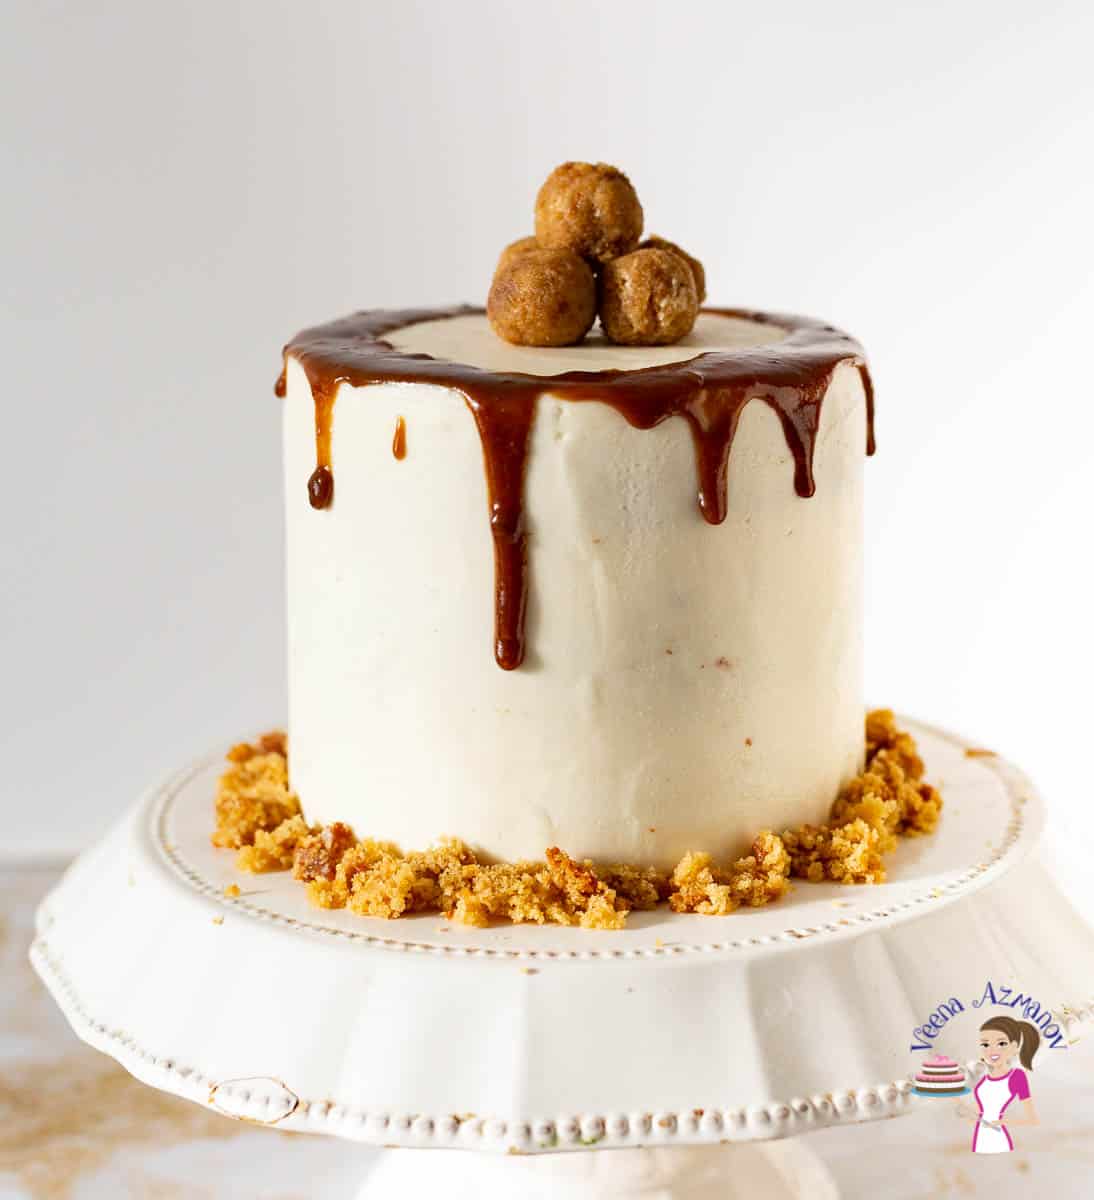
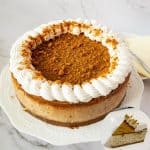
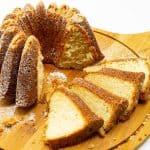
Best Butterscotch Cake Recipe

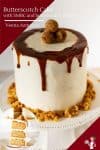
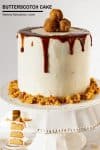


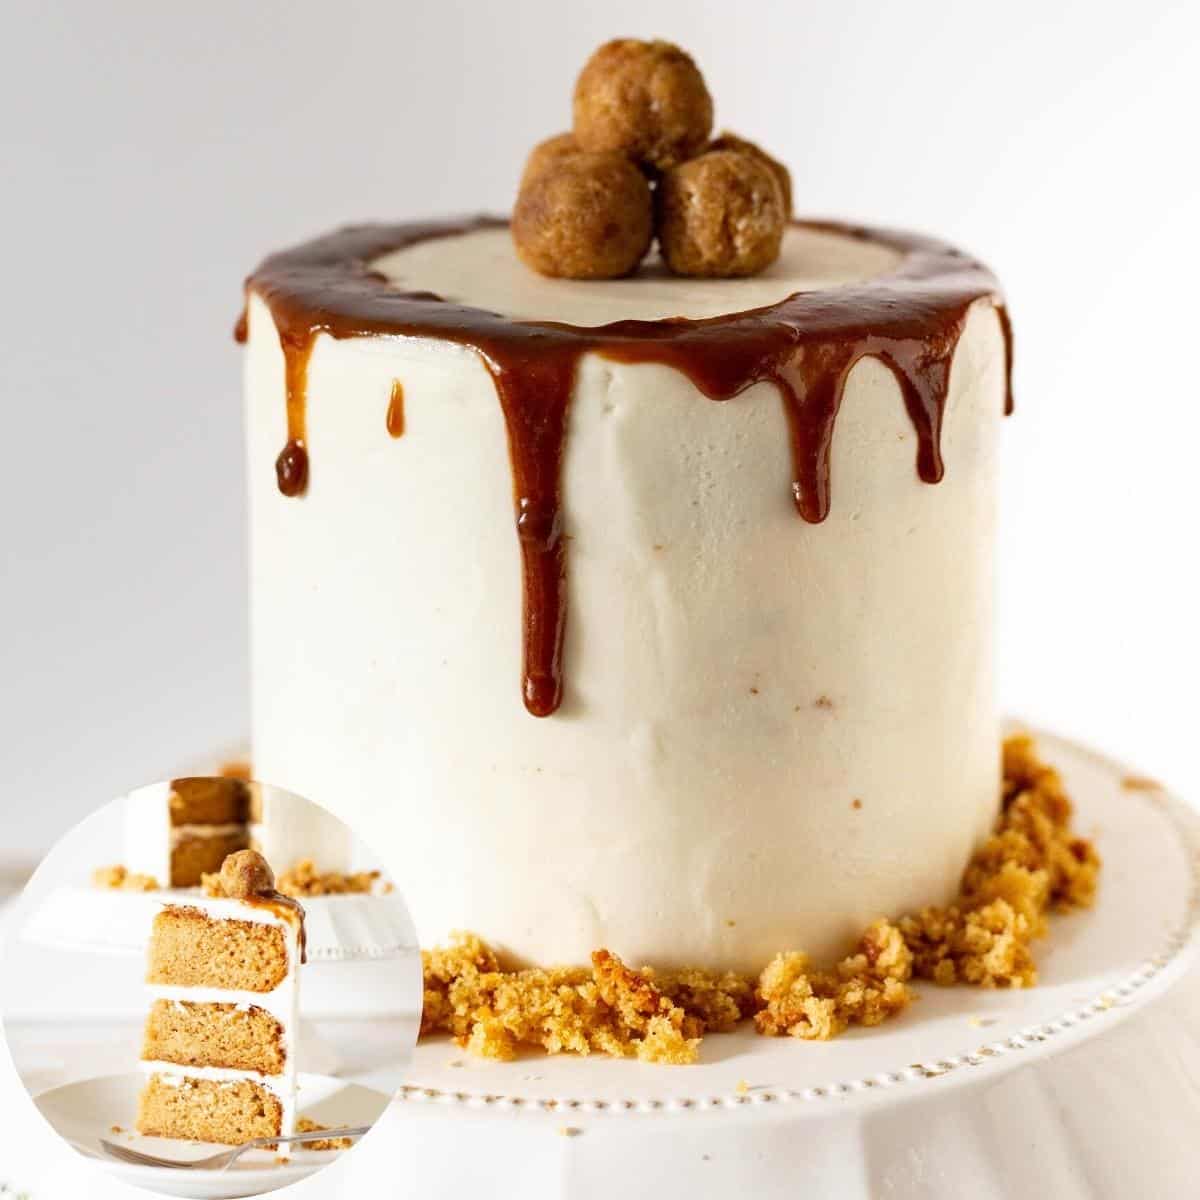
Butterscotch has a distinct, rich flavor that’s hard to resist. This simple and easy recipe makes the most decadent butterscotch cake, with a moist texture and a soft crumb. It is frosted with Swiss meringue buttercream and a butterscotch drip.
I must admit I love butterscotch more than I love caramel. Often, people think butterscotch and caramel are the same, and I passionately tell them they’re not the same.
Well, Butterscotch is defined by the distinct brown sugar flavor that comes from molasses. When caramelized, this gives a different flavor, aroma, and taste from regular caramel.
In our home, we often make wonderful treats with butterscotch sauce, from simply drizzling it over an ice cream to making other treats like my butterscotch cupcakes, fruitcake, chocolate pecan squares, buttercream, butterscotch Irish cream, and Valentines cake for two.
Why make this cake?
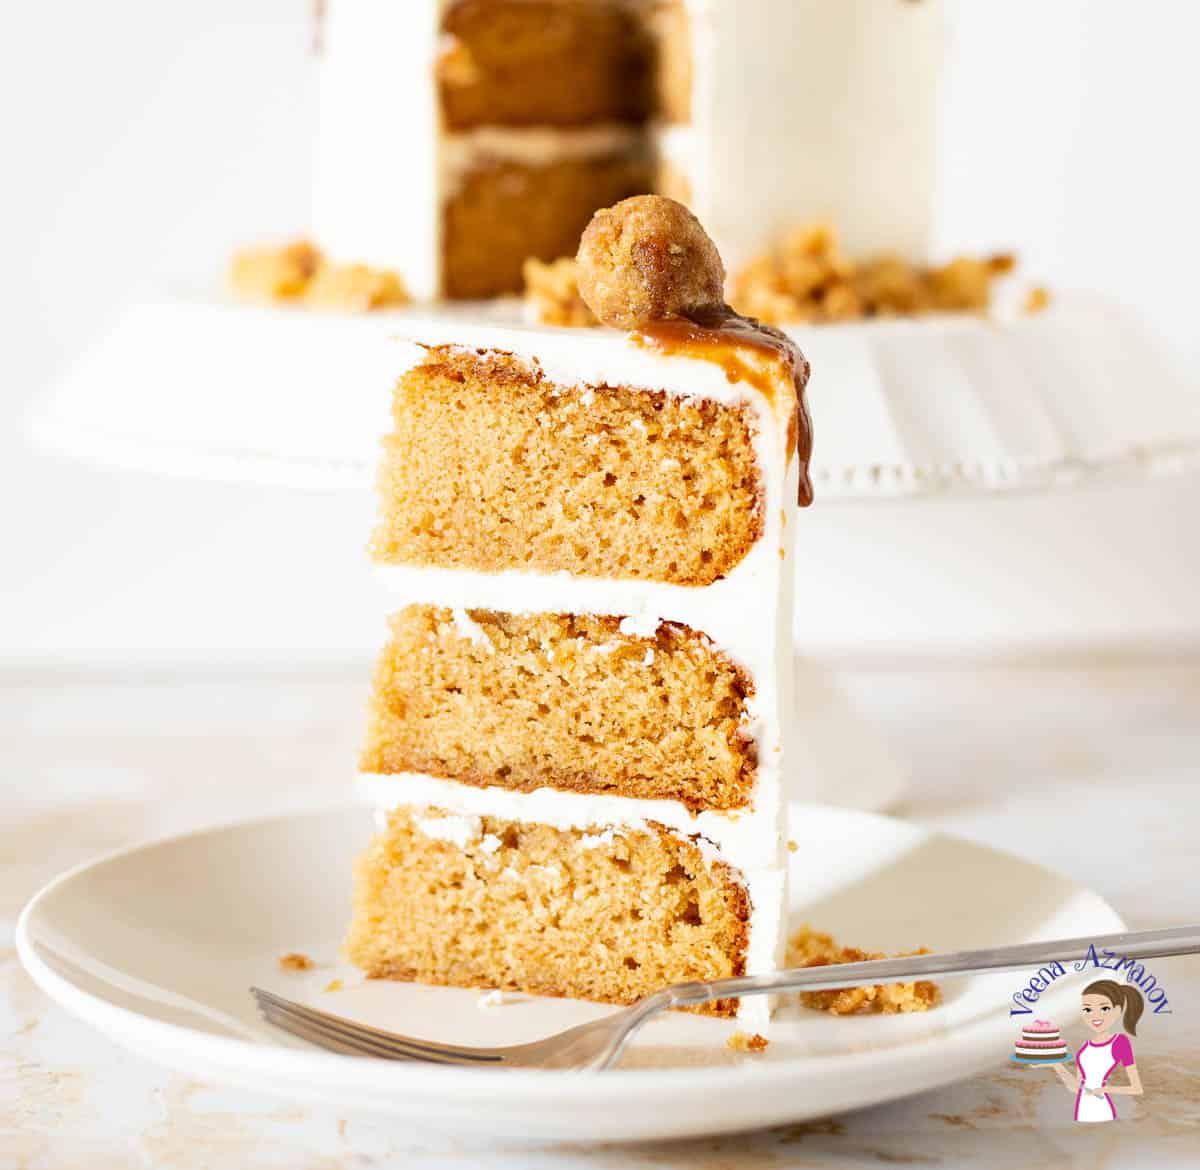
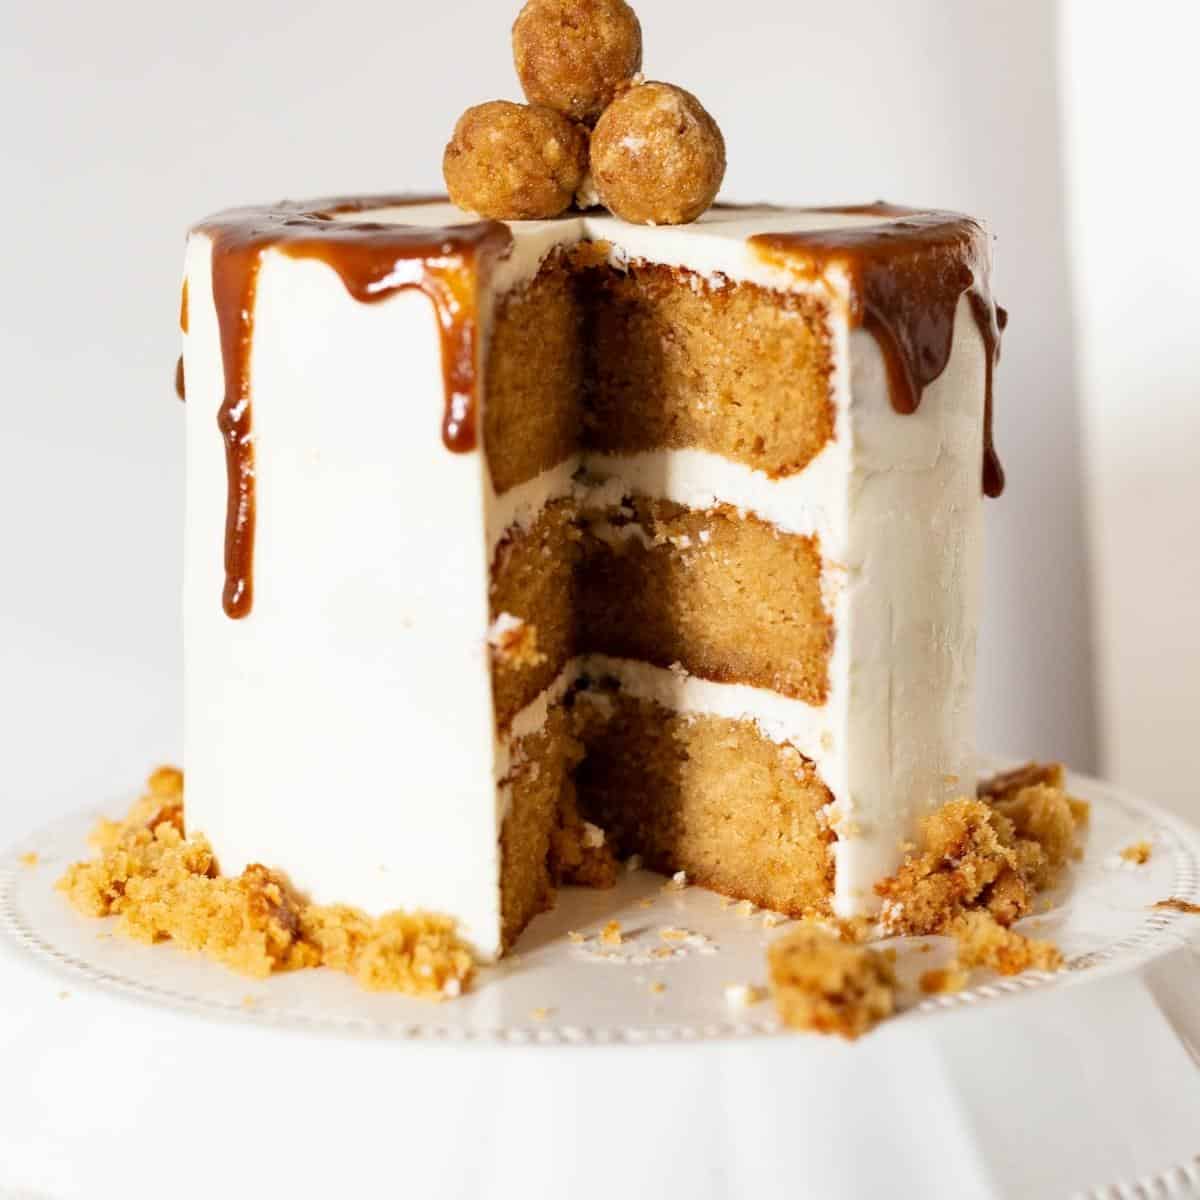
- This recipe is simple and easy. It makes either one 3-layer 7-inch cake or two layers of 8-inch cake.
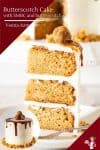
- It is a butter-based recipe with whipped eggs, which gives us a moist yet light and airy cake.
- It is a perfect cake to make for anyone who loves butterscotch.
- There are three components to making this cake:
- Cake layers – This is a version of my light and fluffy vanilla cake with butter, whipped eggs, and butterscotch sauce in the recipe
- The sauce – You can use store-bought butterscotch, but homemade butterscotch is so easy and takes less than 10 minutes to make. If you decide to use my homemade recipe and video, I recommend making it ahead so it has enough time to cool.
- Frosting – Today, I am using Swiss meringue buttercream (SMBC), but you can also use butterscotch buttercream.
Of course, other buttercreams would work just as well. See my 50-plus buttercream frosting recipes on this blog.
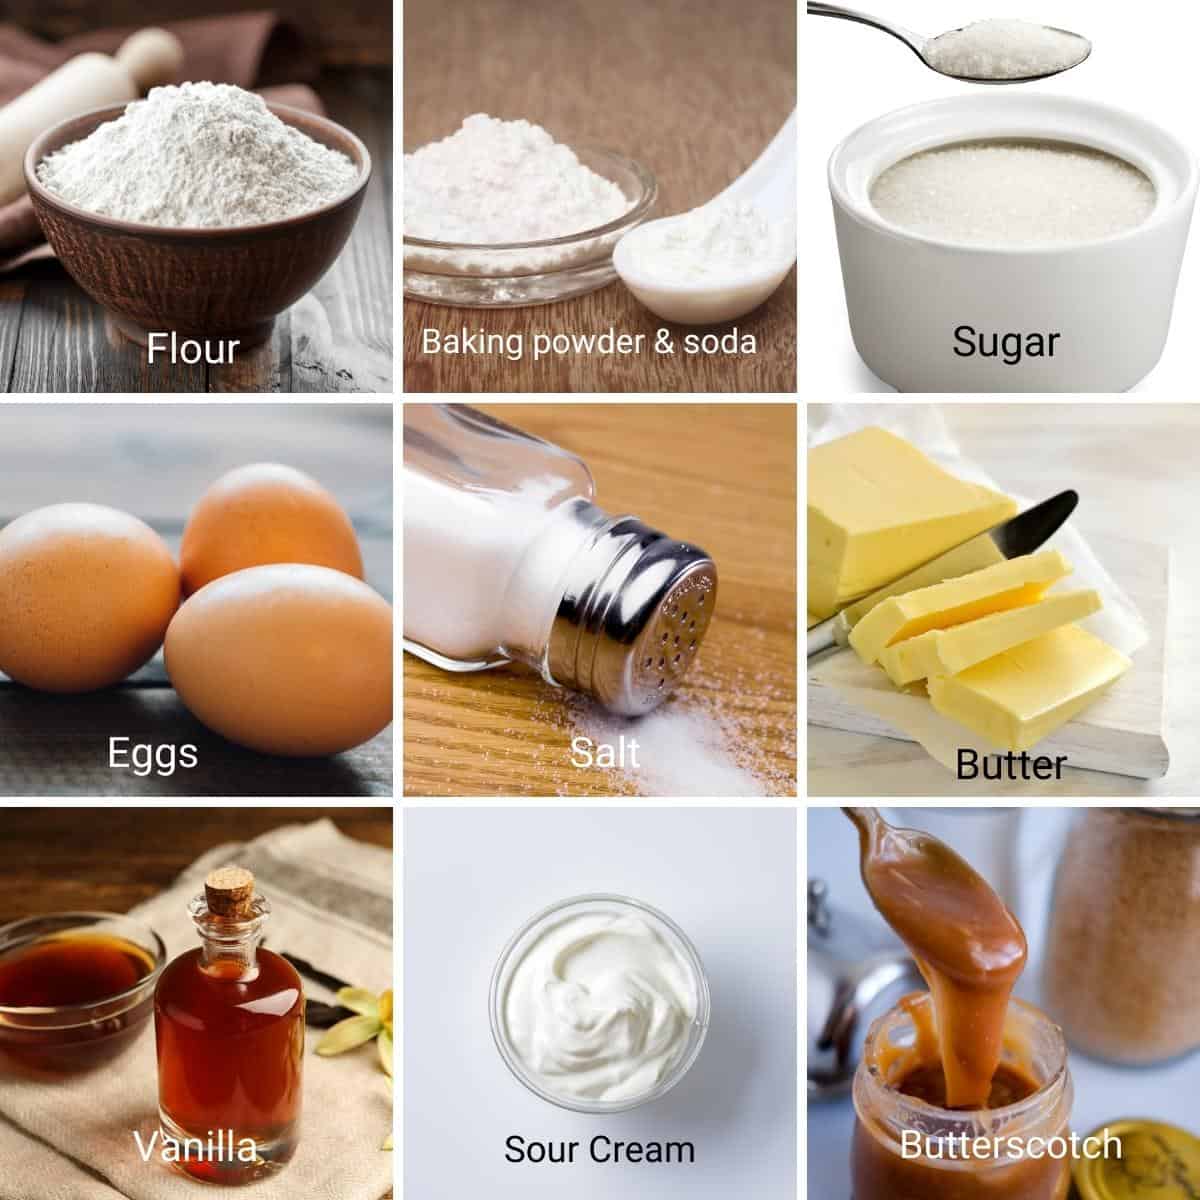
Ingredients and substitutes
- Butterscotch sauce—It sounds surprising, but guess what? A butterscotch sauce works best to give this cake that butterscotch flavor. I like it better than butterscotch extract!
- All-purpose flour—Regular all-purpose flour works just fine in this recipe. You can use cake flour, but you will need an additional two tablespoons.
- Eggs – use fresh large eggs – large eggs are about 60 grams each.
- Dark brown sugar—This not only adds that nice butterscotch color but also flavor. If you don’t have dark brown sugar, you can use light brown sugar. If you still don’t have light brown sugar, the easiest trick is to use white sugar with molasses. For every one cup of white sugar, add 1 tbsp molasses.
- Sour Cream – This adds richness to the cake and keeps it moist with a tender crumb. You can make your own homemade sour cream, and Plain yogurt is also a good substitute for sour cream.
Step-by-step: Butterscotch Cake
Cake
- Oven & Pans -Preheat oven to 350°F (175°C). Grease and line two 9-inch round cake pans or 3 x 7-inch round cake pans with parchment paper.
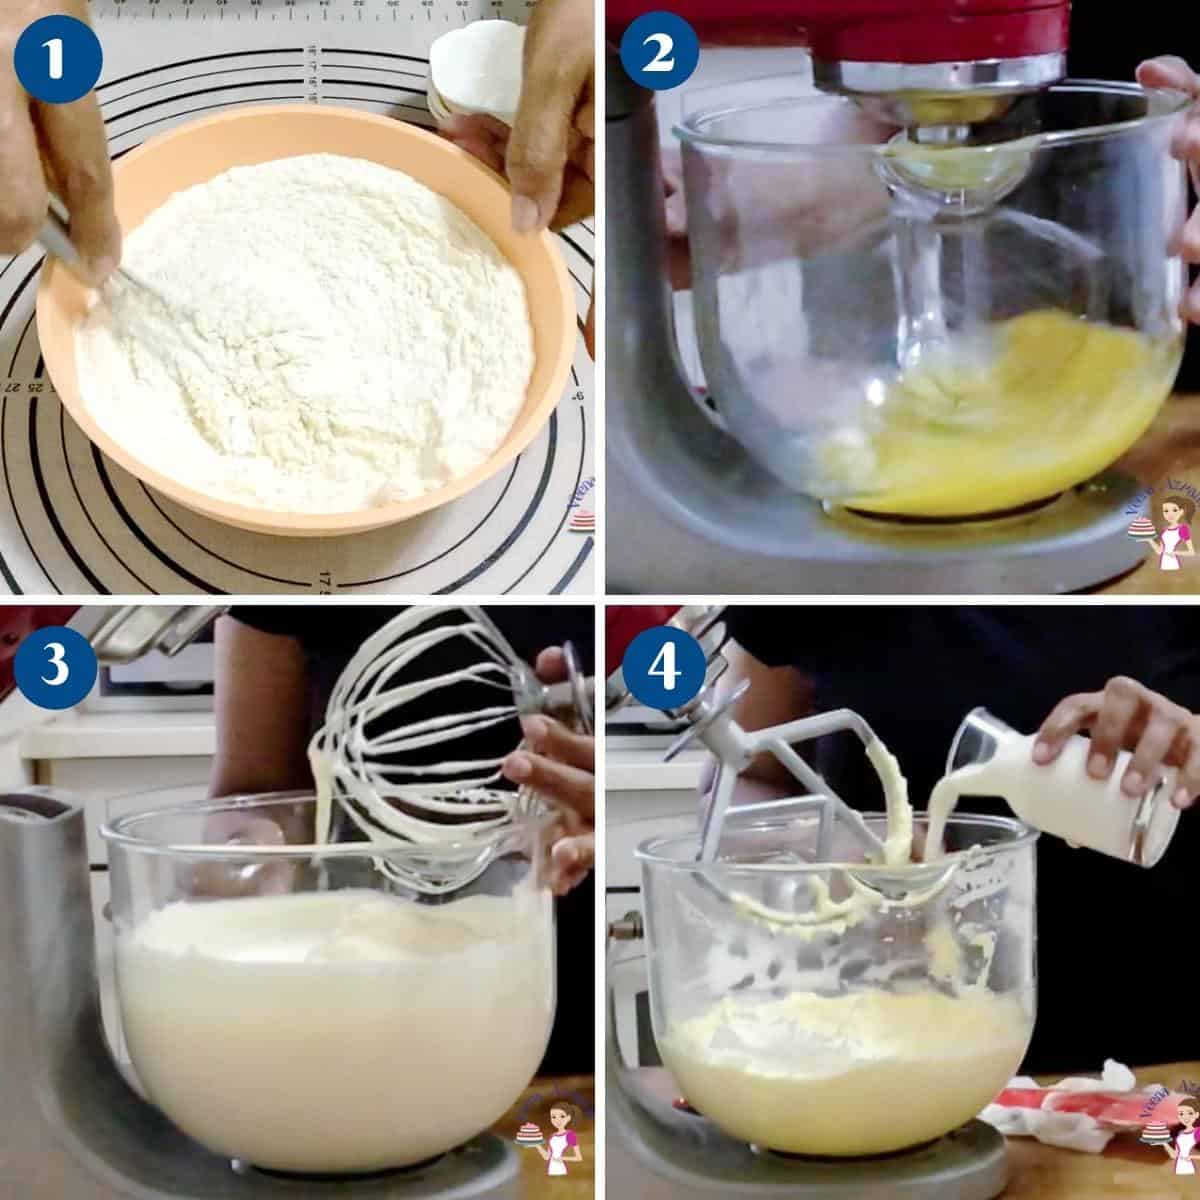
- In a mixing bowl, combine the flour, baking powder, baking soda, and salt. Set aside.
- Whip the eggs in the bowl of a stand mixer with a whisk attachment until light and fluffy. Remove and set aside.
- Next, working quickly, cream the butter and sugar until light and fluffy, about 2 minutes.
- Then, combine the vanilla extract, sour cream, and butterscotch sauce.
Pro tip – The butterscotch sauce gives the cake its flavor. But the color comes from the dark brown sugar.
- Next, add the flour mixture and combine well, but do not overmix.
- Finally, fold the whipped eggs into the batter.
Pro tip – First, combine 1/3 of the egg with a whisk to prevent lumps. Then, fold the rest in with a spatula using the folding method. - Divide the batter equally between the prepared baking pans.
Pro tip – I like to use cake strips to ensure my layer cakes bake flat. You can also use a measuring cup or a weighing scale to ensure you have equal amounts. - Bake on the center rack for 25 to 30 minutes or until a skewer inserted in the center comes out clean.
- Let cool in the baking pan for 5 minutes. Invert and cool completely on a wire rack before decorating.

Butterscotch sauce
- I shared how to make the butterscotch sauce in this video.
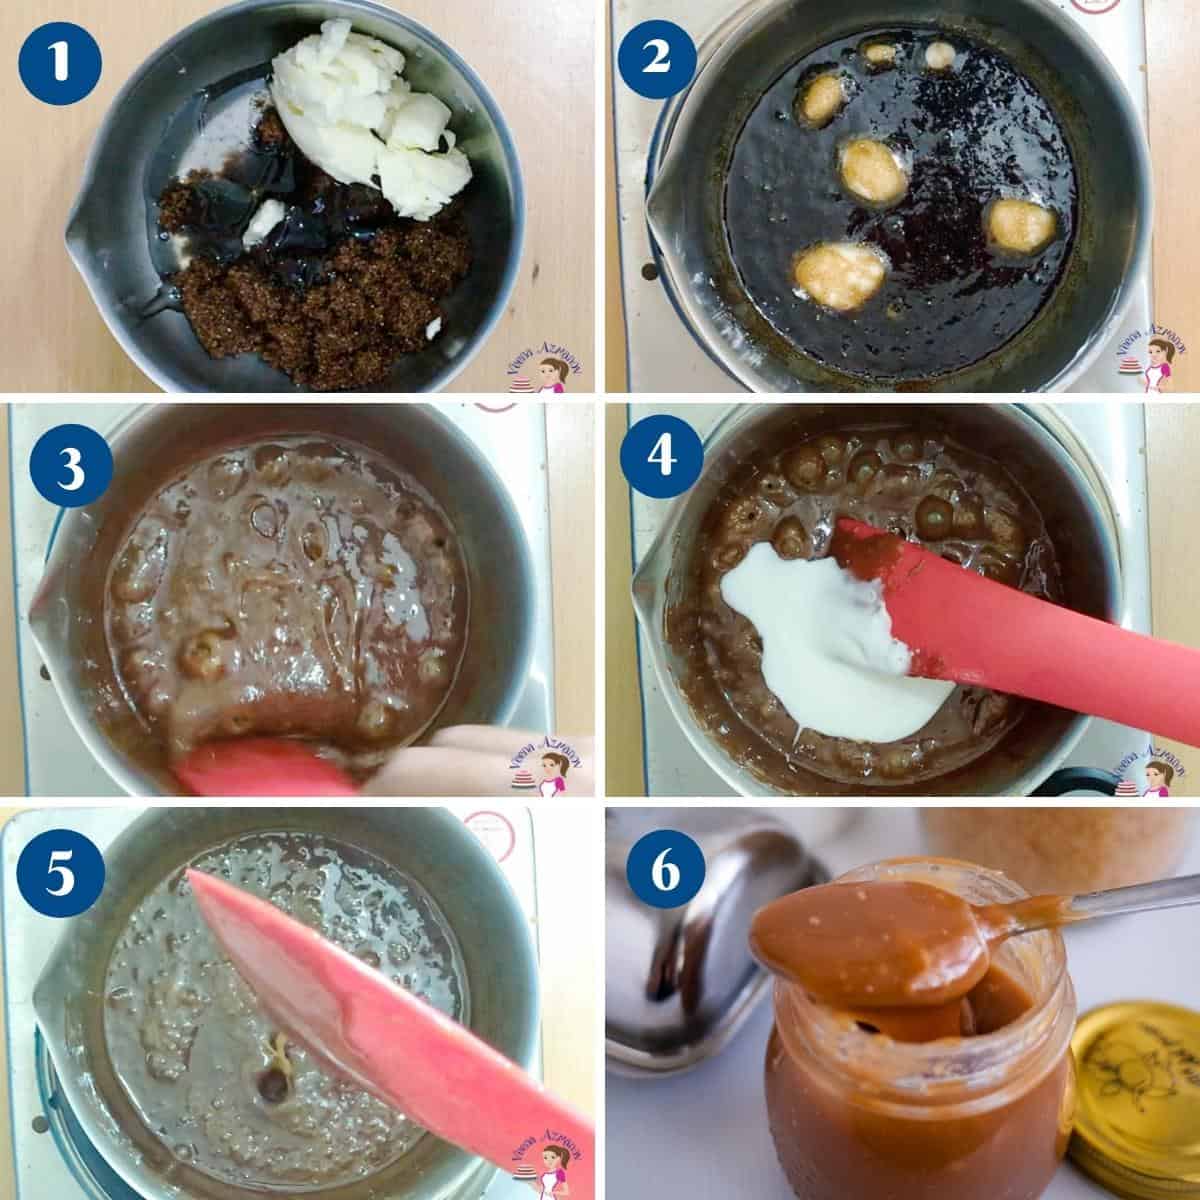
- Place the cream in a microwave-safe bowl – heat it for 30 secs and set aside.
Pro tip – Heating the cream for a while will help blend it better with the caramelized sugar. - In a heavy-based saucepan, on medium-low heat, melt butter gradually. Then, add the brown sugar, salt, corn syrup, and lemon juice.
- Stir continuously until melted, keeping the heat on low.
Pro tip – Brown sugar is quite sandy when melted. So it is difficult to know if it is melted. It must look like almost a paste. - Gradually add the warm cream, stirring continuously. Remove from heat and cool to room temperature.
Swiss meringue buttercream
- I shared how to make Swiss meringue buttercream in this video.
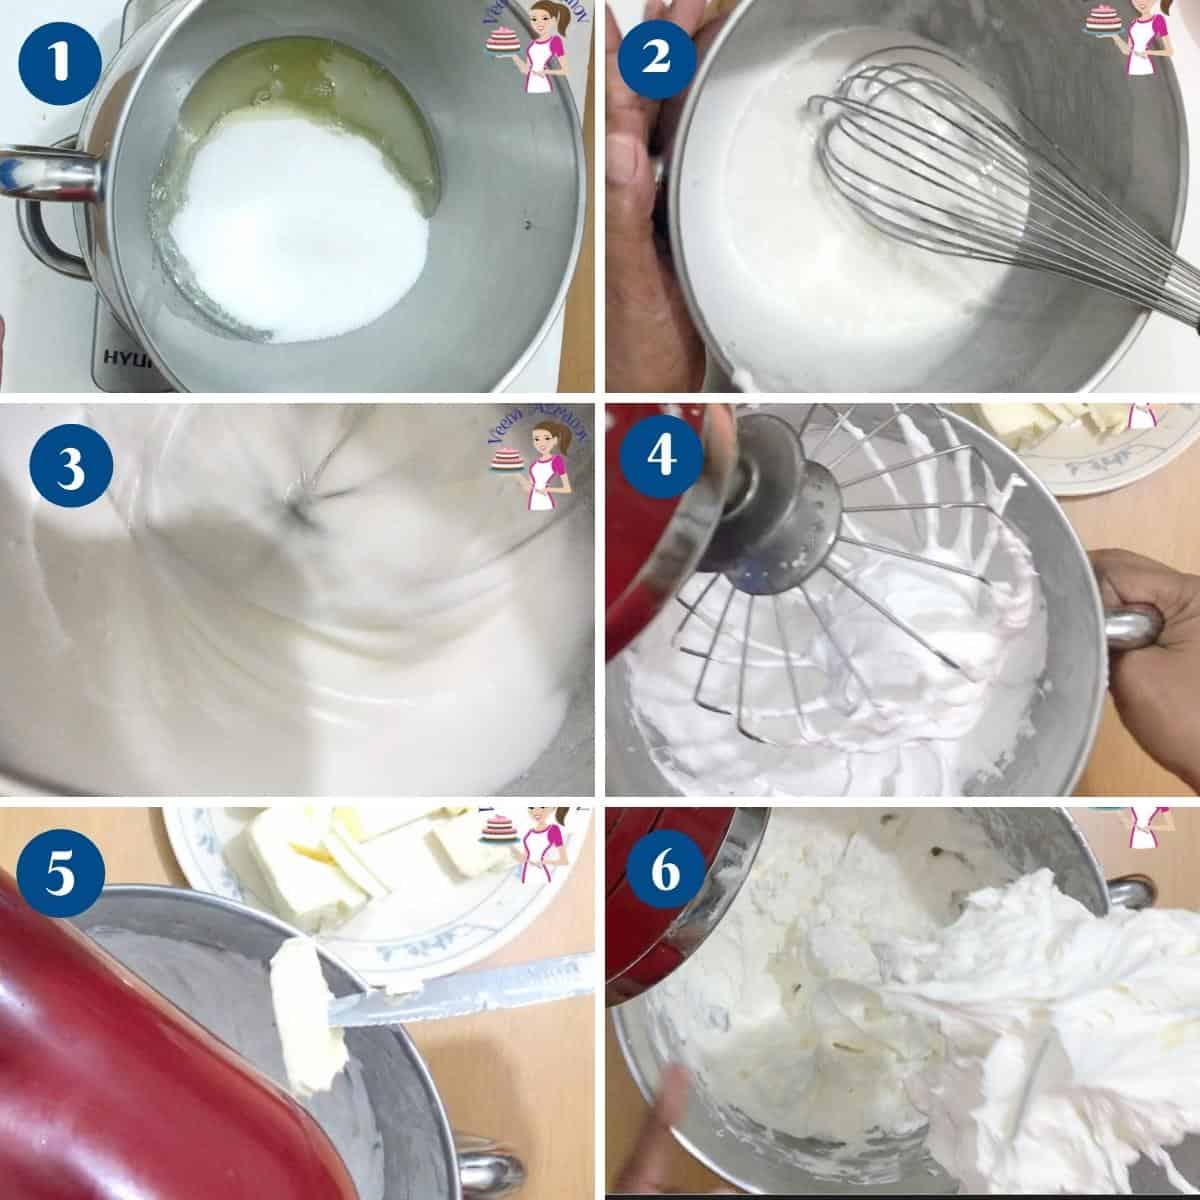
- Place egg whites and sugar in the bowl of the stand mixer.
Pro tip – Make sure the bowl is grease-free; otherwise, the egg whites will not whip. - Place the bowl over a double boiler, whisking constantly, until the sugar has dissolved and the egg whites are fairly warm (about 160°F).
Pro tip – You don’t need a thermometer; as long as all the sugar has completely melted, your eggs are ready to use. - Take the bowl off the heat and whip the egg whites until you have a thick meringue with stiff peaks.
Pro tip – It is best to start whipping eggs at medium speed, then increase speed as you go for the best meringue. - Let the mixer continue to whip on medium-low until the bowl feels cool to the touch. Then, gradually add butter, one cube at a time, with the mixer at medium speed.
Pro tip – It is very important that the meringue is cooled completely before you add the butter; otherwise, it will be a soupy mess. - Once all the butter is added, whip on medium-high for 2 minutes. Lastly, add the vanilla. Combine well until everything is well combined.
Assemble
- Prepare simple syrup – cool completely before using. Simple syrup is just sugar and water boiled for 3 minutes. It keeps the cake layers moist.
- Once cooled, cut the domes off the cake layers using a serrated knife. Save the domes for the cake balls for the top of the cake. Brush each layer with the cooled simple syrup.
- Place a cake layer on the cake board or cake stand.
- Top with a big dollop of the frosting—spread evenly with an offset spatula or spoon. Then, top with the second cake layer, followed by more buttercream, then the top layer.
- Place the cake in the fridge to chill for 10 to 15 minutes.
Pro tip – Chilling the cake at this point will ensure the layers don’t move when you frost the outside. However, if you leave the cake uncovered in the fridge for too long, it can dry out. So, 10 minutes is all you need. - Crumb coat – Spread more buttercream around and on top of the cake. (see video). Chill the cake for another 15 to 30 minutes.
Pro tip – Chilling the crumb-coated cake will ensure no cake crumbs get into the rest of the buttercream, and you will have a nice, clean cake. - Spread the remaining buttercream around and on top of the cake.
Pro tip – A straight-edge spatula for the top, an offset spatula, and a bench scraper for the sides work better. - Final smoothing – Dip an offset spatula and bench scraper in warm water and smooth the sides and top of the cake.
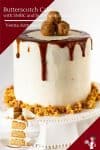
- Use the cooled but still pouring consistency butterscotch sauce as a drip on the cake.
Pro tip – If the sauce is set, heat it in the microwave for 10 seconds or more until it is a pouring consistency.
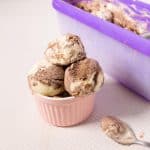
Butterscotch balls (optional)
- Place the cake domes in a bowl and break them apart into crumbs. Alternatively, you can also place the domes in the food processor and pulse to a breadcrumb consistency.
- Add just enough buttercream and butterscotch sauce to create a dough-like consistency. Rolled the cake pop mixture into balls. Place them in the fridge for at least 15 minutes.
- When chilled, place them on the cake tops. Place any remaining crumbs around the cake.
- Butterscotch cupcakes
- Butterscotch Irish cream (Homemade Baileys)
- and Butterscotch Fruitcake
- Butterscotch Cake for two


Frequently asked questions
Both are quite similar. Caramel is actually made with white sugar, which has an obvious bitterness from the burnt sugar, while butterscotch has a softer molasses taste.
If properly stored, a butterscotch cake will last for 2 to 3 days at room temperature. It can be kept in the fridge for up to 5 or 6 days.
Oh, I have an eggless vanilla cake recipe for you, which can be used as a base for an eggless butterscotch cake. Just replace the sugar in that recipe with brown sugar. Frost it with butterscotch buttercream and butterscotch sauce
Best EVER Butterscotch Cake
Butterscotch has a distinct rich flavor that's hard to resist. This simple and easy recipe makes the most decadent butterscotch cake with a moist texture and a soft crumb. Frosted with Swiss meringue buttercream and a butterscotch drip.
Ingredients
- 2½ cup (310 g) All-Purpose Flour
- 1½ tsp Baking powder
- ½ tsp Baking soda
- ½ tsp Salt
- 1 cup (226 g) Butter unsalted room temperature
- 1¾ cup (385 g) Dark Brown Sugar
- ¼ cup (60 ml) Butterscotch sauce
- 4 large Eggs
- 1 cup (240 ml) Sour cream
- 2 tsp Vanilla extract
- 6 tbsp (80 g) Butter unsalted, room temperature
- 1 cup (220 g) Brown sugar
- ½ cup (120 ml) Whipping cream 38% or more
- ½ tsp Lemon juice optional
- ½ tsp Vanilla extract optional
- ¼ tsp Salt optional
- 2 tbsp Light corn syrup (optional)
- 3 Egg whites
- ¾ cup (150 g) Sugar
- 8 oz (227 g) Butter
- 1 tsp Vanilla extract
- ¼ tsp Coconut extract
- ¼ tsp Salt
- ⅛ tsp Cream of tartar (optional)
Method
- Oven & Pans -Preheat oven to 350°F (175°C). Grease and line two 9-inch round cake pans or 3 x 7-inch round cake pans with parchment paper.
- In a mixing bowl combine the flour, baking powder, baking soda, and salt. Set aside2½ cup All-Purpose Flour, 1½ tsp Baking powder, ½ tsp Baking soda, ½ tsp Salt
- In the bowl of a stand mixer with a whisk attachment whip the eggs until light and fluffy – remove and set aside.4 large Eggs
- Next, working quickly, cream the butter and sugar until light and fluffy, about 2 minutes. hen, add the vanilla extract, sour cream, and butterscotch sauce – combine well. Next, add flour mixture and combine well but do not overmix.1 cup Butter unsalted, 1¾ cup Dark Brown Sugar, ¼ cup Butterscotch sauce, 1 cup Sour cream, 2 tsp Vanilla extract
- Finally, fold the whipped eggs into the batter
- Divide batter equally between the prepared baking pans. Bake on the center rack for 25 to 30 mins or until a skewer inserted in the center comes out clean
- Cool in the baking pan for 5 minutes. Invert and cool on a wire rack completely before you decorate
- I shared how to make butterscotch sauce in this video.
- Place the cream in a microwave-safe bowl – heat it up for 30 secs and set aside.1/2 cup Whipping cream
- In a heavy-based saucepan, on medium-low heat, melt butter gradually. Then, add the brown sugar, salt, corn syrup, and lemon juice. Stir continuously until melted, making sure to keep the heat on low.6 tbsp Butter, 1 cup Brown sugar, 1/2 tsp Lemon juice, 1/2 tsp Vanilla extract, 1/4 tsp Salt, 2 tbsp Light corn syrup
- Gradually, add the warm cream, stirring continuously. Remove from heat and cool to room temperature.
- I shared how to make Swiss meringue buttercream in this video.
- Place egg whites and sugar in the stand mixer bowl. Place the bowl over a double boiler using a whisk and constantly whip until all the sugar has dissolved and the egg whites are pretty warm (about 160 F). Take the bowl off the heat and whip the egg whites until you have a thick meringue with stiff peaks.3 Egg whites, 3/4 cup Sugar, 1/8 tsp Cream of tartar, 1/4 tsp Salt
- Let the mixer whip on medium-low until the mixer bowl feels cool to the touch. Then, gradually add butter, one cube at a time, with the mixer at medium speed.8 oz Butter, 1 tsp Vanilla extract, 1/4 tsp Coconut extract
- Once all the butter is added, whip on medium-high for 2 minutes. Lastly, add the vanilla. Combine well until everything is well combined.
- Prepare simple syrup – cool completely before using. Simple syrup is just sugar and water boiled for 3 minutes. It keeps the cake layers moist.
- Once cooled, cut the domes off the cake layers using a serrated knife. Save the domes for the cake balls for the top of the cake. Brush each layer with the cooled, simple syrup.
- Place a cake layer on the cake board or cake stand. Top with a big dollop of the frosting – spread evenly with an offset spatula or spoon. Then, top the second cake layer, followed by more buttercream, then the top layer. Place the cake in the fridge to chill for 10 to 15 minutes.
- Crumb coat – Spread more buttercream around and on top of the cake. (see video). Chill the cake for another 15 to 30 minutes.
- Spread the remaining buttercream around and on top of the cake. A straight-edge spatula for the top, an offset spatula, and a bench scraper for the sides work better.
- Final smoothing – dip an off-set spatula and bench scraper in warm water and smooth the sides and top of the cake. Use the cooled but still pouring consistency butterscotch sauce as a drip on the cake.
- Place the cake domes in a bowl and break them apart into crumbs. Alternatively, you can also place the domes in the food processor and pulse to breadcrumb consistency.
- Add just enough buttercream and butterscotch sauce to create a dough-like consistency. Rolled the cake pop mixture into balls. Place them in the fridge for at least 15 minutes.
- When chilled place them on the cake tops. And place any remaining crumbs around the cake.
Notes
- Make sure all your ingredients are at room temperature so you have a smooth, not curdled batter.
- Room temperature eggs will whip light and airy. If the eggs are chilled just let them sit in warm water for 5 minutes.
- If you whip the eggs first and the batter next, you must work quickly so the eggs don’t look volume.
- You don’t need to separate the egg yolks and whites. This method of whipping the whole eggs works just fine.
- Use room temperature butter and cream it well with the sugar so it’s light and airy. Do not skip this step.
- Use a thick butterscotch sauce to enhance the butterscotch flavor.
- Preheat the oven well in advance so you do not have to wait once the batter is ready. Batters with whipped eggs must be baked immediately.
- It is best to bake cakes on the center rack alternatively, rotate the cake pans halfway through baking for even baking.
- Cake strips are highly recommended for layer cakes so you have a flat top, but if you plan to use the domes for cake pops as I have then you can omit the use of cake strips
Equipment you will need


Nutrition
Tried this recipe?
Mention @veenaazmanov_kitchen or tag #veenaazmanovkitchen!Don’t lose this recipe! Save it for Later!
📌 Save this Recipe for later on Pinterest so you can easily find it again.
⭐ Add Veena Azmanov Kitchen to your Google Preferred Sources.
It helps Google show you more of our recipes.
📧 Subscribe for new recipes delivered to your inbox.
🎥 Follow us for more recipes

Hi Veean, can you replace all purpose flour with cake flour?
Hi Veena,
Does this cake freeze well? Can I make the cakes few days ahead and freeze it and then thaw it the day before delivery to decorate? Will it still be moist?
Love your recipes! Thank you!
Yes, this cake freezes well and stays moist. I would also moisten the cakes with sugar syrup before frosting. Thanks
Hi Veena, thank you for this recipe. I made it and although it was tasty, it didn’t quite meet my standards for a truly delicious cake like your other recipes I have tried. It was flatter and denser than I had hoped for. I would like to make it again, and maybe I’ll try cake flour next time. I also wonder, for the eggs, is it the entire egg we are using in the cake? Usually folding a light and fluffy egg mixture into a cake involves egg whites only (or at least whites and yolks added separately). If this recipe uses the entire egg combined, can you give a sense of the expected consistency of the eggs or how long to beat them so that they can be folded properly? I think the eggs could be my problem. Even working quickly, it was hard to avoid having some liquid in the eggs when using the yolk and the white together, and I don’t think they added the lightness that is intended.
One more comment. The SMBC recipe you give here that goes with the cake is different than the main SMBC recipe that you link to (the one with the video). The main recipe calls for 6 egg whites, 1 lb butter, and 1 cup sugar. It was my first time making SMBC and I used the version from this recipe page (3 egg whites, 8 oz butter, and 3/4 c sugar) and I thought it was a bit sweet, which makes sense given the higher sugar ratio in this version. I will perhaps try the other version next time.
Thanks, Veena!!
Hey Sarah.
Actually, the fact that the eggs are whipped makes this a very light and airy cake. The whole eggs make it easier and more forgiving to whip and fold as often people tend to overwhip the egg whites and then don’t fold them in properly. You must whip the eggs until they are light and foamy or ribbon stage.
When I made this cake, the feedback, I got was that the buttercream was less sweet. So, I increased the sugar but feel free to use 1/2 cup sugar if you prefer.
Thank you for your response! I will give it another try and see what happens!