How to Make Sour Cream (2 Ingredients)


Have you ever wondered how to make sour cream from scratch? Today, I share my no-fail method using two simple ingredients you already have at home, along with a few different ways to make your own.
What is sour cream and how does it taste?
Sour cream is cream that’s been thickened and “soured” (cultured) with acidity—either from live cultures (like buttermilk or yogurt) or from an acid like lemon juice or vinegar.
Taste: creamy, rich, mildly tangy (like a gentler Greek yogurt).
Texture: smooth and spoonable, thicker than cream but softer than cream cheese.
When and why do we use sour cream in baking?
- Sour cream is a baking power-move. Here’s what it does:
- Makes cakes extra moist without making them greasy
- Adds richness (fat = tender crumb)
- Balances sweetness with a little tang (especially in chocolate + vanilla cakes)
- Helps activate baking soda (acid + baking soda = lift)
- Improves texture: softer, finer crumb, less “dry sponge” vibe
- You’ll see sour cream used in:
- chocolate cakes, cupcakes, sheet cakes
- coffee cakes, pound cakes, bundt cakes
- muffins, quick breads
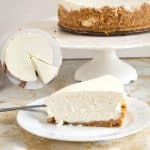
- cheesecakes and creamy fillings
Back when I was a kid, store-bought sour cream wasn’t an option—my mom had to make it from scratch. No quick grocery runs, no last-minute swaps. If she needed sour cream for a cake, it had to be planned ahead of time. That was just how things were.
The funny thing is, for her, making these things—sour cream, yogurt, condensed milk, even evaporated milk—wasn’t a big deal. It was just another part of life, another step in the process. She never saw it as extra work; it was just what she did.
When I was running my cake decorating business, sour cream was an ingredient I used constantly to keep cakes moist and tender. Buying it over and over again quickly became expensive, especially when testing recipes or baking in larger quantities. Making sour cream at home was simply more practical—it was affordable, easy to scale, and always reliable. Once I saw how consistently it worked in cakes, it became part of my regular baking routine and something I still rely on today.
Why you’ll love this sour cream recipe
- Two simple ingredients (and you probably have them)
- Full-proof (no special tools, no stress)
- Multiple methods included (starter culture or quick acid method)
- Perfect for baking—thick, creamy, and reliable
- More affordable than store-bought if you bake often
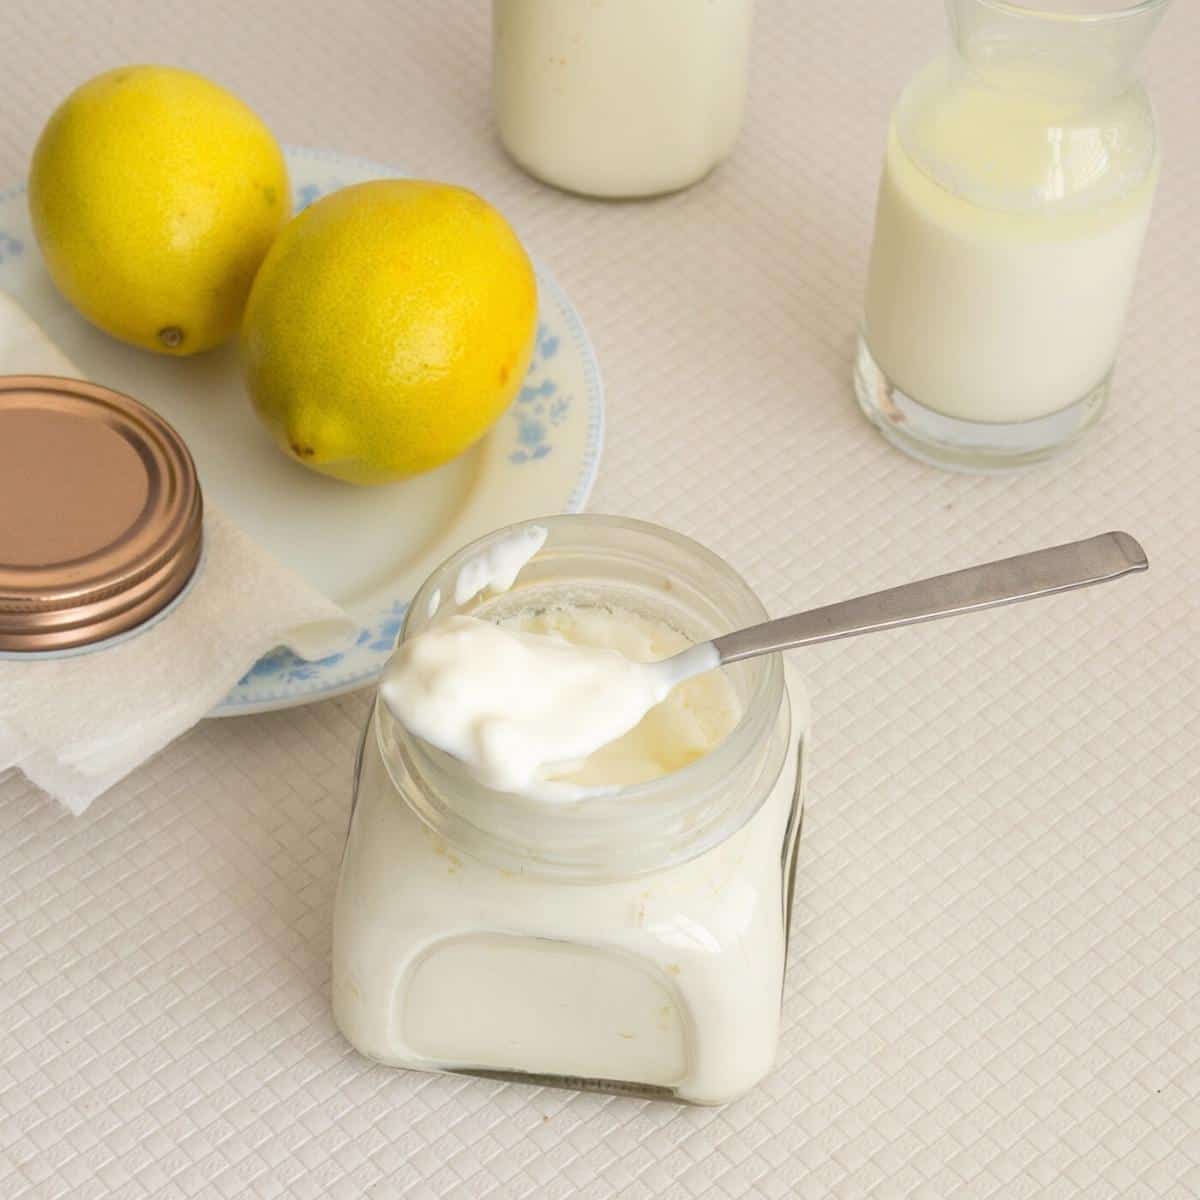
Ingredients (with quick notes)
- Base – Heavy cream – use heavy / whipping cream for the best thickness (higher fat = better texture)
- Choose ONE “starter” option
- Cultured buttermilk – classic and reliable
- Plain yogurt (live cultures) – thick and mild tang
- Sour cream (store-bought) – works as a starter if you have a spoonful
- Quick acid option (fast “soured cream” style)
- Lemon juice OR white vinegar – quickest, great in a pinch

Step-by-step: How to make sour cream (full-proof method)
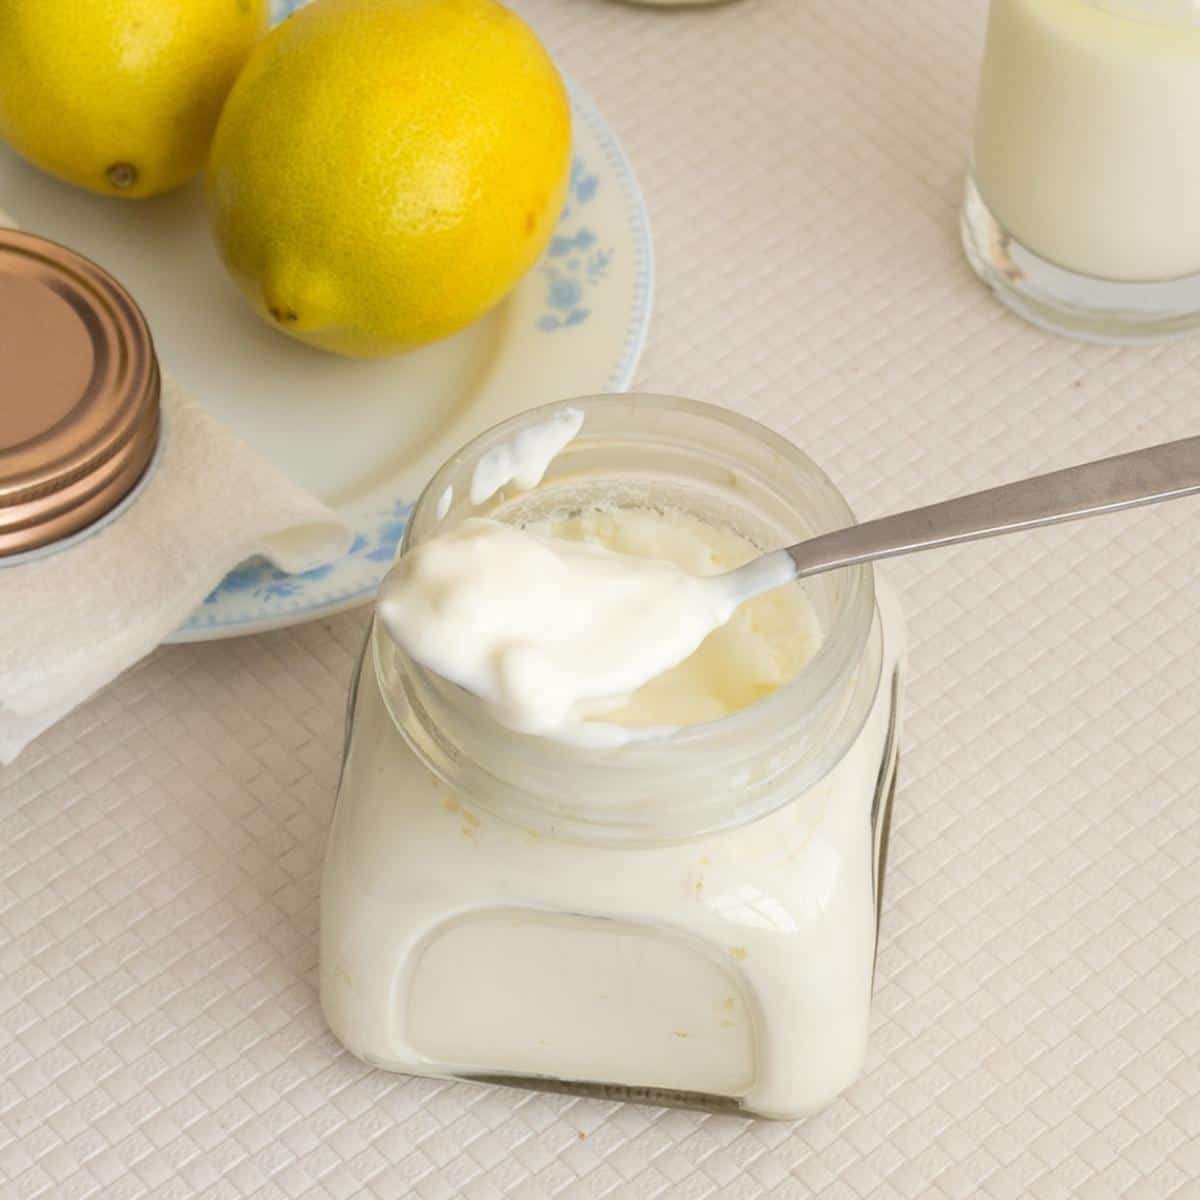
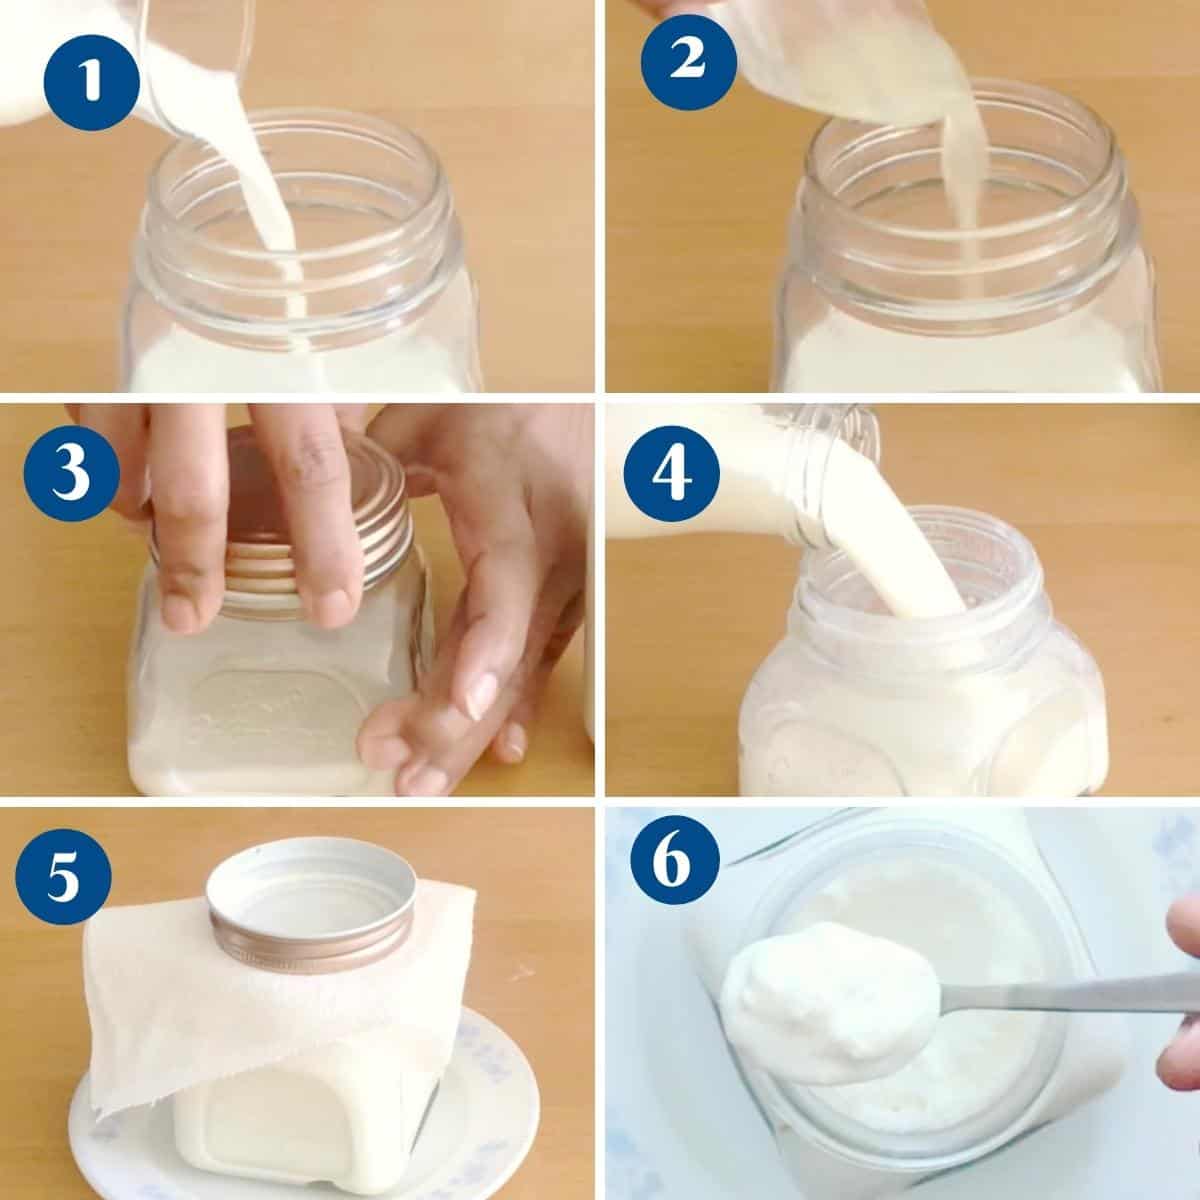
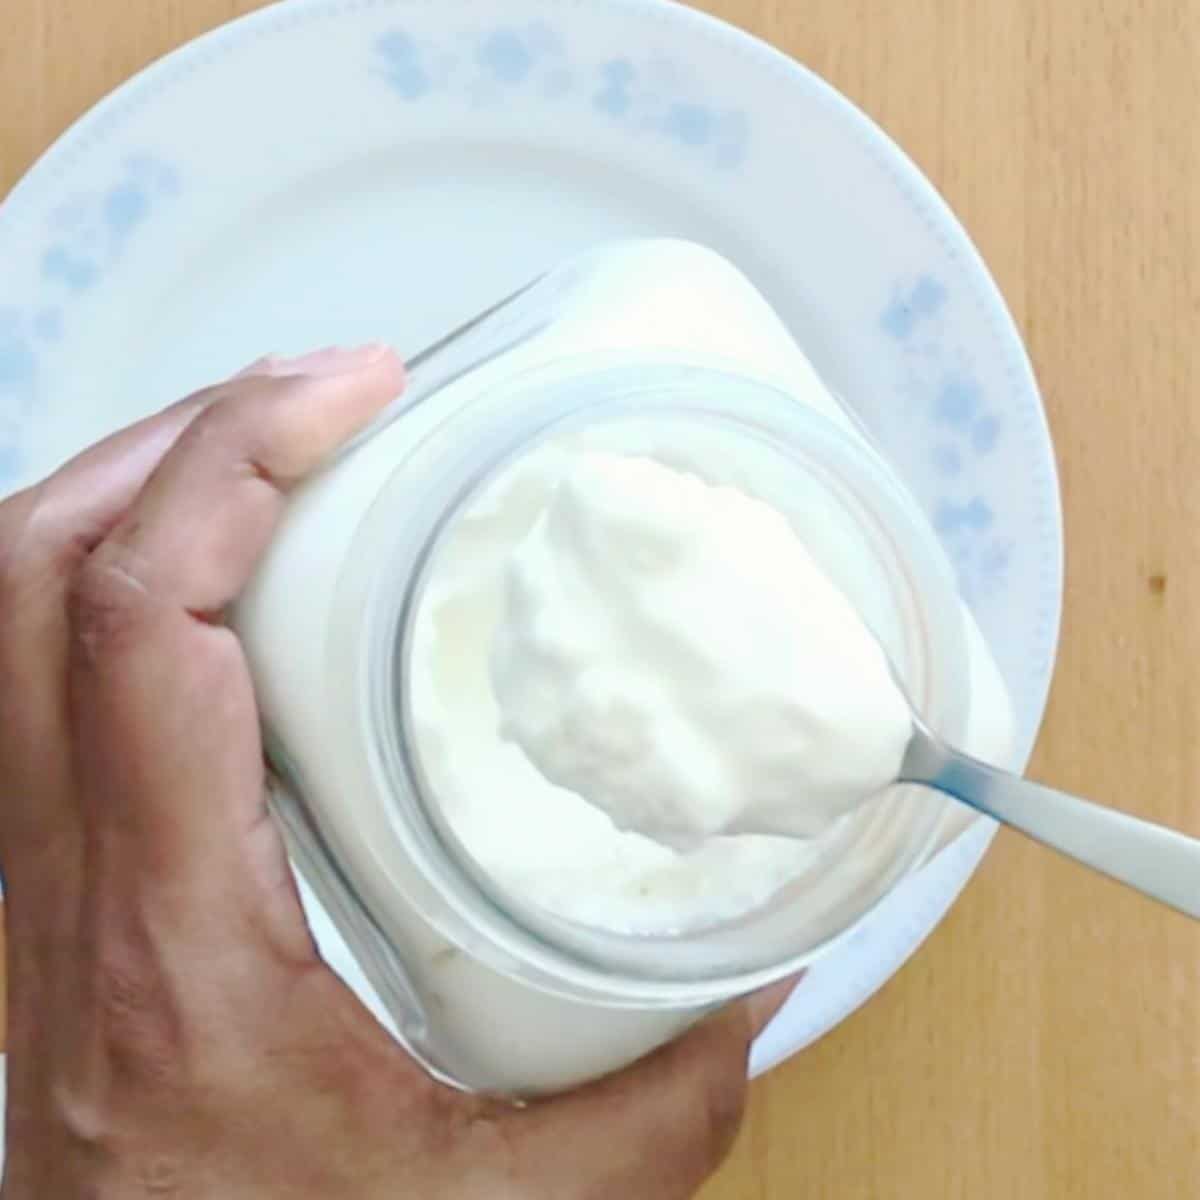
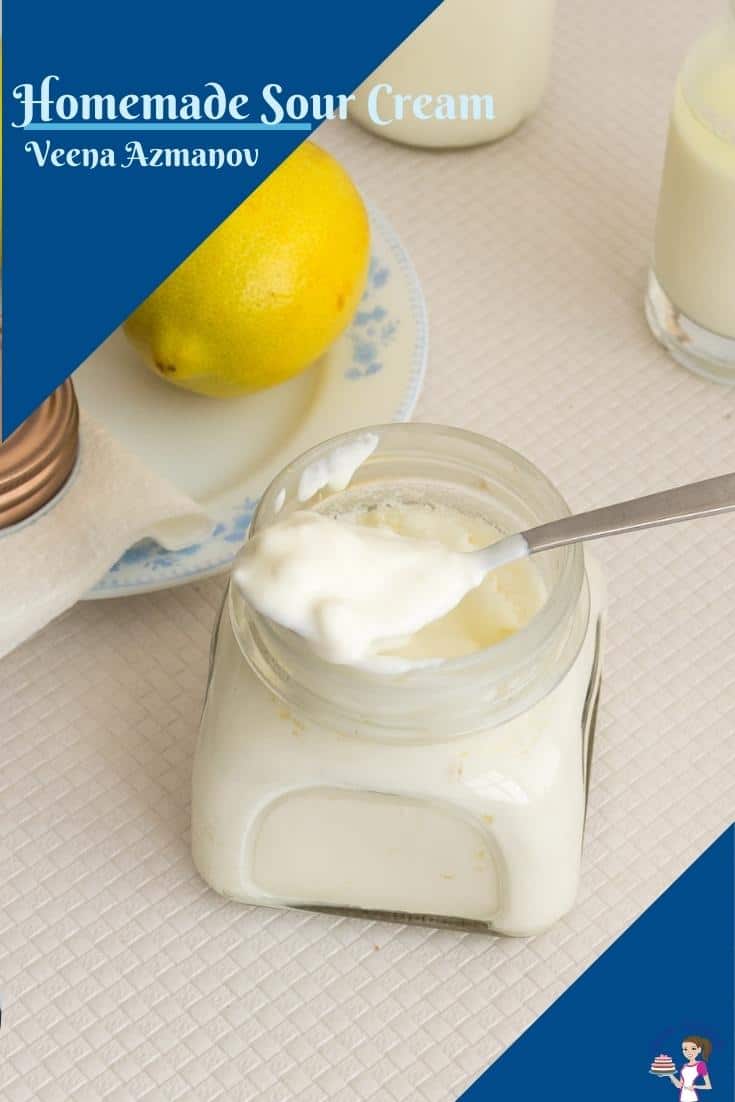
- Add the cream to a clean jar.
Use a glass jar (mason jar is perfect). - Stir in your starter (or acid).
- Starter method: stir in 1–2 tablespoons buttermilk / yogurt / sour cream
- Quick method: stir in 1 tablespoon lemon juice or vinegar
- Cover loosely (don’t seal).
Use a paper towel/cheesecloth + rubber band. It needs to breathe. - Let it sit at room temperature.
Leave it 12–24 hours, until thickened to your liking. - Stir, then refrigerate.
Chill at least 3 hours before using. It thickens more in the fridge.
Tips for success
- Warm-ish room helps. If your kitchen is cool, it will take longer.
- Use non–ultra-pasteurized cream when possible. Ultra-pasteurized can thicken more slowly.
- Don’t seal the jar while it cultures. Loosely covered is the trick.
- Want it thicker? Let it culture longer, then chill overnight.
- Keep it clean. Clean jar + clean spoon every time (dairy doesn’t forgive chaos).
Troubleshooting Homemade Sour Cream
| Problem | Possible Cause | Solution |
|---|---|---|
| Not thickening | Room temperature is too low or cream is ultra-pasteurized | Move the jar to a warmer spot (around 70°F / 21°C). Use heavy cream that is not ultra-pasteurized when possible. |
| Unpleasant smell | Contamination or expired cream | Always use clean, sanitized jars and utensils. Discard and start again with fresh cream if it smells off. |
| Too thin | Not cultured long enough | Let the sour cream ferment longer, checking every few hours until it reaches the desired thickness. |
| Not tangy enough | Fermentation time too short | Allow it to sit longer at room temperature to develop more tang and flavor. |


What is a good substitute for sour cream?
- Greek Yogurt: Greek yogurt is thicker and tangier than regular yogurt, making it a good substitute for SC in many recipes. Use plain Greek yogurt for the best results.
- Buttermilk: Buttermilk can be used as a substitute for SC in baking. Use the same amount of buttermilk as you would SC in the recipe.
- Plain Yogurt: Plain yogurt can also be used as a substitute for sour cream. Use the same amount of plain yogurt as you would SC in the recipe.
- Evaporated milk: For sauces, you can use evaporated milk (unsweetened). Combine one cup of evaporated milk with 1 tablespoon of lemon juice or white vinegar. Wait five minutes for it to thicken before you use it.
- How to Make Yogurt or Greek Yogurt
- Evaporated Milk Recipe (2 Methods)
- Homemade Condensed Milk (2 Ways)
- Homemade Dulce De Leche (2 methods)


Frequently asked questions
Typically 1–2 weeks in the fridge (sometimes longer if everything was very clean). If it smells off, looks moldy, or separates badly—toss it.
Yes—especially for cakes, coffee cakes, muffins, and cheesecakes. It behaves like store-bought.
To make dairy-free or vegan sour cream use thickened coconut cream. Place the can of coconut cream in the fridge for a few hours. Once chilled scoop the top most thick cream. Add a tablespoon of lemon juice and leave for 10 minutes. This is then ready to use in any recipe that calls for SC.
Not for true sour cream. Milk is too low in fat and can turn thin or split. Use heavy cream for the right texture.
Yogurt or buttermilk usually gives the thickest, most “authentic” cultured texture.
It’s more like a quick homemade sour cream substitute—still creamy and tangy, and it works beautifully in baking.
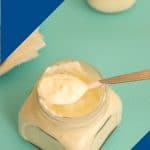
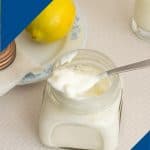
How to Make Sour Cream – 2 Ingredients (Full-Proof Method)
This full-proof homemade sour cream recipe uses just two simple ingredients and works every time. Thick, creamy, and lightly tangy, it’s perfect for baking, cooking, and everyday use. Includes both traditional cultured and quick acid methods.
Video
Ingredients
- 240 ml (1 cup) Heavy cream room temperature of about 75℉/25℃
- 1 – 2 tbsp Cultured buttermilk or sour cream or yogurt with live culture or
- 1 tbsp Lemon juice or white vinegar or
Method
- Add the heavy cream to a clean glass jar or container. Stir in the starter ingredient (buttermilk, yogurt, or sour cream) or the lemon juice/vinegar until well combined.240 ml Heavy cream, 1 – 2 tbsp Cultured buttermilk or sour cream or yogurt, 1 tbsp Lemon juice or white vinegar
- Cover the jar loosely with a paper towel or cheesecloth and secure with a rubber band. Do not seal.
- Leave at room temperature (around 70°F / 21°C) for 12–24 hours, or until thickened to your liking.
- Stir well, then refrigerate for at least 3 hours before using.
Notes
- Use heavy cream for best results—lower-fat cream may curdle or stay thin.
- Ultra-pasteurized cream can take longer to thicken.
- The longer it ferments, the thicker and tangier it becomes.
- Homemade sour cream keeps 1–2 weeks refrigerated when stored in a clean, airtight container.
Equipment you will need

Nutrition
Tried this recipe?
Mention @veenaazmanov_kitchen or tag #veenaazmanovkitchen!- Homemade Caramel Sauce or Creamy Caramel Filling
- Homemade Butterscotch Sauce
- Homemade Whipped Cream – 4 Methods
- or How to Make Stabilized Whipped Cream (5 Methods)
Don’t lose this recipe! Save it for Later!
📌 Save this Recipe for later on Pinterest so you can easily find it again.
⭐ Add Veena Azmanov Kitchen to your Google Preferred Sources.
It helps Google show you more of our recipes.
📧 Subscribe for new recipes delivered to your inbox.
🎥 Follow us for more recipes


I tried to drain the sour cream last week and for 2 whole days only a few drops of whey was dropped into the bowl under cheesecloth. Totally not thickening. Did I do anything wrong?
Not sure what you are trying to do C but check the percentage of fat in your cream. High fat will have less whey but it will also thicken quicker.
I haven’t yet made this, but after looking at a number of other sites, your information was the most complete, offered the most options and answered my main question which was how to thicken it if I wanted to. Nice work Veena
Thank you, Tara
I’ve made sour cream with both lemon juice and vinegar. However, I’m curious if I could make it using some other ‘starter ‘ sour cream… like a person would do yogurt or sour dough?
Yes, you should be able to make it with bio culture yogurt just as we make yogurt with milk and cream instead of all milk. But, that would be more like making Greek yogurt.
What can one do when the store shelves are out of sour cream? Make it yourself.
I used the lemon juice version and it is fantastic. I also used the 100 degree oven method to finish the culture. When using the oven for other food, I place the container on the stovetop, which stays warm. When I’m using the stove and oven, I set the container next to the coffee maker, which in my house is on during all waking hours LOL…….I use these methods for rising bread and feeding sourdough starter, so it wasn’t too scary.
Obviously, this home made sour cream is superior in flavor to even the best store brands. But the extra bonus is when the sour cream is freshly cultured, it is easier to decant into condiment squeeze bottles. The sour cream thickens a bit everyday, and the squeeze bottles make it easier to control portions.
I don’t know. If I can get into the habit of making it each week, I may dump the store brands.
Thank You very much for this tutorial.
Thank you for the lovely feedback Carol.
Mam in India it’s very difficult to get dairy whipping cream. Can I make this with fresh cream which is 20-25% fat content? Please reply mam.
You can Suchismita, but it won’t’ be as thick as the one you see in my pictures. But, it should work with any dairy whipping cream.
I have used Amul heavy cream.It is quite thick and creamy to begin with.Sour cream using it should be of same thickness as shown in the demo.I plan to make one soon for use with baked potato skins I am going to make.