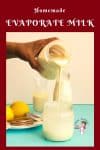
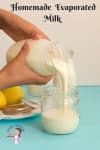
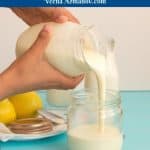
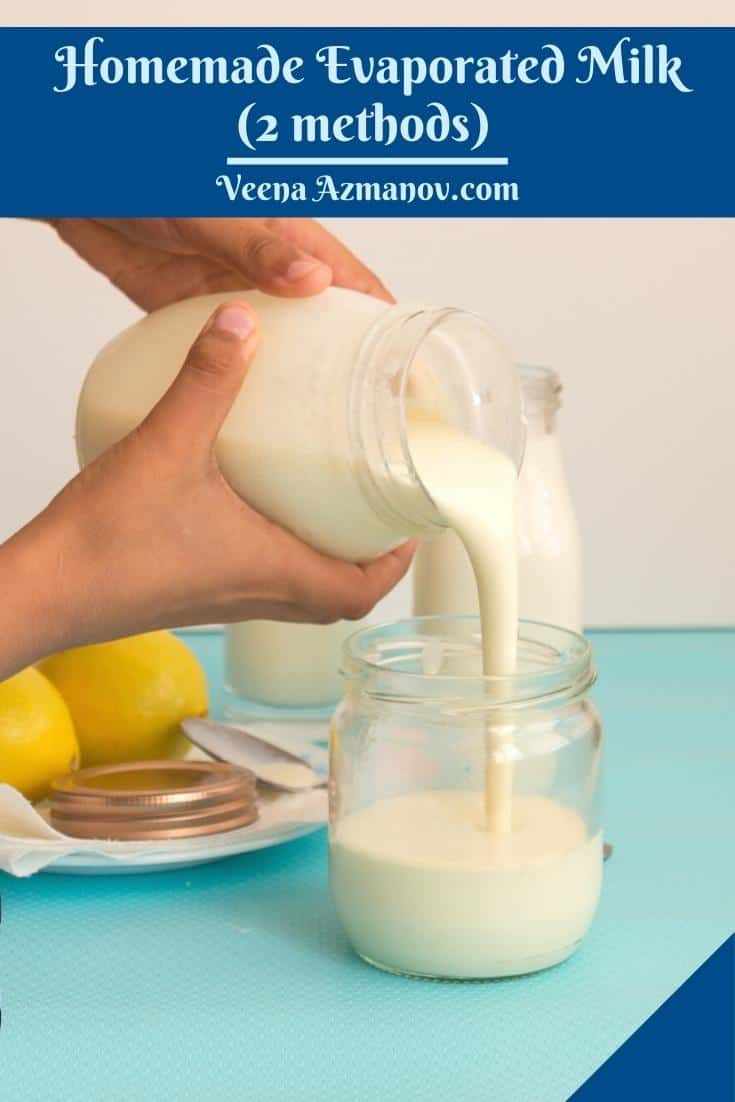
Homemade Evaporated Milk


Need evaporated milk for a recipe but don’t have a can on hand? Don’t worry—you can make it at home in minutes. In this post, I’ll show you two easy ways: the classic stovetop method with regular milk, and a quick 5-minute version using powdered milk (or even the microwave). Both give you the same creamy, rich texture you’d expect from canned evaporated milk, perfect for baking, desserts, sauces, and more.
Back when I was growing up, if a recipe called for evaporated milk, my mom didn’t reach for a can—she made it herself. There was no other option. For her, it wasn’t a big deal. Just another step in cooking, another thing to check off the list. She never questioned it, never thought of it as extra effort—it was just how things were done.
What Is Evaporated Milk?
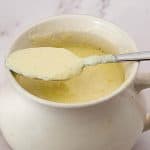
it is regular milk that has been simmered to remove about 60% of its water content. What’s left is a thicker, slightly sweet-tasting milk with a rich texture and longer shelf life.
Unlike sweetened condensed milk, evaporated milk contains no added sugar. It’s often used in:
- Custards and puddings
- Pumpkin pie
- Creamy sauces
- Coffee and tea
- Mac and cheese, casseroles, and soups
Why Make Evaporated Milk at Home?
- You’re out of canned EM
- You want a preservative-free version
- You want to make it from powdered milk
- You prefer to use organic or lactose-free milk
- You’re baking or cooking in bulk
Ingredients and Substitutes
For Traditional Stovetop Method:
- Whole milk – Full-fat milk gives the best texture. You can also use 2%, but it will be slightly thinner.
- Lactose-free milk – Works well but may require slightly more simmering.
- Plant-based milk (see notes) – Not recommended unless specified in a separate recipe (many don’t reduce well).
For Quick Powdered Milk Method:
- Powdered milk – Non-fat dry milk works best, but whole milk powder gives a creamier finish.
- Warm water – Mixes more smoothly than cold.
- Butter (optional) – Adds fat and richness if using non-fat milk powder.

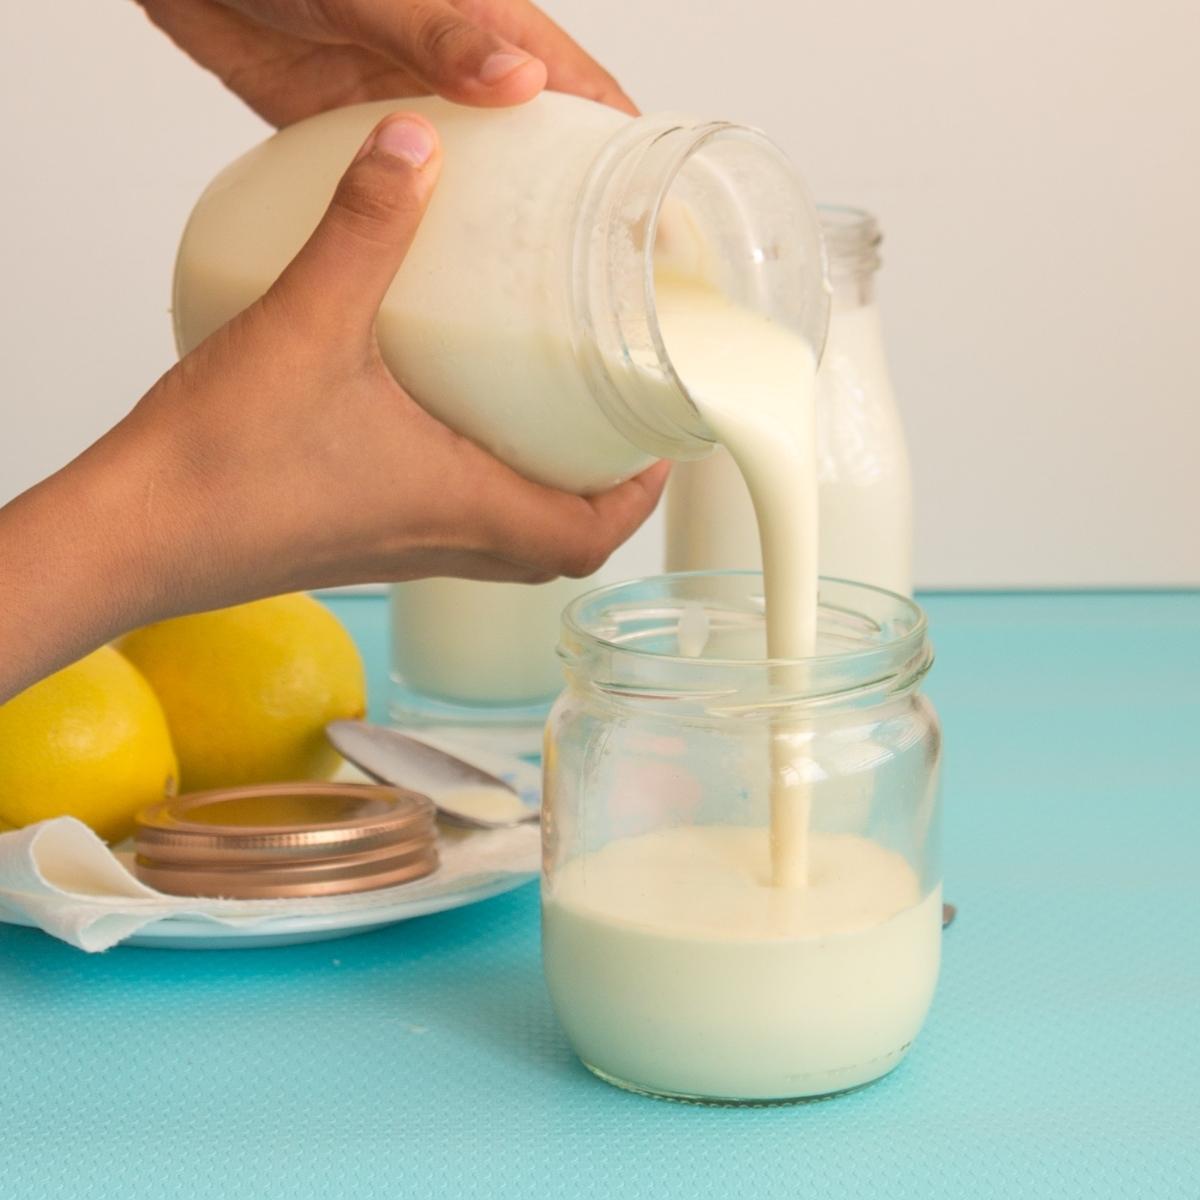
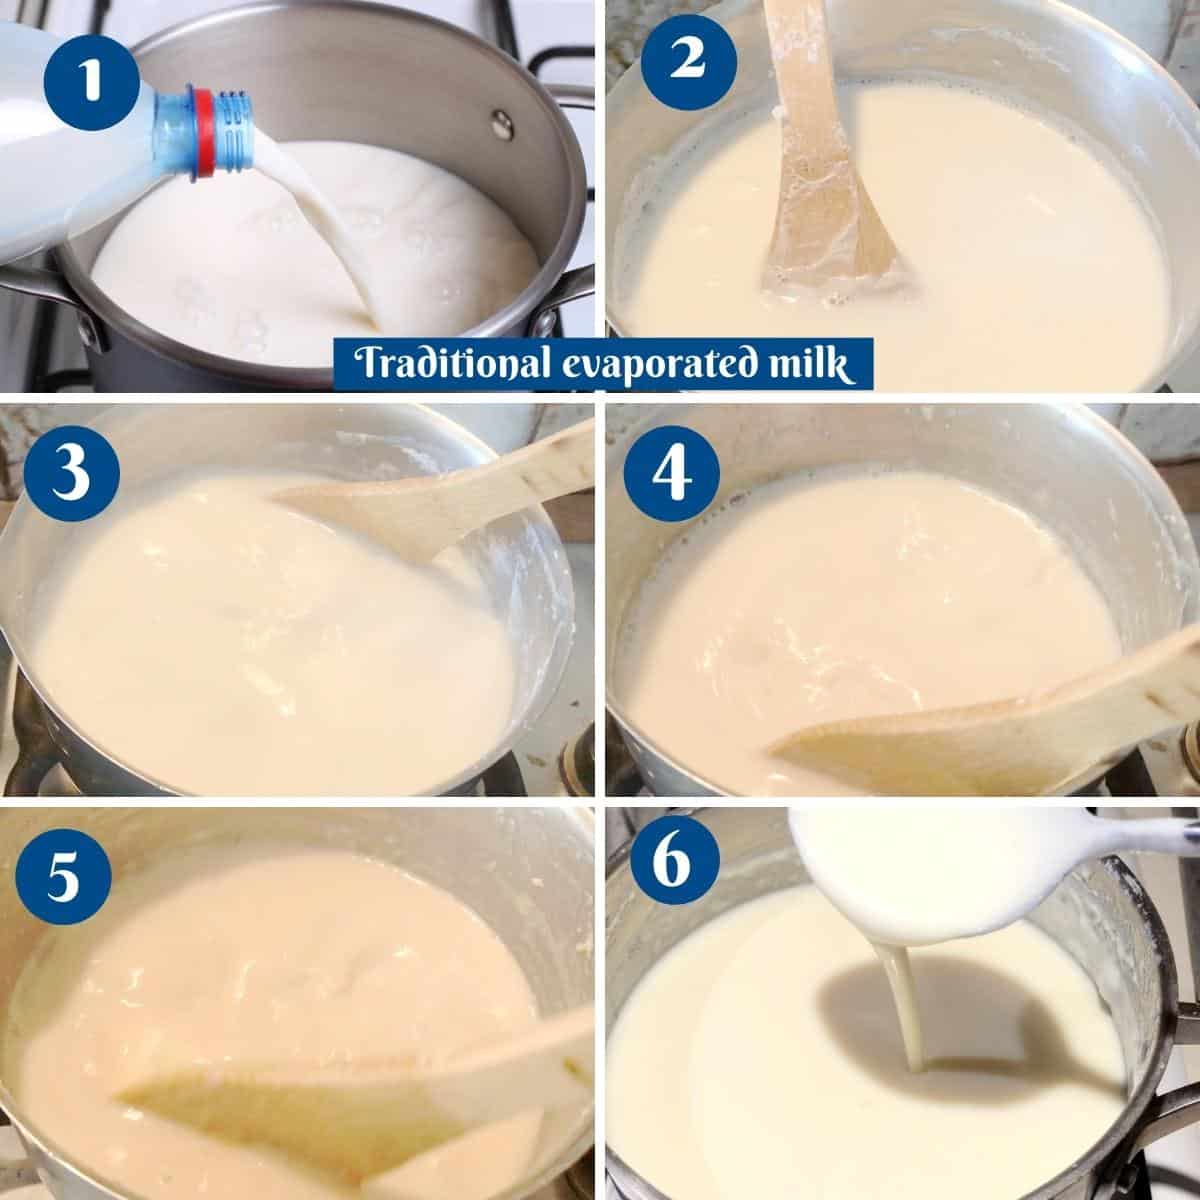
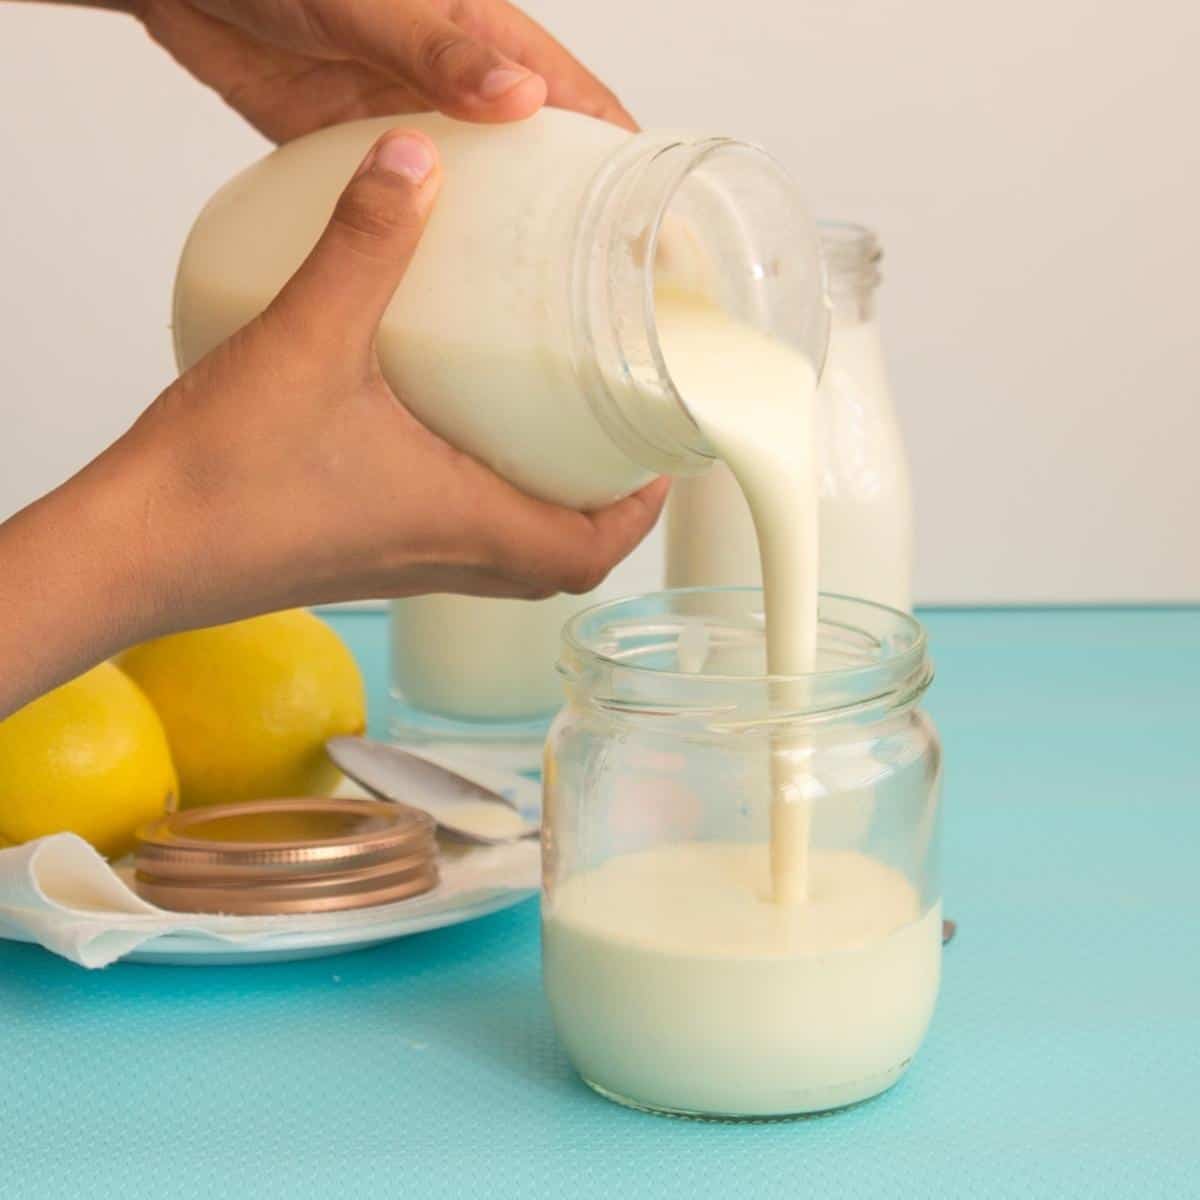
Method 1 – How to Make Evaporated Milk from Regular Milk (Stovetop Method)
- Simmer the milk – Add 2¼ cups (540 ml) whole milk to a heavy-bottomed saucepan. Bring to a gentle boil, then lower heat and simmer uncovered.
- Reduce by half – Simmer for 30–40 minutes, stirring occasionally. Scrape the sides and bottom every few minutes to prevent scorching.
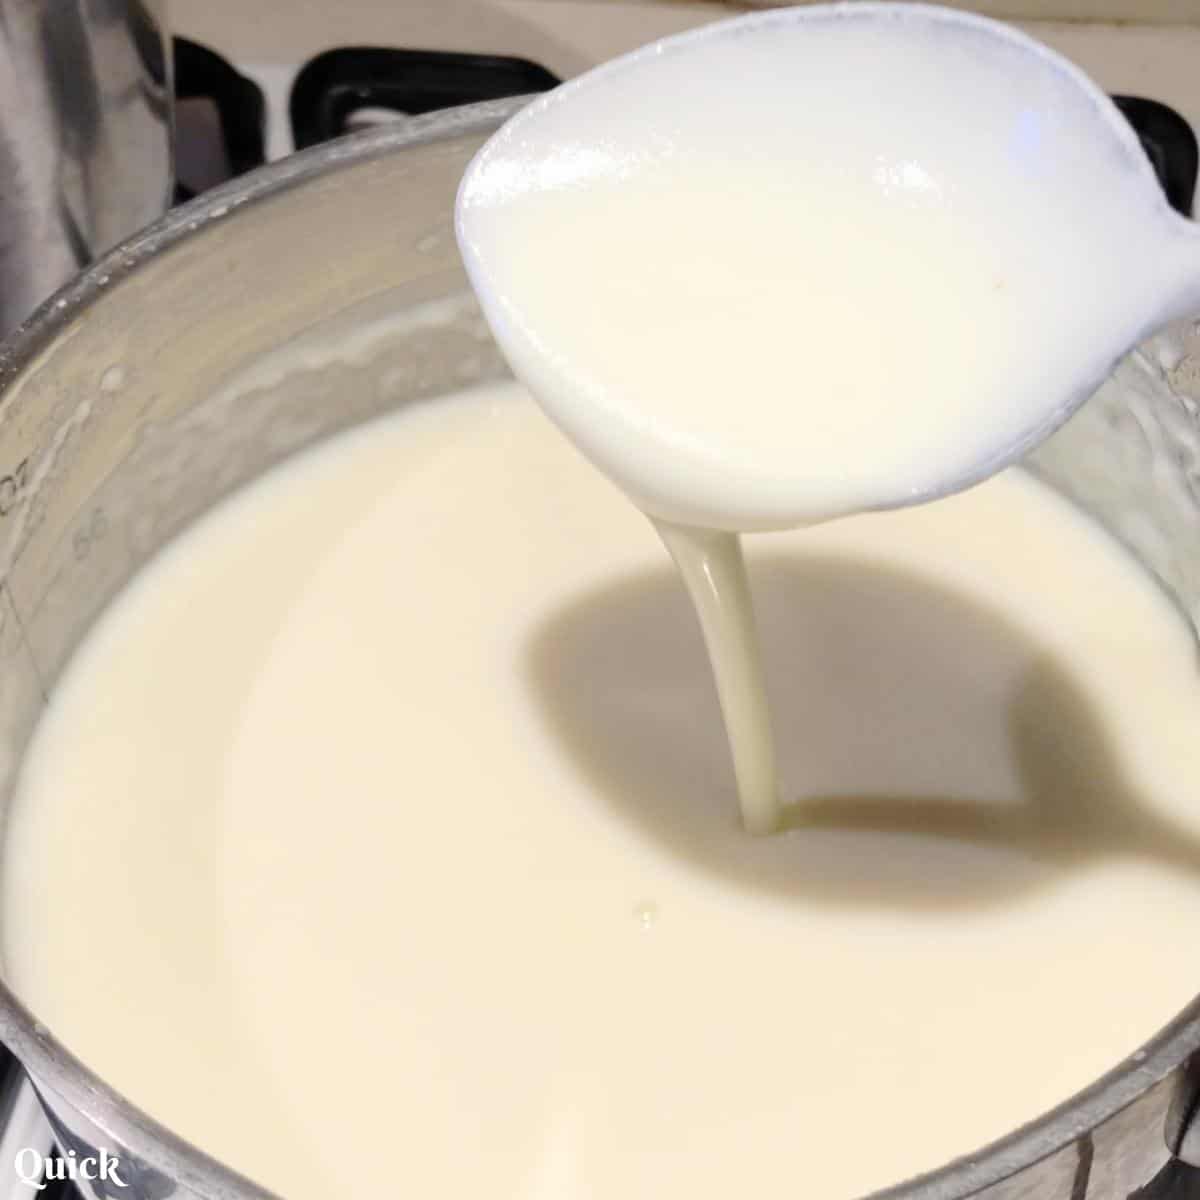
- Check for volume – Once the milk has reduced to about 1 cup (240 ml), remove from heat.
- Strain (optional) – If any skin has formed, strain the milk through a fine mesh sieve or cheesecloth.
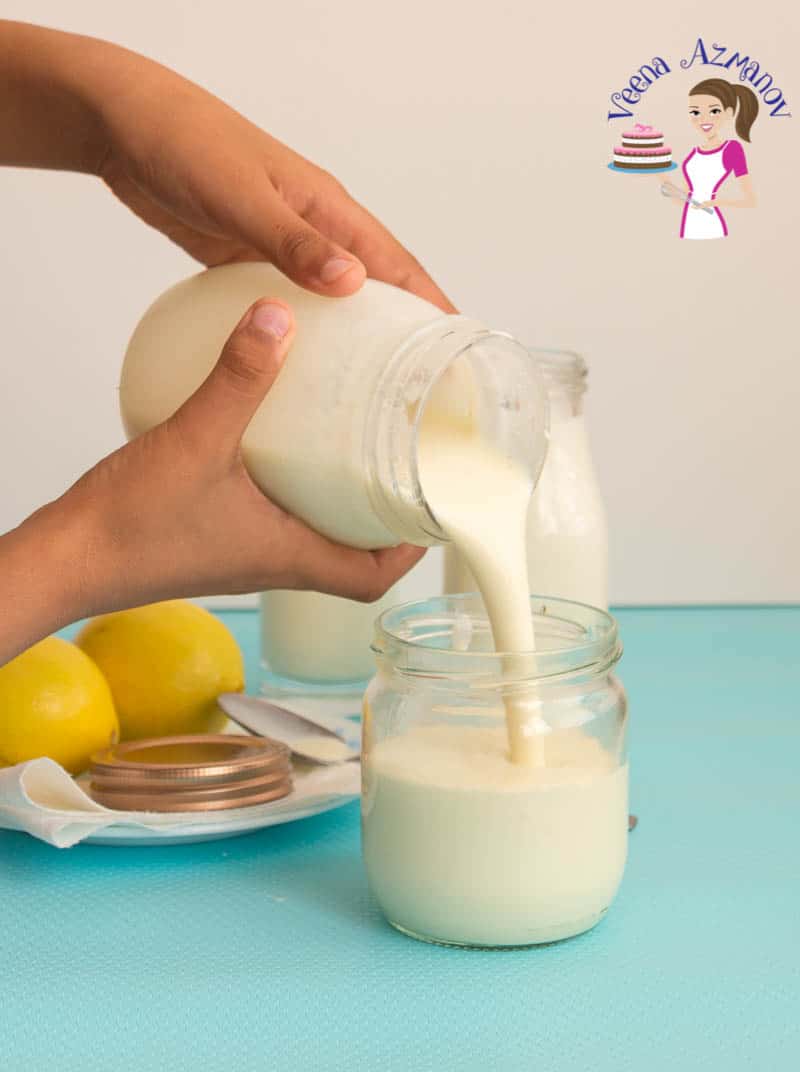
- Cool and store – Let it cool completely. Store in an airtight jar in the fridge for up to 5 days, or freeze for up to 3 months.
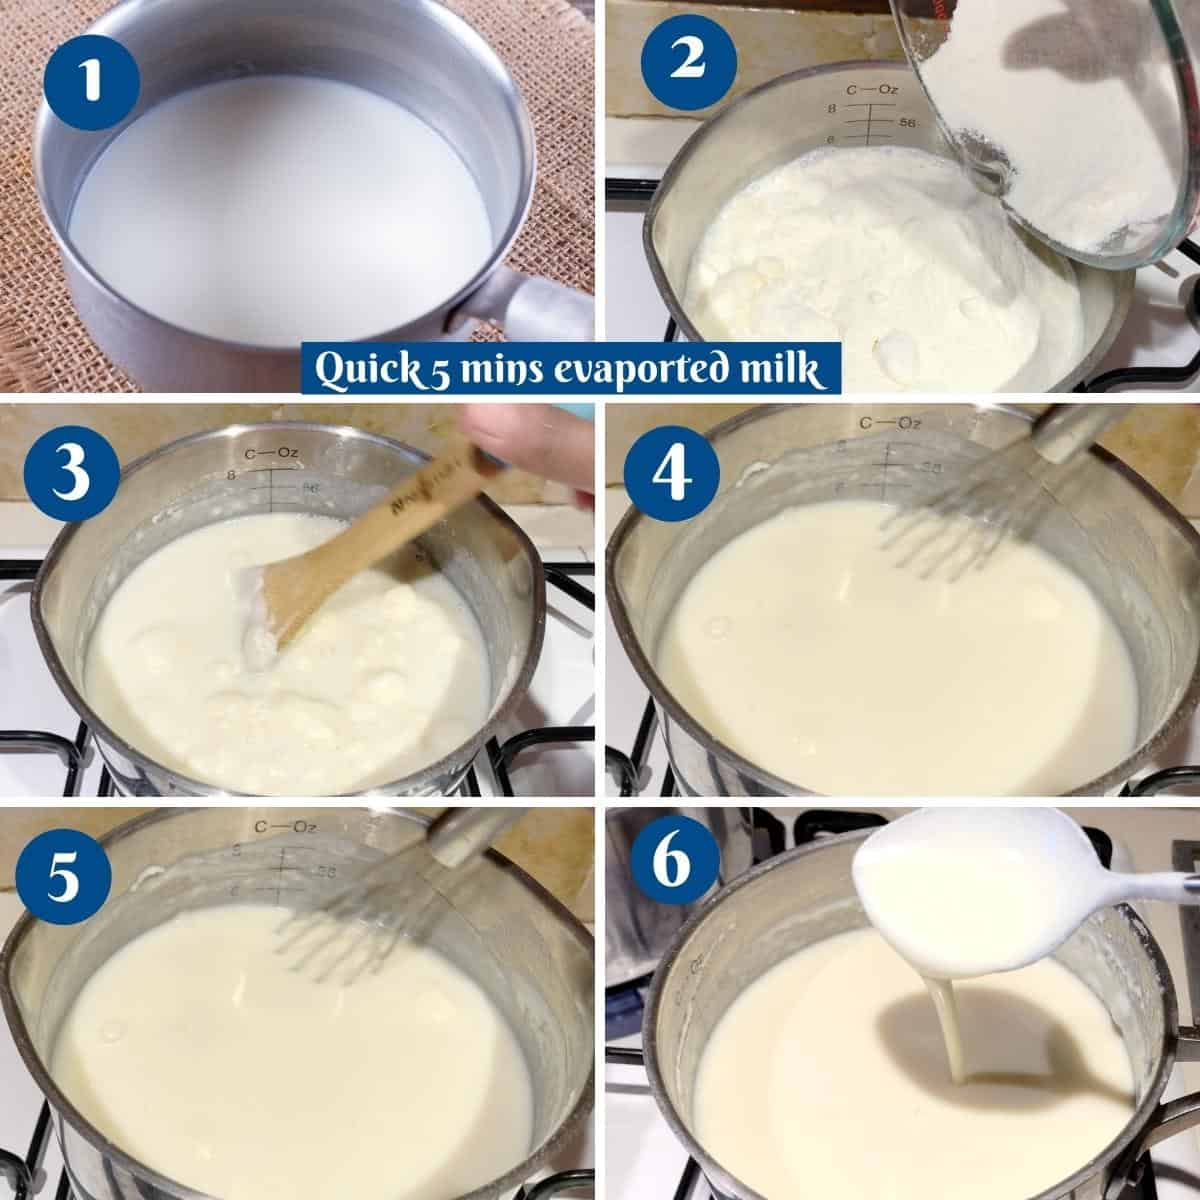
Method 2 – How to Make Evaporated Milk from Powdered Milk (Quick 5-Minute Method)
Yield = approx. 1 cup of evaporated milk substitute
Ingredients:
- 1 cup (240 ml) warm water
- ⅔ cup (65 g) powdered milk
- 1 tsp melted butter (optional, for added richness)
Instructions:
- Mix warm water and powdered milk until smooth and lump-free.
- Stir in melted butter if using.
- Use immediately, or store in the fridge for up to 3 days.
Can You Make Evaporated Milk in the Microwave?
Microwave Option – You can also dissolve powdered milk in warm water and microwave in 30-second bursts (stirring each time) until slightly thickened. It’s faster but less precise than stovetop, so use as a quick fix rather than your main method.
Tips for success
- Use a heavy-bottomed pot to prevent scorching during the stovetop method.
- Stir often in the last 10 minutes—this is when milk is most likely to burn.
- Don’t cover the pot; you want the moisture to evaporate.
- For a smoother finish, blend the cooled milk briefly before storing.
- You can double the recipe and freeze extra in ½ cup portions.
What can you do with evaporated milk
- Baking: It can be used in place of regular milk in baked goods such as cakes, cookies, muffins, and bread.
- Sauces and Soups: Creates creamy sauces and soups, such as Alfredo sauce and cheese sauce, cream of mushroom soup, potato soup and creamy pasta sauces. It adds richness and body to the dish without making it overly heavy. In curries to give them a creamy texture. It works particularly well in Thai and Indian curries.
- Creamy Desserts: It is a key ingredient in many creamy desserts, including custards, puddings, ice cream, kulfis, and semolina pudding. It adds a smooth texture and rich flavor to these desserts.
- Hot Beverages: EM can be used as a creamer in hot beverages such as coffee, tea, and hot chocolate.
- Casseroles and Gratin: It can be used in savory dishes such as casseroles, gratins, and savory pies.
- Homemade Ice Cream: Use it as a base for homemade ice cream, either by itself or combined with other ingredients such as sweetened condensed milk, sugar, and flavorings.


Frequently asked questions
Unopened canned EM can last for several months or even years when stored in a cool, dry place. Once opened, it should be refrigerated and used within a few days. Similarly, this homemade recipe will last for about a week up to 2 weeks in the fridge.
It has a rich, creamy flavor with a very mild natural sweetness, but no added sugar.
In India, “evaporated milk” is usually referred to as “milk reduced on the stovetop” and is often substituted with “khoya/mawa” for desserts, though it’s not exactly the same.
Yes—just add sugar to evaporated milk and simmer until it thickens into a sweetened version.
Yes, but the result will be thinner. For best texture and flavor, use whole milk.
Absolutely! It adds a rich, creamy flavor without sweetness.
Yes. Cool it completely, store in airtight containers, and freeze for up to 3 months.
No. Condensed milk contains sugar, while evaporated milk is unsweetened.
It depends on the recipe you need to use it for. In some cases like soups, you can use regular milk instead of evaporated. Sometimes a combination of half milk and half cream works great.
No, traditional evaporated milk is made from cow’s milk. For dairy-free options, use a specific recipe with coconut or soy milk.
While condensed milk is often used in baking to make desserts such as pumpkin pie, rice pudding, cakes such as Tres leches cake, ice cream. Evaporated milk is perfect to use for soups, macaroni, pasta sauce, Mac and cheese, over cereals, and coffee or tea. Try evaporated milk instead of fresh milk the next time you make French toast, waffles, mashed potatoes, or Bechamel sauce. In fact, using evaporated instead as a substitute for cream adds more stability to the resulting product as compared to regular milk.
Homemade Evaporated Milk
Learn how to make evaporated milk at home with two simple methods: classic stovetop and a quick version using powdered milk. No additives, no fuss!
Video
Ingredients
- 540 ml (2½ cups) Milk full-fat
- ¼ tsp Salt
- 240 ml (1 cup) Whole milk
- 65 g (⅔ cup) Powdered Milk
- 15 g (2 tbsp) Melted butter (optional, for richer texture)
Method
- Pour the milk into a heavy-bottomed saucepan. Bring to a gentle boil, then reduce the heat and simmer uncovered for 30–40 minutes. Stir occasionally and scrape the sides and bottom to prevent scorching.540 ml Milk , ¼ tsp Salt
- Continue until the volume is reduced to about half (approx. 240 ml). Optional: Strain through a fine mesh sieve to remove any milk solids. Let cool completely before storing.
- Storage – Store in an airtight jar in the refrigerator for up to 5 days. Freeze in small portions (ice cube trays or ½ cup containers) for up to 3 months.
- In a bowl or blender, combine warm water and powdered milk. Mix until fully dissolved. Stir in melted butter if using. Use immediately, or store in the fridge for up to 3 days.240 ml Whole milk, 65 g Powdered Milk , 15 g Melted butter
Notes
Tips for Success
- Use a heavy-bottomed pot to prevent scorching during the stovetop method.
- Stir often in the last 10 minutes—this is when milk is most likely to burn.
- Don’t cover the pot; you want the moisture to evaporate.
- For a smoother finish, blend the cooled evaporated milk briefly before storing.
- You can double the recipe and freeze extra in ½ cup portions.
Equipment you will need


Nutrition
Tried this recipe?
Mention @veenaazmanov_kitchen or tag #veenaazmanovkitchen!- Homemade Caramel Sauce or Homemade Butterscotch Sauce
- Creme Caramel – flan
- Homemade Sour Cream – 3 Methods
- Homemade Whipped Cream or How to Make Stabilized Whipped Cream


Don’t lose this recipe! Save it for Later!
📌 Save this Recipe for later on Pinterest so you can easily find it again.
⭐ Add Veena Azmanov Kitchen to your Google Preferred Sources.
It helps Google show you more of our recipes.
📧 Subscribe for new recipes delivered to your inbox.
🎥 Follow us for more recipes


FYI, you have 2 typos I noted. In the summary section of the methods, for the first method/Traditional method, you said 540 cups (2½ liter). The 540 cups would actually be 127 liters and 2½ liters is actually a little over 10½ cups. This is the only time you use liters that I see, but you did use milliliters before. You put that 2¼ cups = 540ml. I believe you have inadvertently switched milliliters to liters, transposed cups and milliliters and then bumped up the ¼ to ½.
Oh, Courtney, thank you so much for bringing it to my attention. You are right, it is 540 ml (2 1/2 cups)
I mistakenly switched the cups, and the automation chose liters (you are right, I don’t usually use liters)
Amazing that it is a popular recipe and everybody seemed to overlook my mistake and assume the correct ml and cup measure.
I just corrected it – thanks so much again
You are welcome. Thank you for posting your advice for this.
Just an FYI, on the powdered milk version, the recipe states powdered sugar.
Ah, thank you, Diane. Just fixed it
are the 5 minutes mentioned in the title of this article included in the 10-15 minutes you have to take to make this or are they extra?
The 5 minutes is the quick version made with milk powder!
Is the salt just added for flavour or is it not really necessary
Just for flavor!
So the powdered milk recipe called for 2 cups powdered milk, but to get the same 1/3 ratio with milk and powdered milk mix, if my math is right, you just need 1/2 cup powdered milk. Am I overthinking it or did you have a typo?
Not sure I understand the question, Lizzard. I’ve used 1 cup of milk and 2 cups of powdered milk. You can half the recipe by using 1/2 cup milk and 01 cup powdered milk.
SO a can of evaporate milk makes roughly 4 cups of milk(15oz is about 2c, add 2c water plus whatever that extra 10% is) . It takes 3tblsp to make 1c milk(based on my bobs red mill brand milk powder), so 3/4 makes 4c milk. If you do 2c powder into 1c milk, you’ve basically made almost a gallon (about 13c) worth of milk in evaporate form. Add 1/2c plus 1tblsp to 1c milk and you get 4c worth of milk in 15oz-ish of evaporated form. My math is approximate on parts though, but so is my cooking. :p
I use whole powdered milk and mix it with water Couldn’t I just use that instead and make it extra thick and rich?
Yes, that is the quick version to make evaporated milk in five minutes just as I have made condensed milk in 5 mins. This is when you want to make it the old-fashion method or when you don’t have powdered milk.
I’m always on the hunt for lighter cream replacements. Your homemade evaporated milk is a great option I have to try soon. Thank you for sharing the doable instructions:)
Thanks, Gabi