How to Roast Garlic

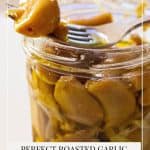

Garlic is a flavorful member of the onion family. Roasting mellows the flavor and turns the already soft garlic to somewhat creamy. Roasted garlic makes a delicious spread for bread and is a wonderful addition to many recipes. Here’s how to roast garlic easily.
I love garlic, but I absolutely adore roasted garlic. In our family, spreading roasted garlic over fresh crusty bread or focaccia is one of our favorite appetizers.
I grew up eating garlic regularly. And the truth is, garlic is very good for your health. So, I try to add as much as possible to our diet. And, of course, the easiest way is to use roasted garlic rather than raw garlic.
For those of you who have never tried roasted garlic, the main difference you will see is that, unlike raw garlic, which has a slightly pungent and strong garlic flavor, roasted garlic is smooth, creamy, and slightly sweet with a mild garlic flavor.
Why make roasted garlic?
- Roasted garlic has so many uses.
- And the best part is, that it gets ready in just 45 minutes.
- Also, you can replace raw garlic in any recipe with roasted garlic. It’s that simple.
- Try it over roasted potatoes such as rosemary roast potatoes.
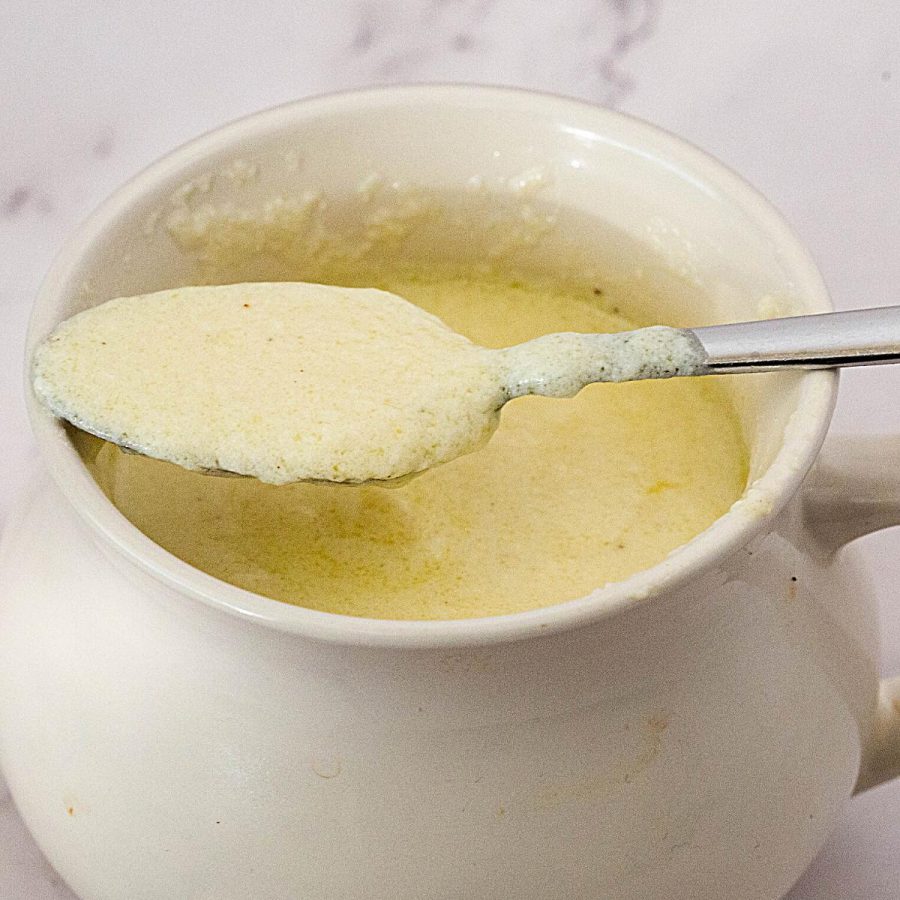
- Also, mash the roasted garlic and mix it with olive oil to make wonderfully mild garlic oil. This is perfect when you want a light garlic flavor, like on toast!

Ingredients and substitutes
- Garlic – Choose a whole head that won’t fall apart easily when you cut the tips off. This way, it will cook evenly.
- Olive oil – Softens the cloves as they cook, preventing them from burning.
- Salt and pepper – These are optional,l but I think they are necessary.

Step-by-step: Roasted garlic recipe
- Preheat the oven to 400°F/200°C/ Gas Mark 6.
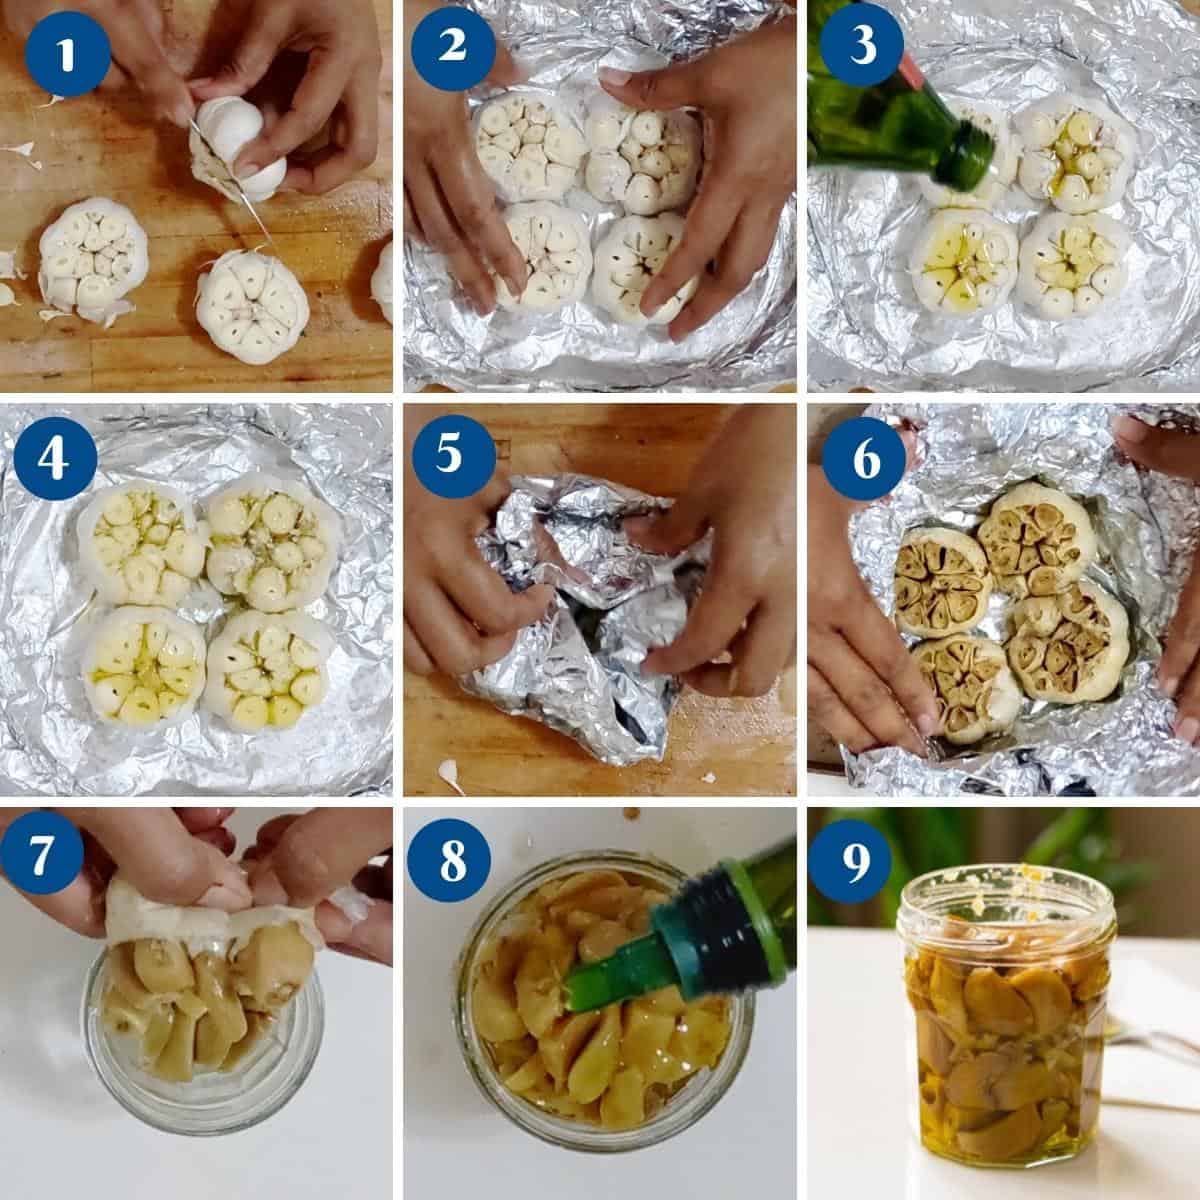
- Peel and discard the loose outer layers of the garlic skins. Cut the top 1/4 head of the garlic bulb so you can see the individual flesh of garlic.
Pro tip – Do not remove all the outer layers of skin as it protects the individual cloves from getting burnt. - Cut an aluminum foil large enough to wrap around the garlic head like a foil packet. You can also use a baking pan instead of foil.
Pro tip – I find that the steam created inside the aluminum foil helps soften the cloves and make them creamier. - Place the garlic head on the aluminum foil. Add the olive oil and sprinkle with salt and pepper. Wrap the foil around it so the cloves are covered.
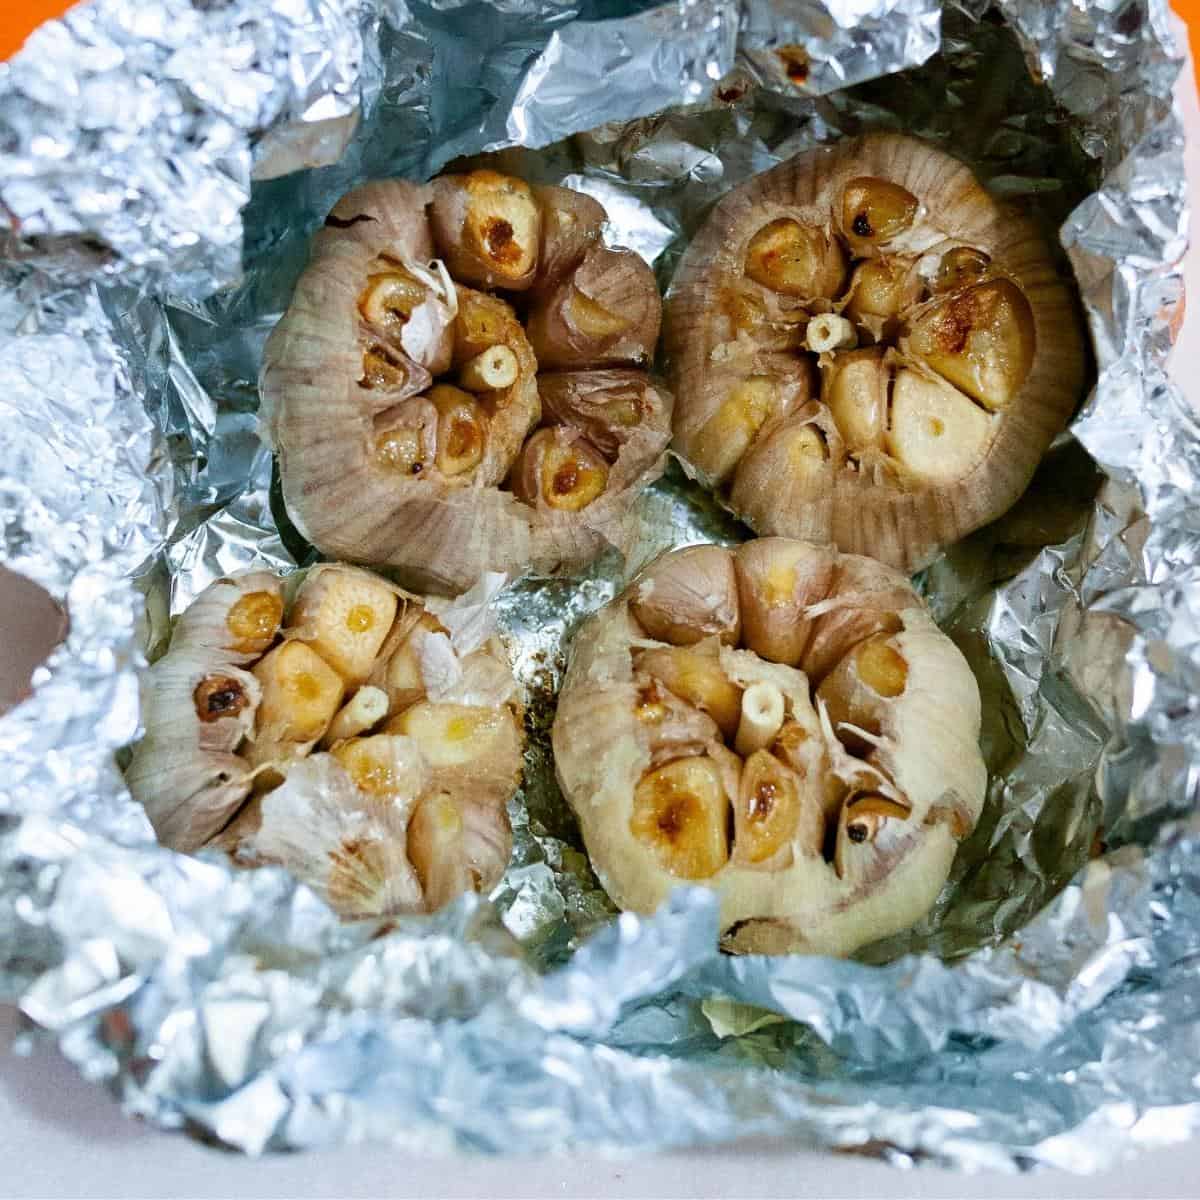
- Then, place on a baking tray and into the oven for 30 to 40 minutes. The garlic cloves will be softened and soft when pressed with a fork.
- Cool the cloves for at least 15 minutes or until cool enough to touch.
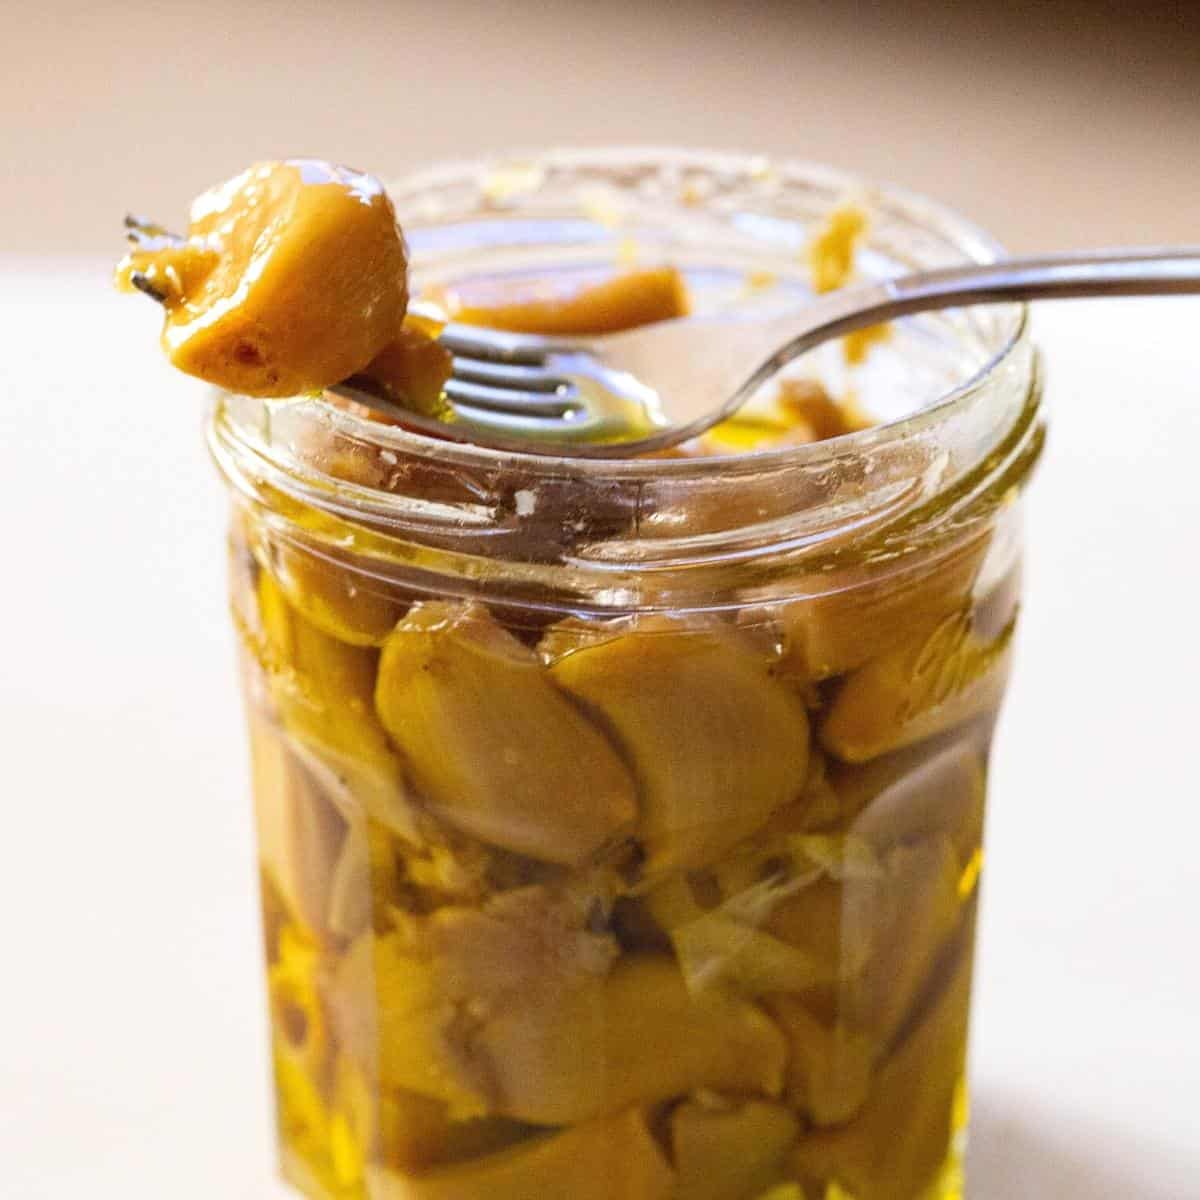
- Next, pick each individual clove of garlic using the tip of a paring knife or fork. Alternatively, squeeze the whole head towards the open side so all the clove puree comes out.
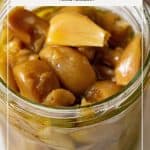
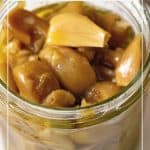
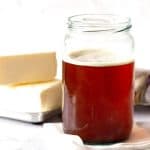
Pro tip – Make sure the garlic head is cooled enough when you squeeze so you don’t get a burn. - Store in an airtight container or mason jar in the fridge for up to 2 weeks. I like adding some olive oil to the jar to prevent it from drying.


Frequently asked questions
These roasted garlic cloves will keep in the fridge for up to 2 weeks. You can add a bit of olive oil to the jar to increase its shelf life for 3 weeks or more.
Raw garlic has a strong garlicky smell and pungent flavor. Roasted garlic has a mild flavor and is sweeter rather than pungent.
No, they are completely different. Black garlic is made by keeping garlic heads at a specific temperature for a few weeks. It can be cut, minced, and blended. Roasted garlic is made by roasting garlic in the oven on high heat.
How to Roast Garlic
Garlic is a flavorful member of the onion family. Roasting mellows the flavor and turns the already soft garlic somewhat creamy. Roasted garlic makes a delicious spread for bread and a wonderful addition to many recipes. Here's how to roast garlic easily.
Video
Ingredients
- 1 A whole head of garlic I used 4 garlic bulbs
- 1 tbsp Olive oil
- ¼ tsp Salt
- ¼ tsp Pepper
Method
- Preheat the oven to 400°F/200°C/ Gas Mark 6
- Peel and discard the loose outer layers of the garlic skins. Cut the top 1/4 head of the garlic bulb so you can see the individual flesh of garlic. Pro tip – Do not remove all the outer layers of skin as it protects the individual cloves from getting burnt.1 A whole head of garlic
- Cut an aluminum foil large enough to wrap around the garlic head like a foil packet. You can also use a baking pan instead of foil. Pro tip – I find the steam created inside the aluminum foil helps soften the cloves and make them creamier.
- Place the garlic head on the aluminum foil. Add the olive oil and sprinkle with salt and pepper. Wrap the foil around it so the cloves are covered.1 tbsp Olive oil , ¼ tsp Salt, ¼ tsp Pepper
- Place on a baking tray and into the oven for 30 to 40 minutes. The garlic cloves will be softened and be soft when pressed with a fork.
- Cool the cloves for at least 15 minutes or until cool enough to touch.
- Pick each individual clove of garlic using the tip of a paring knife or fork. Alternatively, squeeze the whole head towards the open side so all the clove puree comes out. Pro tip – Make sure the garlic head is cooled enough when you squeeze so you don't get a burn.
- Store in an airtight container or mason jar in the fridge for up to 2 weeks. I like to add some olive oil to the jar to prevent it from drying out.
Notes
-
- Remove the papery outside layers of the garlic bulb to get some toasted skin on the cloves.
- Alternatively, keep the outside of those papery layers to get a smoother, creamier garlic spread.
- Be generous with the olive oil. It helps keep the cloves nice and moist.
- Also, don’t forget the salt. It’s what breaks down the garlic and makes a wonderfully creamy spread.
- Store the garlic cloves in a pool of olive oil. The oil gets infused with the garlic flavor so that you can use the oil as garlic oil.
- Plus, the oil softens the garlic cloves and makes them spreadable
Using roasted garlic
- Replace raw garlic in any recipe with roasted garlic. It’s that simple.
- Try it over roasted potatoes such as rosemary roast potatoes,
- Or add it to mashed potatoes to make roasted garlic mashed potatoes.
- When making sandwiches and wraps use a light smear of roasted garlic to take it to the next level.
- Mash the roasted garlic and combine it with olive oil to make a wonderfully mildly garlic oil. This is perfect when you want a light flavor of garlic such as on toast!
Nutrition
Tried this recipe?
Mention @veenaazmanov_kitchen or tag #veenaazmanovkitchen!Don’t lose this recipe! Save it for Later!
📌 Save this Recipe for later on Pinterest so you can easily find it again.
⭐ Add Veena Azmanov Kitchen to your Google Preferred Sources.
It helps Google show you more of our recipes.
📧 Subscribe for new recipes delivered to your inbox.
🎥 Follow us for more recipes


Hi Veena,
Can I freeze the roasted garlic with a little olive oil?
You can freeze roasted garlic with olive oil. Just thaw in the fridge overnight for best results. Thanks
Done these all my life, and have always cut the ????? head or end of where the little roots show, are you calling that the top, or that part or the end where the cloves just come to a small point.???? So hard to see what your cutting . Don’t think it makes much difference and going to try the pointed end once and see what happens. Thanks Veena
Stony
Stony, this is the clearest short I can get in the video and I’ve done it three times. The bottom is the root that holds the head together. If you cut that the whole bulb will fall apart and it won’t be easy to squeeze the soft garlic cloves out. This way even after roasting the head stays in tack. But, again no matter which side you cut. It will still roast wonderfully.
Roasted garlic is so incredibly flavorful! I love that you shared this recipe as it has inspired me to make a huge batch and keep on hand to add to so many dishes! Thank you!
Thanks for sharing this. I never tried roasting garlic but sounds quite delicious. Thanks for the tips on how to store and use it. I will try this with mashed potatoes first.
Garlic for me is the most important ingredient in many dishes! I love your smart and easy way of roasting garlic. Garlic is really good for the health I agree. I think I’m gonna try this with mashed potatoes like you suggested.
Thank you! We love roasted garlic but never knew it was soo easy to make!
You can’t beat roasted garlic. It adds so much flavour to so many dishes.