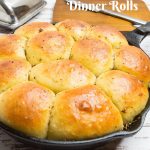
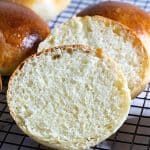
Garlic Dinner Rolls
 Prep Time 20 minutes Cook Time 20 minutes Total Time 2 hours 10 minutes
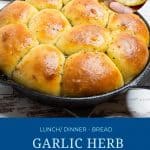

Are you looking to take your homemade dinner rolls from bland to bold? Look no further than garlic dinner rolls! These rolls are loaded with savory flavor and will surely bring a crowd-pleasing kick to any dinner table. Whether you are a seasoned chef or a beginner baker, this recipe will provide everything you need to know about making garlic rolls.

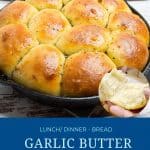
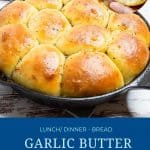
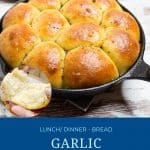
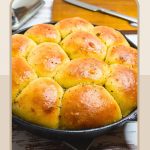
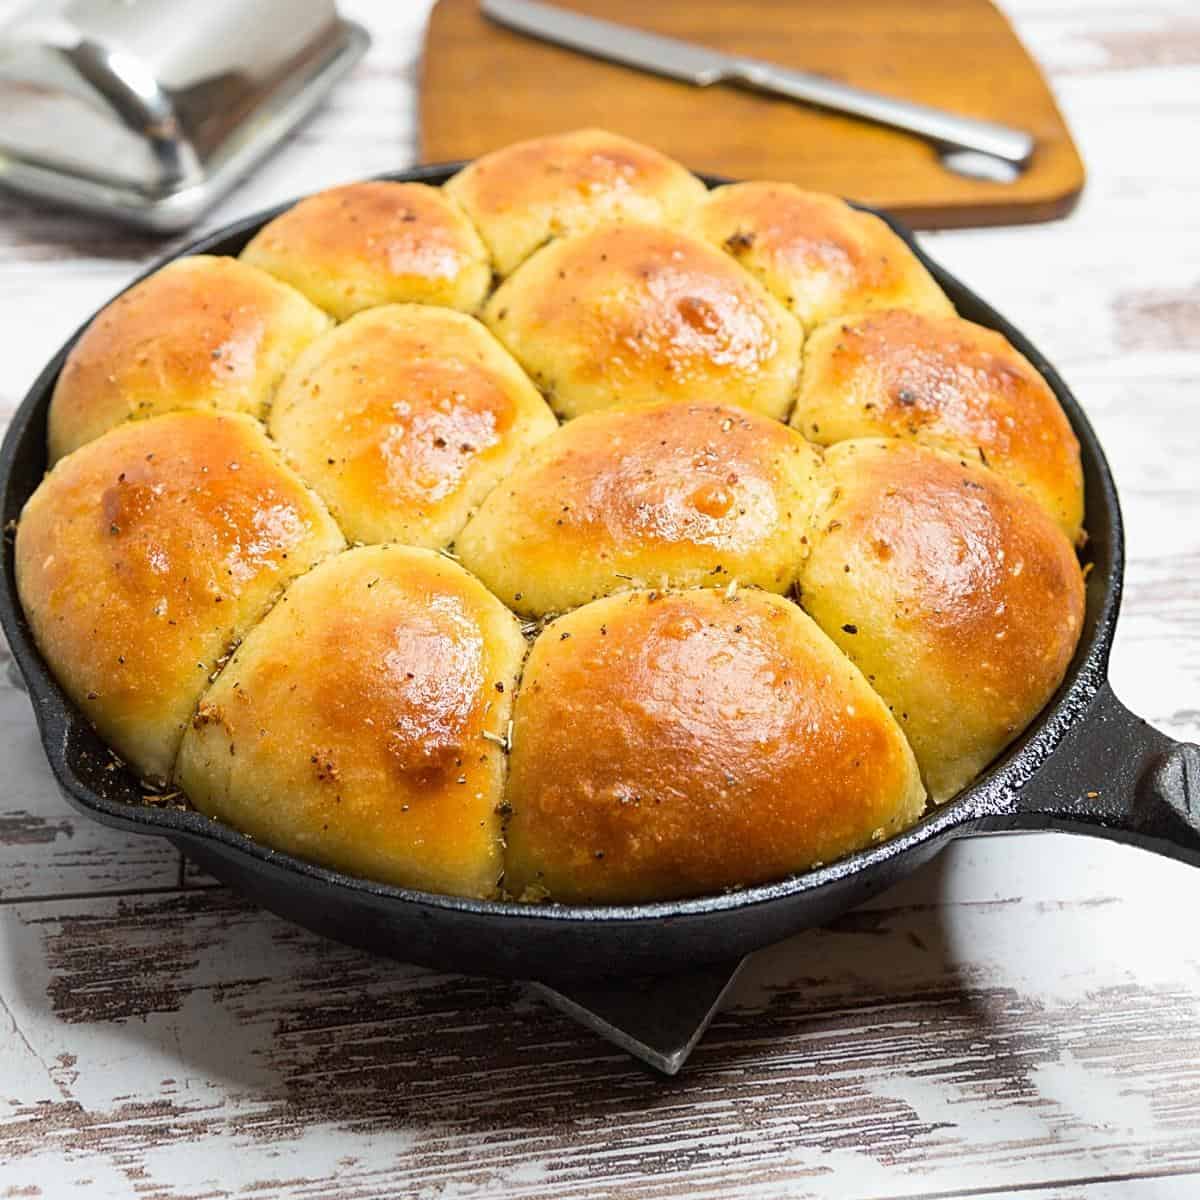
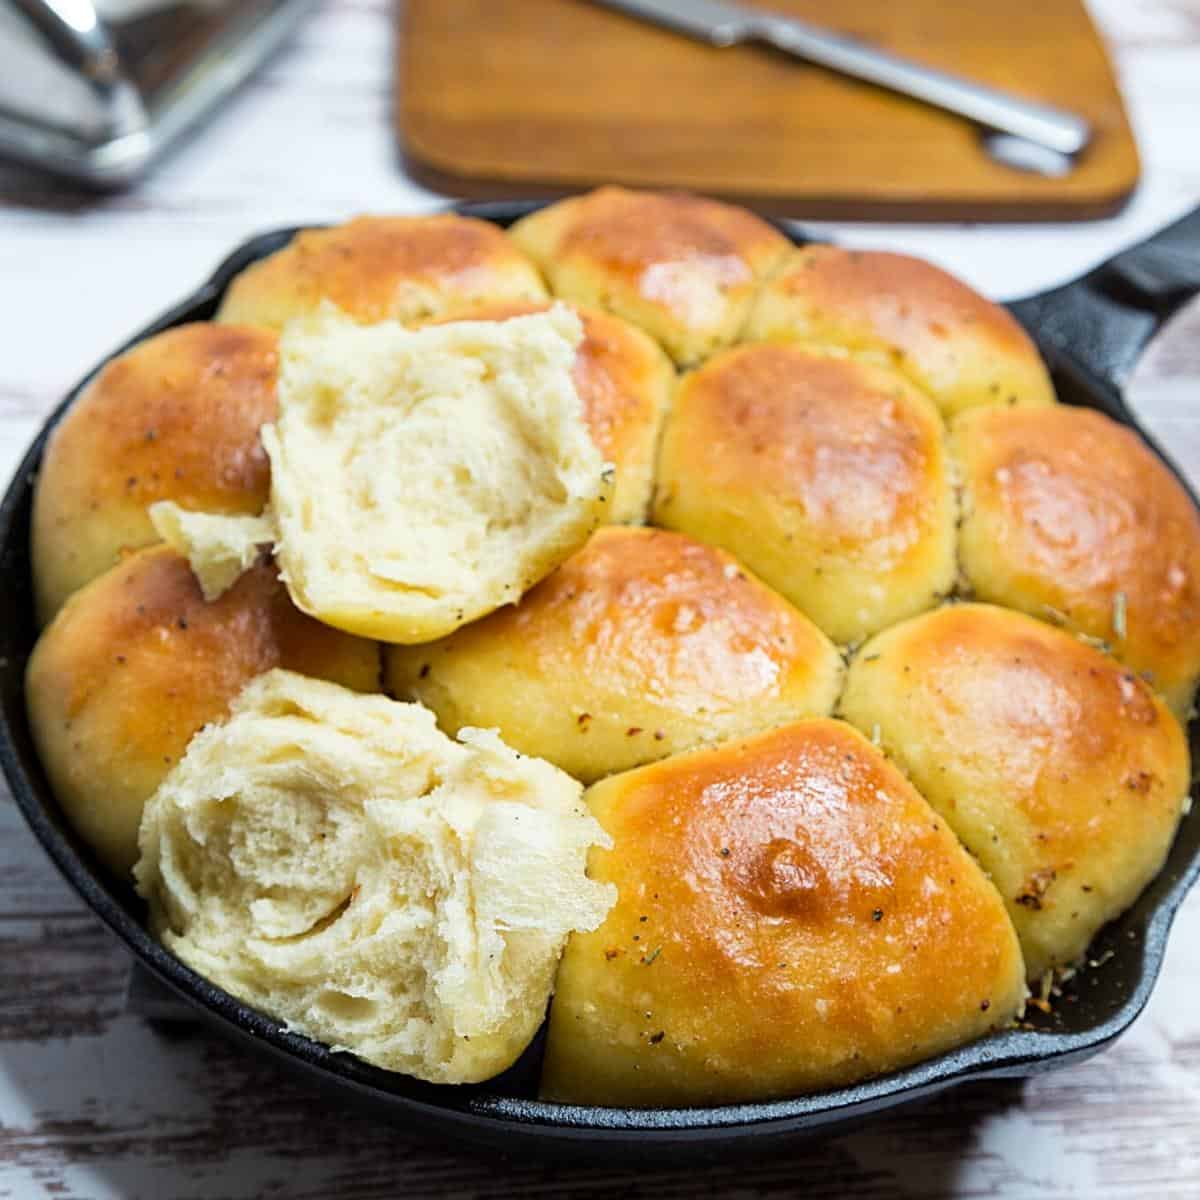
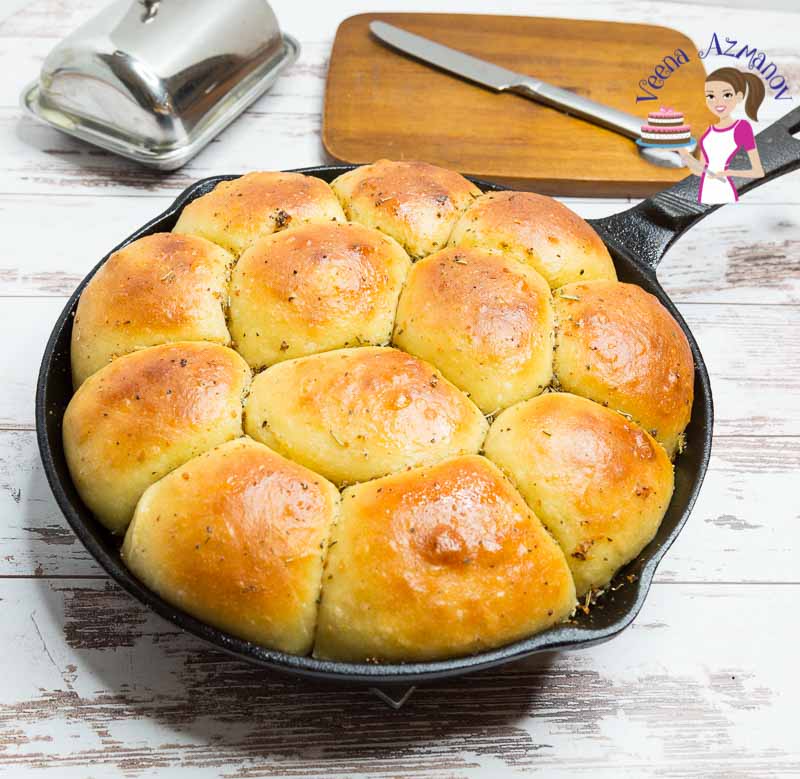
These Garlic Butter Dinner Rolls are a family favorite in our house! My kids absolutely adore them and often ask me to make a fresh batch. There’s something so satisfying about baking these rolls in a cast iron skillet—the edges develop the most amazing golden brown crust, while the centers stay soft and fluffy.
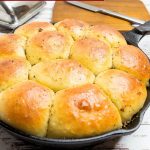
I love using a combination of olive oil and butter for my garlic herb butter mixture. This keeps the rolls incredibly moist and flavorful. Brushed with garlic butter before and after baking, they’re the perfect side for any meal—or a treat all on their own!
I have made these for festive gatherings such as Thanksgiving, Christmas, and Easter, and have always received wonderful compliments for their rich garlic flavor.
Why make these rolls
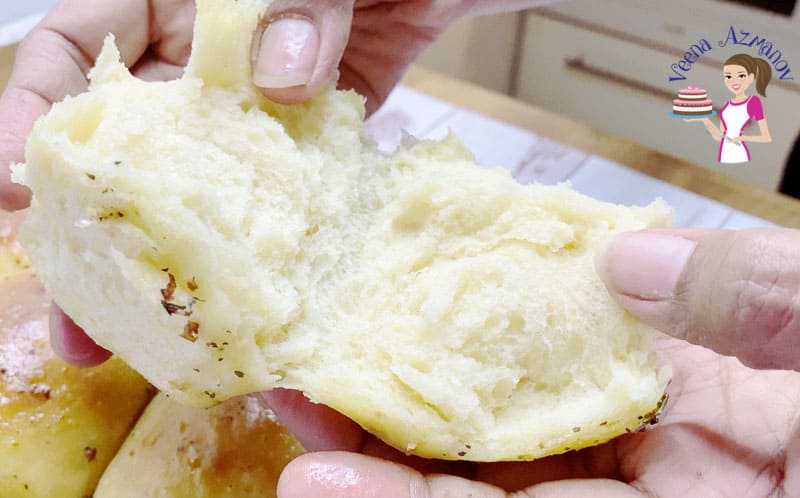
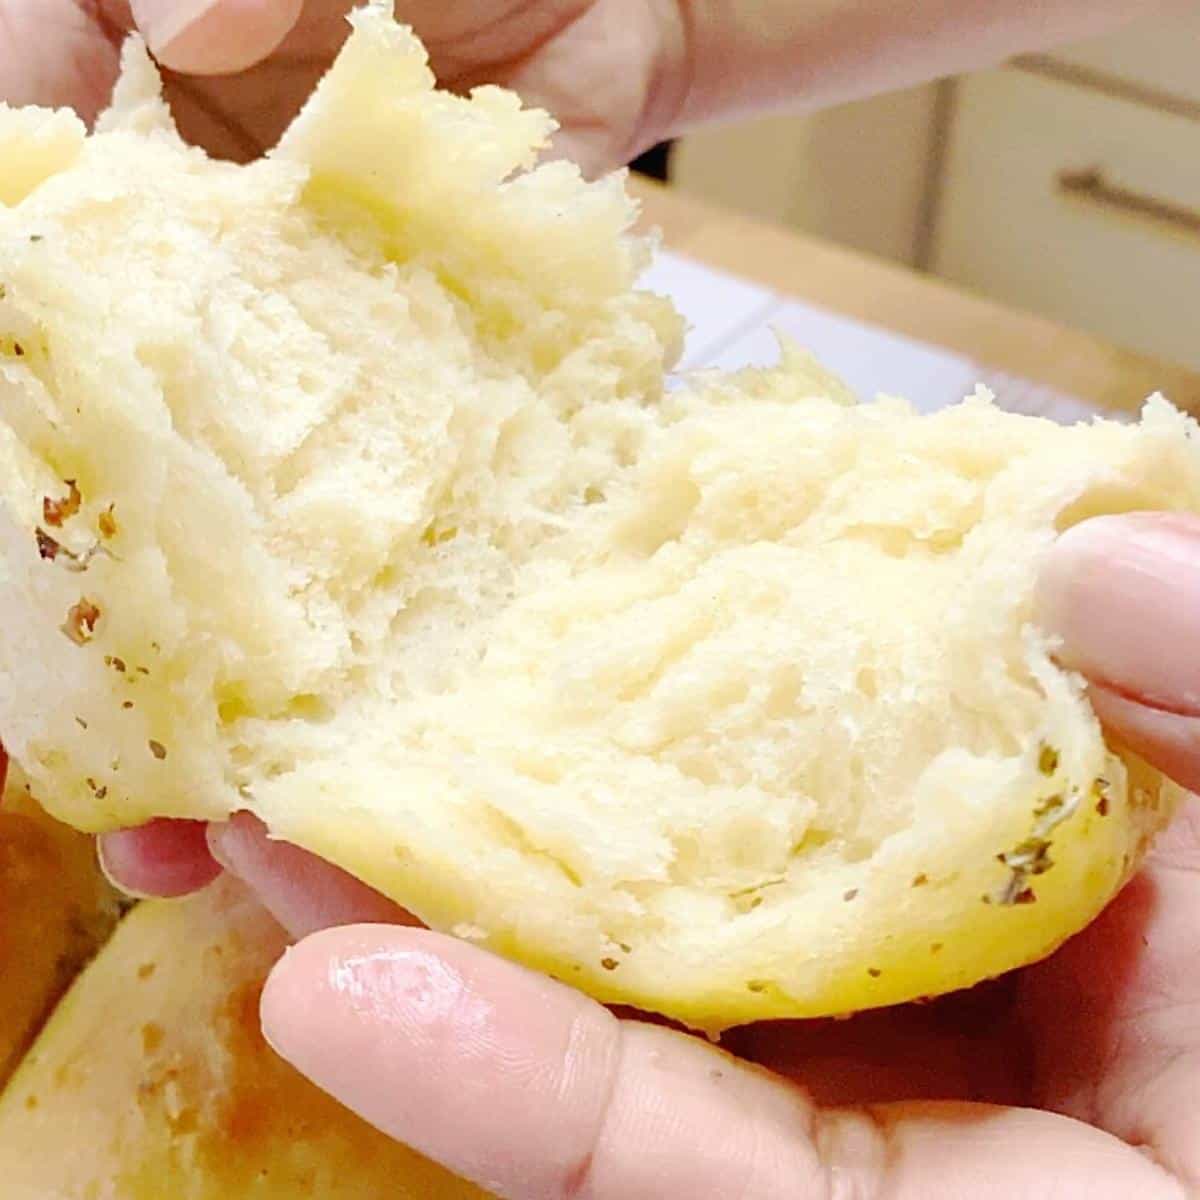
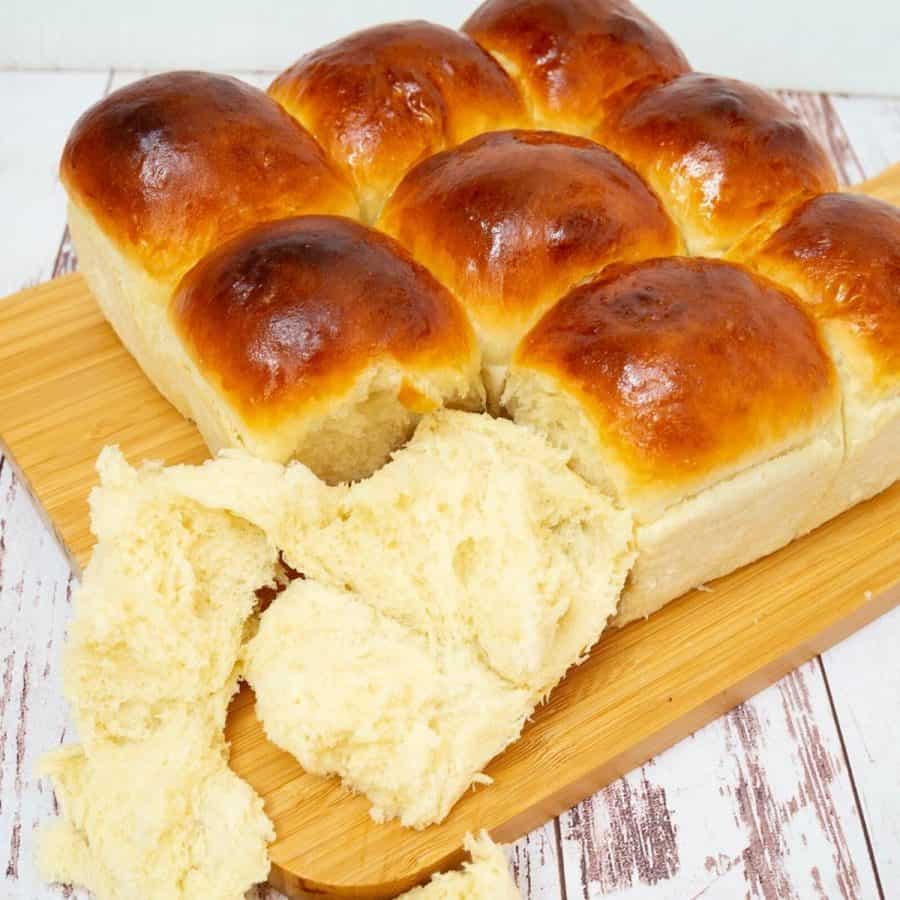
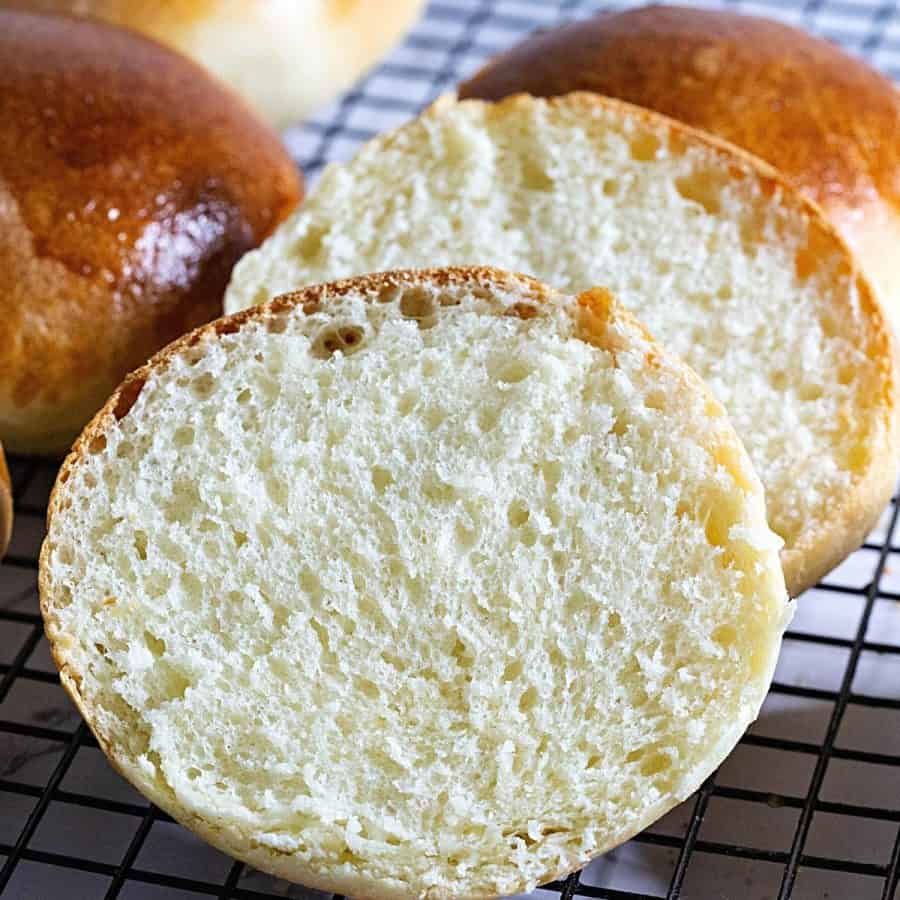
- First and foremost, it’s the pillowy-soft texture of these rolls that sets them apart from other breads.
- These rolls are meant to be devoured and admired, adding a touch of elegance and sophistication to any meal.
- Moreover, these dinner rolls are incredibly versatile to suit your preferences. These rolls welcome your creative spirit, allowing you to experiment with different spices and herbs to add your own twist.
- The aroma of freshly baked garlic rolls wafting through your kitchen is enough to bring a smile to anyone’s face and set the stage for an extraordinary meal.
Ingredients and substitutes
- The star of the show, undoubtedly, is the garlic itself. Freshly minced garlic cloves infuse the rolls with a robust, irresistible flavor. However, if you prefer a milder garlic taste, roasted garlic can be a wonderful substitute, adding a subtle sweetness while maintaining its signature essence.
- Flour, the staple ingredient in any bread recipe, forms the foundation of these rolls. All-purpose flour provides the ideal balance between lightness and structure, resulting in a fluffy texture.
- When properly activated, active dry yeast releases carbon dioxide, causing the dough to rise and creating the perfect air pockets within the rolls. Alternatively, you can also use 24 grams of fresh baker’s yeast.
- Butter brings richness and moisture to the equation and is another critical component. Unsalted butter is preferred; however, if you only have salted butter on hand, simply adjust the additional salt accordingly. For those seeking a dairy-free option, coconut oil or a plant-based butter substitute can ensure the rolls remain irresistibly tender.
- Finally, the aromatic herbs and seasonings elevate these rolls to new heights of deliciousness. Fresh parsley, finely chopped, adds brightness and freshness to the finished rolls.

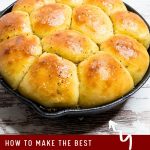
Step-by-step: Garlic dinner rolls
- Herb Garlic butter: Melt butter and oil in a heavy-bottomed saucepan. Add the garlic and Italian seasoning. Simmer on low for a minute. Remove from heat and cool until ready to use.
- Yeast mixture – In a mixing bowl or measuring cup, combine warm milk (110°F), yeast, oil, egg, and sugar. Stir and set aside.

- Combine – Measure the flour and salt into a large bowl or stand mixer with the dough hook attachment. Add the yeast mixture and combine well on medium-high speed for 2 to 3 minutes until all the flour is well incorporated.
- Knead – Continue to knead on medium speed for 4 to 5 minutes. Then, add the butter and continue to knead for 2 to 3 minutes until you have a soft, smooth, and elastic dough.
- When the dough is soft and shiny but still slightly sticky, shape it into a ball. Place the dough in an oiled bowl, seam side down. Coat the surface with oil to prevent drying. Cover with a clean kitchen cloth or plastic wrap. Leave in a warm place. Let it rise for 60 to 90 minutes until it doubles in volume.
- Divide: When the dough has doubled in volume, transfer it to a lightly floured surface. De-gas and reshape it into a ball. Then, roll it into a small log. Using a dough scraper, divide the log into three portions and then each portion into four again. This should give you 12 dinner rolls.
- Shape: Hold each piece of dough in your hand and gather all the seams together. Pinch the seams at the bottom, and then place the ball on a non-flour surface while holding it in your hand. Loosen the grip on the dough and roll it back and forth into a tight circle against the work surface. You will feel the dough become tight and smooth.

- Proof: Grease a 9-inch cast-iron skillet or 9 x 9-inch square baking pan with oil. Place the rolls in, seam side down. Cover with a clean kitchen cloth or plastic wrap and leave in a warm place for about 45 minutes until almost doubled in size.
- Oven: When the rolls are almost doubled in volume at about 30 minutes, preheat the oven to 375°F /190°C / Gas Mark 5
- Eggwash: Brush the rolls with the herbed garlic butter. Bake for about 20 to 22 minutes until lightly golden on top. Brush with more garlic butter when baked.
- Rest: Take them out of the pan and cover them with a clean kitchen cloth for at least 5 minutes to keep them soft
- No-Knead Knotted Rolls, Roasted Garlic Parmesan Bread Rolls
- Whole Wheat Dinner Rolls, Olive Sun-Dried Tomato Dinner Rolls
- Challah Sandwich Bread, Recipe For Brioche,
- Sourdough Loaf Bread
- See all bread recipes


Frequently asked questions
Garlic rolls are best enjoyed when fresh, but they can be safely kept at room temperature for about 2-3 days. Once the rolls have cooled completely, place them in an airtight container or wrap them tightly in plastic wrap. Keep them in a cool, dry place away from direct sunlight and excessive heat.
Absolutely! Making garlic rolls ahead of time is a great way to save time and reduce stress when hosting a dinner party or a special gathering. Once you have prepared the rolls and shaped them, you can cover them tightly with plastic wrap and place them in the refrigerator overnight. When you’re ready to bake them, simply remove them from the fridge, let them come to room temperature for about 30 minutes, and then proceed with the baking instructions.
Yes, you can freeze garlic rolls! In fact, it’s a fantastic way to enjoy these delectable treats at any time. After baking and cooling the rolls completely, place them in an airtight container or a freezer bag. Make sure to separate the rolls with parchment paper or plastic wrap to avoid sticking. When you’re ready to serve, simply thaw at room temperature or reheat in a preheated oven at 350°F (175°C) for a few minutes, until warmed through.
These are great with any soup, stew, chili, or slow-cooked meat.
Soup, salad, and dinner rolls are a complete meal in our home.
They are perfect to soak up the gravy in slow-cooked lamb, beef, or chicken dishes. My kids love lamb stew or chili with this bread.
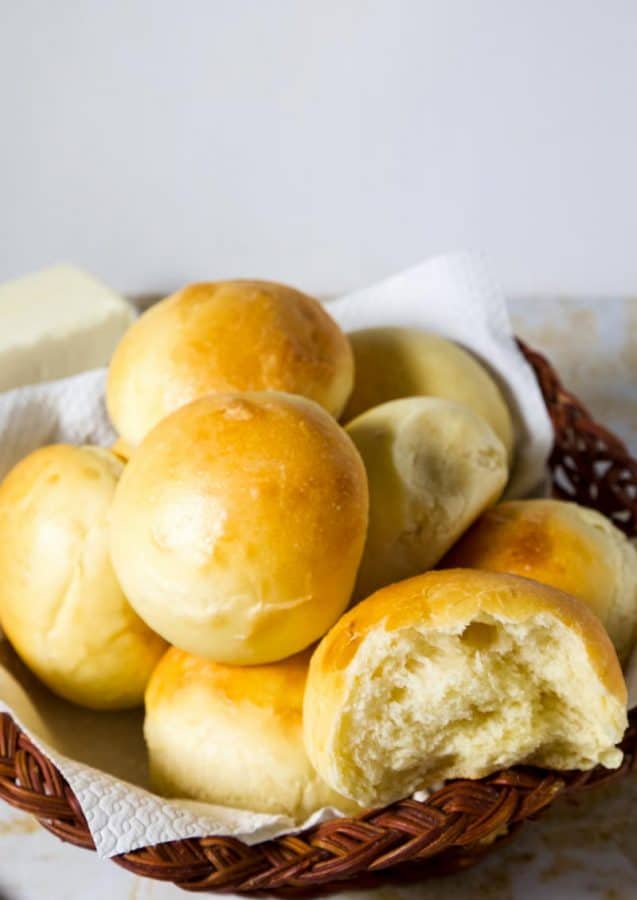
Garlic Rolls
Are you looking to take your dinner rolls from bland to bold? Look no further than garlic dinner rolls! These rolls are loaded with savory flavor and will surely bring a crowd-pleasing kick to any dinner table. Whether you are a seasoned chef or a beginner baker, this recipe will provide everything you need to know about making garlic rolls.
Video
Ingredients
- 60 g (2 oz) Butter
- 30 ml (2 tbsp) Olive oil
- 2 – 4 tbsp Minced fresh garlic or 6 to 8 tbsp mashed roasted garlic
- 1 tbsp Italian herbs
Method
- Herb Garlic butter: Melt butter and oil in a heavy-bottomed saucepan. Add the garlic and Italian seasoning. Simmer on low for a minute. Remove from heat and cool until ready to use.60 g Butter, 30 ml Olive oil, 2 – 4 tbsp Minced fresh garlic, 1 tbsp Italian herbs
- Yeast mixture – In a mixing bowl or measuring cup, combine warm milk (110°F), yeast, oil, egg, and sugar. Stir and set aside.320 g Warm milk, 7 g Active dry yeast , 30 g Sugar, 15 g Oil, 50 g Egg
- Combine – Measure the flour and salt in a mixing bowl or stand mixer with the dough hook. Add the yeast mixture and combine well on medium-high speed for 2 to 3 minutes, until all the flour is well incorporated.500 g Bread flour , 9 g Kosher salt
- Knead – Continue to knead on medium speed for 4 to 5 minutes. Then, add the butter and continue to knead for 2 to 3 minutes until you have a soft, smooth, and elastic dough.30 g Butter
- When the dough is soft, shiny, but still slightly sticky, shape it into a ball. Place the dough in an oiled bowl, seam side down. Coat the surface with oil to prevent drying. Cover with a clean kitchen cloth or plastic wrap. Leave in a warm place. Let rise for 60 to 90 minutes until it doubles in volume.
- Divide: When the dough has doubled in volume, transfer it to a well-floured surface. De-gas and reshape it into a ball. Then, roll it into a small log. Using a dough scraper, divide the log into three portions, and then divide each portion into four again. This should give you 12 dinner rolls.
- Shape: Hold each piece of dough in your hand and gather all the seams together. Pinch the seams at the bottom, and then place the ball on a non-flour surface while holding it in your hand. Loosen the grip on the dough and roll it back and forth into a tight circle against the work surface. You will feel the dough become tight and smooth.
- Proof: Grease a 9-inch cast-iron skillet or 9 x 9-inch square baking pan with oil. Place the rolls in, seam side down. Cover with a clean kitchen towel or plastic wrap and leave in a warm place for about 45 minutes, until the dough has almost doubled in size.
- Oven: When the rolls are almost doubled in volume, at about 30 minutes, preheat the oven to 375°F /190°C / Gas Mark 5
- Eggwash: Brush the rolls with the herbed garlic butter. Bake for about 20 to 22 minutes until lightly golden on top. Brush with more garlic butter when baked.
- Rest: Take them out of the pan and cover them with a clean kitchen cloth for at least 5 minutes to keep them soft
- Enjoy!
Notes
-
- Ensure that your yeast is fresh and active. Test it by proofing it with a pinch of sugar in warm water. This step guarantees that your rolls will rise beautifully and have that light, fluffy texture everyone loves.
-
- Next, don’t be afraid to put some elbow grease into the dough when kneading. Kneading for a good amount of time, around 5-6 minutes, develops the gluten and gives your rolls desirable chewiness.
-
- Another important aspect to consider is the temperature of your ingredients. Make sure your butter is softened but not melted, as this will help create a smooth and cohesive dough. Similarly, if using milk, warm it up slightly so that it combines easily with the other ingredients.
-
- When shaping the rolls, take your time and be gentle. Roll each portion of dough into a tight ball and tuck the edges underneath to create a smooth top. Placing them close together on the baking sheet will result in soft and tender sides, while spacing them out a bit more will yield crispier edges.
-
- Lastly, don’t forget the final brush of garlic-infused butter on top of the rolls before and after baking. This step adds an extra layer of flavor and gives the rolls a beautiful golden sheen.
Equipment you will need


Nutrition
Tried this recipe?
Mention @veenaazmanov_kitchen or tag #veenaazmanovkitchen!Don’t lose this recipe! Save it for Later!
📌 Save this Recipe for later on Pinterest so you can easily find it again.
⭐ Add Veena Azmanov Kitchen to your Google Preferred Sources.
It helps Google show you more of our recipes.
📧 Subscribe for new recipes delivered to your inbox.
🎥 Follow us for more recipes


Hi Veena!
Is there any way I can use a diary-free alternative and go with almond milk?
Thank you!
Yes, Tatyana. You can definitely use almond or coconut milk to make these rolls.
This is such a good recipe to always have on hand. These rolls go with just about any meal – so delicious!
Very true, Lauren. A must-have recipe on hand.