
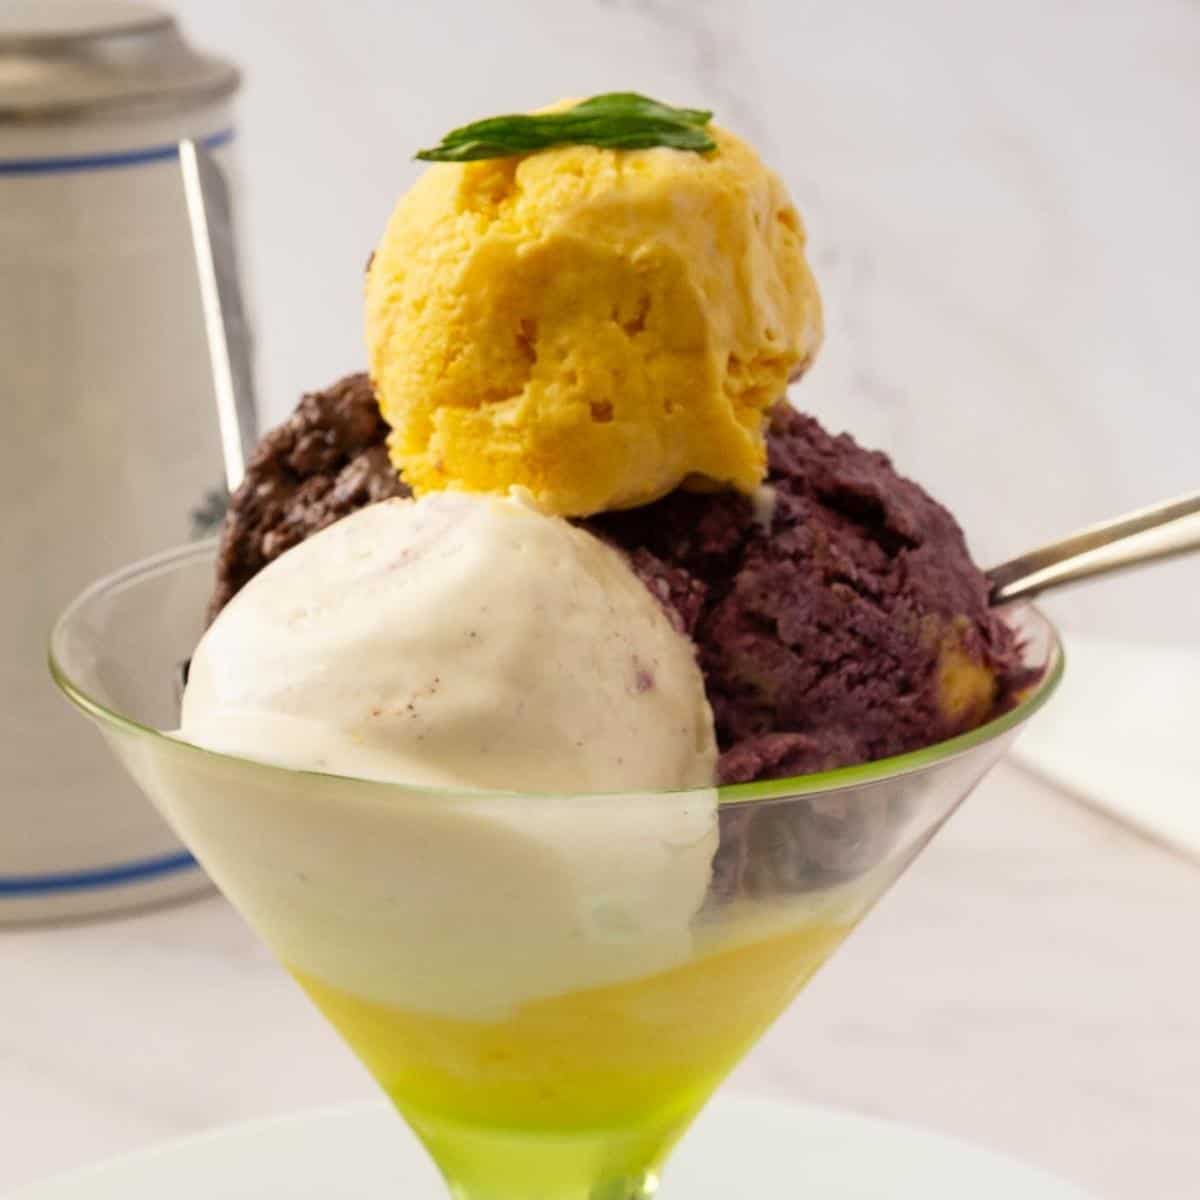




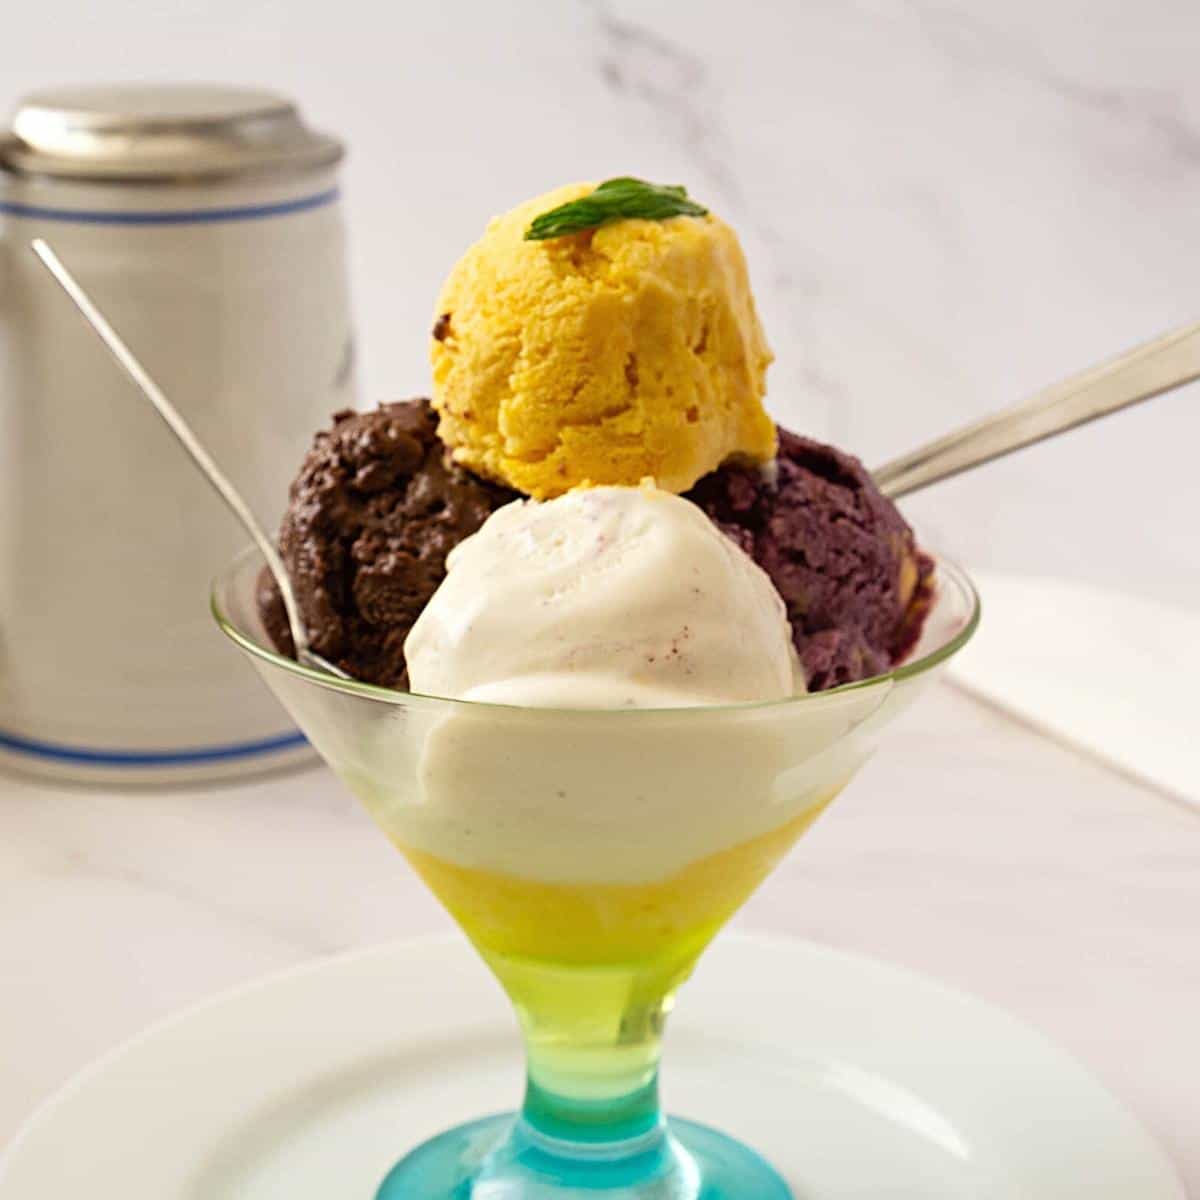
If you’ve ever wanted homemade ice cream but don’t own an ice cream maker, this no-churn ice cream recipe is the answer. With just a few simple ingredients and a few minutes of prep, you can make rich, creamy ice cream at home without any special equipment. Once you master the basic method, you can create endless flavors from vanilla and chocolate to fresh fruit, cookies, and more.
I started making no-churn ice cream years ago because I wanted homemade ice cream without having to pull out extra equipment. What surprised me most was how creamy and delicious it turned out. Since then, I’ve used this simple base to create dozens of flavors, from fruit ice creams and chocolate ice cream to seasonal favorites throughout the year. It’s one of the easiest desserts to customize, which is why I keep coming back to it every summer.
Why You’ll Love This No-Churn Ice Cream
- No ice cream maker required.
- Easy master recipe for countless flavor variations.
- Smooth and creamy texture without eggs.
- Ready for the freezer in just minutes.
- Perfect for fruit, chocolate, cookie, and candy mix-ins.
- Great make-ahead dessert for summer entertaining.
Ingredients and substitutes
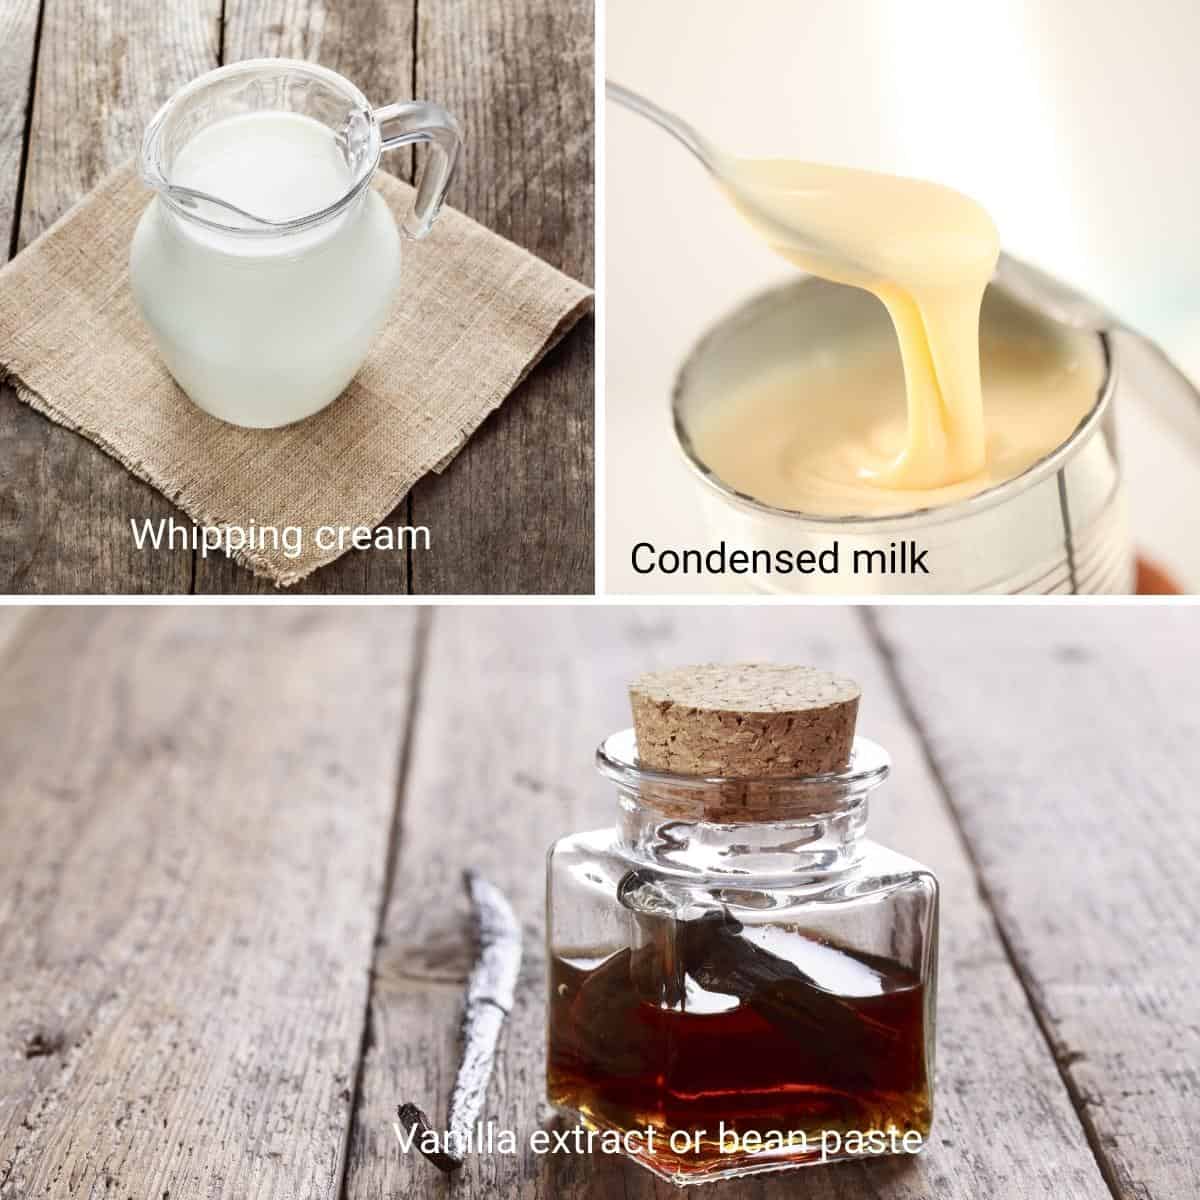
- Whipping cream – The higher the fat, the creamier your ice cream. I use heavy whipping cream with 38% fat.
- Sour cream – My preferred addition to no-churn ice cream. It balances the sweetness from the condensed milk and creates a richer, creamier texture.
- Condensed milk – Condensed milk is sweetened, which is why we do not add any additional sugar. I always use my homemade condensed milk, which takes just 5 minutes to make. The best thing about the homemade recipe is that you can reduce the sugar.
- Vanilla – Condensed milk has vanilla in it, and yet a little more goes a long way. Of course, you can also omit the vanilla extract.
Why Add Sour Cream to No-Churn Ice Cream?
That’s the one thing that separates your method from many other no-churn recipes online. Finally, I would keep all the flavor variations because that’s the reason this page exists separately from:
- Vanilla Ice Cream
- Strawberry Ice Cream
- Raspberry Ice Cream
- Mango Ice Cream
Step-by-step: No-churn ice cream recipe
Ice cream base
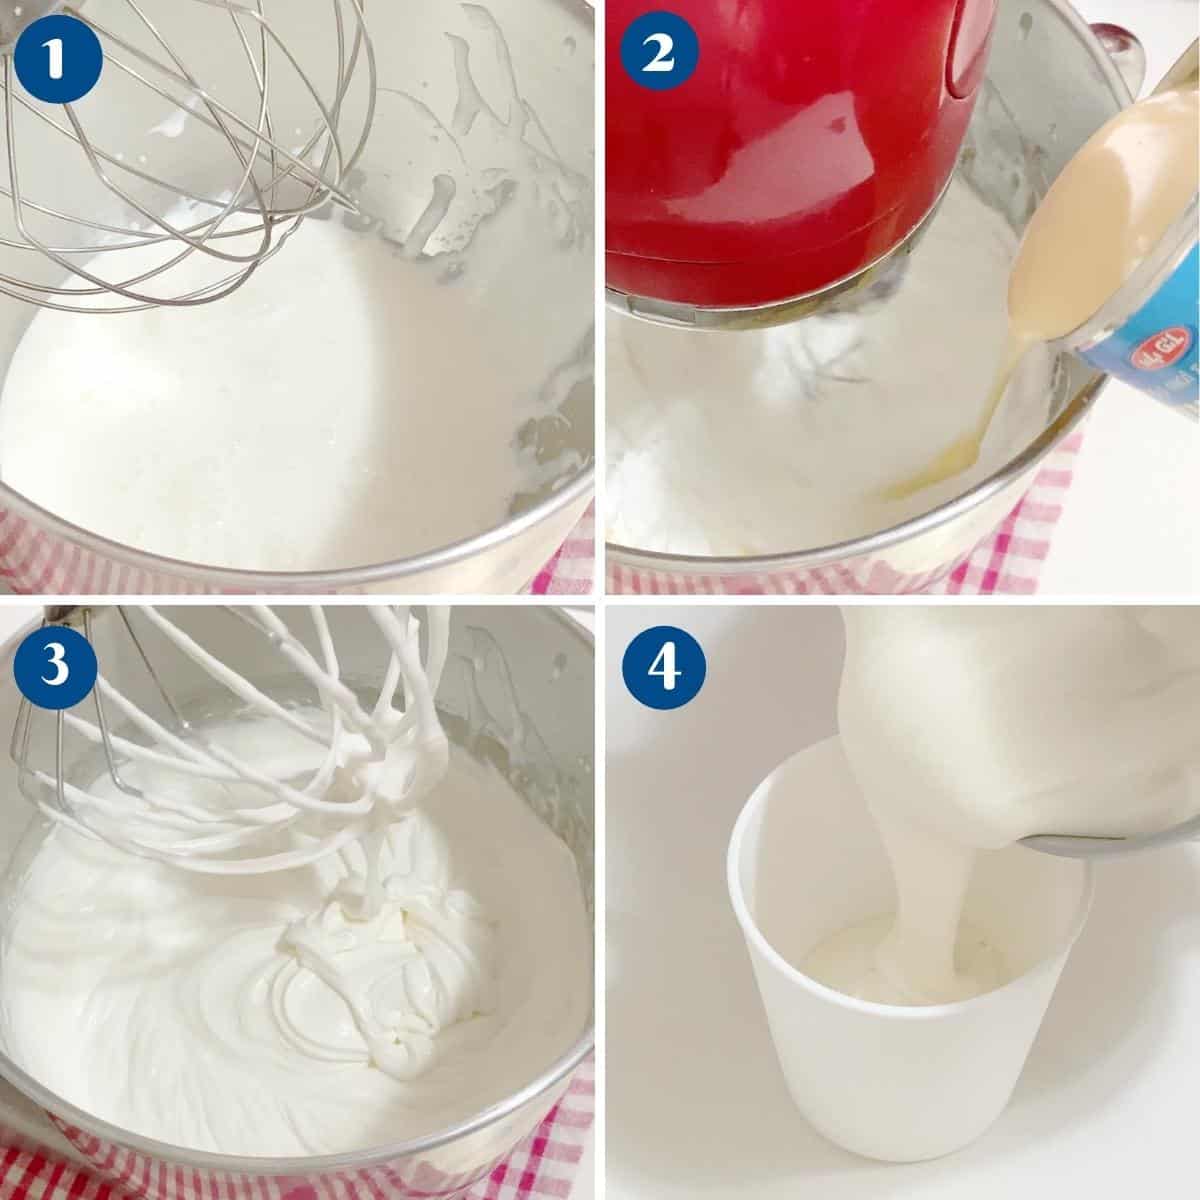
- In the large bowl of a stand mixer, with the whisk attachment, whip the heavy cream and sour cream until soft peaks
- Next, add the condensed milk and vanilla extract. Mix for a minute more to combine.
Flavors
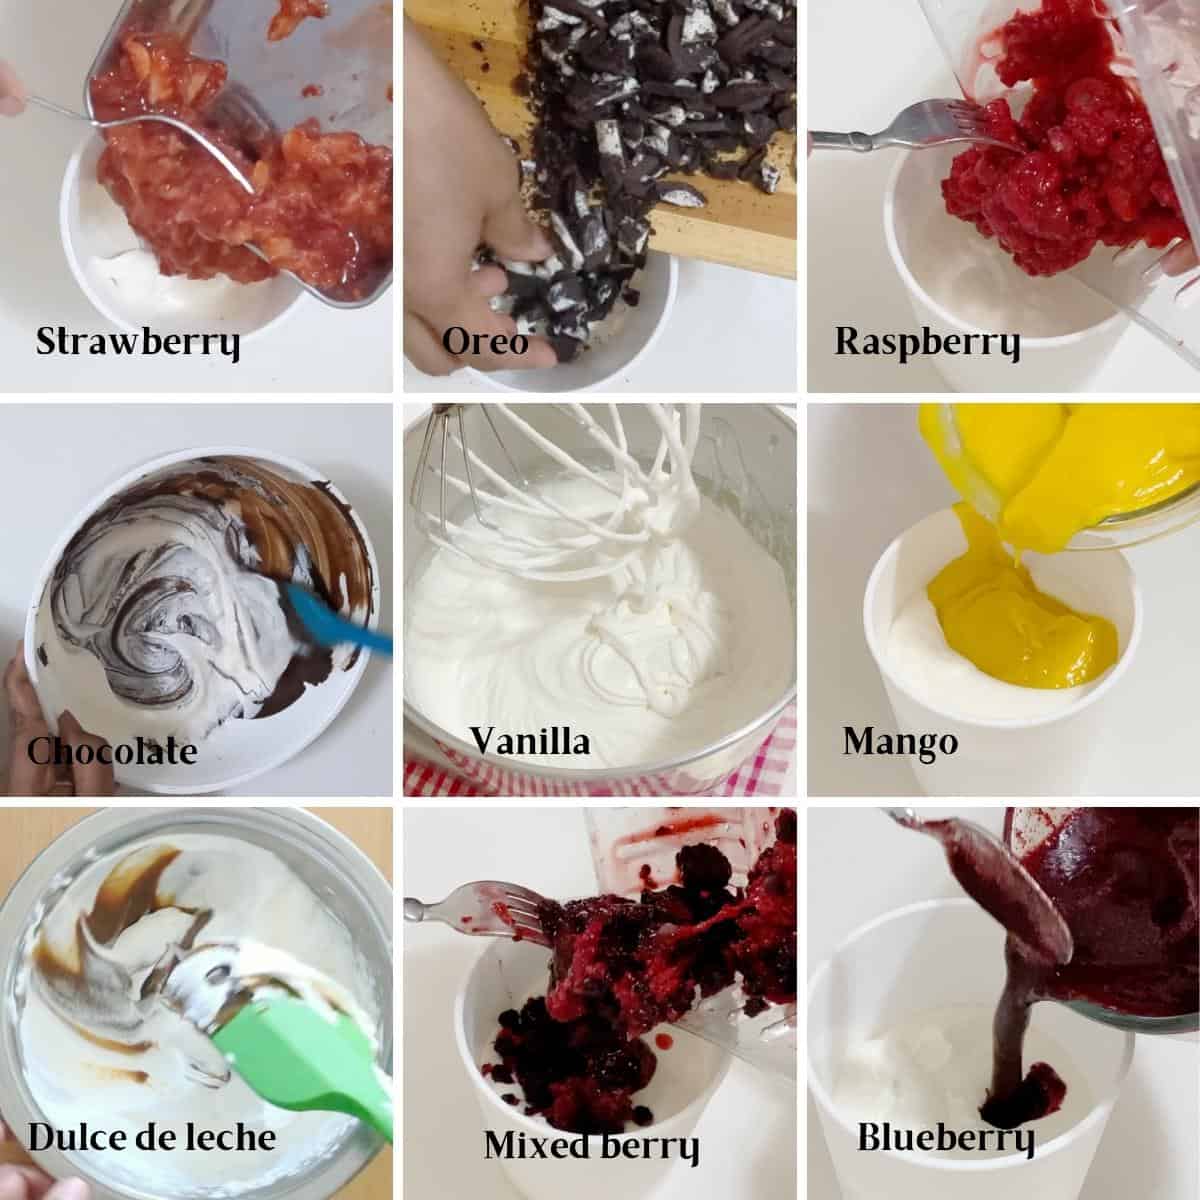
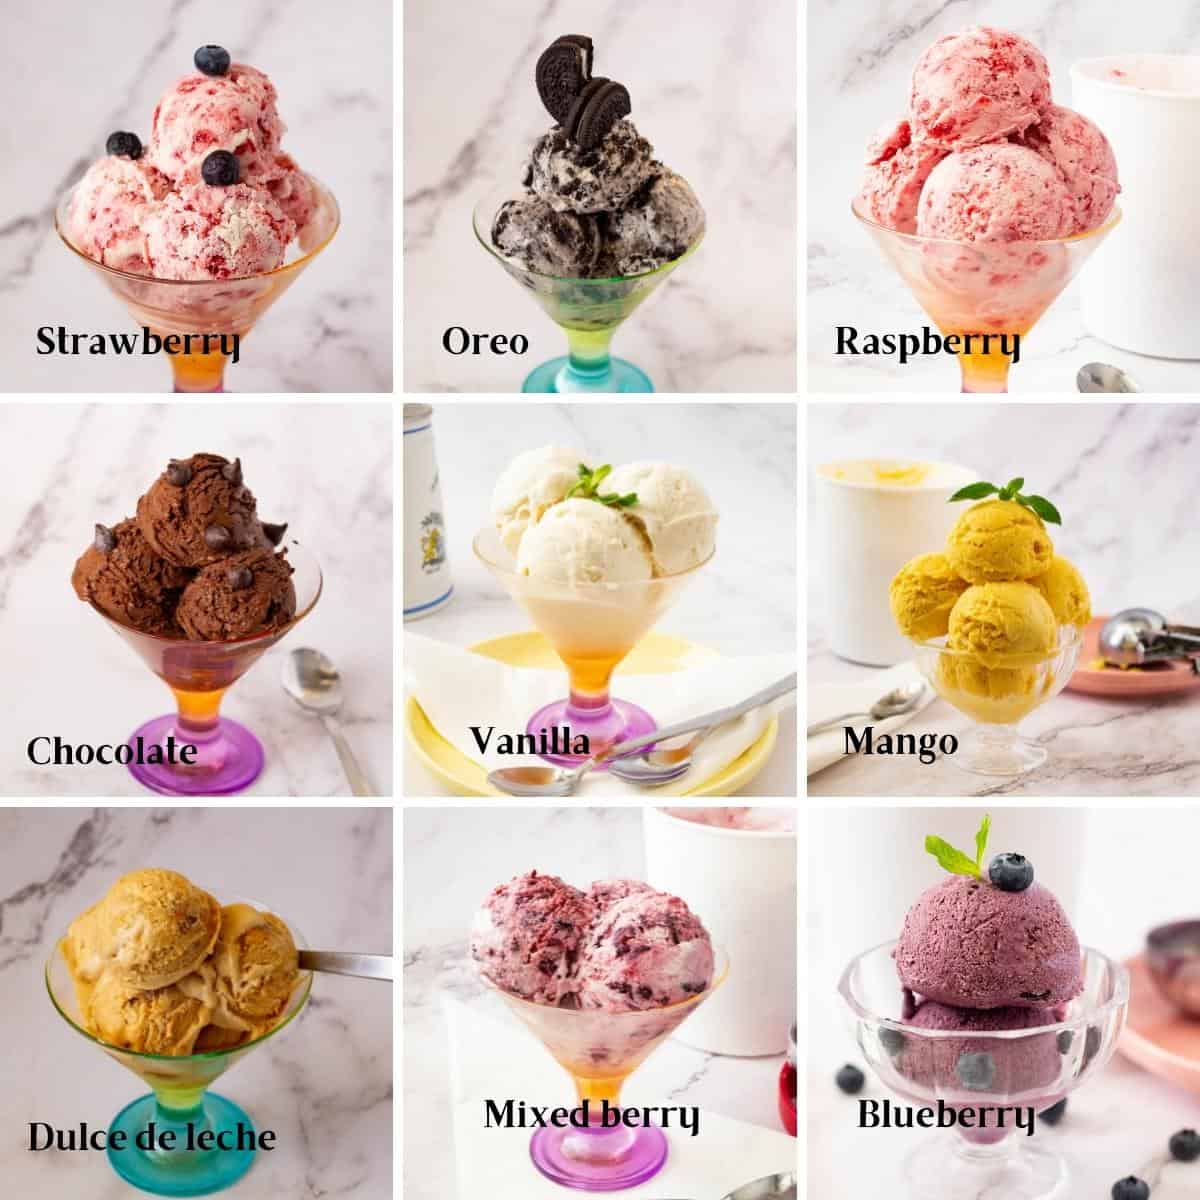
- Vanilla Ice Cream – Pour the base into an ice cream storage container.
- Blueberry Ice cream – Add blueberry puree to the base and stir well to combine.
- Raspberry ice cream – Add raspberry puree to the base and stir well to combine.
- Mixed Berry ice cream – Add crushed, mixed berries into the base and stir well to combine.
- Blackberry ice cream – Add crushed blackberries to the base. Then, stir well to combine.
- Lemon ice cream – Add lemon curd to the base and stir well to combine.
- Chocolate ice cream – Add melted chocolate and cocoa paste into the base. Then, stir well to combine.
Freeze
- Freeze for at least 4 hours or overnight.
Pro tip – For the creamiest ice cream, thaw the container for at least 10 minutes before trying to scoop the ice cream. This will soften any ice crystals. - Enjoy!
Storage
- Store no-churn ice cream in an airtight container in the freezer for up to 2 months.
- To help prevent ice crystals from forming, press a piece of plastic wrap or parchment paper directly onto the surface of the ice cream before sealing the container.
- For the best texture, let the ice cream sit at room temperature for 5 to 10 minutes before scooping.
- If making multiple flavors, label each container with the flavor and date before freezing.
How to make No-Churn Ice Cream
When you crave ice cream but don’t have an ice cream maker, this super-easy technique works every time. For easy, homemade, creamy, no-churn ice cream that’s safe to eat, this recipe is hard to beat. I’ve also included some tasty tips and lots of flavors.
Video
Ingredients
- 240 ml (1 cup) Whipping cream/Heavy Cream (38% or more)
- 120 ml (cup) Sour cream
- 120 ml (½ cup) Sweetened condensed milk
- 2 tsp Vanilla extract
- 1 cup Blueberry puree (Fruit puree, sauces)
- 1 cup Raspberry puree
- 1 cup Blackberry puree
- 1 cup Mixed Berries
- 1 cup Lemon curd
- 1 cup Melted chocolate
Method
- In the bowl of a stand mixer fitted with the whisk attachment, whip the cream and sour cream until almost soft peaks form.240 ml Whipping cream/Heavy Cream, 120 ml Sour cream
- Next, add the condensed milk and vanilla extract. Mix a minute more to combine. This is your basic no-churn vanilla ice cream.120 ml Sweetened condensed milk , 2 tsp Vanilla extract
- Vanilla – Pour into an ice cream storage container Vanilla Ice Cream – Pour the base into an ice cream storage container Blueberry Ice cream – Add blueberry puree to the base. Stir well to combineRaspberry ice cream – Add raspberry puree to the base. Stir well to combineMixed Berry ice cream – Add crushed, mixed berries into the base. Stir well to combineBlackberry ice cream – Add crushed blackberries to the base. Stir well to combineLemon ice cream – Add lemon curd to the base. Stir well to combine.Chocolate ice cream – Add melted chocolate and cocoa paste into the base. Stir well to combine.
- Freeze for at least 4 hours or overnight.
Notes
- This recipe creates a versatile no-churn ice cream base that can be used for countless flavor variations.
- Sour cream helps balance the sweetness of the condensed milk and creates a richer, creamier texture.
- Fruit purees, chocolate, lemon curd, cookie crumbs, candy pieces, and nut butters can all be added to customize the flavor.
- For fruit ice creams, use ripe fruit for the best flavor and color.
- Freeze for at least 4 hours, but overnight freezing provides the best results.
- Store in an airtight container in the freezer for up to 2 months.
- Press plastic wrap directly onto the surface before covering to help prevent ice crystals.
- Allow the ice cream to sit at room temperature for 5 to 10 minutes before scooping.
Equipment you will need

Nutrition
Tried this recipe?
Mention @veenaazmanov_kitchen or tag #veenaazmanovkitchen!Tips for Success
- Use cold whipping cream for the best volume and texture.
- Do not overwhip the cream or it can become grainy.
- Full-fat ingredients create the smoothest, creamiest ice cream.
- Fold flavorings in gently if you want swirls and ripples throughout the ice cream.
- Freeze overnight for the best texture and easiest scooping.
- Let the ice cream soften at room temperature for 5 to 10 minutes before serving.
- Store the ice cream in airtight containers to reduce ice crystal formation.
- Experiment with different flavors, mix-ins, sauces, fruit purees, and cookie crumbles once you’ve mastered the basic recipe.
- Vanilla Ice Cream,
- Strawberry Ice Cream, Blueberry Ice Cream
- Mixed Berry Ice Cream, Mango Ice Cream
- Raspberry Ice Cream or Raspberry Pavlova Ice Cream


Frequently asked questions
I think no-churn is not a very common term in all parts of the world. No-churn simply means that you don’t need an ice cream maker. It refers to the paddle in an ice cream maker that turns (churns) the ice cream mixture from a liquid state to a creamy ice cream consistency.
Yes. While sweetened condensed milk gives the smoothest texture, you can use alternatives such as coconut cream and maple syrup, cream cheese, or other no-churn ice cream bases. Keep in mind that the texture and sweetness will vary depending on the ingredients used.
Yes, you can make no-churn ice cream without heavy cream by using alternatives like coconut cream or Greek yogurt. However, the texture and flavor may be different, so it’s best to follow a recipe specific to the alternative you choose.
Homemade no-churn ice cream can last in the freezer for up to 2-3 months if stored in an airtight container.
No, because it won’t be sweet! The difference between evaporated and condensed milk is that condensed milk is sweet with a caramel-like flavor, while evaporated milk is just thick milk with 60% of the liquid evaporated.
more basic recipes you may like
- How to Brown Butter
- How to make Buttermilk for Baking
- Cheesecake Ice Cream
- Making Your Own Yogurt or Greek Yogurt
- Homemade Condensed Milk



Don’t lose this recipe! Save it for Later!
📌 Save this Recipe for later on Pinterest so you can easily find it again.
⭐ Add Veena Azmanov Kitchen to your Google Preferred Sources.
It helps Google show you more of our recipes.
📧 Subscribe for new recipes delivered to your inbox.
🎥 Follow us for more recipes


Hi, I’m Veena
I’m the recipe developer, baker, and food photographer behind Veena Azmanov Kitchen.
I’ve spent years developing and testing recipes, from everyday meals and homemade breads to cakes and desserts.
I share the practical tips and little details I’ve learned along the way so you can get great results in your own kitchen.






Thanks for these tips – I’m going to save them for a day when I’m ill-prepared to use my ice cream maker bowl!
Thank you, Leslie. I hope you try this
Love homemade Ice Cream! and this new trend for no burn ice cream sounds so good! Quick and easy to make and I am sure it taste as good as the regular ice cream!
Absolutely Veronika – love no-churn – so simple and so easy.
Homemade ice cream is so good! These are great tips on how to make the best recipes and skip the store bought.
Thank you, Sharon. Glad you find my tips useful.
I’ve made no-churn ice cream before, and it was good, but not knock-your-socks-off good. I think whipping the cream first, like you suggested, might be the key!
Thanks Abby. Yes, whipping the cream will do the trick. You must try it. .
I’ve made no churn homemade ice cream before and it’s so much easier than I ever thought it would be. Now dont get me wrong…my dad had a homemade ice cream maker growing up and he made homemade ice cream all the time…but no churn ice cream is more like store bought ice cream from a consistency and taste standpoint. Love your recipe!
I know what you mean – now I prefer no-churn rather than going thru all the drama of freezing the box and stuff.
Love the tip about the container! It does make a difference! Thanks for all the tips, and thank you for reminding us not to complain if it’s not what we expected, but enjoy 🙂 . All your ice creams look fantastic!
Thanks Nicoletta. Definitely makes a difference. Thanks
I love that your posts are always so informative! Your family must love you with all your delicious looking cakes and treats. This recipe will definitely come in handy this summer. I have an ice cream maker but it’s a bit of a pain to use so I make no churn when I make it. I love your fruit sauces too. Once we get some fresh berries this summer I’m going to try them.
Thank you, Denise. Happy to hear you find my post useful. I love fruit sauces very much – so much you can do with these.
No churn ice cream is pretty much a revelation isn’t it? The first time I tried it, even though I had an ice cream maker, I was blown away. Love all of your different flavors with just one standard recipe!
Absolutely!! I think it’s such a simple and easy way to make ice cream at home.
I totally agree that the container can make all the difference in the end product of the ice cream. If you use a glass container or something that isn’t insulated enough, it makes too many ice crystals. Great tips!
Thank you Jenni. True the container can make a huge difference to the end product of the ice cream
wow, you really make it look so easy. I don't believe that you don't like to paint. This looks like an artist job.
I too envy such work and may be with you encouragment I will try.
Thanks for sharing.
Tania