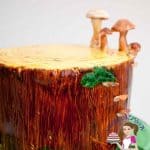
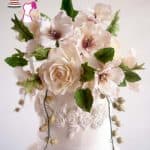
Best Vanilla Cake Recipe for Carving
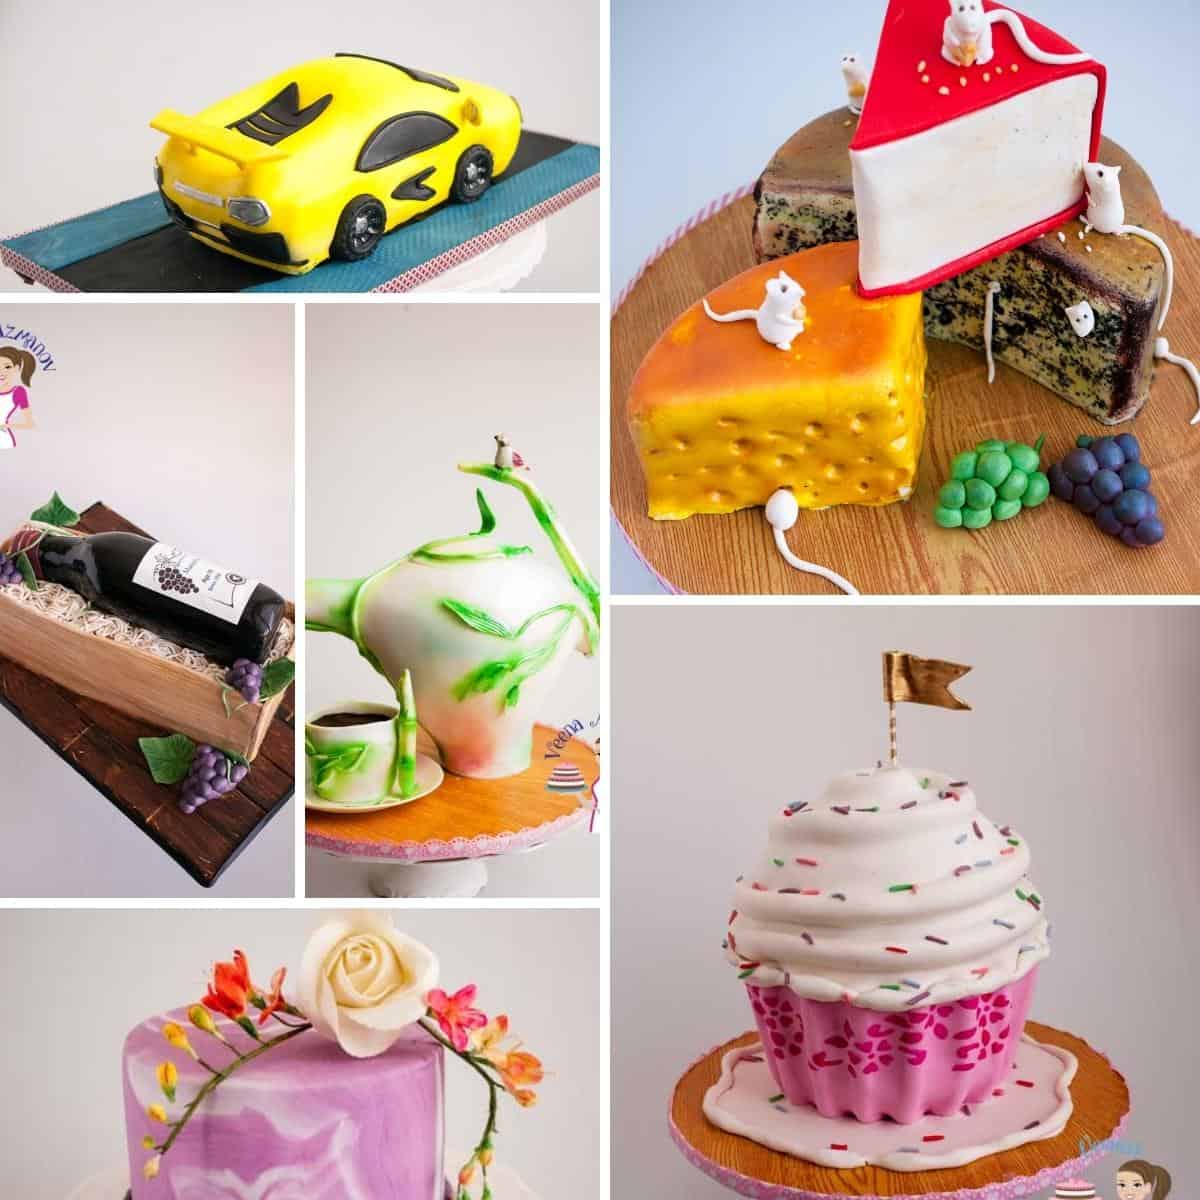
One of the most important things when sculpting a novelty cake is the right cake as a base. A cake that can be cut and manipulated without falling apart. A cake with a soft crumb and yet delicious. This vanilla cake recipe for carving will prove to be the best sculpting cake recipe you will ever use. And It’s delicious too.
If I make a sculpted cake, I make it for customers or for my kids’ birthdays, not competitions. This means when I need a cake to carve, I need one that will also taste good. So I stay away from recipes online that say this is for competition and don’t taste as good, but they work great for carving.
Why use this cake?
- I wish you could see how soft and moist my carving cake recipes are.
- I have been using this vanilla cake for carving recipes for a long time now, and have carved many cakes very successfully.
- It’s not as dense as a pound or sponge cake, but not as delicate as vanilla cream cake or my light and fluffy vanilla cake.
- I strongly recommend freezing the cake for at least an hour before carving. Freezing the cake helps with fewer crumbs. So while I say this is dense, it’s also rich and delicious.
- This and my chocolate cake for carving recipe have had rave reviews from my customers.
Ingredients and substitutes
- Butter – I prefer to use unsalted butter so I can control the quantity of salt in my recipe. And yet, if salted butter is all you have, go ahead and use it. Just omit salt in the recipe.
- White sugar – White sugar contributes to a nice, soft, tender crumb and gives a nice color. You can add brown sugar, which will contribute to the taste and color differently.
- Eggs – Always use large-size eggs when baking unless specified. The size of the eggs varies significantly these days. So as a guide, one large egg weighs between 50 and 60 grams.
- Vanilla– A good quality vanilla will make a huge difference in anything you make. Premium vanilla can be expensive, which is why I make my homemade vanilla extract, bean paste, or sugar.
- All-purpose flour – Yes, regular plain flour (maida) is all you need for this cake. And, since self-raising flours contain leavening, they must be used with caution.

Step-by-step: Vanilla cake for carving (Sculpting cake)
Batter
- Preheat your oven to 325°F/165°C/Gas Mark 3
- Grease and dust or line 3 x 6-inch round cake pan or 2 x 7-inch round cake pan with parchment paper or your novelty cake pan.
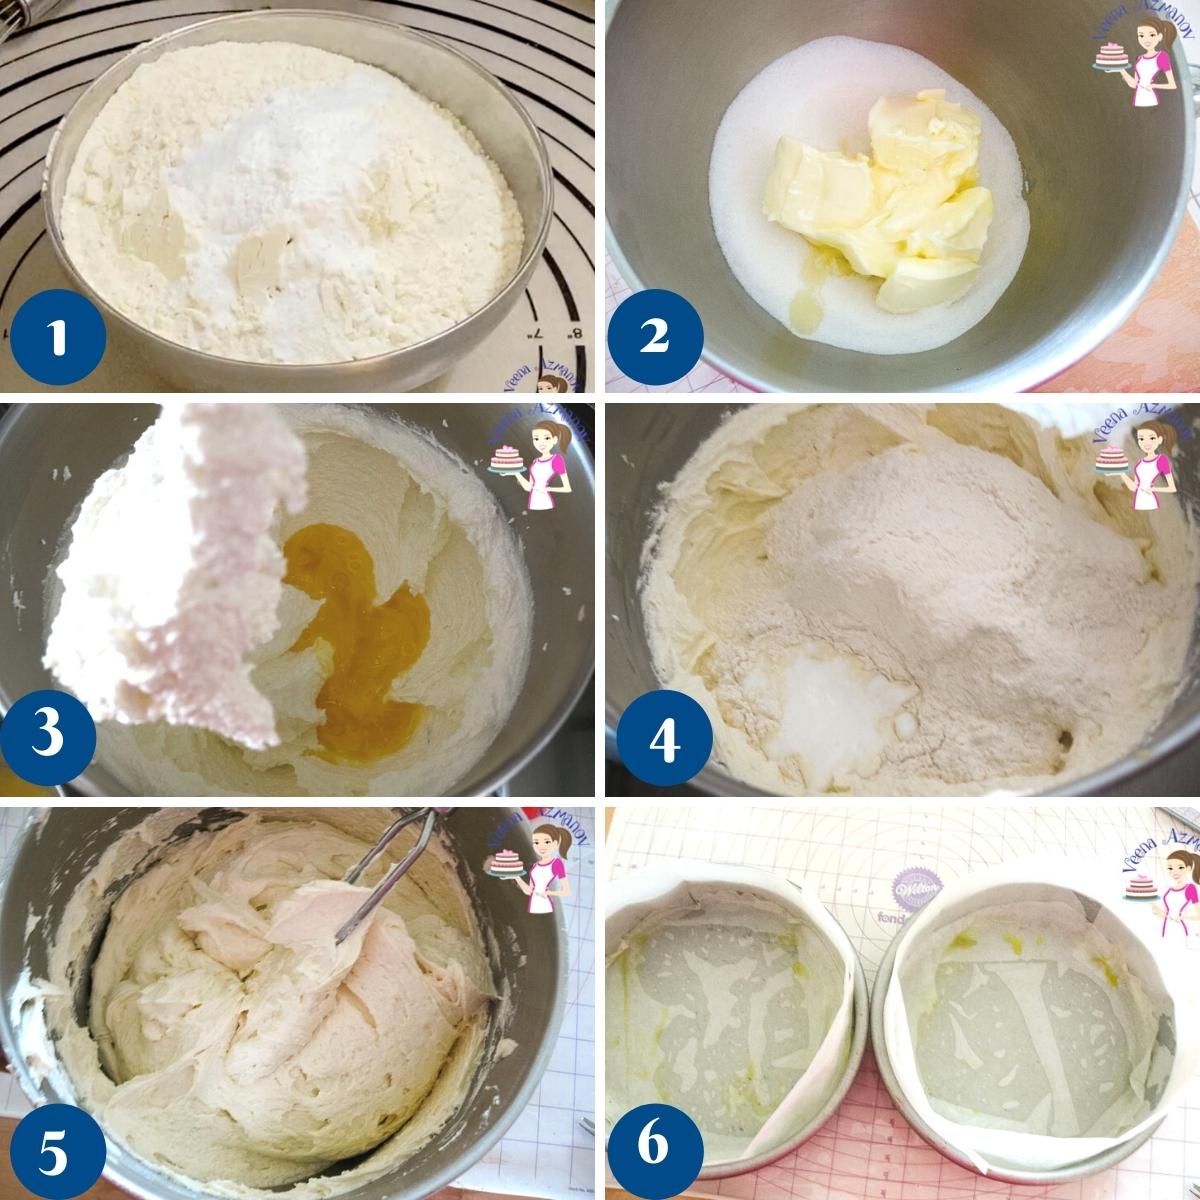
- Dry ingredients – In a bowl, combine flour with baking powder and salt – set aside.
- In the bowl of a stand mixer with the paddle attachment, cream the butter and sugars until light and fluffy
- Add the eggs one at a time, followed by the vanilla extract.
- Next, add the flour mixture and the buttermilk in three additions.
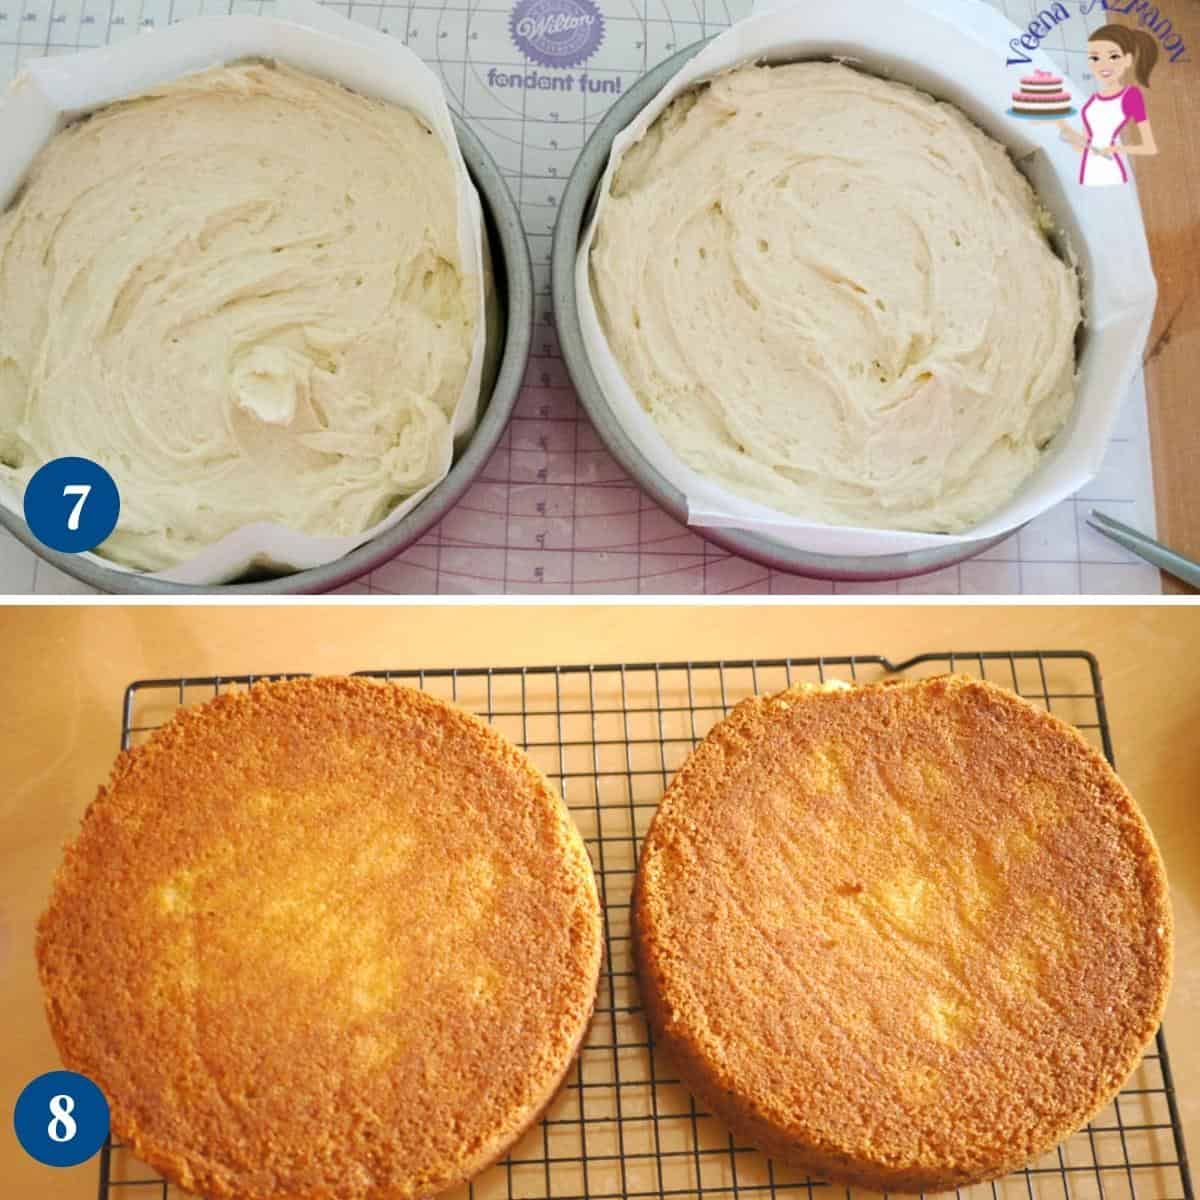
- Divide the batter equally between the prepared baking pans.
Pro tip – I like to use cake strips to ensure my layer cakes bake flat.
Bake
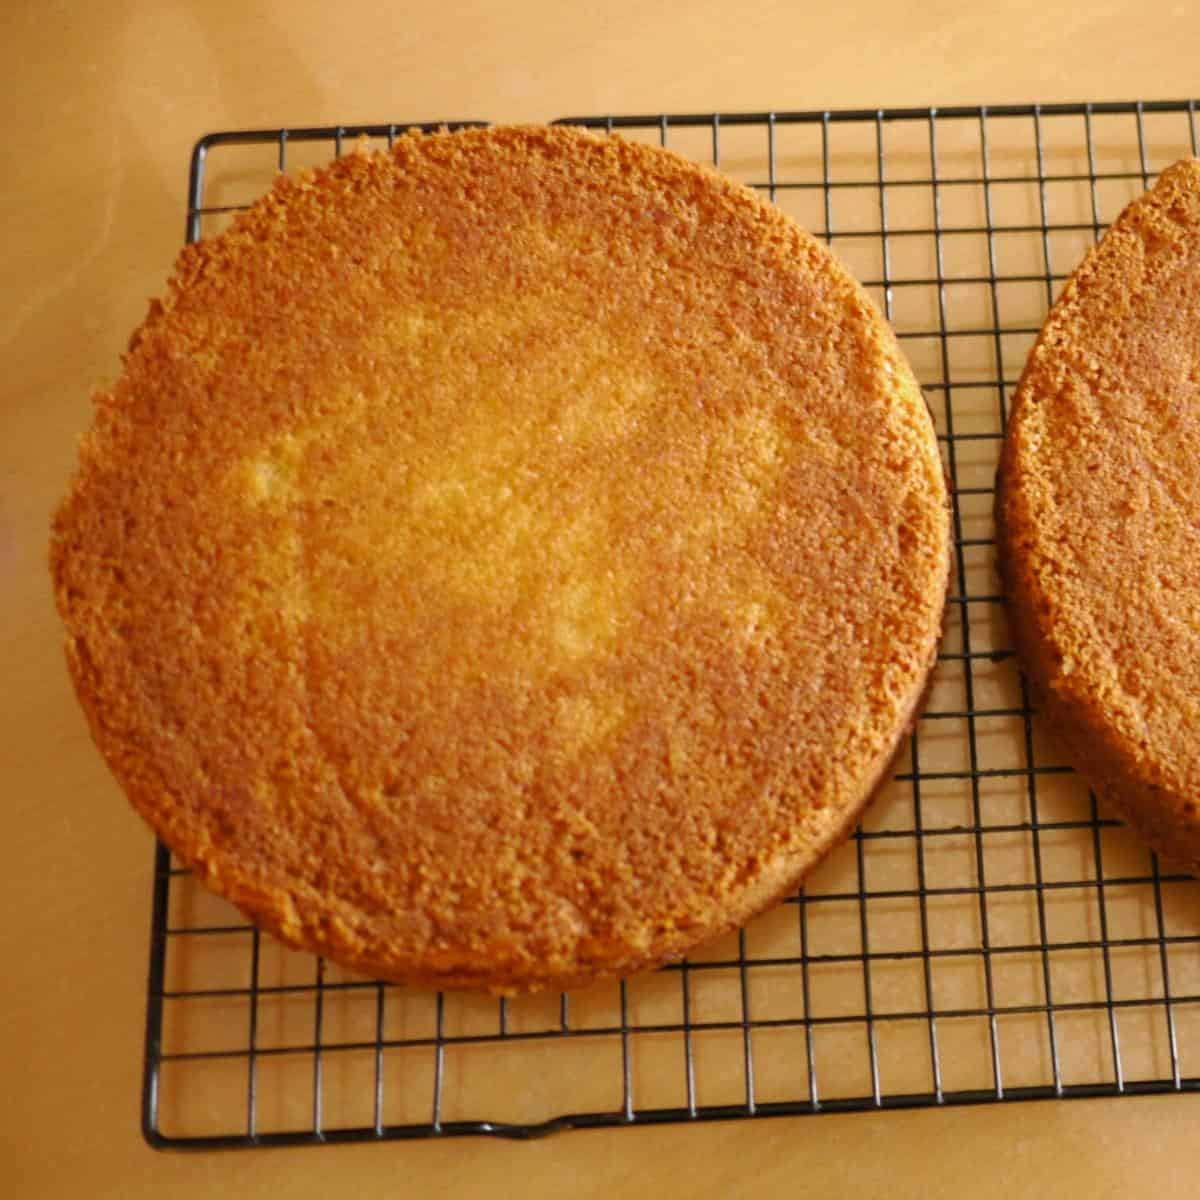
- Pour into your baking pans and bake for about 20 to 25 minutes or until a skewer inserted into the center comes out clean.
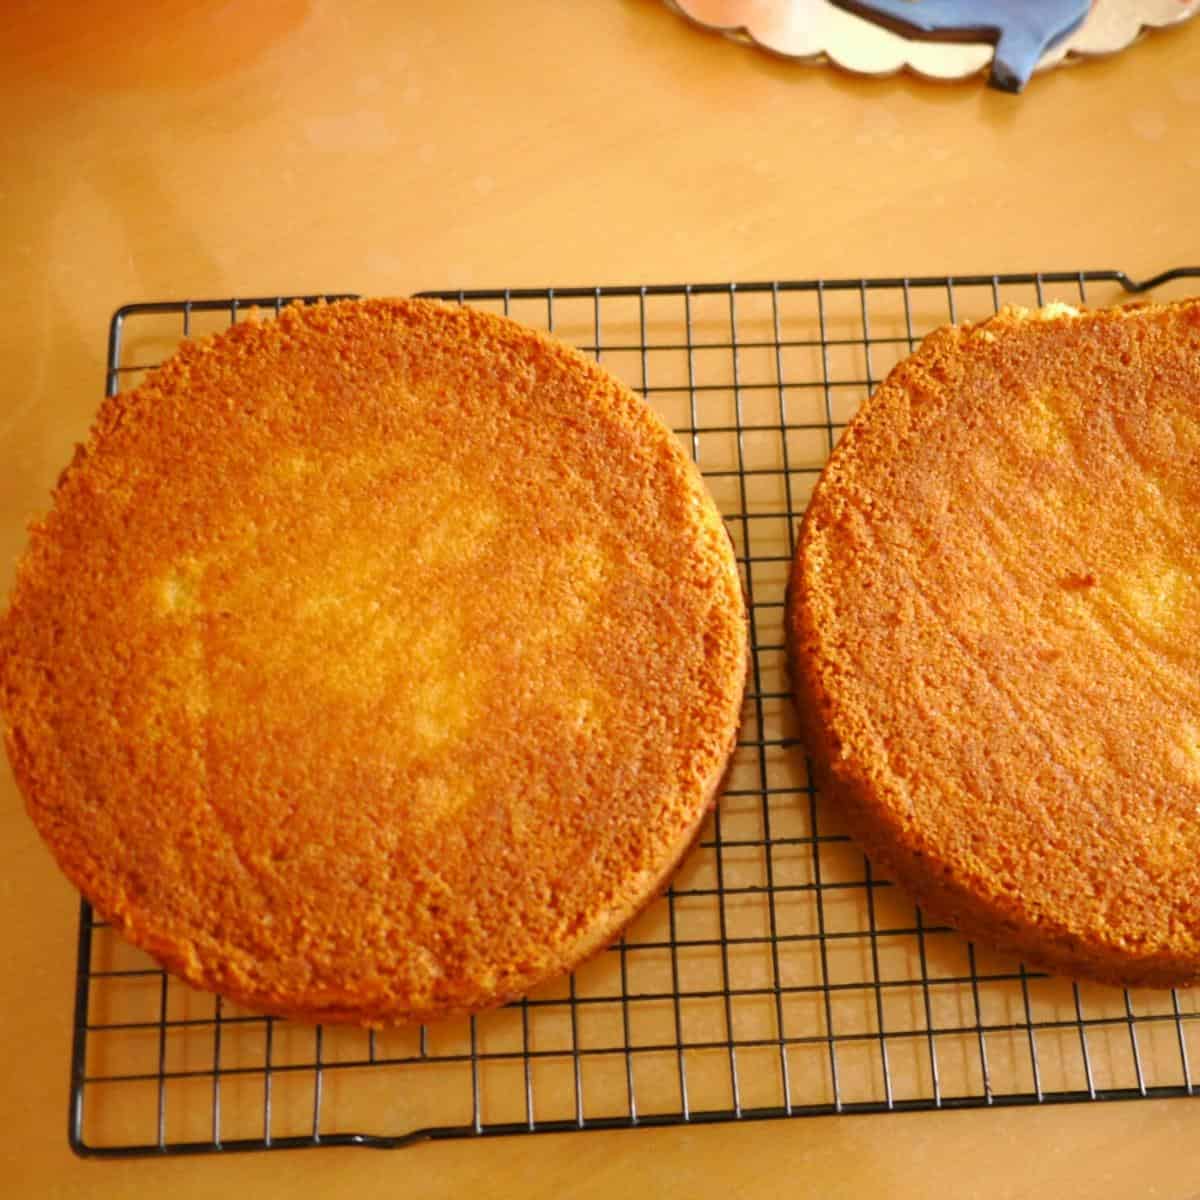
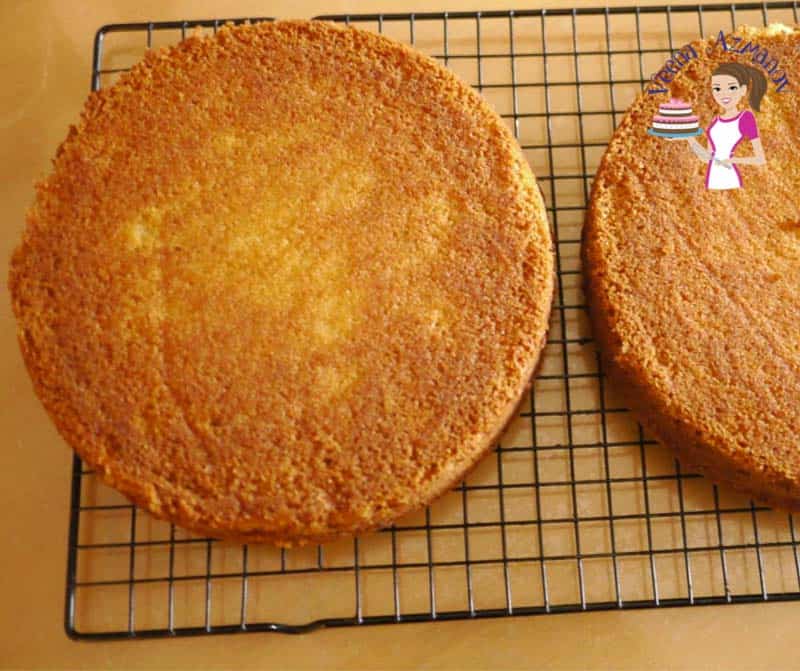
- Cool in the baking pan for 5 minutes. Invert and cool on a wire rack completely before you decorate
- Once cooled, wrap in two layers of plastic wrap, followed by aluminum foil. Place it in the freezer for at least one hour before you carve into it.
Pro tip – Freezing the cake for an hour helps carve the cake with fewer crumbs, but don’t freeze it until it’s hard, or it gets harder to carve, making more crumbs.
Vanilla Sculpting Cake Recipe
One of the most important things when sculpting a novelty cake is the right cake as a base. A cake that can be cut and manipulated without falling apart. A cake with a soft crumb and yet delicious. This vanilla cake recipe for carving will prove to be the best sculpting cake recipe you will ever use. And It’s delicious too.
Ingredients
- 1 cup (227 g) Butter unsalted, room temperature
- 1¼ cup (250 g) Sugar granulated
- 2 cups (250 g) All-purpose flour
- ¼ tsp Salt
- 1 ¾ tsp Baking powder
- ¾ cup (180 g) Buttermilk or sour cream
- 4 large (200 g) Eggs
- 2 tbsp Vanilla extract
Method
- Preheat your oven to 325°F/165°C/Gas Mark 3
- Grease and dust or line 3 x 6-inch round cake pan or 2 x 7-inch round cake pan with parchment paper or your novelty cake pan. Pro tip – the height of your cake will depend on the width of your cake pan. The round cake pans should give you a guide on how much cake this batter should make.
- Dry ingredients – In a bowl, combine flour with baking powder, and salt – set aside.Pro tip– sifting dry ingredients will give a light and airy cake. But, for this one, a whisk should be fine.2 cups All-purpose flour, ¼ tsp Salt, 1 ¾ tsp Baking powder
- In the bowl of a stand mixer with the paddle attachment, cream the butter and sugars until light and fluffyPro tip – it is essential that butter is at room temperature. Firm butter will give a lumpy batter and soft butter will not cream to light and fluffy.1 cup Butter, 1¼ cup Sugar
- Add the eggs one at a time, followed by the vanilla extract.Pro tip– room temperature eggs will incorporate well, if the batter curdles just add one or two tablespoons of flour. This should help bring the batter back together.4 large Eggs, 2 tbsp Vanilla extract
- Next, add the flour mixture and the buttermilk in three additions.¾ cup Buttermilk
- Divide batter equally between the prepared baking pans.Pro tip – I like to use cake strips to ensure my layer cakes bake flat.
- Pour into your baking pans and bake for about 20 to 25minutes or until a skewer inserted into the center comes out clean. Pro tip – the baking time is dependant on the height and width of your cake pan. A larger pan will shorten the baking time.
- Cool in the baking pan for 5 minutes. Invert and cool on a wire rack completely before you decorate
- Once cooled wrap in two cling wraps, followed by aluminum foil. Place in the freezer for at least one hour before you carve into it.Pro tip – freezing the cake for an hour helps carve the cake with fewer crumbs but, don't freeze until hard or it gets harder to carve making more crumbs.
Notes
- Make sure all your ingredients are at room temperature so you have a smooth, not curdled batter.
- Whip the butter and sugar mixture until it is light and airy. If the mixture curdles, add a teaspoon of flour and whip some more.
- You can use clear vanilla extract to make the color of the cake lighter but I like to use regular dark vanilla extract.
- Preheat the oven well in advance so you do not have to wait once the batter is ready.
- It is best to bake cakes on the center rack alternatively, rotate the cake pans halfway through baking for even baking.
- Cake strips are highly recommended for this cake so you have a nice pale baked cake not dark. The top crust comes off easily. You can also make cake strips at home DIY
Storage
- Once decorated the cake does not need to be refrigerated unless you use perishable frosting or filling
- It can stay at room temperature for two days or in the fridge for up to 5 days.
- Once cut always cover the cut side of the cake with plastic wrap so the cake does not dry out.
Other pans suggestions
- You can double this recipe to make this into a sheet cake – a ‘vanilla sheet cake’.
- You can also pour the batter into a well-greased and dusted bundt pan for a ‘vanilla cream bundt cake’.
- This recipe can also be baked into 18 to 20 beautiful vanilla cream cupcakes
Equipment you will need


Nutrition
Tried this recipe?
Mention @veenaazmanov_kitchen or tag #veenaazmanovkitchen!How much cake do I need?
- One of the most common questions I get is how much cake I need. When it comes to novelty cakes, it’s difficult for me to say.
- For example, I can’t say you need two of these for a car cake. Why? because it depends on the size of your car template.
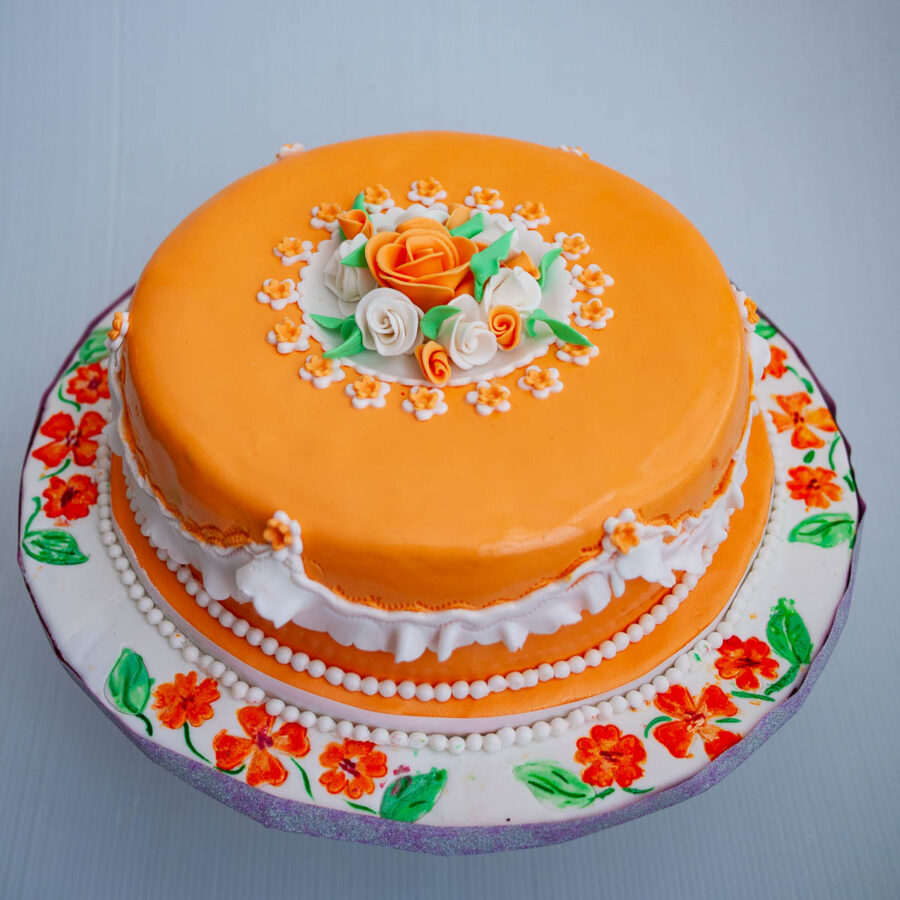
- So this cake makes 18 fondant cake slices, but only 8 dessert servings. It can be doubled and be more successful.
- So, if you choose to make a cake for 60, then you’d multiply the recipe times 3 and follow the same method as below.
Tips for Success
- Make sure all your ingredients are at room temperature so you have a smooth, not curdled batter.
- Whip the butter and sugar mixture until it is light and airy. If the mixture curdles, add a teaspoon of flour and whip some more.
- You can use clear vanilla extract to lighten the cake’s color, but I prefer regular dark vanilla extract.
- Preheat the oven well in advance so you do not have to wait once the batter is ready.
- It is best to bake cakes on the center rack. Alternatively, rotate the cake pans halfway through baking for even baking.
- Cake strips are highly recommended for this cake, so you have a nice pale baked cake, not dark. The top crust comes off easily. You can also make cake strips at home DIY
Storage
- Once decorated, the cake does not need to be refrigerated unless you use perishable frosting or filling
- It can stay at room temperature for two days or in the fridge for up to 5 days.
- Once cut, always cover the cut side of the cake with plastic wrap to prevent it from drying out.
Other pans suggestions
- You can double this recipe to make this into a sheet cake – a ‘vanilla sheet cake.
- You can also pour the batter into a well-greased and dusted bundt pan for a ‘vanilla cream bundt cake.
- This recipe can also be baked into 18 to 20 beautiful vanilla cream cupcakes

Frequently asked questions
Often, people think a dense cake can be kept for longer. True, it does have a longer shelf life than most other cakes. And yet, even a dense cake will stay at room temperature for only 3 to 4 days. You can keep it longer if you wrap it well in plastic and keep it in the fridge.
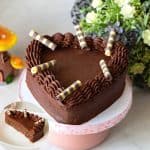
This chocolate carving is delicious on its own, especially when it’s fresh, so don’t be afraid to use it for not just sculpting. I like to use butter-based or chocolate-based frosting for my sculpted cakes. The butter and chocolate are both firm and chilled, which makes it easier to cut and manipulate the cake as needed.
For most of my sculpted cakes, I use any one of these frostings
Velvet American buttercream,
Vanilla Buttercream Frosting, Chocolate Buttercream Frosting
Chocolate Ganache or white chocolate ganache
Don’t be afraid to try my other flavored buttercream recipes as well – see more than 30 plus buttercream frosting recipes
No, this recipe works best with eggs, but I do have an eggless vanilla cake that is very popular with my visitors.

Don’t lose this recipe! Save it for Later!
📌 Save this Recipe for later on Pinterest so you can easily find it again.
⭐ Add Veena Azmanov Kitchen to your Google Preferred Sources.
It helps Google show you more of our recipes.
📧 Subscribe for new recipes delivered to your inbox.
🎥 Follow us for more recipes

The best I’ve ever made. I am glad I stumble upon your recipe. From now on this is going to be my to go cake recipe every time I make cake. I made this base cake for my order of graduation cake. My client lovesssss the cake! Thank you.
Thank you so much OC, for the lovely feedback. So happy you enjoyed this cake.
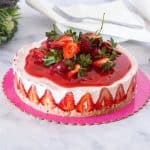
Doubled the recipe for 3 8-in pans, baked it for 20+ min longer than the recipe called for. I got a ton of complements on this cake and it reminded me of the one my mom would bake for birthdays. Highly recommending pairing with strawberry frosting 🙂 Thanks so much for sharing this recipe!
Thank you so much Christine for the lovely feedback. I am so happy you enjoyed this recipe.
Hi! Thanks for the recipe, excited to try it. I’m making a cake that will be cut in half and stacked sideways (2 pans, 4 semi-circle layers). I suspect thicker layers may be more sturdy. If I double the recipe and do two 8-in cakes, would there be any issues with this? Or would I just adjust the baking time?
Hi Christine! Yes, doubling the recipe and baking it in two 8-inch pans should work very well. Since you’ll be cutting the cakes in half to create thicker semicircle layers, they’ll actually be sturdier for carving and stacking. The main thing is to bake until a skewer inserted in the center comes out clean—don’t rely on the original baking time, as thicker layers may need a little longer. I also recommend chilling the cakes well before cutting and stacking, as they’re much easier to handle when cold. Happy baking, and I’d love to hear how your project turns out! 😊
Hi! Excited to try this recipe out this weekend but just wanted to let you know that while the recipe clearly states to use Baking POWDER, your initial photo of the ingredients lists “flour, bSODA, salt” over the picture of the dry ingredients which may confuse novice bakers into thinking that they need baking SODA instead/as well.
Anyways, can’t wait to test this recipe out this weekend. Happy baking everyone! 🙂
Thank you, Cora. I hope you enjoy this recipe.