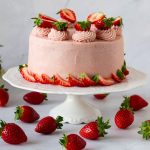
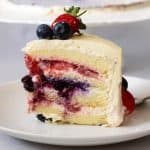
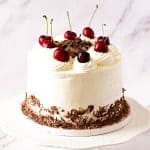
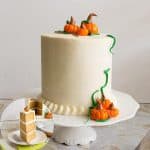
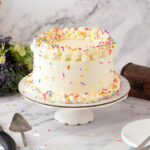
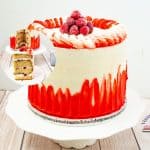
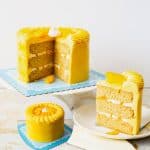
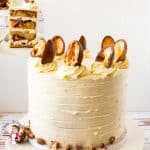
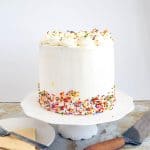
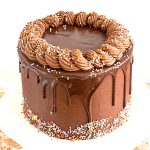
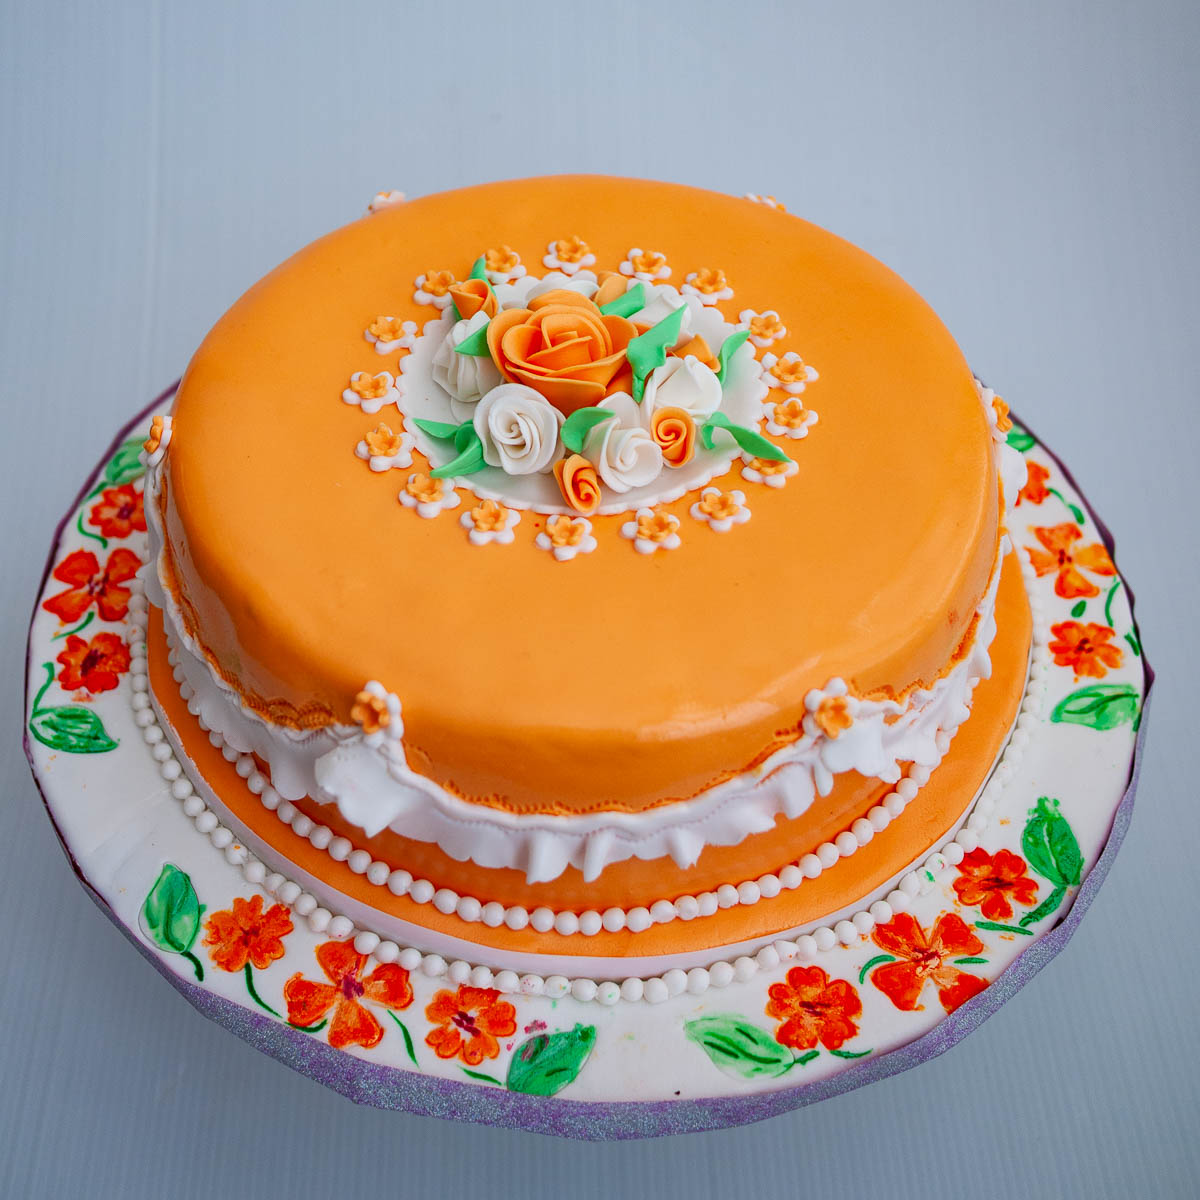
A birdcage cake makes a fun cake for a vintage celebration such as a 50th or 60th milestone. This vintage birdcage cake tutorial shares how to make this cake simple, easy and effortlessly with detailed instructions, the recipes as well as a video tutorial from start to finish. Use my tips to ensure you have a perfect flawless cake whether you have a beginner or advanced cake decorating skill level.

I made this beautiful birdcage cake and was quite happy with how it turned out. The cake was very well received and such a joy to make. I also managed to make a video on how to make a birdcage cake. It has been on my list of requested tutorials for a long time now.
The cake is time-consuming and can take a few hours to make so if you have an order for a birdcage cake I highly recommend you plan ahead of time. Those black bars are one of elements that can be a test of time as well as patience. So deep breaths. (not so bad but it's at the end and I was kinda getting anxious to finish the cake)
Step by step instructions (Save/Pin)
You will need
- Three layers of cake stacked on one cake circle plus one dome /half circle cake on one cake circle.
- Today I have used my moist strawberry cake. You can see the video and full recipe on this blog. You will need one and a half of that recipe for this birdcage cake
- A larger cake board to put the birdcage cake on as well.
- I've used my velvet American buttercream. If you live in hot and humid weather you may prefer to use chocolate ganache instead.
- This is my marshmallow fondant recipe but you can use any of my five fondant recipes on this blog here. I used about 1 kg fondant for this cake.
- Airbrush colors - I used turquoise and metallic blue.
- Metallic Gold - You can also use metallic silver.
- Fondant /Clay extruder.
- The Basics - rolling pins, cornstarch pouch, ruler, pizza wheel, knife, brushes.

Prepare cake
- Bake cakes cool completely.
- Torte and stack three cake layers on one cake board using frosting of your choice. Use a leveler to make sure the cake is leveled.
- Do the same with the dome - on its own cake board with frosting.
- Chill the cakes well the dowel and stack the dome on top.
Measure and divide the cake
- Measure the height of the cake - mine was 10 inches tall
- Decide how much you need for the dome and how tall you want the cylinder to be
- I divided the height as 6 inches for the cylinder and 4 inches for the dome.

Cover the cake with fondant
- Roll about 600 grams of fondant into a long strip measuring the height of the cake cylinder. (6 inches)
- Roll and unroll the fondant as shown in the video.
- Cut excess - by overlapping the fondant. The seams can be hidden in this cake so don't worry too much
- Next, roll more 400 grams of fondant into a circle - cover the dome.
- Cut the excess with a scissor first then use an exact-o blade or sharp knife to trim the top fondant flush with the edge of the bottom fondant.
- Smooth the whole cake again with a fondant ball or smoother.
Measure and mark the cake
- Measure the circumference of the cake - then divide that into 5 (mine was 22 inches = 4.4 inch each)
- Mark the cake on the bottom circumference at every XXX (measure you got after dividing) (4.4 for my cake)
- Then mark the cake on the top circumference -
- Draw a line from the bottom to the top at each mark. This will be where you place the rods
Airbrush the cake
- Decide which two complimenting colors you want the cake to be in - I used turquoise and metallic blue
- Airbrush a light coating of the first color.
- Highlight the dividing lines with the second color.
- Add more shades as you go to create a vintage look.

Decorate the cake
- Use a border mold or similar and cut the exact measurements you got above (4.4 for my cake).
- Make 10 of these and place them on the cake as shown in the video - using water to stick.
- Use an extruder and ivory or similar color to extrude long ropes.
- You will need enough to make the first rods around the cake as shown in the video.
- Use the extruder again with the spaghetti disc to make the black bars. You want them thin and long.
- These are delicate so work slowly and carefully. You need water to stick them to the cake but too much water will smear the airbrushed cake and leave black marks.
- So very carefully place them in place. Making sure you secure them because these can fall off when dried if they are not stuck to the cake.
- Use metallic dust with vodka to paint the gold elements on the cake.
- Lastly, make a door for the cage. I made this one freehand but, you can use any of your templates from online or fine cutters in your toolkit that helps cut the desired shape.
- Watch the video to make the bird free-hand. You can also look for a bird silicon mold.
- Don't forget to decorate the cake board - I kept mine simple with white fondant.
And voila..!! you have a Birdcage Cake - hope you liked this birdcage cake tutorial. If you do let me know in the comments below. I love getting feedback, positive or constructive.
Vintage Birdcage Cake
Print Pin RateDescription
Recipe Video
Materials
- 2 7-inch Moist Strawberry Cake round cakes
- 1 7-inch Vanilla Cream Cake dome cake
- 1 kg Marshmallow Fondant
- 500 grams Velvet American Buttercream Frosting
Conversions - Switch between Metric & US for other measurement options
Instructions
Prepare cake
- Bake cakes cool completely.
- Torte and stack three cake layers on one cake board using frosting of your choice. Use a leveler to make sure the cake is leveled.
- Do the same with the dome - on its own cake board with frosting.
- Chill the cakes well the dowel and stack the dome on top.
- Measure and divide the cake
- Measure the height of the cake - mine was 10 inches tall
- Decide how much you need for the dome and how tall you want the cylinder to be
- I divided the height as 6 inches for the cylinder and 4 inches for the dome.
COVER THE CAKE WITH FONDANT
- Roll about 600 grams of fondant into a long strip measuring the height of the cake cylinder. (6 inches)
- Roll and unroll the fondant as shown in the video.
- Cut excess – by overlapping the fondant. The seams can be hidden in this cake so don’t worry too much
- Next, roll more 400 grams of fondant into a circle – cover the dome.
- Cut excess with a scissor first then use an exact-o blade or sharp knife to trim the top fondant flush with the edge of the bottom fondant.
- Smooth the whole cake again with a fondant ball or smoother.
MEASURE AND MARK THE CAKE
- Measure the circumference of the cake – then divide that into 5 (mine was 22 inches = 4.4 inch each)
- Mark the cake on the bottom circumference at every XXX (measure you got after dividin(4.4 for my cake)
- Then mark the cake on the top circumference –
- Draw a line from the bottom to the top at each mark. This will be where you place the rods
- AIRBRUSH THE CAKE
- Decide which two complimenting colors you want the cake to be in – I used turquoise and metallic blue
- Airbrush a light coating of the first color.
- Highlight the dividing lines with the second color.
- Add more shades as you go to create a vintage look.
DECORATE THE CAKE.
- Use a border mold or similar and cut the exact measurements you got above (4.4 for my cake)
- Make 10 of these and place them on the cake as shown in the video – using water to stick
- Use an extruder and ivory or similar color to extrude long ropes.
- You will need enough to make the first rods around the cake as shown in the video.
- Use the extruder again with the spaghetti disc to make the black bars. You want them thin and long
- These are delicate so work slowly and carefully. You need water to stick them to the cake but too much water will smear the airbrushed cake and leave black marks.
- So very carefully place them in place. Making sure you secure them because these can fall off when dried if they are not stuck to the cake.
- Use metallic dust with vodka to paint the gold elements on the cake.
- Lastly, make a door for the cage. I made this one freehand but, you can use any of your templates from online or fine cutters in your toolkit that helps cut the desired shape.
- Watch the video to make the bird free hand. You can also look for a bird silicon mold.
- Don’t forget to decorate the cake board – I kept mine simple with white fondant.
Ann
What a work of art! You do make it seem approachable with your tutorial, so next time I need to make a fancy cake, I know where to turn! 🙂
Veena Azmanov
Thank you Ann. If you do use my tutorial let me know how it goes. Thanks
Swati Saxena
I am clapping for you and your amazing efforts. This Bird cake looks amazing and I am saving this for the day I can tell myself that I can make it. Amazing looking cake.
Veena Azmanov
Aww thank you, Swati. Glad you like my cake and I hope you try it.
Allison
You are so talented! This is gorgeous!
Veena Azmanov
Thank you so much, Allison
Vicky
Wow, that cake is certainly a labor of love. You are so talented! I can't imagine even thinking of such a cake, let alone making it. Bravo!
Veena Azmanov
Cake decorating sure is a labour of love Vicky. Happy you like it. Thanks for the compliments.