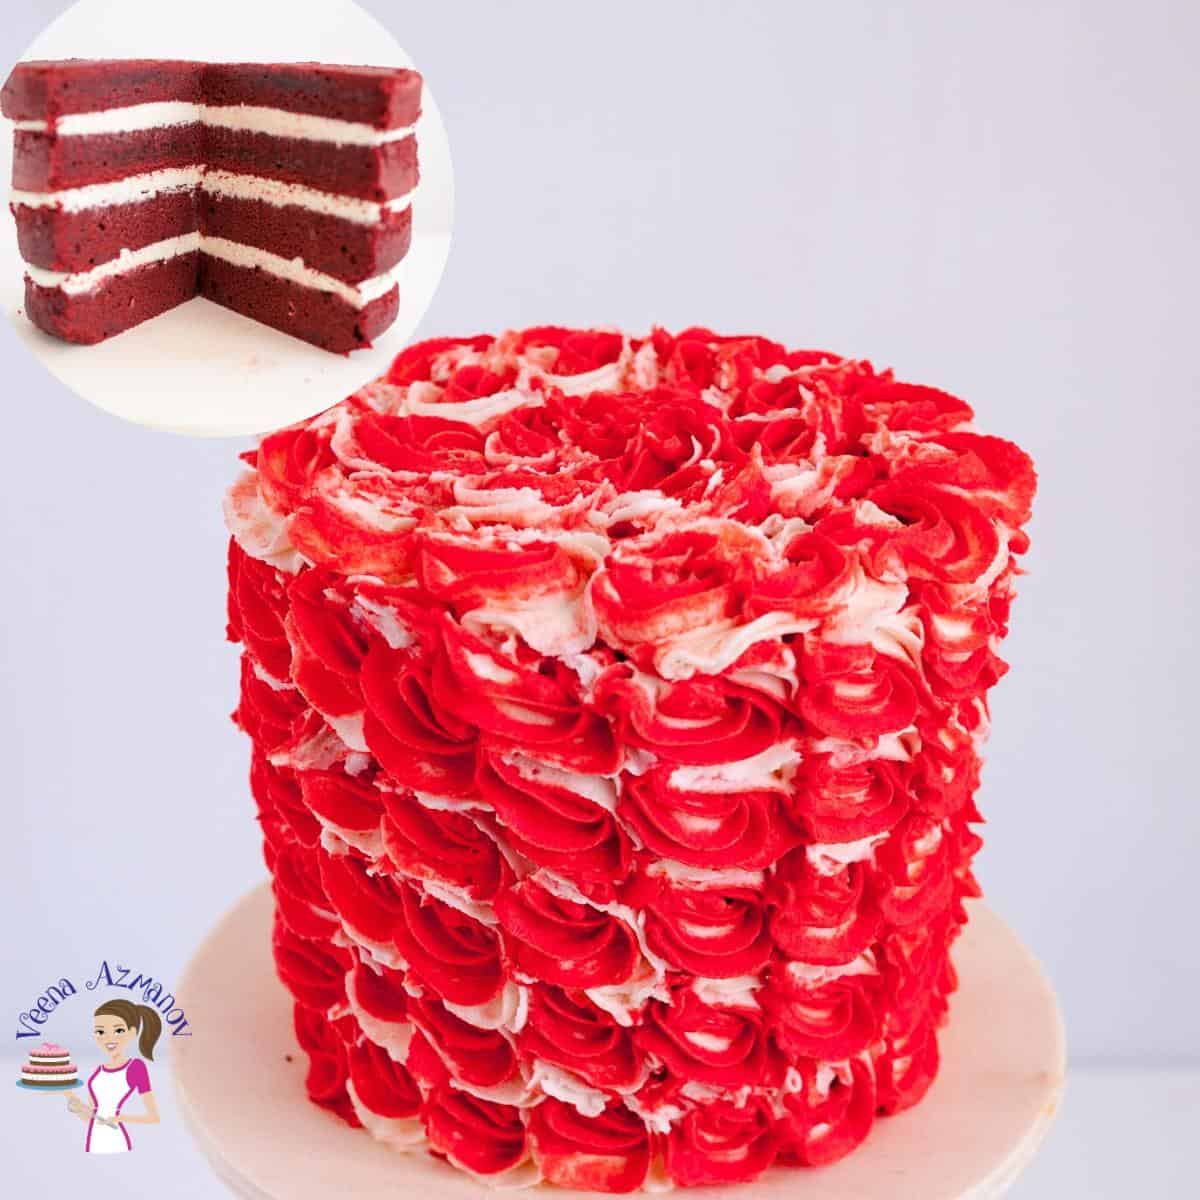
Red Velvet Cake Recipe

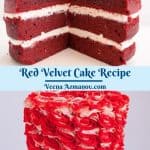
If you’re looking for an indulgent, show-stopping dessert that is sure to be the talk of the table, look no further than the frosted red velvet cake recipe. Rich and decadent, this stunning cake combines an iconic flavor combination of chocolate and frosting in an impressive presentation.
When I ran my cake business, I offered a variety of flavors, but one cake always stood out—Red Velvet. While this cake wasn’t as well-known in Israel, my American customers couldn’t get enough of it. It was the cake they missed from home, the one they grew up with on birthdays, holidays, and special occasions. So whenever they found out I made authentic Red Velvet Cake, I would get request after request for it!
At first, I didn’t realize how much sentimental value this cake had for so many people. But after hearing customers reminisce about their favorite bakeries back home, I knew I had to make it just right. And, of course, no true Red Velvet is complete without classic cream cheese frosting!
Despite being a Southern American classic, this cake has become one of my most-requested recipes—a little piece of nostalgia for those craving a familiar taste. It’s proof that food isn’t just about flavor; it’s about memories, tradition, and comfort. And honestly? Seeing my customers light up with that first bite, knowing they found a cake that felt like home, made it all worth it.
Why make this recipe?
- Perfect Balance of Butter and Oil – Butter gives it a rich, classic flavor, while oil keeps the cake moist and tender for days. This combination ensures a cake that’s soft yet sturdy, perfect for slicing and layering.
- True Red Velvet Flavor – Not Just a Red Cake – The blend of buttermilk, vinegar, and cocoa creates the signature tangy, slightly chocolatey taste that makes red velvet so unique. It’s not just a vanilla cake with food coloring—it has a distinct flavor profile.
- Fluffy Yet Moist Texture – The combination of baking powder, baking soda, and vinegar helps the cake rise beautifully, giving it a light and airy crumb while still being rich and velvety.
- Consistently Gorgeous & Vibrant – The right balance of cocoa and red food coloring ensures a deep, vibrant red hue without turning brown or dull. Plus, the batter is smooth and easy to work with, making this cake a foolproof showstopper every time.
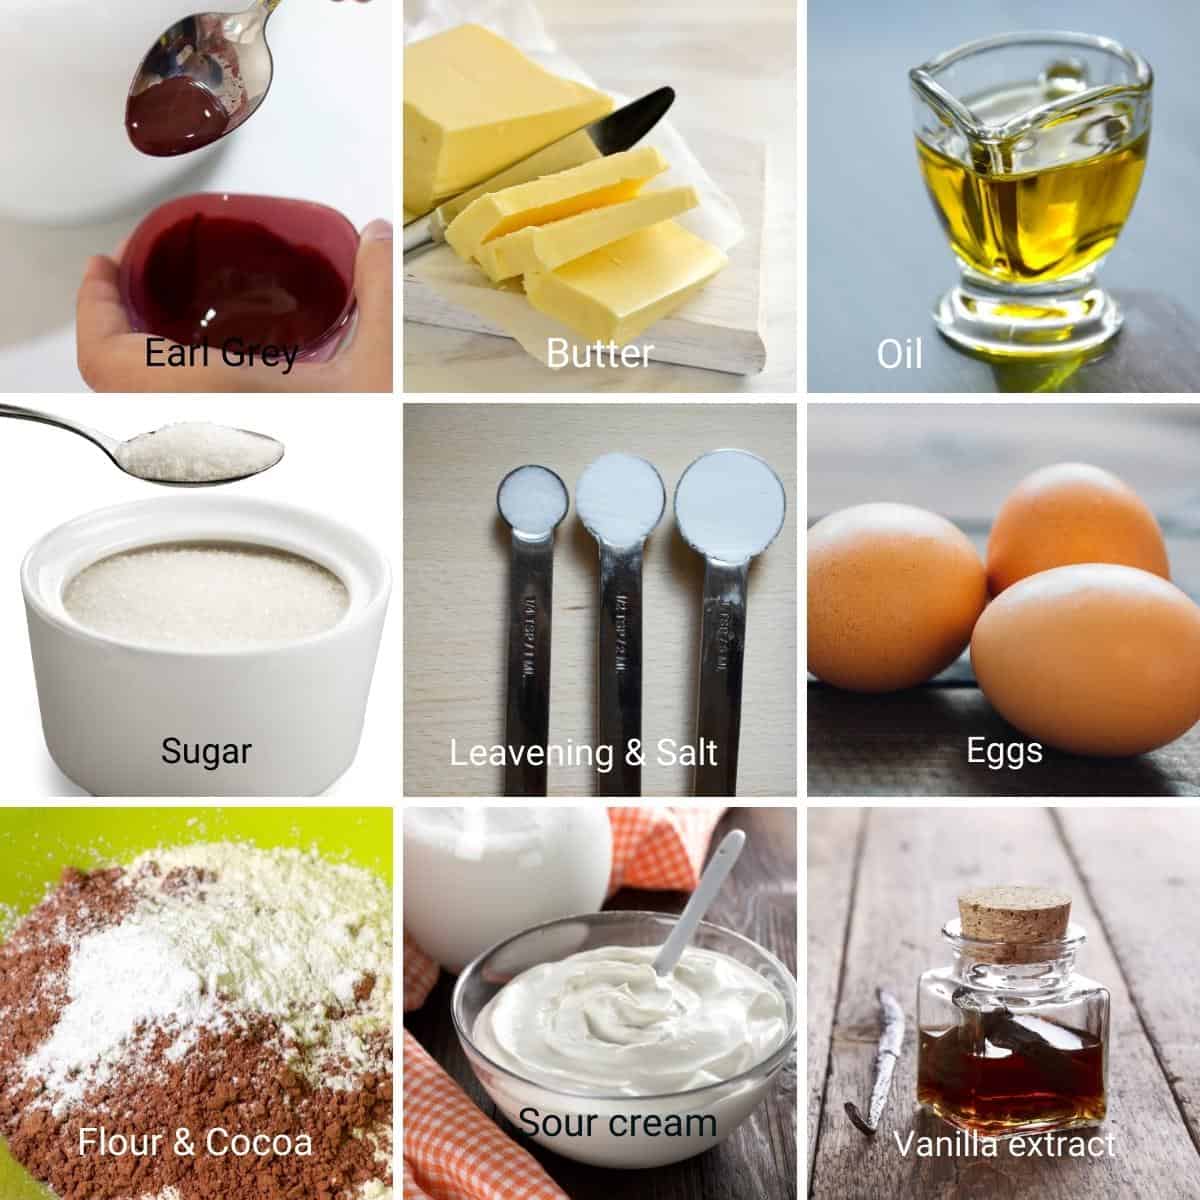
Ingredients and substitutes
- Butter – I prefer to use unsalted butter so I can control the quantity of salt in my recipe. But if salted butter is all you have, go ahead and use it. Just omit salt in the recipe.
- Flour – Cake flour is most commonly used in this cake. I like to use all-purpose flour for this cake as it adds stability to the cake and is perfect to cover with fondant.
- Cocoa Powder – The cocoa powder in red velvet enhances and deepens the color of the red with just a hint of flavor. I used natural cocoa powder.
- Buttermilk – Keeps the cake moist with a soft crumb. If you don’t have buttermilk, you can make your own by adding a tablespoon of vinegar or lemon juice to a cup of milk and letting it sit for a few minutes until it curdles. You can also use sour cream or yogurt as a substitute.
- Vanilla Extract – Always use a good-quality vanilla extract. You can use vanilla extract, vanilla bean paste, or vanilla sugar.
- Color – I am using red food coloring, but if you don’t have it, you can use beet juice or pomegranate juice to give your cake a natural red hue. And if you’re looking for a healthier alternative, you can use beet powder or raspberry powder.
Step-by-step: Red velvet cake with IMBC
Cake batter
- Preheat the oven to 325°F/ 165°C / Gas Mark 3
- Grease and line 2× 6-inch baking pans with parchment paper. You can double this recipe to make 2 x 8-inch round cakes
Pro tip – I am baking in 2 pans, so I can torte in half to make four, but you can also use 3 x 6-inch round pans to make three layers. That way, you don’t have to torte.
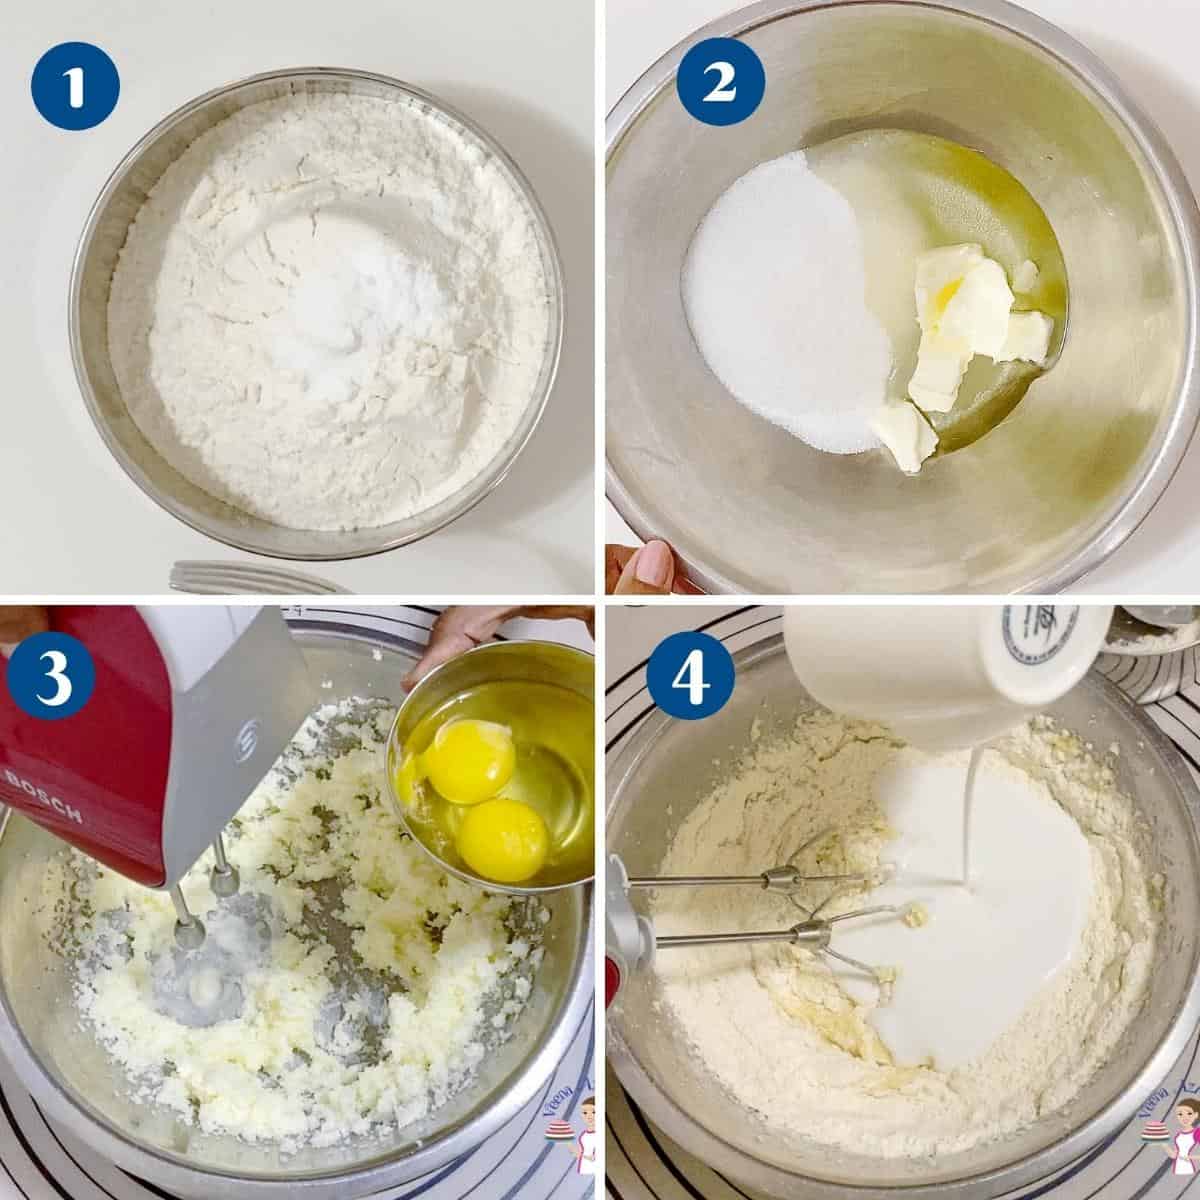
- Dry ingredients – Combine flour, cocoa powder, baking powder, baking soda, and salt – set aside
- Red food color – combine the gel color with the water – set aside
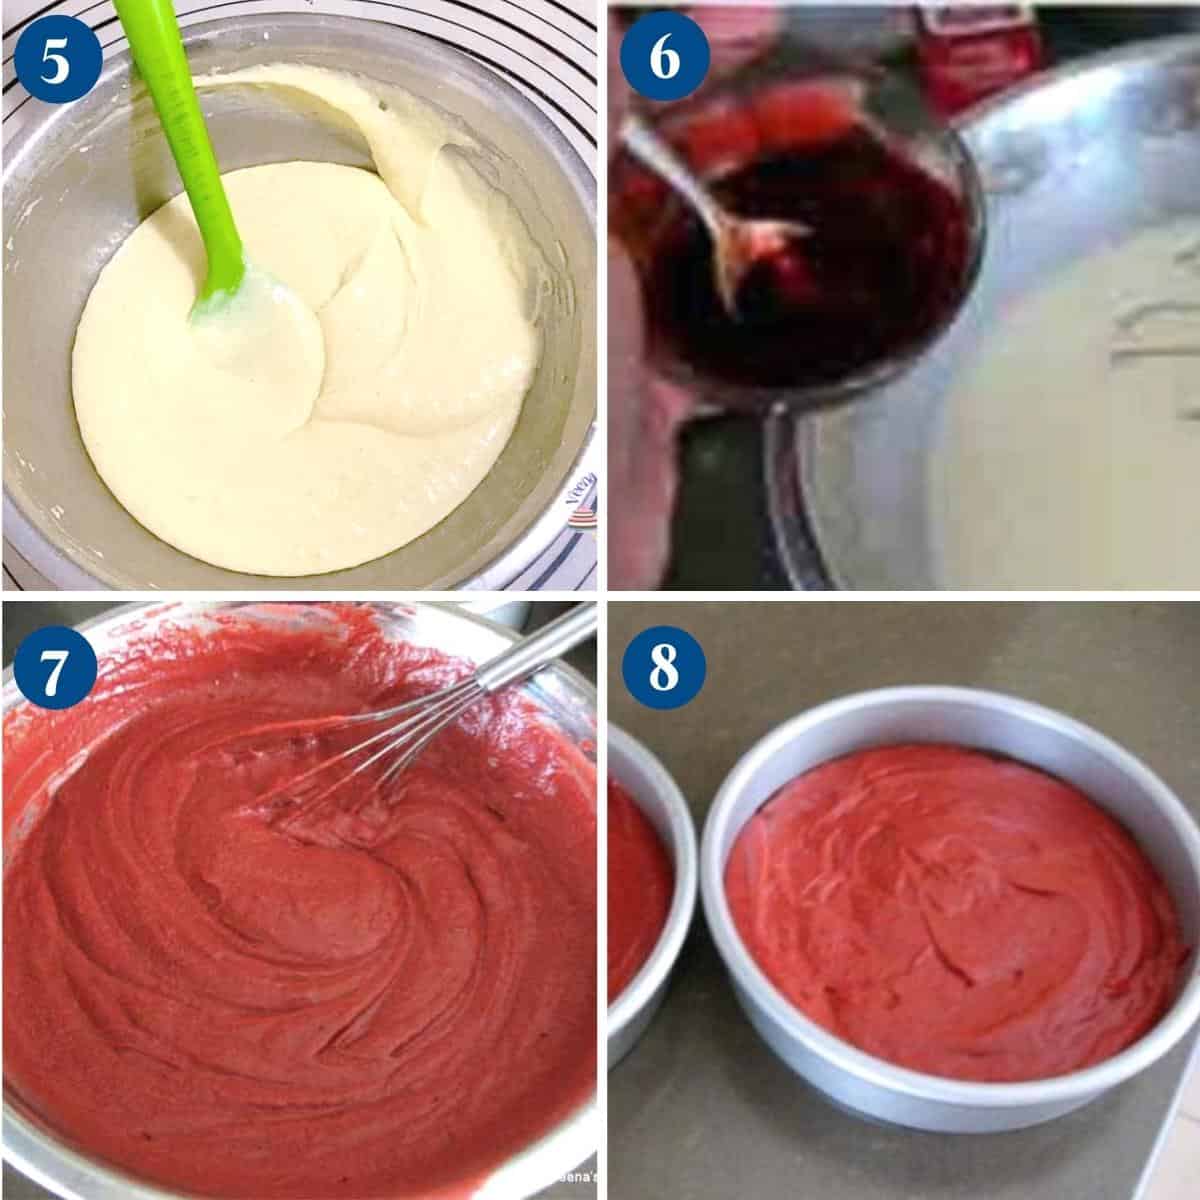
- In the bowl of a stand mixer with the paddle attachment, cream the butter, oil, and sugar until light and fluffy. Add the eggs one at a time, making sure each is well incorporated.
Pro tip – Adding eggs one at a time will prevent the batter from curdling. - Next, add the flour and buttermilk in three batches, followed by the red food color, vanilla extract, and vinegar.
Pro tip – Make sure the oven is hot and the baking pans are ready because once you add the vinegar, the mixture will start to bubble.
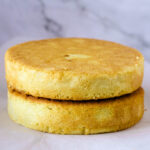
Bake
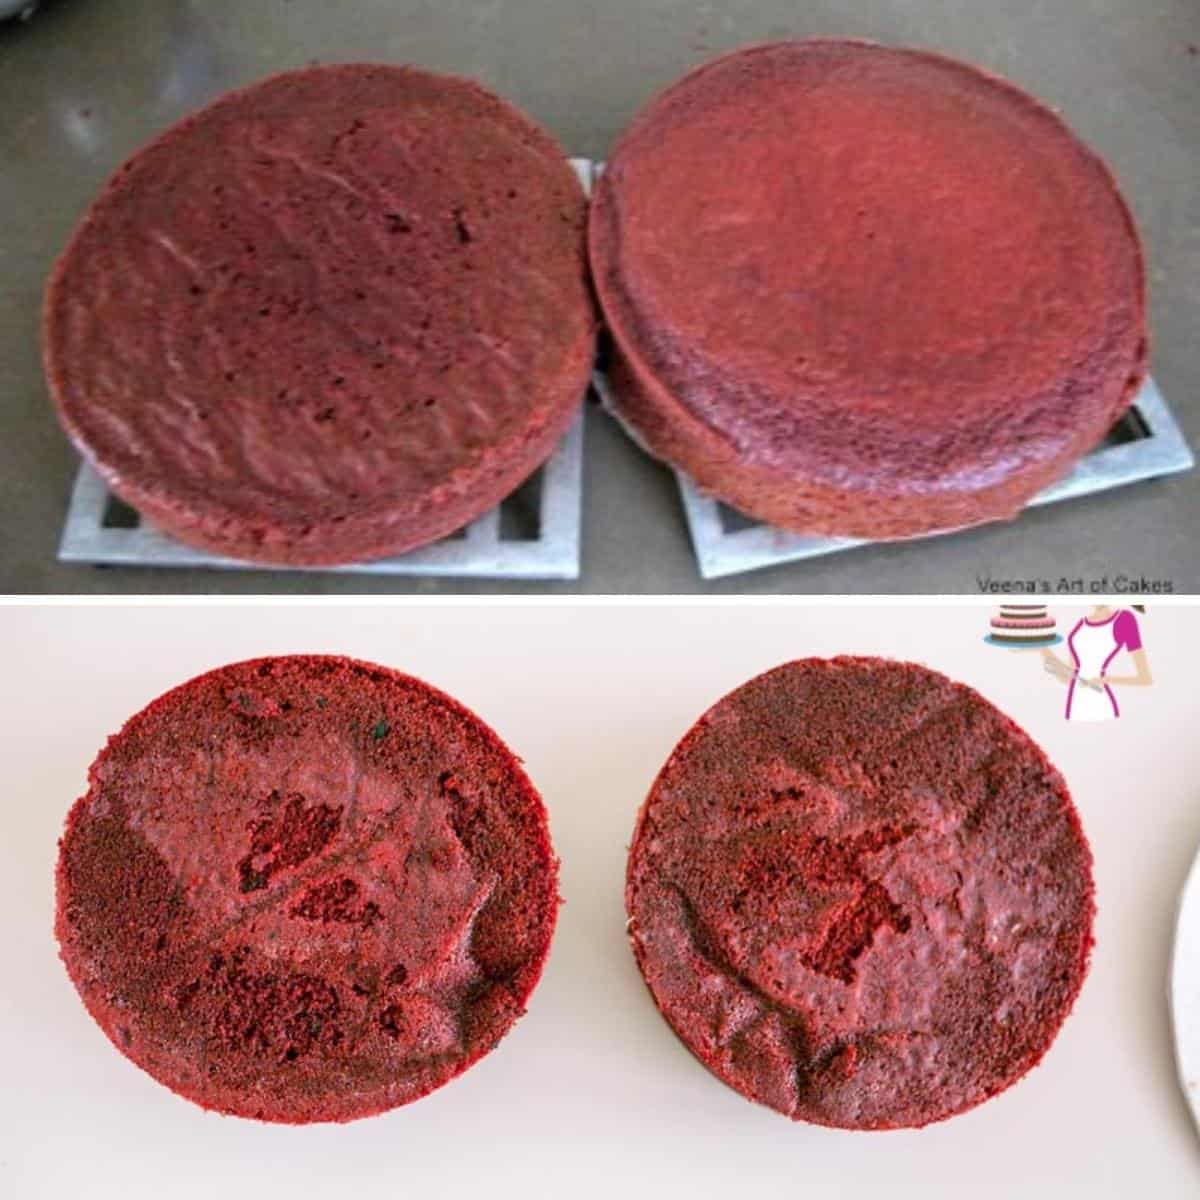
- Pour the batter between the prepared baking pans and bake for 20 to 25 minutes on the middle rack or until a toothpick inserted in the center comes out clean.
Pro tip – It is a great idea to use cake strips around my baking pans to prevent a dome. That way, you don’t lose much height on your layer cakes. - Once baked, leave in the pan for no more than 10 minutes. Invert onto a cooling rack to cool completely.
Pro tip – Always frost cakes only when they are completely cooled; otherwise, the frosting will melt.
Italian meringue buttercream
- Watch a video – how I make my Italian Meringue Buttercream (IMBC)
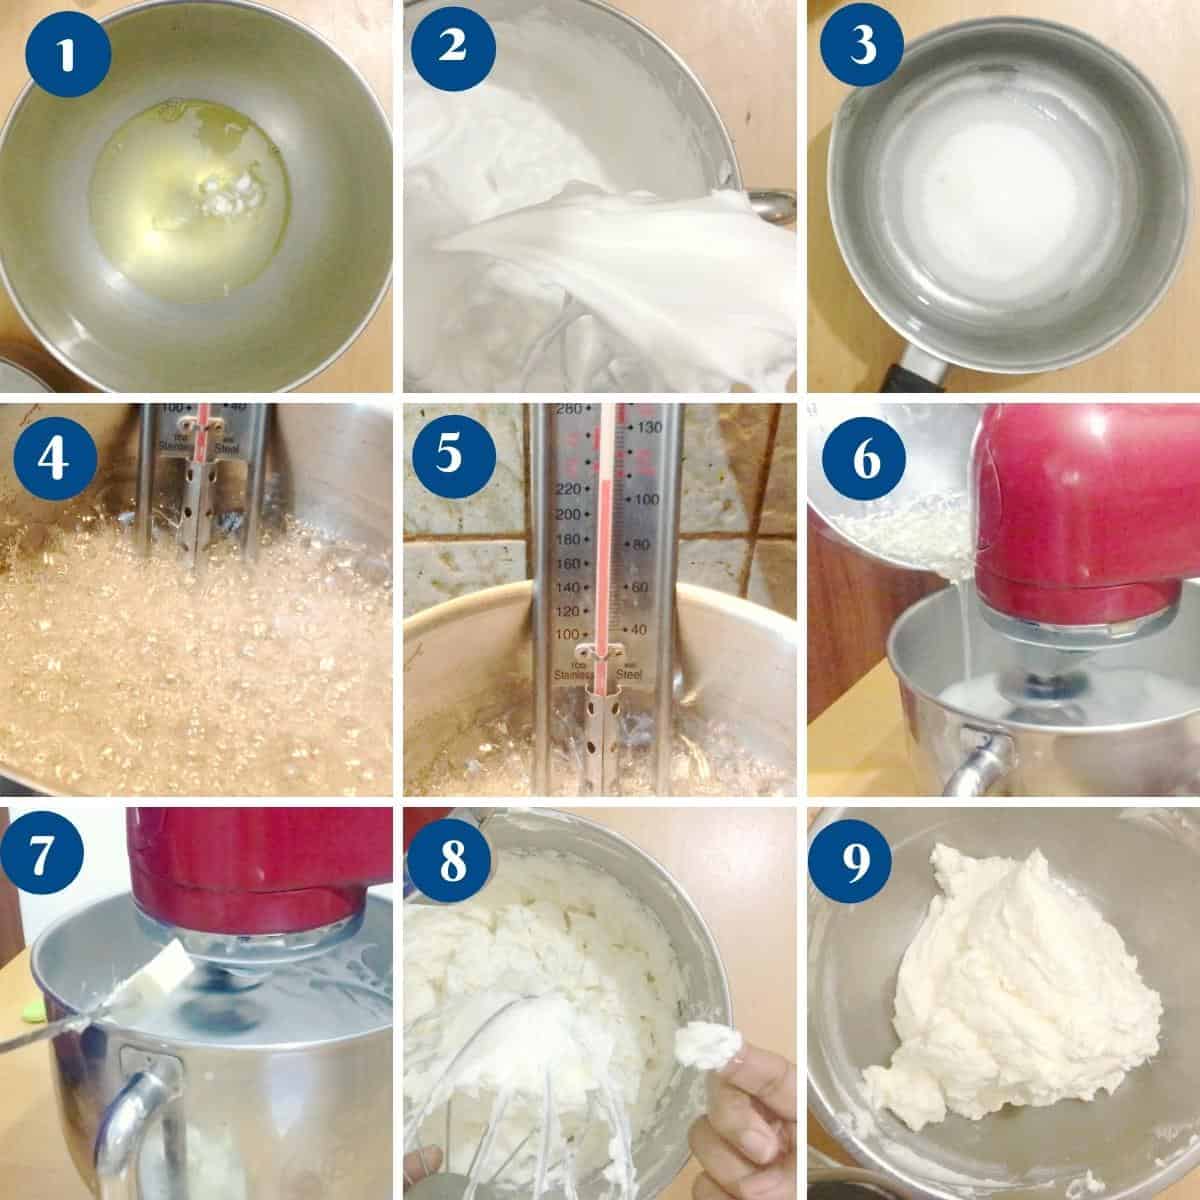
- Place egg whites, salt, and cream of tartar in the bowl of a stand mixer with the whisk attachment on medium speed. Once the meringue is at the soft peak stage, turn the mixer on low to avoid overmixing and wait for the sugar to reach temperature
- Meanwhile, heat sugar and water in a heavy-bottomed saucepan over medium heat. Once all the sugar is melted, place a candy thermometer inside. Continue to boil until the sugar syrup reaches about 238°F on the candy thermometer (softball stage).
Pro tip – Using a heavy-bottomed pan will distribute heat evenly and prevent the sugar from caramelizing, and a light-colored pan means you can see the color of the sugar as you work. - Turn the mixer on medium speed and start pouring the hot sugar syrup into the mixer bowl. Once all the syrup is in. Turn the mixer on high and whisk for about 3 minutes.
- When the meringue is cold, and the bowl is not warm at all. Start adding the butter – one cube at a time. Once all the butter is in, whip for another minute or two until you have a smooth and satin-like buttercream that is light and fluffy. Add the vanilla extract.
Pro tip – This is where 90% of meringue buttercreams fail. DO NOT add butter if the meringue is still not cold.
Assemble
- Prepare simple syrup – cool completely before using.
Pro tip – Simple syrup is just sugar water that has been boiled and cooled. Used to keep cake layers moist. - Watch a video showing how I level, torte, and fill the cakes.
Pro tip – Make sure the cakes are completely cold. Otherwise, the frosting will melt. Plus, the cakes are more delicate to handle. Chilling the cakes makes them easier to work with. - Using a bread knife or cake leveler, cut the domes off the cake layers. Then divide each layer horizontally in half, so you have four layers (2 x 2 = 4).
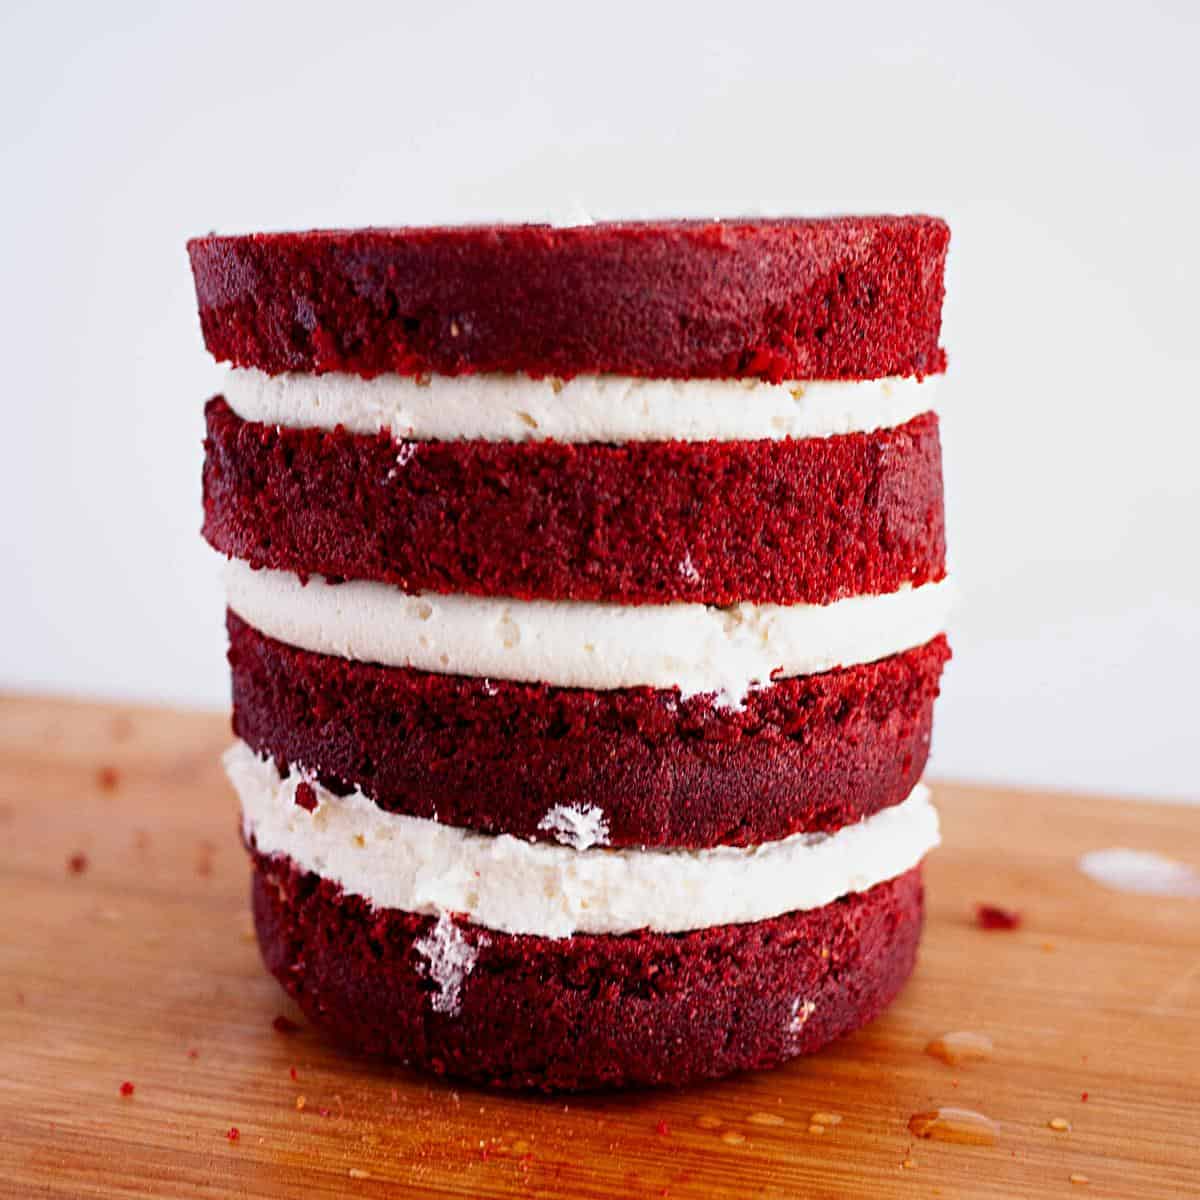
- Brush each layer with the cooled simple syrup. Place a cake layer on the cake board or cake stand. Top with a big dollop of buttercream – spread evenly using a straight-edge spatula.

Stack
- Place the cake in the fridge to chill for 10 to 15 minutes.
Pro tip – Chilling the cake at this point will ensure the layers don’t move when you frost the outside. However, if you leave the cake uncovered in the fridge for too long, it can dry out. So, 10 minutes is all you need. - Spread the remaining buttercream around and on the top of the cake.
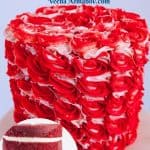
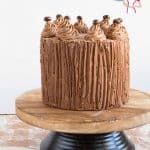
Pro tip – A straight-edge spatula for the top, an offset spatula, and a bench scraper for the sides work better. - Add a few drops of pink gel food color to half of the remaining white buttercream. Put both colors of buttercream in a piping bag with a star piping tip nozzle.
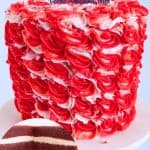
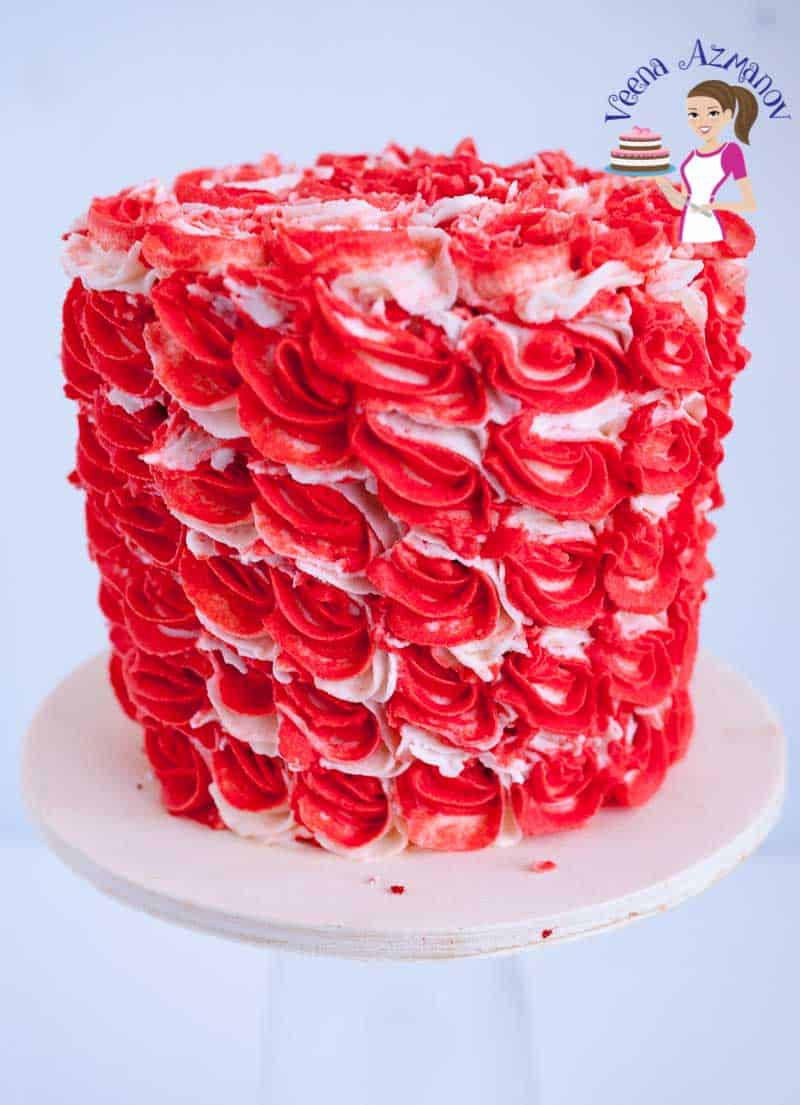
- Pipe swirls around the cake. These swirls are exactly what you would do on a cupcake, just smaller and on the side and top of the cake. Decorate as desired.

How to store red velvet cake?
- The unfrosted cake layers will stay fresh for up to 4 days at cool room temperature. And longer if kept in the fridge. Without frosting, this cake can be frozen for up to a month or more.
- Italian meringue buttercream (IMBC) has egg whites, which are considered perishable.
- In good weather, a cake frosted with IMBC can be kept at room temperature for up to 2 days and in the fridge for up to 5 days.


Frequently asked questions
This red velvet cake will stay fresh for up to four days at cool room temperature, longer if kept in the fridge. It can be frozen for a month or more.
Yes, if stored properly, this cake can be frozen for up to 4 months in the freezer.
First, wrap each layer well in plastic wrap,
Then, wrap each layer in parchment paper, followed by aluminum foil.
Place one or two layers in each ziplock bag.
The aluminum foil prevents freezer burns and other food smells from getting into the cake. The parchment keeps condensation on the paper rather than the cake when thawing.
Yes, you can use gluten-free flour instead of regular flour. However, the texture of the cake may be slightly different. It’s best to use a gluten-free flour blend that is made specifically for baking. Also, I have not tested this recipe with gluten-free flour.
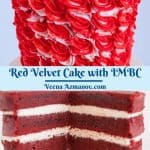
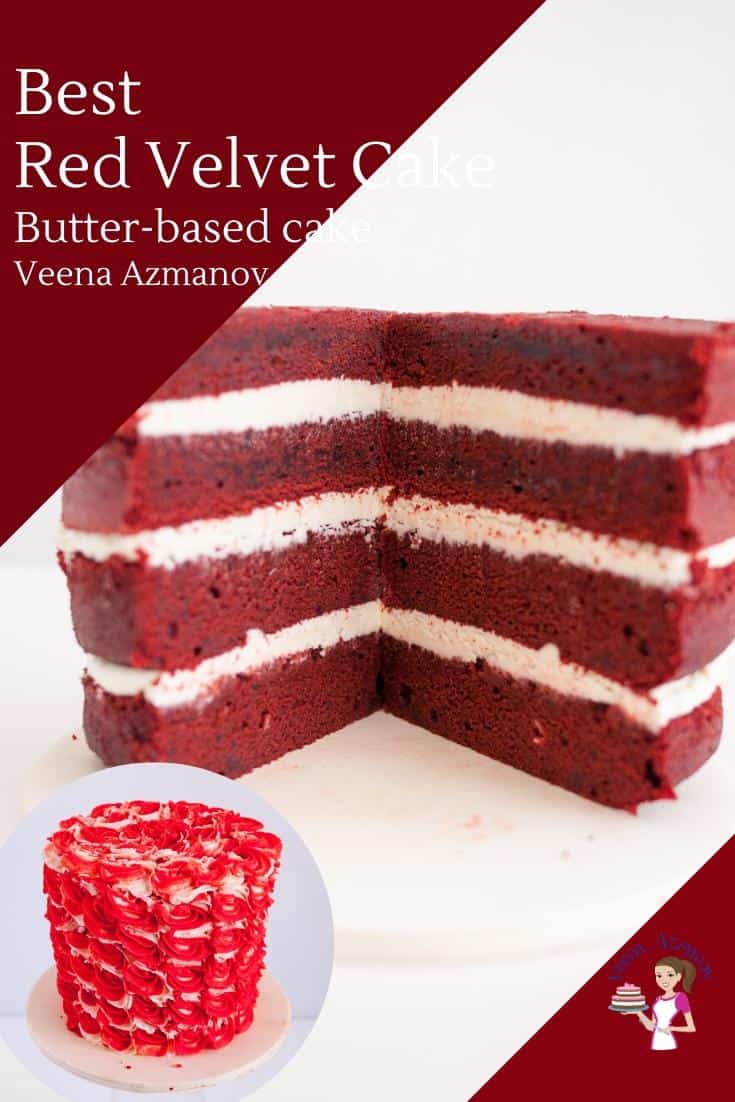
Best Red Velvet Cake with Italian Meringue Buttercream
If you’re looking for an indulgent, show-stopping dessert that will be the talk of the table, look no further than this frosted red velvet cake recipe. Rich and decadent, this stunning cake combines an iconic flavor combination of chocolate and frosting in an impressive presentation.
Ingredients
- 2½ cup (310 g) All-purpose flour
- 2½ tbsp Cocoa Powder
- 2½ tsp ( ) Baking powder
- ½ tsp Baking Soda
- ½ tsp Salt
- ¾ cup (170 g) Butter unsalted, room temperature
- ½ cup (120 ml) Cooking oil flavorless
- 2 cups (400 g) White Sugar
- 4 large Eggs
- 1½ cup (350 ml) Buttermilk
- 1 tbsp Vinegar
- 2 tsp Vanilla Extract
- 1 tbsp Red gel food color
- ½ cup (100 grams) Sugar
- 3 tbsp Water
- 3 (90 g) Egg whites
- ⅛ tsp Cream of tartar just a pinch
- ⅛ tsp Salt just a pinch
- 1 cup (226 g) Butter unsalted, room temperature
- 1 tsp Vanilla extract
- ½ cup (120 ml) Sugar Syrup
Method
- Preheat the oven to 325°F/ 165°C / Gas Mark 3. Grease and line two 9-inch round cake pans, three 7-inch cake pans, or four 6-inch round cake pans with parchment paper.
- Dry ingredients – Combine flour, cocoa powder, baking powder, baking soda, and salt – set aside2½ cup All-purpose flour, 2½ tbsp Cocoa Powder, 2½ tsp Baking powder, ½ tsp Baking Soda, ½ tsp Salt
- Cream – In the bowl of a stand mixer with the paddle attachment, cream the butter, oil, and sugar until light and fluffy. Add the eggs one at a time, making sure each is well incorporated.¾ cup Butter, ½ cup Cooking oil, 2 cups White Sugar, 4 large Eggs
- Combine – Next, add the flour and buttermilk in three batches, followed by the vinegar, vanilla extract, and red food color.1½ cup Buttermilk, 1 tbsp Vinegar, 2 tsp Vanilla Extract, 1 tbsp Red gel food color
- Bake – Pour the batter between the prepared baking pans and bake for 20 to 25 minutes on the middle rack or until a toothpick inserted in the center comes out clean.
- Cool – Once baked, leave in the pan for no more than 10 minutes. Then, invert onto a cooling rack to cool completely.
- Place egg whites, salt, and cream of tartar in the bowl of a stand mixer with the whisk attachment on medium speed. Once the meringue is at the soft peak stage, turn the mixer on low to avoid overmixing and wait for the sugar to reach the desired temperature.Watch a video – how I make my Italian Meringue Buttercream (IMBC)3 Egg whites, ⅛ tsp Cream of tartar, ⅛ tsp Salt
- Meanwhile, heat sugar and water in a heavy-bottomed light-colored saucepan over medium heat. Once all the sugar is melted, place a candy thermometer inside. Continue to boil until the sugar syrup reaches about 238°F on the candy thermometer (softball stage).½ cup Sugar, 3 tbsp Water
- Turn the mixer on medium speed and pour the hot sugar syrup into the mixer bowl. The sugar should stream between the whisk and the edge of the bowl. Once all the syrup is in, turn the mixer on high and whisk for about 3 minutes. The outside of the bowl will be hot at first and then barely warm.
- When the meringue is cold and the bowl is not warm at all, start adding the butter, one cube at a time. Once all the butter is in, whip for another minute or two until you have a smooth and satin-like buttercream that is light and fluffy. Then, add the vanilla extract.1 cup Butter, 1 tsp Vanilla extract
- Prepare simple syrup – cool completely before using. Simple syrup is just sugar water that has been boiled and cooled. It's used to keep cake layers moist. Watch a video showing how I level, torte, and fill the cakes.½ cup Sugar Syrup
- Using a bread knife or cake leveler, cut the domes off the cake layers. Then divide each layer in half horizontally so you have four layers (2 x 2 = 4 layers).
- Brush each layer with the cooled simple syrup. Place a cake layer on the cake board or cake stand. Top with a big dollop of buttercream – spread evenly using a straight-edge spatula. Place the cake in the fridge to chill for 10 to 15 minutes.
- Spread the remaining buttercream around and on the top of the cake. A straight-edge spatula for the top, an offset spatula, and a bench scraper for the sides work better.
- Add a few drops of pink gel food color to half of the remaining white buttercream. Put both colors of buttercream in a piping bag with a star piping tip nozzle.
- Pipe swirls around the cake. These swirls are exactly what you would do on a cupcake, just smaller and on the side and top of the cake. Decorate as desired.
Notes
- Line the cake pan with parchment paper. This will prevent the cake from sticking to the pan and make it easier to remove.
- It’s important to use room-temperature ingredients, especially butter and eggs, to ensure that they mix properly. Room-temperature ingredients also blend better, resulting in a smoother batter and a more evenly baked cake.
- Use fine-grain sugar – this ensures the sugar melts into the whipping eggs easily, leaving no trace of sugar grains.
- Don’t Over-mix the Batter: When mixing the batter, make sure you don’t overdo it. Overmixing the batter can cause the cake to become dense and dry. Mix the ingredients until just combined.
- Cake strips are highly recommended for this cake, so you have a nice pale baked cake, not dark. The top crust comes off easily. You can also make cake strips at home DIY
- Bake in the Middle of the Oven: For even baking, place the cake in the middle of the oven. This will ensure that the cake bakes evenly and doesn’t rise too much in the center.
- Keep cakes moist by brushing the layers with simple syrup – simple syrup is a mixture of sugar and water boiled until the sugar is dissolved.
Equipment you will need


Nutrition
Tried this recipe?
Mention @veenaazmanov_kitchen or tag #veenaazmanovkitchen!

Don’t lose this recipe! Save it for Later!
📌 Save this Recipe for later on Pinterest so you can easily find it again.
⭐ Add Veena Azmanov Kitchen to your Google Preferred Sources.
It helps Google show you more of our recipes.
📧 Subscribe for new recipes delivered to your inbox.
🎥 Follow us for more recipes

Week 2 – Day 6 Done
Week 2 – Day 5 Done
Week 2 – Day 4 Done
Week 2 Day 5 DONE
Hello Veena,
Great recipe there. However I am wondering if the measurement for flour, milk and cocoa powder has been updated because I had a different version up until last week. Loaded the page again now and the recipe is different. Flour used to be 2 cups, cocoa powder 3 Table spoons and buttermilk 1/2cup
Thank you
Hey Rayo,
Yes, I did make the exact adjustments. I happen to make this cake again previously and found the layers were a bit thinner then I wanted and the color a tad darker than it should be. So I retested it again and make the adjustments that I think gave me better results. Thanks
Thank you for your prompt response Veena.
Definitely trying this right away
I would be back to give a review
Yes, I would love your feedback. Thanks Rayo.
Hello Veena,
So I tried out the updated red velvet cake version and it was also great. However, I would choose the old recipe over this for the following reasons:
– the old recipe is moist and rich in taste
– It tastes lighter
– the red Colour is more vibrant, not sure why
The new recipe is perfect for fondant icing. It is firm to work it
It is also an excellent choice for mufifns because it forms a pretty high dome.
I made both the old and new so I could compare
Well done and thank you for giving your reviews generously
Thank you for your feedback, Rayo. I will test the recipe again.