Same Day Pizza Dough Recipe
 Prep Time 1 hour 30 minutes Cook Time 10 minutes Total Time 2 hours 40 minutes


This same day homemade pizza dough recipe makes a soft, chewy crust with crisp golden edges in a home oven. It is an easy yeast dough made without a stand mixer, using a short rest and a few stretch-and-folds instead of long kneading. If you want homemade pizza tonight but do not want to wait for an overnight rise, this is the pizza dough to make.

I’ve made many versions of pizza dough over the years, from overnight dough to no-knead dough and sourdough pizza dough, but this one fills that sweet spot in the middle. It is quick enough for the same day, easy enough for a beginner, and still gives you a pizza crust that feels homemade in the best way.
And after retesting this recipe again, I updated the method to fit the way I actually make pizza at home now: mix, rest, stretch and fold, divide, rest again, then bake on a hot stone. It is simple, practical, and gives a much better crust than the old mix-and-roll approach. Read my 10 tips for making better homemade pizzas.
Why is this the best pizza crust?
- Same-day pizza dough you can make when the craving hits
- No stand mixer needed and no heavy kneading
- Makes a soft, chewy crust with crisp edges
- Easy to stretch and shape by hand Works beautifully in a home oven with a pizza stone
- A great middle ground between a quick dough and a long-fermented dough

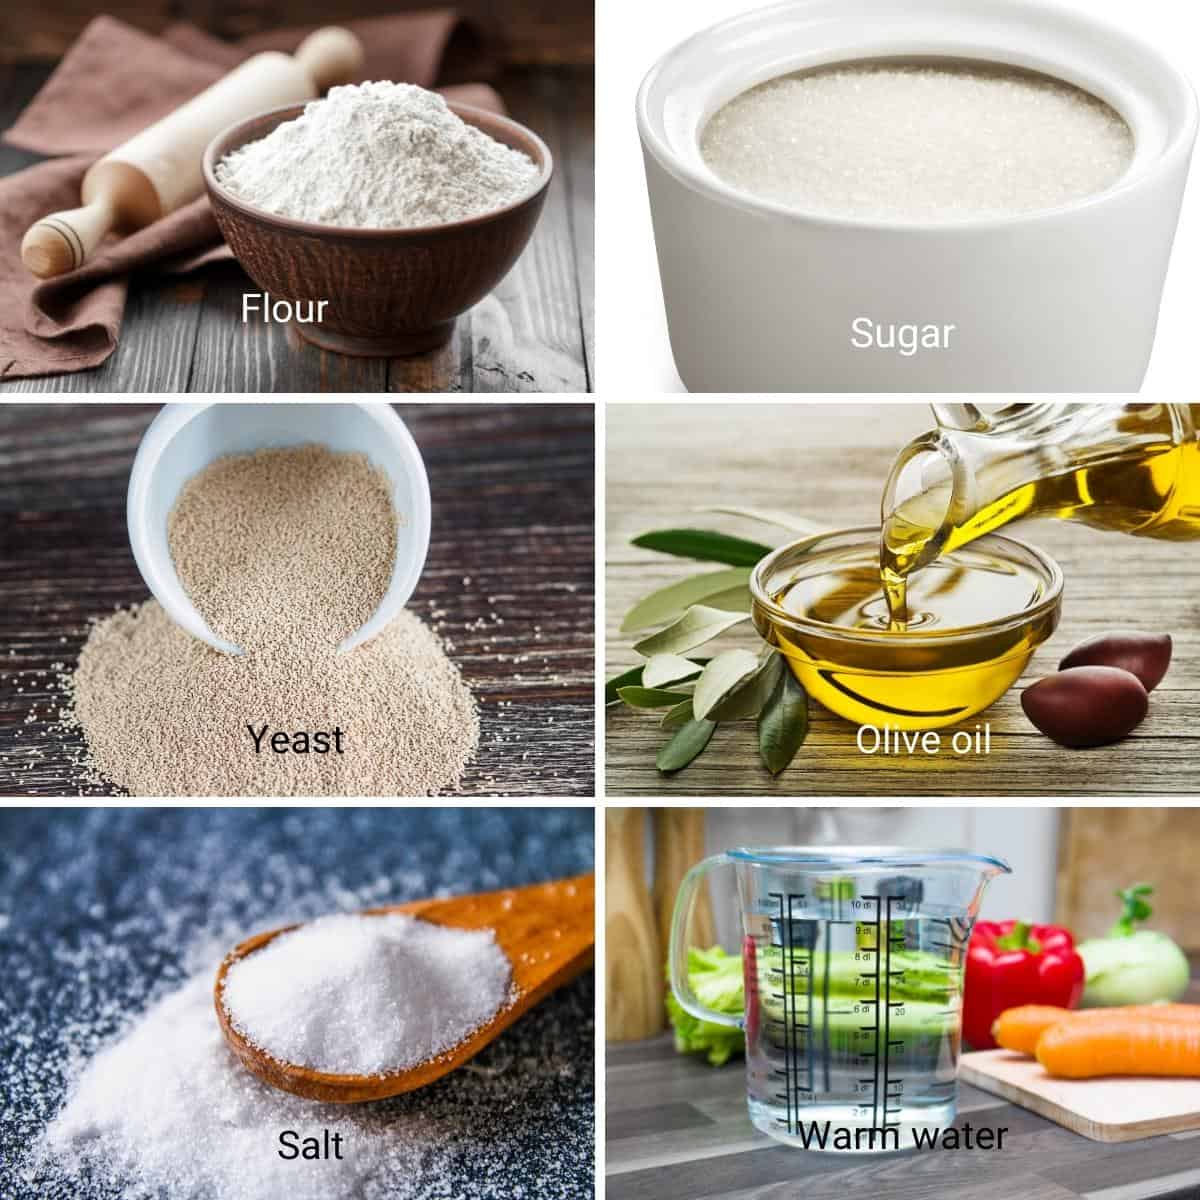
Ingredients and substitutes
You only need a few basic pantry ingredients for this homemade pizza dough recipe, but each one plays an important role.
- Warm water helps hydrate the flour and wake up the yeast. You want it warm, not hot.
- Sugar gives the yeast a little boost and also helps the crust brown better in a home oven.
- Instant yeast keeps this dough fast and reliable. Since this is a same-day pizza dough, instant yeast helps move things along without a long rise.
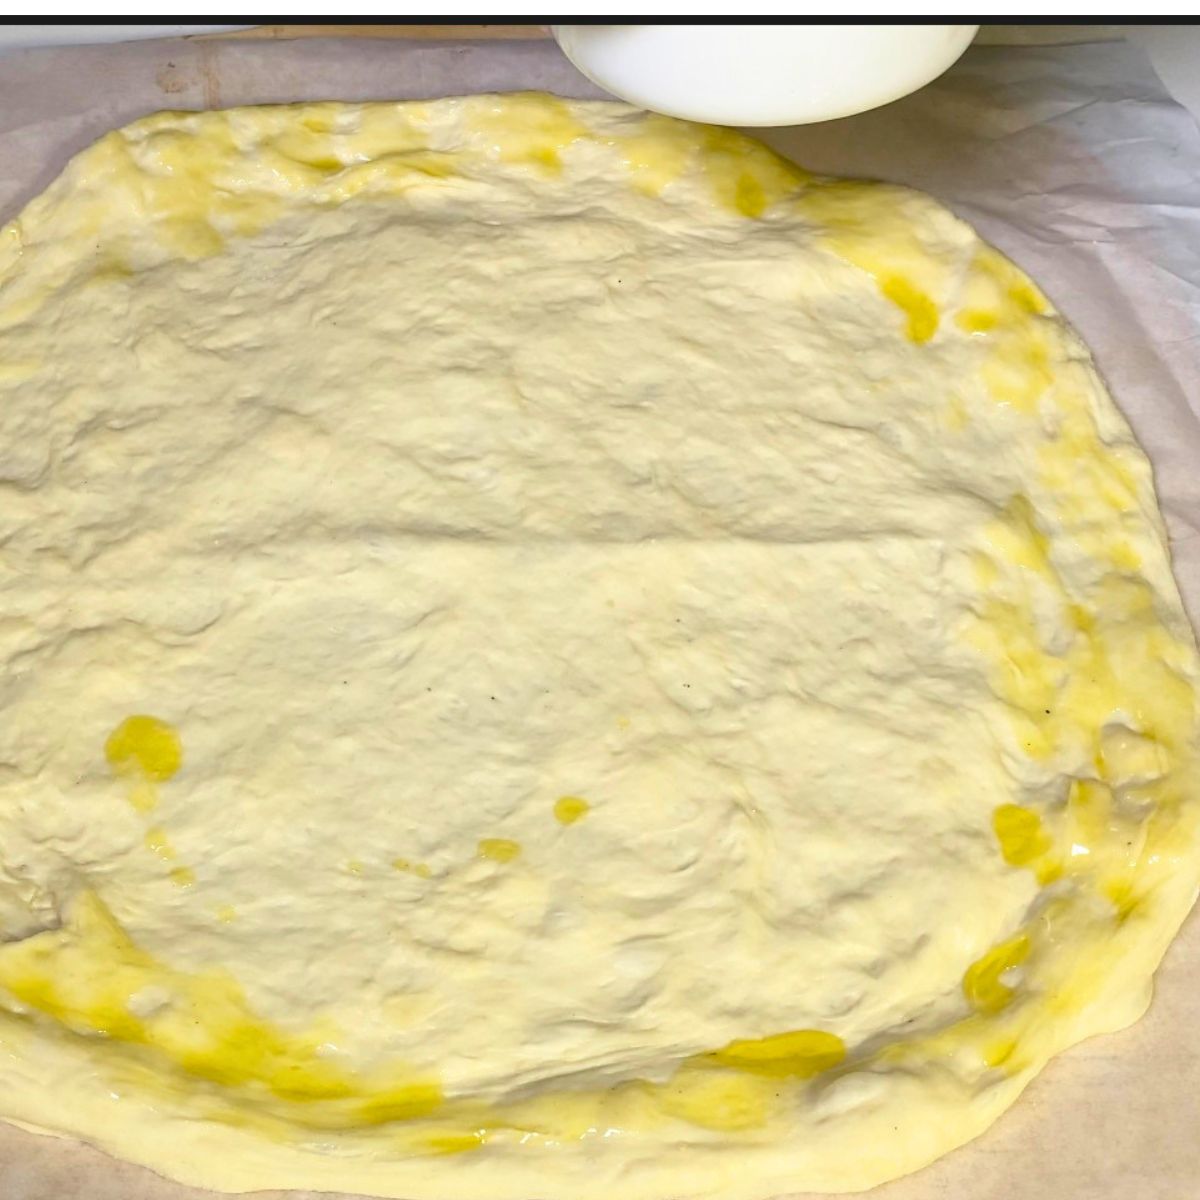
- Olive oil adds a little flavor and helps make the dough supple and easier to stretch.
- Bread flour gives the dough structure and chew. You can use all-purpose flour, but bread flour gives a stronger, chewier crust.
- Salt is added after the first rest. This gives the flour time to hydrate first, then the salt strengthens the dough and improves flavor.
Step-by-step: Homemade Same Day Pizza Dough From Scratch
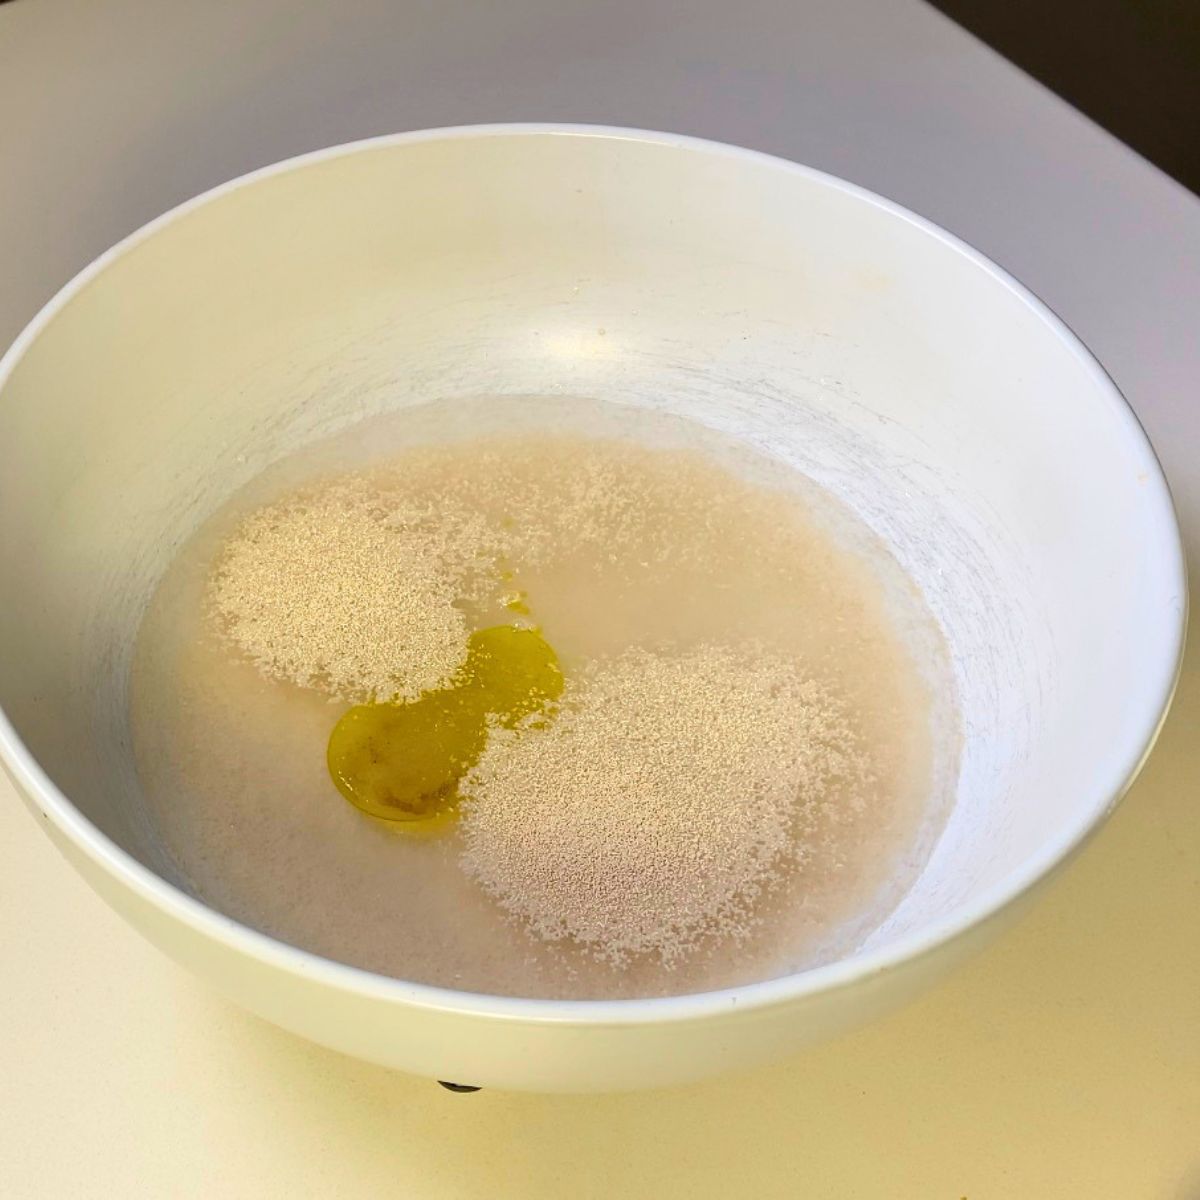
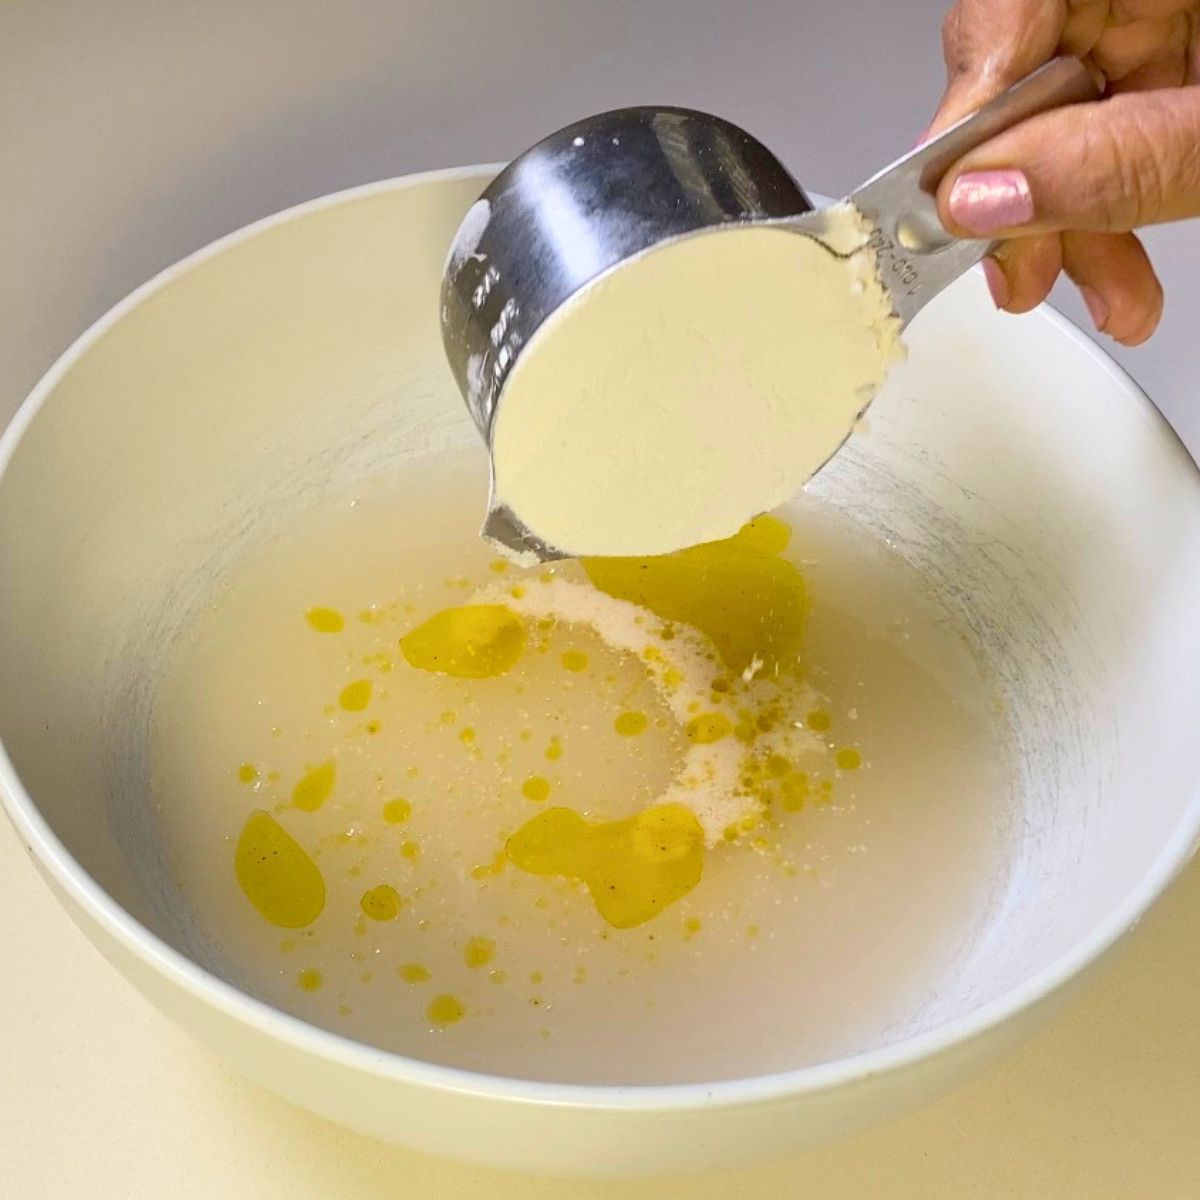
1. Mix the dough
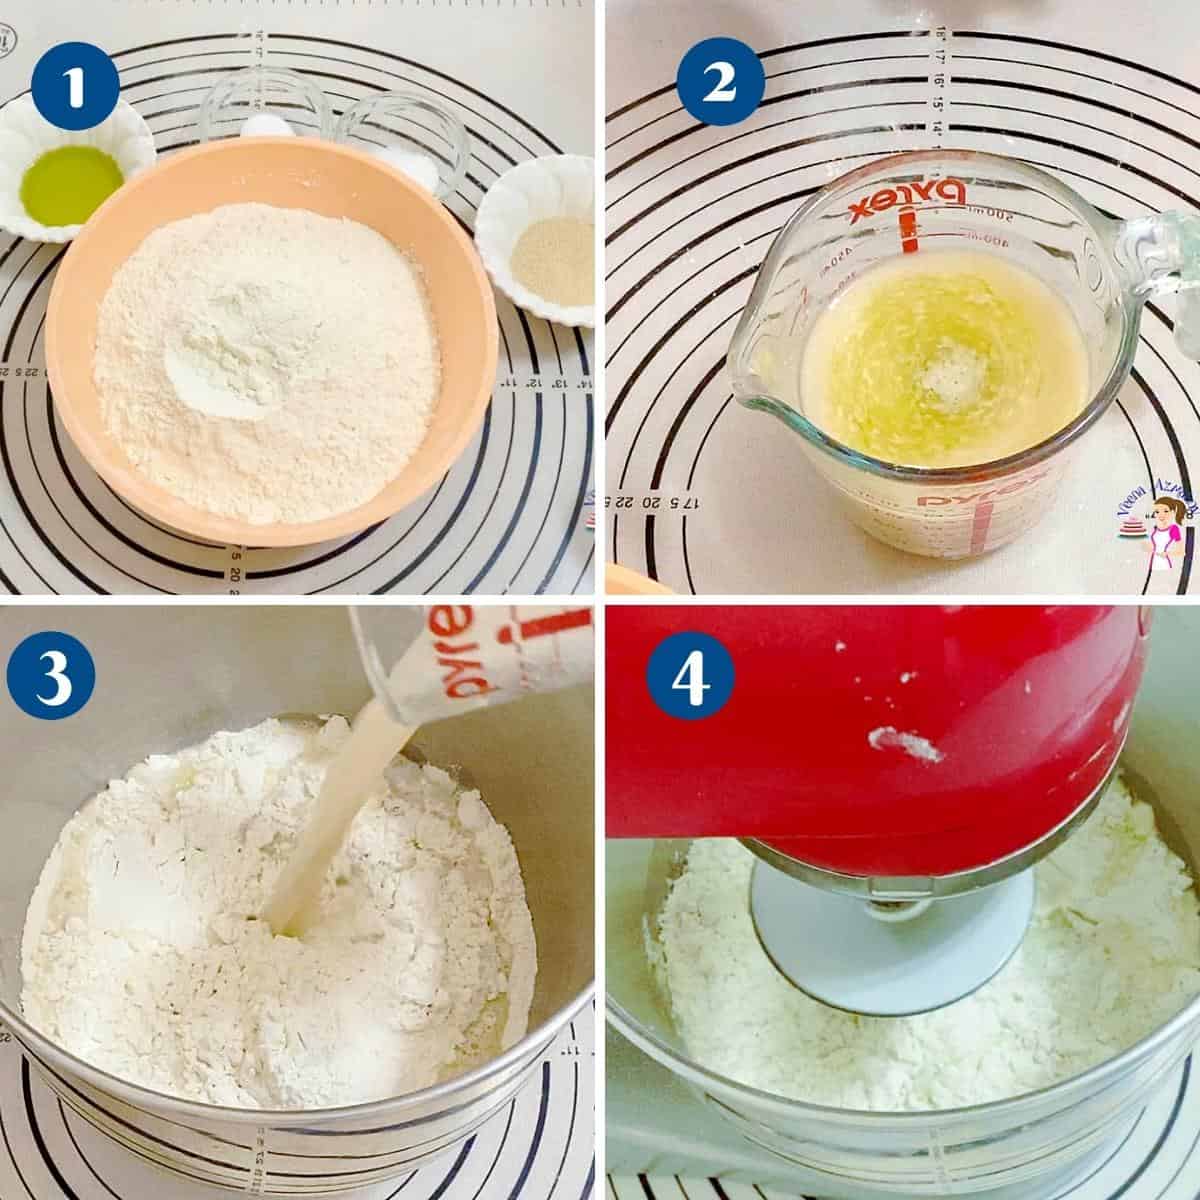
In a large bowl, combine the warm water, sugar, olive oil, and instant yeast. Add the flour gradually, mixing until no dry flour remains and you have a shaggy dough. It will look rough at this stage, and that is fine.
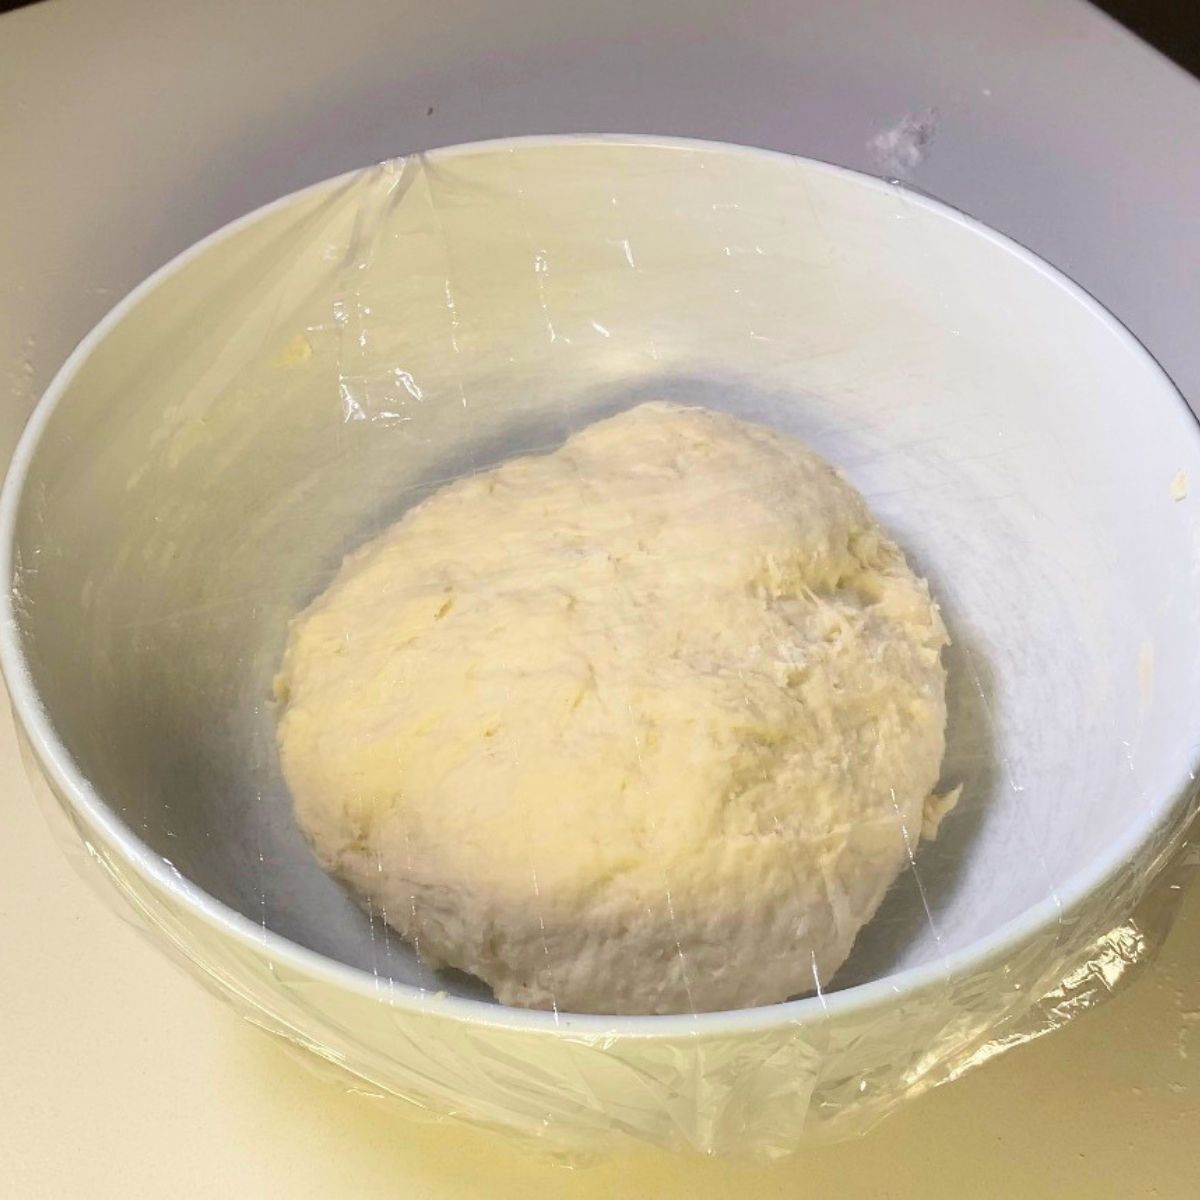
2. First rest
Cover the bowl and let the dough rest for 30 minutes. This gives the flour time to hydrate before you add the salt.

3. Add the salt
Sprinkle the salt over the dough and work it in with damp hands until fully incorporated. It may feel slippery at first, but it will smooth out quickly.
Pro tip – Adding the salt after the first rest gives the flour time to hydrate and makes the dough easier to develop with stretch-and-folds.
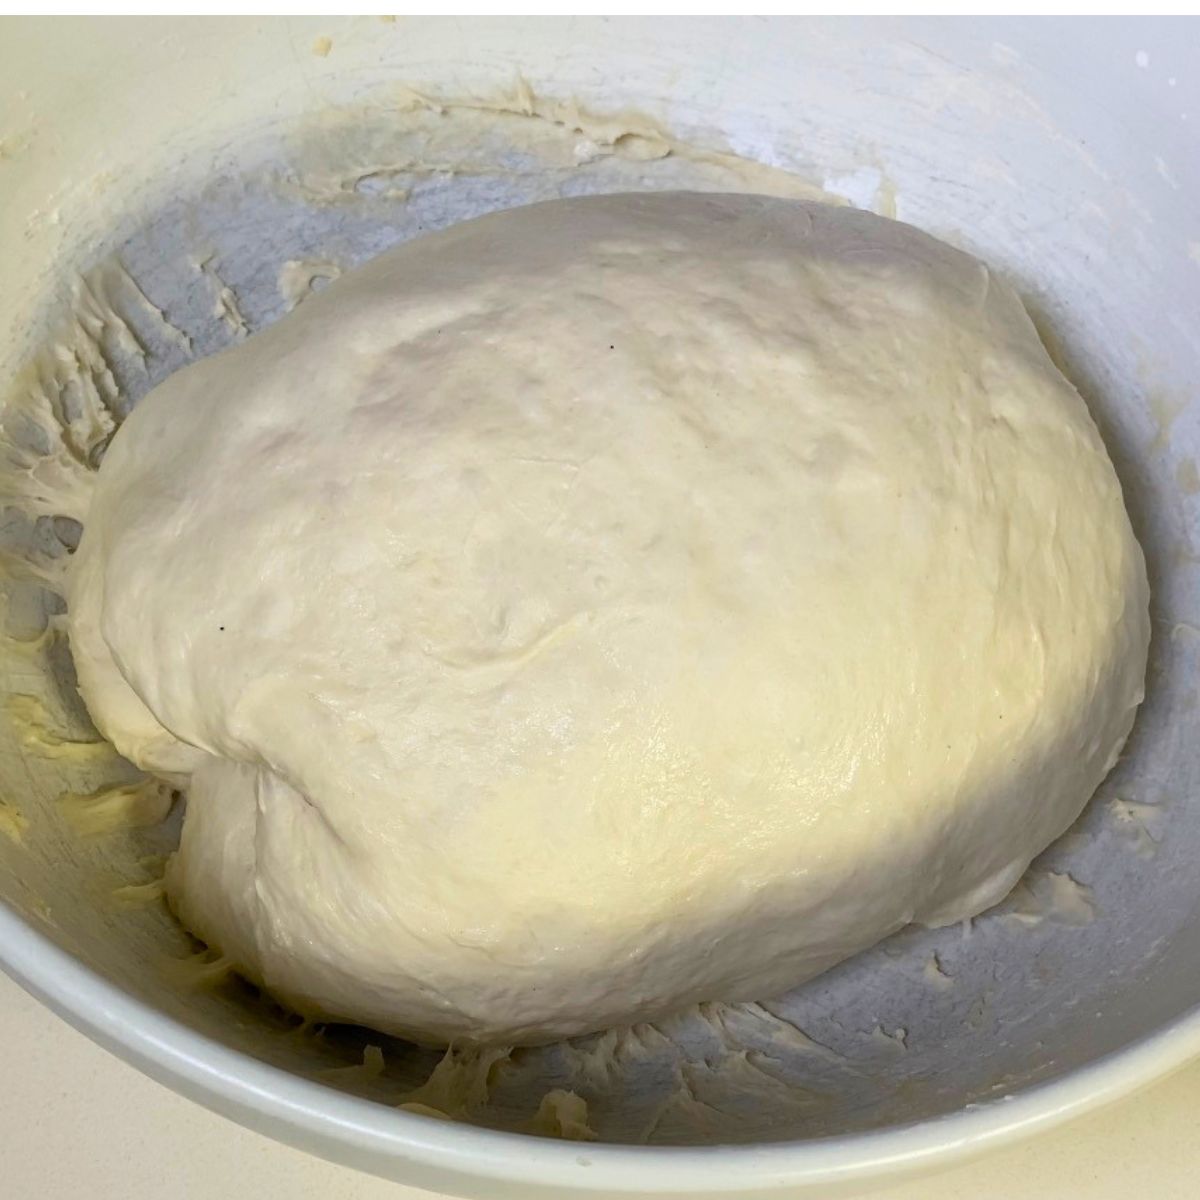
4. Stretch and fold
Do 3 rounds of stretch and folds, spacing them 15 minutes apart. With each round, lift one side of the dough, stretch it up, and fold it over itself. Turn the bowl and repeat until you’ve folded all sides. The dough will become smoother and stronger after each round.
Pro tip – The rest-and-fold method works very well and keeps the dough easy to handle. But, if you prefer, you can knead the dough for 6 to 7 minutes.
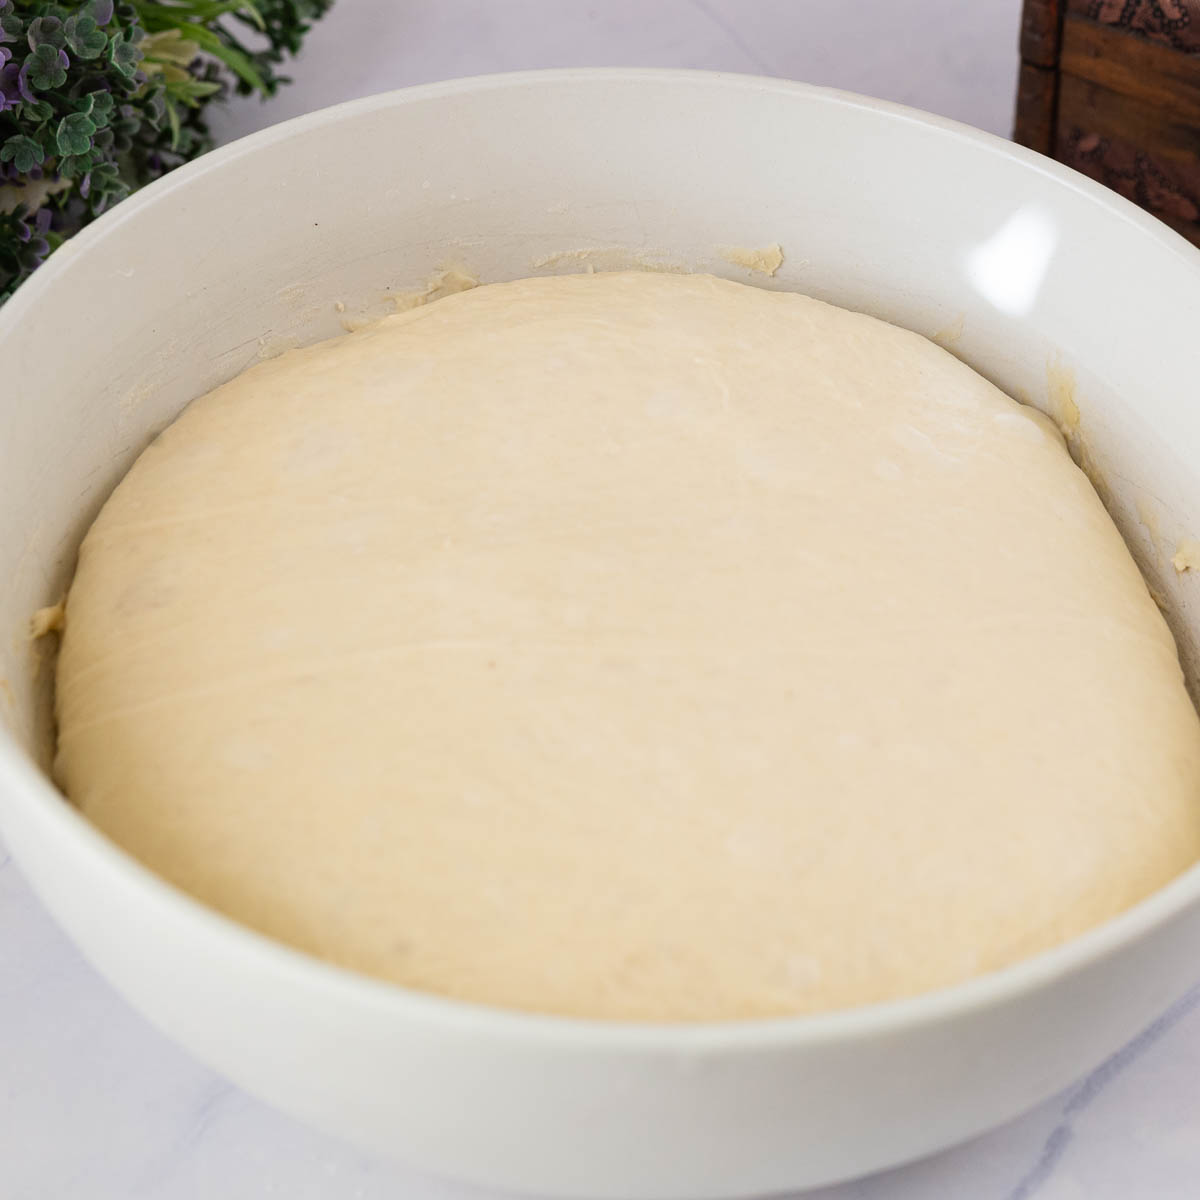
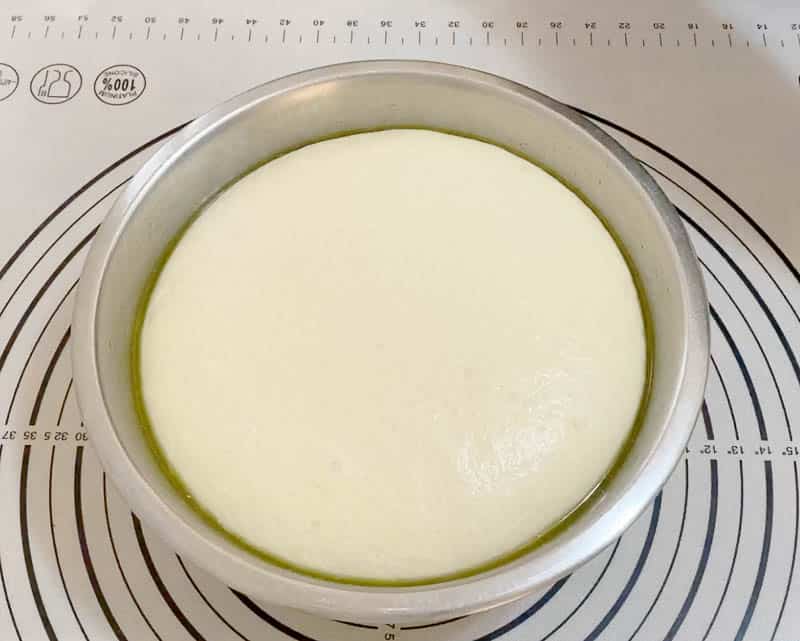
5. Bulk rest
After the third stretch and fold, cover the dough and let it rest for 1 hour. This is when the dough relaxes, rises, and builds more air.
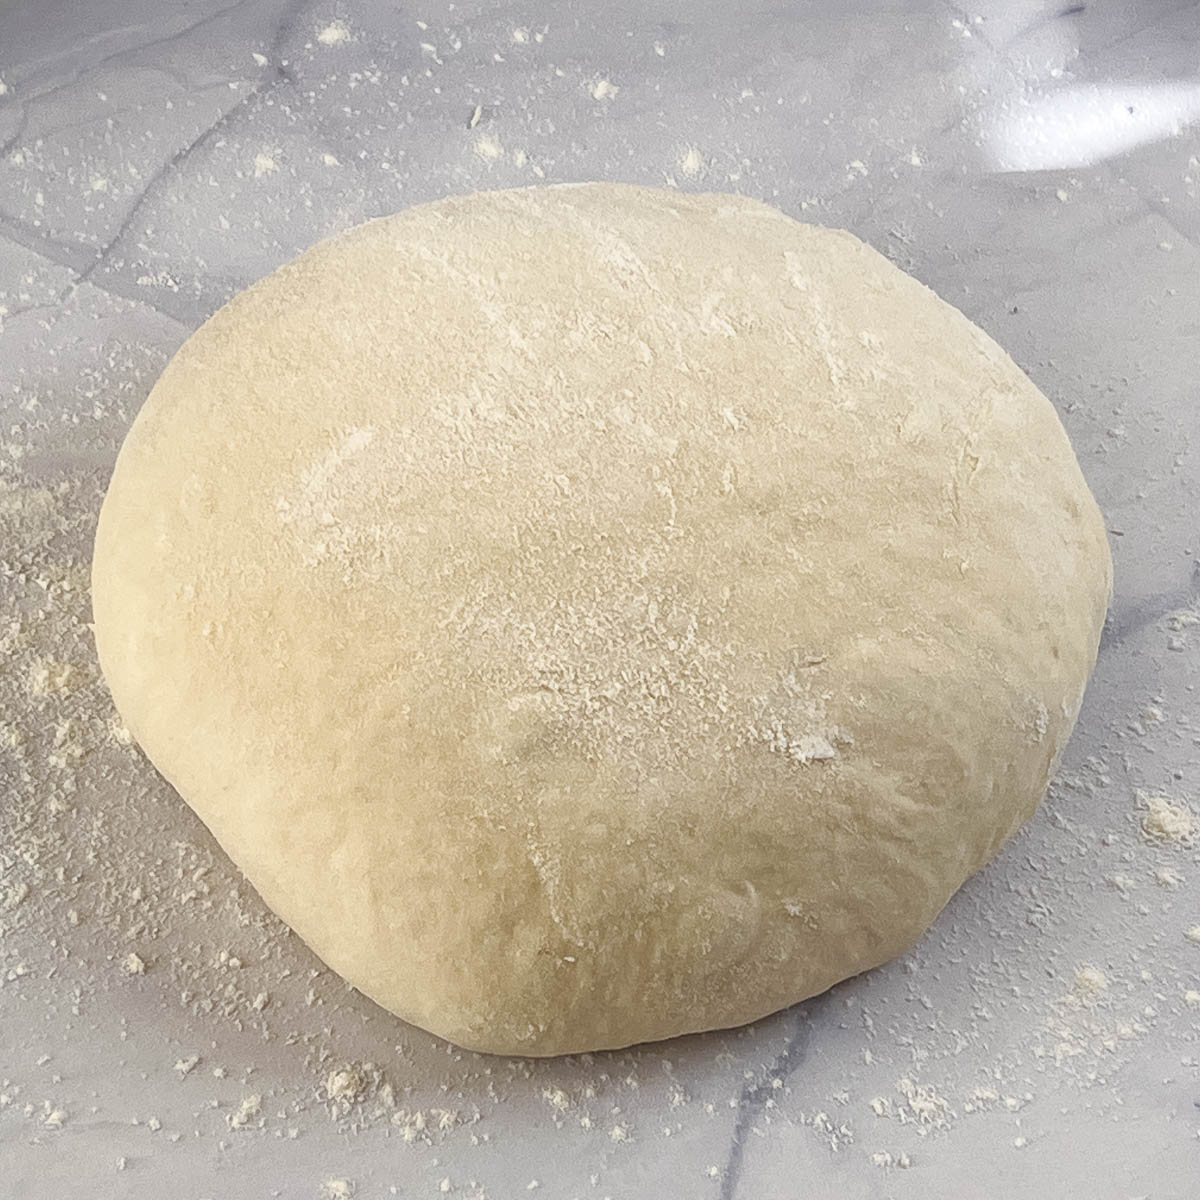
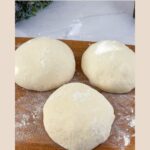
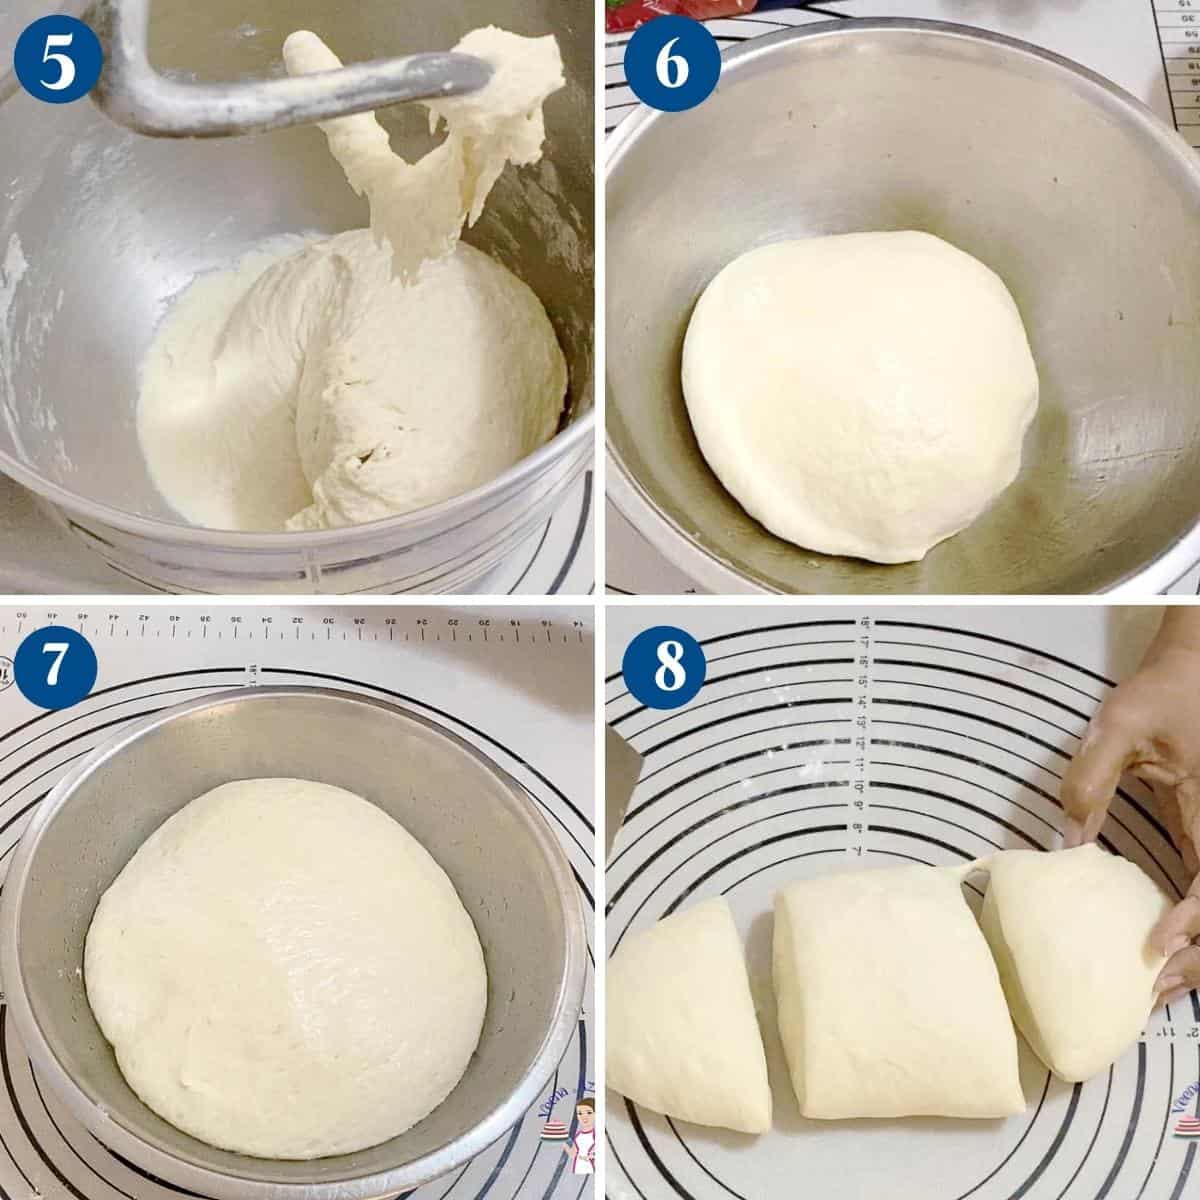
6. Divide the dough
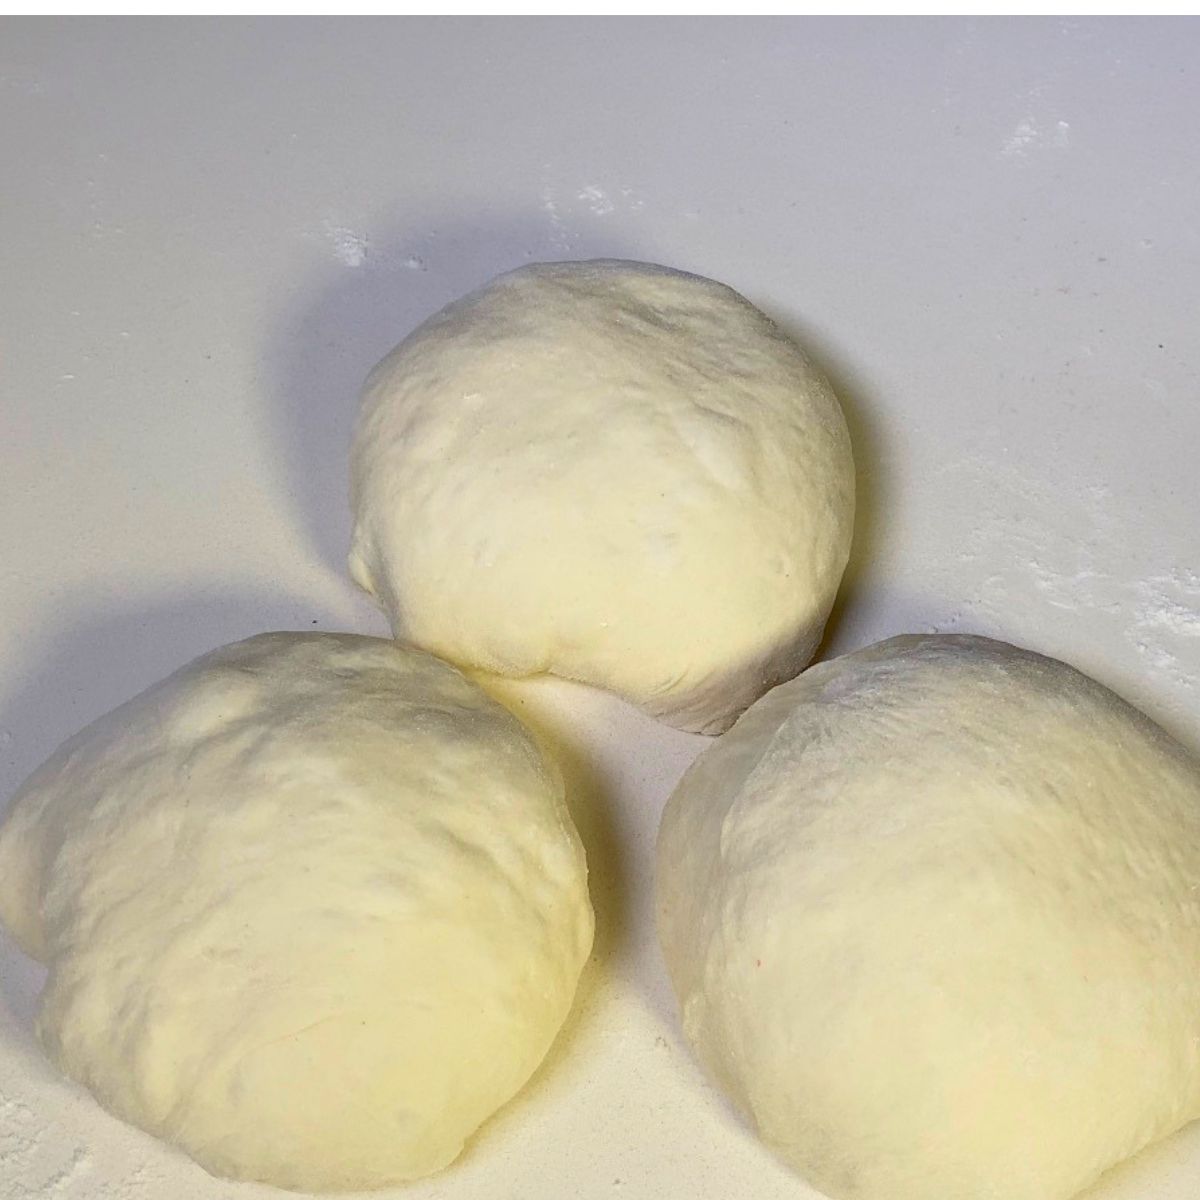
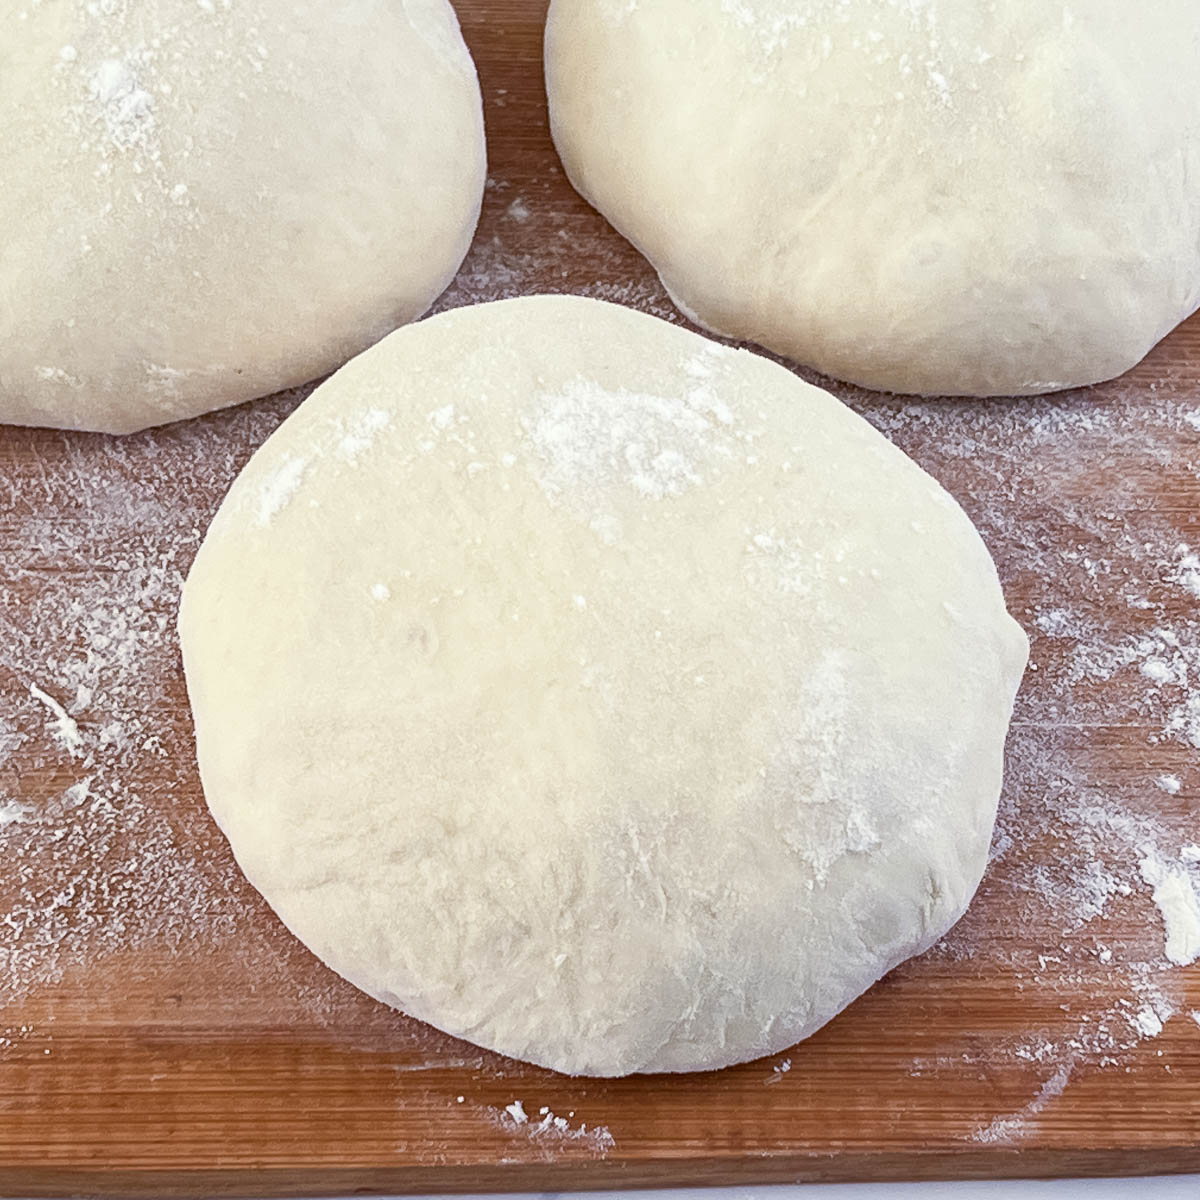
Turn the dough onto a lightly floured surface and divide it into 3 equal portions. Shape each portion into a ball.
7. Final rest
Cover the dough balls and let them rest for 30 minutes. This final rest helps the gluten relax so the dough is easier to stretch.
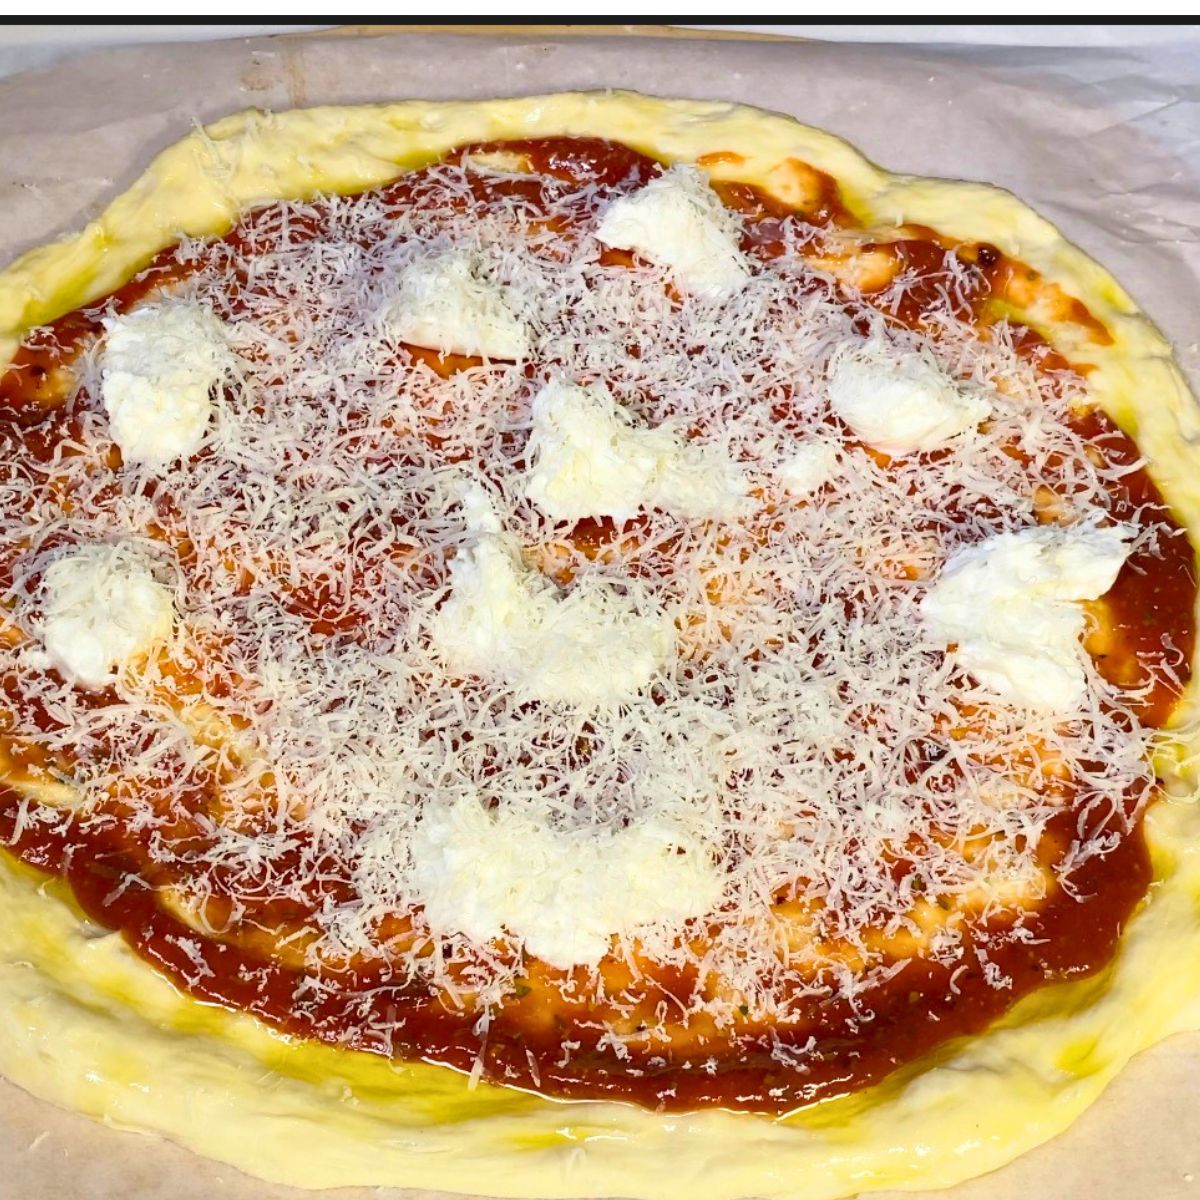
8. Shape and bake
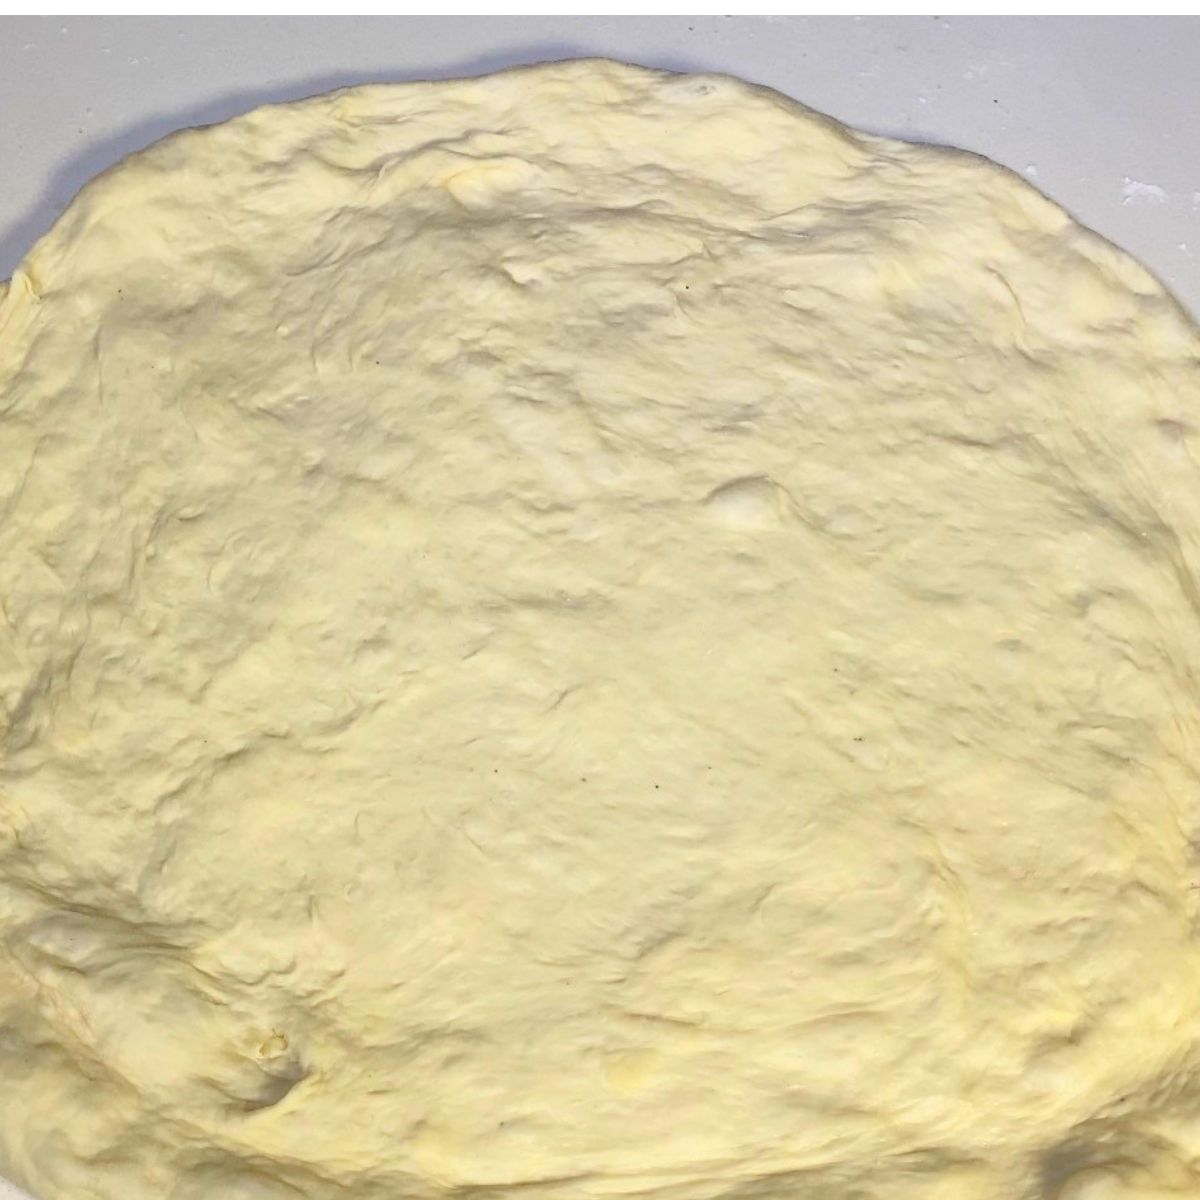
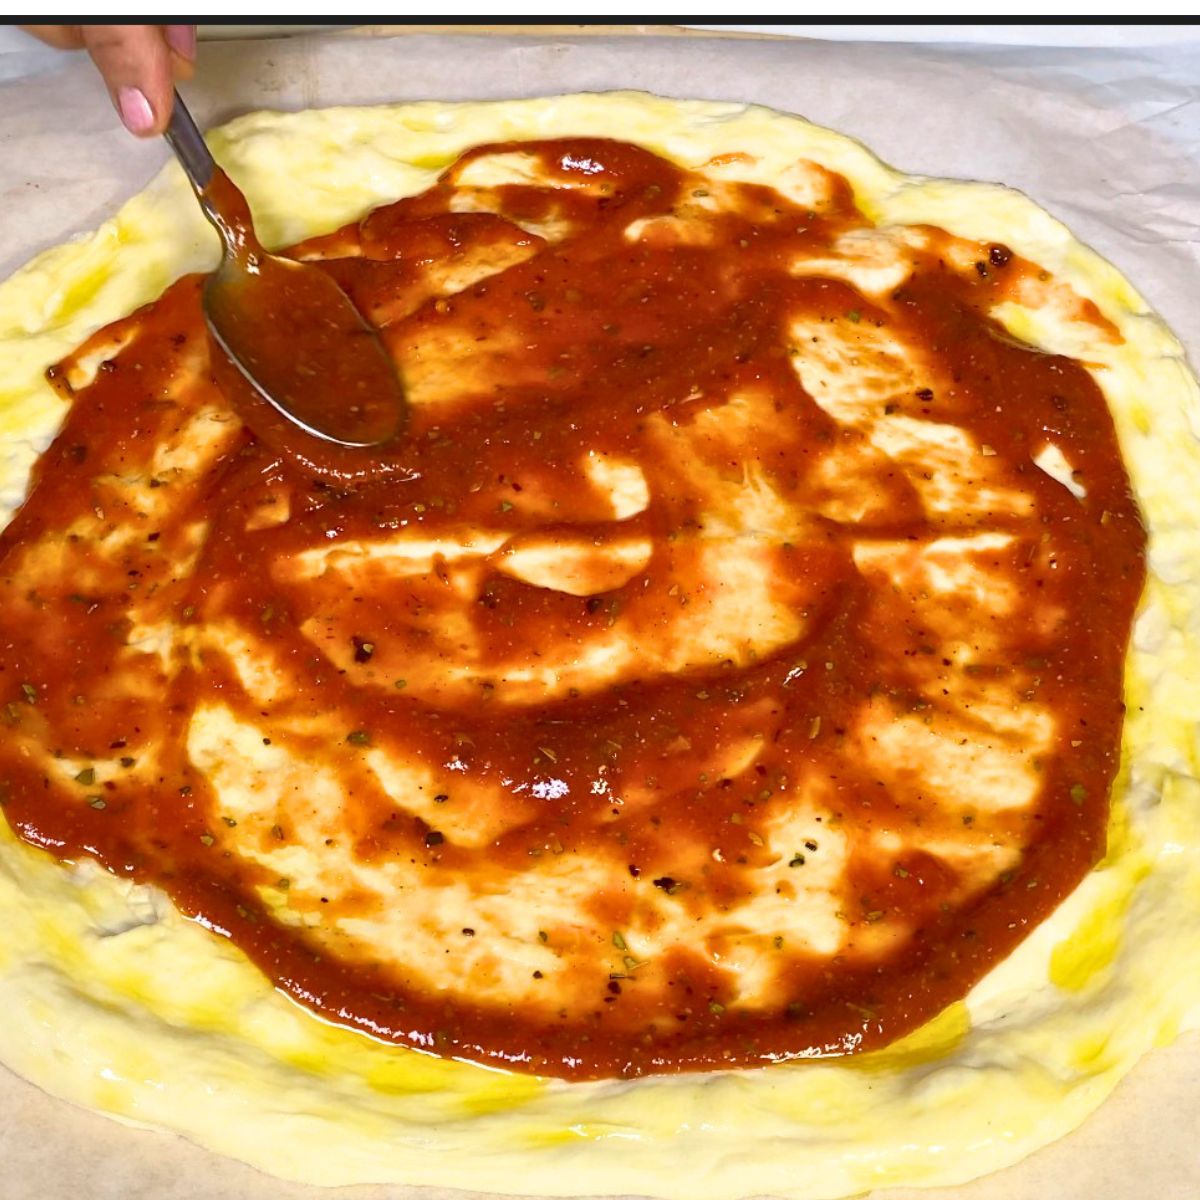
Stretch each dough ball gently by hand, leaving a slightly thicker rim around the edge. Top as desired and bake on a fully preheated pizza stone until the crust is golden and the cheese is melted and bubbling.

What is the BEST way to bake pizza in a home oven
- One of the biggest differences between decent homemade pizza and really good homemade pizza is how you bake it.
- For the best crust, place a pizza stone in the oven and preheat it well before baking. A fully heated stone gives the dough a strong burst of heat from below, which helps the crust puff and brown.
- Shape the dough by hand instead of rolling it flat. That keeps more air in the edges and gives you a lighter rim.
- Use enough cheese to cover the pizza, but not so much that the top browns before the crust has time to color. A balanced topping ratio gives you the best result in a home oven.
- If your oven tends to brown the cheese too quickly, reduce the amount of cheese slightly and make sure your stone is fully heated before the pizza goes in.

Can I use a stand mixer for this pizza dough?
Yes, you can make this dough using a stand mixer. After mixing the ingredients, knead the dough on medium speed for about 6 to 7 minutes, until it becomes smooth and elastic.
The dough will still be soft and slightly sticky, but it should pull away from the sides of the bowl. Avoid adding extra flour—this is what helps give the pizza a soft, chewy crust.
Same Day Homemade Pizza Dough
This same day homemade pizza dough makes a soft, chewy crust with crisp golden edges in a home oven. Made with instant yeast, a short rest, and a few stretch-and-folds, it is an easy pizza dough recipe you can make the same day without a long overnight rise.
Video
Ingredients
- 320 g (1⅓ cups) Warm water
- 15 g (1 tbsp) Sugar
- 15 g (1 tbsp) Olive oil
- 7 g (2¼ tsp) Instant yeast
- 500 g (4 cups) Bread flour
- 9 g (1¾ tsp) Salt
Method
- Mix the Dough – In a large bowl, combine the warm water, sugar, olive oil, and instant yeast. Add the flour gradually, mixing until no dry flour remains and you have a shaggy dough. It will look rough at this stage, and that is fine.320 g Warm water, 15 g Sugar, 15 g Olive oil, 7 g Instant yeast, 500 g Bread flour
- First Rest – Cover the bowl and let the dough rest for 30 minutes. This gives the flour time to hydrate before you add the salt.
- Add Salt – Sprinkle the salt over the dough and work it in with damp hands until fully incorporated. It may feel slippery at first, but it will smooth out quickly.9 g Salt
- Stretch & Fold – Do 3 rounds of stretch and folds, spacing them 15 minutes apart. With each round, lift one side of the dough, stretch it up, and fold it over itself. Turn the bowl and repeat until you’ve folded all sides. The dough will become smoother and stronger after each round.
- Bulk Rest – After the third stretch and fold, cover the dough and let it rest for 1 hour. This is when the dough relaxes, rises, and builds more air.
- Divide the dough – Turn the dough onto a lightly floured surface and divide it into 3 equal portions. Shape each portion into a ball.
- Final Rest – Cover the dough balls and let them rest for 30 minutes. This final rest helps the gluten relax so the dough is easier to stretch.
- Pre the Oven – Preheat the oven to 475°F / 245°C with a pizza stone inside for 30 to 45 minutes.
- Shape and Bake – Stretch each dough ball gently by hand, leaving a slightly thicker rim around the edge. Top as desired and bake on a fully preheated pizza stone until the crust is golden and the cheese is melted and bubbling, about 8 to 12 minutes.
Notes
- Bread flour gives the best chewy crust, but all-purpose flour can be used.
- Do not skip the 30-minute rests. They help develop the dough without kneading.
- If the dough springs back while shaping, let it rest for 5 to 10 minutes.
- Freeze extra dough balls for up to 1 month.
- For more flavor, try my overnight pizza dough.
Equipment you will need


Nutrition
Tried this recipe?
Mention @veenaazmanov_kitchen or tag #veenaazmanovkitchen!Make ahead and storage
- To refrigerate: After dividing the dough into balls, lightly oil and refrigerate for later the same day or overnight.
- To freeze: Place each dough ball in a lightly oiled freezer-safe bag and freeze for up to 1 month. Thaw in the fridge overnight, then let sit at room temperature before stretching.
- Leftover pizza: Store baked leftover pizza in an airtight container in the fridge for up to 3 days. Reheat in a hot oven for the best texture.

Variations
- For a softer crust – Use all-purpose flour instead of bread flour.
- For more flavor – Make the dough earlier in the day and let it rest a little longer, or use my overnight pizza dough if you want a deeper flavor.
- For an easier low-effort option – Use my no-knead pizza dough.
- For artisan-style flavor – Try my sourdough pizza dough.

Tips for Success
- Use bread flour for the best chew – All-purpose flour works, but bread flour gives a sturdier, chewier crust.
- Do not skip the first rest – That 30-minute rest makes a big difference in dough texture and makes this method easier than traditional kneading.
- Add the salt after the rest – This is part of what makes the dough easier to develop with stretch-and-folds.
- Do not overflour the dough – A slightly tacky dough is better than a dry dough. Too much flour makes the crust dense and harder to stretch.
- Let the dough relax before shaping – If the dough keeps springing back, let it rest for 5 to 10 minutes, then continue stretching.
- Preheat the stone well – A hot stone helps the crust puff and brown properly.
- Do not overload the toppings – Too much sauce, cheese, or wet toppings can weigh the dough down and make the center soggy.

Troubleshooting
| Problem | What happened | How to fix it |
|---|---|---|
| Dough is too sticky | Dough is naturally a bit tacky, or the flour was measured lightly | Lightly flour your hands and work surface, but do not add too much extra flour |
| Dough is hard to stretch | Gluten is too tight | Let the dough rest 5 to 10 minutes, then try again |
| Dough keeps shrinking back | It needs more rest | Cover and let it relax before shaping |
| Crust is dense | Too much flour was added or dough did not rest enough | Measure flour by weight and do not skip the rests |
| Pizza is pale on the bottom | Stone was not hot enough | Preheat the stone longer |
| Cheese browns before crust colors | Too much top heat or too much cheese | Use a lighter hand with cheese and bake on a fully heated stone |
| Dough tears when stretching | It is either too dry or not relaxed enough | Let it rest a few minutes and avoid adding too much flour |
| Crust tastes bland | Not enough salt or underbaked | Keep the salt in the recipe and bake until the crust is truly golden |
- 3 Cheese Pizza
- The Best Pizza Dough Recipe: Pizzeria-Style Overnight Dough
- Olive Pizza with Red Onions
- 10 Tips For Making Better Homemade Pizza
- No-Knead Pizza Dough


Frequently asked questions
This dough takes about 2 hours total, including resting time, dividing, and final rest. It is much faster than overnight dough, but still gives you a flavorful, chewy crust.
Yes. Bread flour gives a chewier crust, but all-purpose flour works well too.
Yes, but you do not need to. The rest-and-fold method works very well and keeps the dough easy to handle.
Yes. After mixing, you can refrigerate the dough balls and use them later, but for a true make-ahead version with more flavor, I recommend my overnight pizza dough.
Yes. After dividing the dough into balls, lightly oil them, place them in freezer-safe bags, and freeze for up to a month. Thaw overnight in the fridge and bring to room temperature before shaping.
You can bake the pizza, cut the slices, and cool them completely before you place the slices in a ziplock bag. And, you can also freeze these for a long time. But mine have never stayed for more than a week. And, they also make a great snack for kids.
In fact, I often make mini pizzas and save them for the kids’ school snacks. Freeze and thaw them the same way as the slices above.
Don’t lose this recipe! Save it for Later!
📌 Save this Recipe for later on Pinterest so you can easily find it again.
⭐ Add Veena Azmanov Kitchen to your Google Preferred Sources.
It helps Google show you more of our recipes.
📧 Subscribe for new recipes delivered to your inbox.
🎥 Follow us for more recipes


I have loved every recipe of yours I have tried. it seems in this recipe you somehow committed the cup or os of water you would need to make a dough, and only includes the water to proof the yeast
Mike – 1 1/2 cups of water for 4 cups of flour is a good quantity. You can add a little more water as necessary.
day 12 done
Day 12 Done
Day 12 bread done
I’ve had great success with this pizza dough recipe. I’m always looking for new ways to use my wood-fired pizza ovens. I tried your recipe, which was a delightful experience for me.
Thank you so much for your lovely feedback, happy you enjoyed it.
Done with day -1 .
It was awesome pizza dough recipe. My family love this pizza.
Thank you, Heena
Day 12 done
Day 12 done
Day 12 done thanks everyone is enjoying what i am making?
Thank you, Layla