How to Bake a Cake from Scratch


This is a simple vanilla cake recipe for beginners. It’s made from scratch, uses everyday ingredients, and follows an easy step-by-step method. If you’ve ever worried about overmixing, underbaking, or getting a dense cake, this recipe will show you exactly how to avoid those mistakes.
Growing up, this was the first cake my mom taught me to bake. She always said, “If you want to learn how to bake, you start with this cake. Once you master it, the rest will fall into place.”
At the time, I didn’t really understand what she meant. It was just a simple vanilla cake, after all. But years later — after running my own cake business and baking cakes every single day for over ten years — I finally understand.
This one cake teaches you everything you need to know: how to cream butter and sugar, how to add eggs properly, how not to overmix, and how to bake a cake evenly. Once you get comfortable with this method, you can turn it into many different cakes — chocolate, lemon, orange, layered cakes, celebration cakes, and more.
That’s why this is still the cake I recommend to beginners. It’s simple, forgiving, and it builds confidence. Master this cake, and the rest really does start to make sense.
Why bake a cake from scratch?
Many people think baking a cake from scratch is difficult. It’s not.
In fact, once you understand the basic steps, it’s often easier than using a box mix.
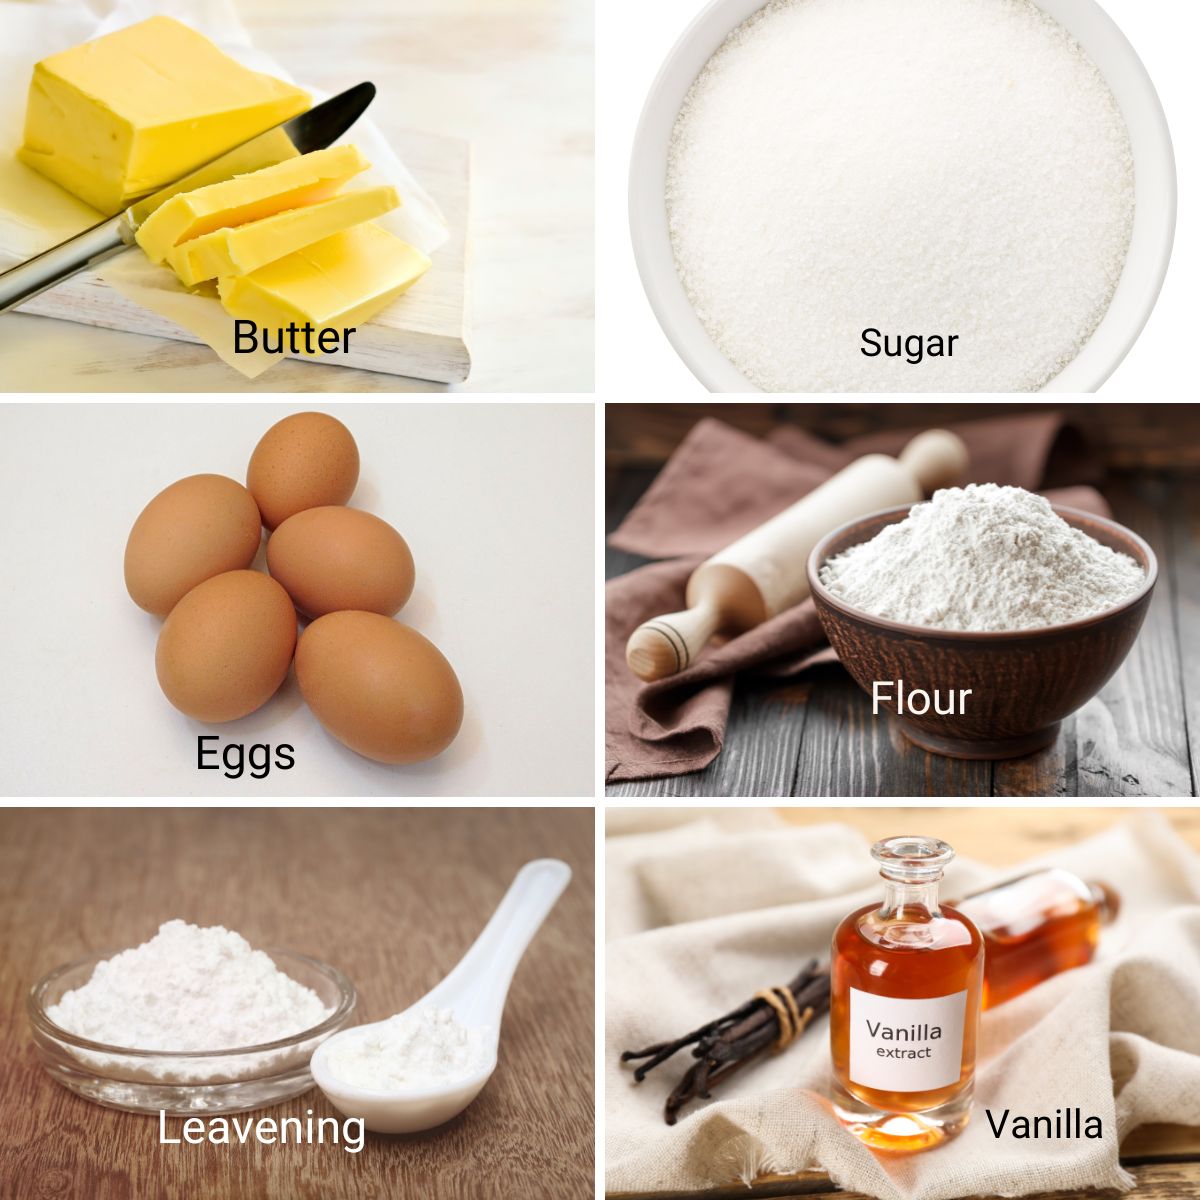
A simple cake from scratch uses ingredients you probably already have: butter, sugar, eggs, flour, milk, baking powder, salt.
When you bake from scratch, you:
- know exactly what goes into your cake
- can adjust flavors and textures later
- learn a skill you can use again and again
Most importantly, baking from scratch teaches you how cakes work. Instead of guessing or hoping a mix turns out well, you understand what each step does and why it matters.
This classic vanilla cake is a great place to start. It’s simple, forgiving, and helps you build confidence. Once you can bake this cake well, you’ll find that other cakes suddenly feel much less intimidating.
Ingredients and substitutes (read this before you start)
Before you begin baking, take a minute to read through the ingredients. Understanding them — even just a little — makes baking much easier.
- Butter – Use unsalted butter at room temperature. Soft butter mixes easily with sugar and helps trap air, which makes the cake light. If your butter is too cold, cut it into small pieces and let it sit for 10–15 minutes. It should be soft enough to press with your finger, but not melted. Salted butter is fine — just reduce the added salt slightly.
- Sugar – Use white granulated sugar. It creams well with butter and gives the cake structure and sweetness. Pro tip: If your sugar is very coarse, it may take longer to cream properly. Just pulse it in the food processor until fine but not powdered.
- Eggs – Use large eggs at room temperature. Room-temperature eggs mix more smoothly into the batter and help prevent curdling. If your eggs are cold, place them in a bowl of warm (not hot) water for 5 minutes.
- Cake flour has less protein than all-purpose flour, which helps make cakes softer and lighter. This is why it works so well for vanilla cakes.
If you don’t have cake flour, you can make a substitute using all-purpose flour and cornstarch. For every 1 cup (125 g) cake flour: Measure 1 cup all-purpose flour. Remove 2 tablespoons of the flour. Replace them with 2 tablespoons of cornstarch. Sift well before using.
This helps lower the protein content and gives a similar result. - Baking powder – This is what helps the cake rise. Measure it carefully. Too much baking powder can cause the cake to rise quickly and then sink.
- Milk adds moisture and helps create a soft, balanced cake. For beginners, regular milk is the best and safest choice.
- Vanilla adds flavor. Use vanilla extract or vanilla bean paste. A touch of almond extract or rose extract works beautifully too.
- Salt – A small amount of salt balances the sweetness and improves flavor. Don’t skip it.
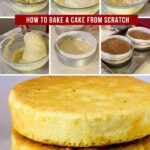
Step-by-step: how to bake a cake from scratch (beginner version)
Step 1: Preheat the oven and prepare the pans
Preheat your oven to 325°F / 165°C (no fan).
Grease your 2 x 8-inch or 3 x 7-inch cake pans and line the bottom with parchment paper. This helps the cake release easily after baking and prevents sticking. Set the pans aside while you make the batter.
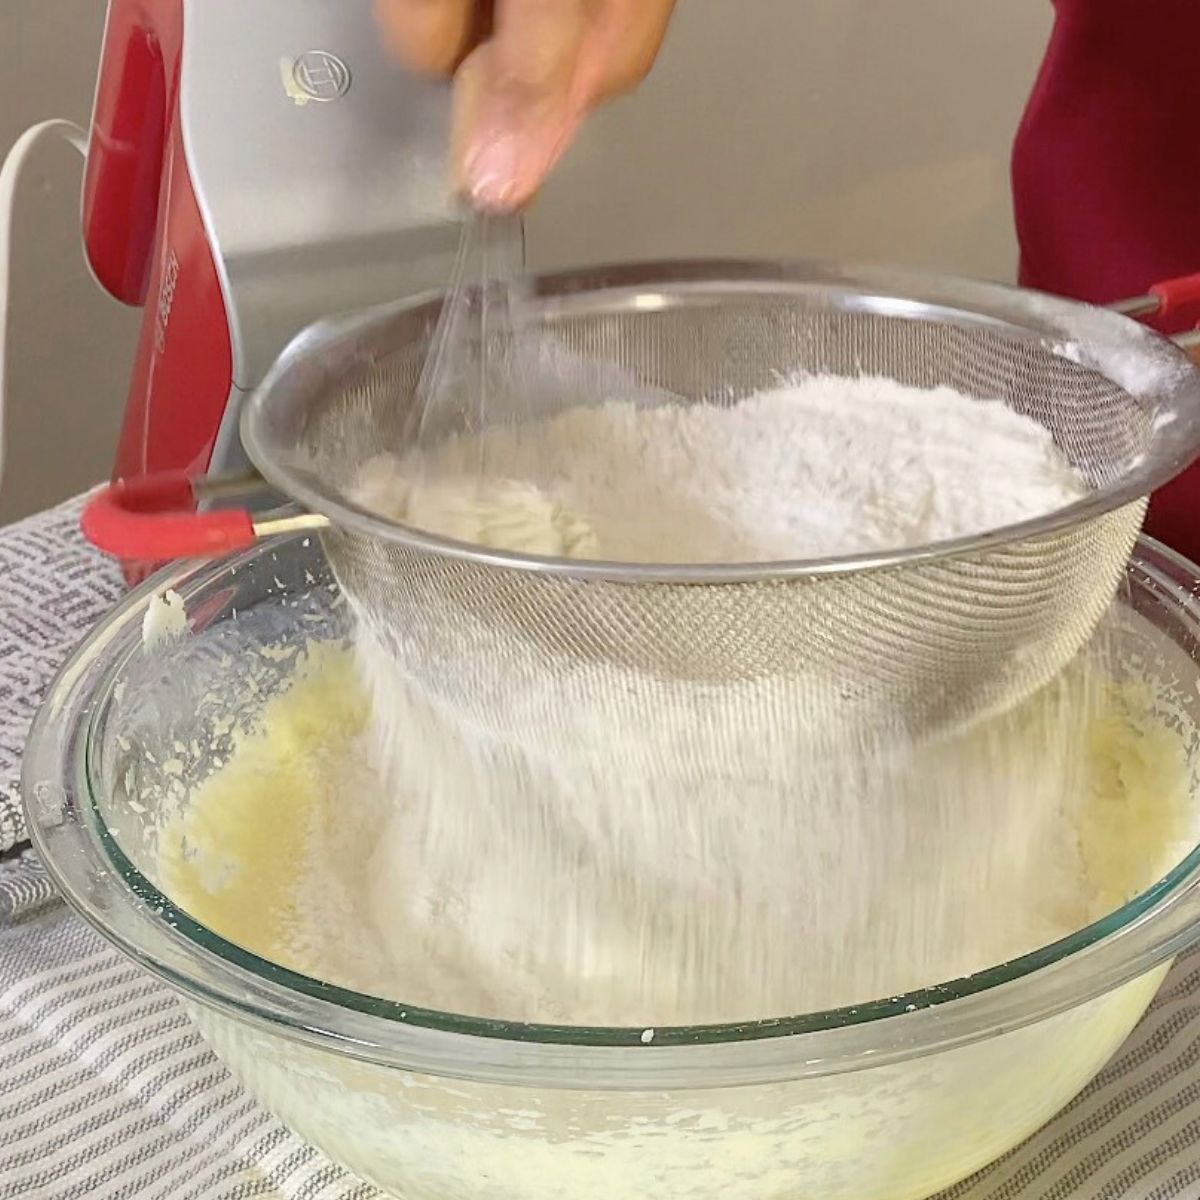
Step 2: Prepare the dry ingredients
Sift the cake flour, baking powder, and salt together into a bowl. Sifting removes lumps and helps everything mix evenly later. Set this aside.
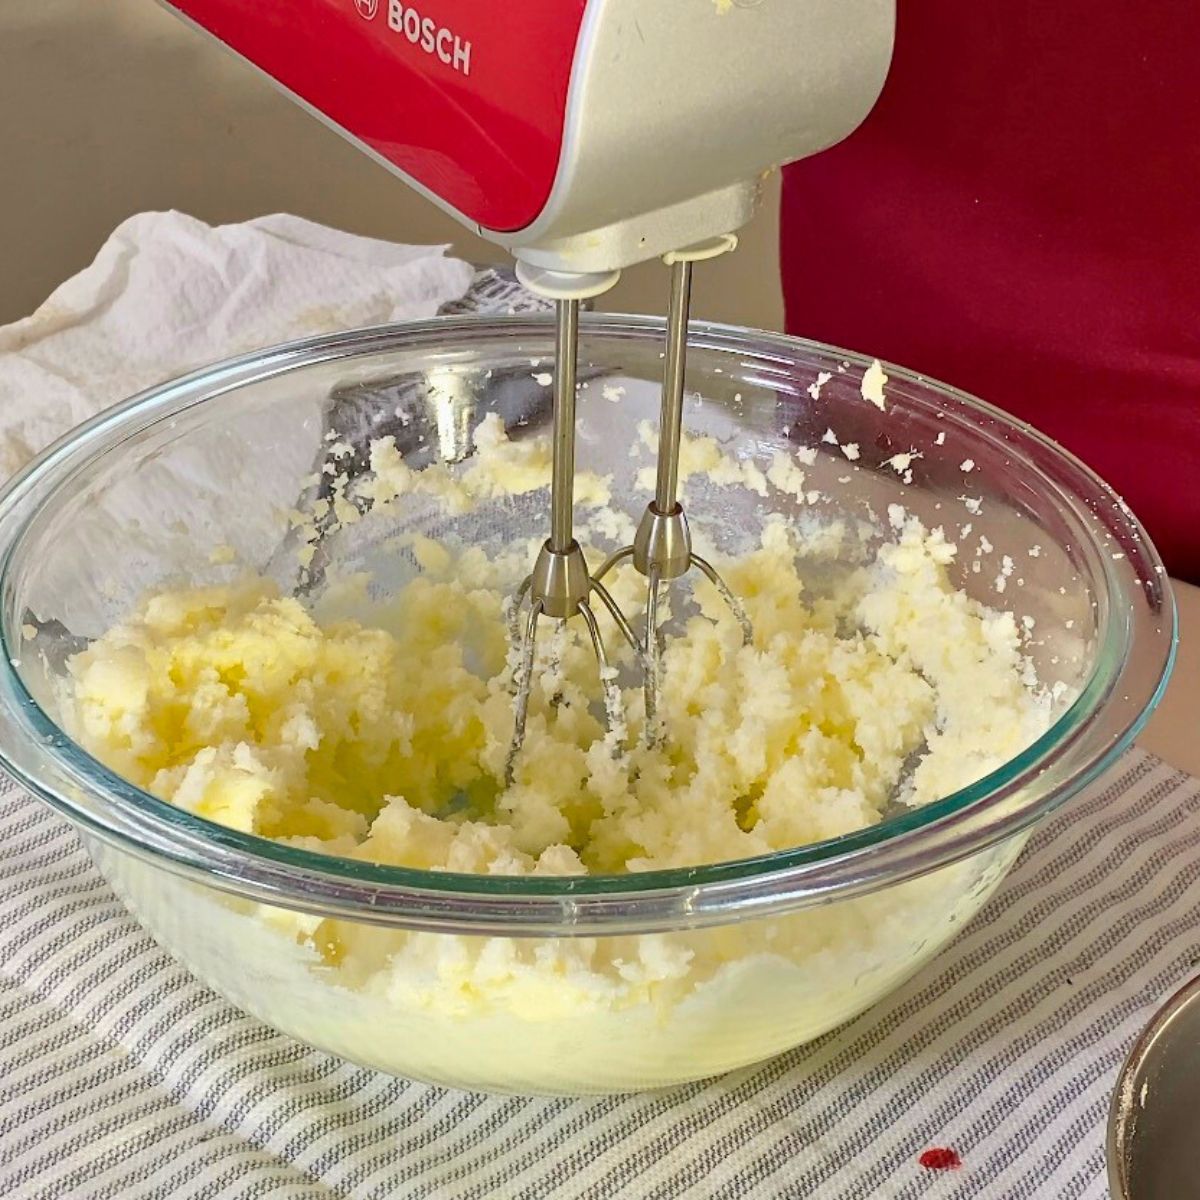
Step 3: Cream the butter and sugar
In a large bowl, beat the butter and sugar together until light and fluffy. This usually takes about 2 to 3 minutes.
You are not just mixing here — you are adding air into the batter. The mixture should look pale, creamy, and slightly fluffy. If it starts looking shiny or very soft, stop mixing. Overdoing this step can affect the final texture of the cake.
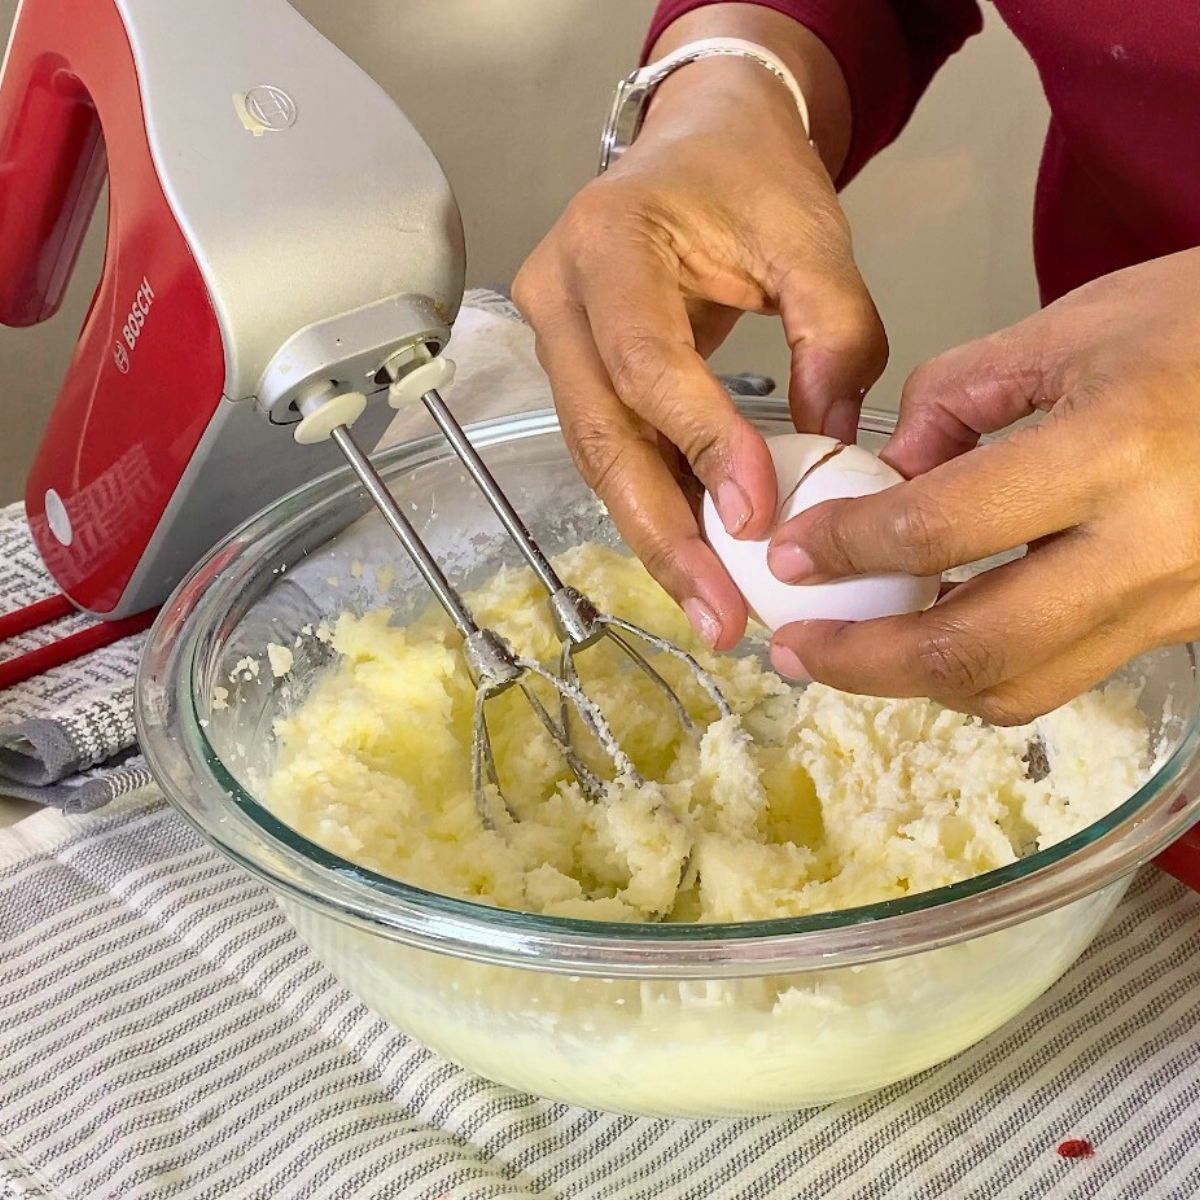
Step 4: Add the eggs
Add the eggs one at a time, mixing well after each addition. Make sure the egg is fully mixed in before adding the next one.
The batter should stay smooth at this stage. If it looks slightly curdled, don’t panic. Add one tablespoon of the flour mixture and mix gently until smooth again.
Step 5: Add the vanilla
Add the vanilla extract (and any other flavoring, if using) and mix just until combined.

Step 6: Add the flour and milk
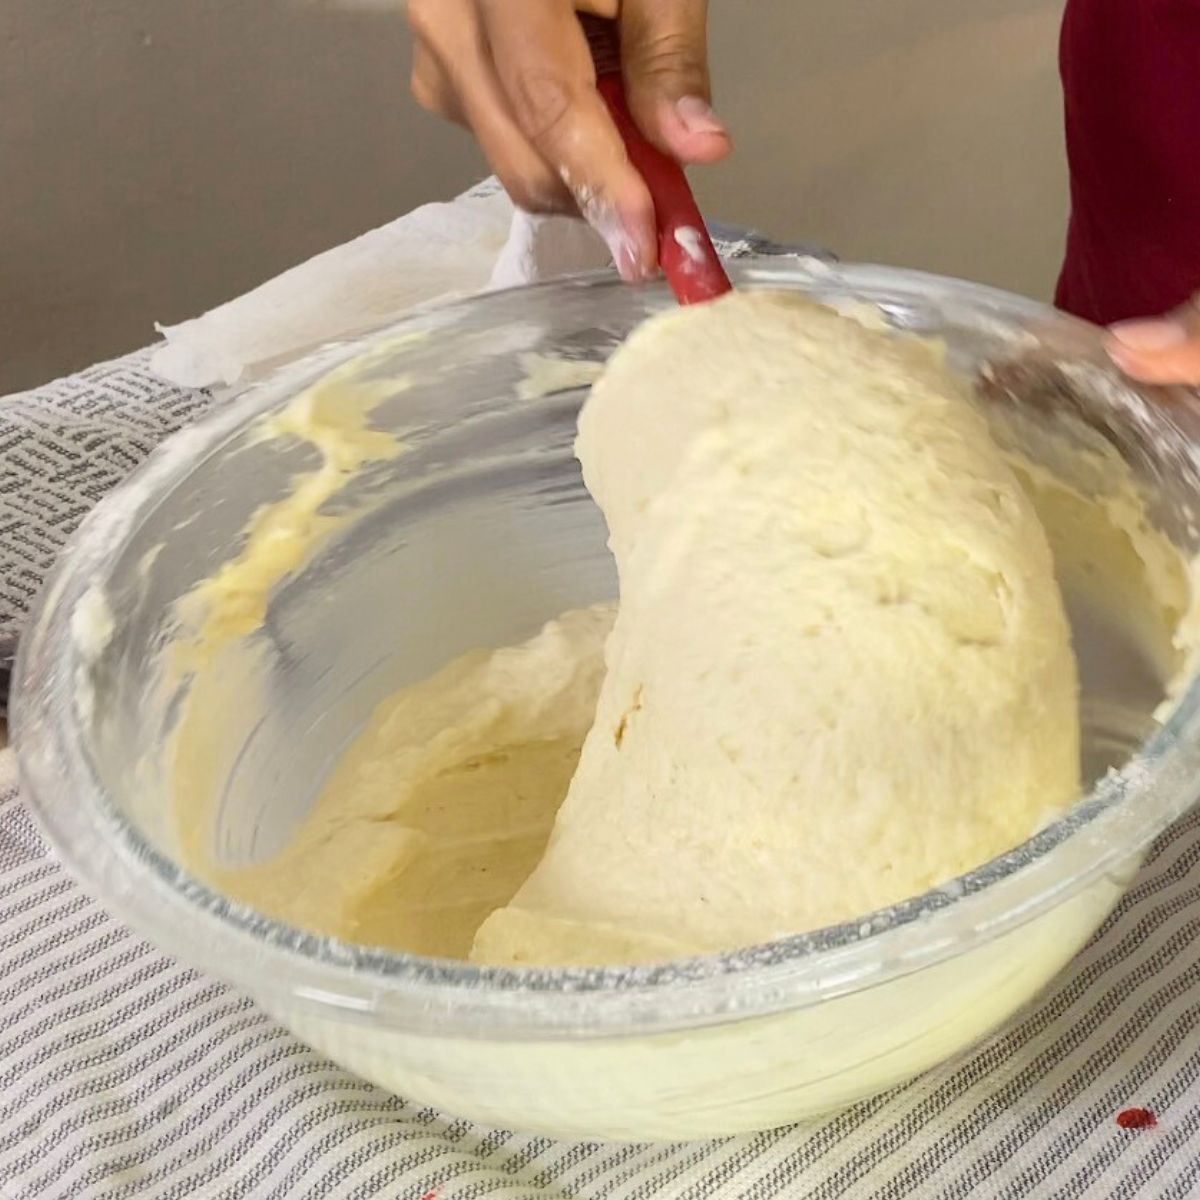
Add the flour mixture and milk in batches, starting with flour and ending with flour.
Mix gently and stop as soon as the batter looks smooth and combined. Do not overmix. At this stage, overmixing can make the cake dense instead of soft.
The batter should be thick, smooth, and spoonable.
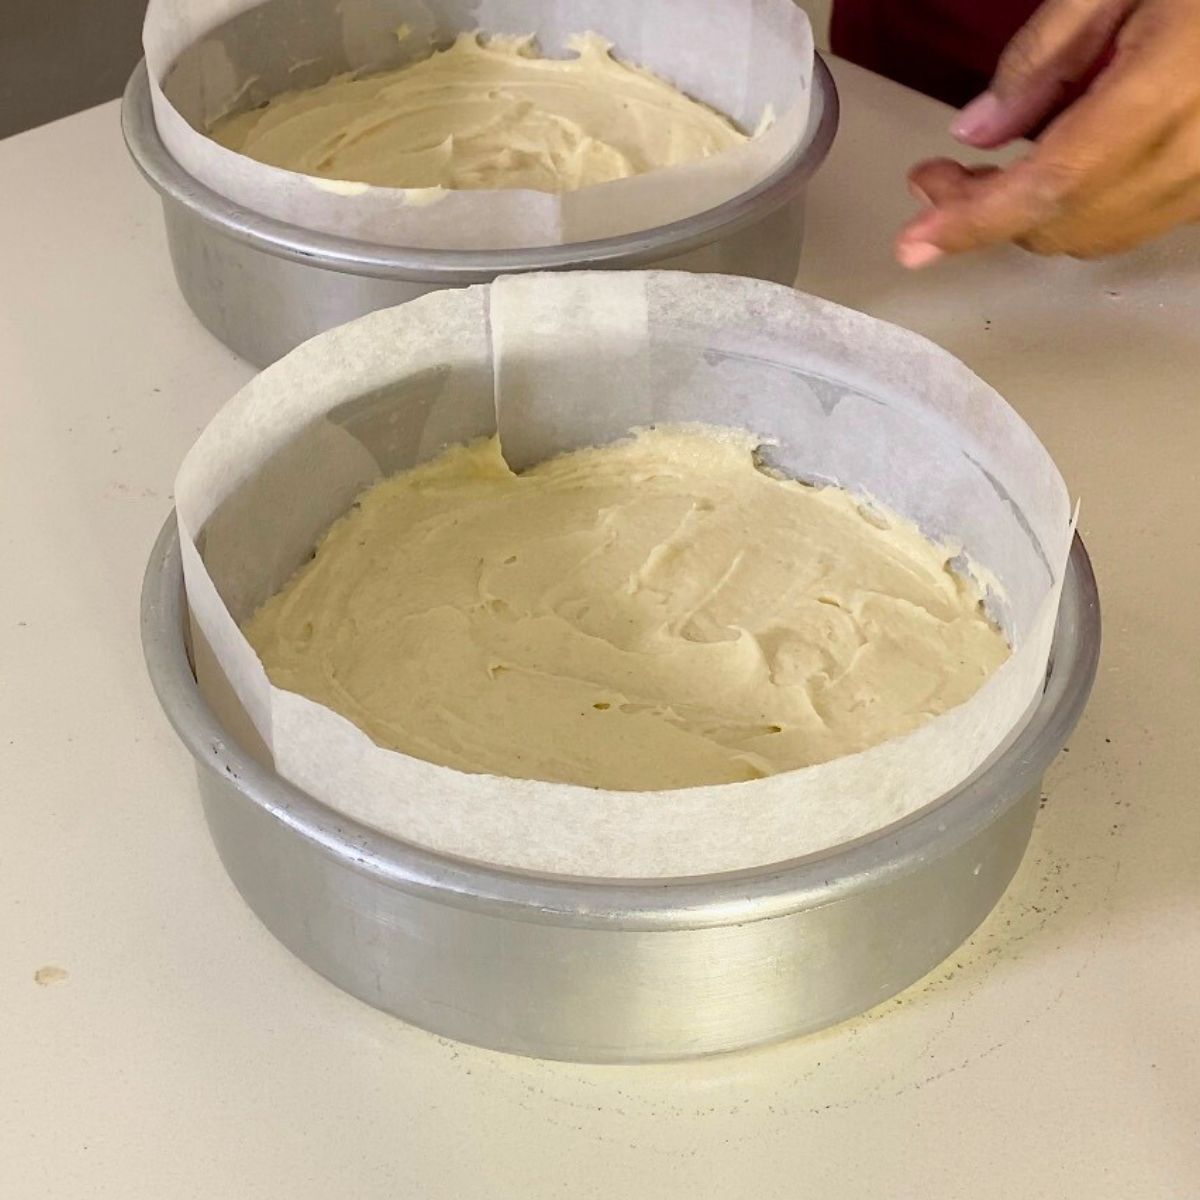
Step 7: Fill the pans
Divide the batter evenly between the prepared pans. Use a spatula to level the tops so the cakes bake evenly.
Tap the pans lightly on the counter to release any large air bubbles.
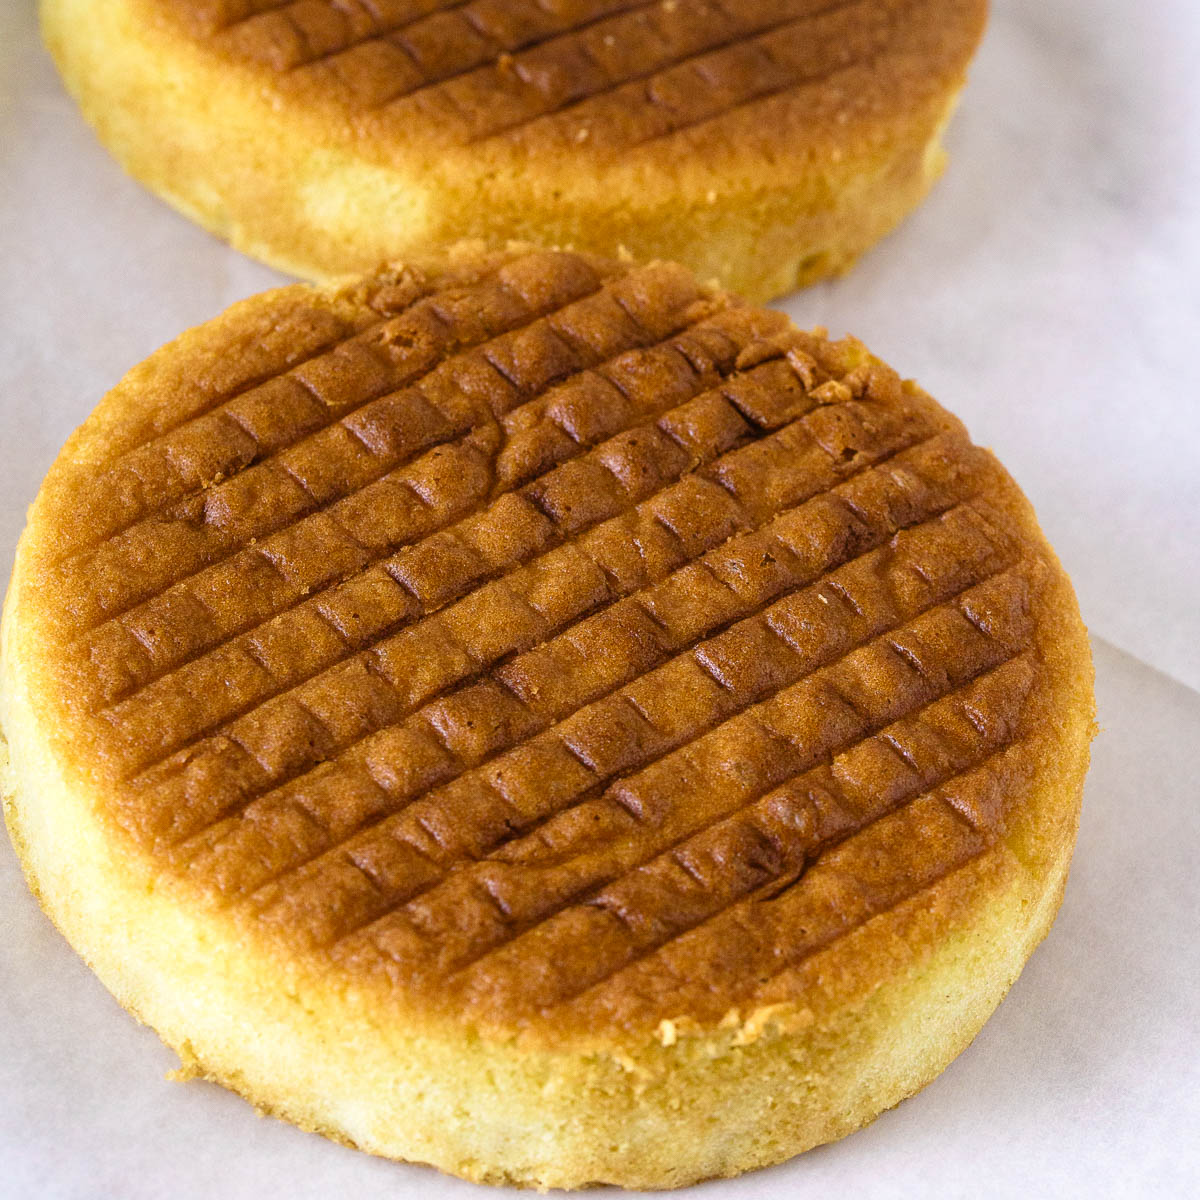
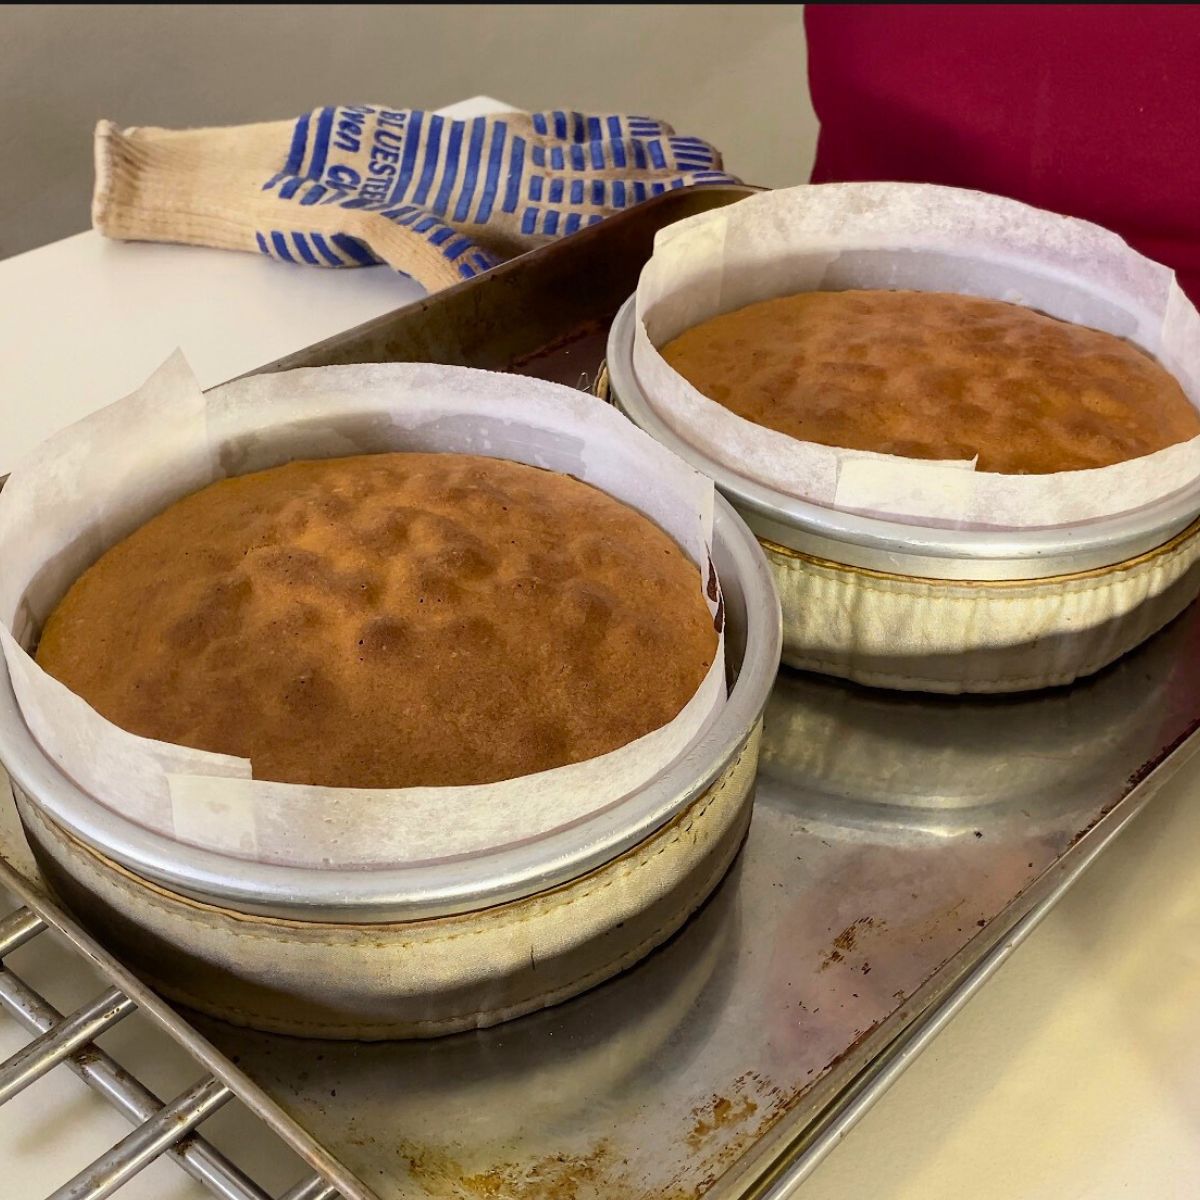
Step 8: Bake the cake
Place the pans on the middle rack of the oven and bake for 25 to 30 minutes.
The cake is done when a toothpick inserted into the center comes out clean, and the top springs back lightly when touched. Avoid opening the oven door too early, as this can cause the cake to sink.
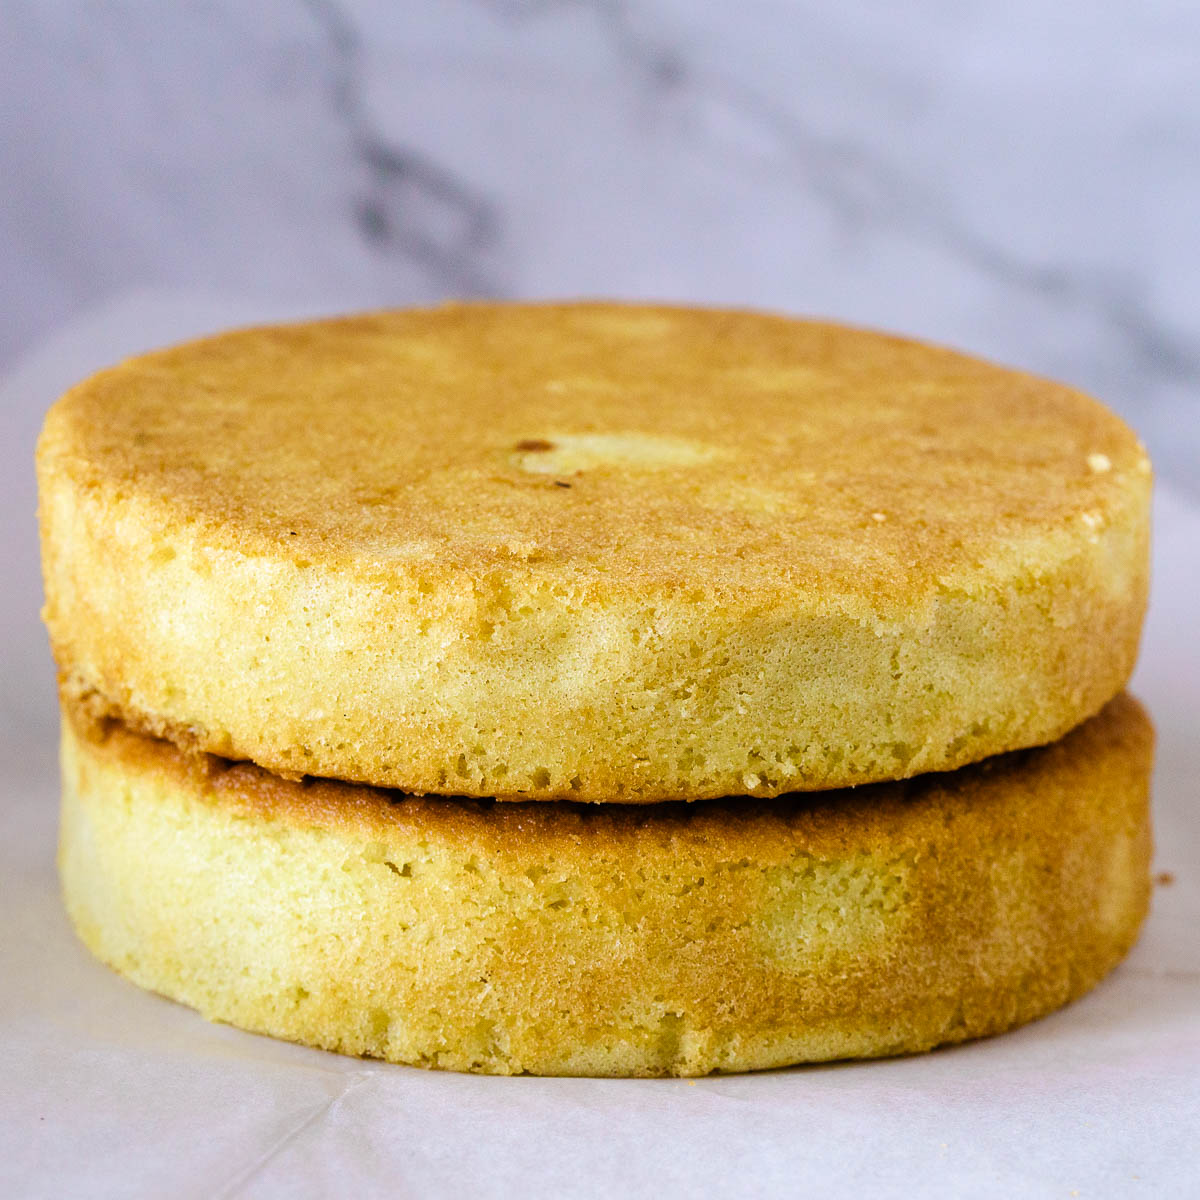
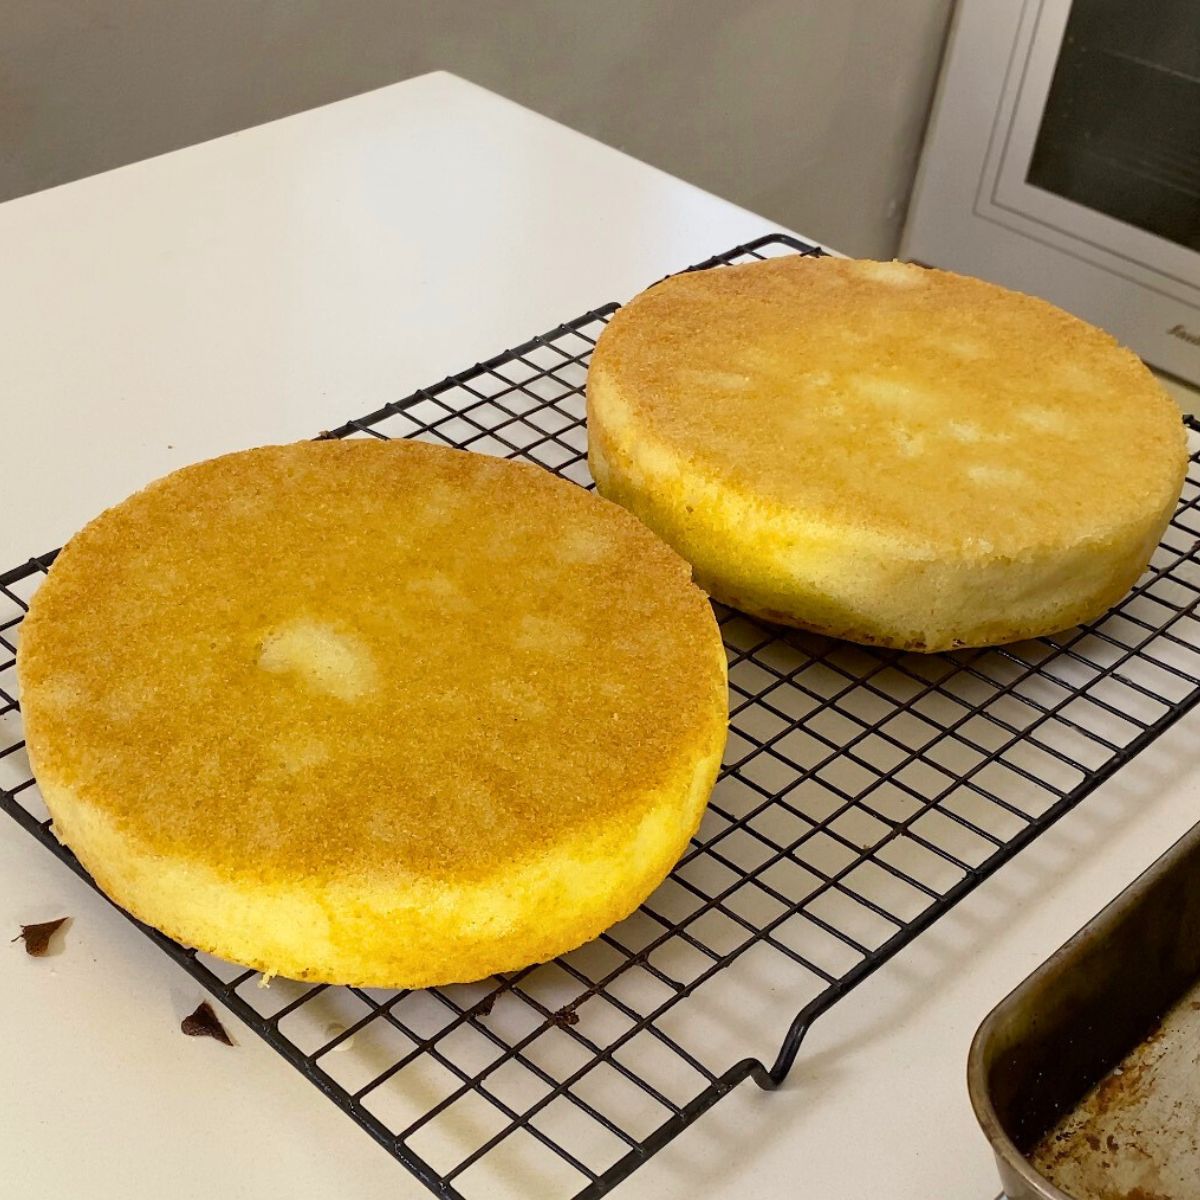
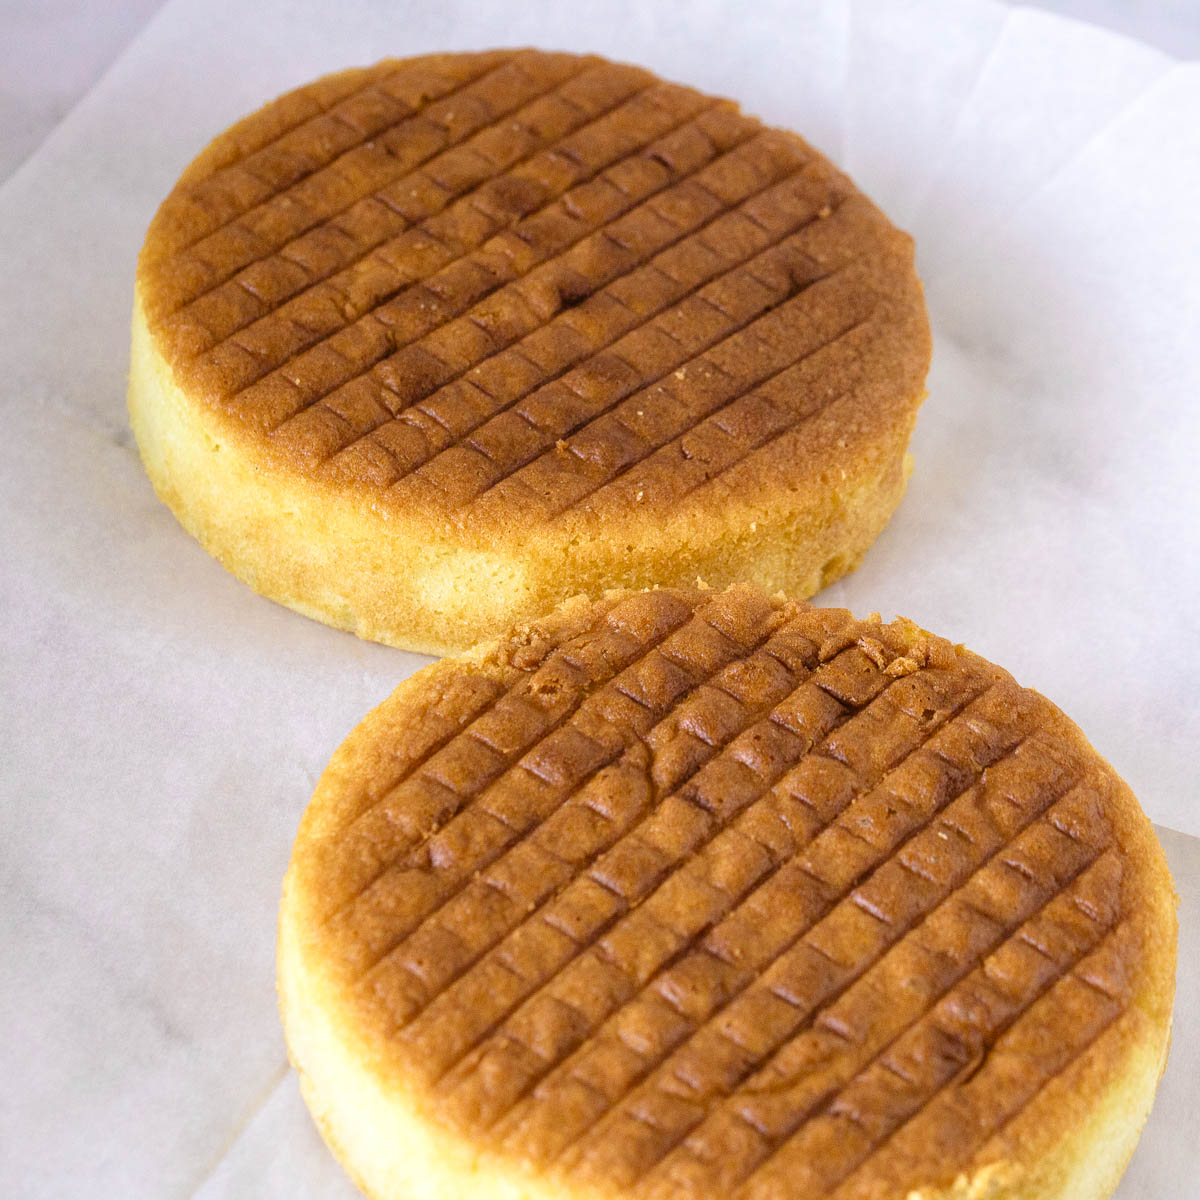
Step 9: Cool the cake
Remove the cakes from the oven and let them cool in the pans for 10 minutes. Then turn them out onto a wire rack and allow them to cool completely. Do not frost or store the cake while it is still warm.
Step 10: Store your cake properly
Once your cake has baked and cooled completely, storing it properly will help keep it soft and moist. If the cake is plain and unfrosted, it can be kept at room temperature for up to 2 days. If you need to keep the cake for longer, you can store it in the fridge for up to 5 days. The cake can be frozen for up to 2 months.
Pro tip – Always let the cake cool completely before wrapping. Wrapping a warm cake traps steam and can make it soggy. If the cake is frosted, storage will depend on the type of frosting used. Buttercream cakes usually keep well at room temperature for a short time, while cream-based frostings need refrigeration.
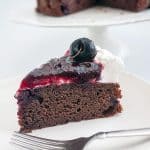
Can I make this a chocolate cake?
Yes. Replace about 25–30 g (3 tablespoons) of the cake flour with cocoa powder and add 2–3 tablespoons milk. The method stays the same.

10 tips for baking a cake successfully
- Read the recipe once before you start – This sounds obvious, but it matters. Knowing what comes next helps you stay calm and avoid rushing or skipping a step.
- Measure everything carefully – Baking is not forgiving like cooking. Too much flour or too little liquid can change the cake completely. If possible, use a scale for accuracy.
- Use room-temperature ingredients – Butter, eggs, and milk mix together more smoothly when they are not cold. This helps the batter stay even and prevents curdling.
- Don’t rush the creaming step – Creaming butter and sugar properly helps the cake rise and stay light. Stop as soon as it looks pale and fluffy — more mixing is not better.
- Add eggs one at a time – This helps the batter stay smooth. Adding eggs all at once can cause the mixture to separate.
- Stop mixing as soon as the batter is smooth – Once the flour goes in, mix gently and stop early. Overmixing develops gluten and makes cakes dense.
- Prepare your pans properly – Greasing and lining the pans prevents sticking and helps the cake release cleanly. This step saves a lot of frustration later.
- Don’t open the oven too early – Opening the oven door lets heat escape and can cause the cake to sink. Wait until the cake looks set before checking.
- Test the cake the right way – A toothpick inserted into the center should come out clean. The top of the cake should also spring back lightly when touched.
- Let the cake cool completely – Warm cakes are fragile. Cooling fully before frosting or storing keeps the cake from breaking or becoming sticky.
Troubleshooting: common cake problems and how to fix them
| Problem | What went wrong | How to fix it next time |
|---|---|---|
| Cake is dense or heavy | The batter was overmixed after adding the flour, or ingredients were too cold | Mix gently once the flour goes in and stop as soon as the batter is smooth. Use room-temperature ingredients |
| Cake sank in the middle | The oven door was opened too early, or too much baking powder was used | Keep the oven closed for most of the baking time and measure baking powder carefully |
| Cake is dry | The cake was baked too long or there was too much flour | Check the cake a few minutes earlier and measure flour correctly |
| Cake didn’t rise well | Butter and sugar were not creamed properly or baking powder was old | Cream butter and sugar until light and fluffy, and check that baking powder is fresh |
| Cake stuck to the pan | The pan was not greased or lined properly | Always grease the pan and line the bottom with parchment paper |
| Cake baked unevenly or domed | Oven heat was uneven or pans were overfilled | Bake on the middle rack and fill pans only about two-thirds full |


Frequently asked questions
Once your cake has baked and cooled completely, storing it properly will help keep it soft and moist.
Storing the cake at room temperature
If the cake is plain and unfrosted, it can be kept at room temperature for up to 2 days.
Place the cake on a plate or cake board and wrap it well with plastic wrap. This prevents air from drying it out. Keep it in a cool spot, away from direct sunlight or heat.
If you need to keep the cake for longer, you can store it in the fridge for up to 5 days.
Wrap the cake tightly in plastic wrap. The fridge tends to dry cakes out, so good wrapping is important. If the cake has already been cut, press plastic wrap directly against the cut side to protect it.
Freezing is the best option if you want to store the cake for longer.
Once the cake has cooled completely:
wrap it tightly in plastic wrap
then wrap it again in foil or place it in a freezer-safe bag
The cake can be frozen for up to 2 months.
To thaw, place the wrapped cake in the fridge overnight. Keep it wrapped while thawing so condensation forms on the wrap, not on the cake.
Yes. If you don’t have cake flour, you can make a substitute using all-purpose flour and cornstarch. This helps lower the protein content and keeps the cake soft. Follow the substitution explained in the ingredients section. Read how flour affects baking.
First of all, organize yourself. Try not to multitask. (I know, easier said than done).
Also, get all the ingredients ready before you start, so you don’t forget anything.
And remember, baking is food science. While in regular cooking you can always add more salt or have the luxury of forgetting something. In baking, each ingredient has a key role and can affect the end result of your hard work.
Finally, baking can be fun and exciting; it all depends on how you approach it.
So take care of the basics and the rest is fun.
This recipe works well in two 8-inch round pans or three 7-inch round pans. Always fill pans about two-thirds full to allow room for the cake to rise.
Yes. You can bake it in one deeper pan, but the baking time will be longer. Bake until a toothpick inserted in the center comes out clean.
The cake is done when a toothpick inserted into the center comes out clean and the top springs back lightly when touched.
Classic Vanilla Cake from Scratch
Baking is a science in which each ingredient plays an important role and has the ability to alter the end product. Hence, it requires a certain process and procedure that we must follow for the best results. Here are 10 tips to successfully bake a cake from scratch. I also included a recipe that I use and follow.
Video
Ingredients
- 226 g (2 cups) Cake flour (sifted) see ingredients and substitute
- 1½ tsp Baking powder
- ½ tsp Salt
- 226 g (1 cup) Butter, unsalted room temperature
- 200 g (1 cup) White granulated sugar fine grain or castor
- 4 large Eggs large
- 1 tsp Vanilla extract
- ½ cup Whole Milk
Method
- Step 1: Preheat the oven and prepare the pans – Preheat your oven to 325°F / 165°C (no fan). Grease and line 2 x 8-inch round cake pans or 3 x 7-inch round cake pans with parchment paper.
- Step 2: Prepare the dry ingredients – Sift the cake flour, baking powder, and salt together into a bowl. Sifting removes lumps and helps everything mix evenly later. Set this aside.226 g Cake flour (sifted) , 1½ tsp Baking powder, ½ tsp Salt
- Step 3: Cream the butter and sugar – In a large bowl, beat the butter and sugar together until light and fluffy. This usually takes about 2 to 3 minutes.You are not just mixing here — you are adding air into the batter. The mixture should look pale, creamy, and slightly fluffy. If it starts looking shiny or very soft, stop mixing. Overdoing this step can affect the final texture of the cake.226 g Butter, unsalted, 200 g White granulated sugar
- Step 4: Add the eggs – Add the eggs one at a time, mixing well after each addition. Make sure the egg is fully mixed in before adding the next one.The batter should stay smooth at this stage. If it looks slightly curdled, don’t panic. Add one tablespoon of the flour mixture and mix gently until smooth again.4 large Eggs
- Step 5: Add the vanillaAdd the vanilla extract (and any other flavoring, if using) and mix just until combined.1 tsp Vanilla extract
- Step 6 – Add the Flour and MilkAdd the flour mixture and milk in batches, starting with flour and ending with flour.Mix gently and stop as soon as the batter looks smooth and combined. Do not overmix. At this stage, overmixing can make the cake dense instead of soft.The batter should be thick, smooth, and spoonable.½ cup Whole Milk
- Step 7 – Add the Flour Divide the batter evenly between the prepared pans. Use a spatula to level the tops so the cakes bake evenly.Tap the pans lightly on the counter to release any large air bubbles.
- Step 8 – Bake the Cake Place the pans on the middle rack of the oven and bake for 25 to 30 minutes.The cake is done when a toothpick inserted into the center comes out clean, and the top springs back lightly when touched. Avoid opening the oven door too early, as this can cause the cake to sink.
- Step 9 – Cool the Cake Remove the cakes from the oven and let them cool in the pans for 10 minutes. Then turn them out onto a wire rack and allow them to cool completely.Do not frost or store the cake while it is still warm.
- Step 10 – Store your Cake Properly – Once your cake has baked and cooled completely, storing it properly will help keep it soft and moist. If the cake is plain and unfrosted, it can be kept at room temperature for up to 2 days. If you need to keep the cake for longer, you can store it in the fridge for up to 5 days. The cake can be frozen for up to 2 months.Pro tip – Always let the cake cool completely before wrapping. Wrapping a warm cake traps steam and can make it soggy. If the cake is frosted, storage will depend on the type of frosting used. Buttercream cakes usually keep well at room temperature for a short time, while cream-based frostings need refrigeration.
Notes
This cake can be baked as two 8-inch round layers or three 7-inch round layers. Always fill cake pans about two-thirds full to allow room for rising. Chocolate variation:
To turn this into a chocolate cake, replace about 25–30 g (3 tablespoons) of the cake flour with cocoa powder and add 2–3 tablespoons milk. The mixing method remains the same. Make ahead:
The baked cake layers can be made a day in advance. Once completely cooled, wrap them well in plastic wrap and keep at room temperature or in the fridge until ready to use. Storage:
Unfrosted cake can be stored at room temperature for up to 2 days or refrigerated for up to 5 days when wrapped well. For longer storage, wrap tightly and freeze for up to 2 months. Always thaw the cake while still wrapped to prevent moisture loss.
Equipment you will need


Nutrition
Tried this recipe?
Mention @veenaazmanov_kitchen or tag #veenaazmanovkitchen!


Don’t lose this recipe! Save it for Later!
📌 Save this Recipe for later on Pinterest so you can easily find it again.
⭐ Add Veena Azmanov Kitchen to your Google Preferred Sources.
It helps Google show you more of our recipes.
📧 Subscribe for new recipes delivered to your inbox.
🎥 Follow us for more recipes


Day #7 – Done
Day 1 done.
Day 1 Done
Done
Cake – Day 6 DONE
Day 6 Master class done
Day 1 done
day one done
Day 1 done