Death By Chocolate Cake
 Prep Time 30 minutes Cook Time 30 minutes Total Time 1 hour 40 minutes
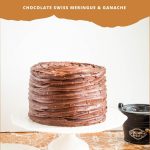
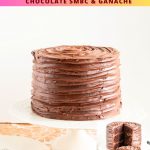
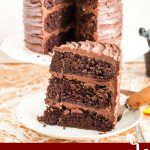
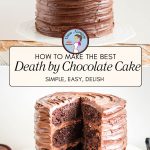
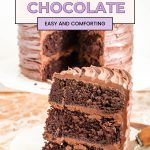

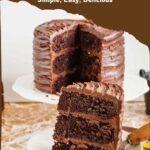

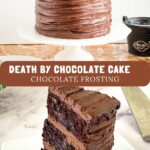
This Death by Chocolate Cake earns its name with deep chocolate flavor in every layer. The cake itself is soft, ultra-moist, and made using a simple one-bowl method, then layered with rich chocolate frosting and finished with smooth chocolate ganache.
Despite its impressive look, this is a reliable cake designed for home bakers. You can keep it simple with just one frosting or go all in with both buttercream and ganache for a true chocolate lover’s cake.
I relied on this style of chocolate cake for years as a cake decorator because it stays moist, stacks beautifully, and works consistently for celebrations and large cakes.

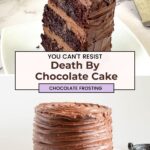
As a professional cake decorator, over the years, I’ve made many chocolate cakes, and my family, friends, and customers have raved about my recipes. But I’ve never named any ‘death by chocolate’ until this one. It had the OMG moment for me, and I knew this was it. I finally created the ultimate chocolate cake that deserved to be called ‘Death by Chocolate’. If you love chocolate, you must try this recipe. It is a rich, moist cake that you will keep craving for more.
Why you’ll love this cake?
- One-bowl chocolate cake – simple mixing method with minimal cleanup
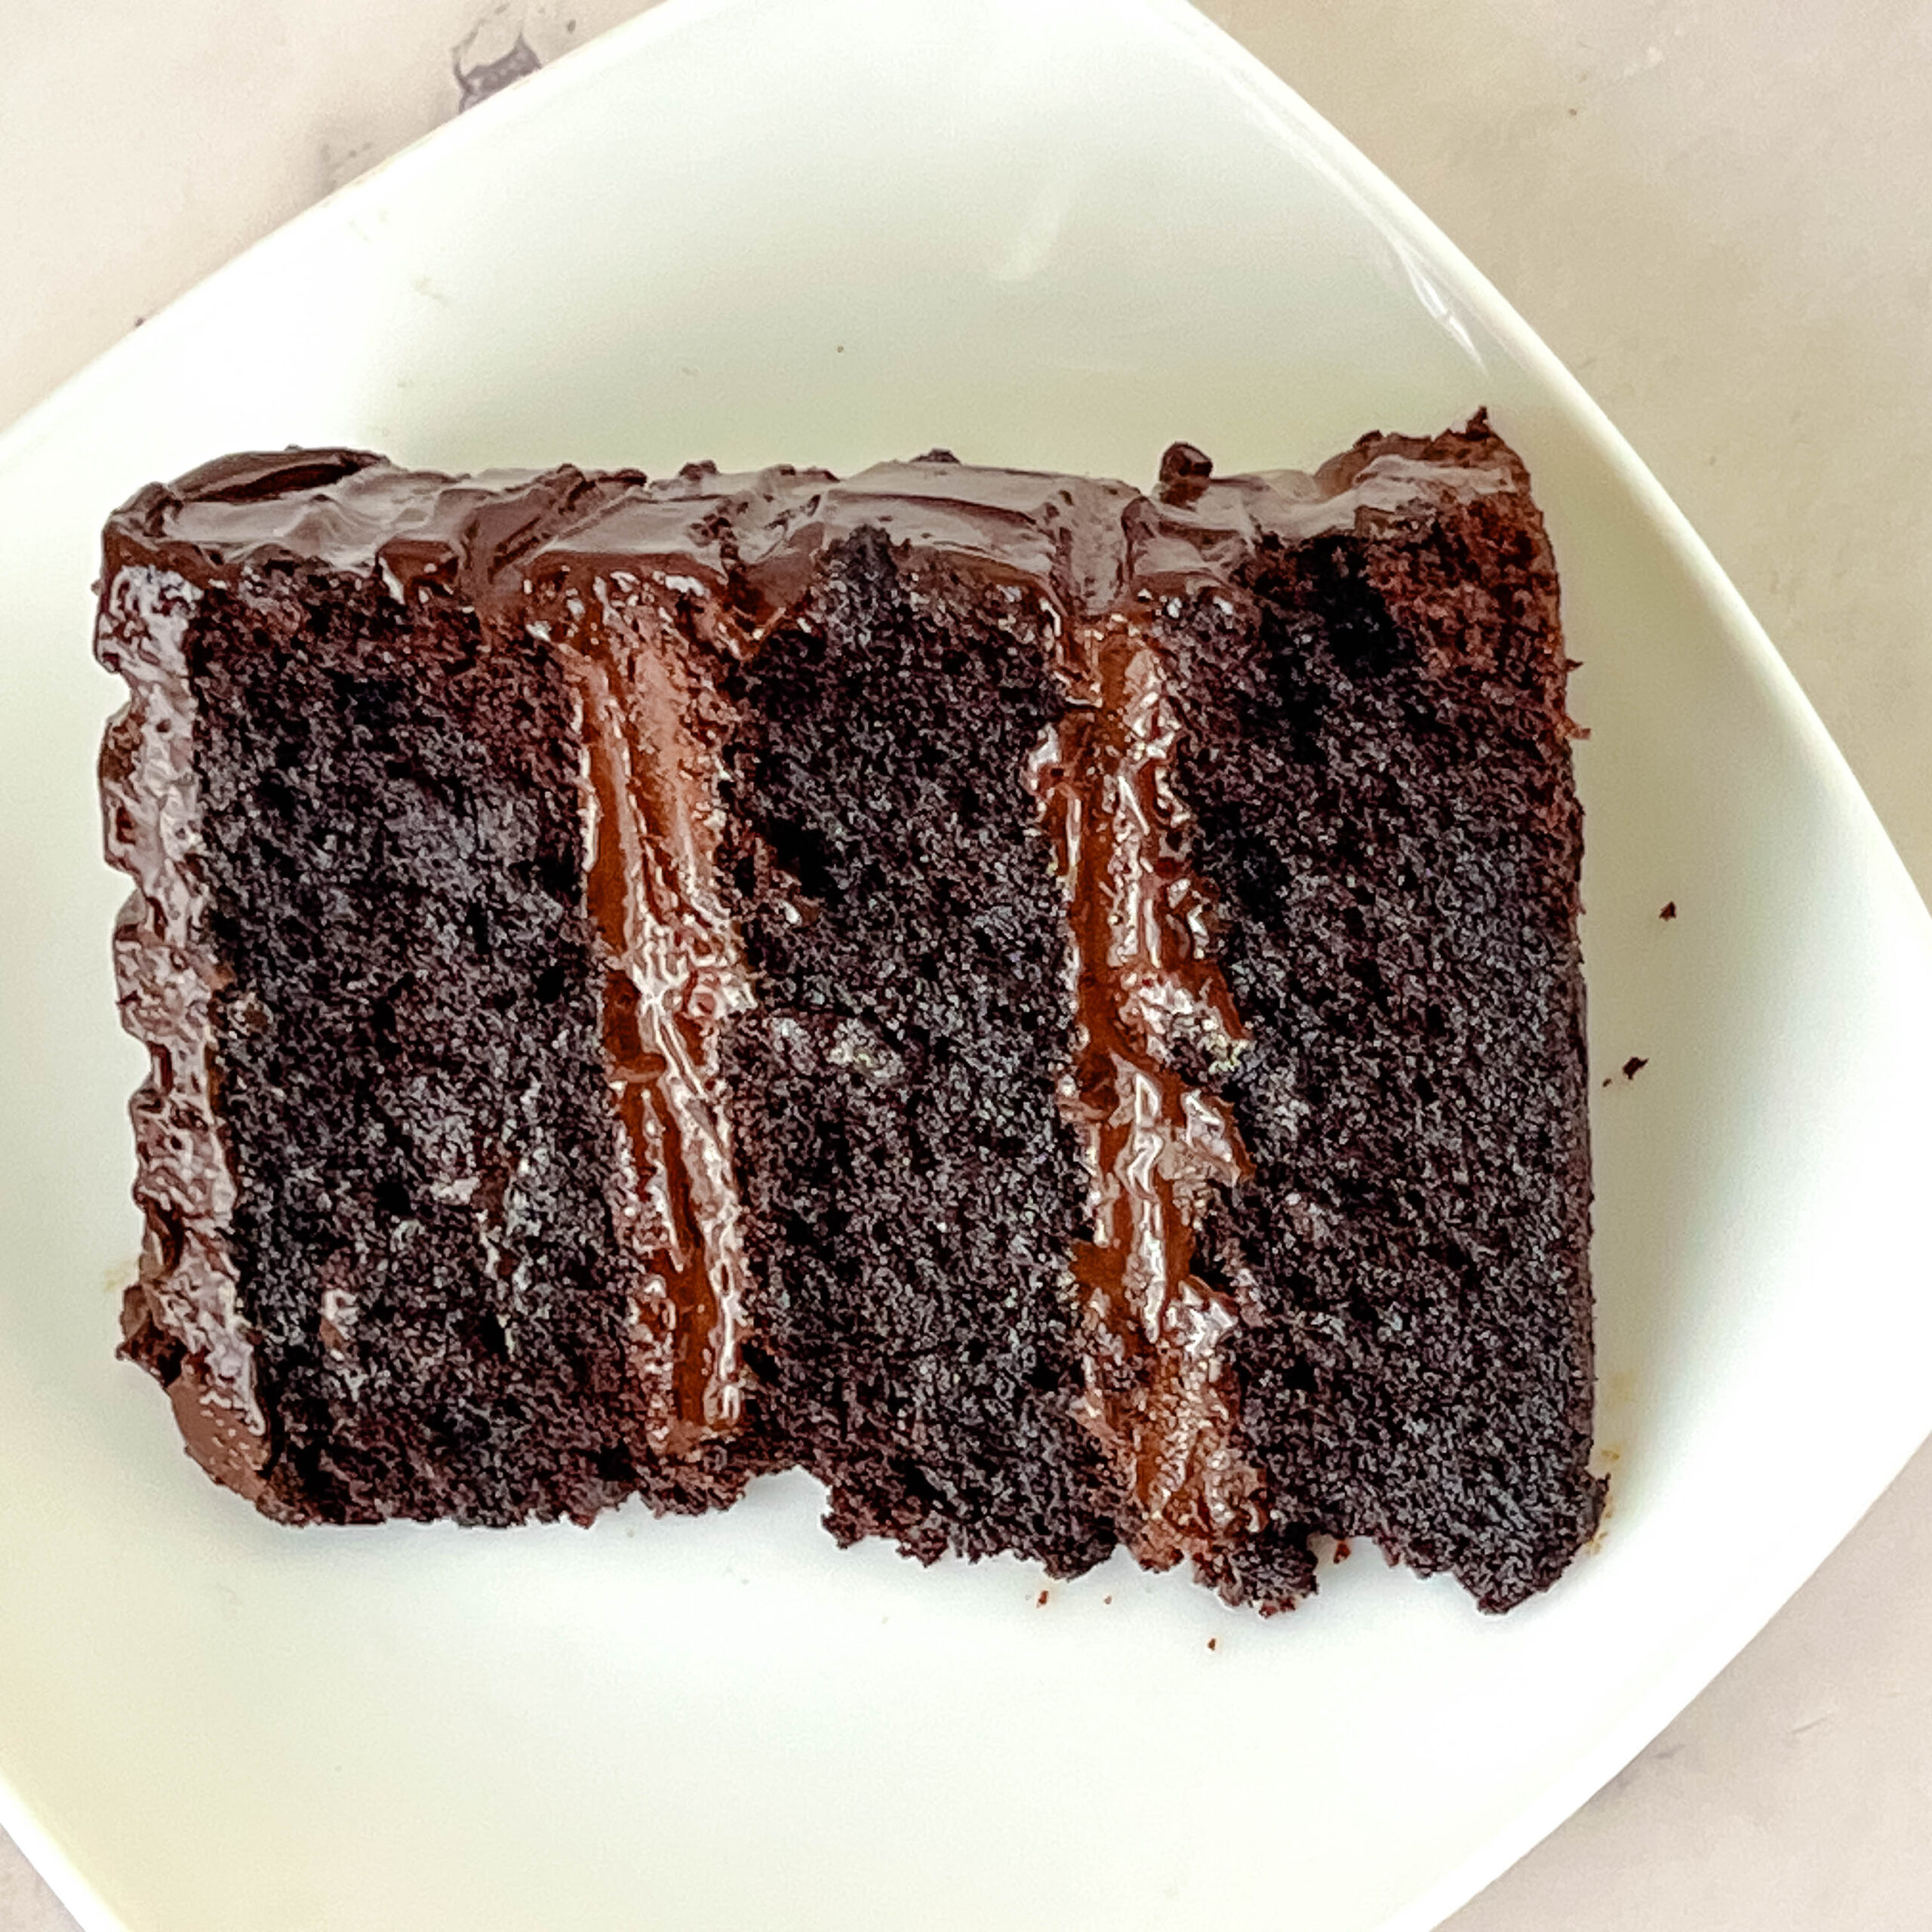
- Ultra-moist texture – oil-based batter stays soft for days
- Deep chocolate flavor – cocoa and coffee enhance richness
- Flexible frosting options – use buttercream, ganache, or both
- Bakery-style results at home – sturdy enough for layering yet tender

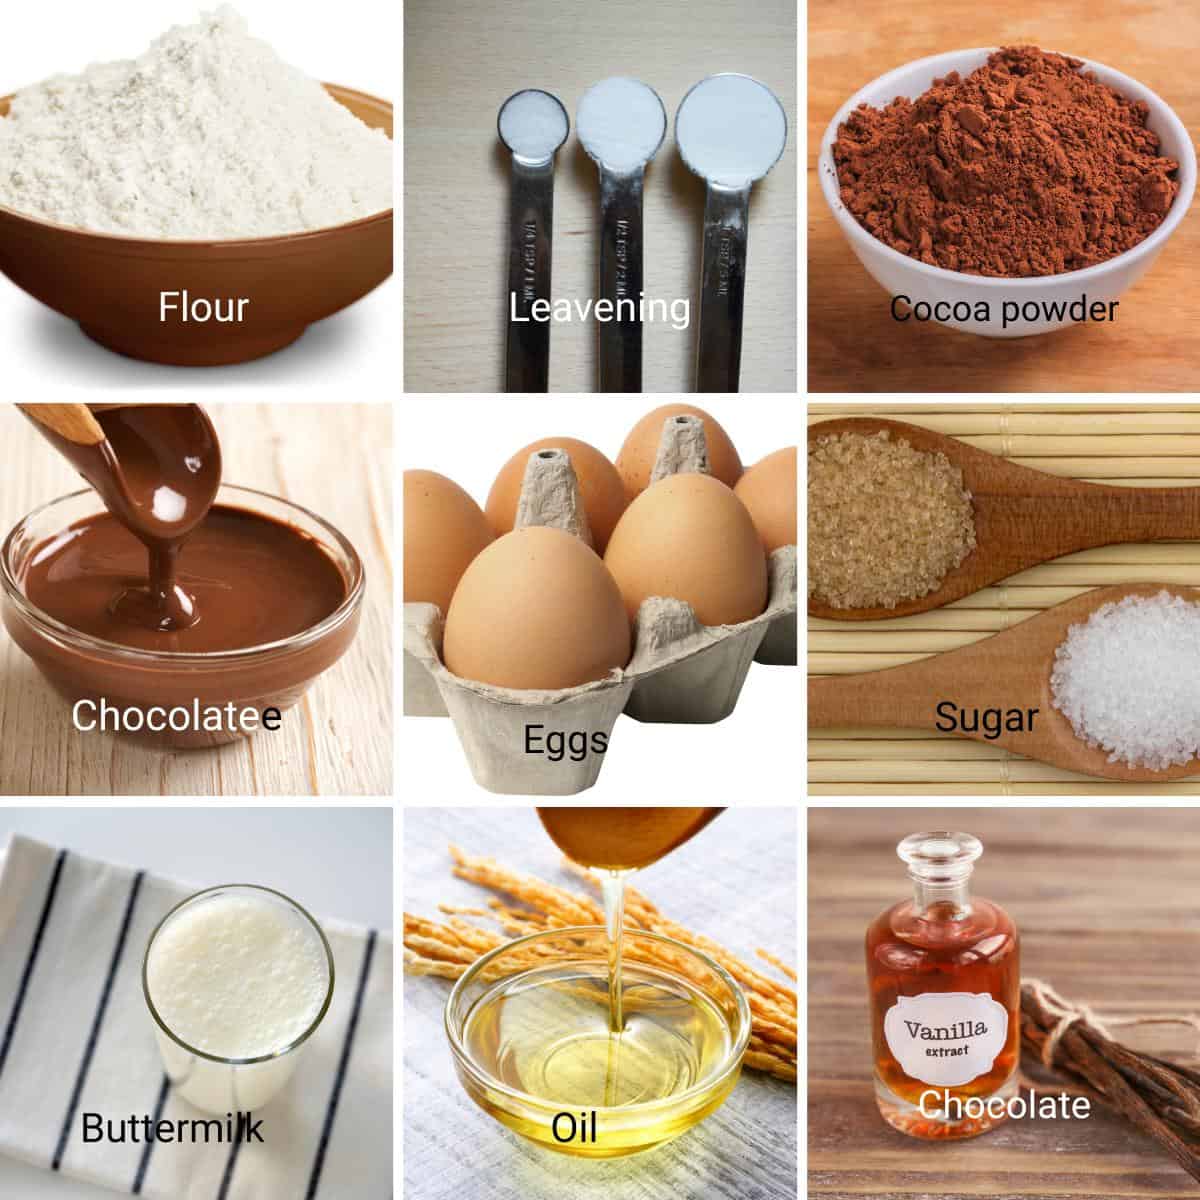
Ingredients for this Chocolate Cake
- All-purpose flour – provides structure for stacking
- Dutch-process cocoa powder – gives deep chocolate flavor and dark color
- Hot water – blooms the cocoa for stronger flavor
- Instant coffee (optional) – enhances chocolate without tasting like coffee
- White sugar + brown sugar – sweetness and moisture balance
- Oil – keeps the cake soft longer than butter-based cakes
- Eggs – structure and richness
- Buttermilk – tender crumb and slight tang
- Vanilla extract – rounds out flavor
- Leavening – Baking powder & baking soda – proper lift giving the cake that nice rise.
- Salt – balances sweetness
Step-by-step: Death by chocolate cake with Chocolate Frosting
Make the Chocolate Batter (One Bowl Method)
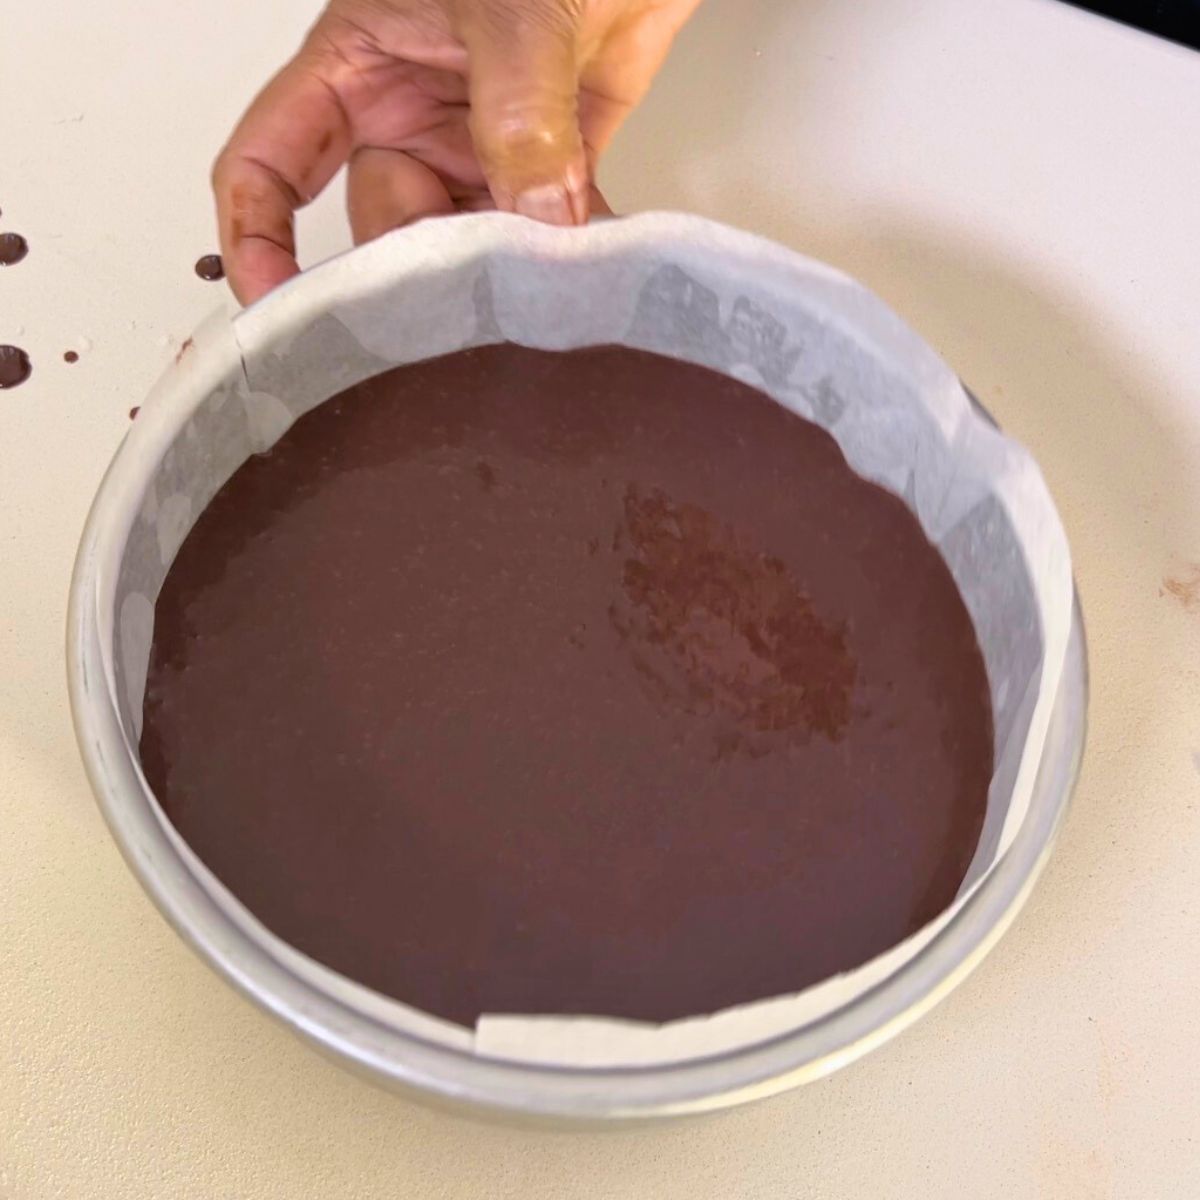
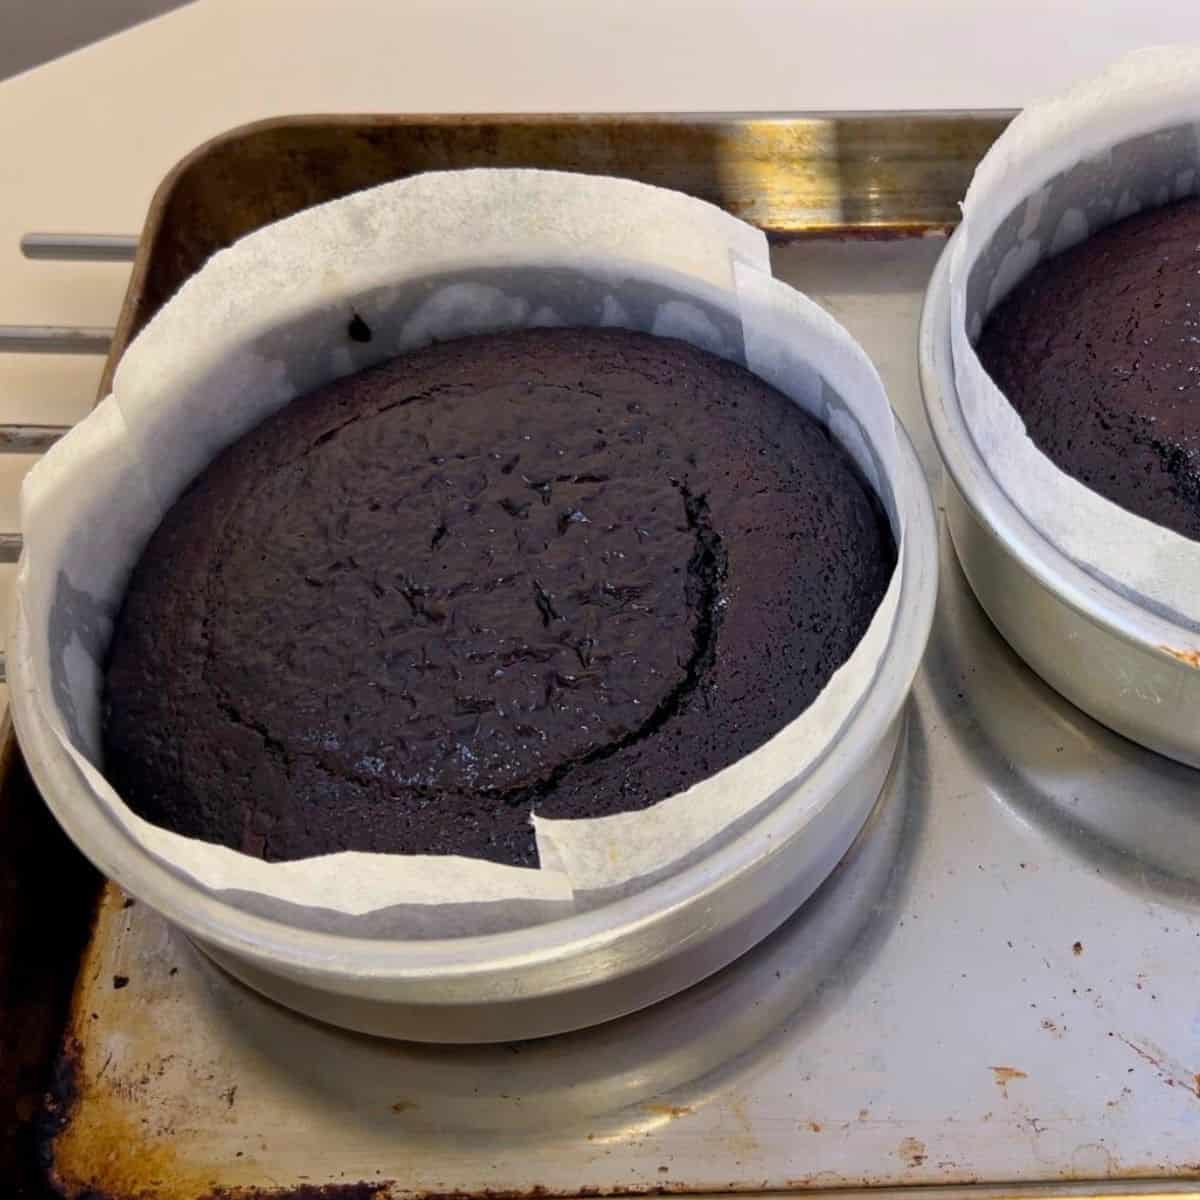
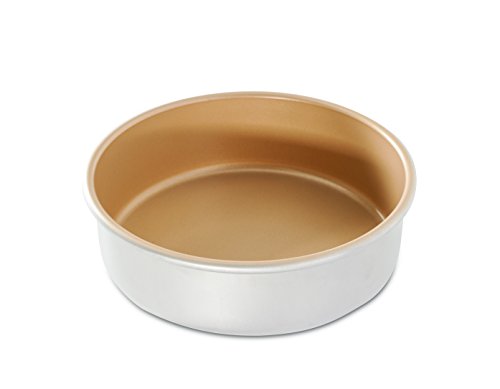
Oven and Pans – Preheat the oven to 325°F / 165°C. Grease and line three 8-inch cake pans or two 9-inch pans with parchment paper.
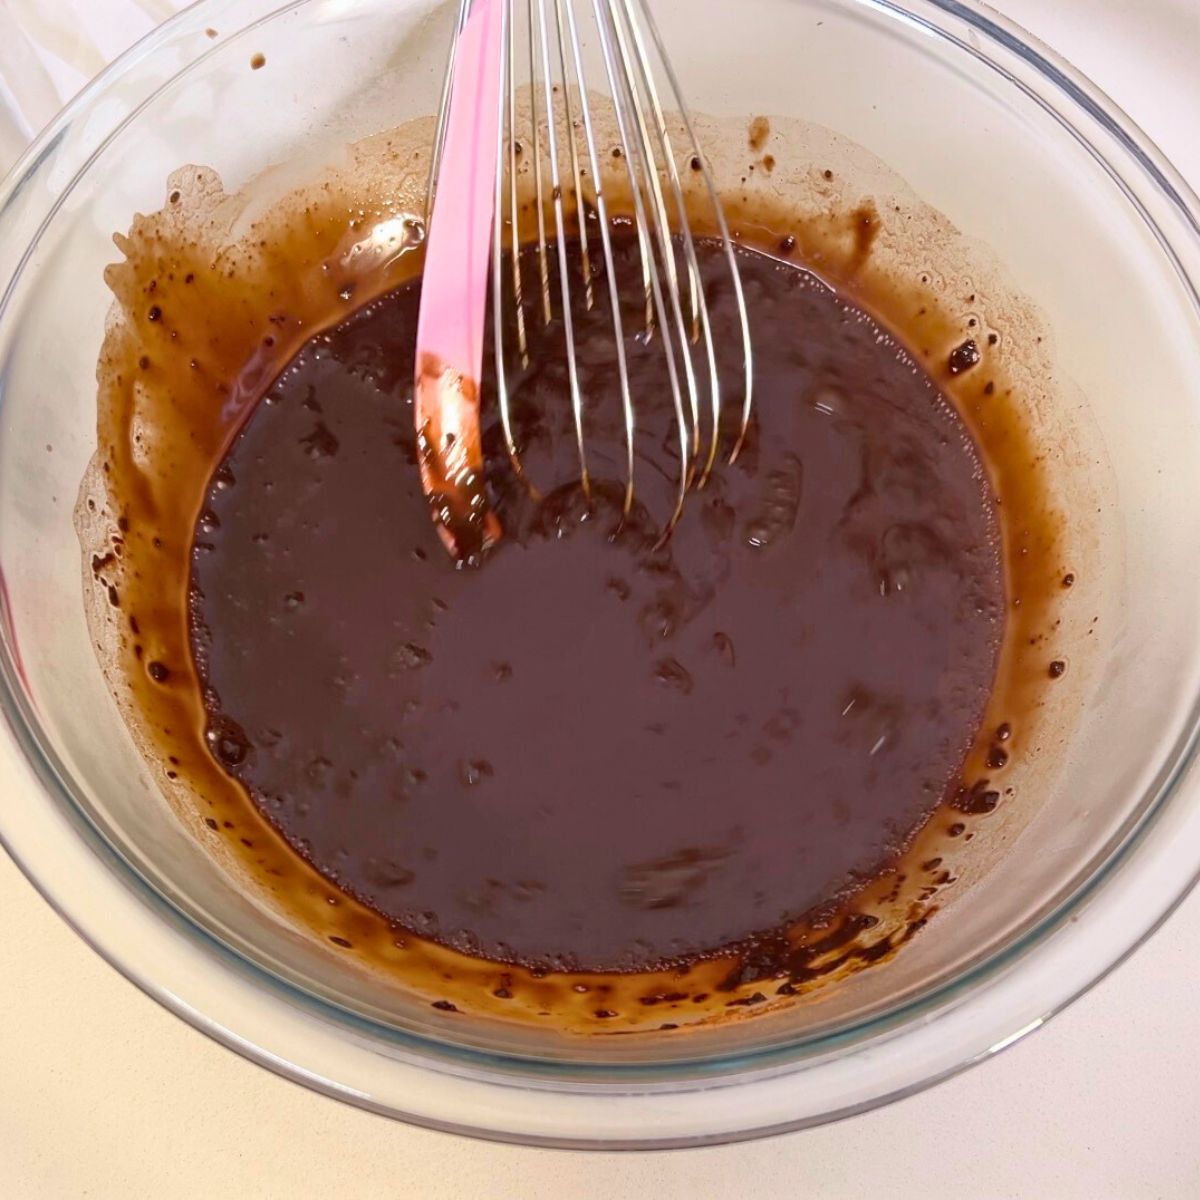
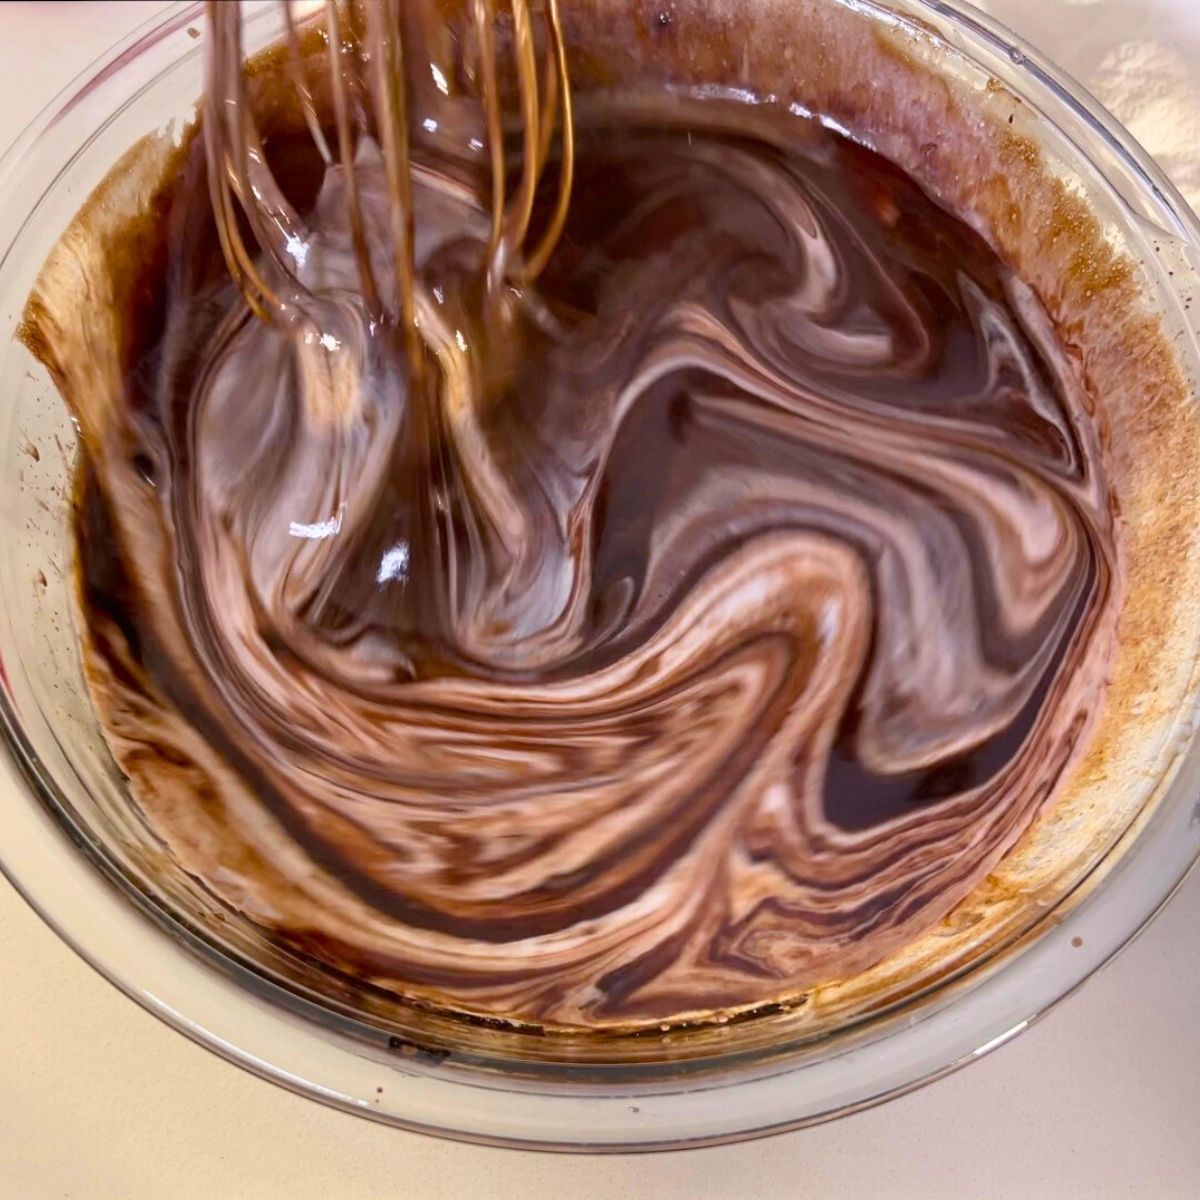
Step 1 — Bloom the Cocoa – In a large mixing bowl, combine: hot water, cocoa powder, instant coffee (optional). Whisk until smooth. Let it cool slightly so it does not cook the eggs.
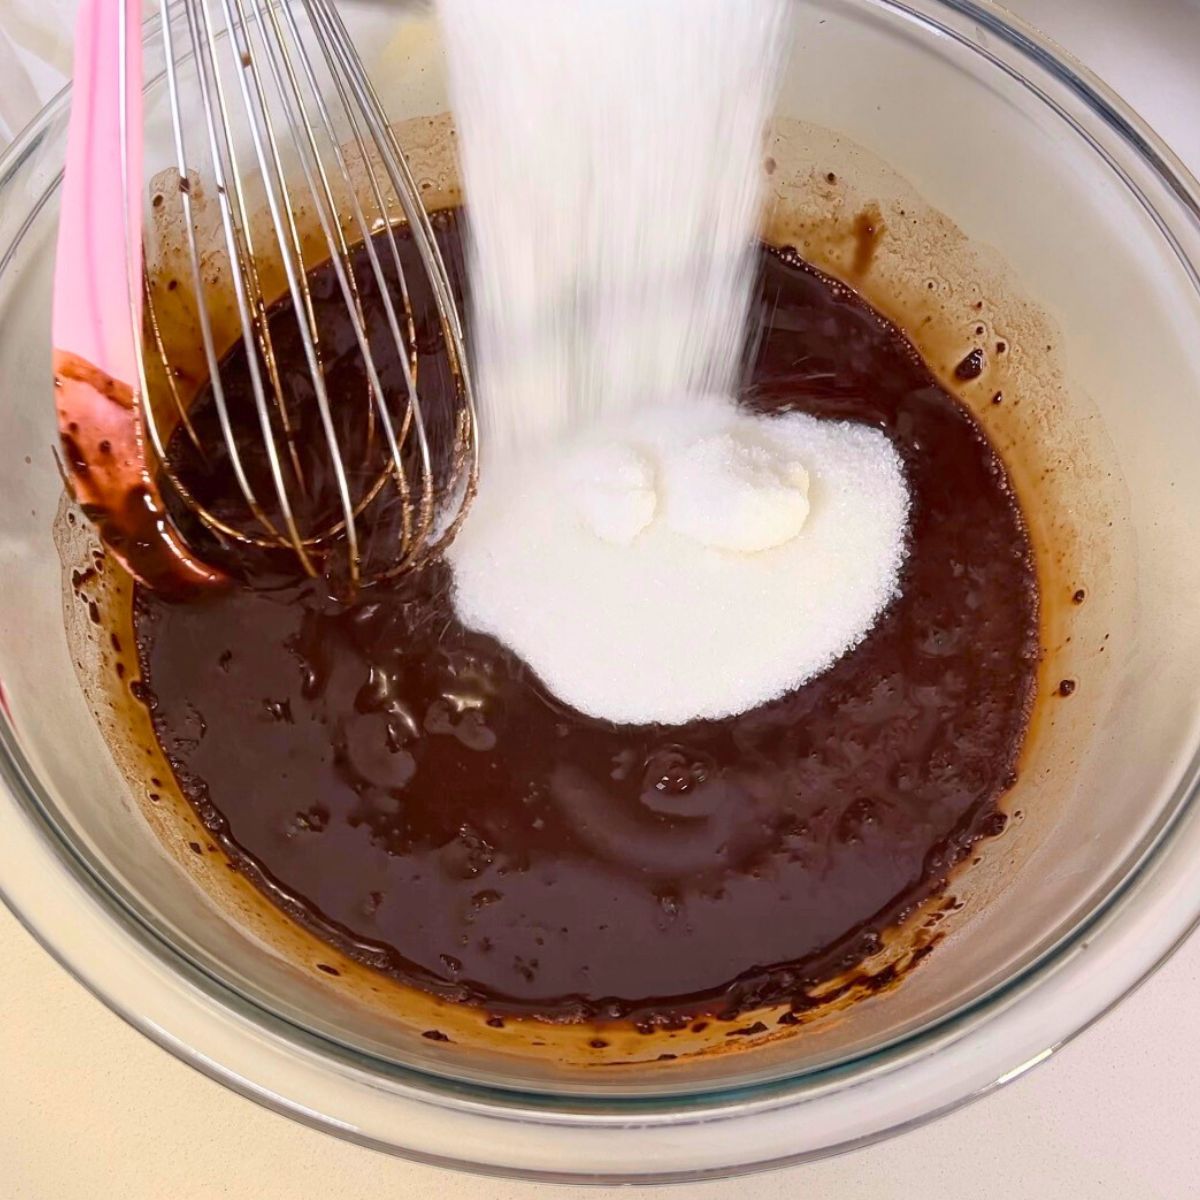
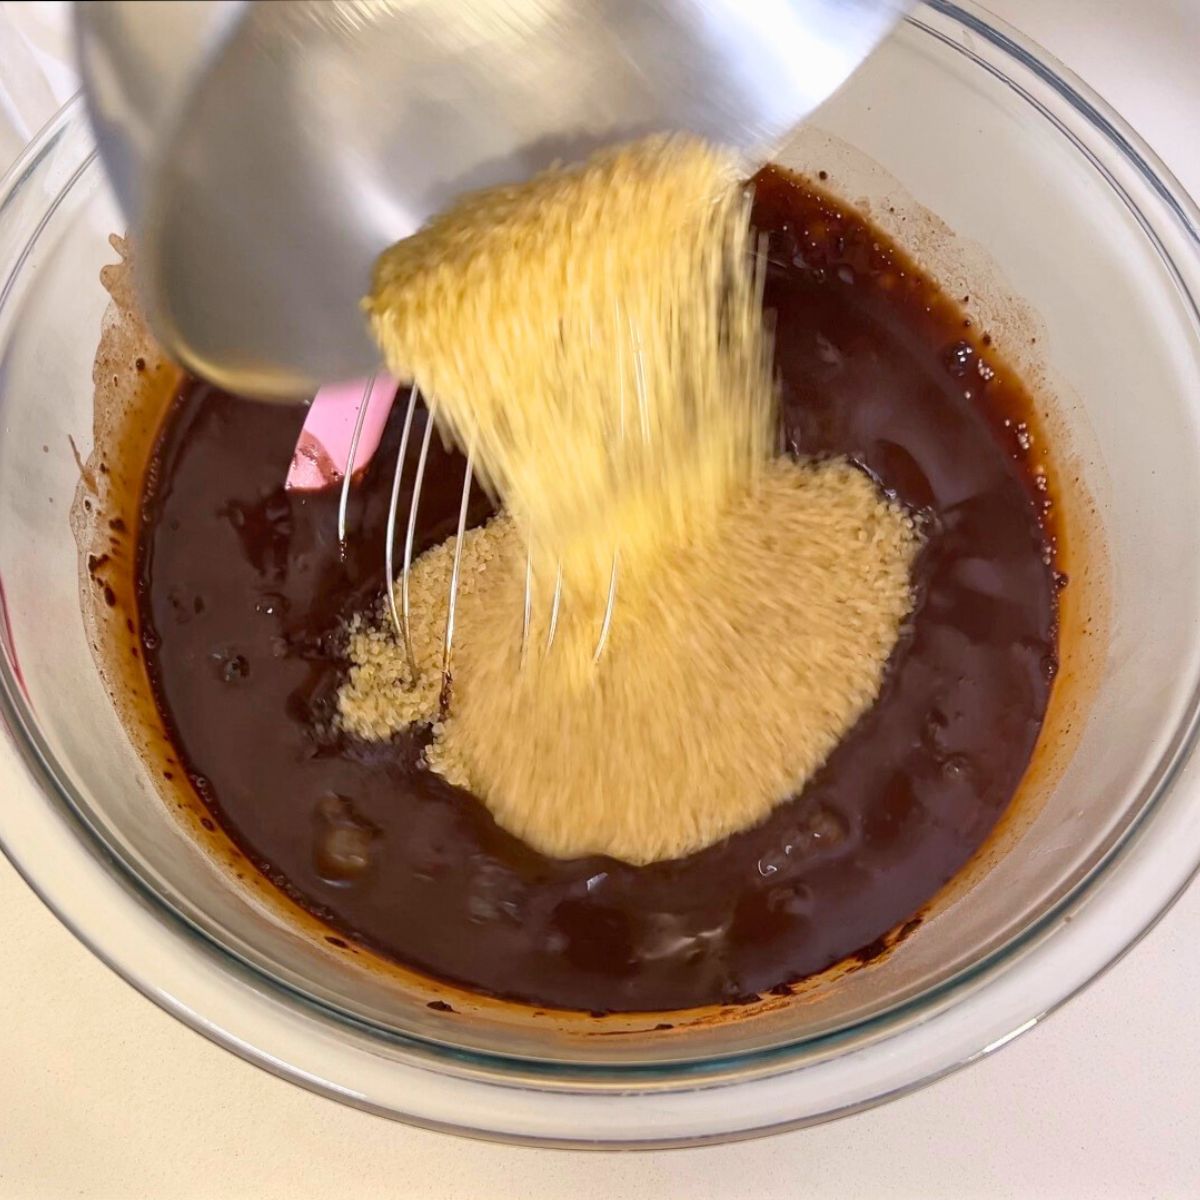
Step 2 — Add Sugars – Add the white sugar and brown sugar to the cocoa mixture and whisk well.
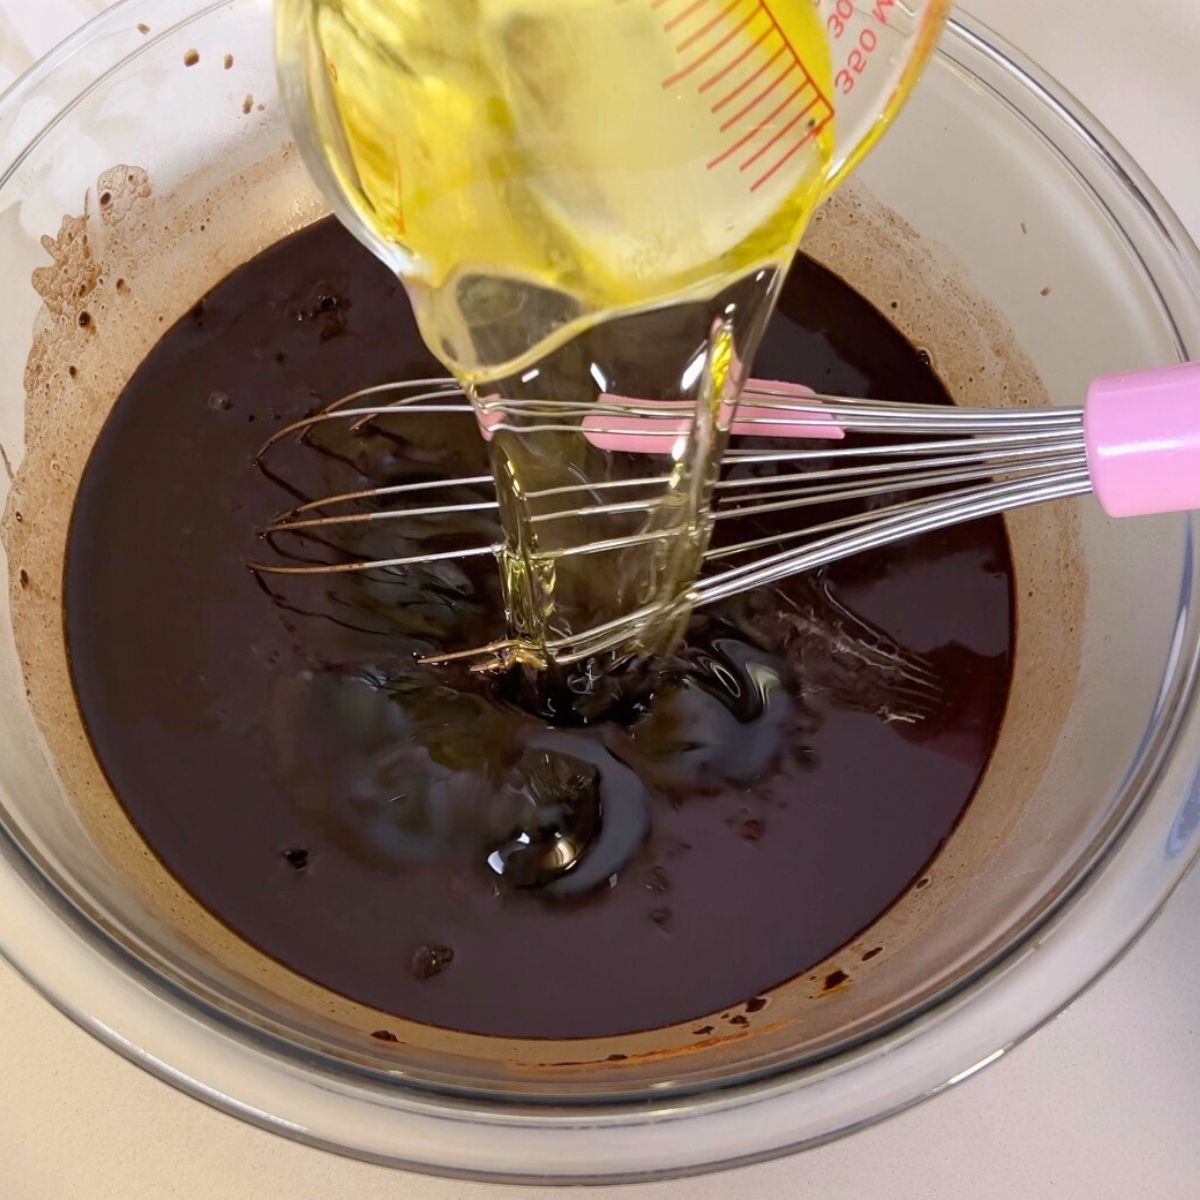
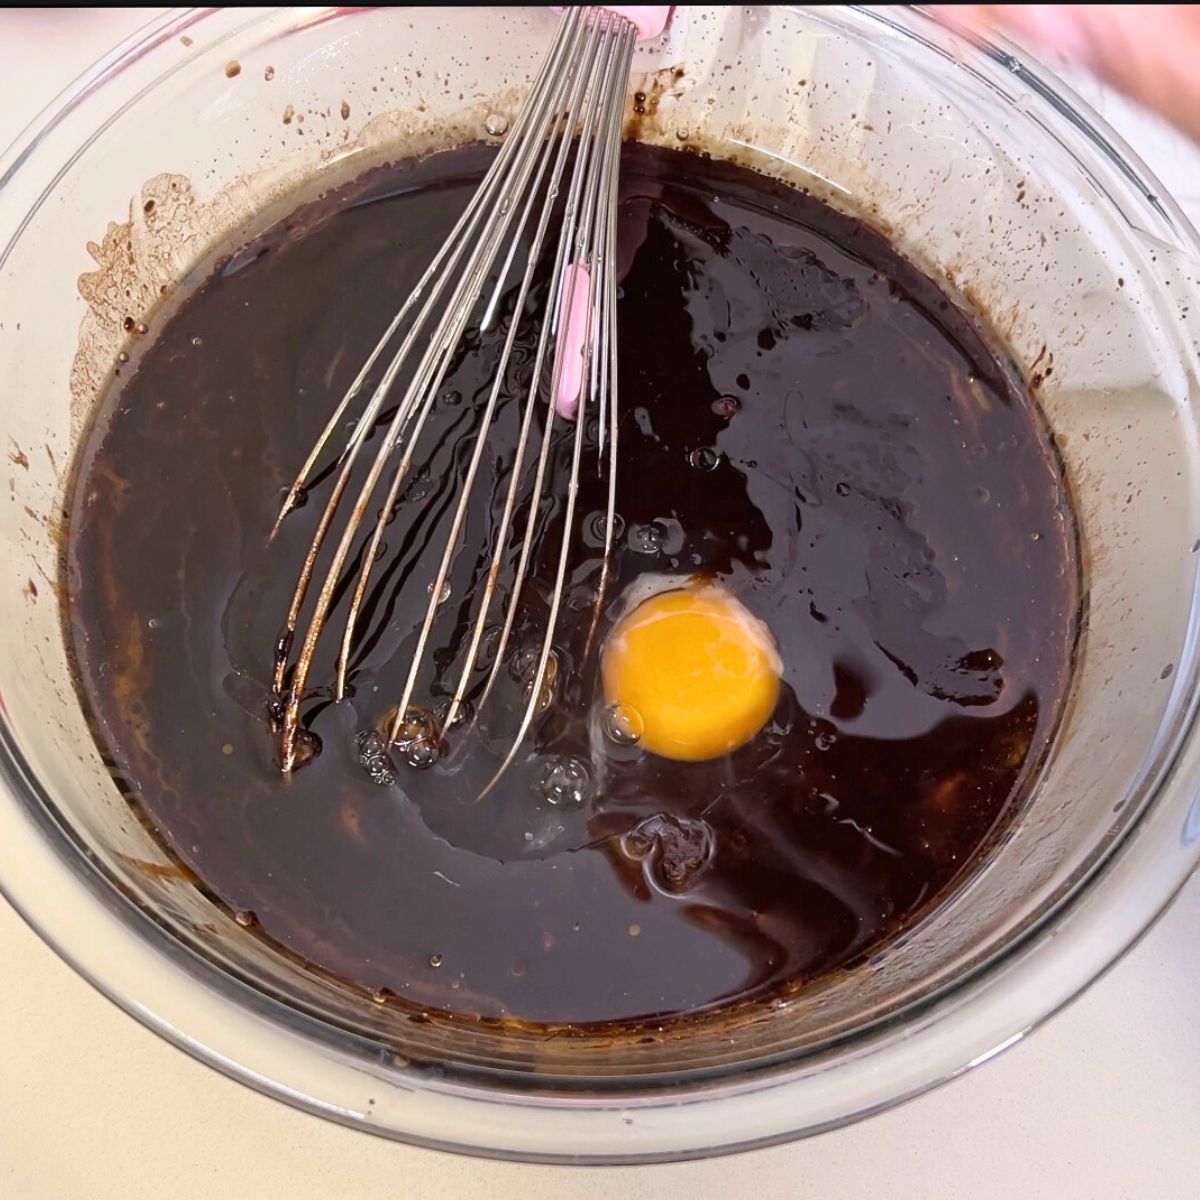
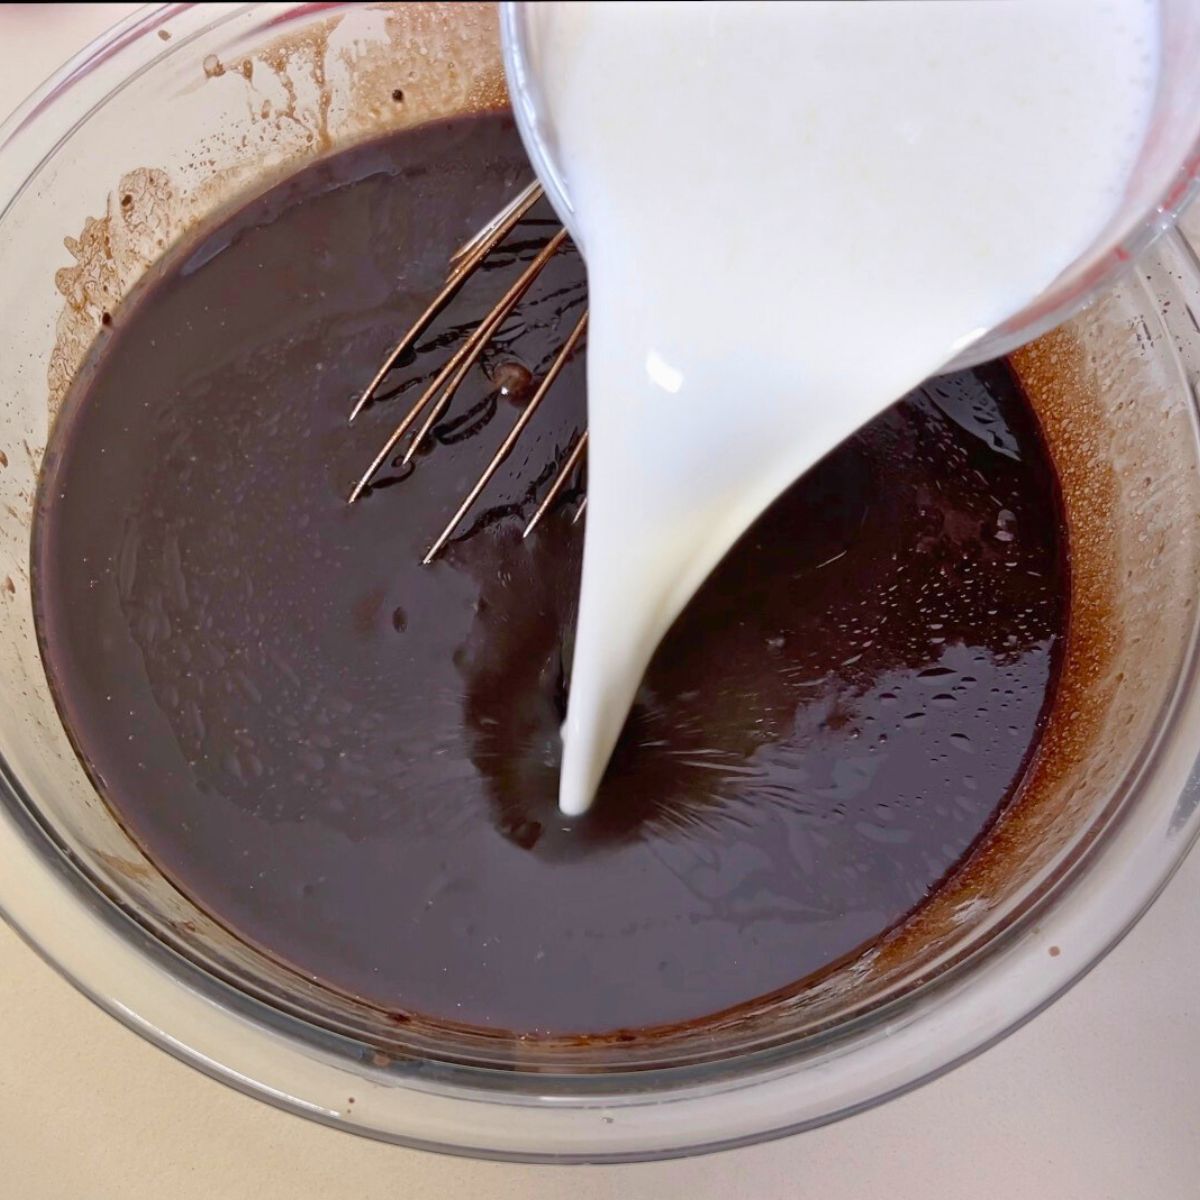
Step 3 — Add Wet Ingredients – Now add the Oil, followed by eggs one at a time. Then, add the vanilla extract and buttermilk. Whisk until smooth and fully combined.
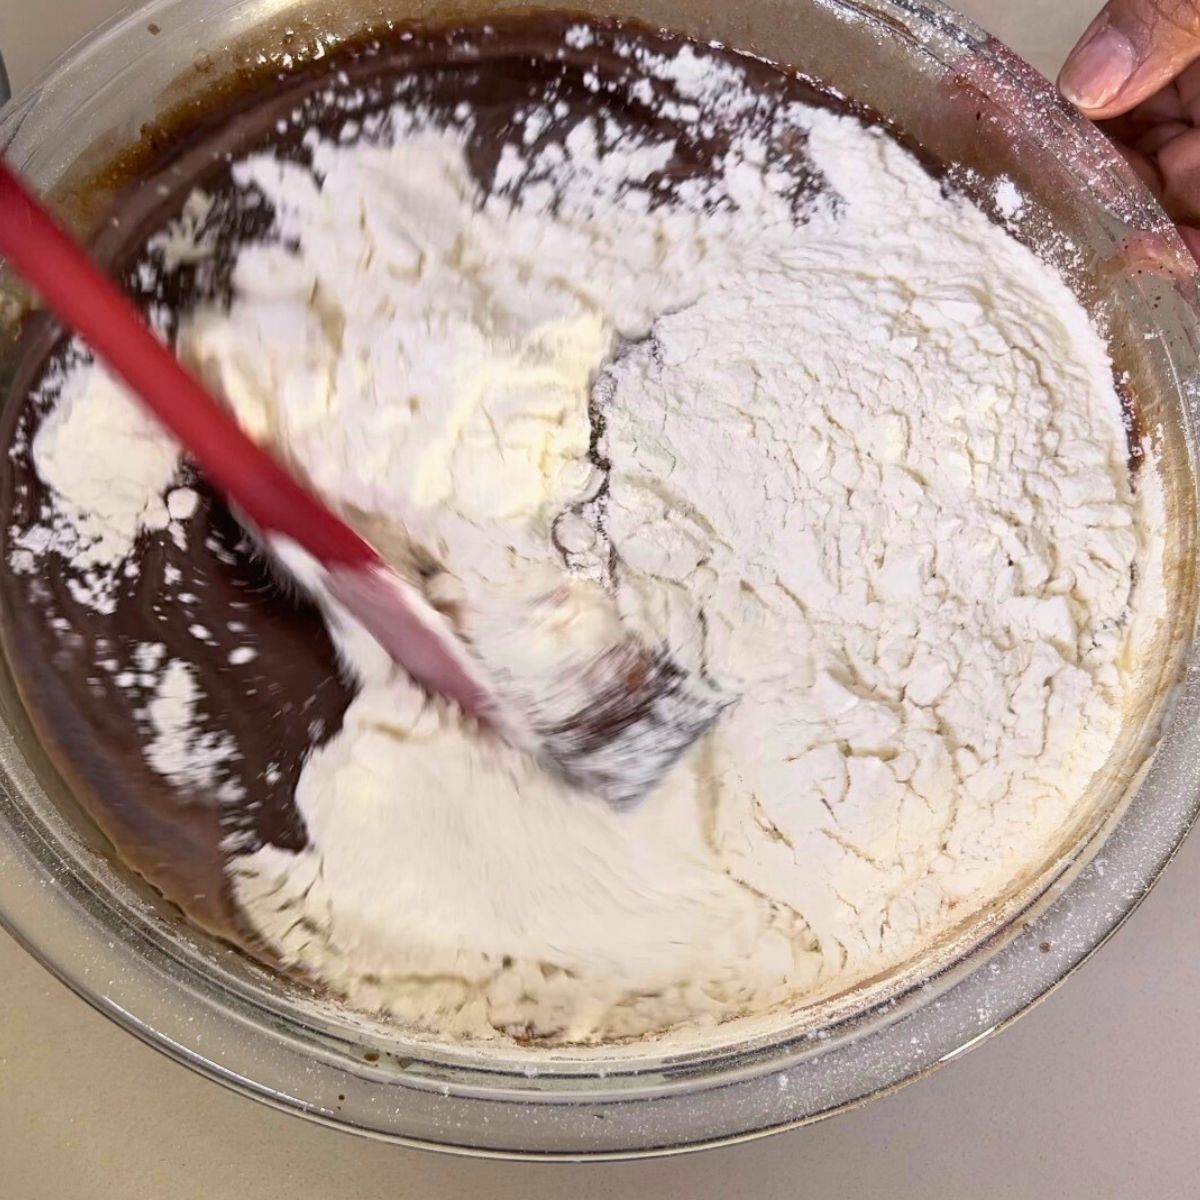
Step 4 — Add Dry Ingredients — Combine the flour, baking powder, baking soda, and salt, then add them to the wet ingredients. Whisk just until smooth with no lumps. Do not overmix.
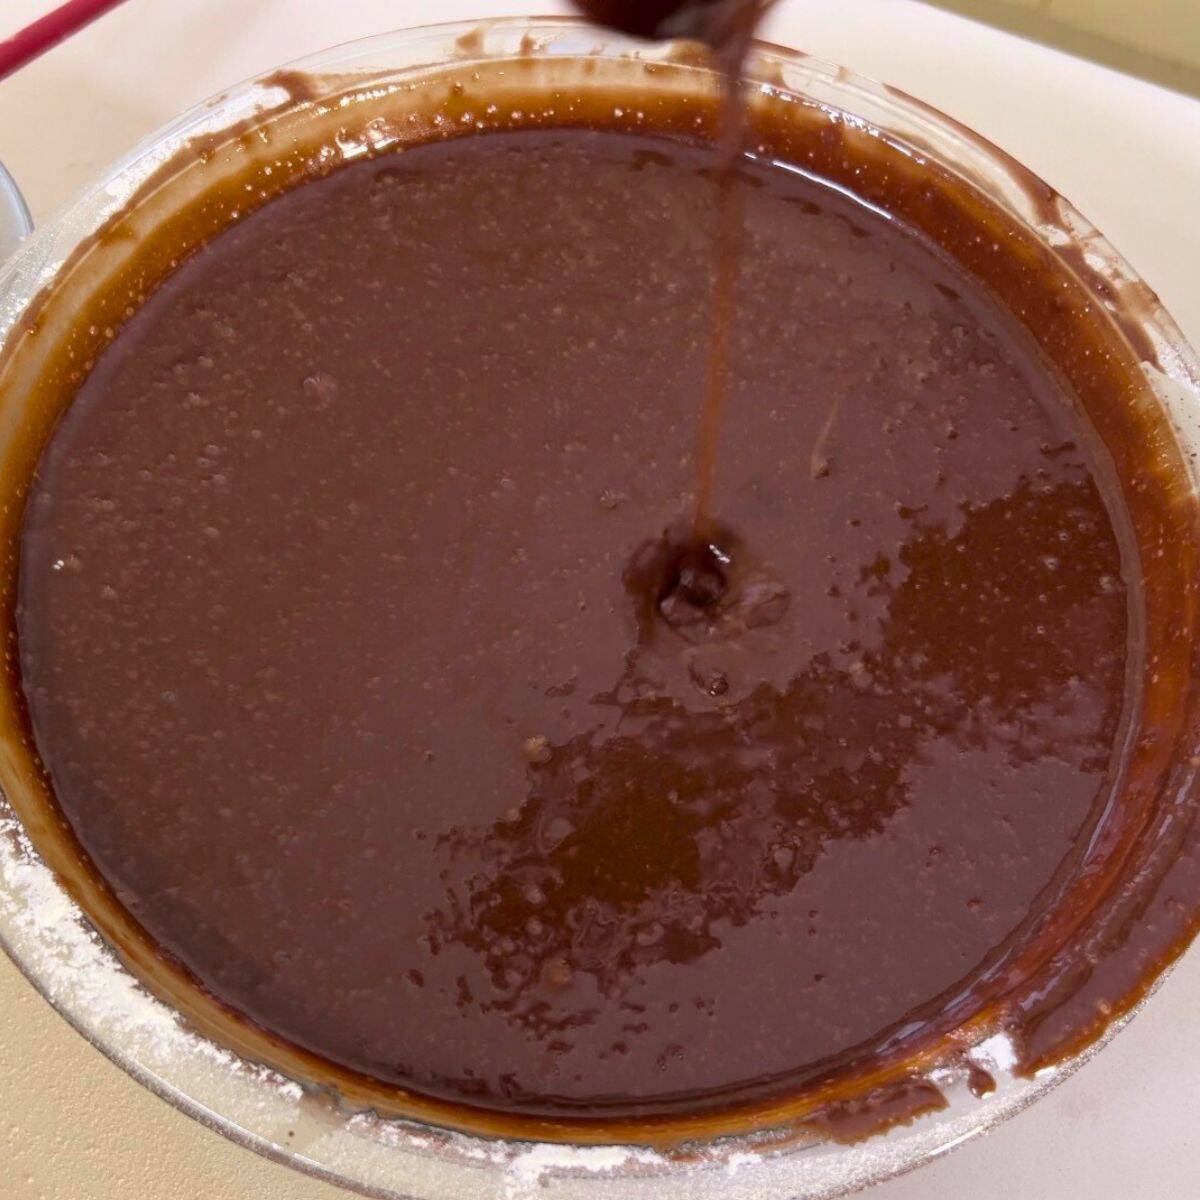
Step 5 — Bake – Divide batter evenly between prepared pans. Bake for 30–35 minutes for 8-inch pans or 28–33 minutes for 9-inch pans. The cake is done when a toothpick inserted in the center comes out with a few moist crumbs. Cool completely before frosting.
Chocolate Buttercream
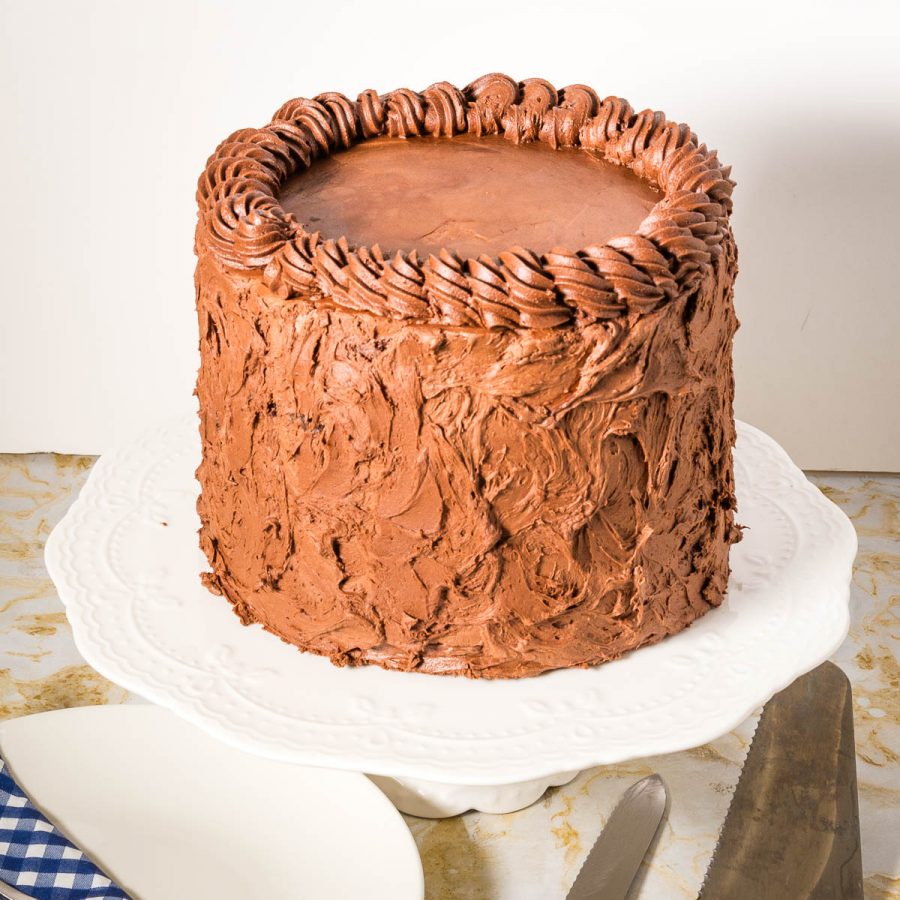
- Beat softened butter until smooth and creamy, then mix in cocoa powder, powdered sugar, vanilla, salt, and cream until light and spreadable.
- Whip for 2 to 3 minutes until fluffy and smooth. Adjust consistency with a little cream if needed.
- (Use immediately or keep covered so it does not crust.)
Chocolate Ganache
- In a microwave-safe bowl, add the chocolate and heavy cream – melt until smooth. Then add the butter and corn syrup, and combine well.
- Allow the ganache to cool until slightly thickened but spreadable consistency.
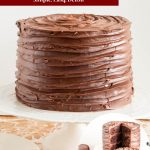
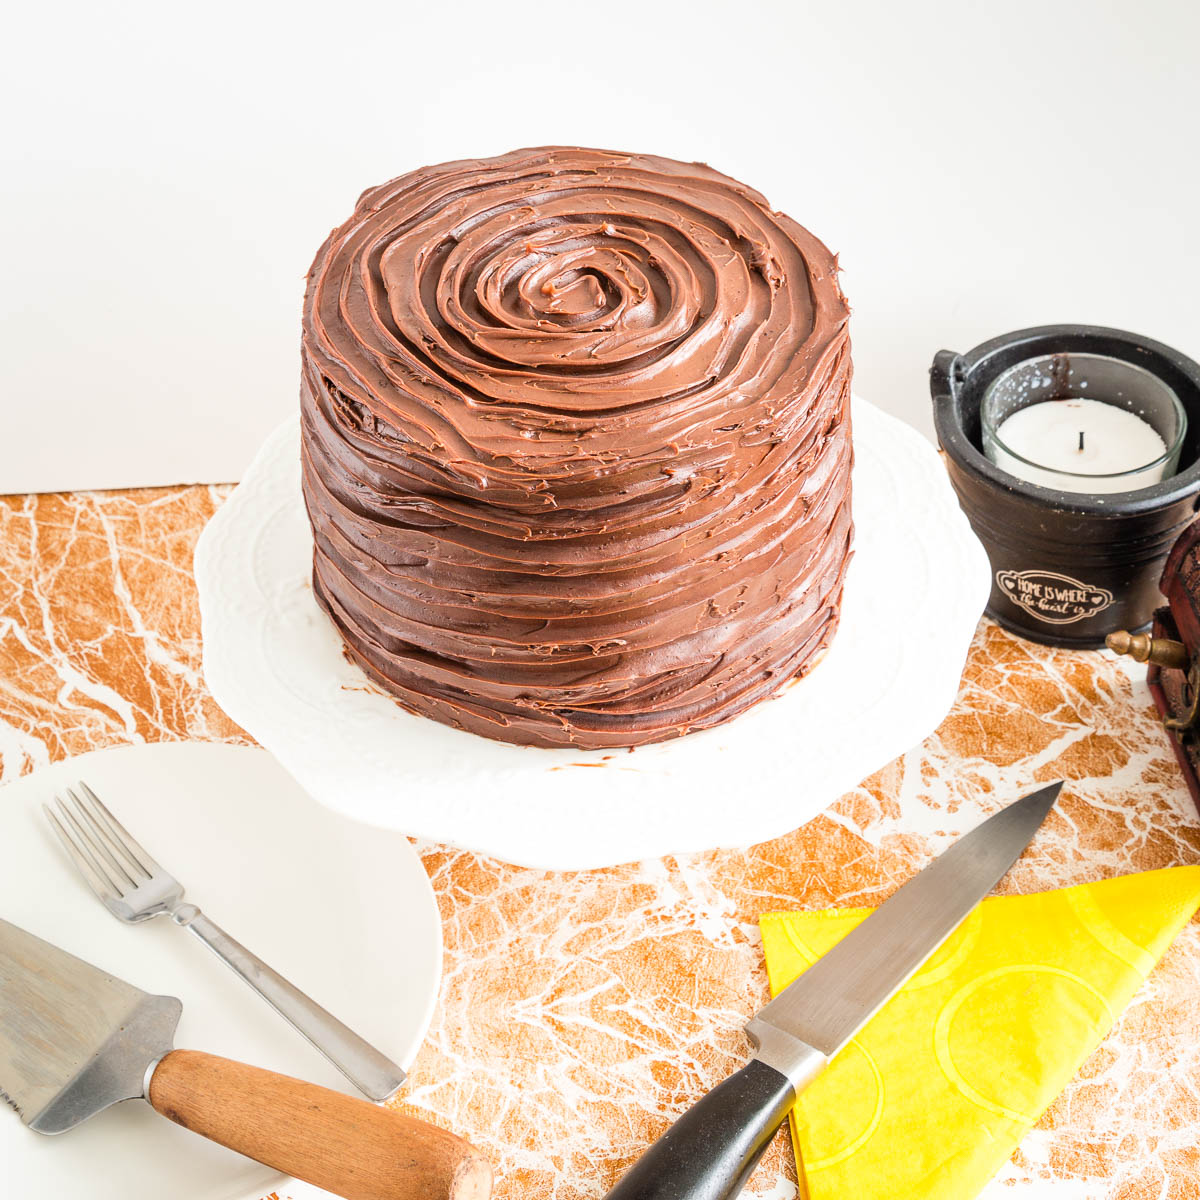
- Chocolate ganache adds a rich finish and gives the cake a clean bakery-style look.
Assemble (Stack the layers)
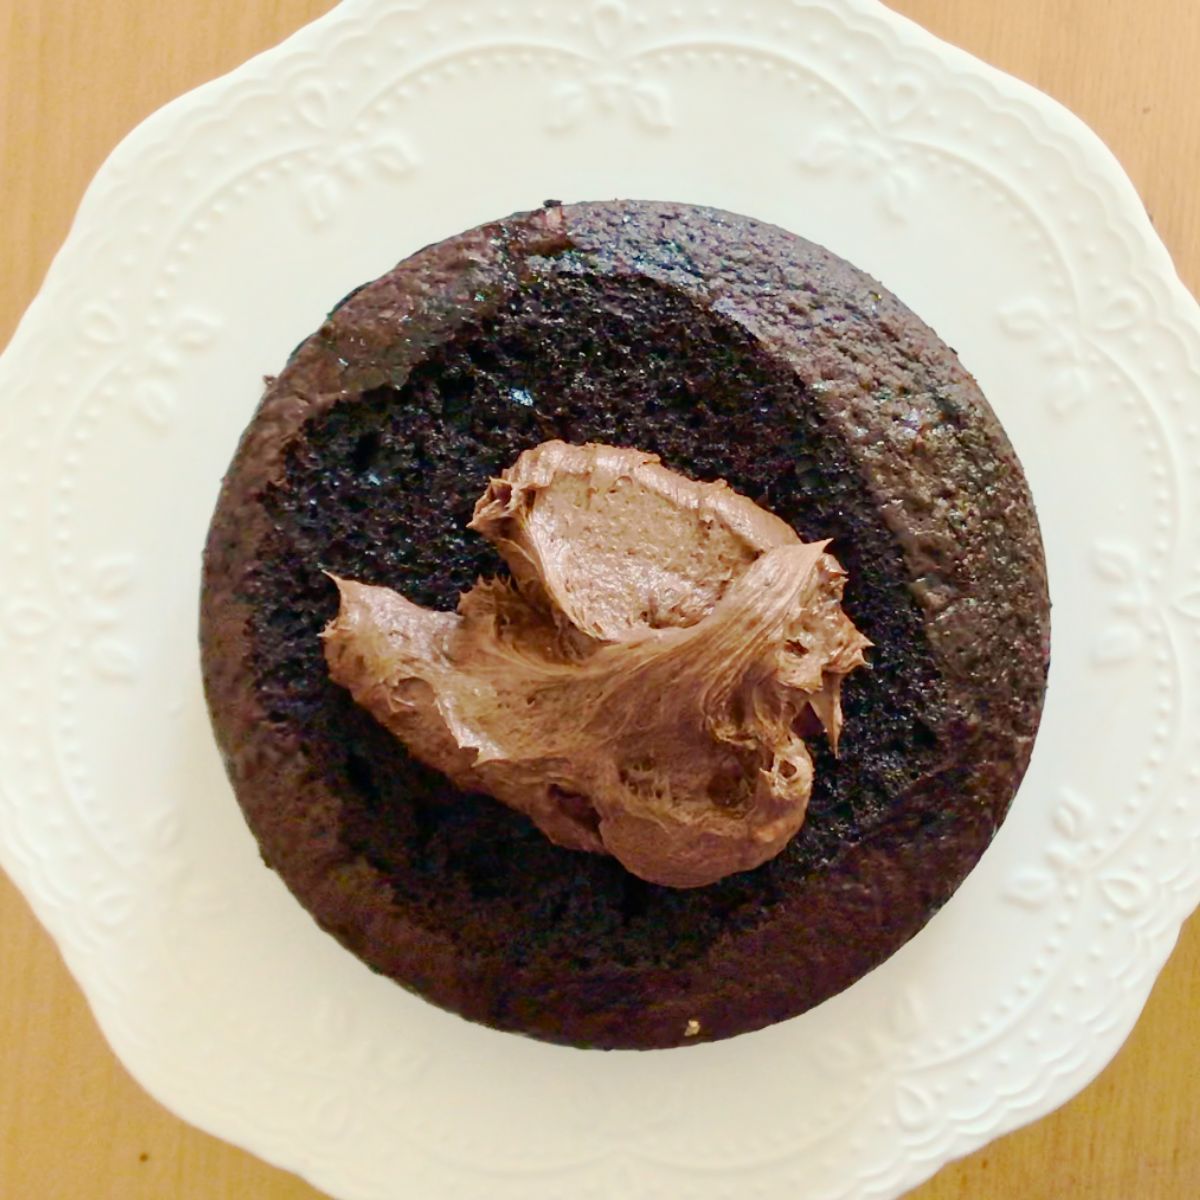
- Level the cake layers – Once the cakes are completely cooled, level the tops if needed so the layers stack evenly.
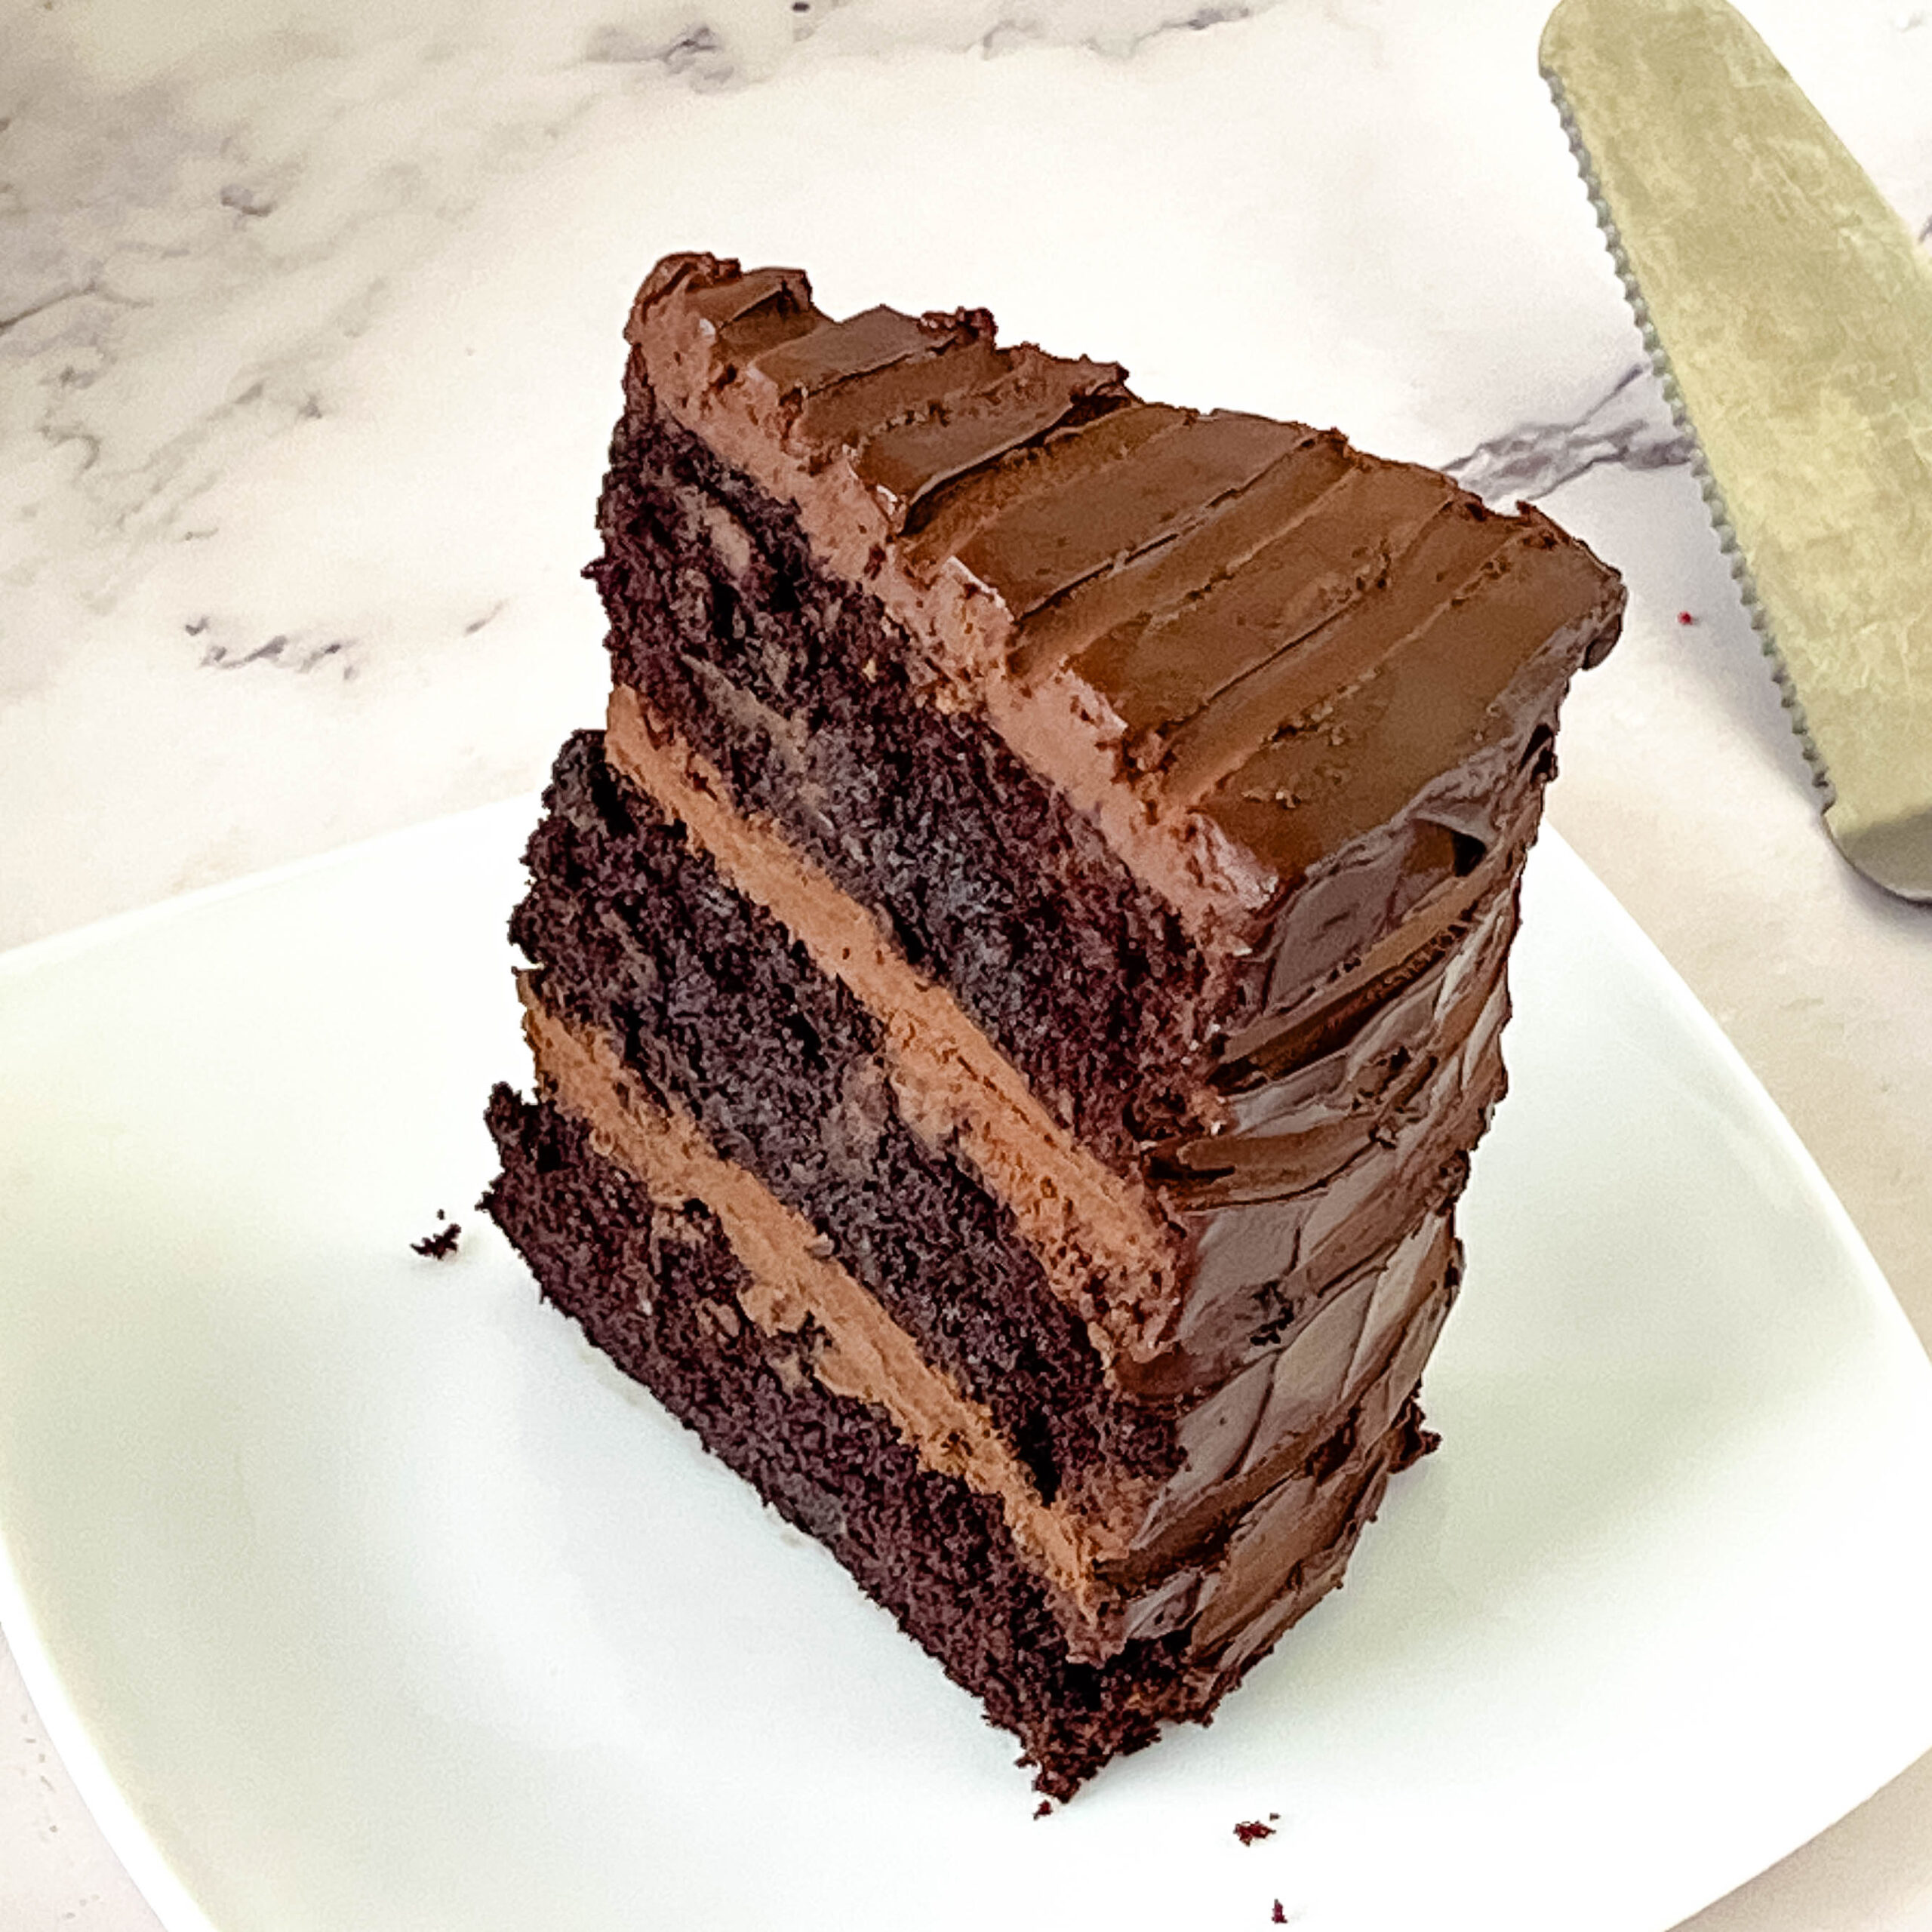
- Fill the layers – Place the first cake layer on a cake board or serving plate and spread an even layer of chocolate buttercream. Add the next cake layer and repeat, finishing with the final layer placed upside down for a flat surface.
- Chill the cake – Refrigerate the stacked cake for about 20 to 30 minutes so the buttercream firms up and the layers stabilize before covering with ganache.
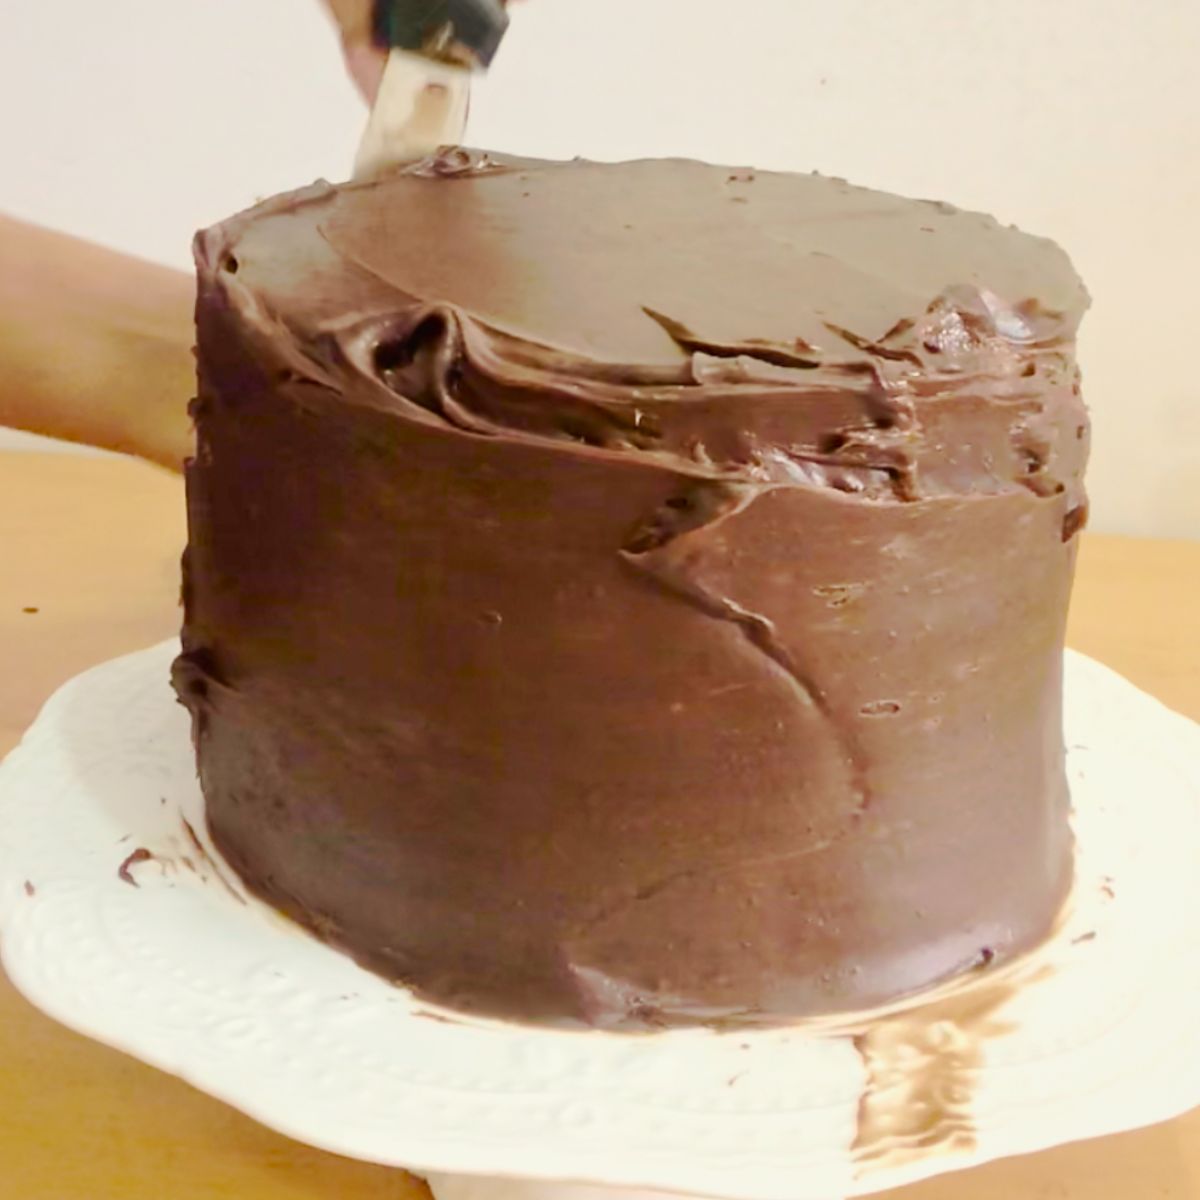
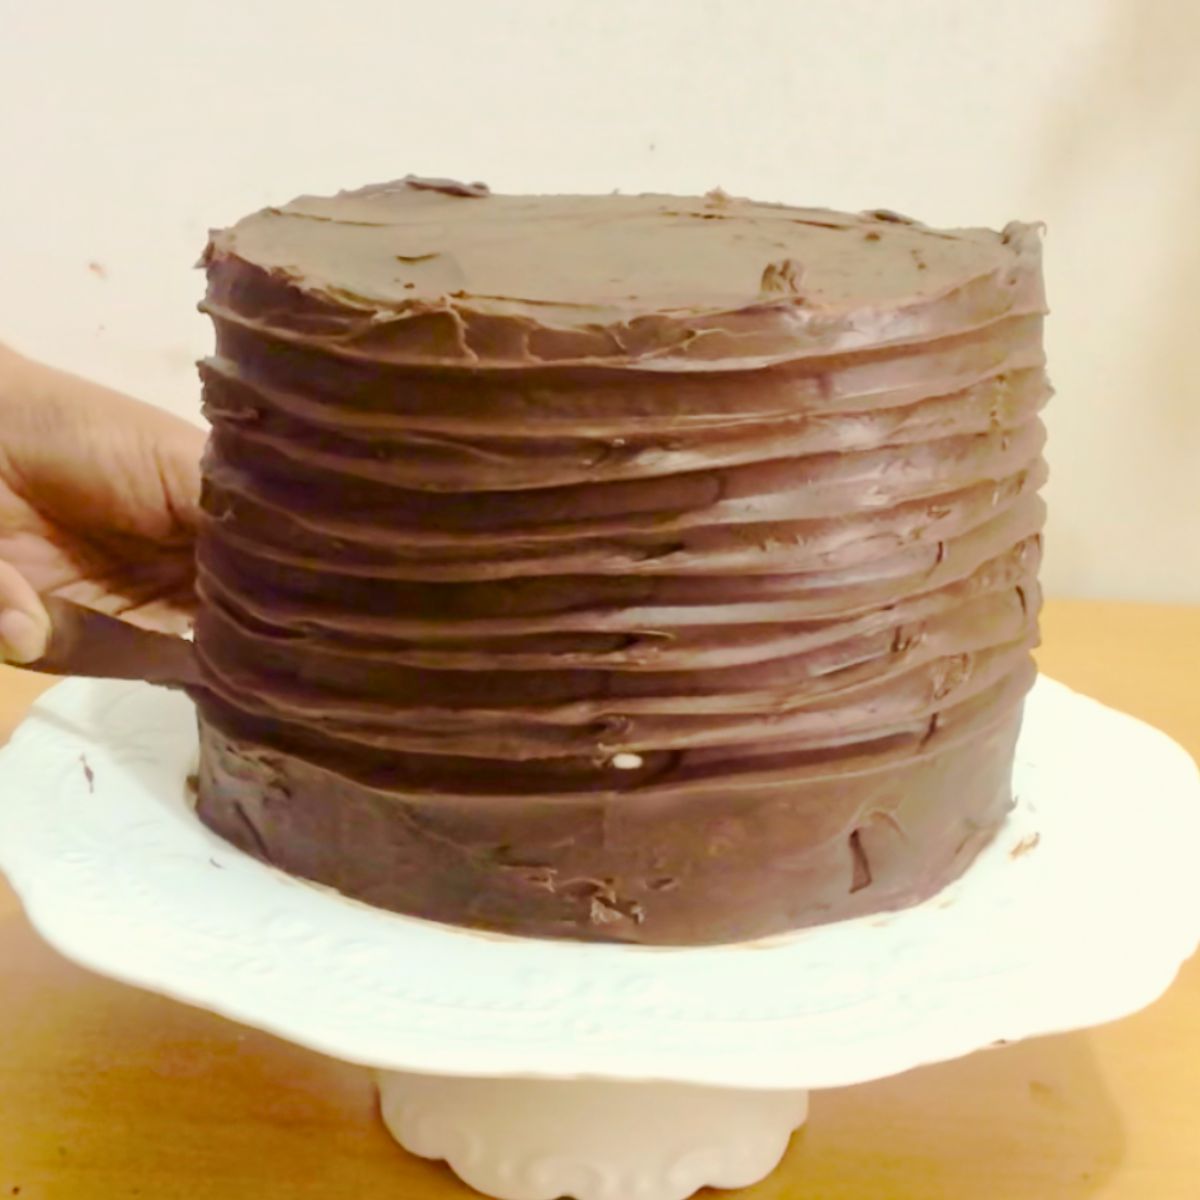
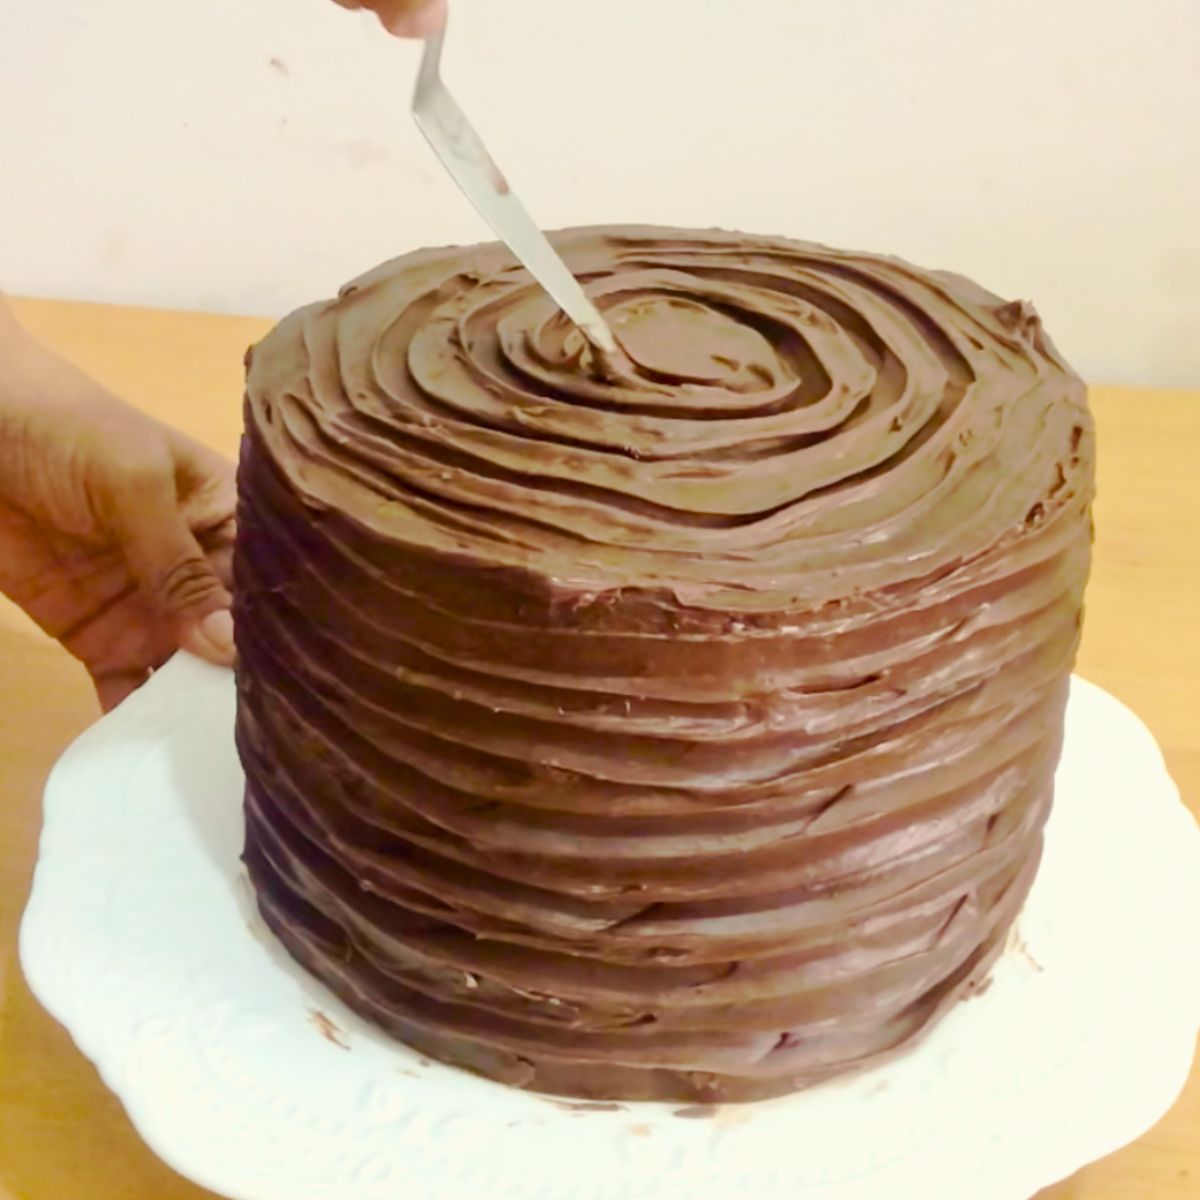
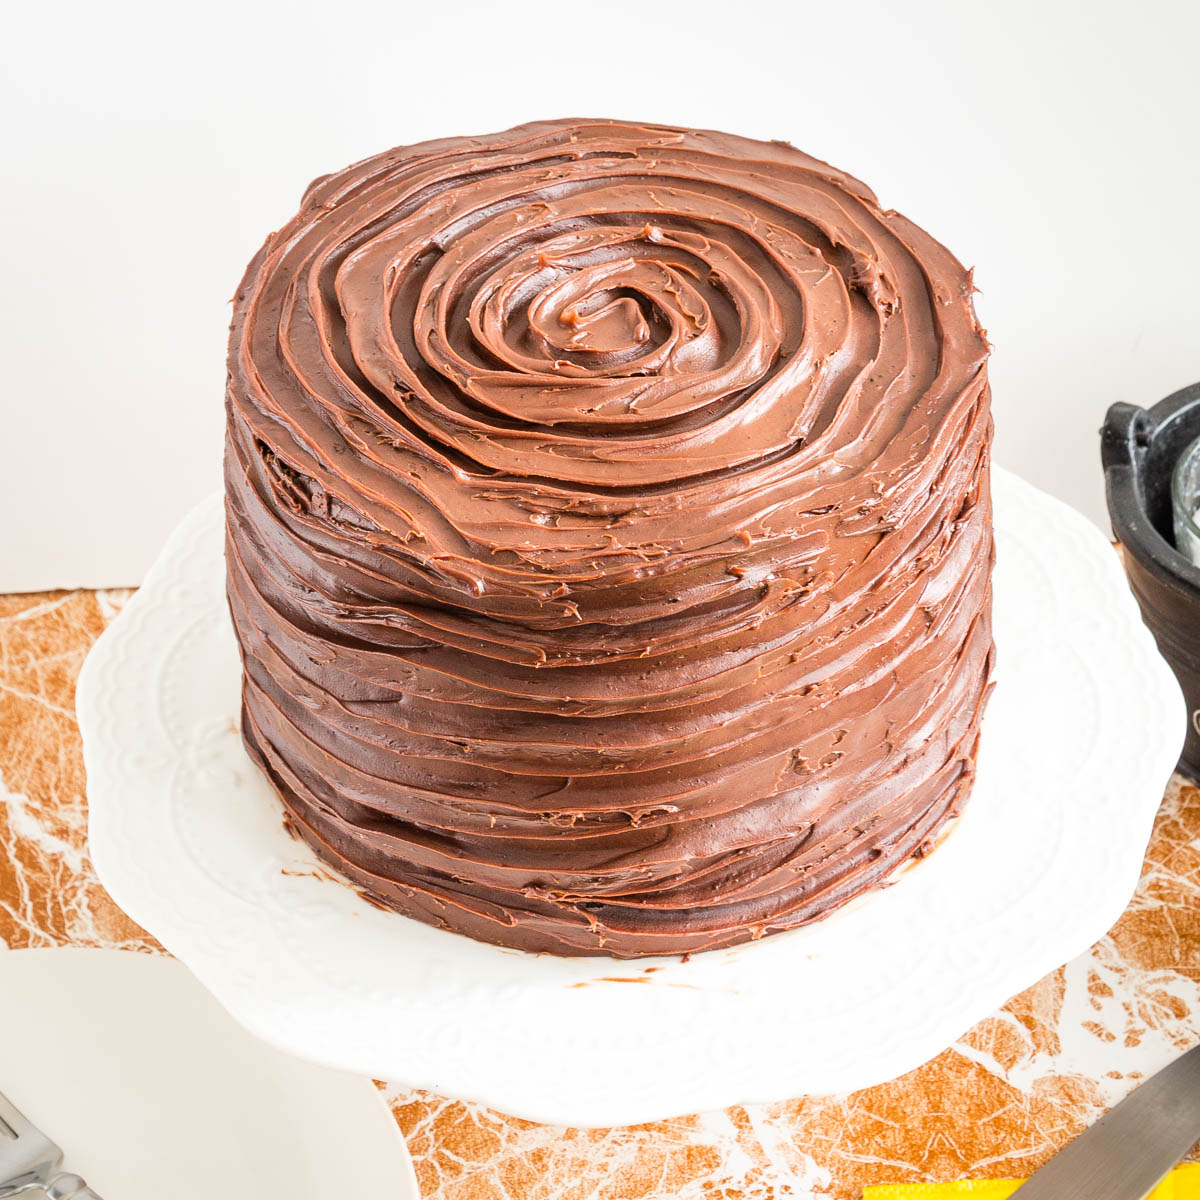
- Cover with chocolate ganache – Once slightly cooled and thickened, pour the chocolate ganache over the top of the cake and use an offset spatula to gently spread it over the top and sides until the cake is fully coated.
- Let the ganache set
What is the best frosting Options for this cake?
This cake works beautifully with one frosting or two depending on the occasion.
- Option 1 — Chocolate Buttercream (Easiest) – Perfect for birthdays and everyday celebrations.
- Option 2 — Chocolate Ganache – Rich, smooth finish with intense chocolate flavor.
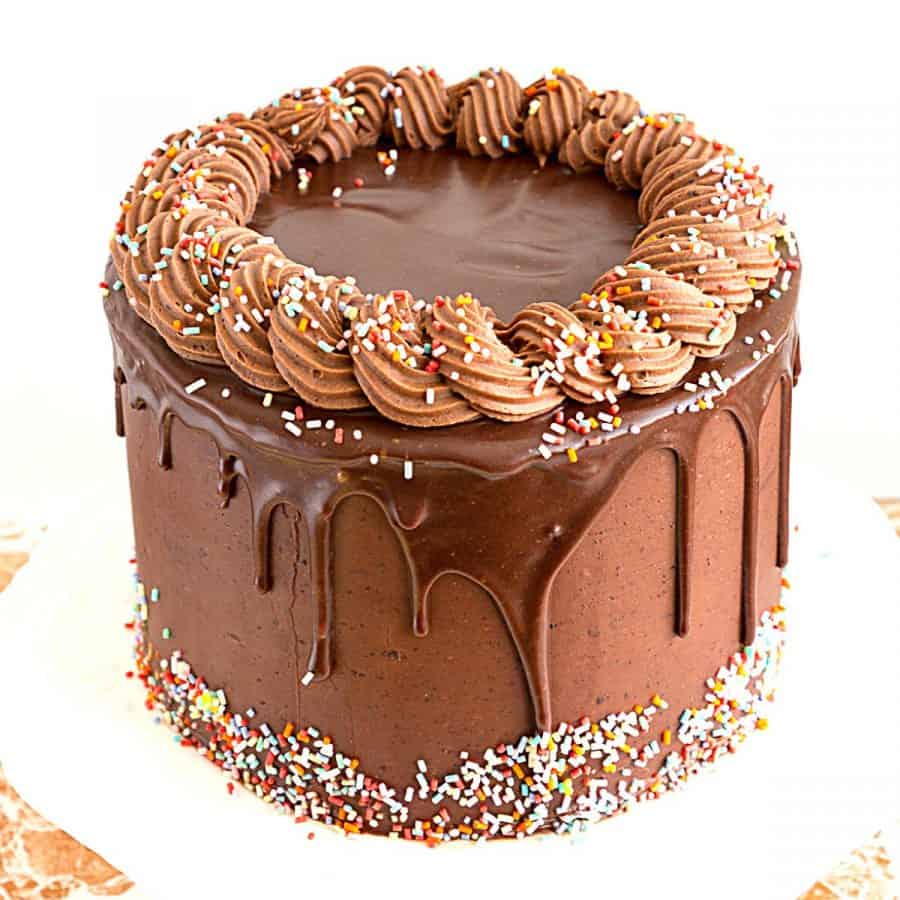
- Option 3 — Bakery Style (Recommended for Celebrations) Chocolate buttercream between layers + ganache on the outside.
Tips for Success
- Use room-temperature ingredients.
- Blooming cocoa in hot liquid deepens flavor.
- Do not overmix once flour is added.
- Chill layers briefly before frosting for cleaner assembly.
- This cake tastes even better the next day.
Troubleshooting
| Problem | Cause | Solution |
|---|---|---|
| Cake dense | Overmixing | Mix just until combined |
| Cake dry | Overbaked | Remove when crumbs remain |
| Layers sticky | Very moist crumb | Chill before handling |
| Frosting sliding | Cake warm | Chill layers first |
Death by Chocolate Cake Recipe
This Death by Chocolate cake is the ultimate cake for chocolate lovers. Three layers of rich, decadent chocolate cake are filled with velvety, smooth chocolate Swiss meringue buttercream and frosted with luscious chocolate ganache. Perfect for any celebration or festive dinner dessert, this cake will have your guest asking you for the recipe.
Video
Ingredients
- 320 ml (1¼ cups) Hot water
- 85 g (1 cup) Cocoa powder
- 1 tsp Instant coffee optional
- 200 g (1 cup) White sugar
- 220 g (1 cup) Brown sugar
- 250 ml (1 cups) Cooking oil
- 4 large Eggs
- 2 tsp Vanilla extract
- 350 ml (1½ cups) Buttermilk
- 375 g (3 cups) All-purpose flour
- 2 tsp Baking powder
- 1 ½ tsp Baking soda
- 1 tsp Salt
- 226 g (1 cup) Butter unsalted, room temperature
- 75 g (¾ cup) Cocoa powder optional
- 420 g (3.5 cups) Powdered sugar confectioners sugar
- 1 tsp Vanilla Extract
- ½ tsp Salt
- 60 ml (cup) Heavy cream or milk
- 250 g (8 oz) Chocolate semi-sweet
- 250 ml (1 cups) Whipping cream
- 1 tbsp Butter
- 2 tsp Vanilla extract
- ½ cup Simple Syrup optional
Method
- Oven and Pans – Preheat the oven to 325°F / 165°C. Grease and line three 8-inch cake pans or two 9-inch pans with parchment paper.
- Bloom the Cocoa – In a large mixing bowl, combine: hot water, cocoa powder, instant coffee (optional). Whisk until smooth. Let it cool slightly so it does not cook the eggs.
- Add Wet Ingredients – Add the white sugar and brown sugar to the cocoa mixture and whisk well. Now add the Oil, followed by eggs one at a time. Then, add the vanilla extract and buttermilk. Whisk until smooth and fully combined.
- Add Dry Ingredients — Combine the flour, baking powder, baking soda, and salt, then add them to the wet ingredients. Whisk just until smooth with no lumps. Do not overmix.
- Bake – Divide batter evenly between prepared pans. Bake for 30–35 minutes for 8-inch pans or 28–33 minutes for 9-inch pans. The cake is done when a toothpick inserted in the center comes out with a few moist crumbs. Cool completely before frosting.
- Beat softened butter until smooth and creamy, then mix in cocoa powder, powdered sugar, vanilla, salt, and cream until light and spreadable.
- Whip for 2 to 3 minutes until fluffy and smooth. Adjust consistency with a little cream if needed. (Use immediately or keep covered so it does not crust.)
- In a microwave-safe bowl, add the chocolate and heavy cream – melt until smooth. Then add the butter and corn syrup, and combine well. Allow the ganache to cool until slightly thickened but spreadable consistency. Chocolate ganache adds a rich finish and gives the cake a clean bakery-style look.
- Level the Cakes – Once completely cooled, level the tops if needed so the layers stack evenly.
- Fill the Layers – Place the first cake layer on a cake board or serving plate and spread an even layer of chocolate buttercream. Add the next cake layer and repeat, finishing with the final layer placed upside down for a flat surface.
- Chill the cake – Refrigerate the stacked cake for about 20 to 30 minutes so the buttercream firms up and the layers stabilize before covering with ganache.
- Cover with chocolate ganache – Once slightly cooled and thickened, pour the chocolate ganache over the top of the cake and use an offset spatula to gently spread it over the top and sides until the cake is fully coated.
- Frost the cake – Apply another smooth layer of chocolate buttercream over the cake and chill briefly again if needed.
- Let the ganache set – Allow the ganache to set at room temperature or refrigerate briefly until firm before slicing and serving.
Notes
- Measure flour correctly. Spoon the flour into the measuring cup and level it off rather than scooping directly from the bag, which can make the cake dense.
- Blooming the cocoa powder in hot water helps deepen the chocolate flavor and gives the cake its dark color.
- Do not overmix the batter once the flour is added. Mix just until smooth to keep the cake soft and tender.
- Use room-temperature ingredients for a smooth batter and even baking.
- Cool cakes completely before frosting. Warm layers will melt the frosting and cause the cake to slide.
- You can use one frosting or both. Chocolate buttercream alone works perfectly, or finish with ganache for a richer bakery-style cake.
- Make ahead: Cake layers can be baked a day in advance and stored wrapped at room temperature or refrigerated.
- Freezing: Wrap unfrosted cake layers well and freeze for up to 1 month. Thaw overnight in the refrigerator before decorating.
- Pan options: This batter can also be baked in a 9×13-inch pan for a chocolate sheet cake or divided into cupcakes.
Equipment you will need

Nutrition
Tried this recipe?
Mention @veenaazmanov_kitchen or tag #veenaazmanovkitchen!more chocolate cake recipes


Frequently asked questions
The finished cake keeps well for 2 days at cool room temperature or up to 5 days in the refrigerator when stored in an airtight container. Bring the cake to room temperature before serving for the best texture.
Yes. This batter works very well for cupcakes. Fill cupcake liners about two-thirds full and bake at 325°F / 165°C for 18 to 22 minutes, or until a toothpick inserted in the center comes out clean. Frost with chocolate buttercream and finish with a small ganache drizzle if desired.
This cake batter is very versatile. In addition to three 8-inch round pans or two 9-inch pans, you can bake it in:
a 9 × 13-inch sheet pan
a bundt pan
or standard cupcakes
Baking time may vary depending on pan depth, so always test for doneness with a toothpick.
Yes. The cake layers can be baked one day ahead and kept well wrapped at room temperature or refrigerated. Many bakers find the flavor even better the next day once the cake has rested.
Yes. You can freeze the unfrosted cake layers for up to one month. Wrap each layer tightly in plastic wrap followed by foil. Thaw overnight in the refrigerator before frosting.
There isn’t a single official original version. The name became popular for desserts that combine multiple layers of intense chocolate flavor. This recipe follows that idea with rich chocolate cake, chocolate frosting, and chocolate ganache.
The cake earns its name because chocolate appears in every element — the cake layers, the filling, and the frosting — creating an intensely rich chocolate dessert made especially for chocolate lovers.
A classic chocolate cake usually focuses on the cake itself with one frosting. A Death by Chocolate cake takes it further by layering multiple chocolate components such as chocolate frosting, ganache, or syrup for a richer and more indulgent result.
more cake recipes
- One Bowl Vanilla Cake (naked cake)
- Tres Leches Cake
- Mini Bundt Cakes
- Checkerboard Cake
- Funfetti Cake Recipe
- Tropical Pina Colada Cake

Don’t lose this recipe! Save it for Later!
📌 Save this Recipe for later on Pinterest so you can easily find it again.
⭐ Add Veena Azmanov Kitchen to your Google Preferred Sources.
It helps Google show you more of our recipes.
📧 Subscribe for new recipes delivered to your inbox.
🎥 Follow us for more recipes


Would this recipe be suitable for a two tiered cake? I’ve read how moist the cake is so I’m concerned that it might not support a second tier. Could you please recommend another of your chocolate cake recipes if this one isn’t suitable?
Thank you so much
Sally
Hey Sally, yes, you can use this for two-, three-, or more-tiered cakes. It’s light and airy, yet stable enough to stack. Make sure you dowel the bottom cake before stacking, and everything will be just fine. Have fun.
Thank you so much for your prompt response. I have made several of your recipes and they’re great. Much appreciated!
Thank you so much, Sally, for the lovely feedback. Appreciate you taking the time to comment
This recipe is a keeper! The chocolate flavor is intense but not overwhelming, and the balance of sweetness is just right. My family already requested it for the next celebration!
Thank you so much, Daniel
Thank you so much for the lovely feedback, Daniel
I can’t believe how decadent this cake turned out! The instructions were easy to follow, and the results were better than any bakery cake I’ve had. A showstopper for sure!
Thank you so much, Melissa
Thank you so much for the lovely feedback, Melissa
I made this for my friend’s birthday, and everyone raved about it. The combination of flavors and textures is perfection. Definitely my go-to chocolate cake recipe from now on!
Thank you so much, James
This cake is truly a chocolate lover’s dream! The layers were so rich and moist, and the chocolate ganache was silky smooth. It disappeared in minutes at our family gathering—thank you for this incredible recipe!
Thank you so much, Sarah
I love that you mixed the cocoa powder with hot water!! It gave the cake a nice color! And so moist and so tasty. Loved this cake
Thank you so much Dee
Hi Veena, I need some advice – I was asked to baked a 50th birthday 2-tier vintage birthday cake and the guests are 100 ppl – 1) any suggestions on the tier sizes & heights of each to feed 100 guests 2) should I suggest a smaller 2-tier for cutting and a separate square cake which could be cut to serve – if yes then what size and height would you suggest to make it look grand and what size square for serving (most of the 2 -tier will also be cut to serve) 3) a good size for the 2-tier cake to stand out with stuff like VINTAGE 1971 – AGED TO PERFECTION written on the front of both the tiers respectively
Hey Marion. You have plenty of options to serve 100 guests depending on the shape and number of cakes you want to use. Check this – cake portion guide it might be what you need. Thanks
Hi Veena..is the cake stable enough to cover with fondant?
Yes, Faith. You can cover this cake with fondant. Make sure to use either cake decorators ganache or a butter-based buttercream frosting. Chill the cake well until firm so it is easier to work with.
I love this Death by Chocolate Cake, so I keep trying all the recipes over the internet, and this is probably the BEST one I’ve made so far. Its really moist and so tasty
Hey Sue. Thank you so much for the lovely feedback. You just made my day