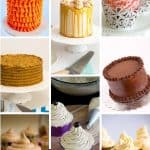
Sharp Edges Buttercream Cakes

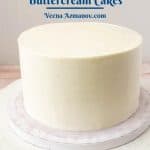
Sharp edges on cakes are the recent trend. And yet, getting sharp edges on buttercream cakes can be a bit more challenging than with ganache. But, these two simple and easy methods with video tutorials will surprise you and give you the confidence you need.

Getting a flat and leveled cake actually starts from the basics of making sure you level, tort, and fill your cakes right. And there are many different methods out there that claim to get the sharpest possible edge on buttercream cakes. Honestly, there is no right or wrong method. The only thing that matters is what works best for you.
There is an upside-down method as well as a parchment method. In addition, many are comfortable using acrylic circles. I’m sure they are all good!!
Also, if the weather is good where you live, then you won’t need to rush with the sharp edges on your buttercream cakes. But in my case, the weather is hot and humid. So, time is not on my side. As a result, I have to work fast before the condensation starts. And those of you who live in hot and humid climates will know what I mean by rush.
I have shown you two methods for doing this. The 1st method is detailed in the video below (see method one). While the 2nd method is detailed under Method two.
Method one
This method uses a cake board on top of the cake. The top board is the same size as the bottom board. Furthermore, chilling the cake between steps is very important to make sure you get a smooth finish as well as sharp edges.
Method two
I started with this method, and I found that it works best for me. Most importantly, I don’t have to spend money on extra tools such as acrylic discs or risk flipping my cake several times. Especially in the hot and humid weather I deal with.
Tort, level, & crumb coat.
- Bake your favorite cake. When done, cool in the pan for 10 minutes. Then, invert onto a cooling rack and cool completely before decorating.
Pro tip – Wrap in plastic wrap and place in the fridge to cool completely before decorating. - Prepare simple syrup – cool completely before using.
Pro tip – Simple syrup is just sugar and water boiled for 3 minutes. It keeps the cake layers moist. - Once cooled, cut the domes off the cake layers using a serrated knife. Brush each layer with the cooled simple syrup.
- Place a cake layer on the cake board or cake stand.
Pro tip – If you plan to move the cake again, it is best to use a cake circle under the cake so that you can pick it up with its base and without any accidents. - Fill the cake – Pipe a buttercream dam on the cake layer (see video). Top with a big dollop of the coconut cream filling and spread evenly with an offset spatula or spoon within the piped buttercream dam/edge.
- Next, top the second cake layer on top, followed by the buttercream dam and filling. Then, place the last cake layer on top.
Pro tip – It is best to lift individual cake layers on pieces of clean cardboard or cake lifters so you do not break them from the table to the cake. - Place the cake in the fridge to chill for 10 to 15 minutes.
Pro tip – Chilling the cake at this point will ensure the layers don’t move when you frost the outside. However, if you leave the cake uncovered in the fridge for too long, it can dry out. So, 10 minutes is all you need. - Crumb coat – Spread more buttercream around and on top of the cake. (see video). Chill the cake for another 15 to 30 minutes.
Pro tip – A crumb coat is a thin layer of frosting all around the cake, then chilled. Once you chill the crumb coat, it ensures that all the crumbs stick to the cake. Shilling the crumb-coated cake will ensure that no cake crumbs get into the rest of the buttercream, and you will have a nice, clean cake.
Sharp edges
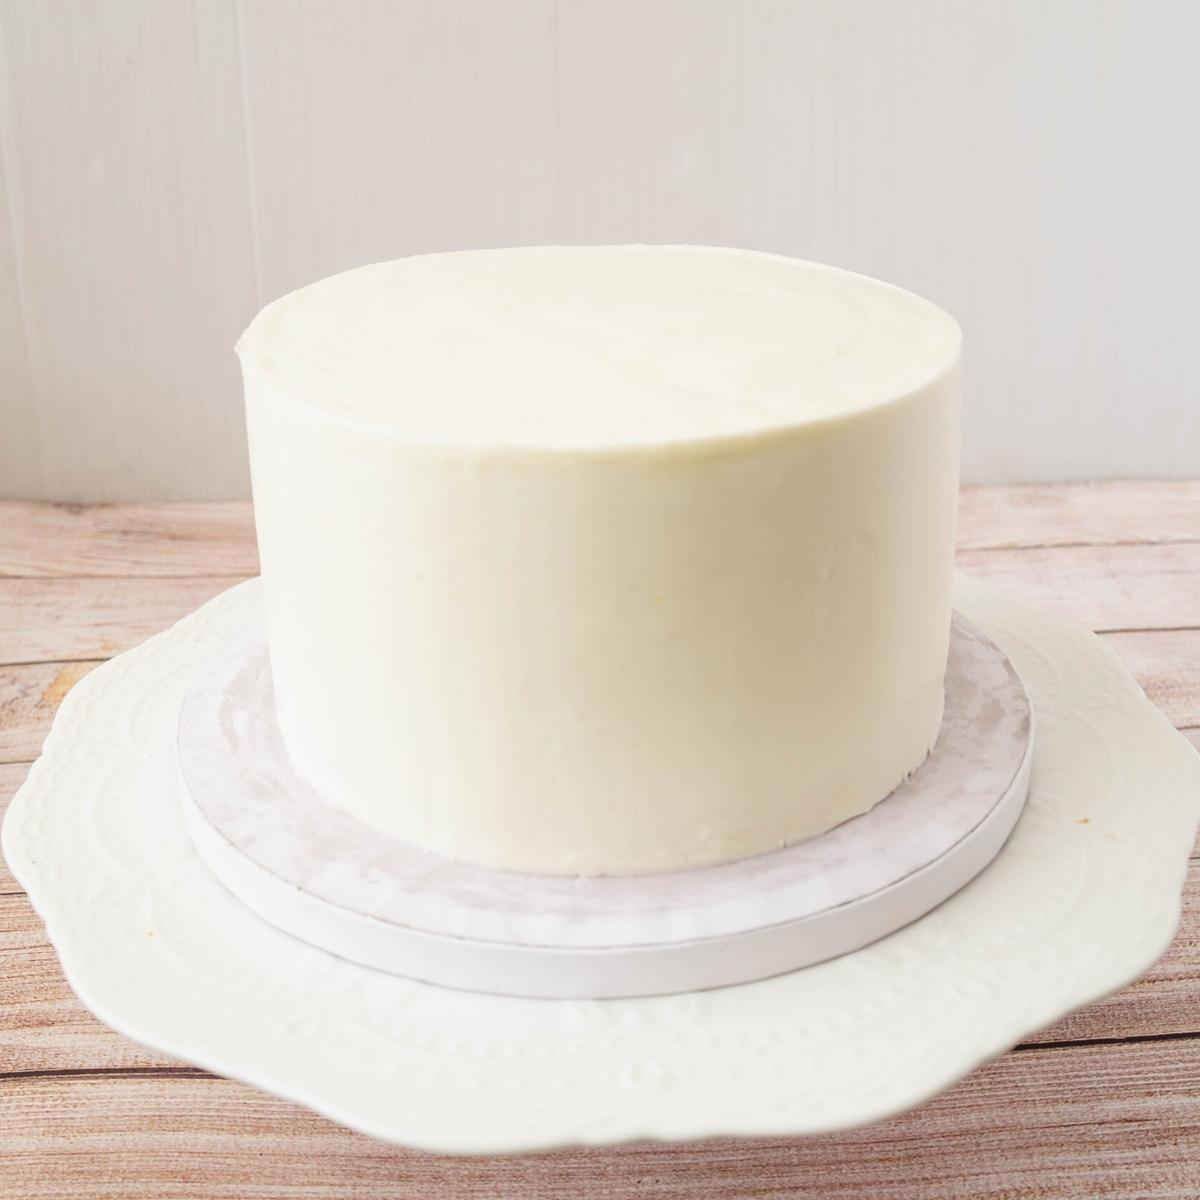
- Once the crumb coat is chilled, add a big dollop of frosting on the top of the cake. Smooth around. Let it chill in the fridge for at least an hour or so for it to firm up.
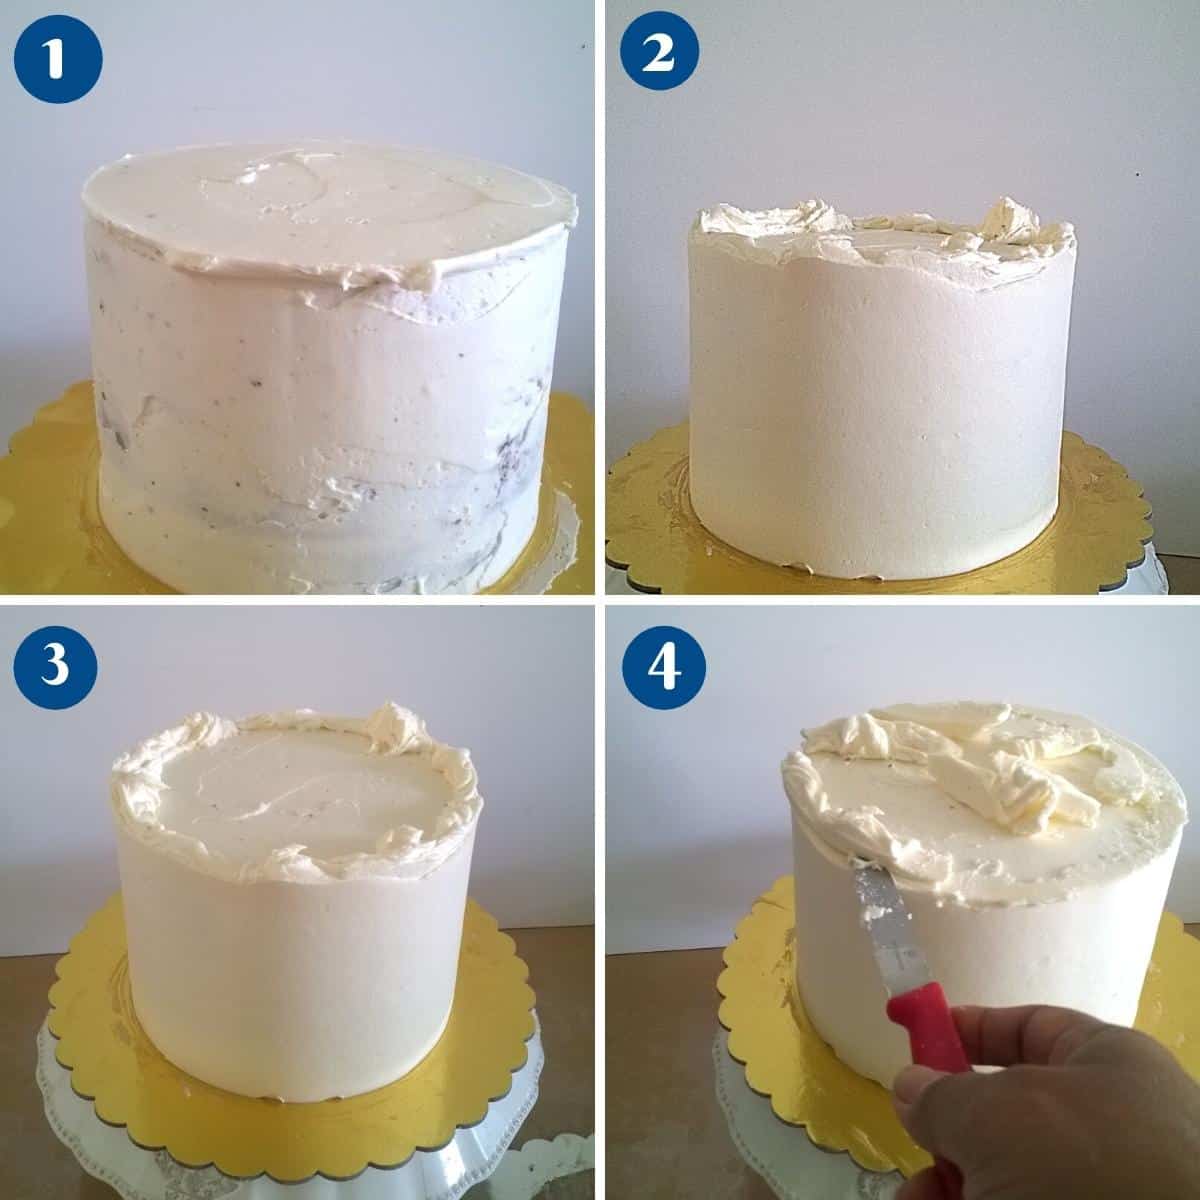
Pro tip – A straight-edge spatula for the top, an offset spatula, and a bench scraper for the sides work better. - Next, frost the sides of your cake, leaving a large lip of frosting on the top, just as I have shown in the progress pictures. Smooth the sides as best possible. Chill the cake for an hour or more.
Pro tip – You want the frosting to set really well so you can actually use a knife to cut it. - Next, use a sharp knife with hot water. Cut the extra lip of frosting you created on the top, flush with the top of the cake. This should give you a sharp edge.
Pro tip – The hot water gives a smoother, sharper, neater cut. Also, it makes it easier to cut. - Final touches – If necessary, add a thin layer of frosting to take care of any air pockets or uneven spaces.
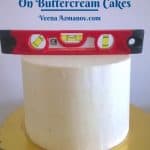
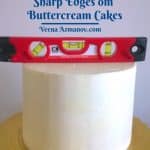
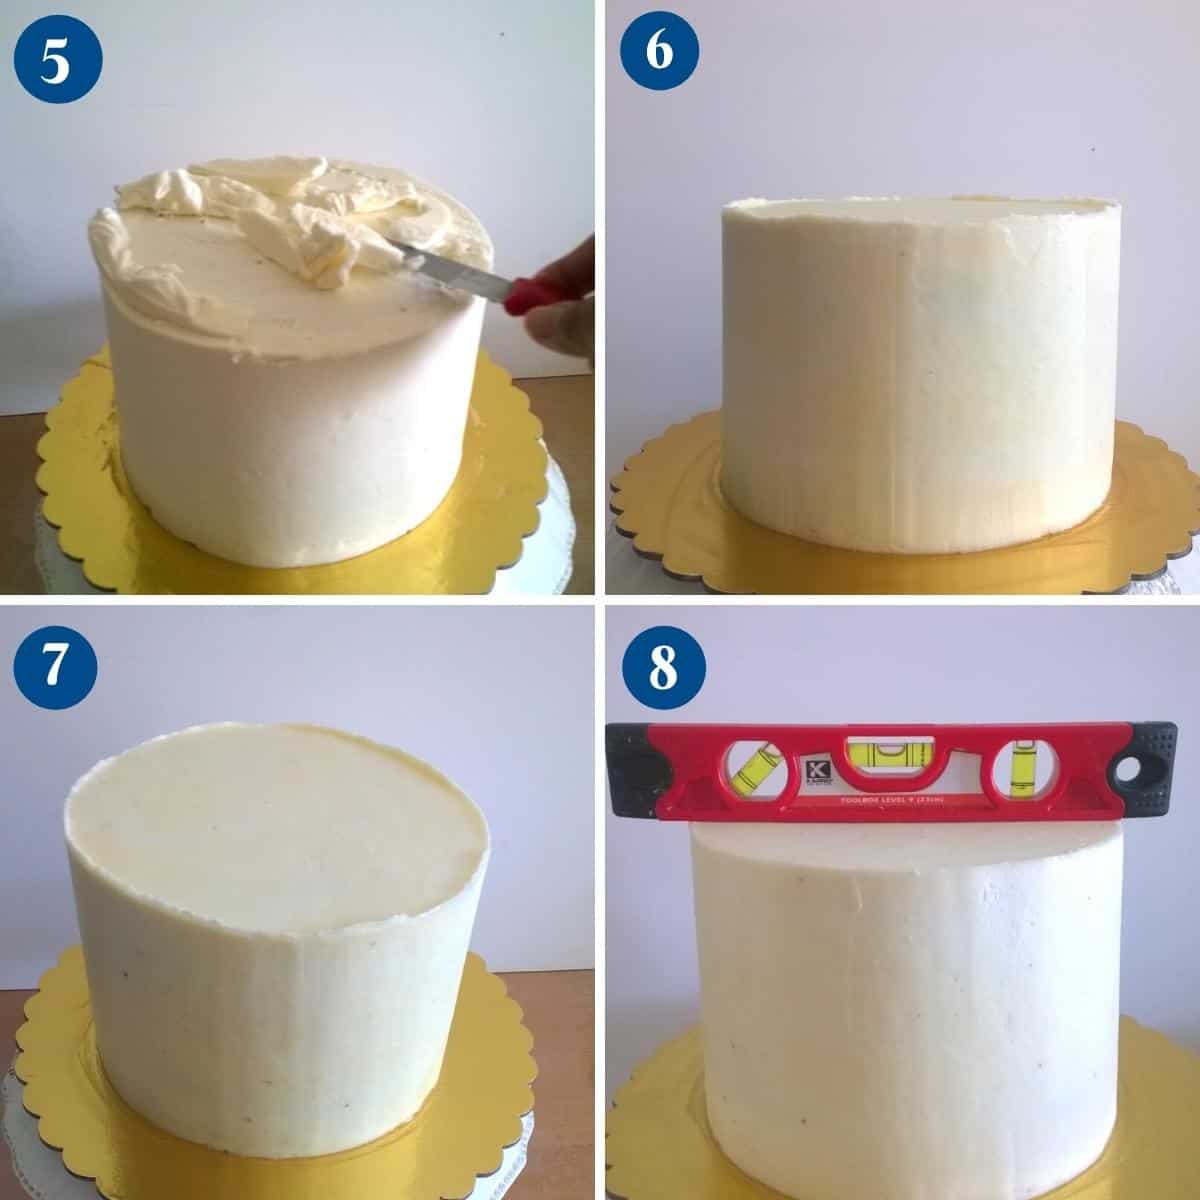
Pro tip – Do not add too much frosting; otherwise, you will have to create the sharp edges again. - Once the frosting is set, ensure you have a level cake. Use a bench scraper dipped in hot water to smooth the sides of the cake.

more cake decorating tips
- Cake Pricing – How to Price your cakes
- How to Transport Cupcakes (DIY Cupcake Carrier)
- Cake Serving Chart Guide – Popular Tier Combinations
- Working with Fondant – Tips, Tricks, Troubleshooting
- Stack A Cake: Structurally Sound and Stunning


Frequently asked questions
Exactly the same way, but working with two sides at a time. I have explained it in my post: How to get sharp edges on buttercream square cakes.
Ideally, you want to mix the buttercream just enough when preparing it. Having said that, I do like a light and fluffy buttercream. One way to get the excess air out of the buttercream is to downbeat the frosting with a flat spatula. You squash the buttercream in the bowl using a flat spreading motion. This usually is very helpful.
It’s best to frost a chilled, not frozen, cake. The small particles of ice that form around the cake when frozen will melt into the buttercream, causing the buttercream to crack. And, in some cases, if you cover the cake with fondant, you will see small water specs that look like rice grains.
Level and torte your cakes so there is not much gap between the two layers. In fact, I have explained more about this in my post – How to avoid bulges around cakes.
It all depends on how much cake you are working on. And what type of cake and frosting are you using? Also, what filling is in your cake?
Hence, I have given you a general guideline in this post, which I highly recommend: Timeline for decorating a cake.
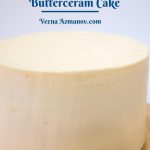
Sharp Edges on Buttercream Cakes
Sharp edges on cakes are the recent trend. And yet, getting sharp edges on buttercream cakes can be a bit more challenging than with ganache. But, these two simple and easy methods will surprise you and give you the confidence you need.
Video
Ingredients
- 2 7-inch Cake Layers
- 800 grams Buttercream
- ½ cup Simple syrup
Method
- Bake your favorite cake. When it's done, let it cool in the pan for 10 minutes. Then, invert it onto a cooling rack and let it cool completely before decorating.
- Prepare simple syrup – cool completely before using.
- Once cooled, cut the domes off the cake layers using a serrated knife. Brush each layer with the cooled simple syrup.
- Place a cake layer on the cake board or cake stand.
- Fill the cake – Pipe a buttercream dam on the cake layer (see video). Top with a big dollop of the coconut cream filling. Then, spread evenly with an offset spatula or spoon within the piped buttercream dam/edge.
- Next, top the second cake layer, followed by the buttercream dam and filling. Then, place the last cake layer on top.
- Place the cake in the fridge to chill for 10 to 15 minutes.
- Crumb coat – Spread more buttercream around and on top of the cake. (see video). Chill the cake for another 15 to 30 minutes.
- Once the crumb coat is chilled, add a big dollop of frosting on the top of the cake. Smooth around. Let it chill in the fridge for at least an hour to firm up.
- Next, frost the sides of your cake, leaving a large lip of frosting on the top, as I have shown in the progress pictures. Smooth the sides as best you can. Then, chill the cake for an hour or more.
- Next, use a sharp knife and hot water to cut the extra lip of frosting you created on the top flush with the top of the cake. This should give you a sharp edge.
- Final touches – If necessary, add a thin layer of frosting to fill in any air pockets or uneven spaces.
- Once the frosting is set, ensure you have a level cake. Use a bench scraper dipped in hot water to smooth the sides of the cake.
Equipment you will need


Nutrition
Tried this recipe?
Mention @veenaazmanov_kitchen or tag #veenaazmanovkitchen!- Perfect Sphere Cake
- Gum Paste Poinsettia Tutorial
- Working with Fondant – Tips, Tricks, Troubleshooting
- Gum Paste Easter Bunnies
- How to Transport Cupcakes (DIY Cupcake Carrier)


Don’t lose this recipe! Save it for Later!
📌 Save this Recipe for later on Pinterest so you can easily find it again.
⭐ Add Veena Azmanov Kitchen to your Google Preferred Sources.
It helps Google show you more of our recipes.
📧 Subscribe for new recipes delivered to your inbox.
🎥 Follow us for more recipes


day 7 done
Day 7 Done
Day 7 Done
Thank you!