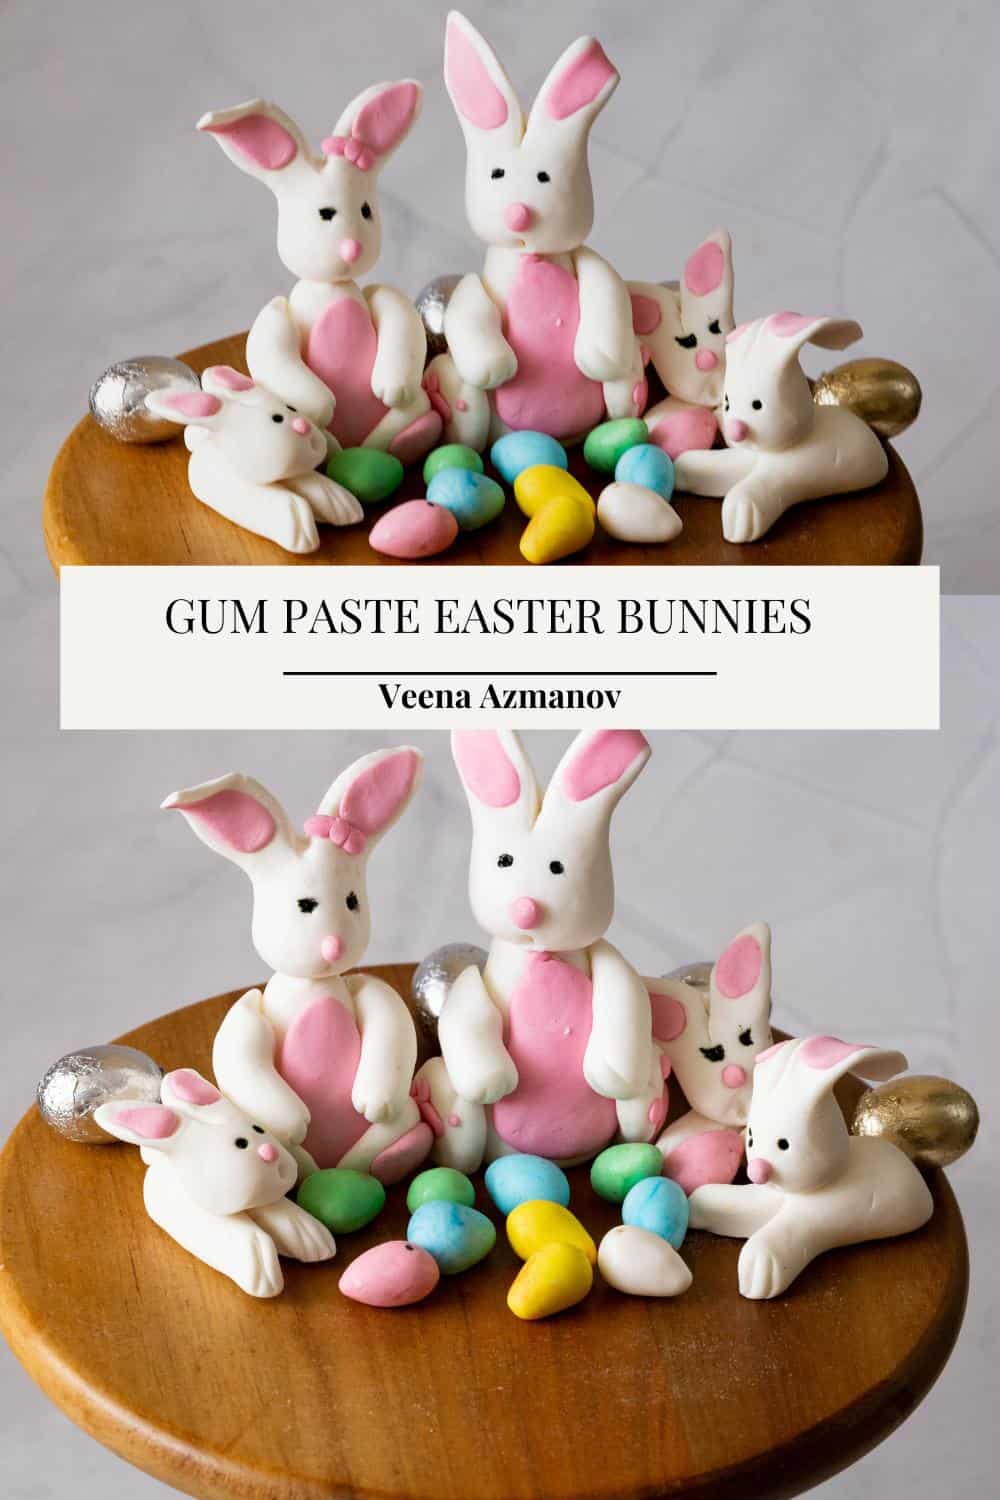
Gum Paste Easter Bunnies

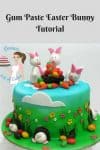


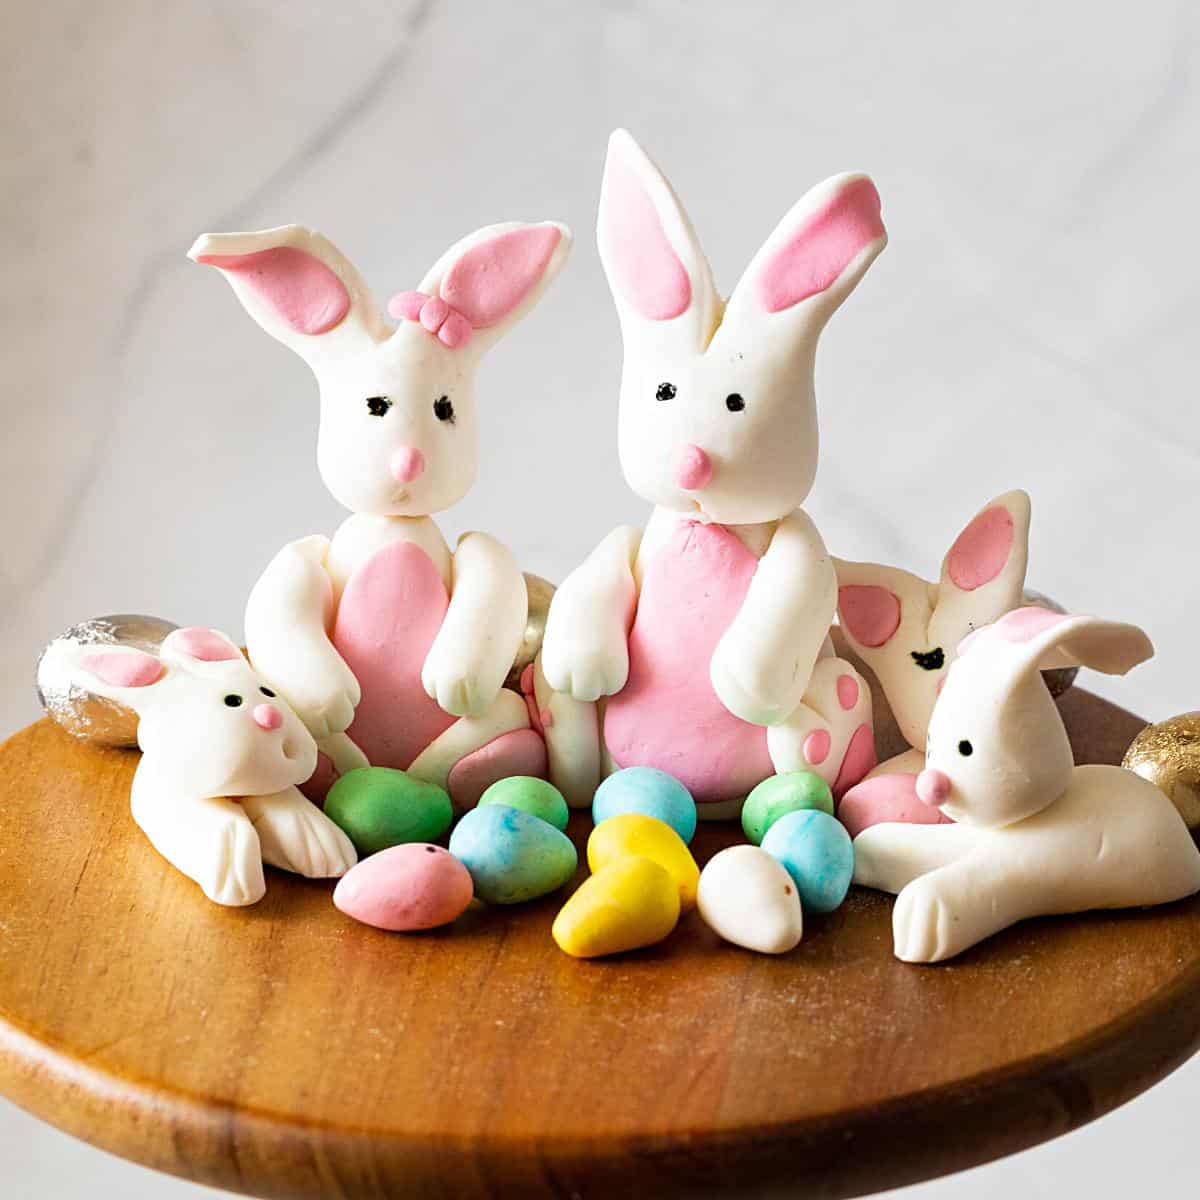
There has to be some gum-paste Easter bunnies on my Easter cake. You can make them sit or lie down in any form, and they look just adorable. In this video and picture tutorial, I will show you how to make the two I know – simple, easy, and quick.
I was going to make some bunnies on my Easter cake, so I thought, why not make a little tutorial and show you how easy it is to make these bunnies? You must forgive me that my camera is not a big fancy one, so the picture tutorial’s quality is not so good.
In addition, I also made a video tutorial, which I updated in this post. So you can find both the pictorial and the video here.
I have used this technique to make my gum-paste Easter bunnies on many cakes.
How to make gum paste Easter bunnies pictorial
Proportions – Divide the fondant or gumpaste for the parts. Large white for the body, medium for the head, small pink for the ears, tiny pink for the nose, and tiny white for the tail. Black edible pen for the eyes and a knife to cut and shape

Gum paste bunny one
- Body – Take a golf-sized ball of white fondant and shape it into a teardrop.
- Then, take another small ball of pink fondant and shape it into a flat teardrop.
- Stick it to the front of the white teardrop and set it upright.
- Head – Take another small ball of white fondant and roll it into a teardrop.
- Then, flatten the long end of the teardrop and make a cut in between to make two long teardrops for the ears.
- Next, add two small teardrops of pink, place them on the ears, and flatten them further.
- Use the back of your knife to mark a line in the center. Next, shape the ears and twist them slightly to give them character.
- Face – Mark the eyes with your black food pen, and use the tiny pink ball to shape the nose into a triangle. Then, use a toothpick to mark the whiskers.
- Feet – Take two small marble-sized balls of white fondant and shape them into two teardrops. Flatten them and use the back of the knife to make the paws. Then, use pink fondant dots for the flat of the feet and paws.
- Tail – Roll a tiny white ball into a teardrop, flatten it, and stick it on.
- Combine – Place a toothpick in the body you made earlier. Next, place the head on the body.
Gum paste bunny 2
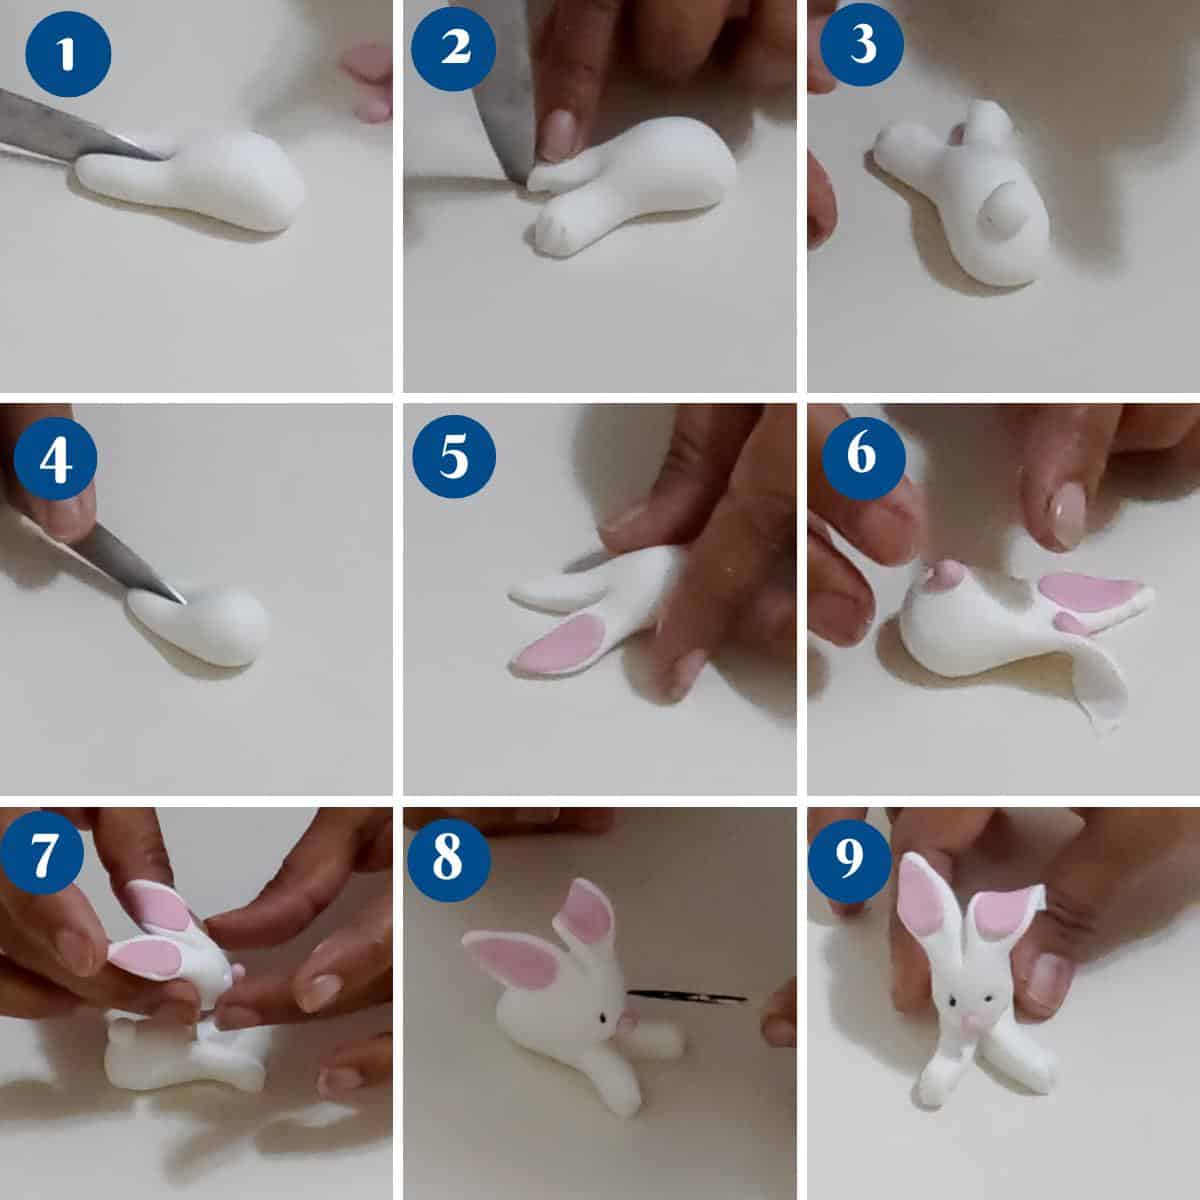
- Body – Roll the body into a teardrop, then shape it into a sitting position. Divide the long end of the teardrop into two and shape them into two paws.
- Tail – Roll a tiny white ball into a teardrop, flatten it, and stick it on the backend of the body.
- Head – Take another small ball of white fondant and roll it into a teardrop.
- Then, flatten the long end of the teardrop and make a cut in between to make two long teardrops for the ears.
- Next, add two small teardrops of pink, place them on the ears, and flatten them further.
- Use the back of your knife to mark a line in the center. Next, shape the ears and twist them slightly to give them character.
- Face – Mark the eyes with your black food pen, and use the tiny pink ball to shape the nose into a triangle. Then, use a toothpick to mark the whiskers.
- Place a toothpick in the body. Then, make the head exactly the same way I showed you for the above bunny.
- Combine – Place a toothpick in the body you made earlier. Lastly, place the head on the body.
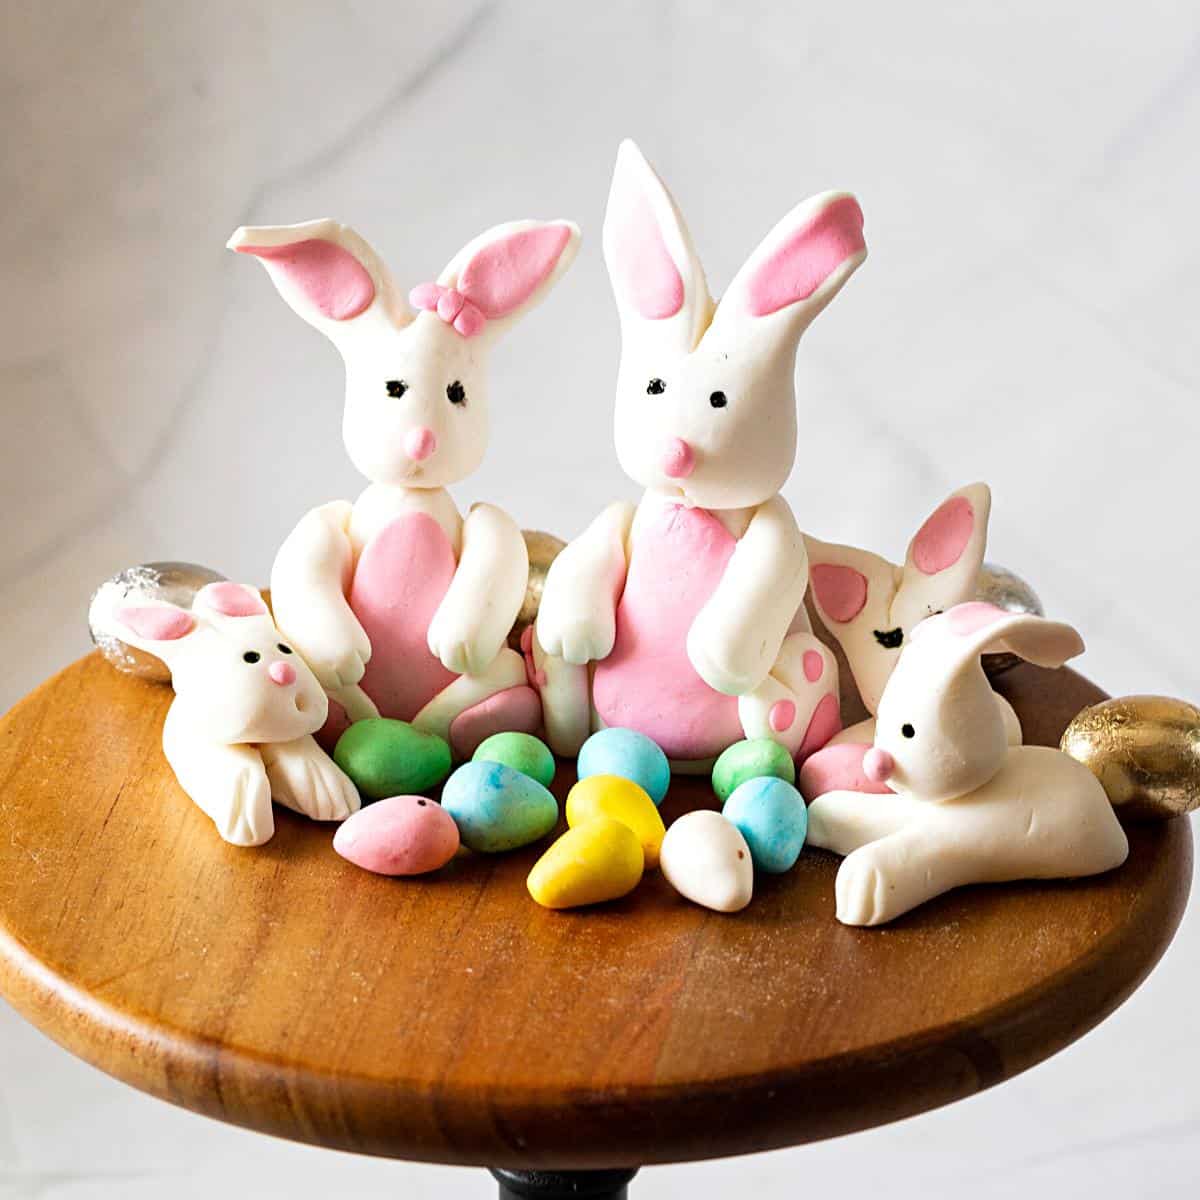
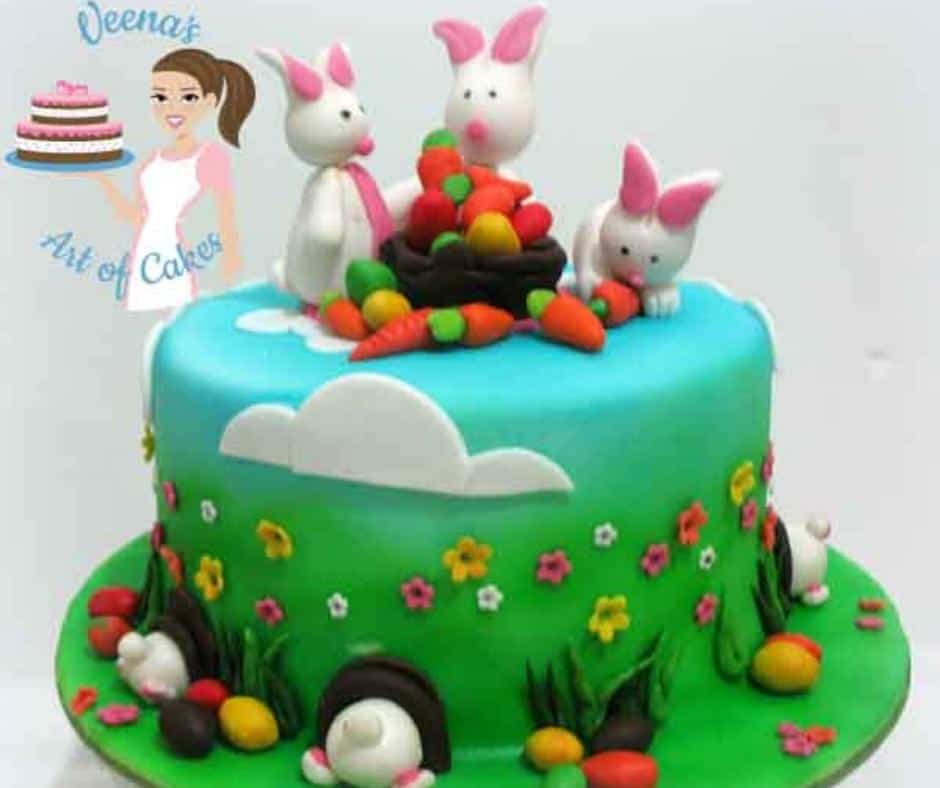
Here’s one – a basket with Easter eggs and bunnies.

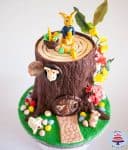
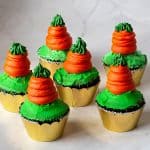
You must remember this Easter cake with Peter Rabbit – I have a soft corner for this one—my kids’ favorite.

Here’s my kid’s favorite Easter cake:
Don’t lose this recipe! Save it for Later!
📌 Save this Recipe for later on Pinterest so you can easily find it again.
⭐ Add Veena Azmanov Kitchen to your Google Preferred Sources.
It helps Google show you more of our recipes.
📧 Subscribe for new recipes delivered to your inbox.
🎥 Follow us for more recipes
Easter Bunny Cake Toppers
There has to be some gum-paste Easter bunnies on my Easter cake. You can make them sit or lie down in any form, and they look just adorable. In this video and picture tutorial, I will show you how to make the two I know – simple, easy, and quick.
Video
Ingredients
- 250 grams (9 oz) Fondant or gum paste
- ½ tsp CMC or tylose
- 1 drop Pink gel food coloring or 100 grams of pre-colored pink fondant
Method
- Proportions – Divide the fondant or gumpaste for the parts. Large white for the body, medium for the head, small pink for the ears, tiny pink for the nose, and tiny white for the tail. Black edible pen for the eyes and a knife to cut and shape.250 grams Fondant , ½ tsp CMC, 1 drop Pink gel food coloring
- Body – Take a golf-size ball of white fondant and shape it into a teardrop. – Take another small ball of pink fondant and shape it into a flat teardrop. – Stick it to the front of the white teardrop and set it upright.
- Head – Take another small ball of white fondant and roll it into a teardrop. – Then, flatten the long end of the teardrop and make a cut in between to make two long teardrops for the ears. – Add two small teardrops of pink, place them on the ears, and flatten them further. – Use the back of your knife to mark a line in the center. Shape the ears and twist them slightly to give them character.
- Face – Mark the eyes with your black food pen, and use the tiny pink ball to shape the nose into a triangle. Use a toothpick to mark the whiskers.
- Feet – Take two small marble-size balls of white fondant and shape them into two teardrops. Flatten them and use the back of a knife to make the paws. Use pink fondant dots for the flat of the feet and paws.
- Tail – Roll a tiny white ball into a teardrop, flatten it, and stick it on.
- Combine – Place a toothpick in the body you made earlier. Place the head on the body.
- Body – Roll the body into a teardrop, then shape it into a sitting position. Divide the long end of the teardrop into two and shape them into two paws.
- Tail – Roll a tiny white ball into a teardrop, flatten it, and stick it on the backend of the body.
- Head – Take another small ball of white fondant and roll it into a teardrop. – Then, flatten the long end of the teardrop and make a cut in between to make two long teardrops for the ears. – Add two small teardrops of pink, place them on the ears, and flatten them further. – Use the back of your knife to mark a line in the center. Shape the ears and twist them slightly to give them character.
- Face – Mark the eyes with your black food pen, and use the tiny pink ball to shape the nose into a triangle. Use a toothpick to mark the whiskers.
- Place a toothpick in the body. Make the head exactly the same way I showed you for the above bunny.
- Combine – Place a toothpick in the body you made earlier. Place the head on the body.

So Cute..These bunnies are definitely so adorable looking sweeties.Who would want to munch on them:)How do you make ur marzipan.Please make a tutorial n future abt it.Great Effort,ur a natural!