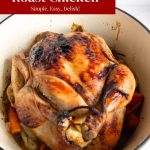
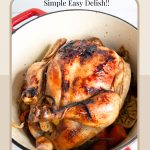
Dutch Oven Roast Chicken Recipe
 Prep Time 20 minutes Cook Time 1 hour 30 minutes Total Time 1 hour 50 minutes
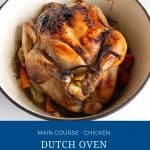

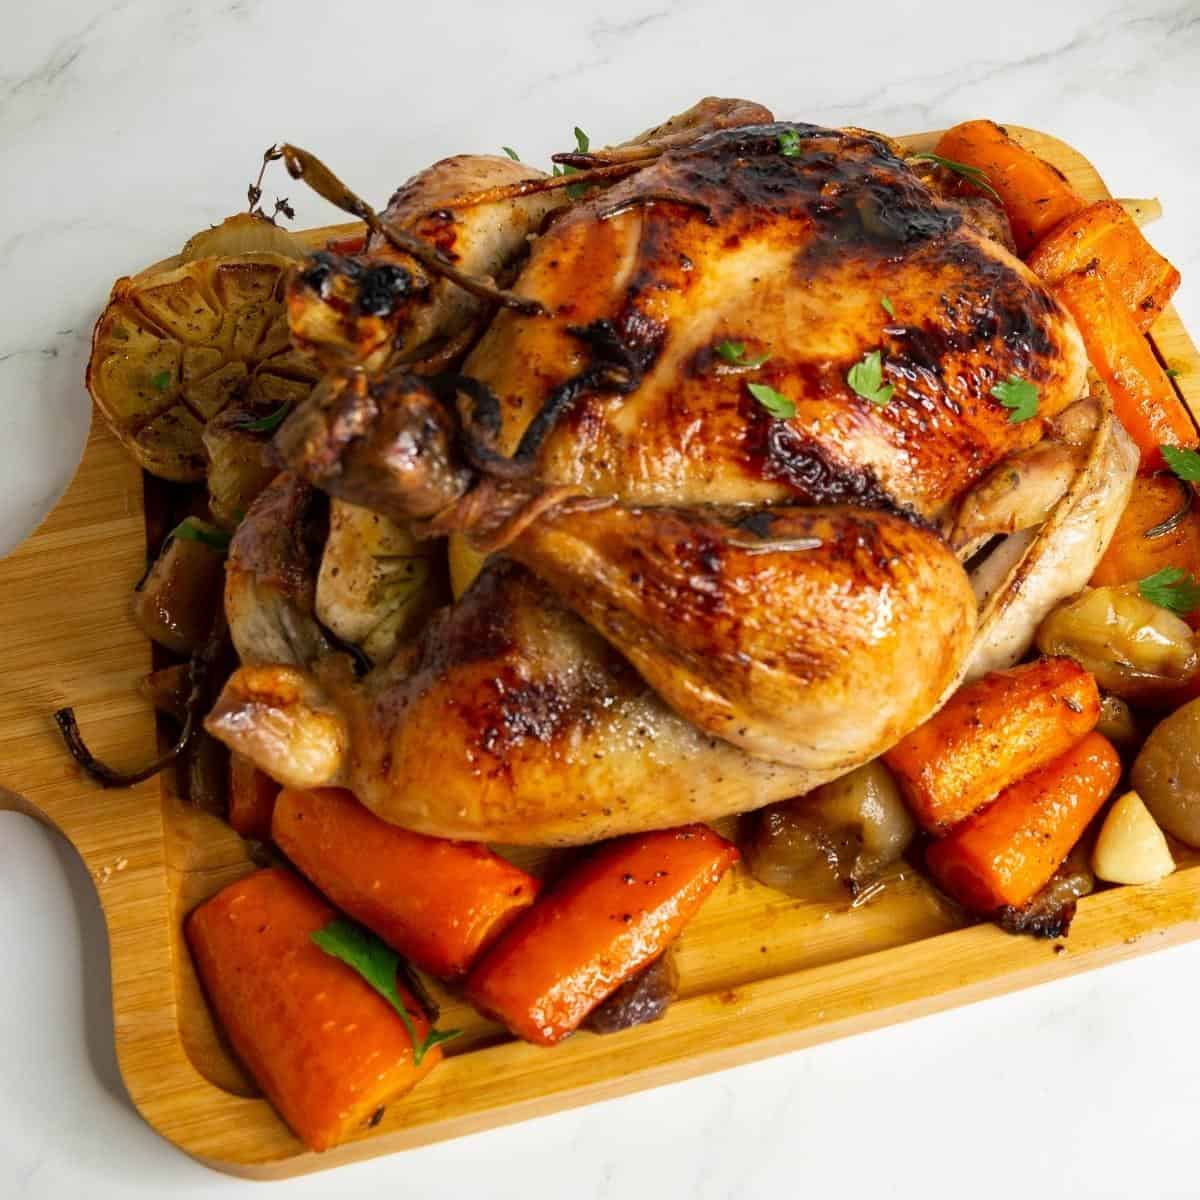
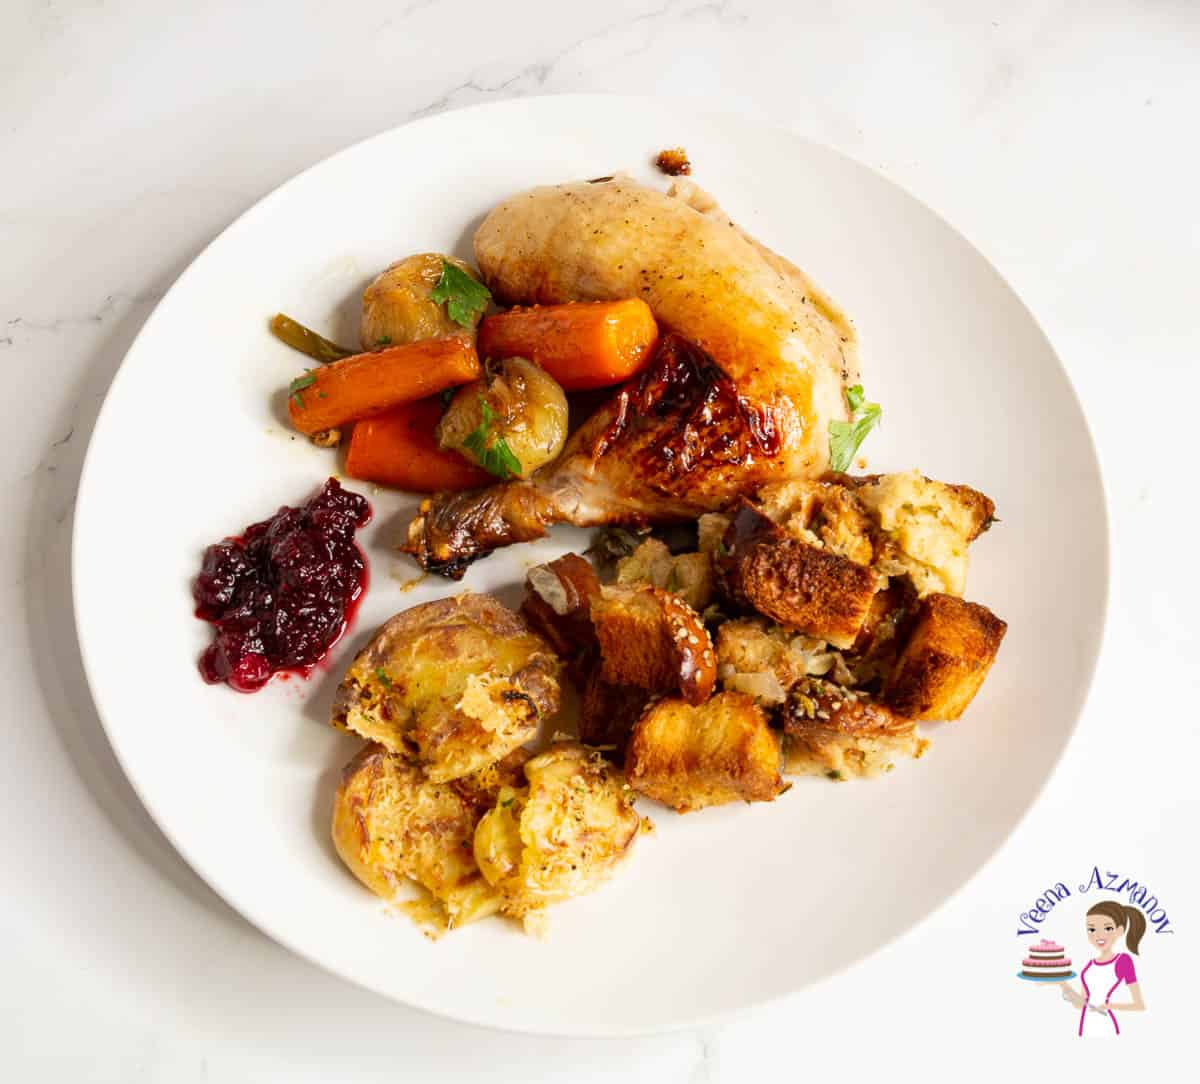
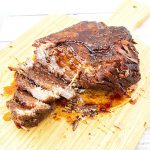
A Dutch oven roast chicken with veggies is the perfect weekend meal with leftovers for the week. This simple and easy recipe with basic seasoning and fresh herbs. The best part is it gets ready in just 90 minutes. Leftover chicken makes wonderful sandwiches and wraps.
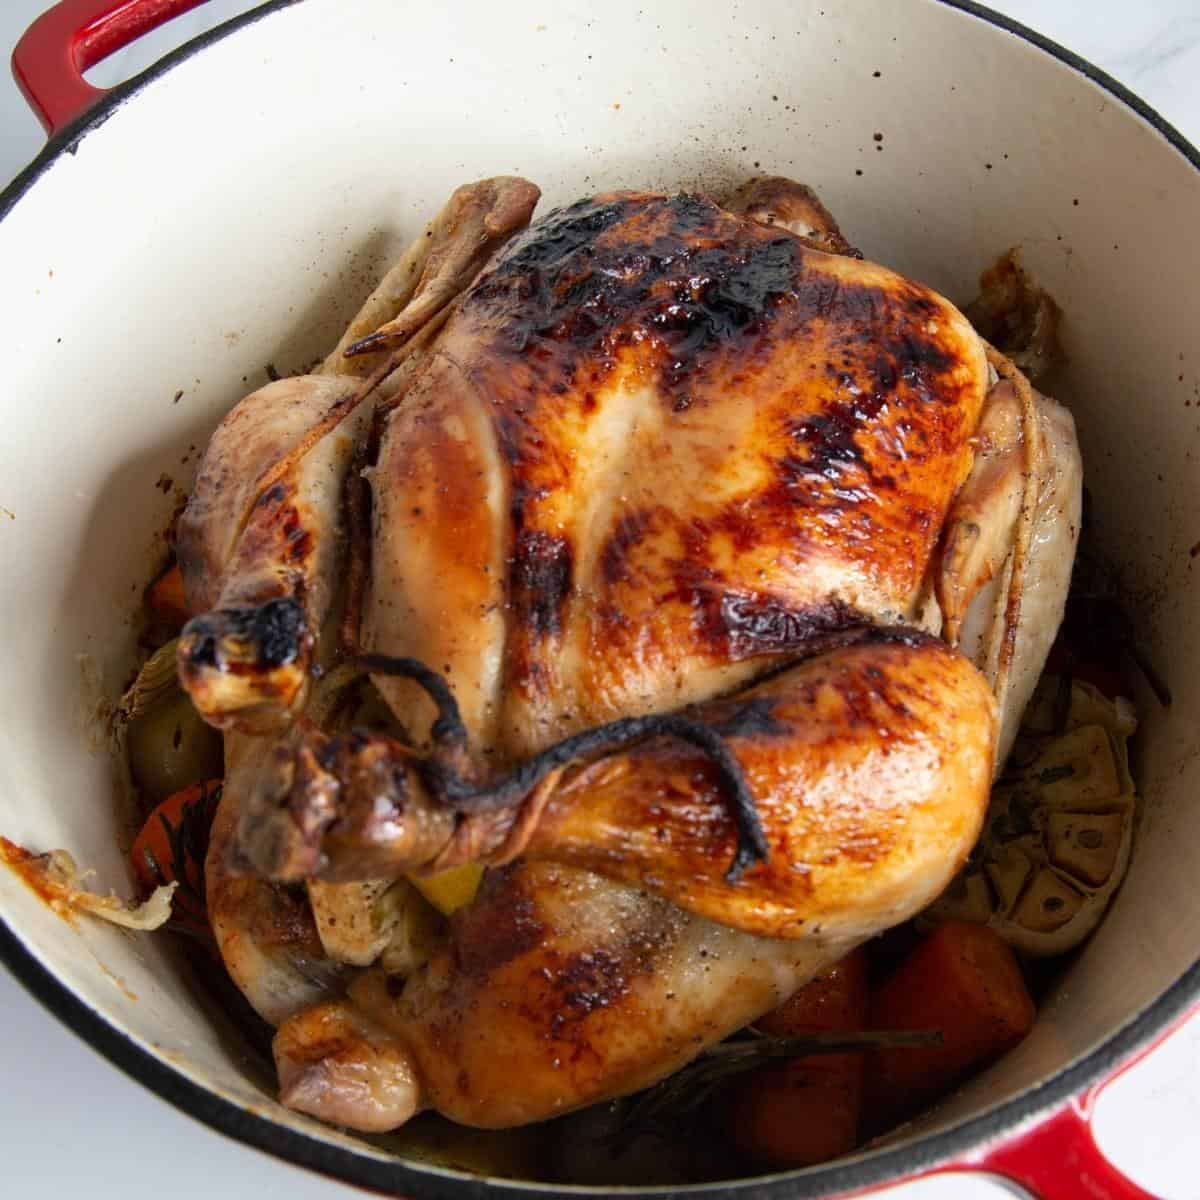
One of my favorite ways to roast a whole chicken is in a Dutch oven. The heavy pot creates the perfect cooking environment, trapping moisture while the chicken slowly roasts until it’s incredibly tender. Then, removing the lid for the final part of cooking gives you that beautifully golden, crispy skin that everyone reaches for first.
It’s one of those recipes I come back to again and again because it’s so reliable. With just a handful of pantry ingredients, a few vegetables, and one pot, you have a complete meal that feels special enough for Sunday dinner but is simple enough for a weeknight. The bonus is that all those flavorful pan juices are perfect for spooning over the chicken and vegetables before serving.
Why You’ll Love This Dutch Oven Roast Chicken
- Juicy every time. The Dutch oven traps moisture, keeping the chicken tender while it roasts.
- Crispy golden skin. Finishing the chicken uncovered creates beautifully browned, crispy skin.
- One-pot meal. The vegetables cook alongside the chicken, soaking up all the flavorful pan juices.
- Simple ingredients. Made with everyday pantry staples, fresh herbs, and vegetables.
- Perfect for family dinners. Easy enough for a weeknight and impressive enough for Sunday lunch or holiday meals.
Ingredients and Substitutes
- Whole chicken – A 4 to 5-pound chicken roasts evenly and stays juicy. You can also use bone-in, skin-on chicken pieces, adjusting the cooking time as needed.
- Butter – Helps the skin brown and adds rich flavor. Olive oil or ghee work well too.
- Fresh thyme – Adds classic herb flavor. Rosemary, sage, or oregano are great alternatives.
- Onion – Adds sweetness and flavor to the pan juices. Shallots or leeks are good substitutes.
- Garlic – Roasts until sweet and mellow, adding plenty of flavor.
- Lemon – Brightens the chicken and complements the herbs. Orange can be used for a milder citrus flavor.
- Carrots – Roast alongside the chicken and soak up the flavorful pan juices. Parsnips or sweet potatoes are good alternatives.
- Shallots – Become sweet and caramelized during roasting. Substitute with onion if needed.
- Celery – Adds flavor to the roasting pan and pan juices. Fennel is a good alternative.

Step-by-step: Dutch oven roast chicken
- Preheat the Oven: Preheat your oven to 375°F (190°C) Gas mark 5
- Prepare the Chicken: Rinse the chicken under cold water and pat it dry with paper towels. Make sure the chicken is completely dry for the best results. Next, season the chicken generously with salt, black pepper, and thyme inside and out. Then, brush the entire chicken with melted butter, ensuring it is well-coated.
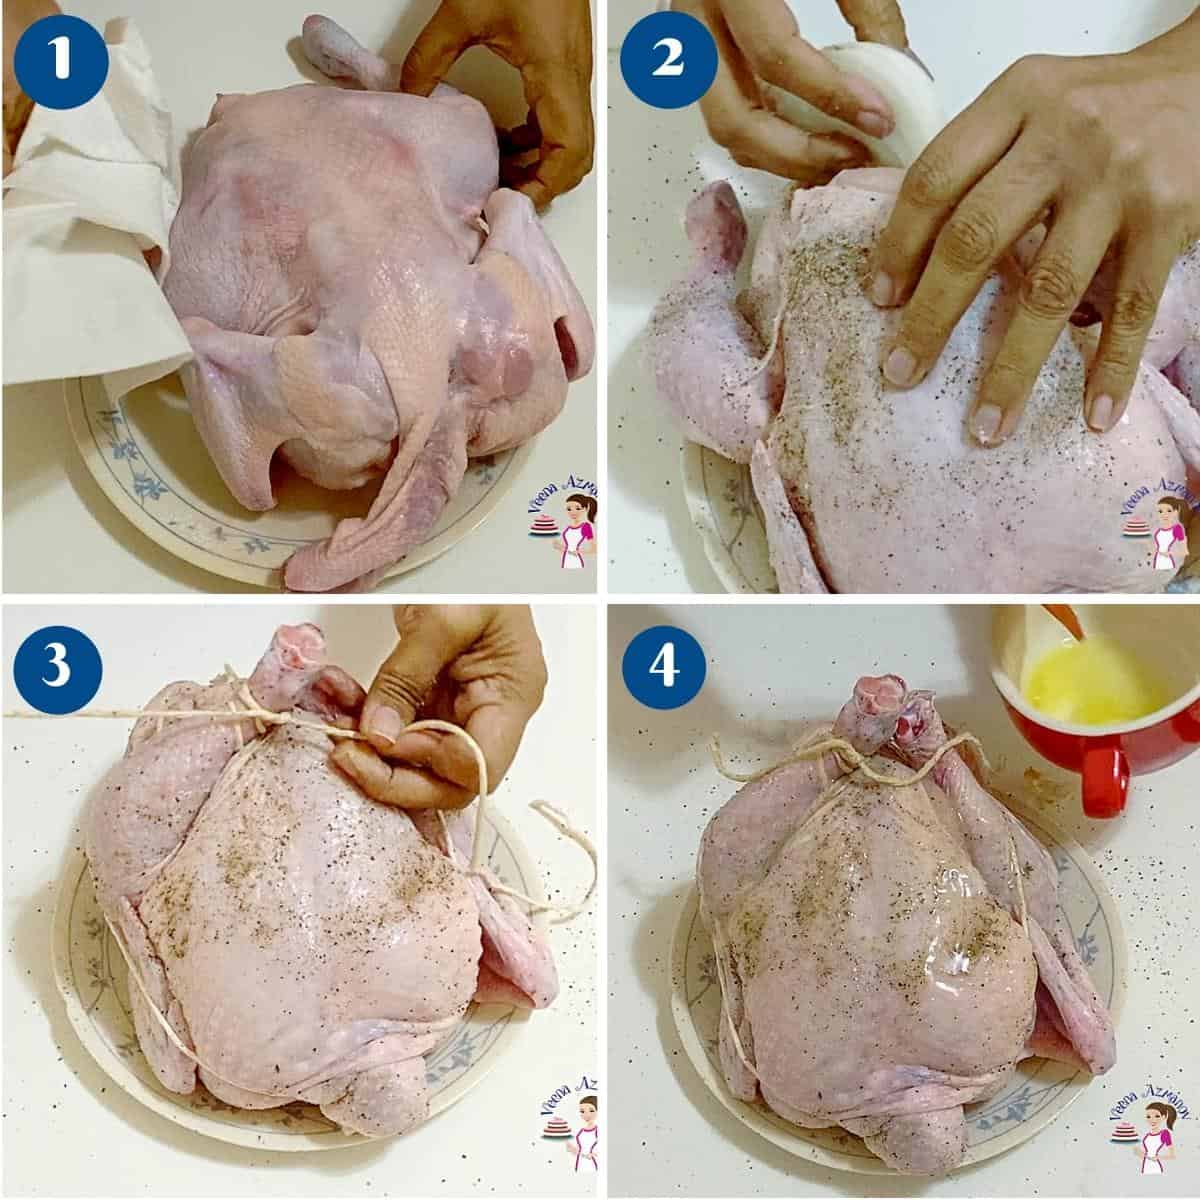
- Stuff the Cavity: Stuff the cavity of the chicken with the quartered onion, halved garlic bulb, and lemon halves. This aromatic stuffing will infuse the chicken with flavor as it cooks.
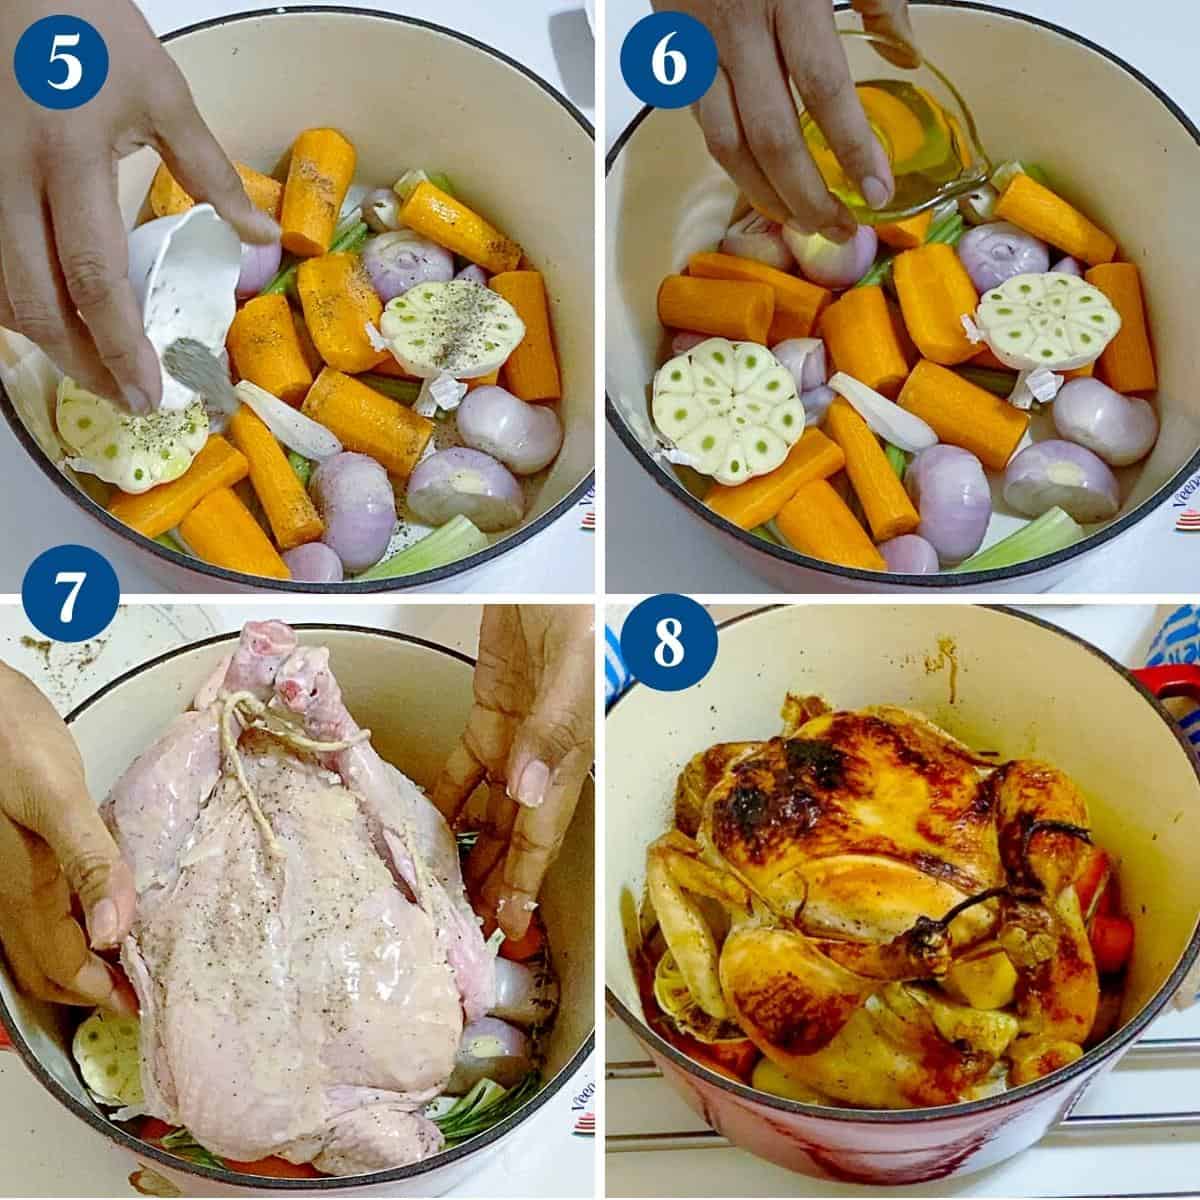
- Prepare the Vegetables: In a Dutch oven, arrange the carrots, shallots, and celery stalks at the bottom. This will serve as a bed for the chicken and add flavor to the drippings.
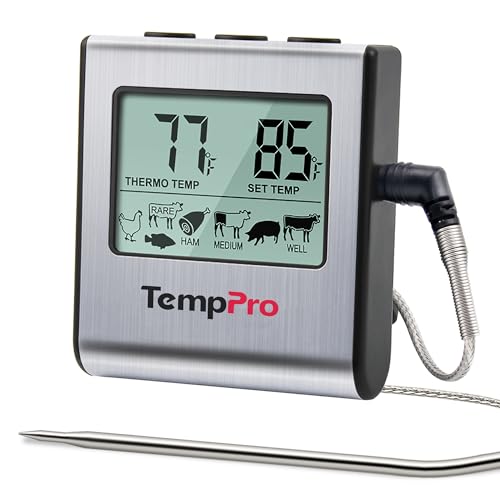
- Roast the Chicken: Place the prepared chicken on top of the vegetables in the Dutch oven. Cover the Dutch oven with its lid and place it in the preheated oven. Roast for about 1.5 to 2 hours, or until the internal temperature of the chicken reaches 165°F (74°C) in the thickest part of the thigh.
- Baste the Chicken: About halfway through the cooking time, remove the lid and brush the chicken with more melted butter. This step helps keep the chicken moist and enhances the flavor.
- Finish Roasting: Remove the lid for the last 30 minutes of cooking to make the skin golden brown and crispy. Continue basting if desired.

- Rest the Chicken: Once cooked, remove it from the oven and let it rest in the Dutch oven for 10-15 minutes before carving. This redistributes the juices, ensuring the meat remains tender and juicy.
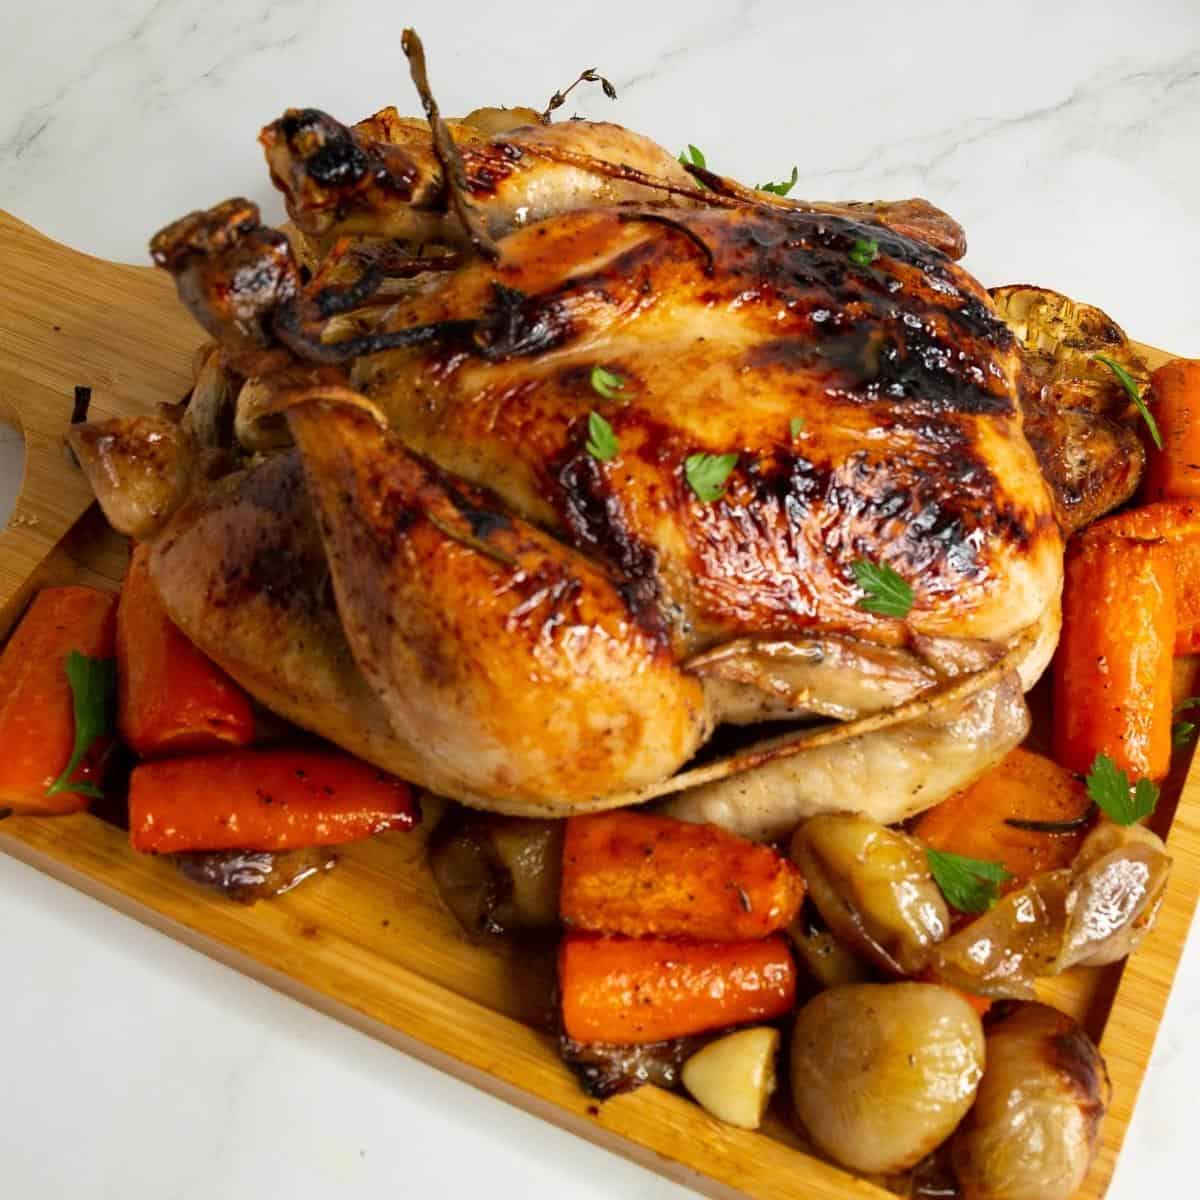
- Serve: Carve the chicken and serve it with the roasted vegetables from the Dutch oven. Drizzle with the pan juices for extra flavor.
Dutch Oven Roast Chicken
A Dutch oven roast chicken with veggies is the perfect weekend meal with leftovers for the week. This simple and easy recipe with basic seasoning and fresh herbs. The best part is it gets ready in just 90 minutes. Leftover chicken makes wonderful sandwiches and wraps.
Video
Ingredients
- 4 – 5 lbs (2 kg) Chicken
- 4 tbsp (60 g) Butter melted
- 1 tsp Salt
- 1 tsp Pepper
- 2 tbsp Olive oil
- 1 med Onion halved or quarted
- 2 med Garlic bulbs halved
- 1 med Lemon halved or quatered
- 10 Shallots (or 1 large chopped onions)
- 5 Carrots cut into 2-inch cubes
- 4 Celery stalks cut into 2-inch cubes
- 2 sprigs Rosemary
- 2 sprigs Thyme
Method
- Preheat the Oven: Preheat your oven to 375°F (190°C) Gas mark 5
- Prepare the Chicken: Rinse the chicken under cold water and pat it dry with paper towels. For the best results, make sure the chicken is completely dry. Season the chicken generously with salt, black pepper, and thyme inside and out. Brush the entire chicken with melted butter, ensuring it is well-coated.4 – 5 lbs Chicken, 4 tbsp Butter, 1 tsp Salt, 1 tsp Pepper
- Stuff the Cavity:Stuff the cavity of the chicken with the quartered onion, halved garlic bulb, and lemon halves. This aromatic stuffing will infuse the chicken with flavor as it cooks.1 med Onion, 2 med Garlic bulbs , 1 med Lemon
- Prepare the Vegetables: In a Dutch oven, arrange the carrots, shallots, celery stalks, and herbs at the bottom. This will serve as a bed for the chicken and add flavor to the drippings.10 Shallots, 5 Carrots, 4 Celery stalks, 2 sprigs Rosemary, 2 sprigs Thyme
- Roast the Chicken: Place the prepared chicken on top of the vegetables in the Dutch oven. Cover the Dutch oven with its lid and place it in the preheated oven. Roast for about 1.5 to 2 hours, or until the internal temperature of the chicken reaches 165°F (74°C) in the thickest part of the thigh.
- Baste the Chicken: About halfway through the cooking time, remove the lid and brush the chicken with more melted butter or olive oil. This step helps keep the chicken moist and enhances the flavor.2 tbsp Olive oil
- Finish Roasting: Remove the lid for the last 30 minutes of cooking to make the skin golden brown and crispy. Continue basting if desired.
- Rest the Chicken: Once cooked, remove the chicken from the oven and let it rest in the Dutch oven for 10-15 minutes before carving. This redistributes the juices, ensuring the meat remains tender and juicy.
- Serve: Carve the chicken and serve it with the roasted vegetables from the Dutch oven. Drizzle with the pan juices for extra flavor.
Notes
- Brush the chicken with the pan juices or melted butter once during roasting for extra color and flavor.
- If the vegetables become too soft, remove them before the chicken finishes roasting and keep them warm.
- Save the pan juices for serving or use them to make a simple gravy.
- Cooking time will vary depending on the size of your chicken, so always cook to an internal temperature of 165°F (74°C).
- Leftover chicken is perfect for sandwiches, soups, salads, and casseroles.
Equipment you will need

Nutrition
Tried this recipe?
Mention @veenaazmanov_kitchen or tag #veenaazmanovkitchen!Tips for the Best Dutch Oven Roast Chicken
- Pat the chicken dry. Dry skin helps it roast up golden and crispy.
- Season generously. Don’t forget to season the cavity as well as the outside.
- Stuff the cavity loosely. The lemon, onion, garlic, and herbs add flavor while allowing air to circulate.
- Arrange the vegetables evenly. A single layer helps them roast instead of steam.
- Cook with the lid on, then off. Covering keeps the chicken juicy, while uncovering at the end crisps the skin.
- Use a meat thermometer. Roast until the thickest part of the thigh reaches 165°F (74°C).
- Rest before carving. Let the chicken rest for 10–15 minutes to keep it juicy.
more roast chicken recipes


Frequently asked questions
This chicken will keep in the fridge for at least 3 to 4 days. You can also freeze for a month if stored properly.
No, I do not cover my chicken when roasting it because I like a nice, deep, dark brown, and crisp skin.
The most common method for checking doneness in roast chicken is to let the juices run clear, with no traces of blood. The foolproof method is to use a meat thermometer and insert it in the thickest part of the thigh. The temperature should reach 165°F or 75°C.
Basting the chicken a few times during cooking helps keep it moist (but don’t open the oven door too often, as the oven temperature reduces every time you open it).
Also, loosely tent the chicken after roasting. This will keep the moisture in the chicken. And do not cut the chicken for at least 15 minutes after you take it out of the oven – so the juices stay in, keeping the chicken moist.
As a guide, you roast for the first 15 minutes at 220°C / 425°F / Gas Mark 7, then reduce the temperature to 165°C / 325°F/Gas Mark 3. Allow 20 minutes per 1 lb (500 g) of chicken, until the juices run clear or the internal temperature reaches 165°F / 75°C. So, for example, this 4 lbs/ 2 kg chicken will take approximately 95 minutes.
Using a meat thermometer is a great way to take the guesswork out and omit any calculating time. All you do is stick the thermometer and check the internal temperature. It should be 165°F or 75°C in the thickest part of the thigh or 145°F in the breast.
Once roasted, always tent the chicken and let it rest for at least 15 minutes. Otherwise, all the juices will flow out, leaving the chicken dry.
First, cut the two quarters at the hip joint. When cooked, this requires no effort. Each quarter can then be cut into thighs and legs, giving you four generous pieces.
For the breast, find the centerline. Place a sharp knife on one side of that line and press down firmly. This will crack the ribs. Do the same on the other side. This will make removing the center bone easy.
Then, carve against the bone with a sharp paring knife. It is easy if you follow the rib cage, which gives you two perfect breast pieces.
While you will get six generous pieces, the rest of the chicken has lots of meat. In fact, some of the most flavorful bits are around the bones. So, do not throw the chicken and bones.
Use the bones to make stock and use the leftover chicken for sandwiches, wraps, and chicken pot pie kinda dishes.
Sides to serve with roast chicken
- Roasted Red Pepper Garlic Tapenade (3 ingredients)
- Goats Cheese Crostini or no-knead bread with roasted garlic
- Garlic Parmesan Asparagus or sesame green beans
- Easy Swiss Chard or spinach potato patties or Leek Potato Patties
- Roasted Lemon Dill Potatoes – or garlic roasted potatoes

Don’t lose this recipe! Save it for Later!
📌 Save this Recipe for later on Pinterest so you can easily find it again.
⭐ Add Veena Azmanov Kitchen to your Google Preferred Sources.
It helps Google show you more of our recipes.
📧 Subscribe for new recipes delivered to your inbox.
🎥 Follow us for more recipes


Roast chicken is our favorite and the addition of the thyme and rosemary really make this special!
That is one beautiful bird and I love how detailed your information is to make sure I do it right! We love roasting a whole bird but never think about all of those beautiful vegetables which would really make a complete meal. The leftovers would be amazing too!
I am getting so hungry while reading this post. The chicken looks incredible! I can’t wait to try it.
I just got a Dutch oven and can’t wait to try this!
Yum! This looks so delicious and tasty! I can’t wait to give this recipe a try! My family is going to love this recipe!