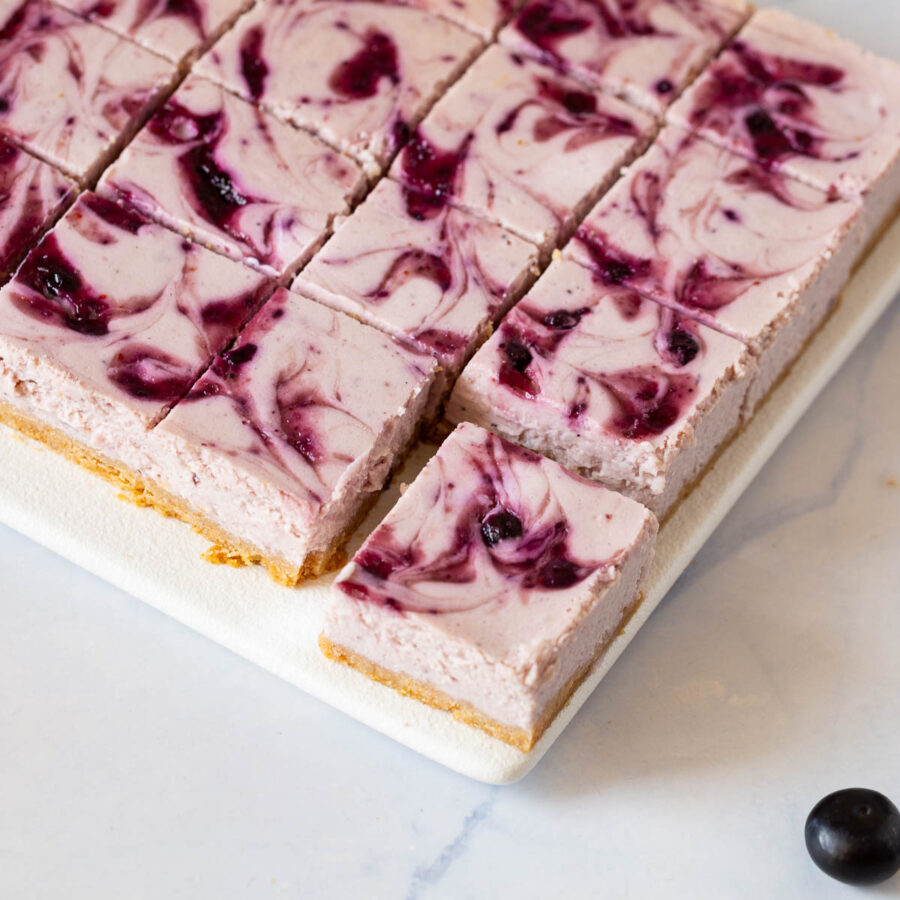
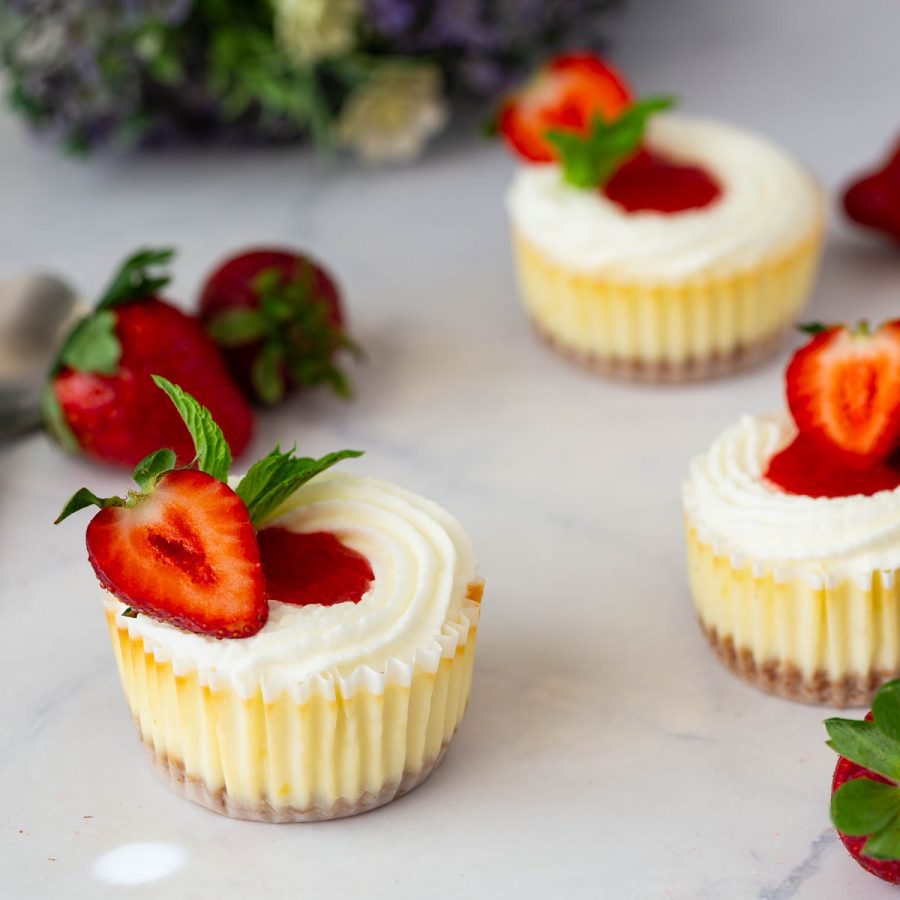
Cheesecake In Jars


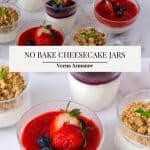
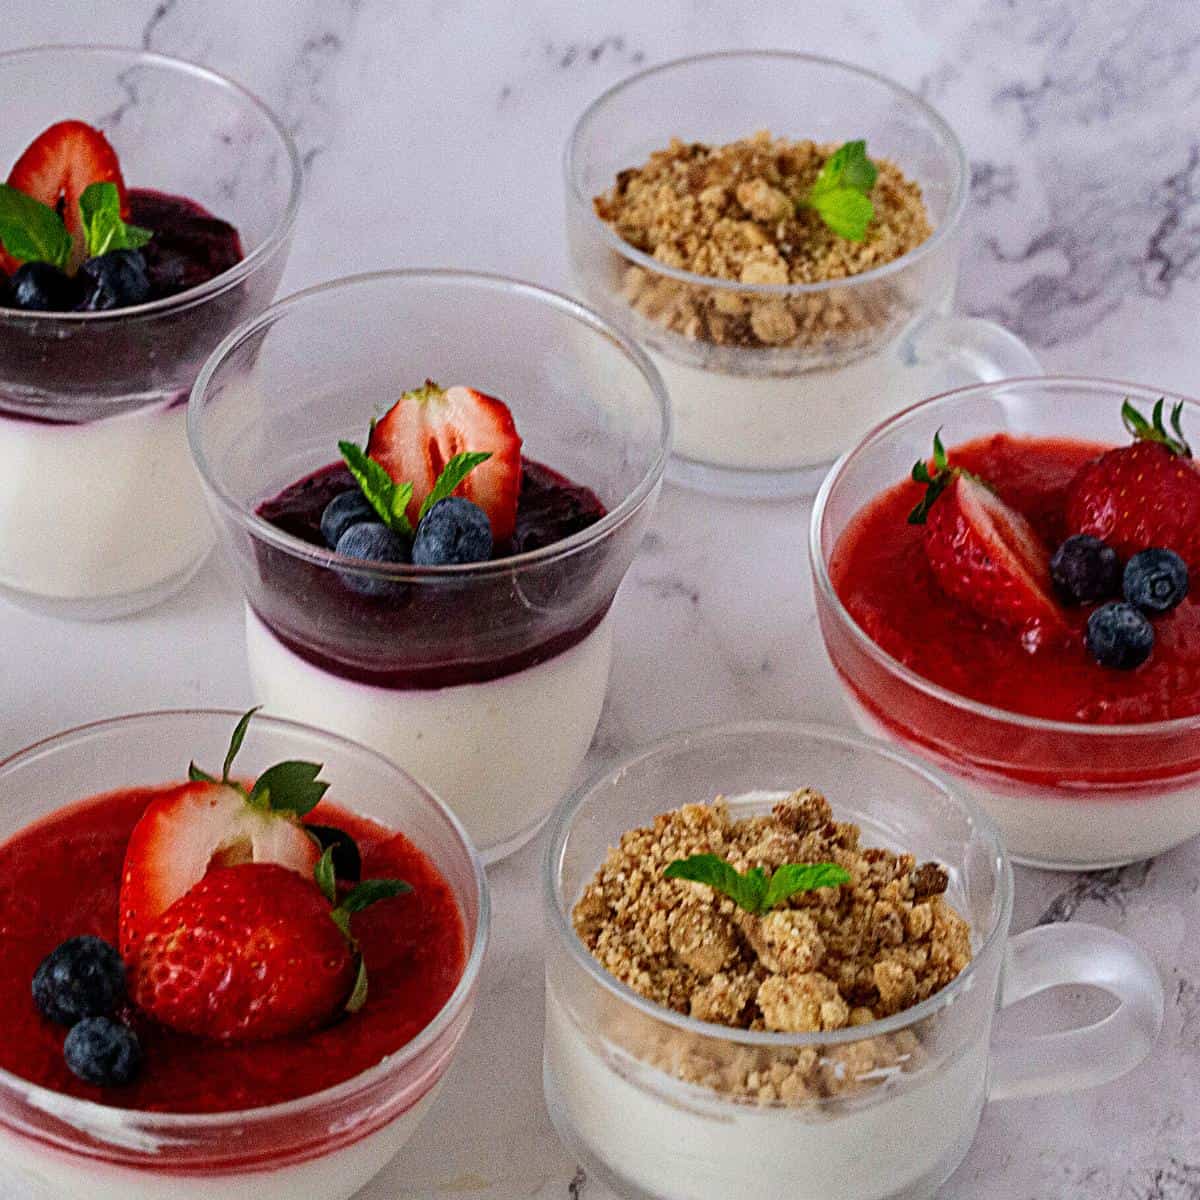
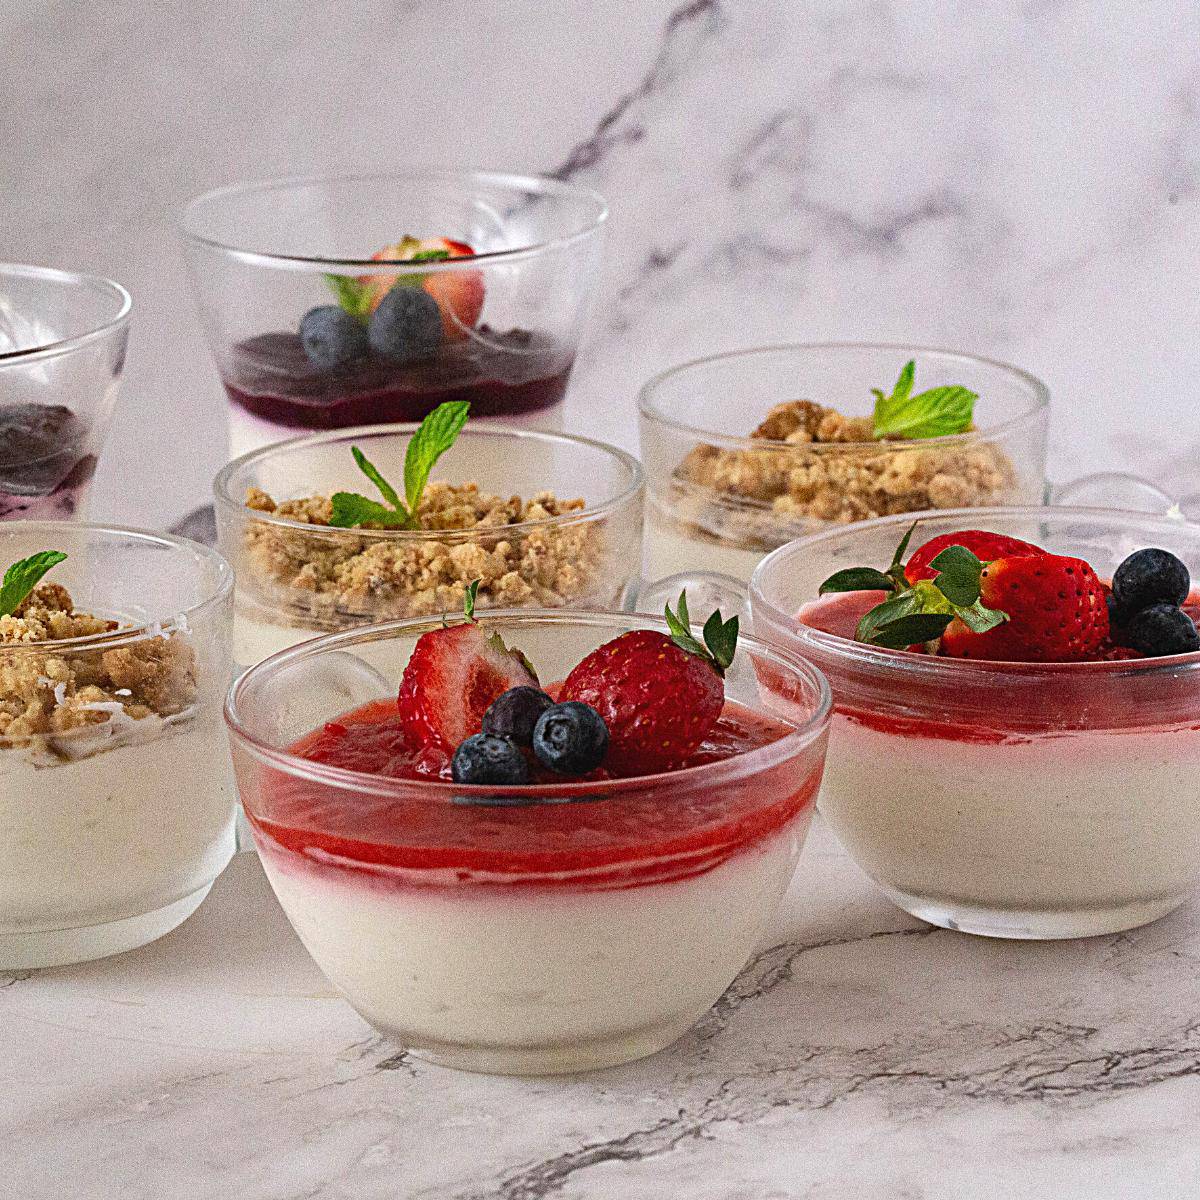
These cheesecake jars are a fun and easy way to serve a dessert that your guests won’t forget. Today, we make strawberry, blueberry, and crumble tops. These crowd-pleasers are easy to make and transport, making them the perfect addition to your summer menu.
Discover how to take your cheesecake to the next level by adding a crunchy crumble top in adorable and convenient jars or pots. This innovative dessert is perfect for any occasion and will be sure to impress your guests.
Why make these cheesecake jars?
- One of the great things about cheesecake jars is that they are incredibly versatile. And they can also be easily customized to suit your guests’ tastes or dietary requirements.
- Also, you can experiment with different flavor combinations, toppings, and crusts to create the perfect dessert for your summertime event.
- Plus, they are a great option for those who are short on time or don’t want to turn on the oven during the hottest months of the year.
- In addition, no-bake cheesecake jars are perfect for outdoor gatherings. They are easy to transport and serve, as they can be made and assembled in advance.
Ingredients and substitutes
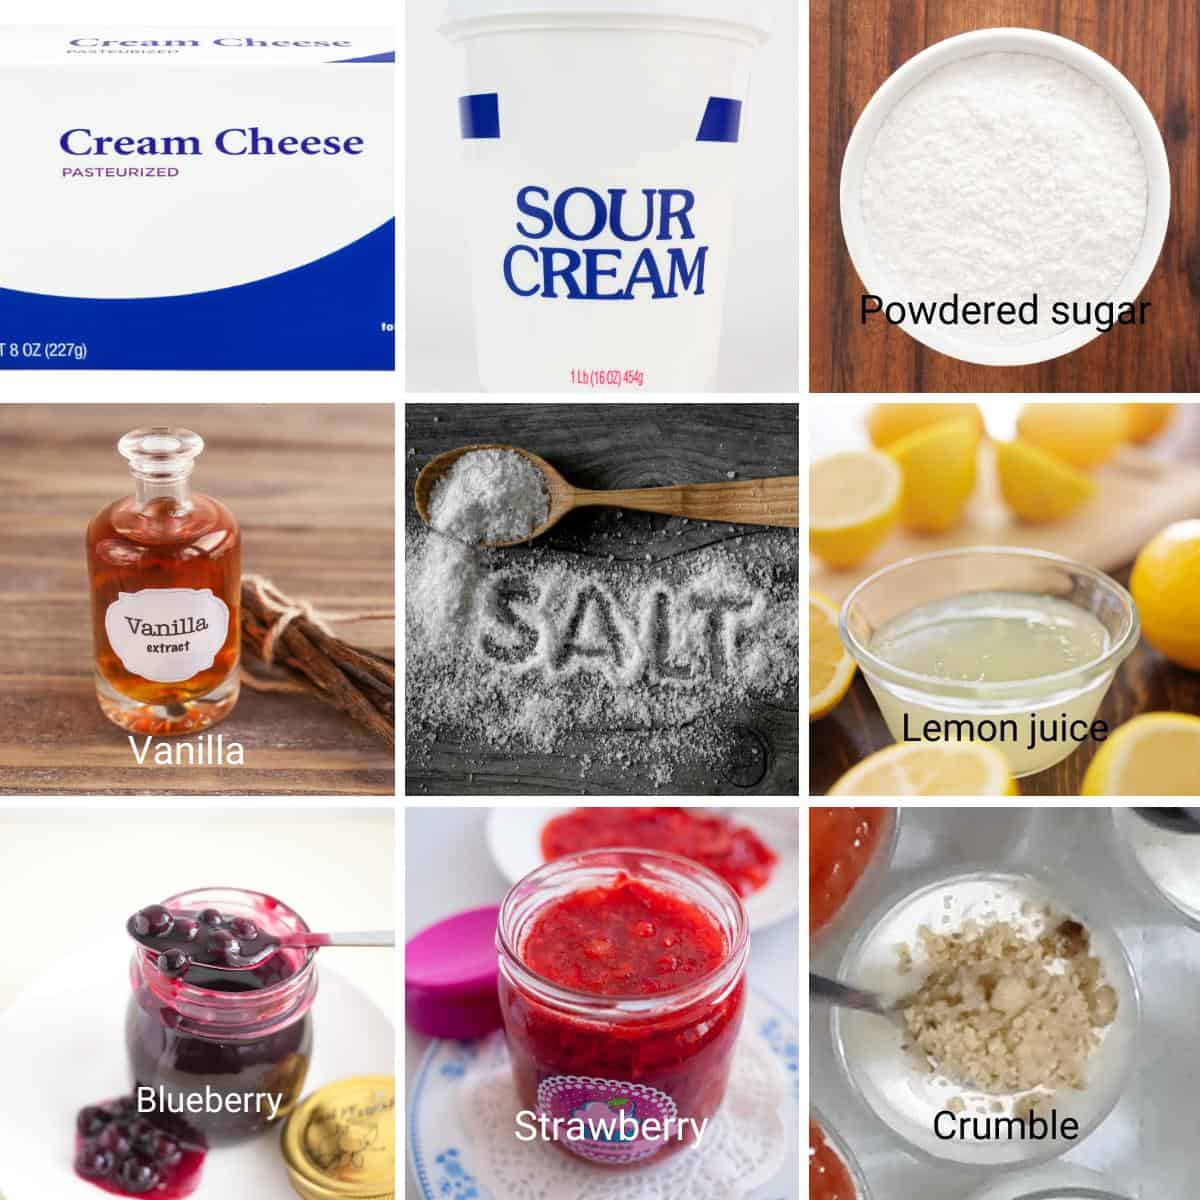
- Cream cheese: The star of the show, cream cheese, gives the cheesecake its signature creamy texture and rich flavor. Use full-fat cream cheese for the best results. I love to use 40% Mascarpone cream cheese.
- Heavy cream: It helps lighten the cheesecake and make it airy. You can also use whipped cream instead of heavy cream.
- Sweetener: You can use any sweetener you prefer, from granulated sugar to honey or maple syrup. Keep in mind that the sweetener needs to be dissolved in the cream cheese mixture, so liquid sweeteners may require more mixing and may change the consistency of the filling.
- Vanilla extract: Vanilla extract adds a delicious flavor to the cheesecake filling. You can also use other extracts, like almond or lemon, to switch things up.
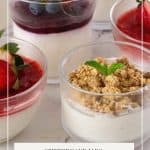
- Crumble – The crumble is a mixture of flour and butter, which needs to be baked until crisp. This adds a nice crunch to the top. I usually make double the amount and keep it in the fridge to use on sweet treats, such as yogurts, ice creams, and breakfast parfaits. Of course, you can omit the crumble and use only fruit fillings on top. This will make this a no-bake cheesecake dessert.
- Restrictions – If you have dietary restrictions or preferences, you can easily substitute some of the ingredients. For example, you can use vegan cream cheese and coconut cream instead of dairy products. You can also use gluten-free cookies for the crumble. Just make sure to adjust the measurements accordingly.
Step-by-step: No-bake cheesecake jars
- Base (optional) – Combine the crumbs with melted butter and divide between the prepared jar or bowl. Then, press down with the back of a spoon.
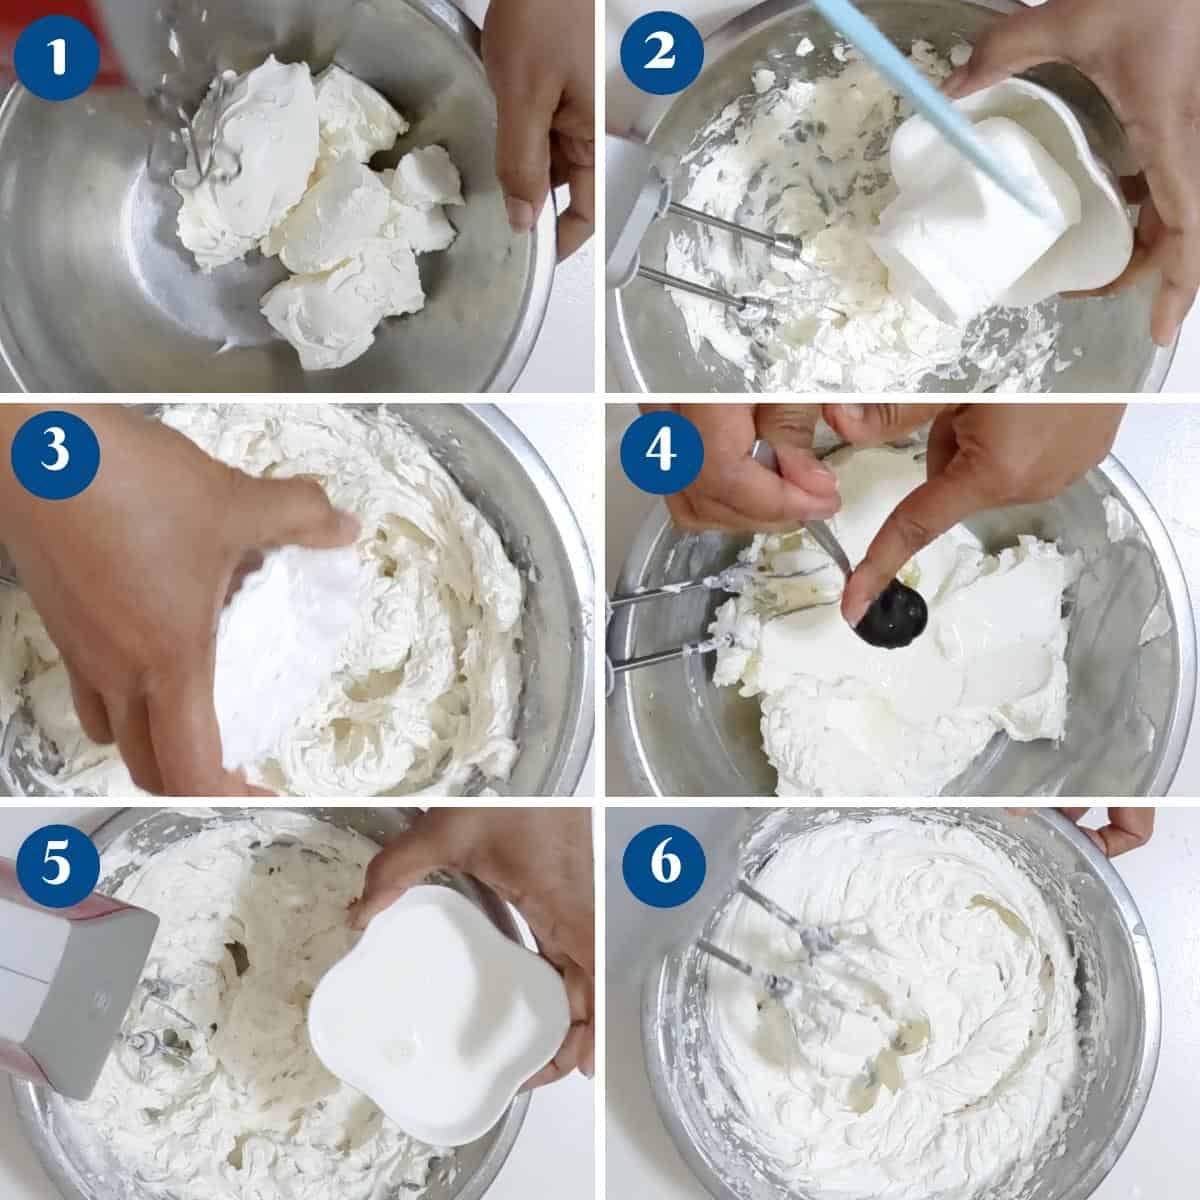
- Combine – In the bowl of a stand mixer with the whisk attachment, on medium speed, combine the cream cheese and sour cream until smooth. Then, add the powdered sugar, followed by the salt, lemon juice, and vanilla extract.
- Whip – Next, add the heavy cream and continue whipping on medium speed until it is light and fluffy, with soft peaks. Taste and adjust the sweetness and flavor to your liking.
- Filling – Divide the cheesecake mixture between the prepared jars or bowls, leaving enough room for the fruit filling and garnishes. Level the mixture with a spoon.
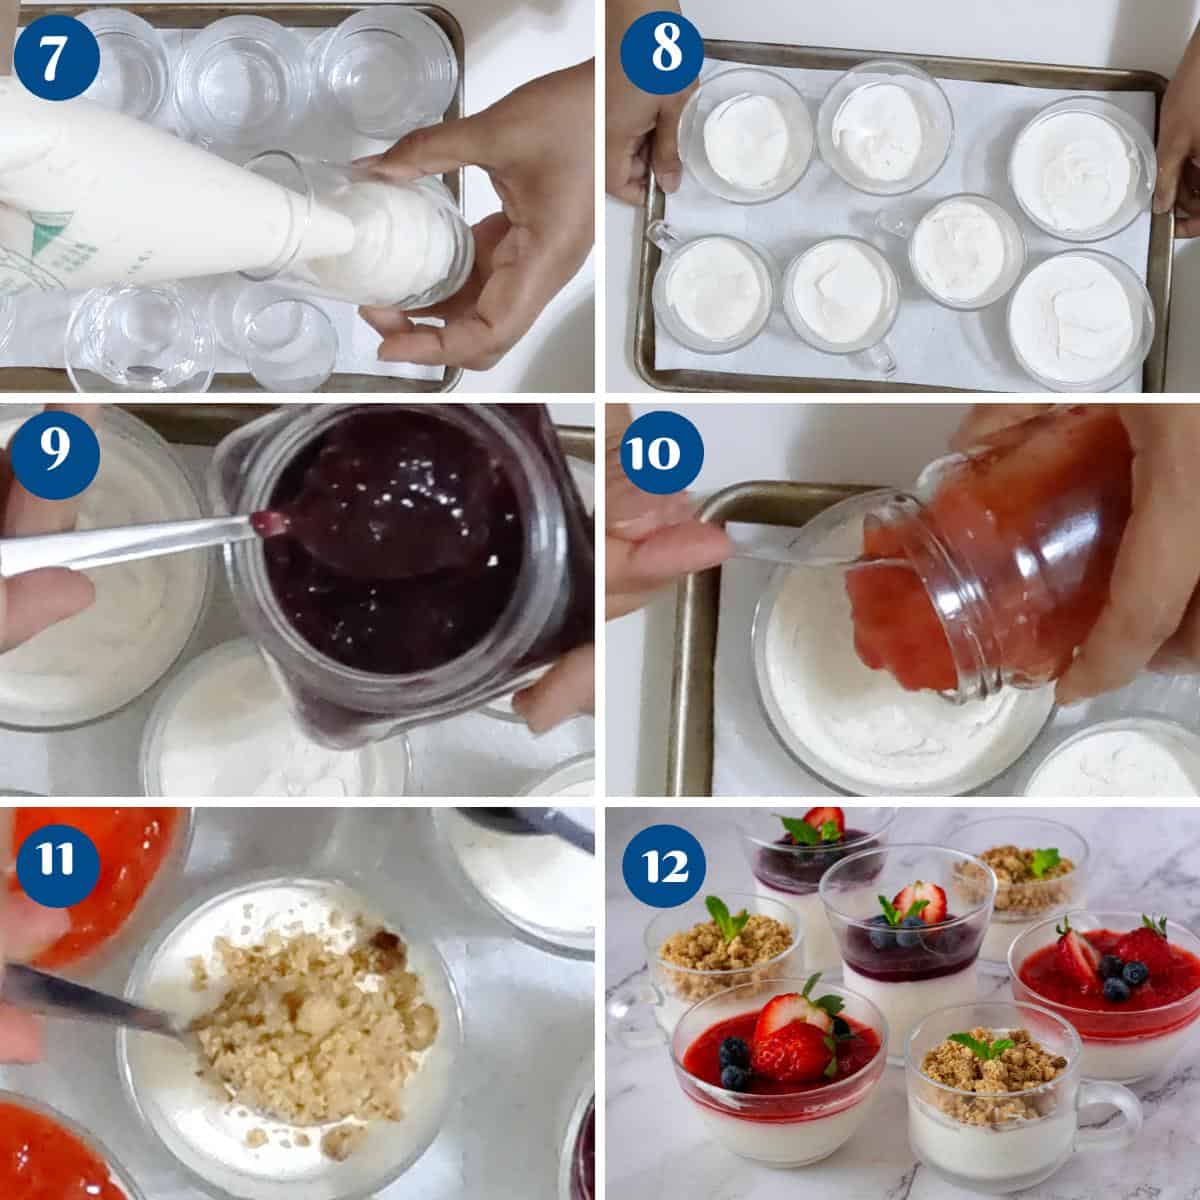
- Chill – Once you’ve filled all of the jars, it’s time to let them set in the refrigerator for at least two hours or until firm.
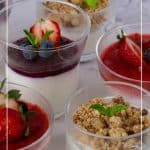
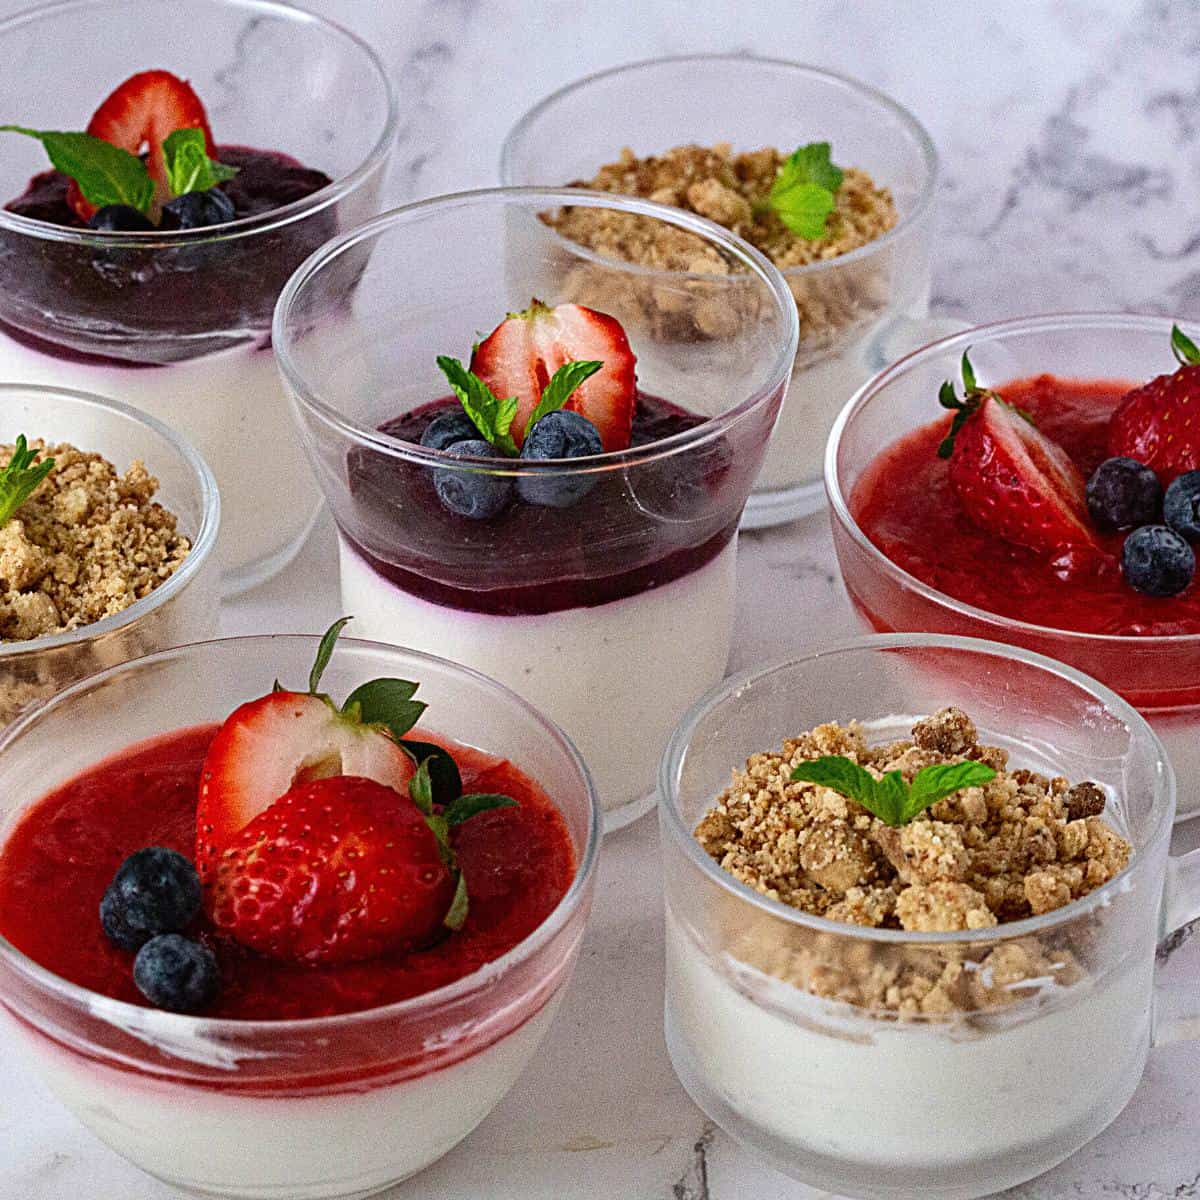
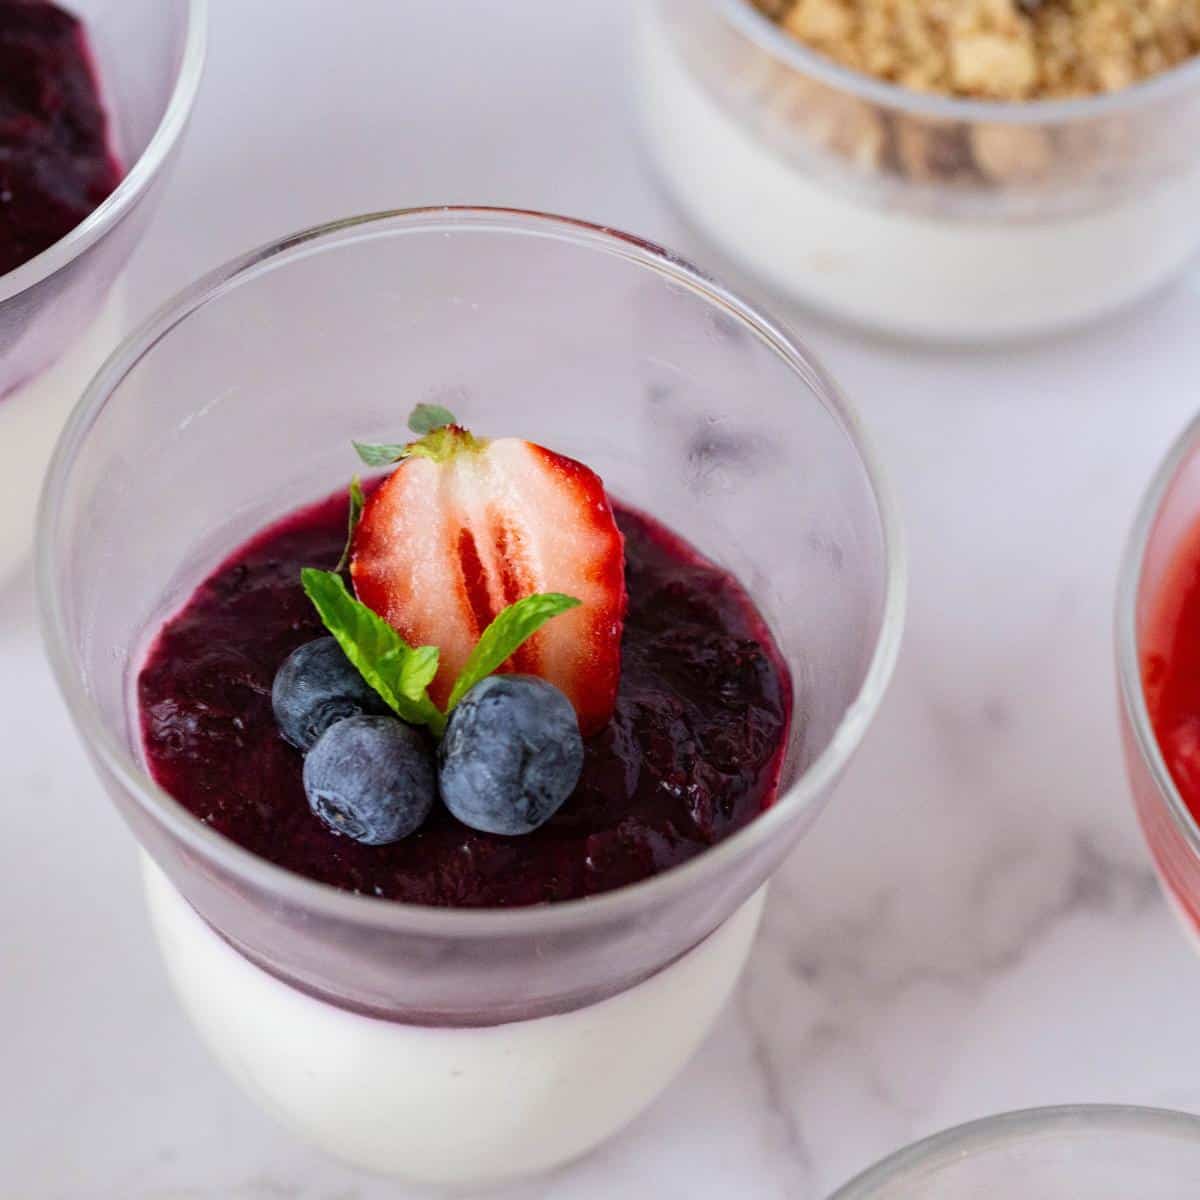
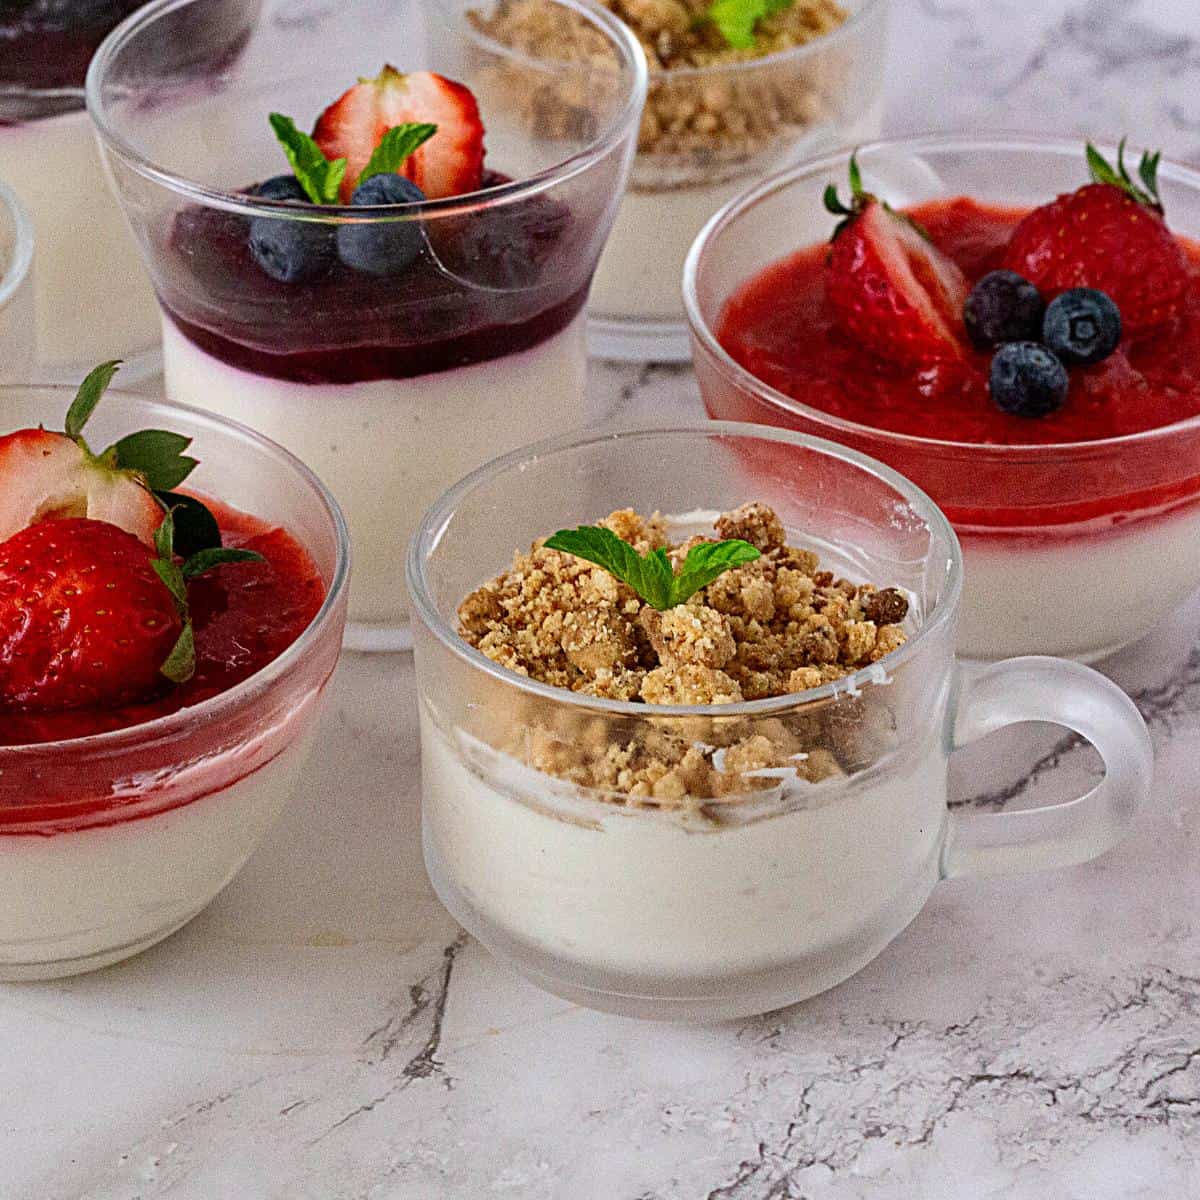
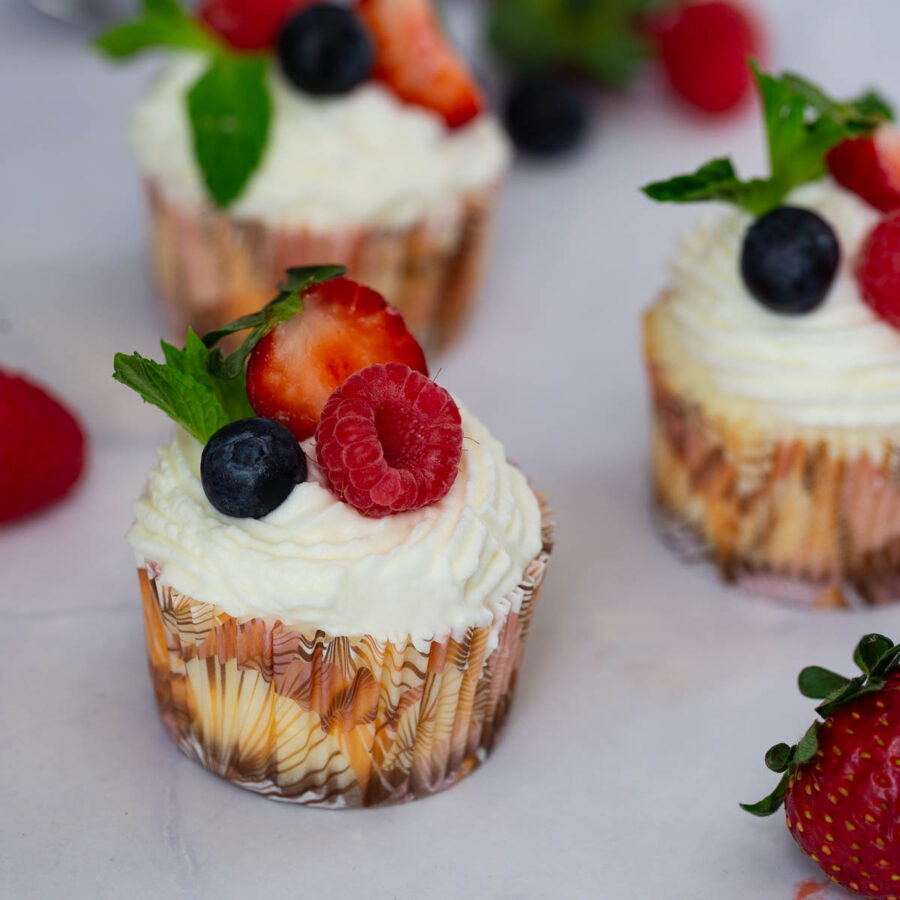
- Top – When you’re ready to serve, remove the jars from the refrigerator and add your favorite pie fruit filling or toppings. Today, I have used strawberry pie filling, blueberry pie filling, and crumble to top my cheesecake jars.
- Decorate – I added some fresh strawberries, blueberries, and mint leaves to garnish.
How to make a baked crumble top
- In a bowl, combine 1 cup all-purpose flour and 1/2 cup sugar.
- Next, cut in 1/2 cup cold butter until it resembles large breadcrumbs.
- Then, spread it on a parchment-lined baking tray and bake in a preheated oven at 400°F (200 °C) or Gas mark 6 for 10-15 minutes, or until golden.
- Cool completely and store in an airtight jar at room temperature for 4 days or in the fridge for up to 10 days. You can even freeze it for up to 3 months.
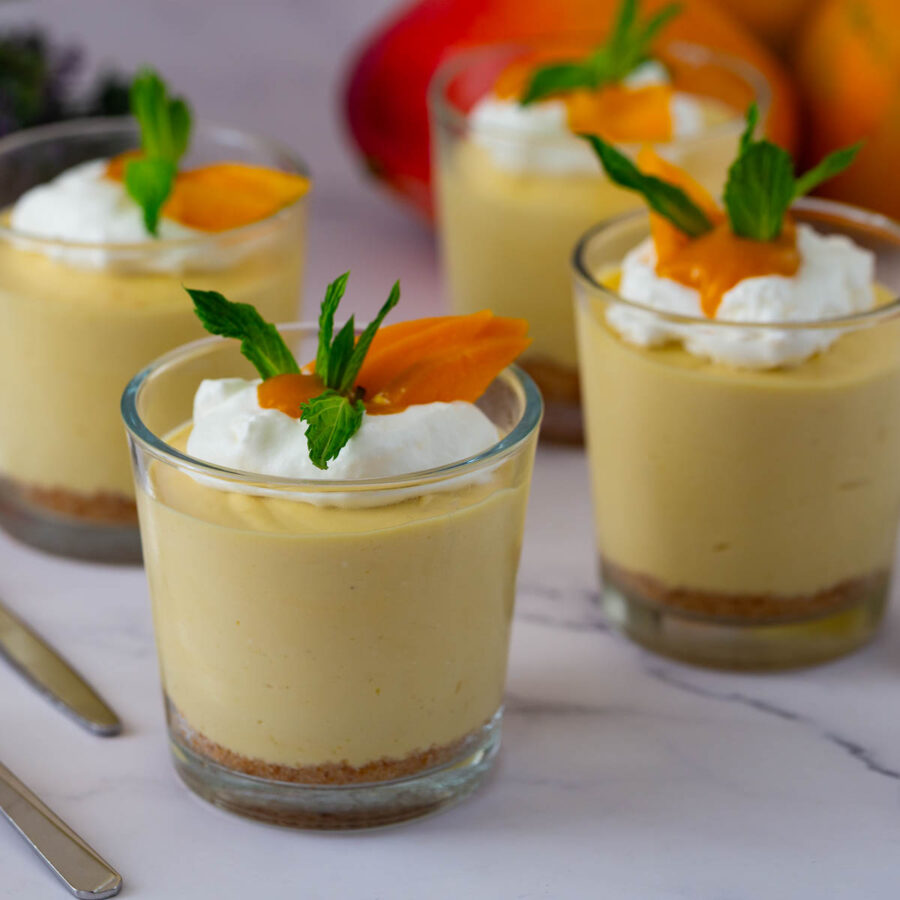
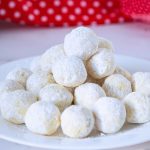
- No-Bake Mango Cheesecake
- Baked cheery Cheesecake,
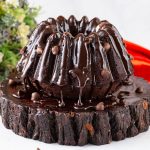
- Baked Chocolate Cheesecake,
- Baked chocolate cherry cheesecake,
- Mini Cheesecakes – blackberry, blueberry,
- or Mini Cheesecakes – raspberry, strawberry, mango
Frequently asked questions
These will keep in the fridge for 4 to 5 days.
No-bake cheesecake jars can be made up to 2 days in advance, making them the perfect make-ahead dessert for any occasion. Just be sure to keep them refrigerated until you’re ready to serve.
Absolutely! There are plenty of vegan cream cheese and gluten-free cookie options available at most grocery stores. Just be sure to double-check the ingredients and adjust the recipe accordingly.
For a silky smooth texture, be sure to whip the cream cheese and sugar together until fully combined before adding any other ingredients. Additionally, mix in the whipped cream gently and slowly to avoid overmixing. I prefer to whip the heavy cream separately as an extra precaution and then fold it into the cream cheese mixture.
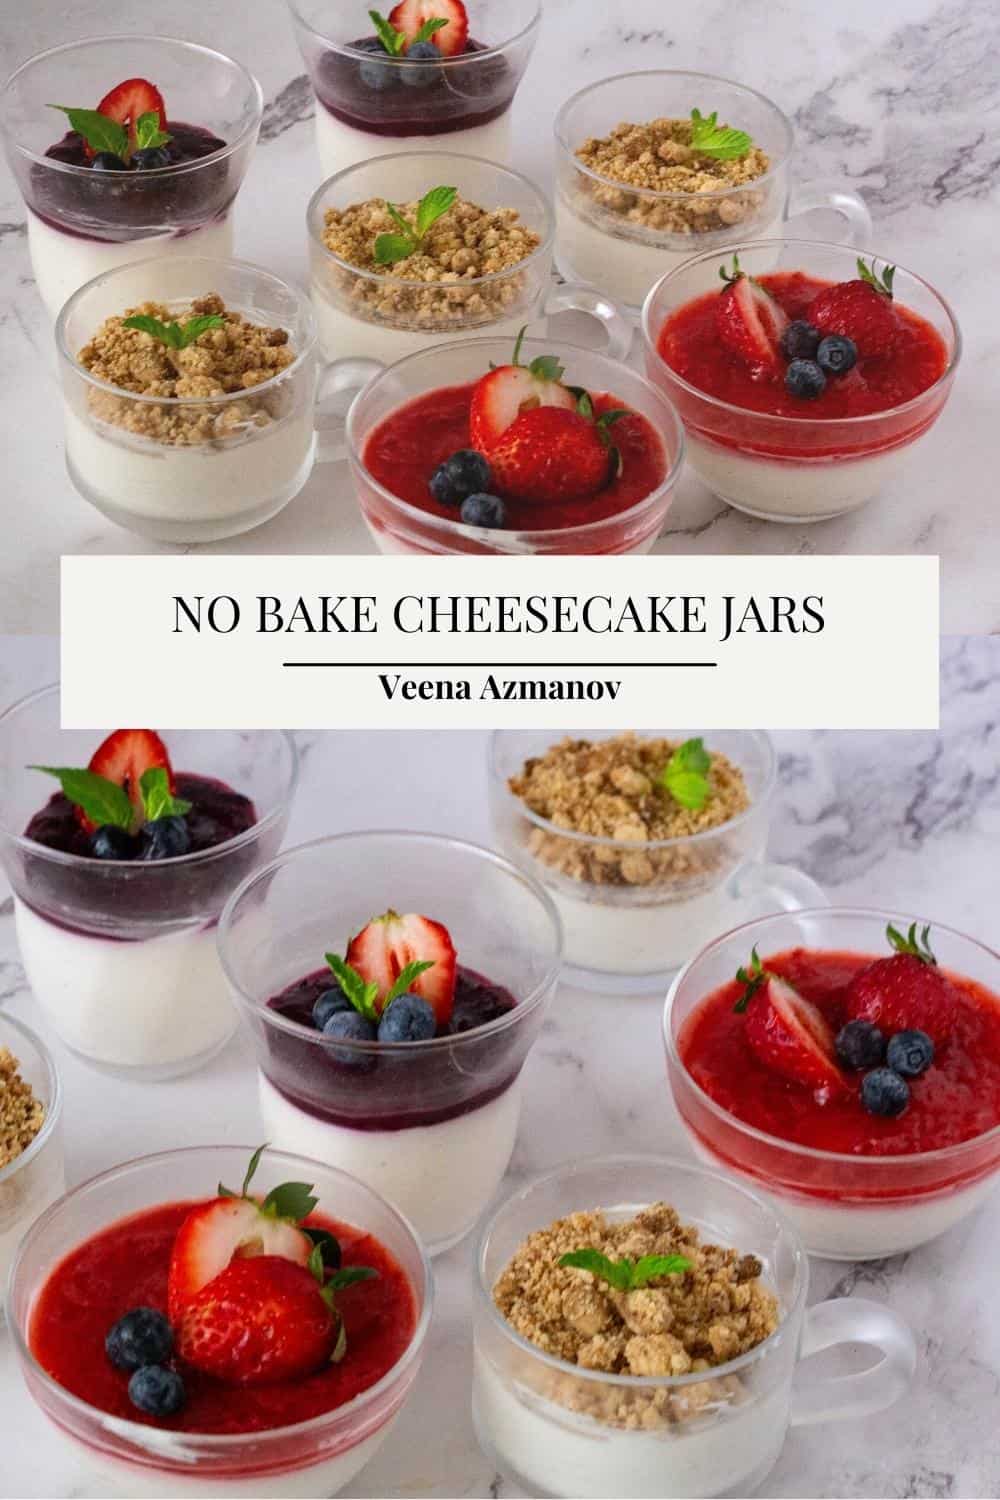
No Bake Cheesecake Jars
These cheesecake jars are a fun and easy way to serve a dessert that your guests won't forget. Today, we make strawberry, blueberry, and crumble tops. These crowd-pleasers are easy to make and transport, making them the perfect addition to your summer menu.
Video
Ingredients
- 12 oz (340 g) Cream cheese high-fat
- 4 oz (113 g) Sour cream
- ⅓ cup (40 g) Powdered sugar
- 1 tsp Vanilla extract
- ½ tsp Kosher salt
- 1 tsp Lemon juice
- 1 cup (240 ml) Heavy cream
- 21 oz (600 g) Pie filling I used strawberry, blueberry, and cherry
- ½ cup (120 g) Streusel or crumble topping Optional
- Fresh fruits and mint leaves for garnish
- 1 cup (84 g) Graham cracker crumbs
- 2 – 4 cup (450 g) Melted butter
Method
- Base (optional) – Combine the crumbs with melted butter and divide between the prepared jar or bowl. Then, press down with the back of a spoon.1 cup Graham cracker crumbs, 2 – 4 cup Melted butter
- Combine – In the bowl of a stand mixer with the whisk attachment, on medium speed, combine the cream cheese and sour cream until smooth. Then, add the powdered sugar, followed by the salt, lemon juice, and vanilla extract.12 oz Cream cheese, 4 oz Sour cream, ⅓ cup Powdered sugar, 1 tsp Vanilla extract, ½ tsp Kosher salt, 1 tsp Lemon juice
- Whip – Next, add the heavy cream and continue whipping on medium speed until it is light and fluffy, with soft peaks. Taste and adjust the sweetness and flavor to your liking.1 cup Heavy cream
- Filling – Divide the cheesecake mixture between the prepared jars or bowls, making sure to leave enough room for the fruit filling and garnishes. Level the mixture with a spoon.
- Chill – Once you've filled all of the jars, it's time to let them set in the refrigerator for at least two hours or until firm.
- Top – When you're ready to serve, remove the jars from the refrigerator and add your favorite pie fruit filling or toppings. Today, I have used strawberry pie filling, Blueberry pie filling, and crumble to top my cheesecake jars.21 oz Pie filling, ½ cup Streusel or crumble topping
- Decorate – I added some fresh strawberries, blueberries, and mint leaves to garnish.Fresh fruits and mint leaves for garnish
Notes
- First, let your cream cheese and any other dairy ingredients come to room temperature before you start mixing. This will ensure a smoother filling and prevent lumps from forming.
- When mixing the filling, take care not to overmix it. This can cause the filling to become too soft and difficult to set. Instead, mix until just combined and smooth.
- For an extra layer of flavor, try adding an additional teaspoon of vanilla extract or a tablespoon of lemon juice to your filling.
- And don’t forget to taste it as you go to adjust the sweetness and tanginess to your liking.
- When it’s time to assemble your jars, take care not to overfill them. Leave a bit of space at the top to prevent your toppings from spilling. And if you’re layering your filling and toppings, consider using a spoon or offset spatula to create a neat, even layer.
- Fresh fruit: You can top your cheesecake with fresh fruit like strawberries, blueberries, raspberries, or sliced peaches.
- Chocolate sauce: Drizzle some chocolate sauce over your cheesecake for an extra indulgent touch.
- Caramel sauce: Drizzle caramel sauce or butterscotch sauce over your cheesecake for a sweet and sticky flavor.
- Crushed cookies or graham crackers: Sprinkle crushed cookies or graham crackers on top of your cheesecake for added texture.
- Whipped cream: Add a dollop of whipped cream to the top of your cheesecake for a creamy and light addition.
- Chopped nuts: Sprinkle chopped nuts, like almonds or pecans, on top of your cheesecake for a crunchy contrast.
- Marshmallow fluff: Toast some marshmallow fluff with a kitchen torch and spread it on top of your cheesecake for a fun twist.
- Fruit compote: Top your cheesecake with a homemade fruit compote made from your favorite fruit, like blueberries, strawberries, or peaches.
- First, make sure your jars are securely closed. You can use plastic wrap or aluminum foil to seal the top of each cup, or invest in resealable lids like these that are specifically made for small containers.
- Next, consider packing your jars in a sturdy container with a lid. A cardboard box or plastic bin will work well, but be sure to choose one that’s just the right size to prevent your jars from shifting around during transport.
- If you’re transporting your jars on a warm day, you may want to consider packing them in a cooler with some ice packs. This will help keep your cheesecake chilled and prevent it from melting.
- Finally, be sure to handle your jars with care during transport. Avoid placing them on their sides or stacking them on top of one another, as this can cause them to tip over and spill.
Nutrition
Tried this recipe?
Mention @veenaazmanov_kitchen or tag #veenaazmanovkitchen!- No-bake cheesecake, No-bake mango cheesecake,
- Cheesecake tarts such as chocolate cheesecake tart, mini chocolate cheesecake tarts, lemon cheesecake tarts.
- See all cheesecake recipes


Don’t lose this recipe! Save it for Later!
📌 Save this Recipe for later on Pinterest so you can easily find it again.
⭐ Add Veena Azmanov Kitchen to your Google Preferred Sources.
It helps Google show you more of our recipes.
📧 Subscribe for new recipes delivered to your inbox.
🎥 Follow us for more recipes


These recipes are simple and tasty! I would definitely make these again. Thank you!
Thank you so much! The flavors are perfect and I can’t wait to try this recipe!
These are great for a Memorial Day or Fourth of July picnic dessert! Perfect for the upcoming strawberry and blueberry season.
These no bake cheesecake jars look and taste amazing! I made strawberry cheesecake jars. Thank you for this delicious recipe!
These are super easy and great for customizing. Also a good recipe to make ahead for a party gathering!
These cheesecake jars are awesome. I made them all plain for a party with my girlfriends and made a topping bar so they could all pick. We had a great time and they tasted amazing! Thanks Veena.
Thank you, Megane
These cheesecake jars were so delicious and just the easiest dessert to make, particularly for a crowd. Will definitely be making these again!
I loved that I could make these in advance.
I made 30 for a party, then served them with all the topping so people could make up their own desserts. It was so fun seeing what everyone came up with. We put lots of different fruits and sauces out and the strudel topping and people got creative. Such a fun dessert!
Thank you. Claire.
I tried making them for the first time last night and they were absolutely delicious. I loved the creamy texture and the combination of tangy cream cheese and crumble!
Thank you, Sophie
This is such a fun idea for a sweet treat! 🙂 I love that they can be individualized for each person with different fruits and toppings. Looks delicious.