Chocolate Ganache For Decorating Cakes (2 Ingredients 5 Mins)
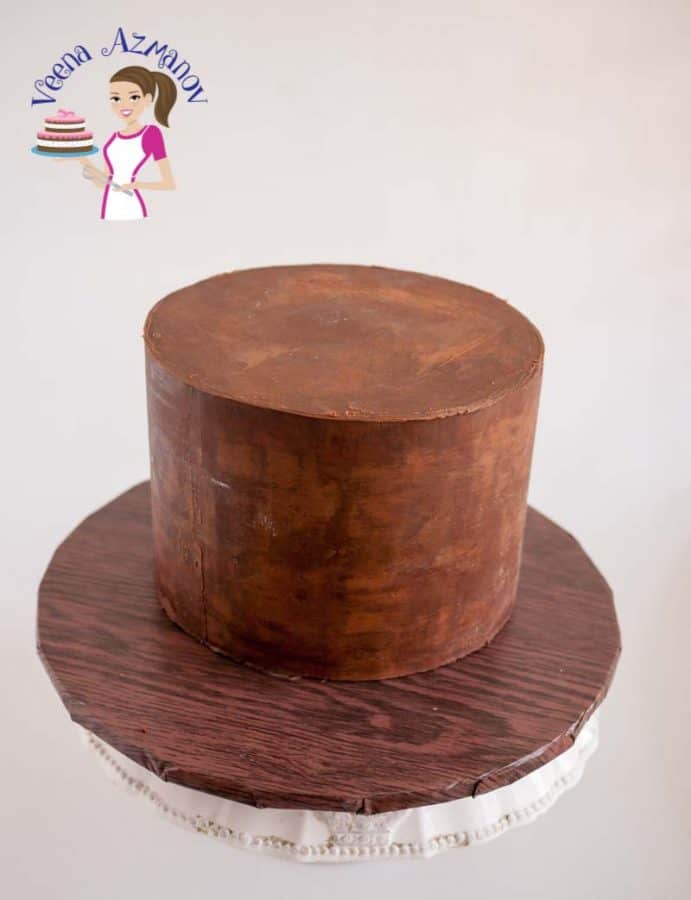
The perfect chocolate ganache for decorating a cake is one you can use to cover a cake with fondant. And I call it the cake decorator’s chocolate ganache. One that adds stability to sculpted novelty cake and stays firm when stacked into a tiered wedding cake. In fact, my chocolate ganache is like my rock for me as a cake decorator.
When I started decorating cake, one of my first failures as a cake decorator was my ganache. I made a delicious ganache, it looked so delicious. But, when I covered it with fondant it was a big mess. The ganache was soft. So, covering the cake with fondant was an absolute nightmare
And, I wondered, how do they do it? How do these successful cake decorators have ganache cakes that don’t look like it’s melting? When they cover the cake, they are not struggling like me. Well, it took me a few times to realize that I was using the regular classic chocolate ganache recipe.
So, today, I want to share with you the ganache recipe used by cake decorators. This is the ganache you use under fondant, or when working with a novelty or sculpted cake. And, this is also the ganache you use when you want to get sharp edges on your cakes.
Ingredients and substitutes
- Chocolate – Ganache can be made with any chocolate, coverture, or compound. And, the quality of chocolate you use will determine how delicious your ganache will taste. I use Callebaut or Laubeca. In fact, most of my ganache cakes have 70% cocoa dark chocolate. And, the reason I like to use dark is because I usually fill my cakes with buttercream. So, the dark chocolate cuts down some of the sweetness. Having said that, you can use any percentage of chocolate from 55% to 90%.
White chocolate – Works differently from dark, semi-sweet, or milk chocolate. Hence, I will cover that in another post here. And, I will explain in detail with a video of how I make my classic white chocolate ganache as well as cake decorators white chocolate ganache. - Cream – The high the percentage of fat in the cream the creamier and richer the ganache. In addition, in some cases, it will bring out the sweetness in the chocolate as well. In fact, I usually use no less than 38% fat. Since, I think it always has the best consistency for the ganache. Having said that, you can use anything from 32% to 45%.
And, if you are unable to use fresh whipping cream, you can also use coconut cream and follow the same exact process we do below.
Step-by-step: Ganache for fondant cakes
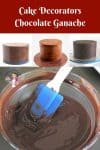
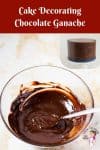
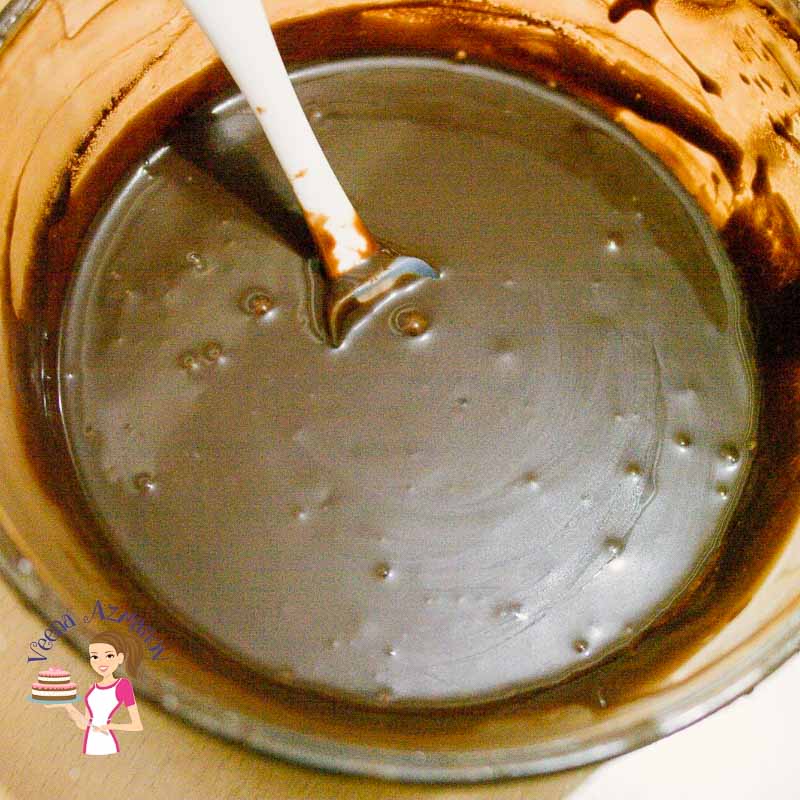
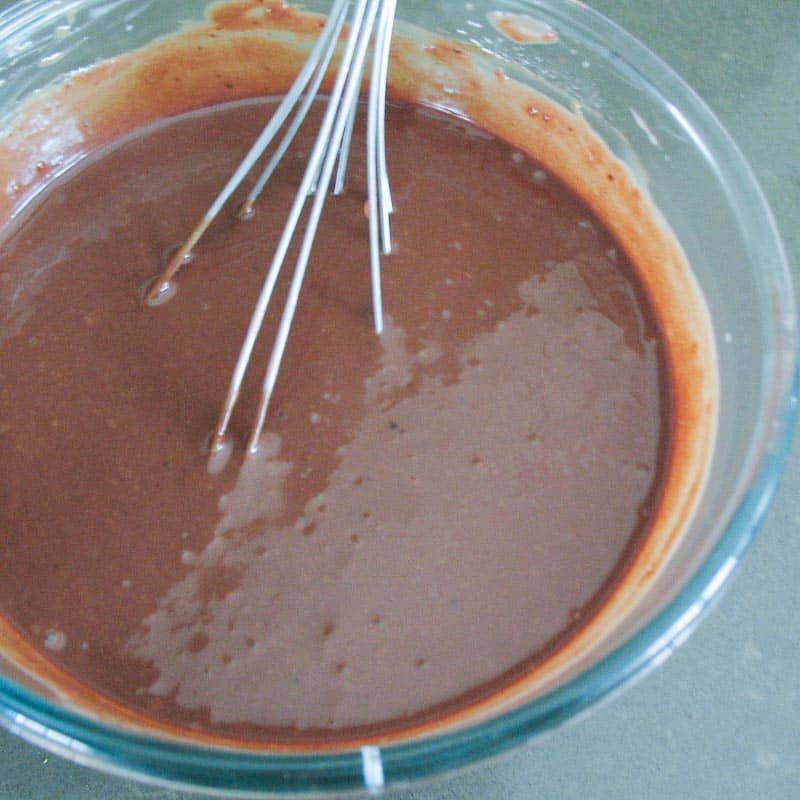
- Stovetop method – Place chocolate in a heatproof bowl and set aside. Heat the heavy cream in a saucepan over medium heat until it begins to simmer. Pour the cream over the chocolate and let it sit for 5 minutes. Then, stir with a spatula until smooth.
Pro tip – DO NOT let the cream come to a rapid boil as it can burn the chocolate). If the chocolate is chopped fine there should be no more chocolate pieces. If necessary, melt in the microwave for 20 to 30 seconds. - Microwave Method – Place the chopped chocolate into a microwave-safe bowl. Pour the cream all over the chocolate. Heat it in the microwave on high for a minute. Stir and continue to heat at 30-second intervals until you have a smooth ganache.

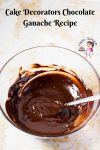
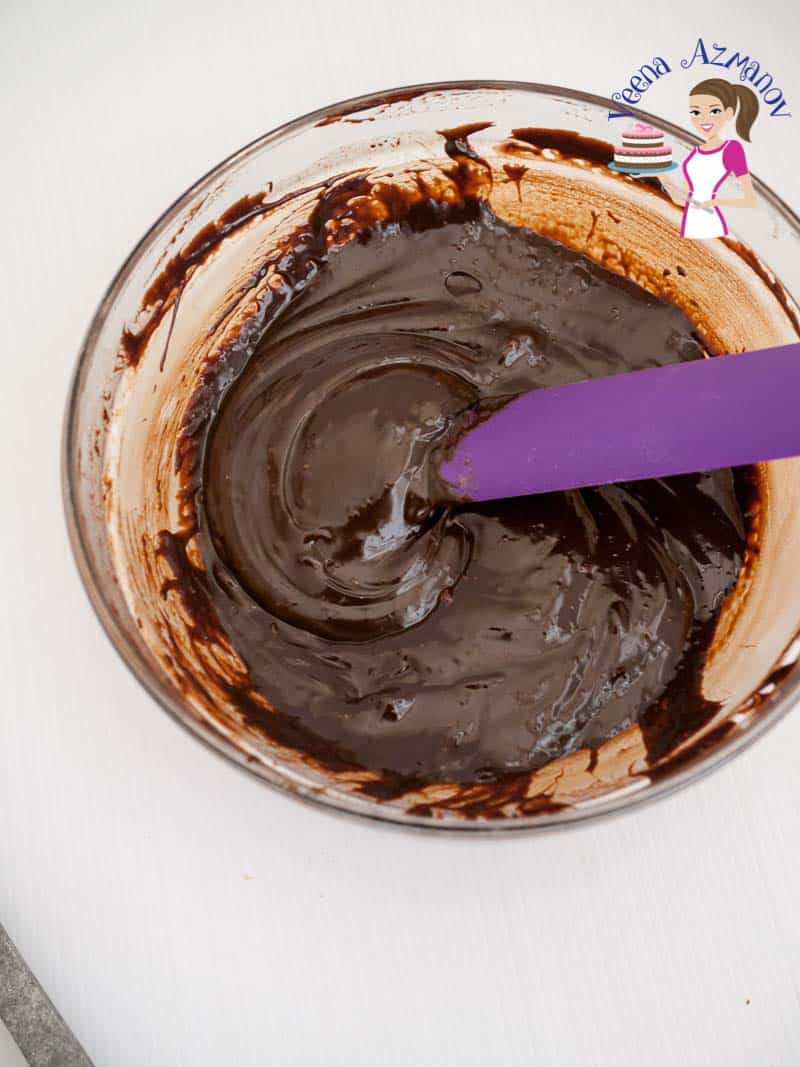
- Cover -Once the ganache is ready, cover it with plastic making sure the plastic touches the top surface of the ganache to prevent skin from forming on the top.
- Rest – Leave the ganache to set in the bowl at room temperature for a few hours or in the fridge for 2 hours. Once it reaches a spreading consistency it can be used for frosting.
- Storage – Ganache will keep at room temperature for 2 days. It can be kept in the refrigerator for up to 5 days. It can also be frozen for up to a month in the freezer. Thaw in the fridge overnight for best results.
Pro tip – To warm the ganache simply place it in the microwave for no more than 10 to 20 seconds intervals.
- Stack – Place the next layer on top followed by more frosting until you have stacked all four layers
Pro tip – Trim the outside edge if necessary – you can see me do this in my video – This ensures the sides are straight. - Level – Use a cake leveler to ensure the cake is leveled. You may need to press down on the side that is higher to help shimmy the frosting around.
Pro tip – Then use two bench scrapers on either side of the cake to ensure the sides are straight. (just so the layers are not peaking out)
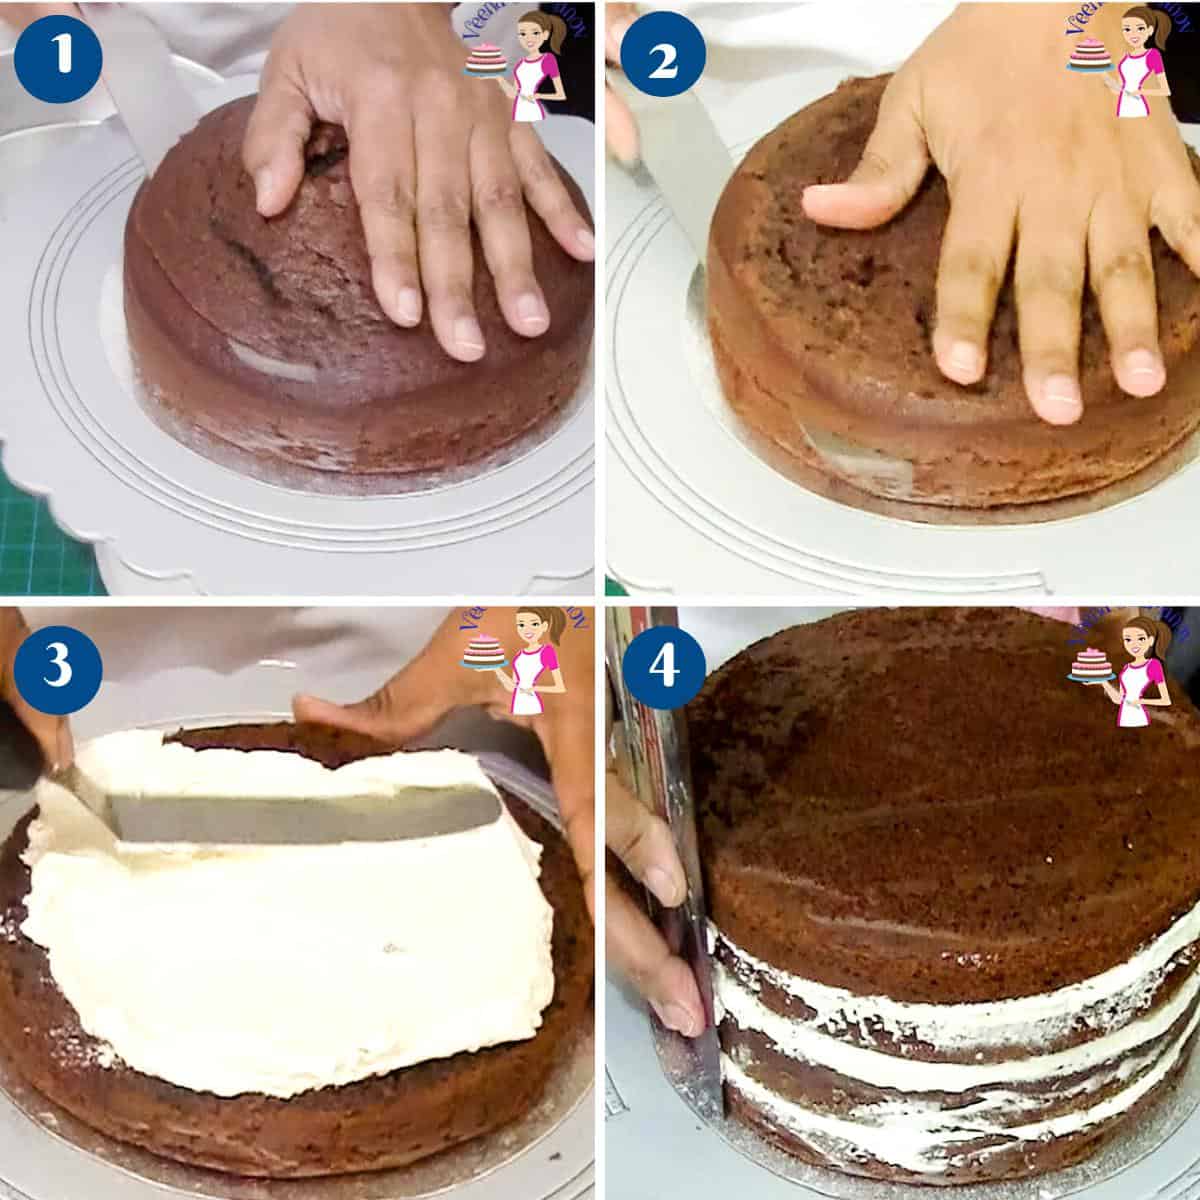
- Chill – Place the cake in the fridge for 10 minutes – the frosting will set and the layers won’t move when you are frosting the outside.
- Cake top – Place a big dollop of ganache on the top layer. Spread it evenly making sure you have ganache over the edges.
- Cake board – Place a cake board the same size as the bottom board. Use two cake scrapers to make sure the top and bottom boards are aligned together. Chill the cake for 20 minutes.
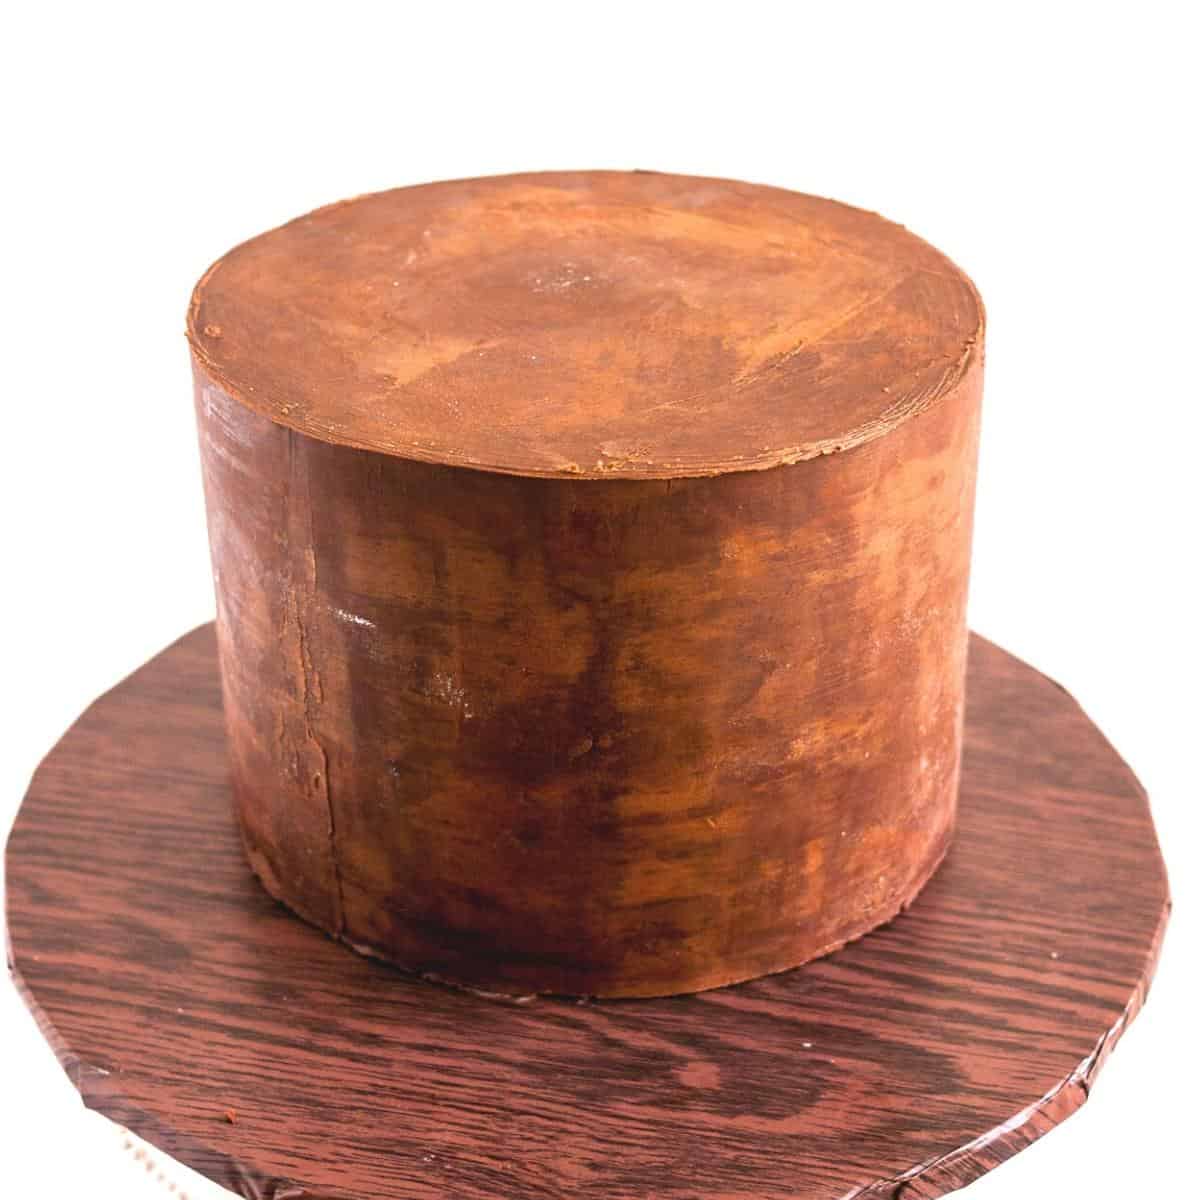
- Cake sides – Using a spatula frost the sides of the cake with ganache. Make sure to use a paddle motion with the ganache – this prevents air pockets. Use a bench scraper to smooth the sides of the cake.
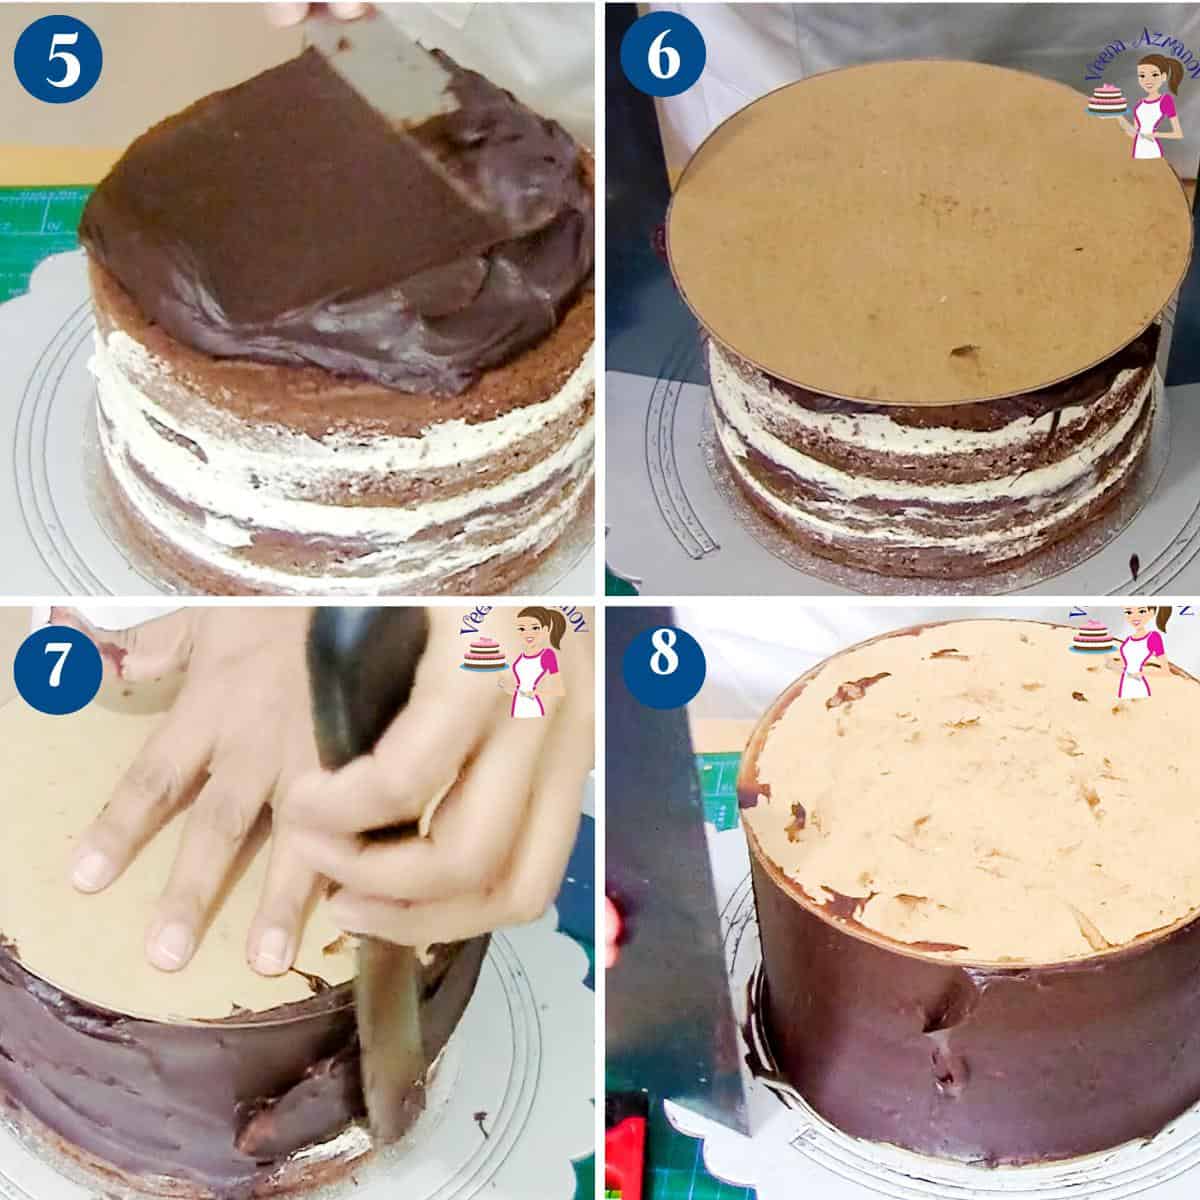
- Chill – Continue to spread and smooth the ganache until you have smooth sides. Chill the cake for at least 2 hours
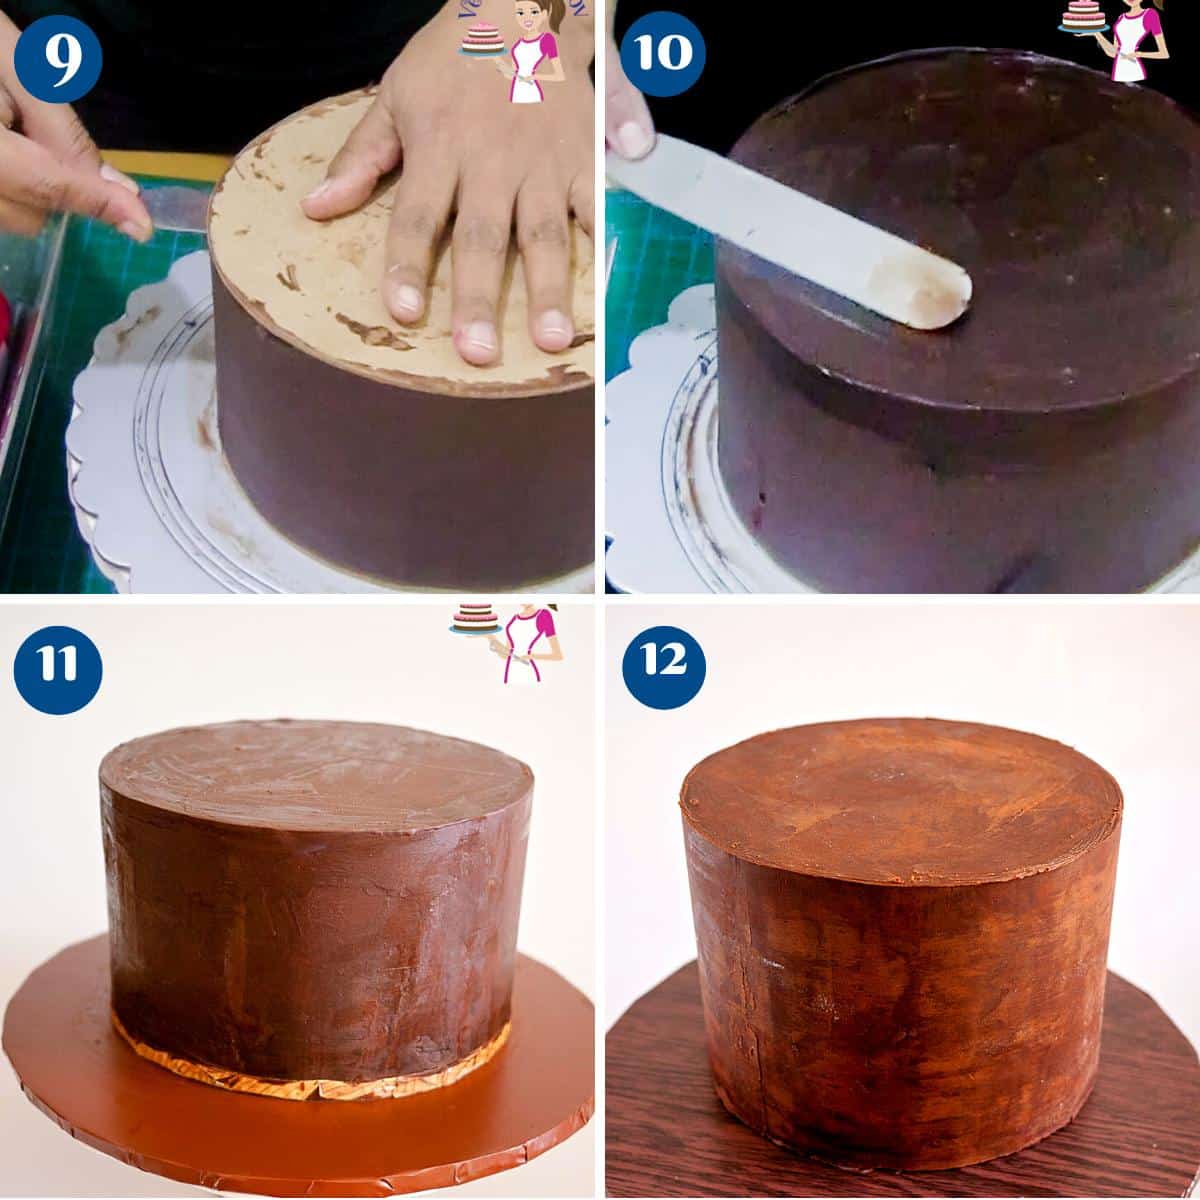
- Top board – Use a hot spatula or knife. Place the spatula between the top cake board and the ganache (see video) Pass the spatula under the board until you have loosened the board from the cake.
Pro tip – dip the spatula in hot water. Gentle move the spatula – letting the heat from the spatula guide you along. Do not push too hard as the ganache will crack - Smooth top – The top will be uneven and rough – this is normal. Add just enough ganache to fill and cover the top. Use an offset spatula to smooth the top and use a bench scraper to smooth the sides.
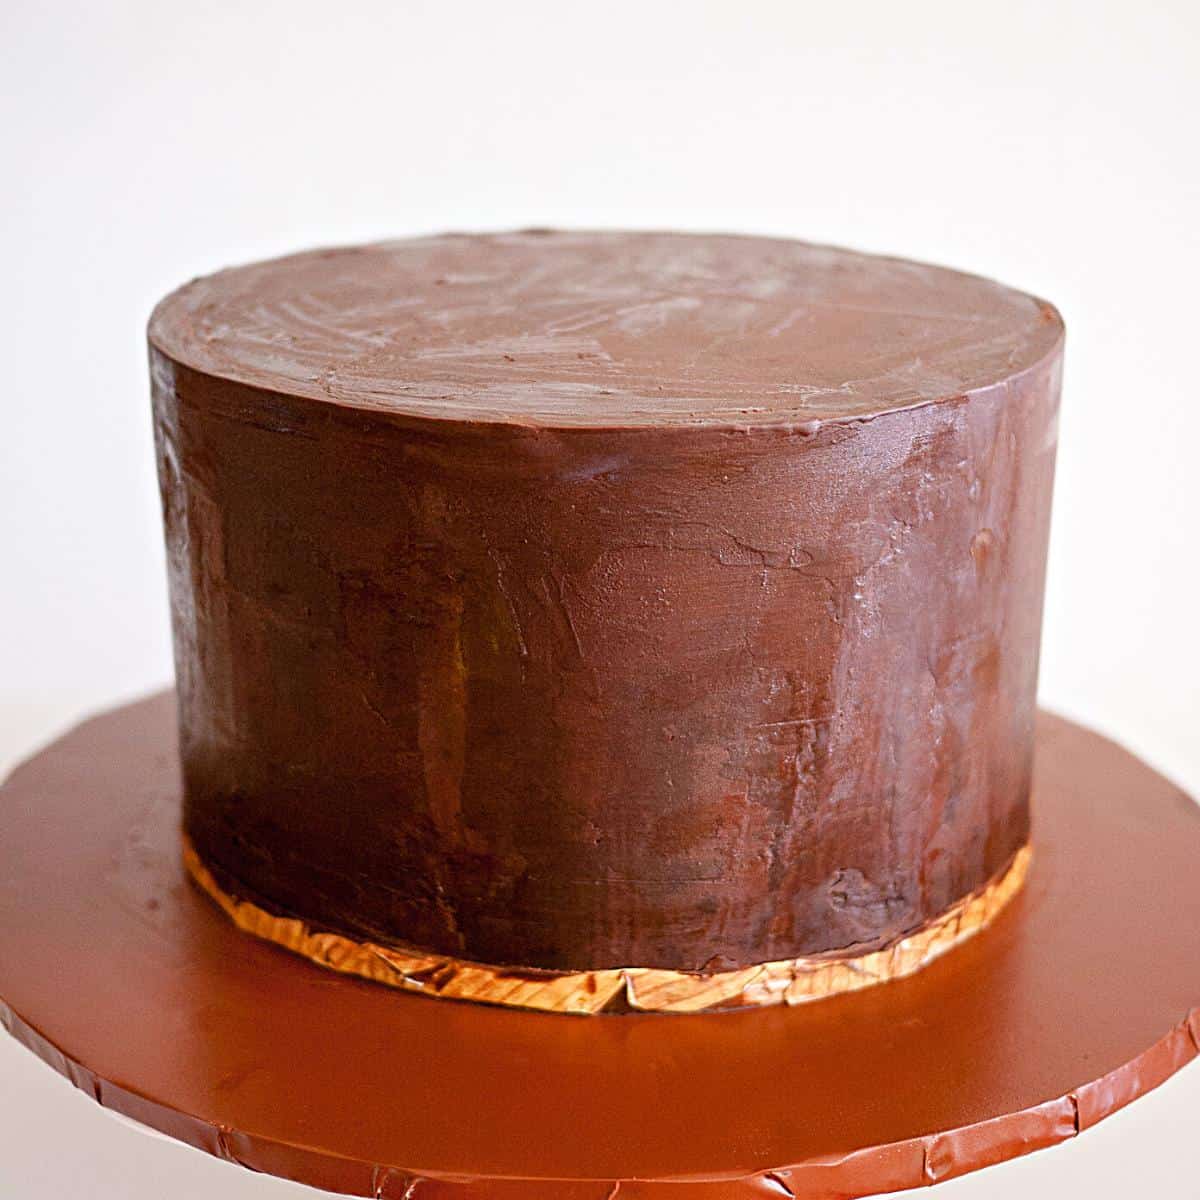
Pro tip – Since the cake is chilled well the sides will remain smooth. - Edge – Once smooth the little ganache that’s left over the edges can be taken off with a spatula or knife (see video)
How much ganache do I need for my cake?
This is the amount of ganache I would use for my cakes when I was a professional cake decorator. It will give you a smooth firm canvas to cover with fondant. Having said that, you can use less or more as desired. For example, for our family we like less frosting so often I will use a filling in between layers and a thinner coat of ganache on the outside
| Round | Square | Metrics | US customary |
| 6-inch | 5-inch | 650 g | 1.2 lbs |
| 7-inch | 6-inch | 800 g | 1.7 lbs |
| 8-inch | 7-inch | 950 g | 2.1 lbs |
| 9-inch | 8-inch | 1.1 kg | 2.4 lb |
| 10-inch | 9-inch | 1.4 kg | 3.1 lbs |
| 12-inch | 10-inch | 1.8 kg | 4 lbs |
Tips for making perfect ganache
- First, use high-quality chocolate and heavy cream for the best results.
- Chop the chocolate finely and
- heat the cream until it just begins to simmer. Pour the cream over the chocolate and let it sit for a few minutes before stirring until smooth.
- For a richer ganache, use a higher percentage of chocolate or add a tablespoon of butter.
- If your ganache is too thick, add a splash of cream to thin it out. Conversely, if it’s too thin, chill it in the fridge until it thickens up.
- Finally, be patient when working with ganache. It takes time to set properly, so allow enough time for it to cool and firm up before using it in your recipes.
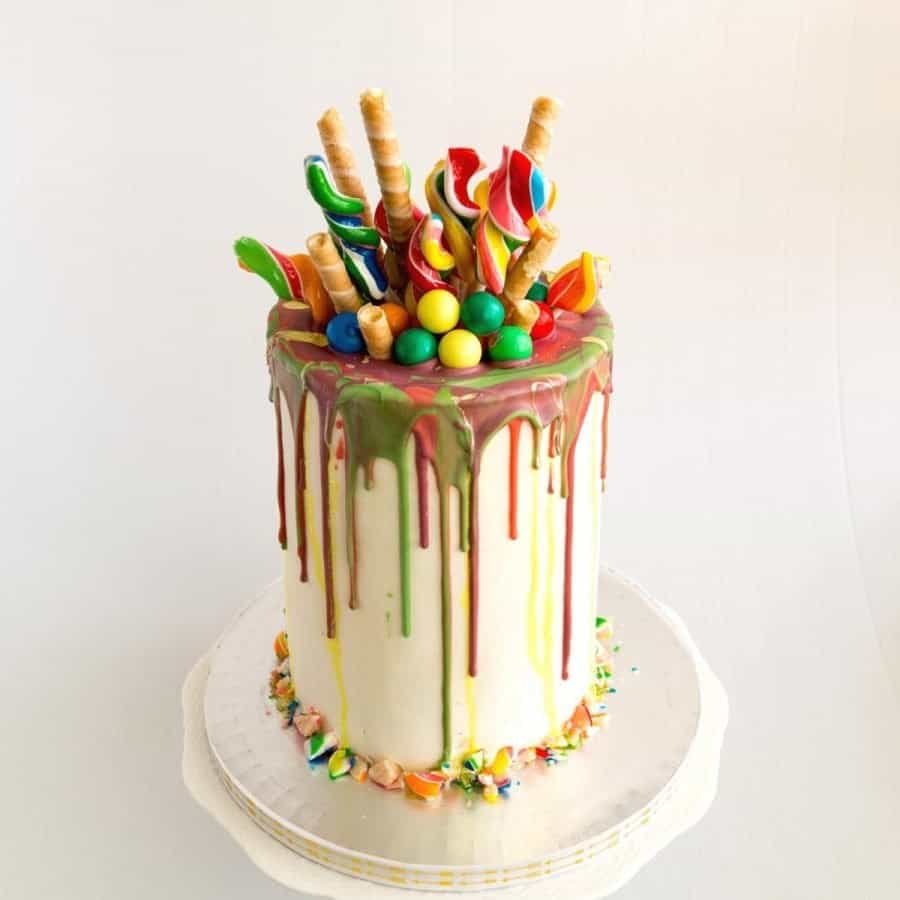
- White Chocolate Ganache Drip
- Cake Decorators White Chocolate Ganache
- Chocolate Cake with Chocolate Ganache
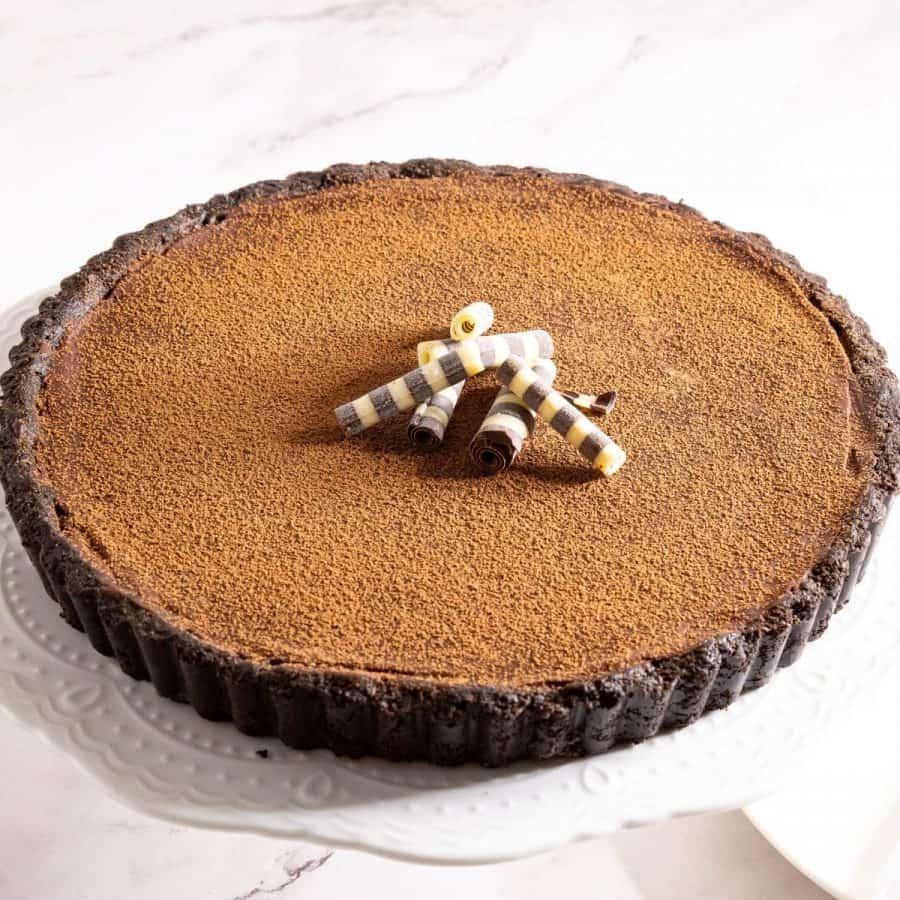
- Ganache Chocolate Tart
- Sharp Edges on Ganache Cakes
Frequently asked questions
Often, over-heated chocolate causes grainy chocolate ganache. Because, when you over-heat chocolate the fat in the chocolate separates or splits from the cocoa butter causing an oily, split, or grainy ganache.
Sometimes, yes. Depending on how hot the cream is. And, if the temperature of the cream is right it will help stabilize the fat in the chocolate and bring it all together. However, if it’s too hot it will make things worse. Whipping cream is fat too!
There are a few method to fix ganache.
I find using a blender to mix the ganache works best. The emulsification process combines the fat in the chocolate with the fat in the cream.
In addition, they say add corn syrup to a small batch of the ganache first, and mix it well. Then, add that to the rest. However, I have not had much luck with this one.
Low-fat Milk – heat a little low-fat milk and add it a tablespoon at a time. The whey in the milk helps stabilize the fat in the ganache.
This happens when all the chocolate was not melted properly. So, all you have to do is melt the ganache in the microwave or double boiler. Then, stir constantly but until the ganache has just melted. Now, use a blender to break those small pieces of chocolate. Then, cool again until set to the right consistency before using.
The white lines are possibly fat from the chocolate that was separated. Hence, what you have is probably a split ganache.
However, it can still be used. Simply melt the ganache for 10 seconds, then mix throughly until you have a smooth ganache.
Again, use that 10-second burst in the microwave or few seconds on the double boiler.
Chill it for a few minutes in the fridge until the chocolate sets again. And, make sure to stir so it sets evenly.
If ever you do over-whip your ganache, just add 1 or 2 tbsp of warm cream or milk and mix thoroughly with the back of your spoon. You may deflate some of the volumes but that’s what you want. And, it will be smooth and creamy again.
Ganache sets at room temperature after a few hours. And, depending on the weather, it can take from 4 to 8 hours. Also, you can set ganache in the fridge for a shorter time. And, when taken out of the fridge there will be some condensation but that usually will disappear as the ganache sets again.
In terms of taste it’s individual preference. Some love buttercream while others love chocolate. In addition, the chocolate sets better than butter in most weather conditions. Therefore, it’s ideal for working under fondant. That is why ganache has become the most preferred frosting amongst cake decorators.
By whipping it! When whipped, the cream in the ganache becomes thicker making a thicker ganache. And, it also lightens the ganache both in color and texture. Also, a thicker ganache works best in between layers as it spread evenly and holds its shape.
Though ganache contains cream, this cake decorators ganache can stay at room temperature for up to 4 days. And, you can also keep it in the fridge for up to a month. Then, thaw at room temperature overnight or a few hours.
It is best to thaw ganache at room temperature for a few hours. And yet, if you must, it is also possible to reheat it. My preferred method is the microwave at 10 seconds burst. And, make sure to stir between each burst. Since, when it comes to chocolate 10 seconds is more than enough.
And, you can also use a double boiler making sure to keep a constant eye on the ganache and stirring as needed.

Chocolate Ganache Recipe for Decorating Cakes
The perfect chocolate ganache for decorating a cake is one that you can use to cover a cake with fondant and I call it the Cake Decorators Chocolate Ganache Recipe. One that adds stability to the sculpted cake when working on a novelty cake and stays firm when stacked into a tiered wedding cake. My chocolate ganache is like my rock for me as a cake decorator.
Video
Ingredients
- 1 lb (450 g) Chocolate dark, milk, semi-sweet
- 8 oz (240 ml) Heavy cream
- 1 ¼ lb (560 g) Chocolate
- 8 oz (240 ml) Heavy cream
- 1 ½ lb (680 g) Chocolate
- 8 oz (240 ml) Heavy cream
- 1 ¾ lb (790 g) Chocolate
- 10 oz (280 ml) Heavy cream
- 2 lb (900 g) Chocolate
- 12 oz (340 ml) Heavy cream
- 2 ½ lb (1.10 kg) Chocolate
- 16 oz (450 ml) Heavy cream
Method
- Stovetop method – Place chocolate in a heatproof bowl and set aside. Heat the heavy cream in a saucepan over medium heat until it begins to simmer. Pour the cream over the chocolate and let it sit for 5 minutes. Then, stir with a spatula until smooth. Pro tip – DO NOT let the cream come to a rapid boil as it can burn the chocolate). If the chocolate is chopped fine there should be no more chocolate pieces. If necessary, melt in the microwave for 20 to 30 seconds.1 lb Chocolate, 8 oz Heavy cream
- Microwave Method – Place the chopped chocolate into a microwave-safe bowl. Pour the cream all over the chocolate. Heat it in the microwave on high for a minute. Stir and continue to heat at 30-second intervals until you have a smooth ganache.
- Cover -Once the ganache is ready, cover it with plastic making sure the plastic touches the top surface of the ganache to prevent skin from forming on the top.
- Rest – Leave the ganache to set in the bowl at room temperature for a few hours or in the fridge for 2 hours. Once it reaches a spreading consistency it can be used for frosting.
- Storage – Ganache will keep at room temperature for 2 days. It can be kept in the refrigerator for up to 5 days. It can also be frozen for up to a month in the freezer. Thaw in the fridge overnight for best results. Pro tip – To warm the ganache simply place it in the microwave for no more than 10 to 20 seconds intervals.
Notes
- First, use high-quality chocolate and heavy cream for the best results.
- Chop the chocolate finely and
- heat the cream until it just begins to simmer. Pour the cream over the chocolate and let it sit for a few minutes before stirring until smooth.
- For a richer ganache, use a higher percentage of chocolate or add a tablespoon of butter.
- If your ganache is too thick, add a splash of cream to thin it out. Conversely, if it’s too thin, chill it in the fridge until it thickens up.
- Finally, be patient when working with ganache. It takes time to set properly, so allow enough time for it to cool and firm up before using it in your recipes.
Consistency for covering a cake
- Ganache rested may not necessarily be ideal to just start using.
- The ideal consistency is peanut butter consistency.
- You want to be able to hold the ganache on the spatula and spread it around the cake.
- The best way to bring it to consistency
- In cold weather – stick it in the microwave for 10 secs (when it comes to chocolate 10 secs is a lot so don’t’ over-heat)
- If the ganache was in the fridge resting it out for an hour works too.
- If you live in a hot and humid climate – just a vigorous stir with a spatula is all you need.
- Always chop chocolate finely or keep them in similar size pieces. That way the whole batch will melt evenly.
- Never let heavy whipping cream boil. You want the cream to be hot but not boiling. If necessary it’s better to place the ganache in the microwave for 30 seconds to get the last bit of unmelted chocolate.
- If you have one or two stubborn pieces of chocolate left in the ganache that won’t melt. It’s best to remove them, then to take a chance of overheating the whole batch and risking a split.
- Microwave ganache – often a culprit of overheated ganache. Depending on how big the batch is, start with 30 seconds then heat at increments of 1o secs stirring between every interval to distribute the heat evenly.
- Ganache has split or separated – this happens when the cocoa solids and fat don’t emulsify properly. Add a splash of milk and give it a good stir. Add another splash and stir again until you have a smooth ganache.
- If the chocolate looks lumpy, grainy means you have overheated the chocolate. Use a stick blender and give it a whiz. All should be well again.
- If you realize the ganache is split only after it has cooled. Add a little more chocolate to it. And reheat the melting process keeping a close watch, making sure to stir and encourage even distribution of heat. If necessary add more cream to maintain the ganache ratio you need.
- Never over mix chocolate ganache – this will incorporate too much air into the ganache but also can cause the ganache to split. Especially with white chocolate ganache keep stirring to a minimum once the chocolate is melted.
- Ganache is best made in a glass bowl when using a microwave and in stainless steel when using a stovetop. Never use plastic or aluminum for melting chocolate, the ganache will not have a shiny appearance.
- Place a plastic wrap/cling wrap directly over the ganache when letting it cool. This will prevent any crust from forming on top.
- Why is my ganache grainy?
Often, overheated chocolate causes grainy chocolate ganache. Because, when you overheat chocolate the fat in the chocolate separates or splits from the cocoa butter causing an oily, split, or grainy ganache. - Can I fix grainy ganache?
Sometimes, yes. Depending on how hot the cream is. And, if the temperature of the cream is right, it will help stabilize the fat in the chocolate and bring it all together. However, if it’s too hot, it will make things worse. - How to fix the ganache? There are a few methods to fix ganache.
- I find using a blender to mix the ganache works best. Since, the emulsification process combines the fat in the chocolate with the fat in the cream.
- Also, they say add corn syrup to a small batch of the ganache first, mix it well then add that to the rest. However, I have not had much luck with this one.
- And, low-fat milk. Heat a little low-fat milk and add it a tablespoon at a time. The whey in the milk helps stabilize the fat in the ganache.
- My ganache has a small piece of chocolate.
This happens when all the chocolate was not melted properly. And, all you have to do is melt the ganache in the microwave or double boiler. And, stir constantly until the ganache has just melted. Then, use a blender to break those small pieces of chocolate. Then, cool it again until set to the right consistency before using. - Why does my ganache have white streaks/lines when cooled?
The white lines are possibly fat from the chocolate that was separated. And, what you have is probably a split ganache.
But, it can still be used. Simply melt the ganache for 10 seconds, then mix thoroughly until you have a smooth ganache. - How do you fix a ganache that’s too thick? Again, use that 10-second burst in the microwave or few seconds on the double boiler.
- How to fix a ganache that is too thin? Chill it for a few minutes in the fridge until the chocolate sets again. And, make sure to stir so it sets evenly.
- How to fix over-whipped chocolate ganache?
If you ever over-whip your ganache. Just add 1 or 2 tablespoons of warm cream or milk and mix thoroughly with the back of your spoon. But, you may deflate some of the volumes, and yet that’s what you want. In fact, it will be smooth and creamy again. Trust me.
Equipment you will need


Nutrition
Tried this recipe?
Mention @veenaazmanov_kitchen or tag #veenaazmanovkitchen!- How to cover a cake with ganache
- How to get sharp edges on ganache cakes.
- Sharp edges on buttercream cakes


Hi Veena,
I’m new to baking and cake decorating. I am planning for a double decker farm animal fondant cake for my sons birthday . I tried you vanilla cake last week, and it turned awsome. Thanks a lot. So here are my queries:
1)Can i bake cake and freeze it 2 weeks ahead?
2) vanilla cake with vanilla buttercreabuttercream filling +chocolate ganache. Would that taste alright?
3) how long can i refrigerate ganache.
Hey Veena,
Yes, you can bake and freeze the cake in advance. Thaw it in the fridge overnight not at room temperature the cake will be moist.
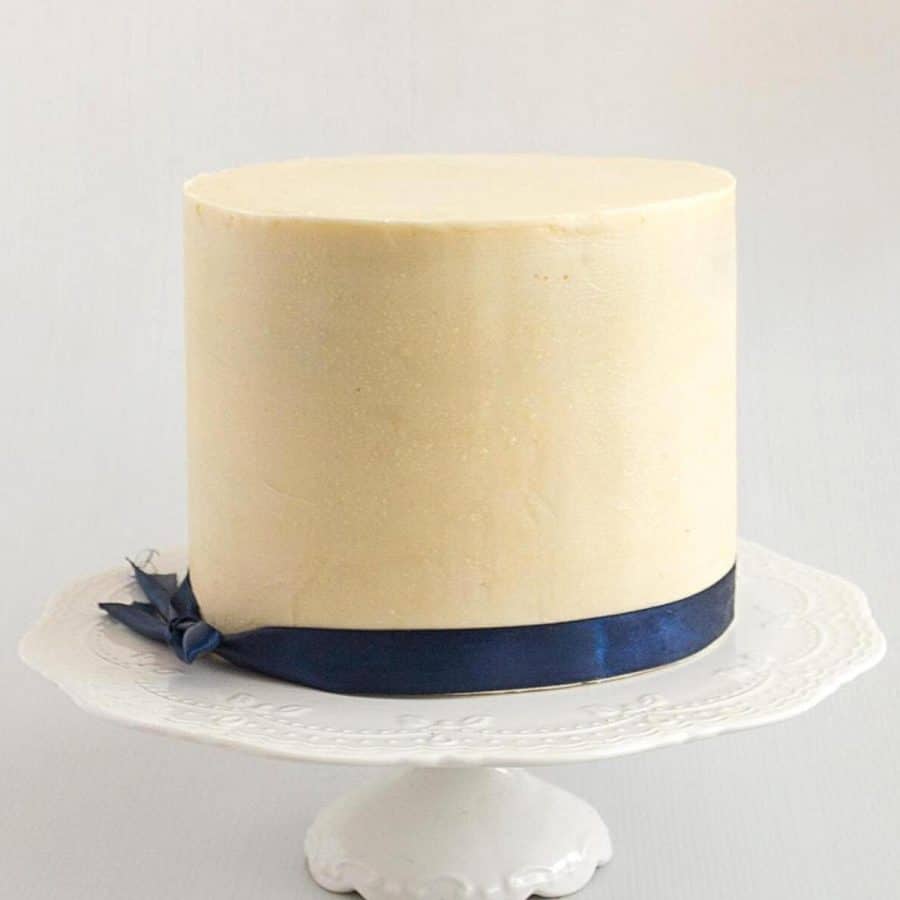
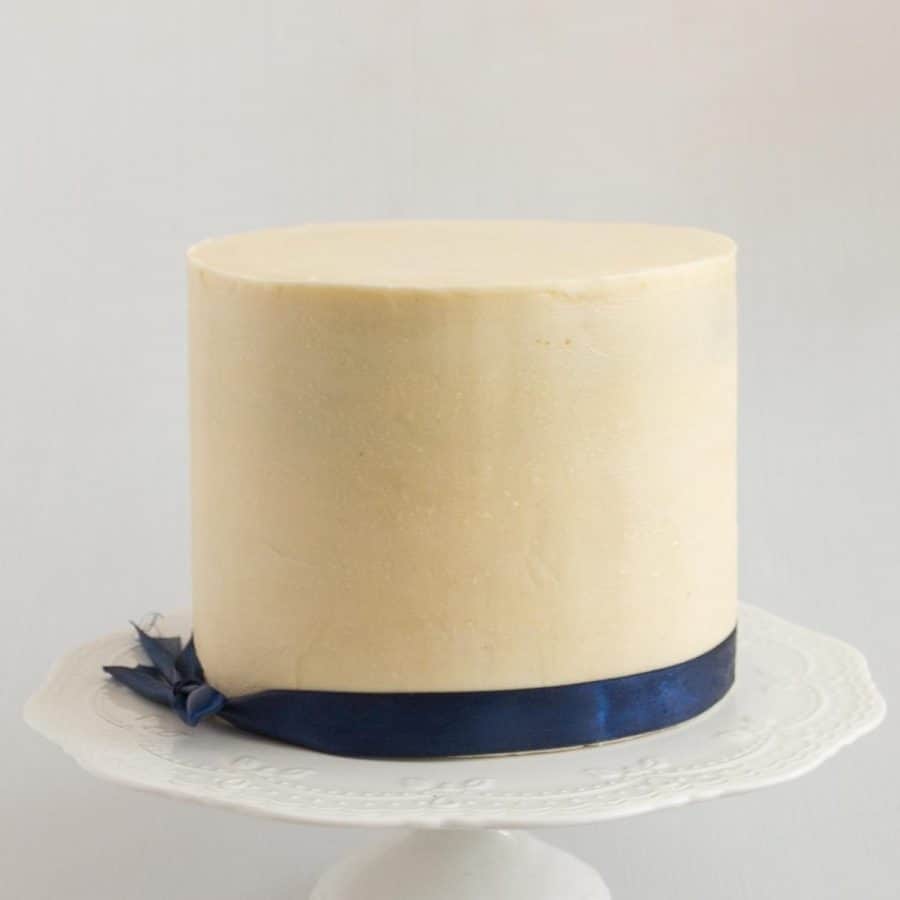
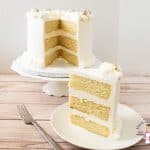
Vanilla cake with vanilla buttercream and chocolate ganache is a classic combination – In fact, I do it all the time. I have a recipe – Vanilla Cream Cake – if you want to see how it will look like
Ganache can be kept in the fridge for a few weeks -wrap it well.
Happy Birthday to you son.
Highly appreciate your suggestions veena. You are a legend. Thank you.
I tried vanilla cake with milk in place of cream; Could you also please tell me, what is to expect when replacing milk with cream. Can’t wait to try the new recipe?
How long ahead can I prepare and freeze buttercream filling, or is that to be used fresh to maintain the taste?
TA
Hey Veena. The cream is also part of the fat in the recipe so replacing it with milk will make it less rich.
Buttercream can be made a few days in advance and kept in the fridge.
Each buttercream has its own shelf life – please read the storage instructions for that particular buttercream on the post.
Thanks
Hi. If i cover a cake just with the ganache no fondant or anything on top of the ganache will it melt? Or how long can last a cake covered with this ganache without melting? I live in florida so is a hot weather here
Thanks for your response
Gigi. Use cake decorators ganache and no compared to buttercream ganache has a much better chance of staying in hot and humid weather. Unless you keep it in direct sunlight the ganache will not melt. It can stay good on the cake for days. You can even keep the cake in the fridge if you have a perishable filling.
See video – how to ganache a cake
Hello Veena. Thanks for this recipe. I follow you from Africa 🙂 and heavy cream costs a fortune here. Can I use unsweetened condensed milk instead?
Hey Rosa. Sorry to hear that fresh cream is so expensive there. Technically I don’t see why it would not work.
But do this as a test – use 100 grams chocolate and 1/4 cup unsweetened condensed milk – melt and stir just like ganache.
Be careful when melting – stir often. Look for consistency. Make sure it’s spreadable not fudge like. If you overheat it will be fudge texture and that won’t give you a good spread.
Spread it over Clean chopping board or such textured surface.. see if it dries smooth or brittle.
If its’ smooth it should be ok. If not it may not work well under fondant. May end up with cracks.
See how this goes. I’d be curious to know the results as well
XXX
Hi! Can i use the decorators ganache recipe for whipped ganache instead of the regular ganache? I want my ganache to be lighter in color for a semi naked cake but i also want it to be stable and can stand the hot weather in my country.
Hey Tata. Yes, you can use this for whipped ganache but since the cream in there is so little you won’t really get a good whipped effect. If you want your ganache to be light in color use the regular Classic Chocolate Ganache. That has more cream so it will whip light and fluffy too. I think whipped ganache if used minimum on a naked cake may be ok for hot weather.
Tha ks for the recipe Veena.
Will this affect the flavor of the cake?
Say, they want a vanilla cake with vanilla frosting. Wont covering it with chocolate ganache change the flavor?
How can I use this recipe to get sharp edges without changing the flavor of the cake asked for?
Hey Kanthi, Sorry this comment moved to spam (not sure why)
If you use chocolate – it will taste like chocolate. Chocolate is a strong flavor so while we use it for the firmness we also have to accept that it will taste like chocolate. You can use white chocolate for a less intense chocolate taste but there is still chocolate. The other option is to use buttercream – use my post how to get sharp edges on buttercream and see if that method helps.
Thanks Veena, I appreciate your reply.
can i use whipped ganache as filling without a dam and plain ganache as crumbcoat under fondant?will it be ok
Yes Demi. Whipped cream without ganache will work and so will this ganache plain as a crumb coat and frosting. Thanks
I’m looking forward to trying your flavored ganache recipes! Have you flavored your cake decorator’s ganache recipe with all of the options you suggest and still keep a stable ganache that produces sharp corners for fondant application. (especially when adding large quantities of flavorings like – peanut butter, nutella, and caramel? Thank you!
Hey Michelle. Almost all of these will work well as filling and frosting. Personally, if I need to drape with fondant, I will use these as a filling and then use a plain vanilla flavored ganache for frosting, just so it will be stiff under fondant and give me enough working time because humidity here in Israel is crazy. I hope that makes sense. For fruit favors, I would only use them as filling.
Very helpful! Thank you so much Veena!
You are welcome Michelle.
I hope you see this comment as its on such an old post.
I go so excited at the title – cake decorator’s ganache. But i realised it’s the ganache I’ve always made. I tried it again yesterday. And the same disaster.
It’s nice and firm with a sharp edge till i put the fondant on. Then it’s a sticky hot mess and the weight of the fondant drags the ganache down too and everything sags and bulges. It doesn’t help that I live in Bombay on the sea-shore.I’m desperate to make cakes that look great with sharp edges. Even in what passes for winter here, it’s the same.
I’ve tried different brands, pure chocolate, chocolate compound…everything. It never works. 🙁 Any suggestion would be welcome.
Hey Kamini,
I see all post unless it goes to spam so feel free to comment and ask anything on olds post too.
Actually, I lived in Bombay and I have used ganache. In fact, I remember giving my niece a quick course on how to ganache a cake and cover it in fondant.
The ganache was not bad. If I remember correctly.
– I made the ganache with more chocolate and less cream – less than this as well.
– I used half good chocolate bars and half compound chocolate (that’s what I could find in my sister’s fridge at the time)
-I made the ganache and let it set in the fridge overnight.
– Next day, I kept it out for an hour the gave it a good whip by hand using a spoon until it was peanut butter consistency.
– I covered the cake in ganache – one coat – chilled an hour.
– covered the cake in ganache again – final coat and chilled overnight.
– Next day – I took the ganache cake out just when I started rolling my fondant.
– Before I put the fondant on the cake. I rubbed my hands on the ganache cake to spread the condensation that was just starting out.
– covered the cake – with fondant – quick sharp edges.
– Left it alone – there was some sweating which dried off
– then we decorated the cake once the fondant dried.
– I know with places that have high humidity fondant in the fridge is not a good idea. So leave it out.
Not sure I have an answer to your question but see if my process on top gives you any ideas.
Also when you roll the fondant – roll it a bit thicker and not a big skirt. Remove excess quickly.
Work in an airconditioning room or choose to work in the evening when its’ cooler than the day.
I think compound chocolate such as chocolate chips works better as they are meant to handle heat and still hold their shape better.
Have a good day.
Thank you so much, Veena, for the detailed response. No wonder you’re such a star. So deserving. 🙂
I have tried higher proportion of chocolate to cream. Same results.
But I shall try the slow steps like you mentioned. I tend do do everything at a rush on one day, in a few hours as I’m constantly afraid the cake might go bad in the insane heat.
There is an additional problem I face. Being an ecologist by training and conservationist by passion, I do not have air-conditioning in the house. This makes a world of a difference and reading your buttercream post made me realise you’re the first person who understands what I’m talking about. When you say (to paraphrase), ‘I could have it all cooled and perfect, but it could turn into a hot mess in the client’s car’. A lot of people do not have a/c. I don’t want the cake to turn into a mess when it leaves my house. So, looking for apt solutions. Wonder what people who have outdoor weddings/functions in hot places do?
Thanks once again for the response. Much appreciated.
yes, one of the big issue with cakes is when you try to do it all in one go. The best way is to space the work and let it rest so it has time to set. Cakes baked from scratch have a longer shelf life and taste better over time.
We have to all work with what we have and the circumstances we live in. For example, in summer I never sell buttercream under fondant. I do have Air Conditioning but I can’t keep in on 24 hours – not worth the electricity bill – right?
I highly recommend you work slowly – cover the chilled cake with fondant and don’t put fondant cakes in the fridge since you don’t have air-conditioning.
XX
I’ve never tried ganache on a cake. I thought it would be too difficult and I’d make a mess out of the cake. You certainly make it sound doable. I’m pinning your tutorial and I will give the chocolate ganache a try. We love chocolate so it would be very much appreciated. Keeping my fingers crossed I don’t destroy a ganache nor a cake.
Ganache is so easy to make Marisa. You must try. It’s absolute chocolate heaven.
Ganache always makes this look so elegant. I love using it on cakes and cupcakes. Makes it look fancy…and isn’t that difficult to do. I need all the help I can get to make cakes look 1/2 as good as yours.
Thank you, Gloria. It really is easy, just time-consuming.
Thank you Thank you Thank you so much Veena. You just told me everything I need to know about Ganaching my cakes. I had the same confussion as you.
Thank you, Shalu. SO happy you found this article useful. Thanks