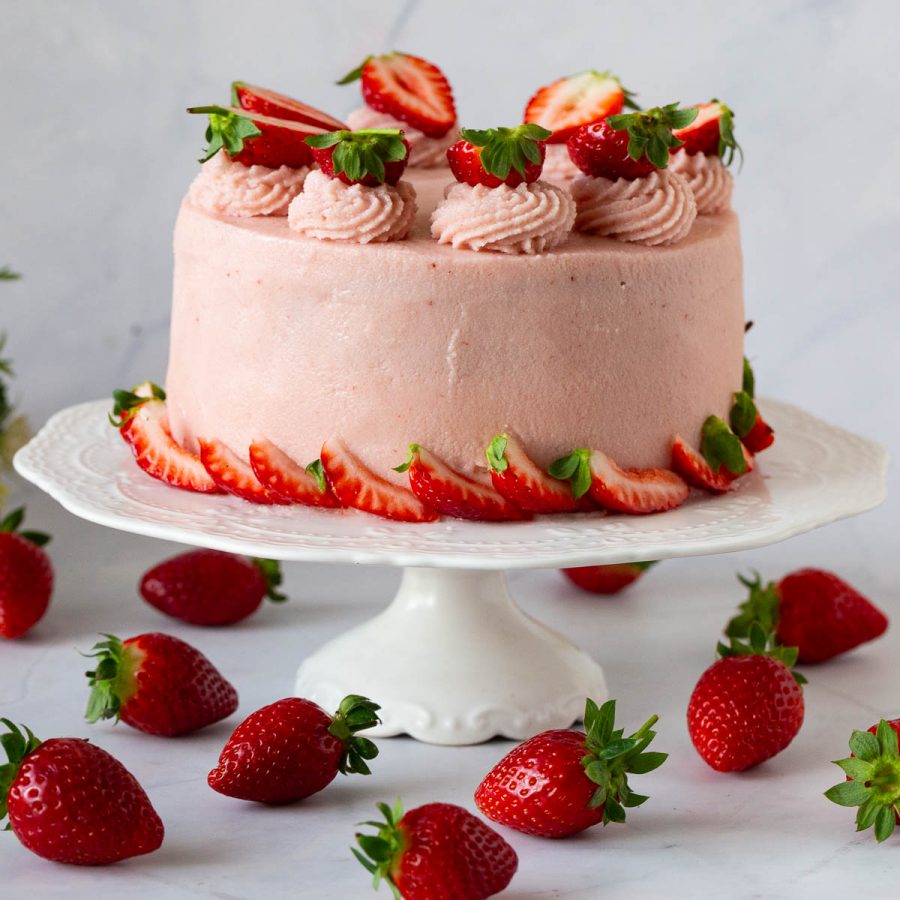
Perfect Chocolate Ganache


Nothing satisfies a sweet tooth quite like a rich, velvety chocolate ganache. Use it to frost your cakes, as a glaze and drip on the side of your cakes. As a dip for fruits, pastries, and more. Whether you’re a beginner or a seasoned pro, this recipe is surprisingly easy to make and use.
There is something undeniably luxurious about sinking your teeth into a smooth, creamy chocolate ganache. Whether it’s drizzled over a cake, used as a dip for fruit, or simply enjoyed by the spoonful, it’s hard to resist the decadent allure of this dessert staple. But what exactly is ganache, and what makes it such a beloved frosting?
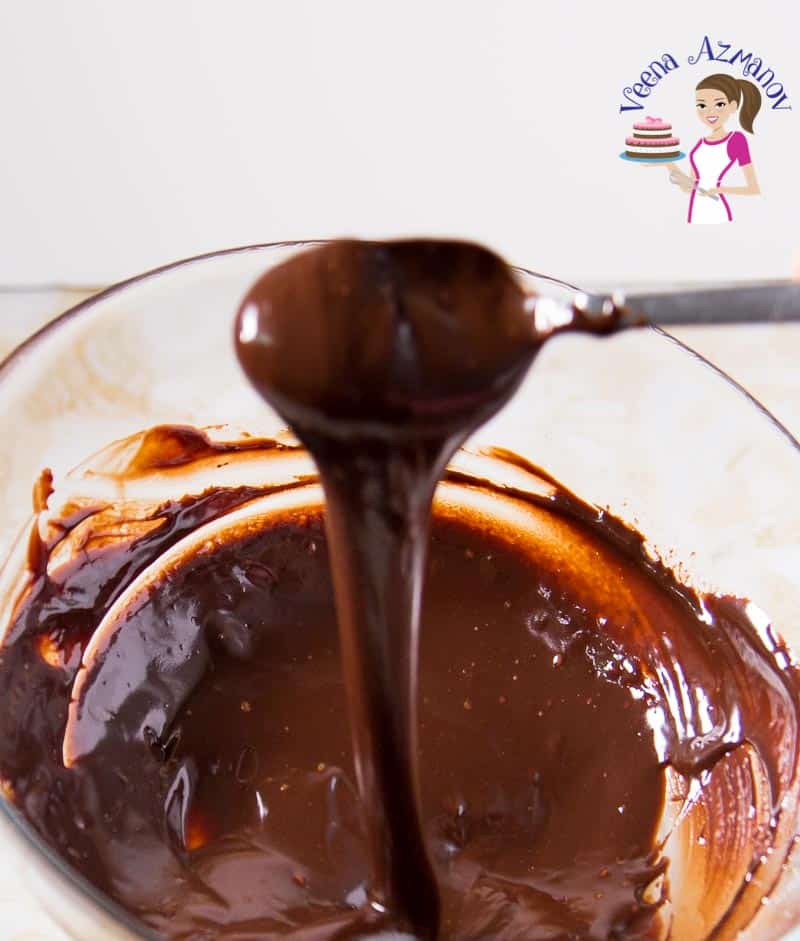
Ganache is a rich and versatile frosting made from just two ingredients – chocolate and heavy cream. The ingredients are melted together to create a velvety smooth and shiny mixture that can be used in a variety of ways.
Why is ganache the best frosting
- Well, for starters, it’s incredibly easy to make – all you need is two ingredients and a few minutes of time.
- Additionally, ganache can be customized to suit any taste preference by adjusting the chocolate-to-cream ratio or adding different flavorings.
- Whether you’re looking for a rich and fudgy frosting or a lighter, more whipped texture, ganache can be adapted to suit your needs.
Ingredients and substitutes
- Always use double cream, heavy cream, or whipping cream for the best texture. Substituting heavy cream with alternative dairy products, such as coconut cream or almond milk, can create a vegan or lactose-free ganache.
- Heavy cream: This is the most common type of cream used for making ganache. It has a high fat content, which helps create a smooth and creamy texture.
- Whipping cream: This cream has a slightly lower fat content than heavy cream, but it can still be used to make ganache. It will produce a lighter and slightly softer ganache than heavy cream.
- Double cream: This is a cream with a higher fat content than heavy cream, making it ideal for creating rich and velvety ganache. It is often used in European-style desserts.
- Coconut cream: If you’re looking for a dairy-free option, coconut cream can be used to make a delicious ganache. It has a slightly sweet and nutty flavor that can complement the chocolate.
- Sour cream: Although not commonly used, it can be incorporated into a tangy ganache that pairs well with certain flavors. However, it may produce a slightly grainy texture.
- When selecting chocolate, it’s crucial to choose a high-quality one to create a rich and decadent ganache. Semi-sweet or dark chocolate is the most commonly used for ganache. However, milk chocolate or white chocolate can be used for a sweeter and lighter flavor.
- Using flavored liqueurs or extracts such as orange or peppermint can add a distinct flavor to your ganache.
- With ganache, the chocolate-to-cream ratio is entirely adjustable. The ratio can be altered to create a more intense chocolate flavor by using a higher ratio of chocolate. Alternatively, additional cream can be added to produce a lighter texture.
Step-by-step: How to make chocolate ganache
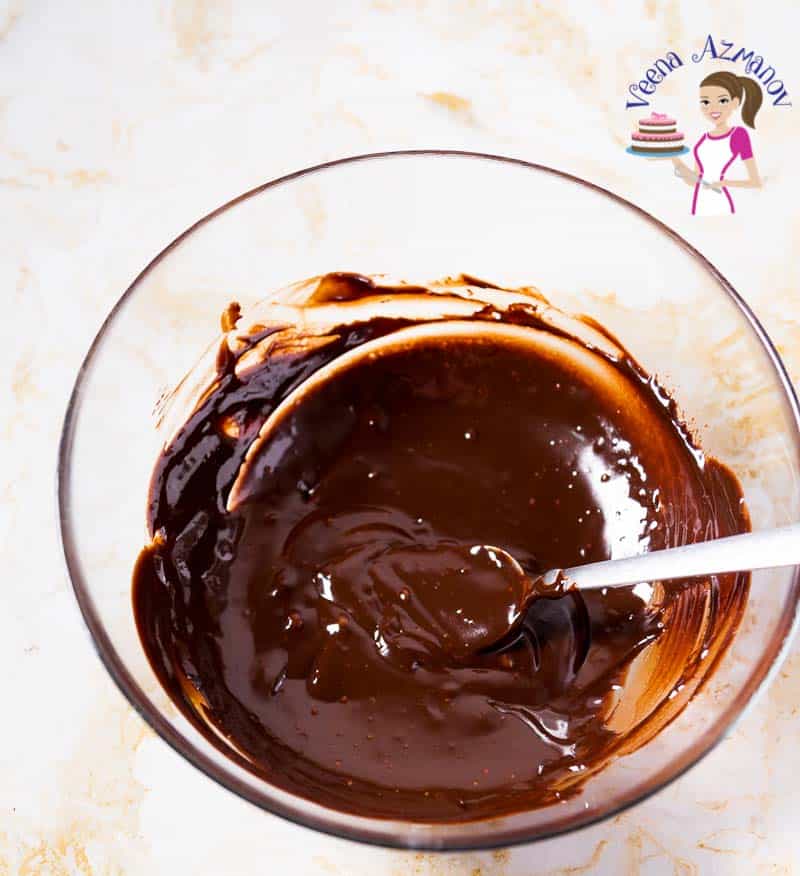
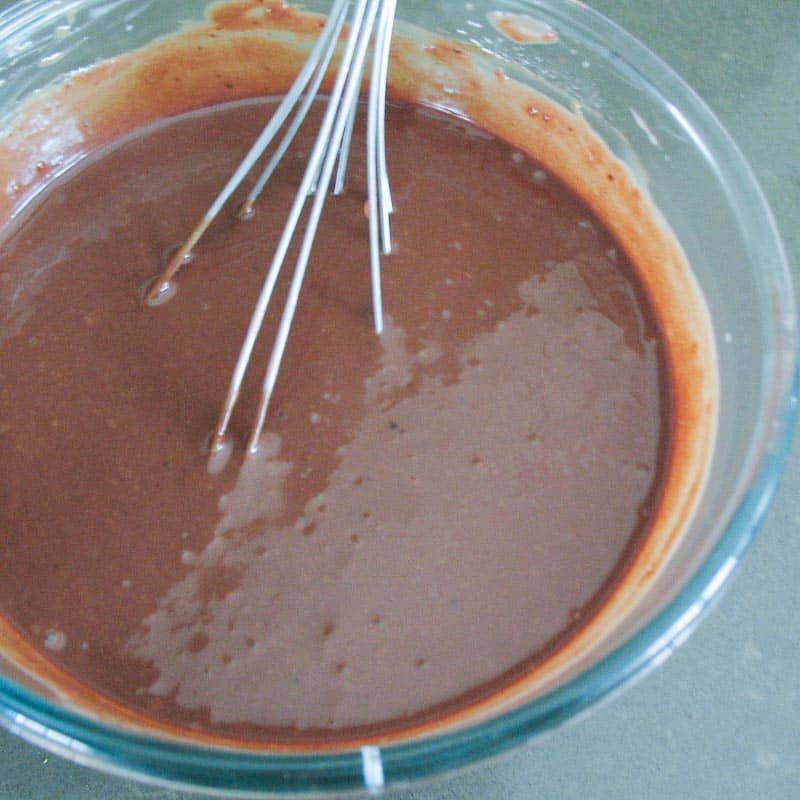
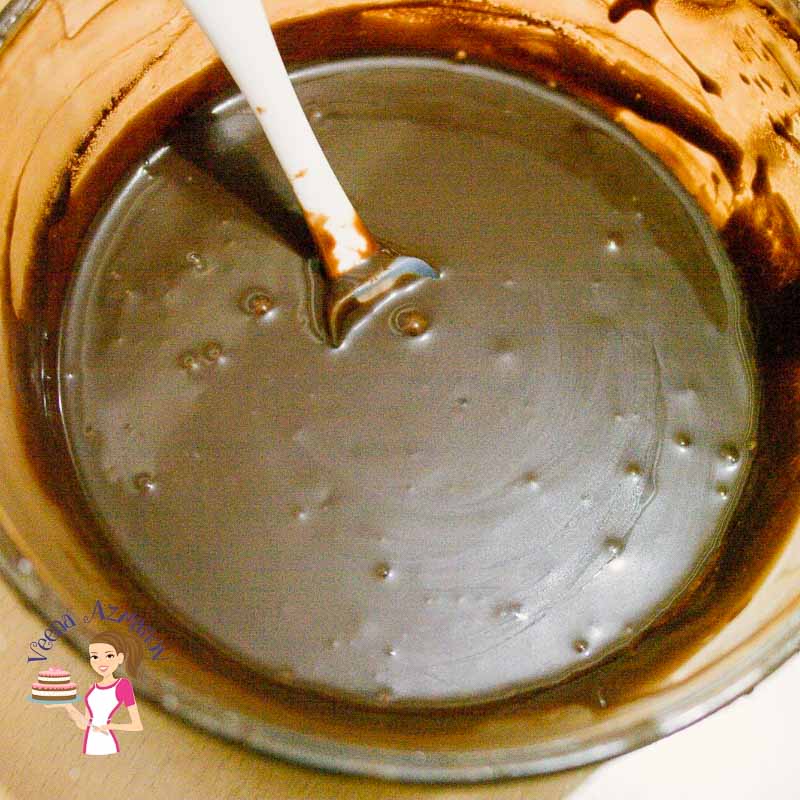
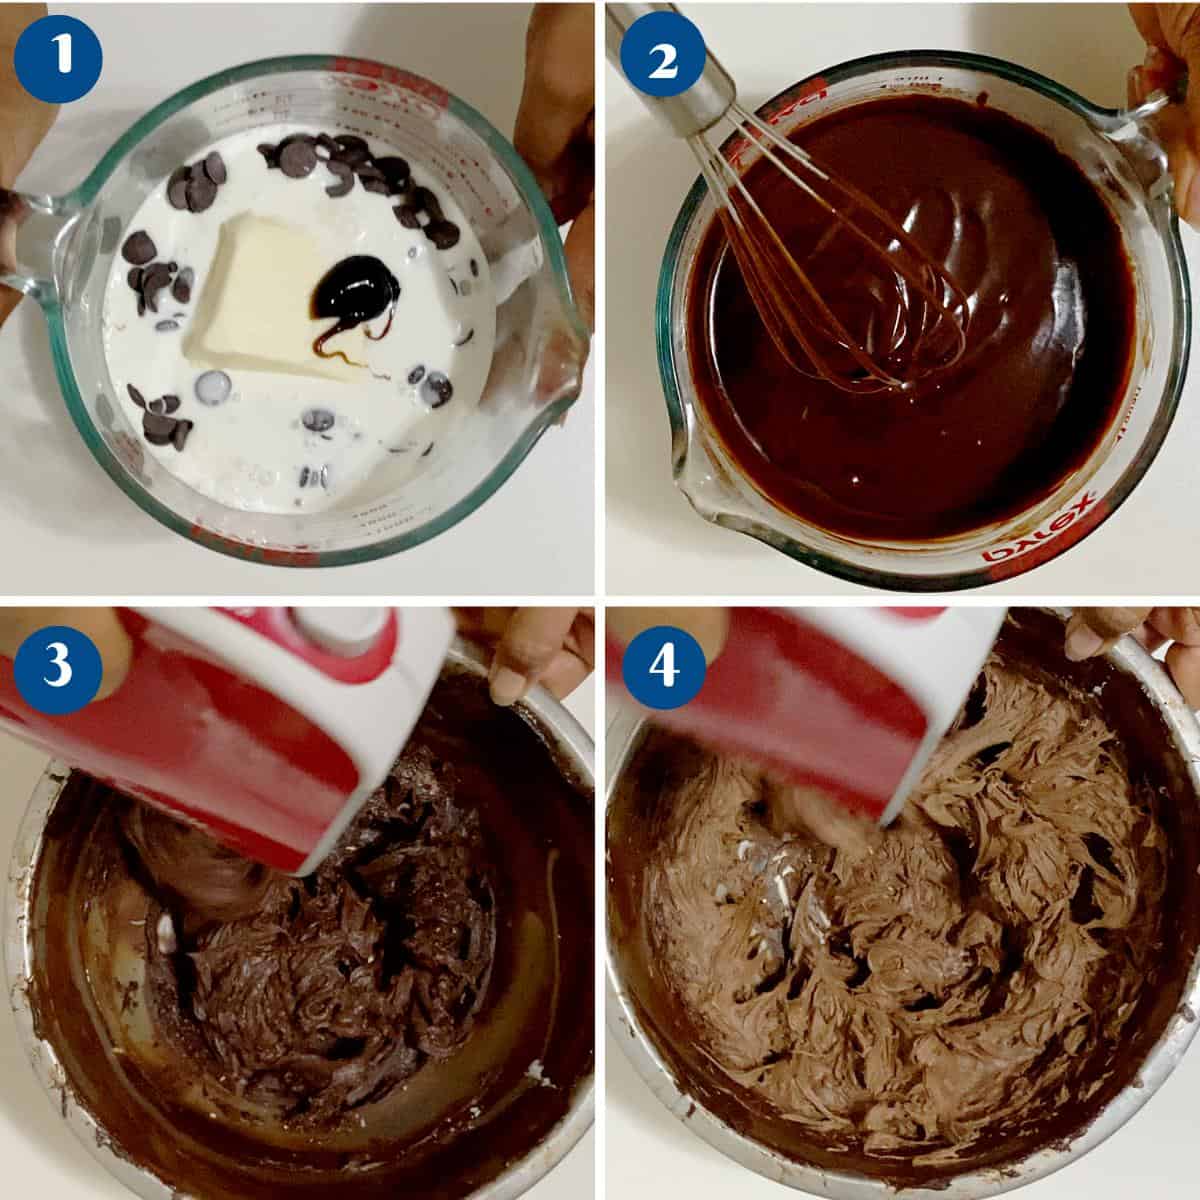
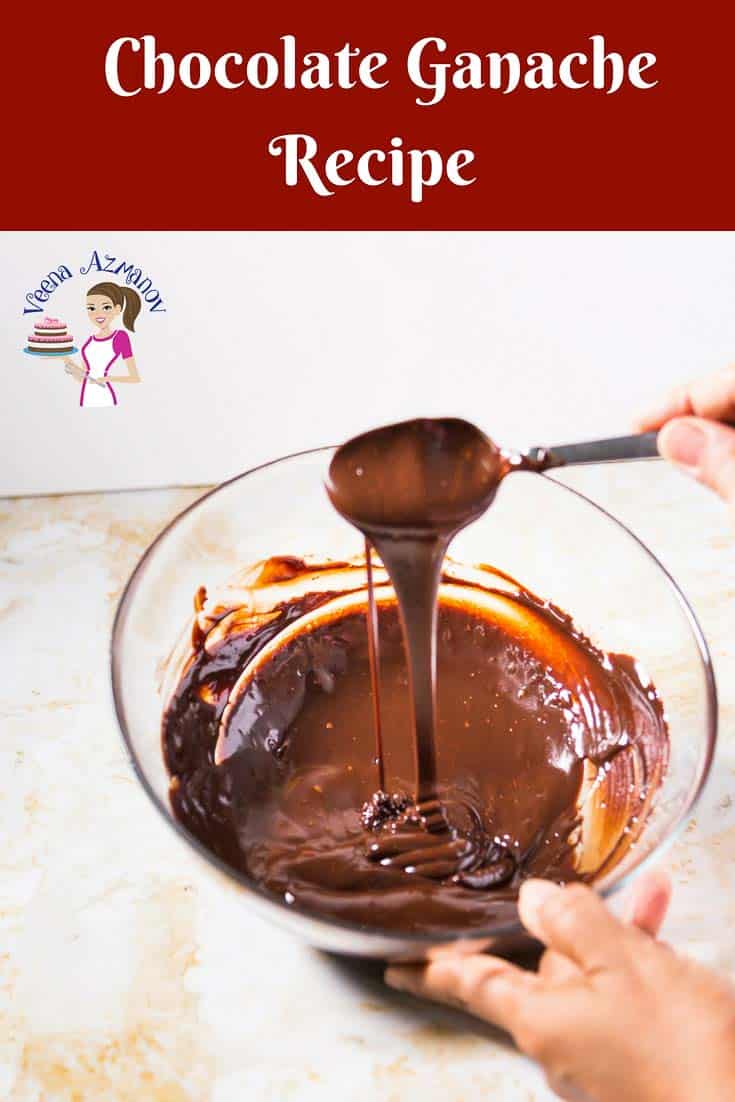
- Stovetop method – Place chocolate and butter in a heatproof bowl and set aside. Heat the heavy cream in a saucepan over medium heat until it begins to simmer. Pour the cream over the chocolate and let it sit for 5 minutes. Then, stir with a spatula until smooth.
Pro tip – DO NOT let the cream come to a rapid boil as it can burn the chocolate). If the chocolate is chopped fine there should be no more chocolate pieces. If necessary, melt in the microwave for 20 to 30 seconds.

- Microwave Method – Place the chopped chocolate and butter into a microwave-safe bowl. Pour the cream all over the chocolate. Heat in the microwave on high for a minute. Stir and continue to heat at 30-second intervals until you have a smooth ganache.
- Set – Once the ganache is ready, cover it with plastic making sure the plastic touches the top surface of the ganache to prevent skin from forming on the top.
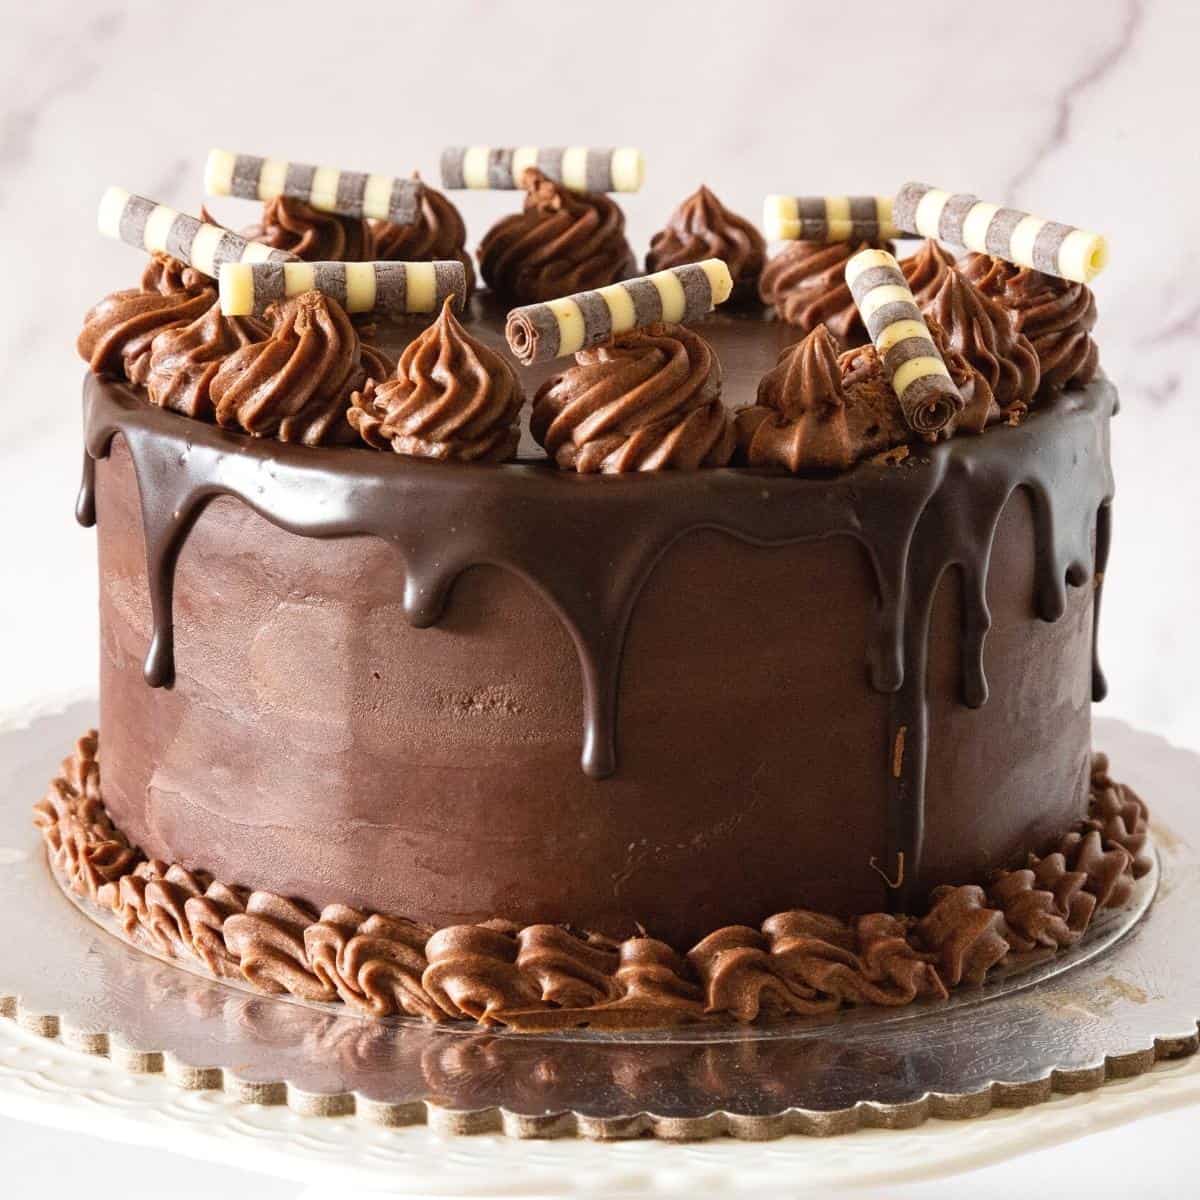
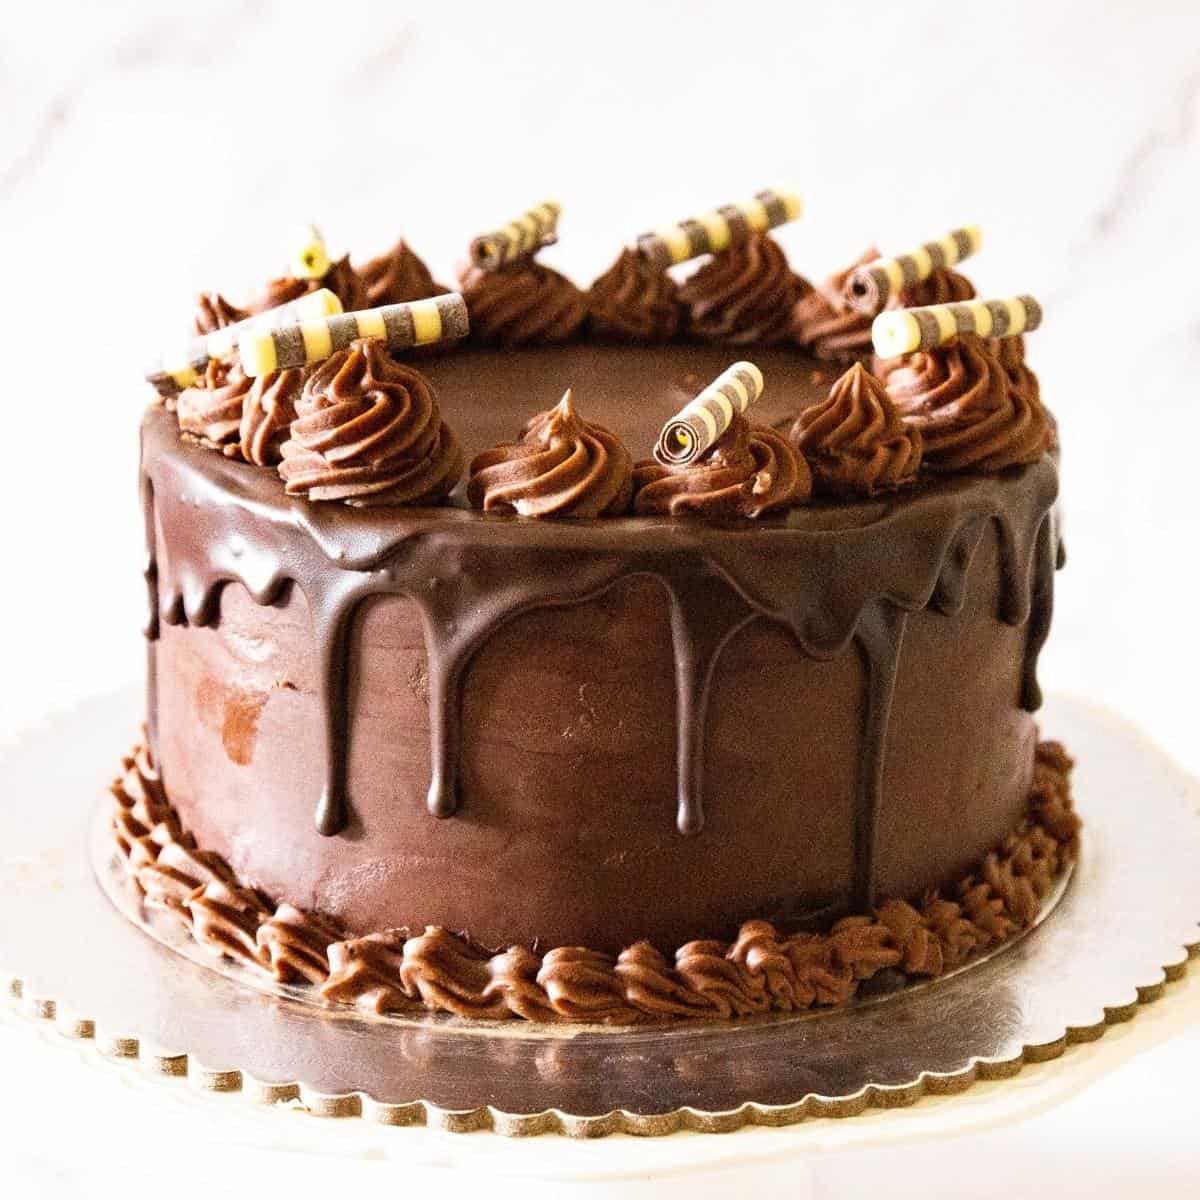
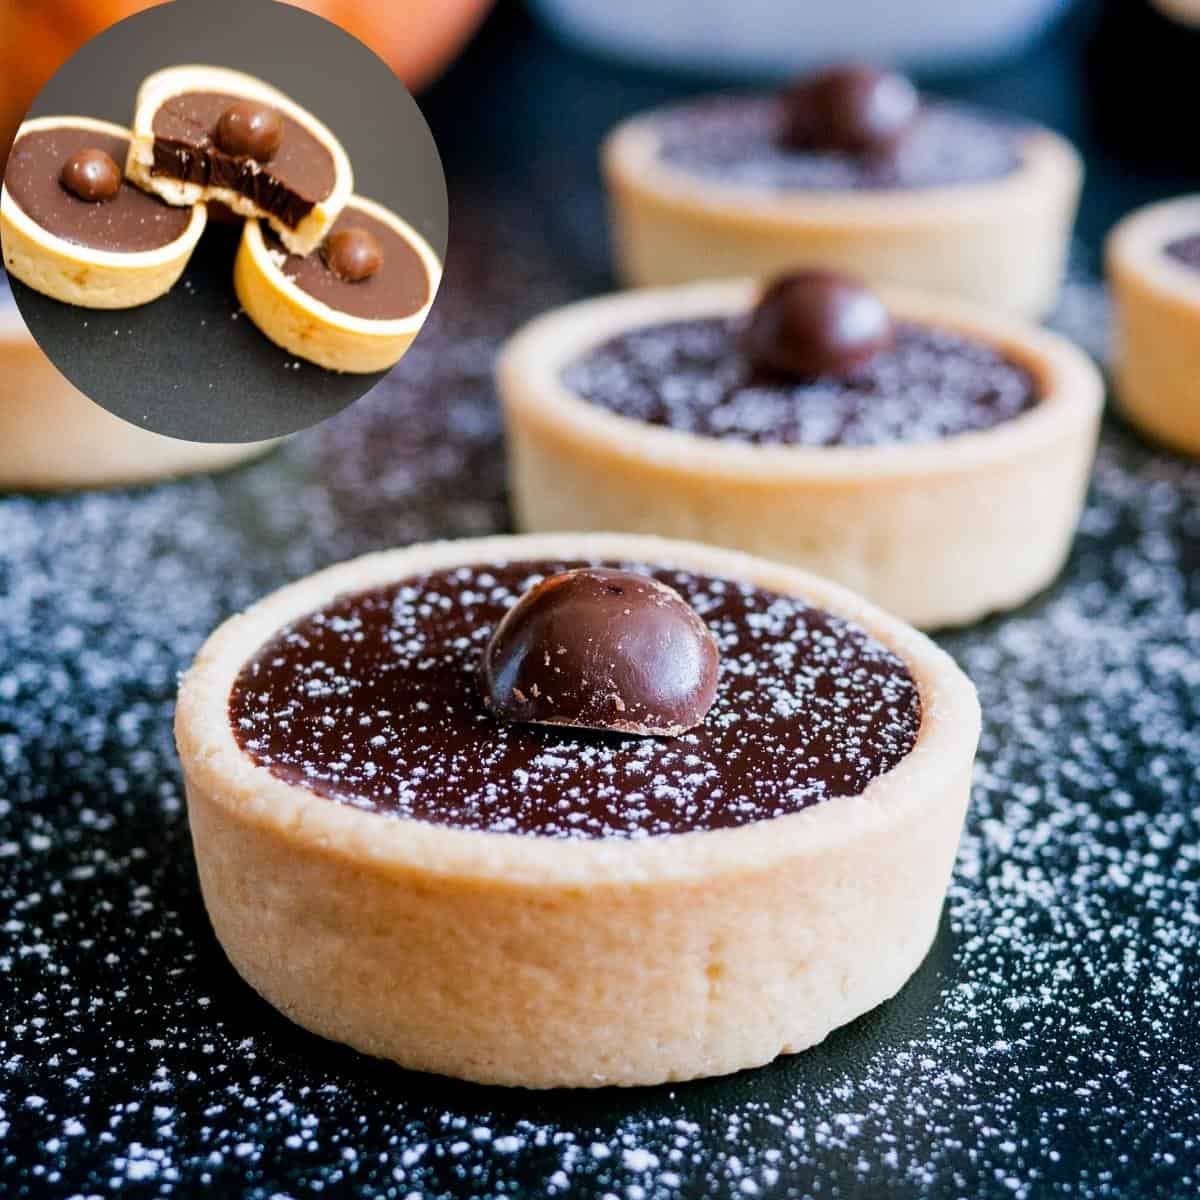
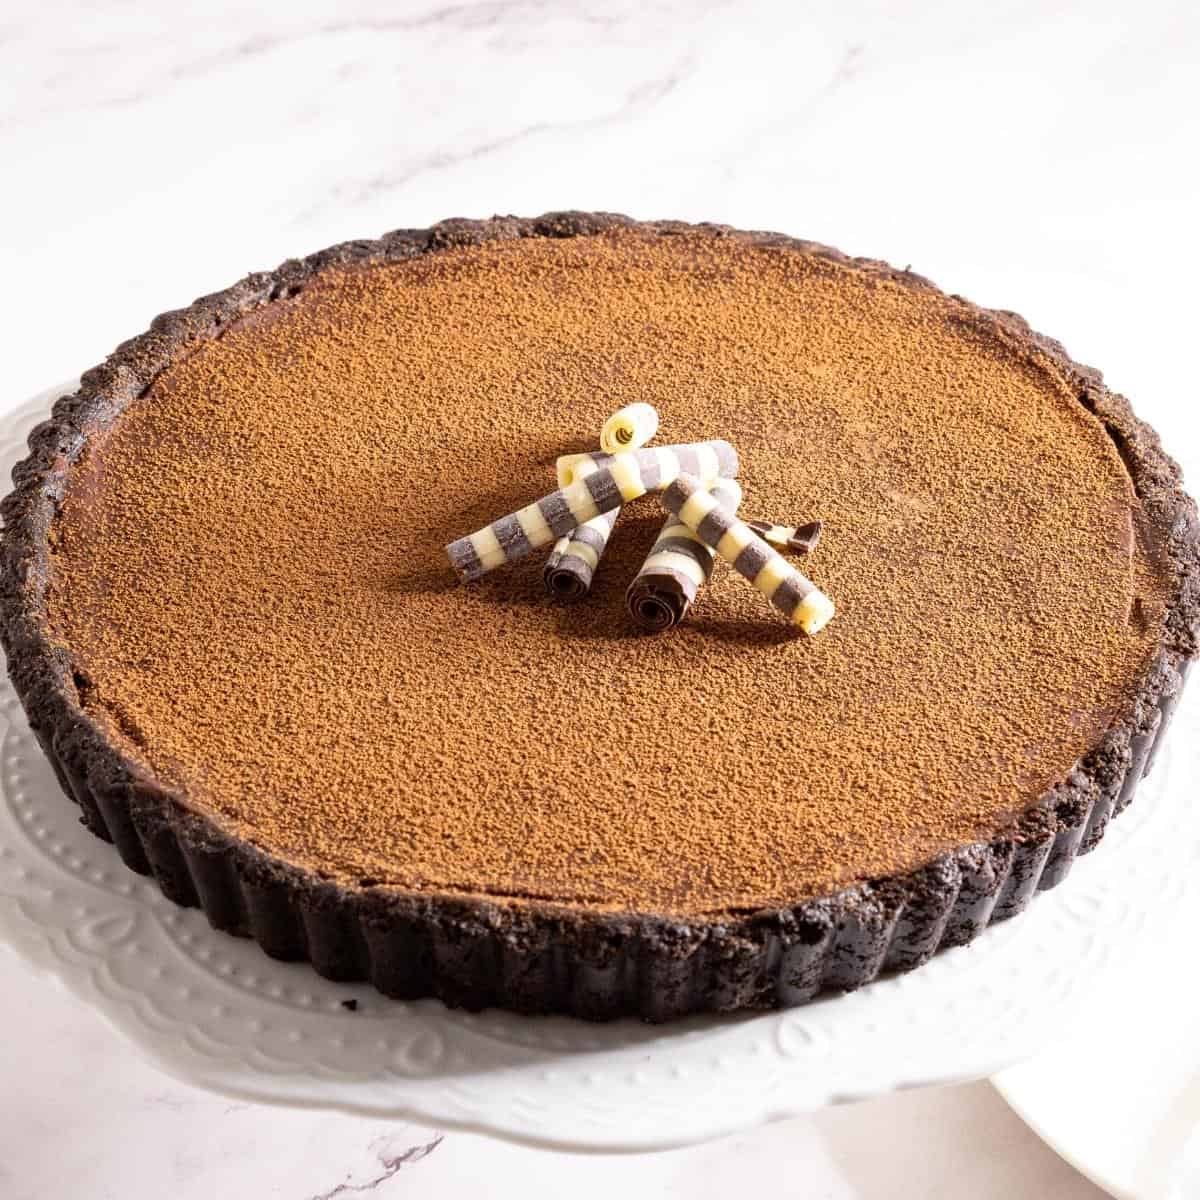
- Drip/Dips – This freshly made ganache at room temperature is ready to use as a drip for cakes and cupcakes or as a dip for other projects such as cookies and pastries.
- Frosting – Leave the ganache to set in the bowl at room temperature for a few hours or in the fridge for 2 hours. Once it reaches a spreading consistency it can be used for frosting.
Pro tip – the firm setting ganache made with a 2:1 ratio will have a thick peanut butter consistency which is perfect to use for cakes that need to be covered with fondant.
- Whipped ganache – once the ganache is cooled, place it in a stand mixer with a whisk attachment and whip until light and fluffy about 2 minutes.
Pro tip – DO NOT over whip ganache as it can be hard. If that happens just add 1 to 2 tbsp of hot cream and continue to whip until smooth.

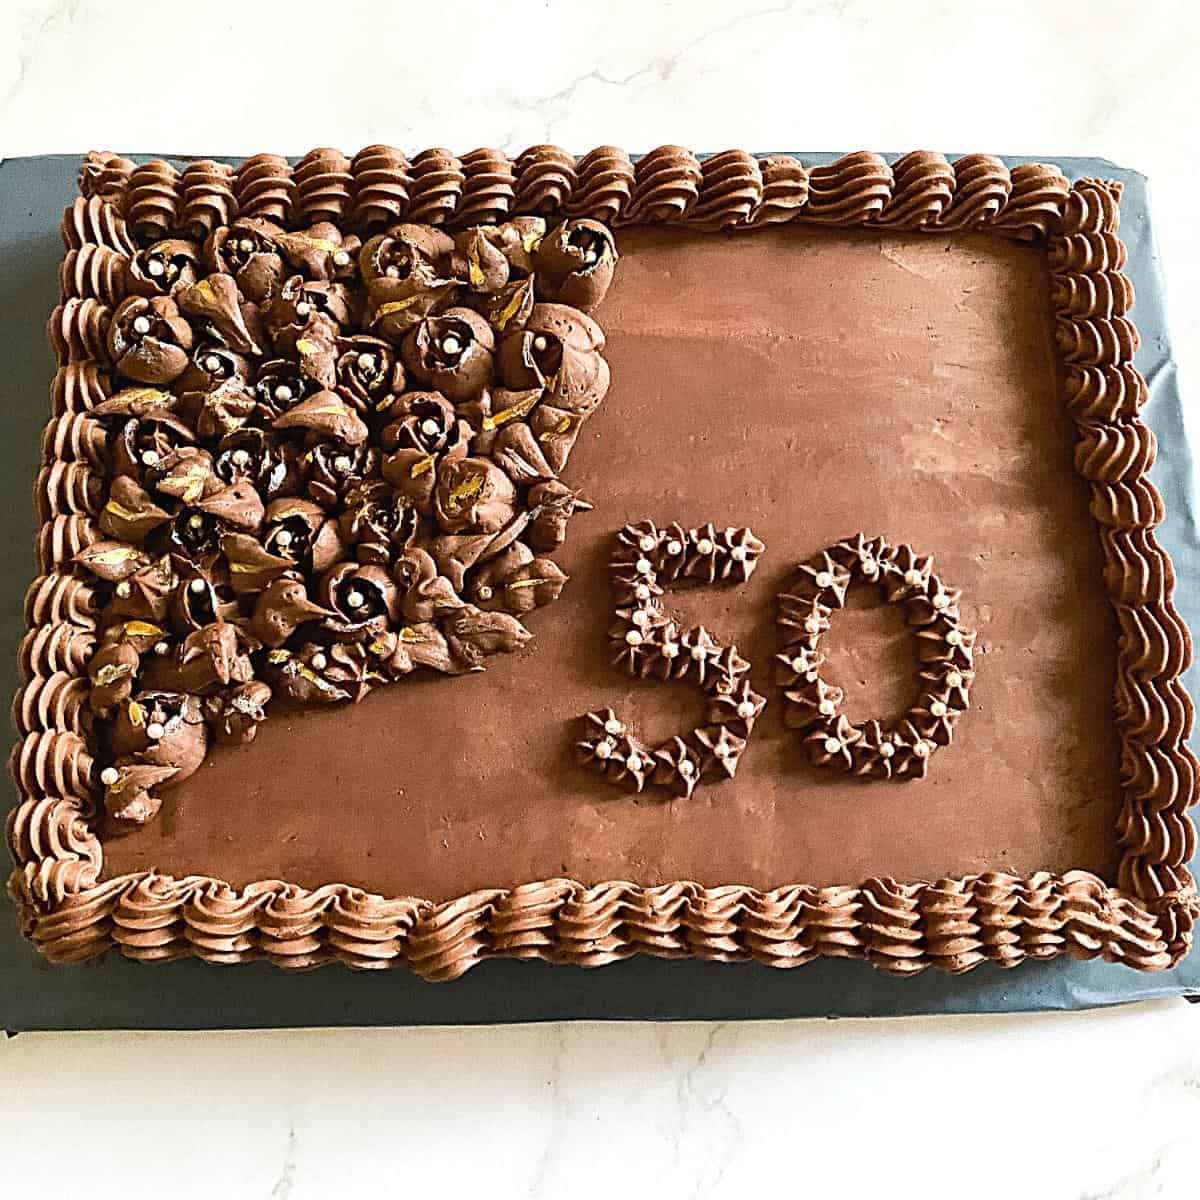
- Piped ganache – ganache frosting or whipped ganache can both be put into a piping bag and piped into swirls and borders on cakes and cupcakes.
- Storage – Ganache will keep at room temperature for 2 days. It can be kept in the refrigerator for up to a week. It can also be frozen for up to a month in the freezer. Thaw in the fridge overnight for best results.
Pro tip – To warm the ganache simply place it in the microwave for no more than 10 to 20 seconds intervals.

Chocolate ganache ratios
Depending on how you plan to use your ganache, you can adjust the thickness by adding more cream or more chocolate. The ratio of chocolate to cream is crucial in creating the perfect ganache for your recipe.
- For a slightly thinner ganache, use a ratio of 1:1 (one parts chocolate to one part cream), and
- for a thicker ganache, use a ratio of 2:1 (two parts chocolate and one part cream). These ratios can also be adjusted depending on the type of chocolate you use. For instance, if you’re using dark chocolate, you may want to use a higher cream-to-chocolate ratio.
- But why stop at the classic ratios? There are so many different chocolate ganache ratios that can be used to create a variety of desserts.
- A 2:1 ratio creates a softer, more spreadable ganache that’s perfect for filling cakes and cupcakes.
- A 1:1 ratio creates a glaze-like ganache that’s perfect for drizzling over pastries.
- And if you’re feeling adventurous, you can even use a 1:2 ratio (one part chocolate to two parts cream) to create a whipped ganache that’s perfect for frosting cakes.
The possibilities are endless when it comes to chocolate ganache ratios.

Troubleshooting
- One common problem is ending up with lumpy ganache. This can happen if you add too much cold cream to the warm chocolate or if you don’t stir it enough. To fix this, simply heat the ganache in a double boiler and whisk it until it becomes smooth again.
- Another issue is breaking, which means the ganache separates into its components of cream and chocolate. This can happen if you add cold cream to warm chocolate or if you overheat the ganache. To fix this, simply add a small amount of warm cream to the breaking ganache and whisk it until it comes back together.
- If the ganache is too thick or runny for your liking, adjust the ratio of cream to chocolate. If it’s too thick, add a small amount of warm cream. If it’s too runny, add more chocolate and whisk until the desired consistency is achieved.
How much ganache frosting do I need for my cake?
| Round | Square | Metrics | US Customary |
| 6-inch | 5-inch | 500 g | 1 lbs |
| 7-inch | 6-inch | 700 g | 1.5 lb |
| 8-inch | 7-inch | 900 g | 1.9 lbs |
| 9-inch | 8-inch | 1 kg | 2.1 lb |
| 10-inch | 9-inch | 1.5 kg | 3.3 lbs |
| 12-inch | 10-inch | 2.3 kg | 5 lbs |
No posts
Frequently asked questions
Yes, you can use any type of chocolate you prefer. Dark chocolate will result in a richer and more intense flavor while milk or white chocolate will produce a sweeter and creamier taste. It’s important to note that the quality of the chocolate will affect the final taste of the ganache.
Yes, you can store ganache in an airtight container in the refrigerator for up to 2 weeks. To use it again, simply reheat it in a microwave or double boiler until it reaches a smooth consistency.
Yes, ganache can be used as a decadent frosting or filling for cakes. However, it’s important to adjust the consistency of the ganache to suit your needs. For a thicker consistency, use less cream, and for a thinner consistency, use more cream.
Often, over-heated chocolate causes grainy chocolate ganache. Because, when you over-heat chocolate the fat in the chocolate separates or splits from the cocoa butter causing an oily, split, or grainy ganache.
There are a few methods to fix ganache.I find using a blender to mix the ganache works best. Since, the emulsification process combines the fat in the chocolate with the fat in the cream.
Also, they say add corn syrup to a small batch of the ganache first, mix it well then add that to the rest. However, I have not had much luck with this one.
And, low-fat milk. Heat a little low-fat milk and add it a tablespoon at a time. The whey in the milk helps stabilize the fat in the ganache.
This happens when all the chocolate was not melted properly. And, all you have to do is melt the ganache in the microwave or double boiler. And, stir constantly until the ganache has just melted. Then, use a blender to break those small pieces of chocolate. Then, cool it again until set to the right consistency before using
The main reason for this is usually is ganache not combined well. The white lines are possibly fat from the chocolate that was separated. And, what you have is probably a split ganache.
But, it can still be used. Simply melt the ganache for 10 seconds, then mix thoroughly until you have a smooth ganache
If you ever over-whip your ganache. Just add 1 or 2 tablespoon of warm cream or milk and mix thoroughly with the back of your spoon. But, you may deflate some of the volumes, and yet that’s what you want. In fact, it will be smooth and creamy again. Trust me.
Chocolate Ganache
Chocolate ganache is a versatile frosting with just two ingredients you can make for any cake, cupcake, or dessert. Use it as a frosting, drip, glaze, or piping. Here's my recipe, tips, and troubleshooting for you.
Video
Ingredients
- 16 oz (450 g) Chocolate – dark, semi-sweet, or bitter-sweet chopped into small pieces
- 8 oz (240 ml) HeavyCream 32 to 38% fat
- 1 tsp Vanilla extract or other extract
- ½ tsp Kosher salt
- 2 tbsp Butter optional
- 8 oz (226 g) Chocolate – dark, semi-sweet, or bitter-sweet chopped into small pieces
- 8 oz (240 ml) Heavy cream 32 to 38% fat
- 1 tsp Vanilla extract
- ½ tsp Kosher salt
- 1 tbsp Butter optional
Method
- Stovetop method – Place the chocolate and butter in a heatproof bowl and set aside. Heat the heavy cream in a saucepan over medium heat until it begins to simmer. Pour the cream over the chocolate and let it sit for 5 minutes. Then, stir the mixture with a spatula until it is smooth.16 oz Chocolate – dark, semi-sweet, or bitter-sweet , 8 oz HeavyCream, 1 tsp Vanilla extract, ½ tsp Kosher salt, 2 tbsp Butter
- Microwave Method – Place the chopped chocolate and butter into a microwave-safe bowl. Pour the cream all over the chocolate. Heat it in the microwave on high for a minute. Stir and continue to heat at 30-second intervals until you have a smooth ganache.8 oz Chocolate – dark, semi-sweet, or bitter-sweet , 8 oz Heavy cream, 1 tsp Vanilla extract, ½ tsp Kosher salt, 1 tbsp Butter
- Set – Once the ganache is ready, cover it with plastic, ensuring the plastic touches the top surface of the ganache to prevent skin from forming on the top.
- Drip/Dips – This freshly made ganache at room temperature is ready to use as a drip for cakes and cupcakes or as a dip for other projects such as cookies and pastries.
- Frosting – Leave the ganache to set at room temperature for a few hours or in the refrigerator for 2 hours. Once it reaches a spreading consistency similar to peanut butter, it can be used for frosting.
- Whipped ganache – once the ganache is cooled, place it in a stand mixer with a whisk attachment and whip until light and fluffy, about 2 minutes. Don't overwhip, but if you do, add 1 to 2 tbsp of warm milk and whip until just smooth again.
- Piping ganache – ganache frosting or whipped ganache can both be put into a piping bag and piped into swirls and borders on cakes and cupcakes.
- Storage – Ganache will keep at room temperature for 2 days. It can be kept in the refrigerator for up to a week. It can also be frozen for up to a month in the freezer. Thaw in the fridge overnight for best results.
Notes
- First, use high-quality chocolate and heavy cream for the best results.
- Chop the chocolate finely and heat the cream until it just begins to simmer. Pour the cream over the chocolate and let it sit for a few minutes before stirring until smooth.
- For a richer ganache, use a higher percentage of chocolate or add a tablespoon of butter.
- If your ganache is too thick, add a splash of cream to thin it out. Conversely, if it’s too thin, chill it in the refrigerator until it thickens.
- Finally, be patient when working with ganache. It takes time to set properly, so allow enough time for it to cool and firm up before using it in your recipes.
Equipment you will need


Nutrition
Tried this recipe?
Mention @veenaazmanov_kitchen or tag #veenaazmanovkitchen!


Don’t lose this recipe! Save it for Later!
📌 Save this Recipe for later on Pinterest so you can easily find it again.
⭐ Add Veena Azmanov Kitchen to your Google Preferred Sources.
It helps Google show you more of our recipes.
📧 Subscribe for new recipes delivered to your inbox.
🎥 Follow us for more recipes


DAY 13 DONE