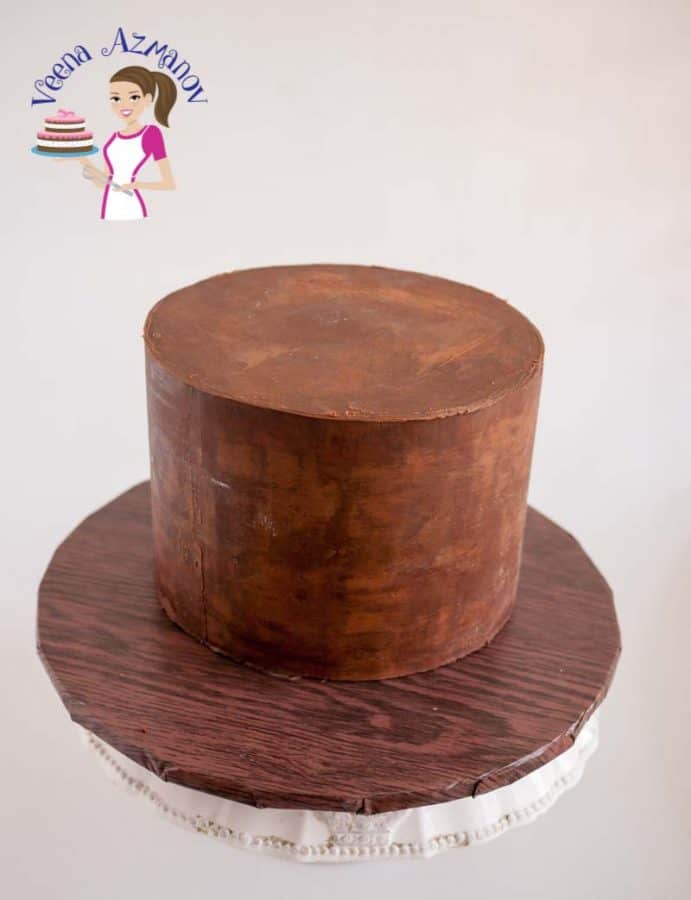
Chocolate Ganache For Decorating Cakes (2 Ingredients 5 Mins)
The perfect chocolate ganache for decorating a cake is one you can use to cover a cake with fondant. And I call it the cake decorator’s chocolate ganache. One that adds stability to sculpted novelty cake and stays firm when stacked into a tiered wedding cake. In fact, my chocolate ganache is like my rock for me as a cake decorator.
When I started decorating cake, one of my first failures as a cake decorator was my ganache. I made a delicious ganache, it looked so delicious. But, when I covered it with fondant it was a big mess. The ganache was soft. So, covering the cake with fondant was an absolute nightmare
And, I wondered, how do they do it? How do these successful cake decorators have ganache cakes that don’t look like it’s melting? When they cover the cake, they are not struggling like me. Well, it took me a few times to realize that I was using the regular classic chocolate ganache recipe.
So, today, I want to share with you the ganache recipe used by cake decorators. This is the ganache you use under fondant, or when working with a novelty or sculpted cake. And, this is also the ganache you use when you want to get sharp edges on your cakes.
Ingredients and substitutes
- Chocolate – Ganache can be made with any chocolate, coverture, or compound. And, the quality of chocolate you use will determine how delicious your ganache will taste. I use Callebaut or Laubeca. In fact, most of my ganache cakes have 70% cocoa dark chocolate. And, the reason I like to use dark is because I usually fill my cakes with buttercream. So, the dark chocolate cuts down some of the sweetness. Having said that, you can use any percentage of chocolate from 55% to 90%.
White chocolate – Works differently from dark, semi-sweet, or milk chocolate. Hence, I will cover that in another post here. And, I will explain in detail with a video of how I make my classic white chocolate ganache as well as cake decorators white chocolate ganache. - Cream – The high the percentage of fat in the cream the creamier and richer the ganache. In addition, in some cases, it will bring out the sweetness in the chocolate as well. In fact, I usually use no less than 38% fat. Since, I think it always has the best consistency for the ganache. Having said that, you can use anything from 32% to 45%.
And, if you are unable to use fresh whipping cream, you can also use coconut cream and follow the same exact process we do below.
Step-by-step: Ganache for fondant cakes
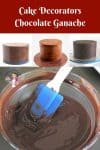
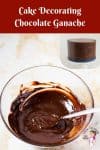
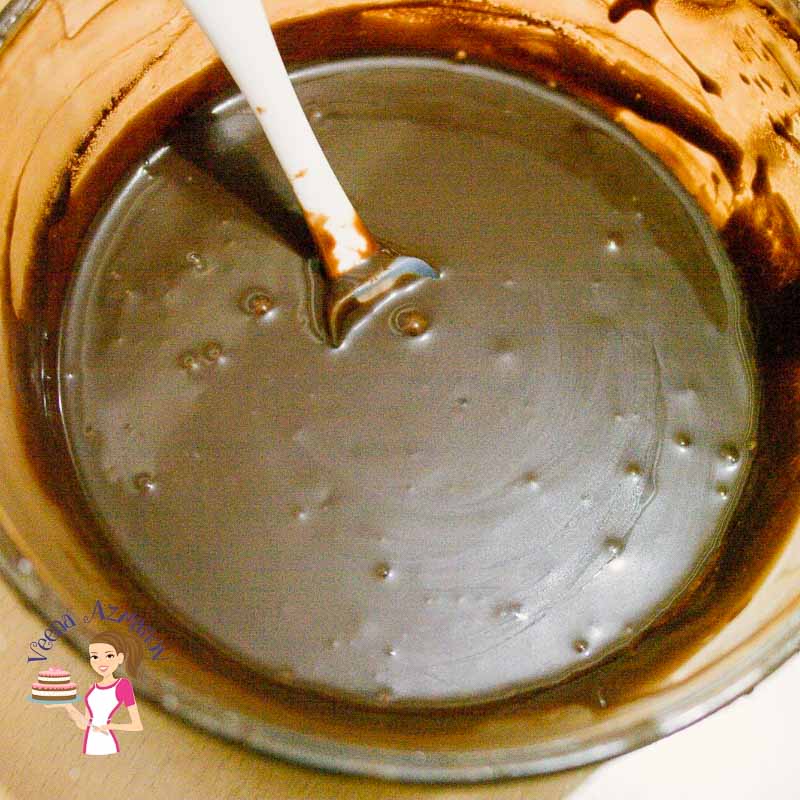
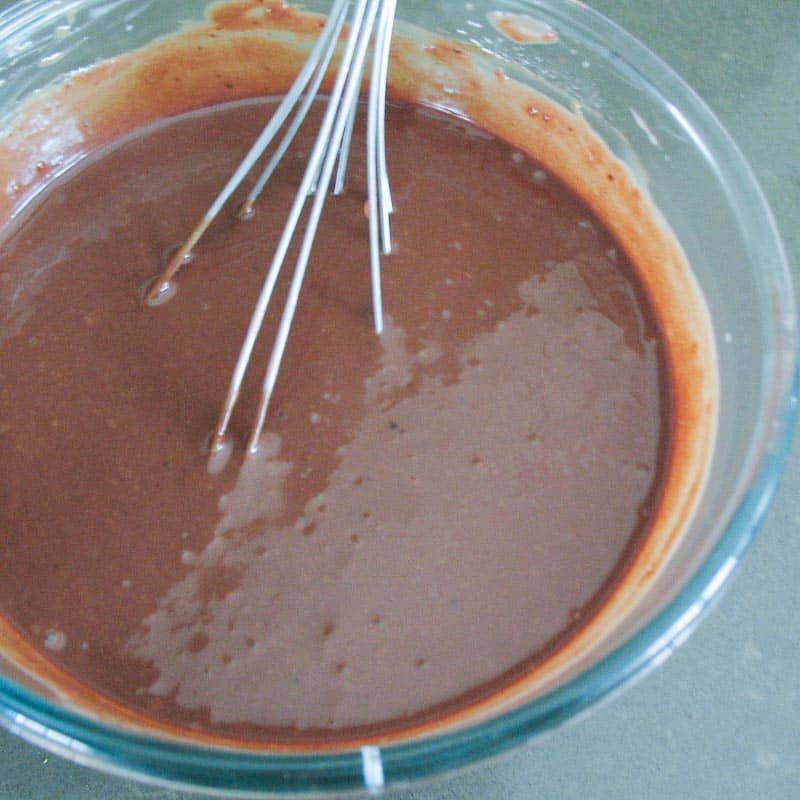
- Stovetop method – Place chocolate in a heatproof bowl and set aside. Heat the heavy cream in a saucepan over medium heat until it begins to simmer. Pour the cream over the chocolate and let it sit for 5 minutes. Then, stir with a spatula until smooth.
Pro tip – DO NOT let the cream come to a rapid boil as it can burn the chocolate). If the chocolate is chopped fine there should be no more chocolate pieces. If necessary, melt in the microwave for 20 to 30 seconds. - Microwave Method – Place the chopped chocolate into a microwave-safe bowl. Pour the cream all over the chocolate. Heat it in the microwave on high for a minute. Stir and continue to heat at 30-second intervals until you have a smooth ganache.

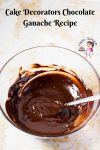
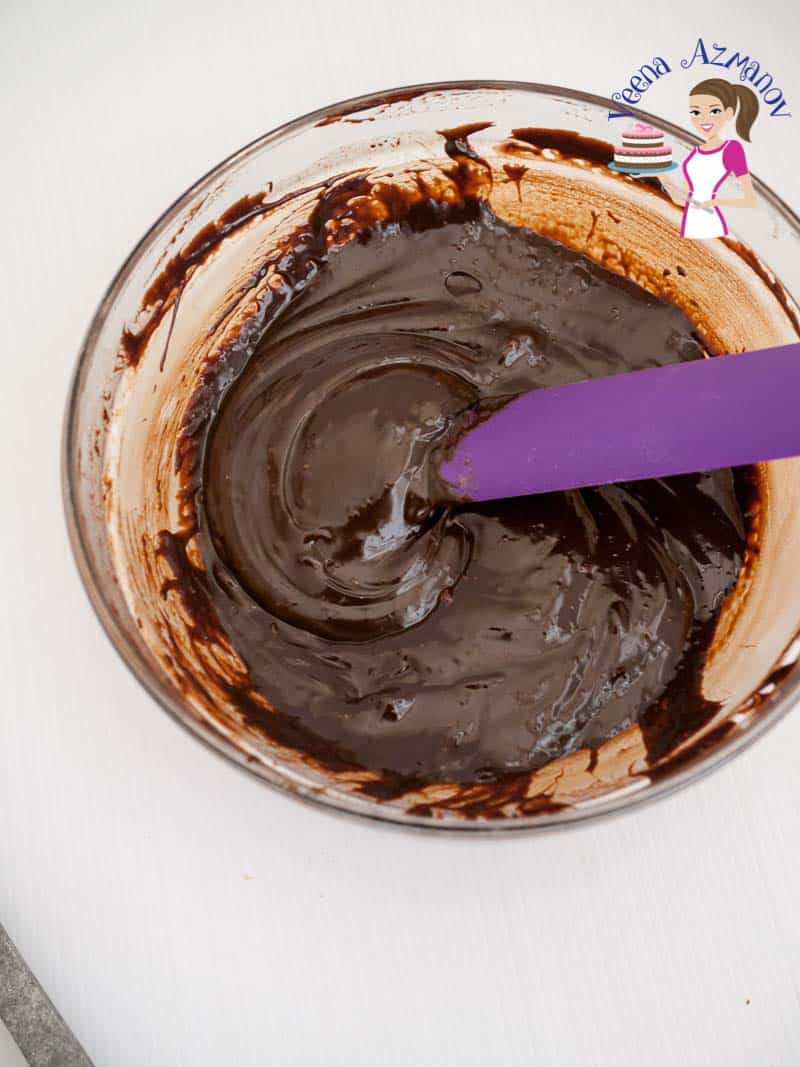
- Cover -Once the ganache is ready, cover it with plastic making sure the plastic touches the top surface of the ganache to prevent skin from forming on the top.
- Rest – Leave the ganache to set in the bowl at room temperature for a few hours or in the fridge for 2 hours. Once it reaches a spreading consistency it can be used for frosting.
- Storage – Ganache will keep at room temperature for 2 days. It can be kept in the refrigerator for up to 5 days. It can also be frozen for up to a month in the freezer. Thaw in the fridge overnight for best results.
Pro tip – To warm the ganache simply place it in the microwave for no more than 10 to 20 seconds intervals.
- Stack – Place the next layer on top followed by more frosting until you have stacked all four layers
Pro tip – Trim the outside edge if necessary – you can see me do this in my video – This ensures the sides are straight. - Level – Use a cake leveler to ensure the cake is leveled. You may need to press down on the side that is higher to help shimmy the frosting around.
Pro tip – Then use two bench scrapers on either side of the cake to ensure the sides are straight. (just so the layers are not peaking out)
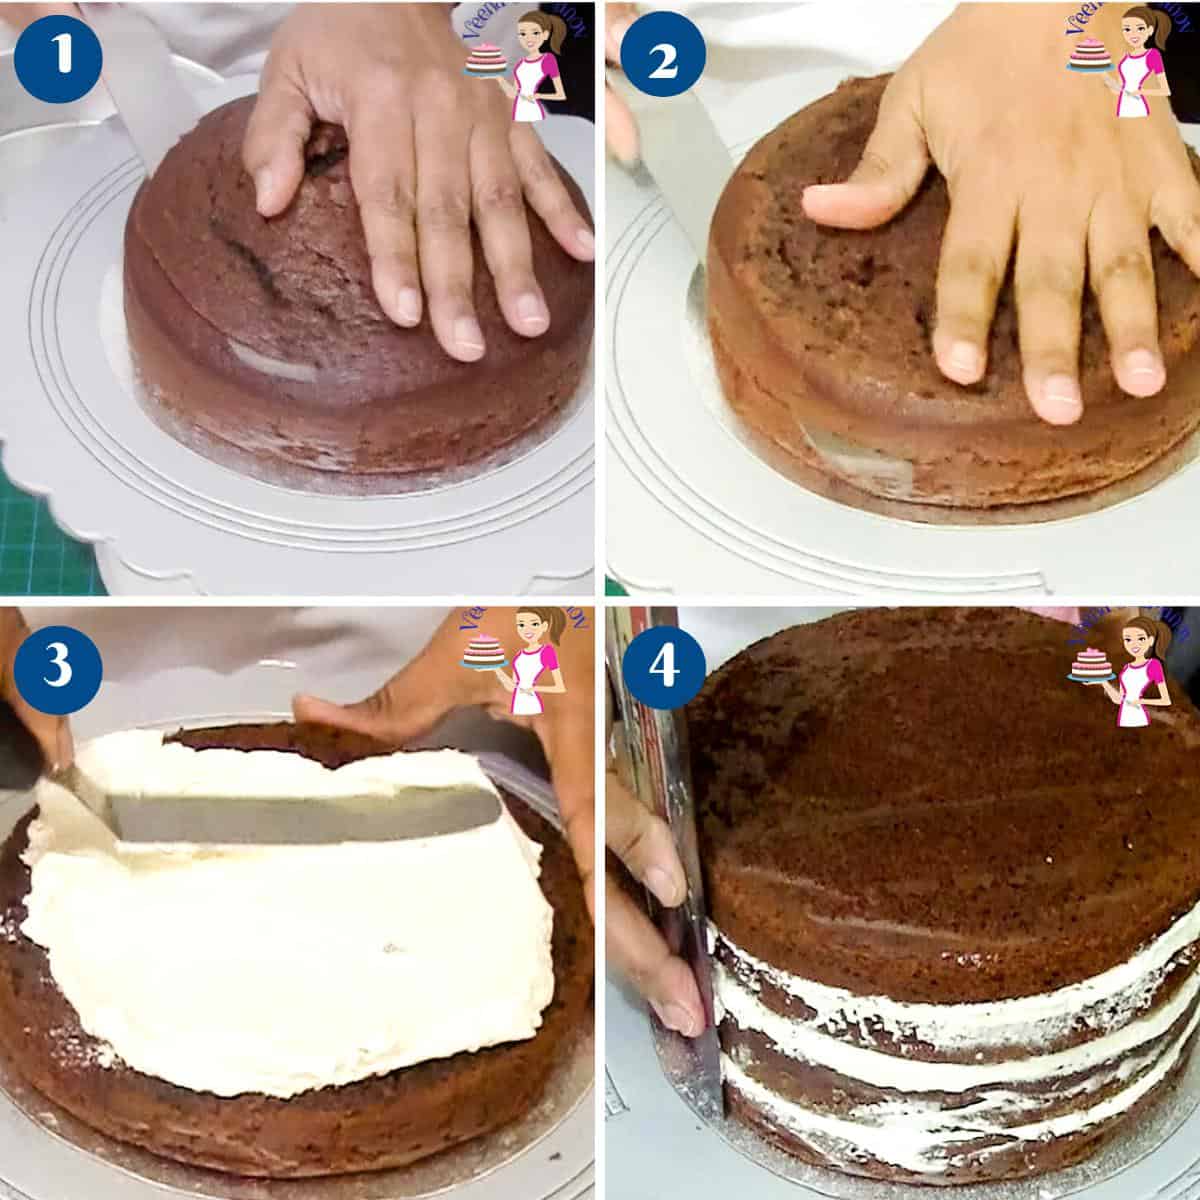
- Chill – Place the cake in the fridge for 10 minutes – the frosting will set and the layers won’t move when you are frosting the outside.
- Cake top – Place a big dollop of ganache on the top layer. Spread it evenly making sure you have ganache over the edges.
- Cake board – Place a cake board the same size as the bottom board. Use two cake scrapers to make sure the top and bottom boards are aligned together. Chill the cake for 20 minutes.
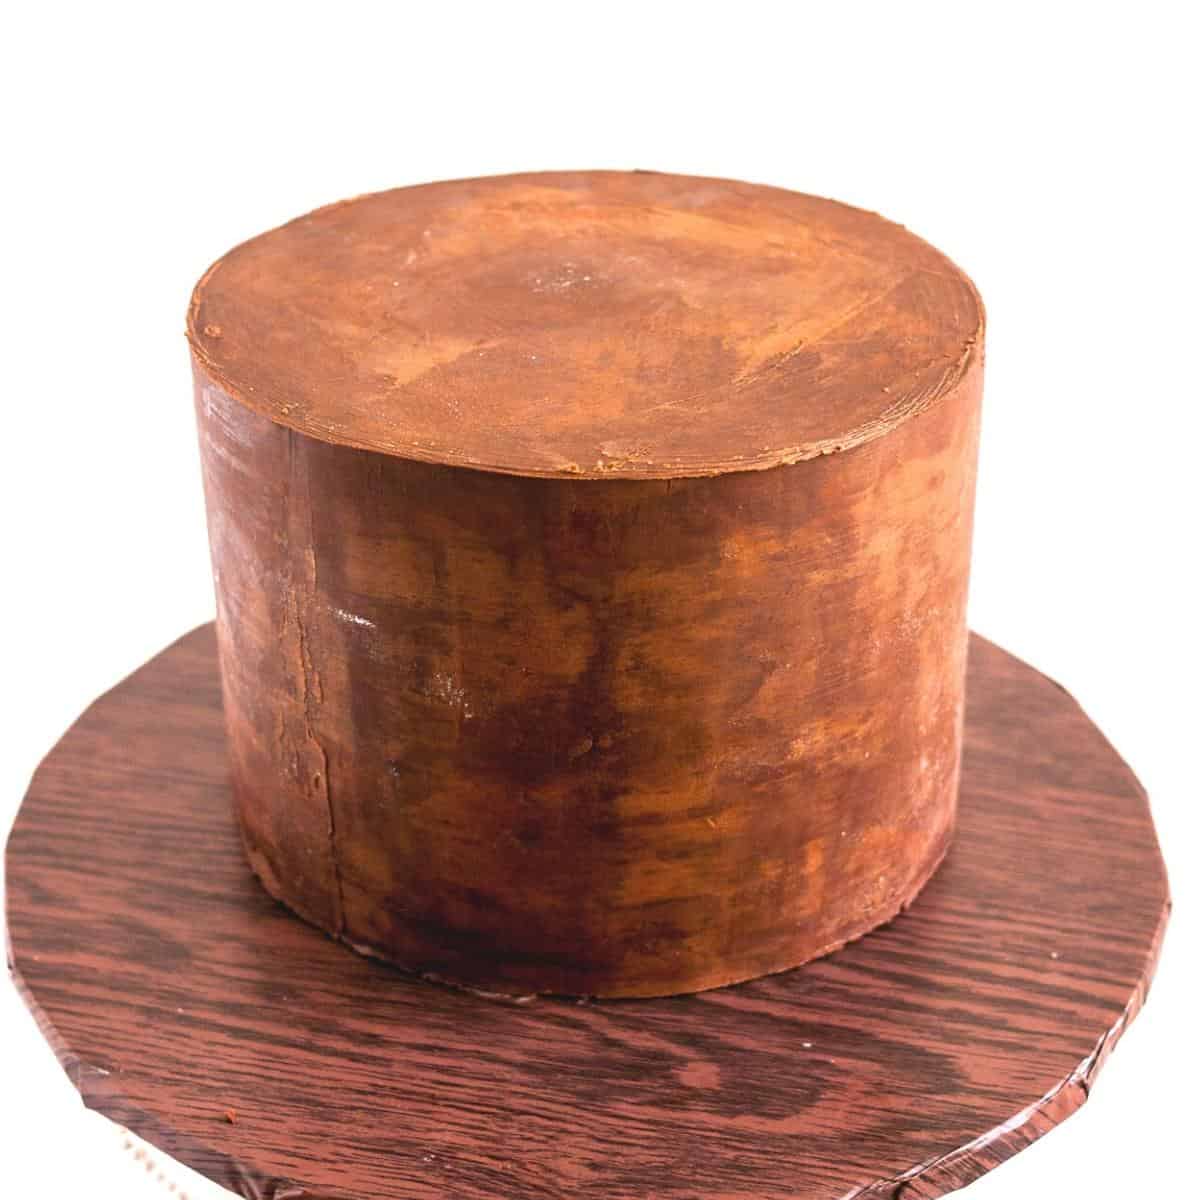
- Cake sides – Using a spatula frost the sides of the cake with ganache. Make sure to use a paddle motion with the ganache – this prevents air pockets. Use a bench scraper to smooth the sides of the cake.
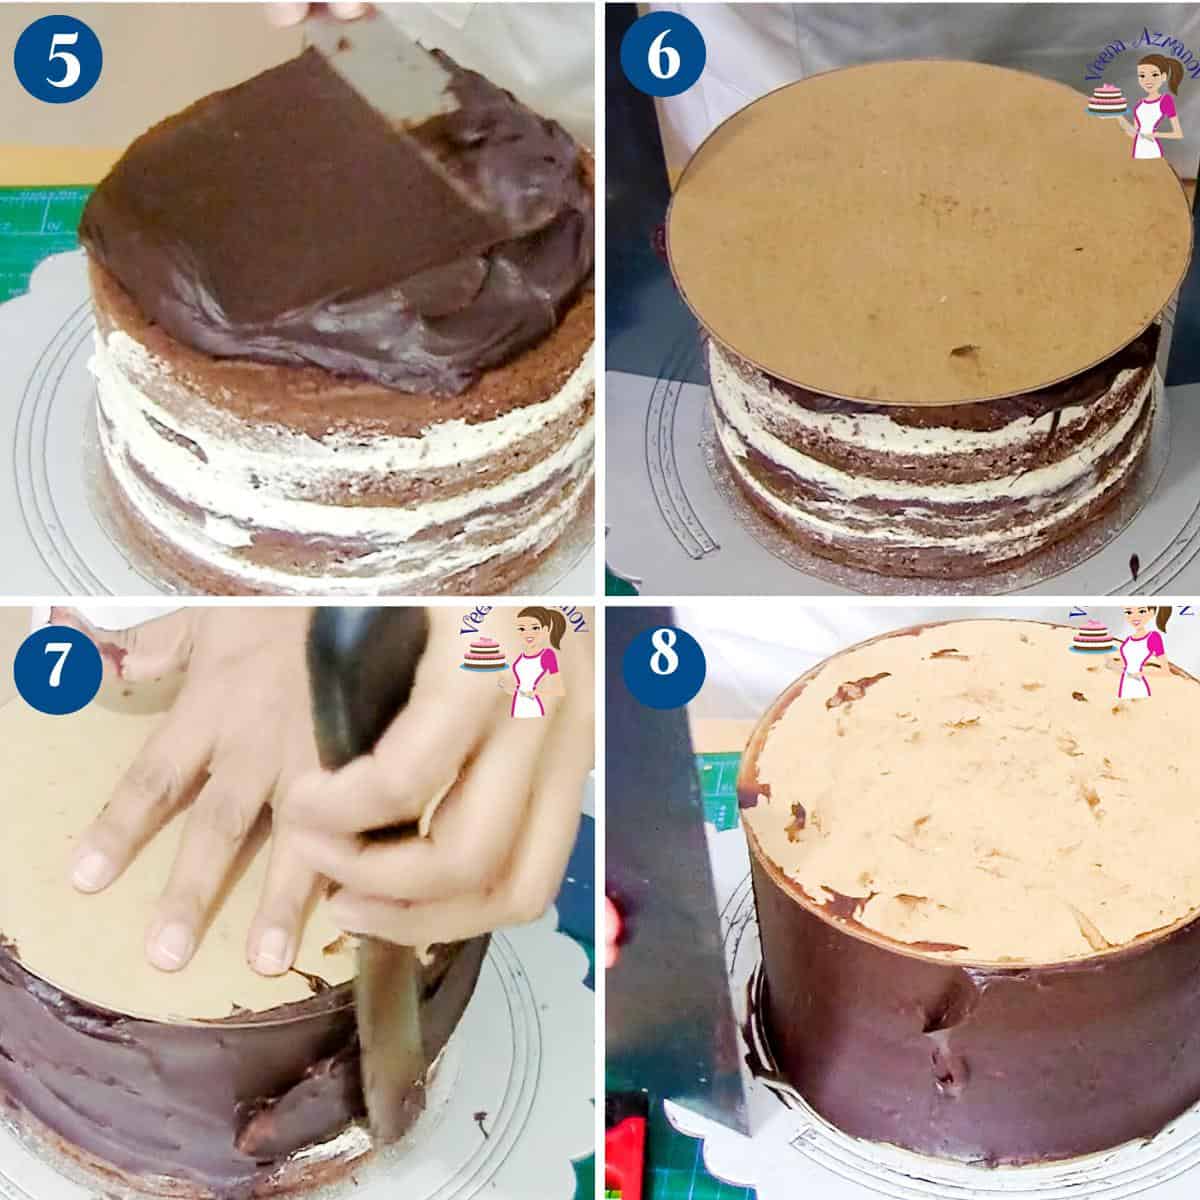
- Chill – Continue to spread and smooth the ganache until you have smooth sides. Chill the cake for at least 2 hours
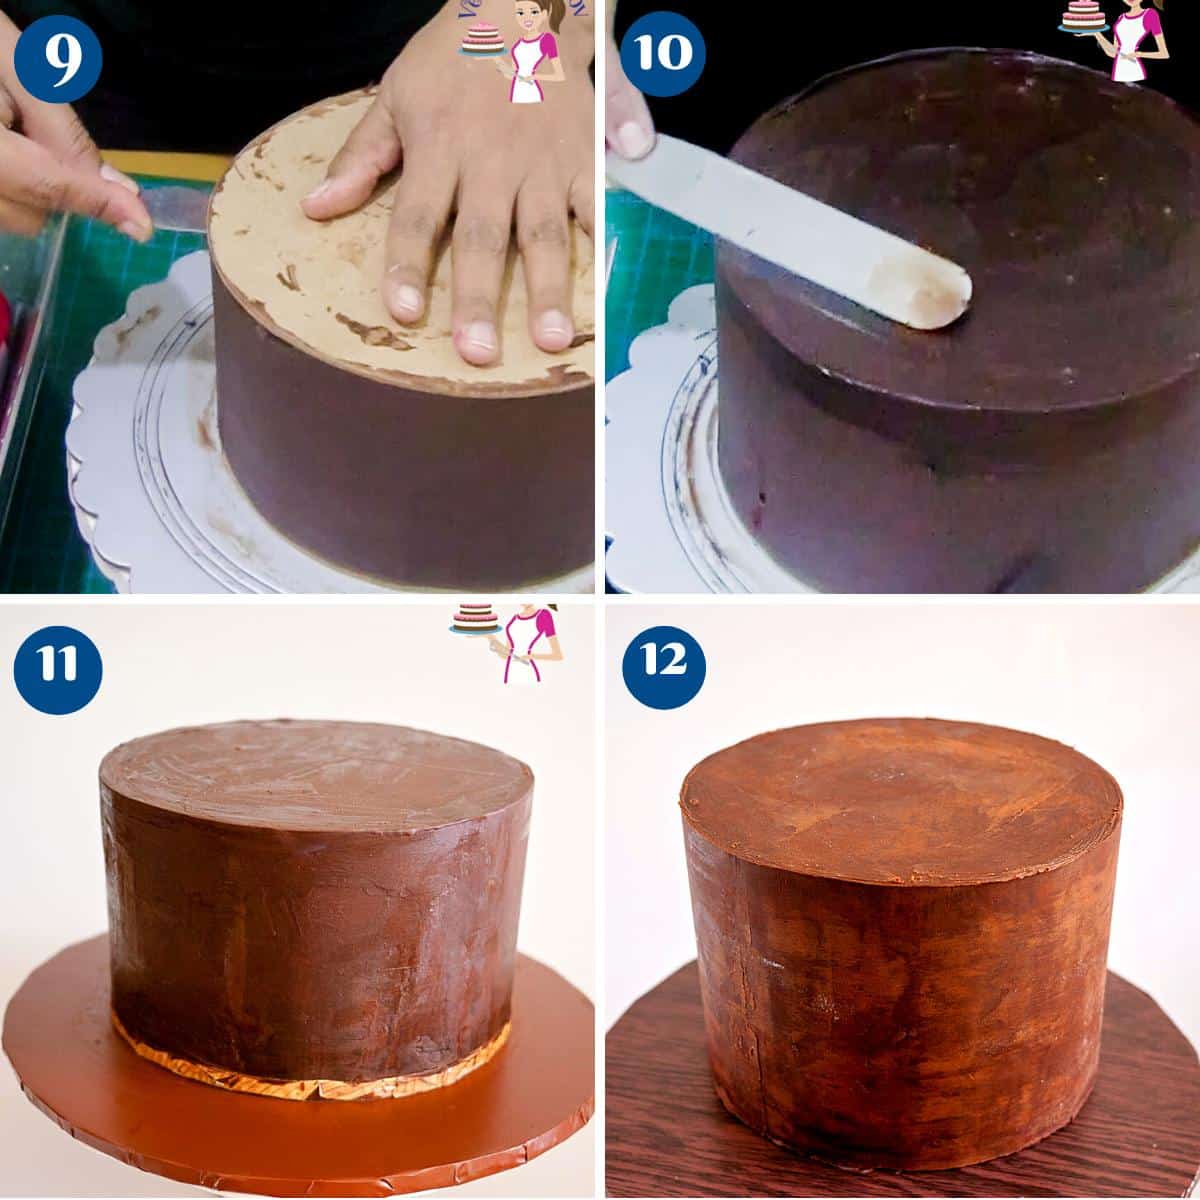
- Top board – Use a hot spatula or knife. Place the spatula between the top cake board and the ganache (see video) Pass the spatula under the board until you have loosened the board from the cake.
Pro tip – dip the spatula in hot water. Gentle move the spatula – letting the heat from the spatula guide you along. Do not push too hard as the ganache will crack - Smooth top – The top will be uneven and rough – this is normal. Add just enough ganache to fill and cover the top. Use an offset spatula to smooth the top and use a bench scraper to smooth the sides.
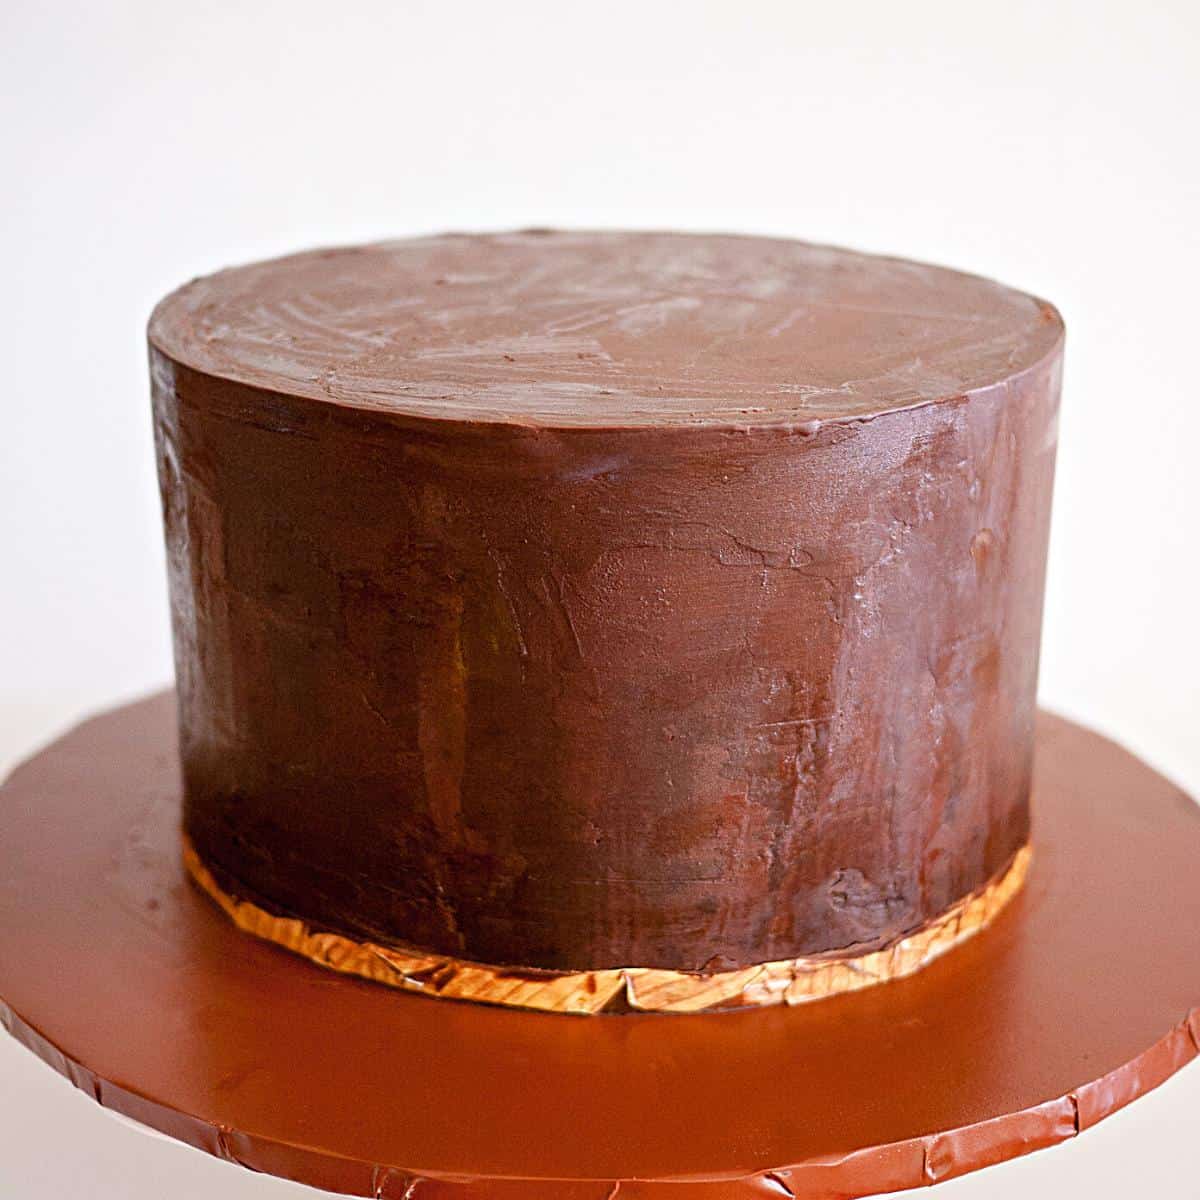
Pro tip – Since the cake is chilled well the sides will remain smooth. - Edge – Once smooth the little ganache that’s left over the edges can be taken off with a spatula or knife (see video)
How much ganache do I need for my cake?
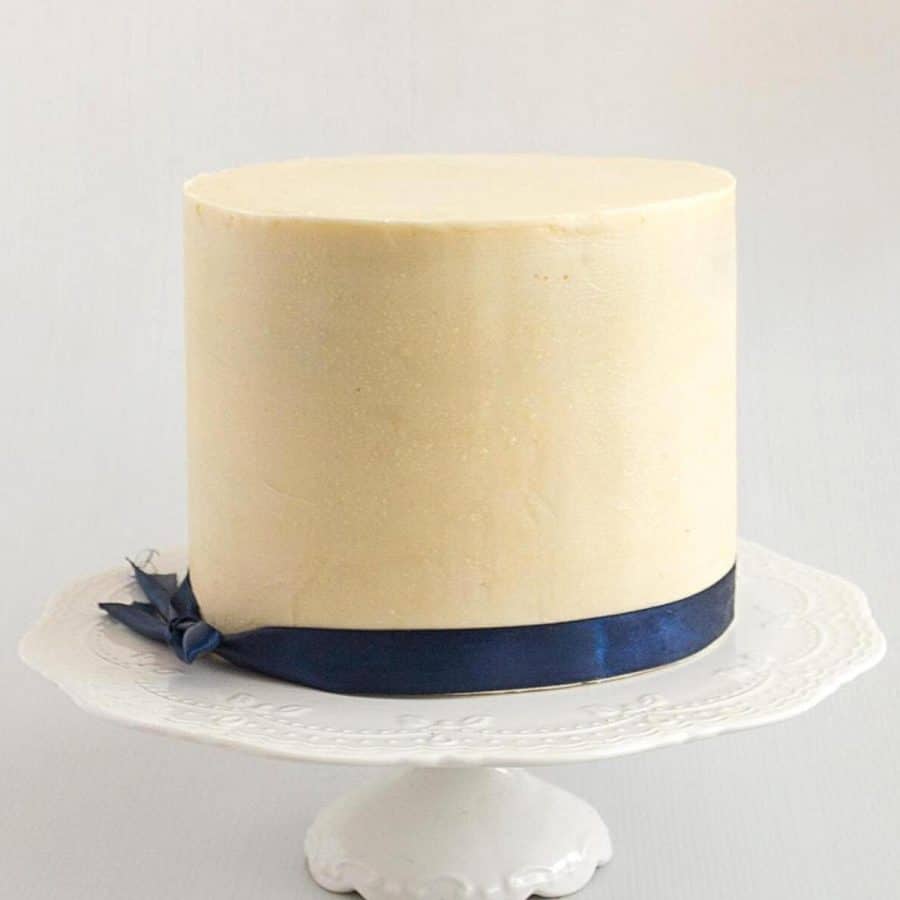
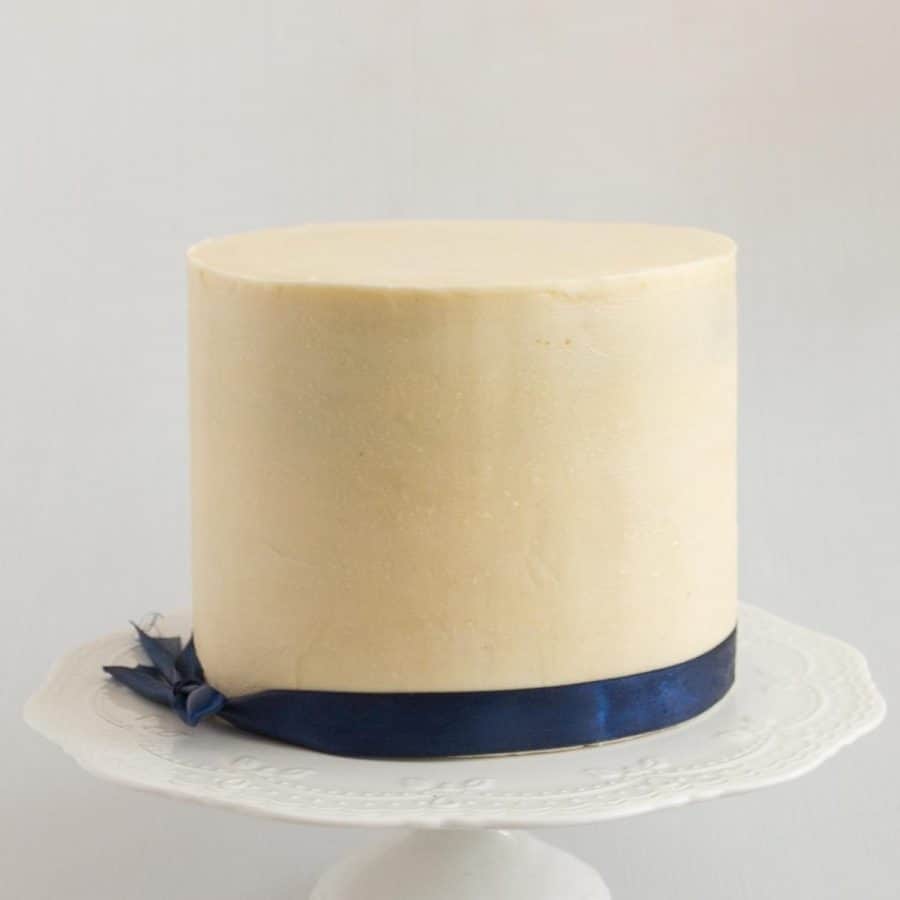
This is the amount of ganache I would use for my cakes when I was a professional cake decorator. It will give you a smooth firm canvas to cover with fondant. Having said that, you can use less or more as desired. For example, for our family we like less frosting so often I will use a filling in between layers and a thinner coat of ganache on the outside
| Round | Square | Metrics | US customary |
| 6-inch | 5-inch | 650 g | 1.2 lbs |
| 7-inch | 6-inch | 800 g | 1.7 lbs |
| 8-inch | 7-inch | 950 g | 2.1 lbs |
| 9-inch | 8-inch | 1.1 kg | 2.4 lb |
| 10-inch | 9-inch | 1.4 kg | 3.1 lbs |
| 12-inch | 10-inch | 1.8 kg | 4 lbs |
Tips for making perfect ganache
- First, use high-quality chocolate and heavy cream for the best results.
- Chop the chocolate finely and
- heat the cream until it just begins to simmer. Pour the cream over the chocolate and let it sit for a few minutes before stirring until smooth.
- For a richer ganache, use a higher percentage of chocolate or add a tablespoon of butter.
- If your ganache is too thick, add a splash of cream to thin it out. Conversely, if it’s too thin, chill it in the fridge until it thickens up.
- Finally, be patient when working with ganache. It takes time to set properly, so allow enough time for it to cool and firm up before using it in your recipes.
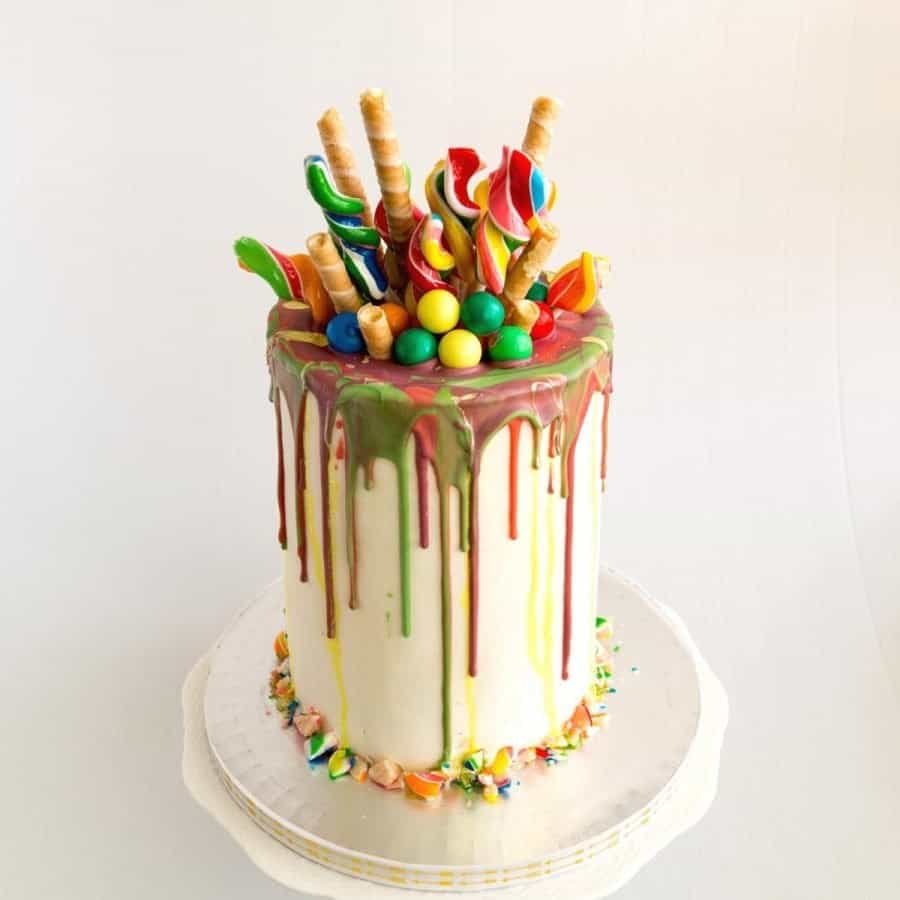
- White Chocolate Ganache Drip
- Cake Decorators White Chocolate Ganache
- Chocolate Cake with Chocolate Ganache
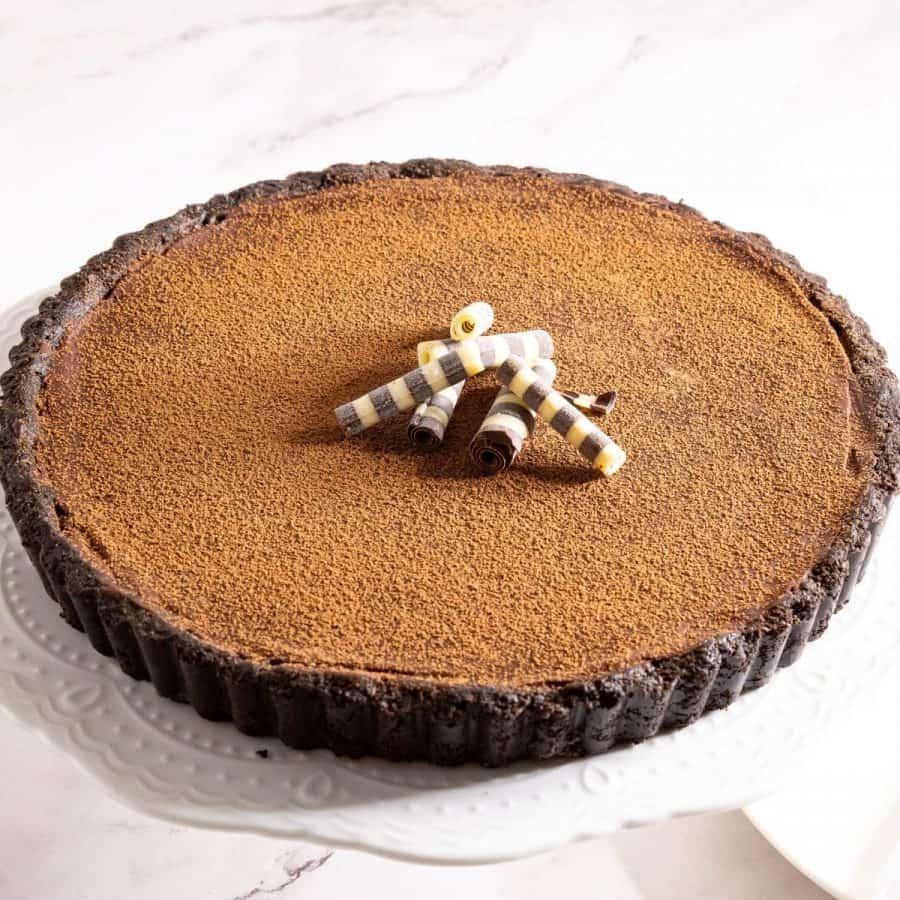
- Ganache Chocolate Tart
- Sharp Edges on Ganache Cakes
Frequently asked questions
Often, over-heated chocolate causes grainy chocolate ganache. Because, when you over-heat chocolate the fat in the chocolate separates or splits from the cocoa butter causing an oily, split, or grainy ganache.
Sometimes, yes. Depending on how hot the cream is. And, if the temperature of the cream is right it will help stabilize the fat in the chocolate and bring it all together. However, if it’s too hot it will make things worse. Whipping cream is fat too!
There are a few method to fix ganache.
I find using a blender to mix the ganache works best. The emulsification process combines the fat in the chocolate with the fat in the cream.
In addition, they say add corn syrup to a small batch of the ganache first, and mix it well. Then, add that to the rest. However, I have not had much luck with this one.
Low-fat Milk – heat a little low-fat milk and add it a tablespoon at a time. The whey in the milk helps stabilize the fat in the ganache.
This happens when all the chocolate was not melted properly. So, all you have to do is melt the ganache in the microwave or double boiler. Then, stir constantly but until the ganache has just melted. Now, use a blender to break those small pieces of chocolate. Then, cool again until set to the right consistency before using.
The white lines are possibly fat from the chocolate that was separated. Hence, what you have is probably a split ganache.
However, it can still be used. Simply melt the ganache for 10 seconds, then mix throughly until you have a smooth ganache.
Again, use that 10-second burst in the microwave or few seconds on the double boiler.
Chill it for a few minutes in the fridge until the chocolate sets again. And, make sure to stir so it sets evenly.
If ever you do over-whip your ganache, just add 1 or 2 tbsp of warm cream or milk and mix thoroughly with the back of your spoon. You may deflate some of the volumes but that’s what you want. And, it will be smooth and creamy again.
Ganache sets at room temperature after a few hours. And, depending on the weather, it can take from 4 to 8 hours. Also, you can set ganache in the fridge for a shorter time. And, when taken out of the fridge there will be some condensation but that usually will disappear as the ganache sets again.
In terms of taste it’s individual preference. Some love buttercream while others love chocolate. In addition, the chocolate sets better than butter in most weather conditions. Therefore, it’s ideal for working under fondant. That is why ganache has become the most preferred frosting amongst cake decorators.
By whipping it! When whipped, the cream in the ganache becomes thicker making a thicker ganache. And, it also lightens the ganache both in color and texture. Also, a thicker ganache works best in between layers as it spread evenly and holds its shape.
Though ganache contains cream, this cake decorators ganache can stay at room temperature for up to 4 days. And, you can also keep it in the fridge for up to a month. Then, thaw at room temperature overnight or a few hours.
It is best to thaw ganache at room temperature for a few hours. And yet, if you must, it is also possible to reheat it. My preferred method is the microwave at 10 seconds burst. And, make sure to stir between each burst. Since, when it comes to chocolate 10 seconds is more than enough.
And, you can also use a double boiler making sure to keep a constant eye on the ganache and stirring as needed.

Chocolate Ganache Recipe for Decorating Cakes
The perfect chocolate ganache for decorating a cake is one that you can use to cover a cake with fondant and I call it the Cake Decorators Chocolate Ganache Recipe. One that adds stability to the sculpted cake when working on a novelty cake and stays firm when stacked into a tiered wedding cake. My chocolate ganache is like my rock for me as a cake decorator.
Video
Ingredients
- 1 lb (450 g) Chocolate dark, milk, semi-sweet
- 8 oz (240 ml) Heavy cream
- 1 ¼ lb (560 g) Chocolate
- 8 oz (240 ml) Heavy cream
- 1 ½ lb (680 g) Chocolate
- 8 oz (240 ml) Heavy cream
- 1 ¾ lb (790 g) Chocolate
- 10 oz (280 ml) Heavy cream
- 2 lb (900 g) Chocolate
- 12 oz (340 ml) Heavy cream
- 2 ½ lb (1.10 kg) Chocolate
- 16 oz (450 ml) Heavy cream
Method
- Stovetop method – Place chocolate in a heatproof bowl and set aside. Heat the heavy cream in a saucepan over medium heat until it begins to simmer. Pour the cream over the chocolate and let it sit for 5 minutes. Then, stir with a spatula until smooth. Pro tip – DO NOT let the cream come to a rapid boil as it can burn the chocolate). If the chocolate is chopped fine there should be no more chocolate pieces. If necessary, melt in the microwave for 20 to 30 seconds.1 lb Chocolate, 8 oz Heavy cream
- Microwave Method – Place the chopped chocolate into a microwave-safe bowl. Pour the cream all over the chocolate. Heat it in the microwave on high for a minute. Stir and continue to heat at 30-second intervals until you have a smooth ganache.
- Cover -Once the ganache is ready, cover it with plastic making sure the plastic touches the top surface of the ganache to prevent skin from forming on the top.
- Rest – Leave the ganache to set in the bowl at room temperature for a few hours or in the fridge for 2 hours. Once it reaches a spreading consistency it can be used for frosting.
- Storage – Ganache will keep at room temperature for 2 days. It can be kept in the refrigerator for up to 5 days. It can also be frozen for up to a month in the freezer. Thaw in the fridge overnight for best results. Pro tip – To warm the ganache simply place it in the microwave for no more than 10 to 20 seconds intervals.
Notes
- First, use high-quality chocolate and heavy cream for the best results.
- Chop the chocolate finely and
- heat the cream until it just begins to simmer. Pour the cream over the chocolate and let it sit for a few minutes before stirring until smooth.
- For a richer ganache, use a higher percentage of chocolate or add a tablespoon of butter.
- If your ganache is too thick, add a splash of cream to thin it out. Conversely, if it’s too thin, chill it in the fridge until it thickens up.
- Finally, be patient when working with ganache. It takes time to set properly, so allow enough time for it to cool and firm up before using it in your recipes.
Consistency for covering a cake
- Ganache rested may not necessarily be ideal to just start using.
- The ideal consistency is peanut butter consistency.
- You want to be able to hold the ganache on the spatula and spread it around the cake.
- The best way to bring it to consistency
- In cold weather – stick it in the microwave for 10 secs (when it comes to chocolate 10 secs is a lot so don’t’ over-heat)
- If the ganache was in the fridge resting it out for an hour works too.
- If you live in a hot and humid climate – just a vigorous stir with a spatula is all you need.
- Always chop chocolate finely or keep them in similar size pieces. That way the whole batch will melt evenly.
- Never let heavy whipping cream boil. You want the cream to be hot but not boiling. If necessary it’s better to place the ganache in the microwave for 30 seconds to get the last bit of unmelted chocolate.
- If you have one or two stubborn pieces of chocolate left in the ganache that won’t melt. It’s best to remove them, then to take a chance of overheating the whole batch and risking a split.
- Microwave ganache – often a culprit of overheated ganache. Depending on how big the batch is, start with 30 seconds then heat at increments of 1o secs stirring between every interval to distribute the heat evenly.
- Ganache has split or separated – this happens when the cocoa solids and fat don’t emulsify properly. Add a splash of milk and give it a good stir. Add another splash and stir again until you have a smooth ganache.
- If the chocolate looks lumpy, grainy means you have overheated the chocolate. Use a stick blender and give it a whiz. All should be well again.
- If you realize the ganache is split only after it has cooled. Add a little more chocolate to it. And reheat the melting process keeping a close watch, making sure to stir and encourage even distribution of heat. If necessary add more cream to maintain the ganache ratio you need.
- Never over mix chocolate ganache – this will incorporate too much air into the ganache but also can cause the ganache to split. Especially with white chocolate ganache keep stirring to a minimum once the chocolate is melted.
- Ganache is best made in a glass bowl when using a microwave and in stainless steel when using a stovetop. Never use plastic or aluminum for melting chocolate, the ganache will not have a shiny appearance.
- Place a plastic wrap/cling wrap directly over the ganache when letting it cool. This will prevent any crust from forming on top.
- Why is my ganache grainy?
Often, overheated chocolate causes grainy chocolate ganache. Because, when you overheat chocolate the fat in the chocolate separates or splits from the cocoa butter causing an oily, split, or grainy ganache. - Can I fix grainy ganache?
Sometimes, yes. Depending on how hot the cream is. And, if the temperature of the cream is right, it will help stabilize the fat in the chocolate and bring it all together. However, if it’s too hot, it will make things worse. - How to fix the ganache? There are a few methods to fix ganache.
- I find using a blender to mix the ganache works best. Since, the emulsification process combines the fat in the chocolate with the fat in the cream.
- Also, they say add corn syrup to a small batch of the ganache first, mix it well then add that to the rest. However, I have not had much luck with this one.
- And, low-fat milk. Heat a little low-fat milk and add it a tablespoon at a time. The whey in the milk helps stabilize the fat in the ganache.
- My ganache has a small piece of chocolate.
This happens when all the chocolate was not melted properly. And, all you have to do is melt the ganache in the microwave or double boiler. And, stir constantly until the ganache has just melted. Then, use a blender to break those small pieces of chocolate. Then, cool it again until set to the right consistency before using. - Why does my ganache have white streaks/lines when cooled?
The white lines are possibly fat from the chocolate that was separated. And, what you have is probably a split ganache.
But, it can still be used. Simply melt the ganache for 10 seconds, then mix thoroughly until you have a smooth ganache. - How do you fix a ganache that’s too thick? Again, use that 10-second burst in the microwave or few seconds on the double boiler.
- How to fix a ganache that is too thin? Chill it for a few minutes in the fridge until the chocolate sets again. And, make sure to stir so it sets evenly.
- How to fix over-whipped chocolate ganache?
If you ever over-whip your ganache. Just add 1 or 2 tablespoons of warm cream or milk and mix thoroughly with the back of your spoon. But, you may deflate some of the volumes, and yet that’s what you want. In fact, it will be smooth and creamy again. Trust me.
Equipment you will need


Nutrition
Tried this recipe?
Mention @veenaazmanov_kitchen or tag #veenaazmanovkitchen!- How to cover a cake with ganache
- How to get sharp edges on ganache cakes.
- Sharp edges on buttercream cakes


Hi Veena, I love using your chocolate ganache recipe, I’m needing to make some for a 10” cake but when I looked at the recipe amounts it seems to be less for the 10” than it is for the 9” is this right? Thanks in advance Sue
Hey Sue, I’m so sorry yes, it should be 2 lbs chocolate/900 grams – sorry about the type error. Thanks for bringing it to my attention. Just fixed it.
Hi Veena!! Thanks for your ganache recipes, I have been using them to cover my cakes & your tips are so helpful! I’d like to ask if decorators ganache can be used to cover a genoise cake, and then cover the ganache with fondant? I’m thinking of using a genoise as a base for a 3-tier wedding cake, and I’m wondering if using ganache as the cake frosting will add some structure as genoise is a lighter cake than traditional butter cake. Any advice you have would be great!
Thank you for the lovely feedback, Bee.
Technically, you can of course use ganache to frost a genoise cake. Having said that Genoise is a very light and airy cake and I think ganache and fondant are both very heavy frosting for it.
When it comes to Genoise I prefer a frosting as light as whipped cream. You can even use the classic ganache if that is what you want but this cake decorators ganache will be too heavy for it.
Dear Verma, thanks for your advice ? The wedding js outdoors (evening) & in Singapore which is very warm so whipped cream cakes are definitely not possible for our weather. I might just do the genoise masked with Italian meringue buttercream & a thin layer of fondant. Just wondering if you’ve ever tried covering genoise with fondant? I’ve tried it for a single tier & it works fine but i haven’t tried it for a 3-tier cake. Would appreciate your views on this too!
Bee, no I never covered a genoise with fondant because I do think it is way too heavy for it. But, you can definitely try. Just make sure to dowel the cake correctly. Let me know how it goes.
Hi Veela, Im new to cake decorating and I have decided to make my brothers birthday cake. I made 9″ x 12″ cakes and froze them covered in cling wrap and aluminium foil. I heard covering a cake in ganache is better than buttercream if you are also using fondant, would you recommend this recipe for filling the cakes too or would you recommend buttercream? 🙂 The ganache turned out really well for my first time, thanks for the great recipe
Congrats on your brother’s wedding.
Yes, you can use this for covering and filling the cake. Especially if you are new to decorating it will make your workload easier. Make sure to use a good drizzle of simple syrup on your cakes.
Personally, I find a softer ganache – with more cream perfect for filling.
The most popular with my customers was always buttercream filling with ganache on the outside.
So the options are plenty.
Thanks
Hi Veena, thanks so much for sharing! Can the same measurement be used to make chocolate ganache using water as I cannot use whipped cream here. If different measures then appreciate if you could share it. Thanks so much 🙂
Actually, for ganache with water – you should be using equal parts chocolate:hot water. (250 grams chocolate to 250 grams water) Add a little at a time. It will thicken first then become smooth. Chill stirring every ten minutes until it is the consistency you need. Hope this helps.
Day 5 Done
Why the ratio of chocolate to whipping cream for 6″,7″ or 8″ cake is different ?
Hi Veena, i dont know if you have already mentioned but what brand chocolate do you use and is it couverture or compound
Yes, Marion. I use coverture chocolate either Callebaut or Laubeca brand.
Thanks Veena, do you use milk or dark callets ? also, are you using acrylic plates for frosting in the pics
I always use dark chocolate. I don’t own acrylic plates. I use only cake boards
thanks Veena, i also use cake boards but i find that when i try to remove the cake board it takes the frosting off the cake…. heard so much about the acrylic ones so was wondering whether to invest in them
Yeah, personally I don’t think you should rely on acrylic cake boards. Plus, these are expensive. You can also use parchment paper or ziplock back tapped to the cake board
should i use this ganache on whipped cream cakes??
can v make whipped cream cakes and cover it with ganache and fondant??
how to refrigerate that kind of cakes???
The whipped cream is too soft and light. It does not set. Ganache and fondant are heavy and cannot be spread of draped over whipped cream. You can skip the whipped cream, frost the cake with ganache and then cover with fodnant. See how to cover a cake with ganache here
How much dark ganach do I need only for crumb coat.. Coz I use butter cream for layering or fruit filling with Buttercream.. . Thank..
Then you probably only need half the amount mentioned below for a 6-inch cake
Alright…so after going through whole lot of information i hope what i understood is correct. Please correct if i am wrong
Dark/milk/ semisweet chocolate ganache for filling the layers and covering a normal cake ratio chocolate to cream is 1:1 whereas for use under fondant or sharp edges ( which is ur cake decorators recipe )ratio of choc : cream is 2:1.
Now going for white chocolate ganache, for filling the layers and covering a normal cake , the ratio of white choc to cream is 2:1 whereas for use under fondant or sharp edges (as per the cake decorator recipe ) ratio for choc : cream is 3:1.
Thanks for the knowledge shared.
I think you understood it correctly, Mrunal. Feel free to ask any questions.
Hi Veena
I stumbled upon your site. Im not a baker by any stretch. Im attempting to do a book cake for my daughters graduation. I have two layers of cake. Raspberry filling to go betwen. I have toyes w frosting only or your ganache under the fondant. Im not a fan of fondant taste or have i rolled a lot of it. It looks cleaner though. Party is a sat. Cakes are frozen. Can i ganache on thursday. Frost or fondant on friday. Serve sat? Thank you so much. Im excited. Butterrified
Hey Catherine. Yes, you can use frosting or ganache for your book cakes.
And you can definitely frost and fondant on Thursday, Finish on Friday.
Ready for Saturday so you have more time on your hands.
Take note that since you have a fruit filling in the cake you will need to keep it refrigerated.
Fondant cakes are ok to be in the fridge too.
XX hope this helps. XX
Hi again
Looking at measurement for chocolate fir the ganache and its in CUPS not ounces. I bought Giardelli chocolate bars. They are 12oz. Is the cup measurement really 8 oz. so for my 9×13 cake i need about 7 cups or 56 oz?
Hey Catherine. I have switched the measurements to ounces for the chocolate and cups for the cream. I hope that helps.
I presume the calculator is correct. It is calculating grams to ounces and seems about right.
Let me know if this works for you. Also, this is a generous amount of chocolate ganache for the cakes. If you want you can always make less.
Thanks
Oh my gosh. Thank you. This makes so much more sense to me now. Cant wait to do this. .
Hello Veena,
Thank you so very much for being so generous with all the information you share. You are like a cake bible for me.
I have this eternal dilema , about using 1:1 ganache as a filling. I would like to have a soft melt in the mouth feel but hesitant to fill with 1:1 ganache during the summer here in Texas, as I am worried that it will get too soft and the layers will slide around. It is averaging 95-100F temp would it still be ok to fill with 1:1? The cake will be indoors, but I am Just worried about any mishaps during transportation. Your suggestions would really make a difference.
Thanks
Hey Neha, Thank you! Your concern is valid and with high temperatures like that, it is possible that the chocolate will melt making it possible for the ganache to ooze out of the cake. I would highly recommend using a higher ratio than 1:1. Otherwise, arrange for the cake to be kept in the refrigerator as much as possible.
Hi again
I made a batch. Im sure it will be enough. Its still fairly liquidy. In the video i saw for making the book cake the ganache looks more thick to make straight edges. I have a week prior to putting it together. Will it thicken. Should i leave on counter or in fridge?
Thank you again
You are a lifesaver
They Catherine. The ganache will be quite stiff in a few hours – leave it out on the counter overnight. It should be like peanut butter consistency so you can spread. Depending on the weather it might be firmer or softer. If it is firmer give it a good mix and the friction will make it spreadable.
Alternatively, you can leave it in the fridge to set. It will be quite firm – stick it in the microwave for 10 seconds then stir well. That should do it.
Make sure to check the storage notes in the post. You won’t’ be able to leave this out for more than 3 to 4 days max.
Feel free to ask any more questions if you have. Happy caking.
Hi Veena
I wanted to thank you for all of your help and share my final Outcome. I couldnt have done it without you. It was perfect. I cant figure out how to send the image.
IMG_4821.HEIC
Hey Catherine. So happy things worked out ok. Thank you for coming back to let me know. I often wonder weather things worked out for people after I respond to their comments.
I would love to see the cake. Can you please upload it here with my Pinterest image.
On the lower right is says – add a photo? just click that and it will let you upload the image.
Thanks so much – https://www.pinterest.com/pin/271271577540601008/
I did. Hope you can see it. For not being a baker everyone raved about the cake. The ganache. And thought it looked good too. Thank you again .
That did look amazing Catherine. Thank you so much. So happy to hear everyone love it.
I used the recipe as is and i live in a hot and humid place but the ganache keeps getting hard. Do i have to keep using bain marie to loosen it or is there something wrong with mine?
It gets hard at room temperature? It should not be hard at room temperature unless you chill it or it’s winter.
Once chilled I just leave mine out for an hour and it is good and spreadable. In winter I may need 10 up to 20 seconds in the microwave.
It just needs to be spreadable consistency so as long as you have that you can use it.