Buttercream Basics – Frosting 101

Buttercream is the heart and soul of many cakes and cupcakes. Whether you’re aiming for a silky smooth finish or intricate piping details, understanding the different types of buttercream and their uses is essential. In this guide, we’ll explore various buttercream types, share tips for achieving the perfect consistency, and answer common questions to help you master the art of buttercream.
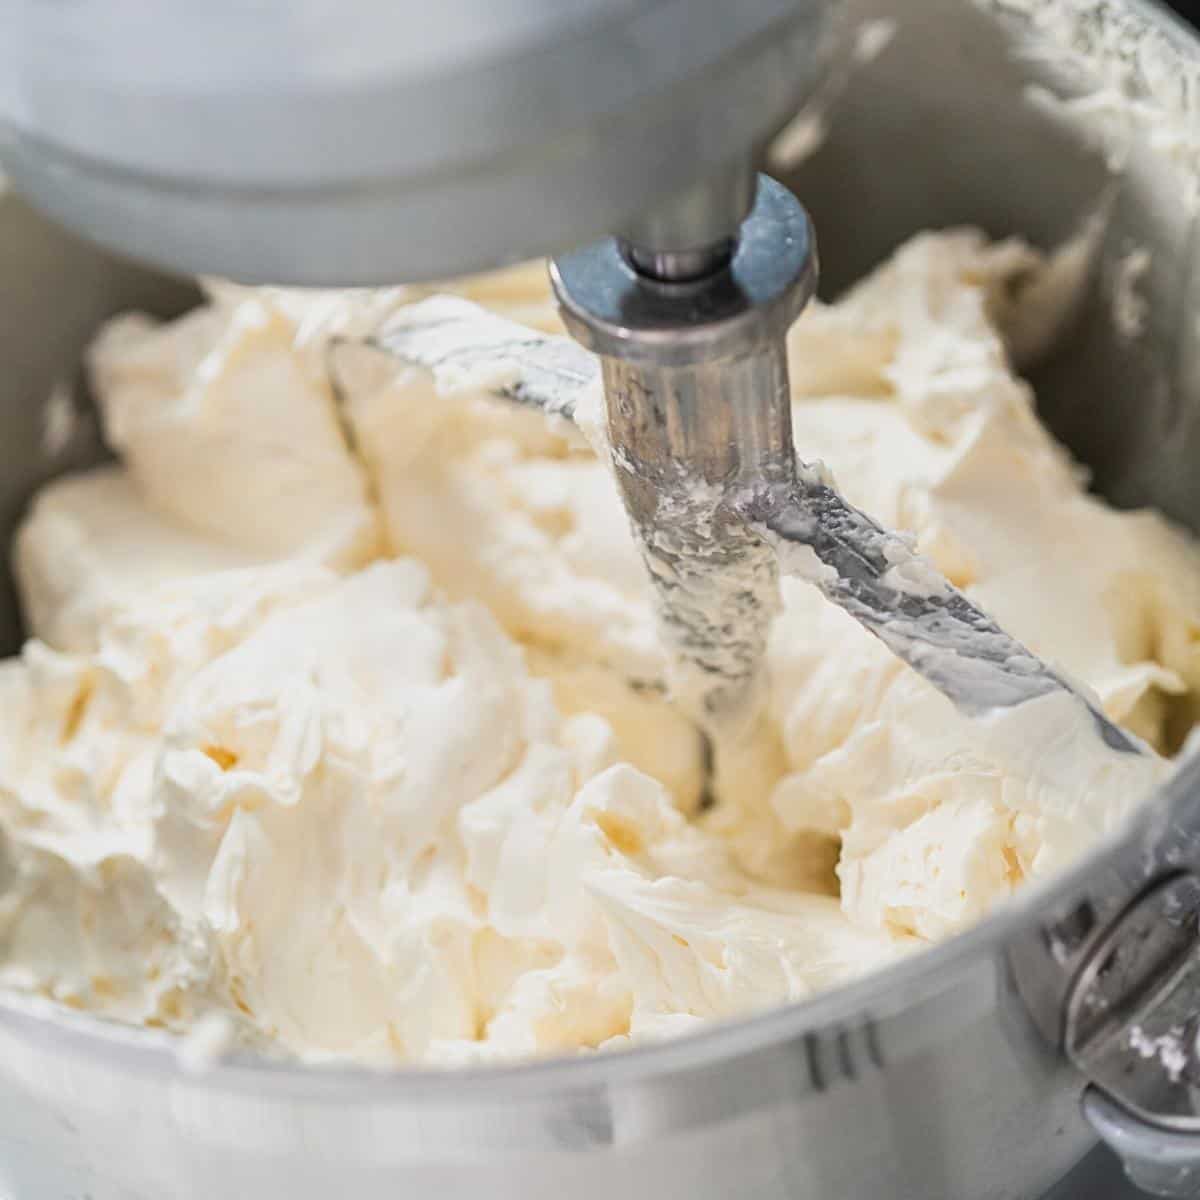
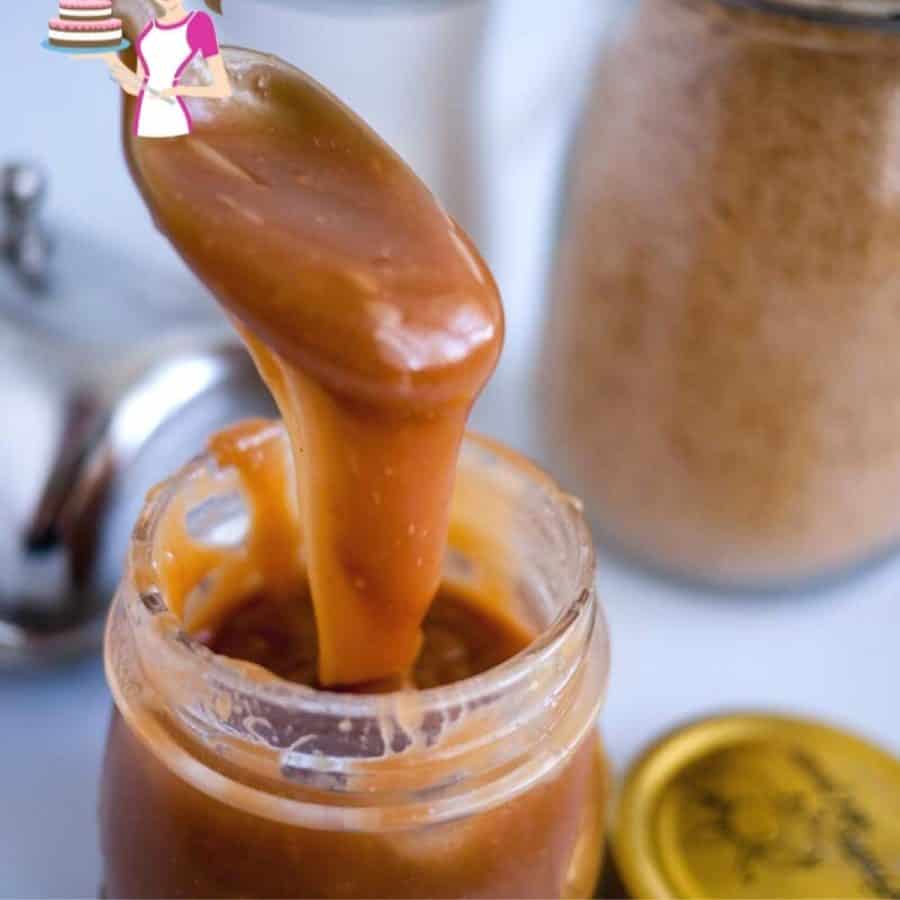
A basic buttercream has three main ingredients: fat, sugar, and liquid. And when mixed, these can give you the best buttercream frosting ever. Plus, you don’t need any special equipment; all you need is a bowl and a whisk (or stand mixer). So, for me, buying frosting has never been an option.
However, things start to get interesting as you play with these three ingredients. Change the proportions of ingredients, fat ratios, or change the type of liquid.
Honestly, this can be a fun experience if you know what you are doing or what to expect with a specific outcome. It’s when we experiment in unfamiliar territories that things become challenging and disasters happen.
So, today I’m going to share how I resolve some buttercream problems. And I give you a good buttercream 101 to use as a buttercream guide.
? What Makes a Good Buttercream?
- Smooth Texture
It should be silky, lump-free, and easy to spread.
No gritty sugar, no curdled mess.
If it looks like scrambled eggs, you’ve gone too far. - Balanced Sweetness
Sweet, but not sickly.
You want the flavor of butter, vanilla, chocolate, fruit, or whatever you’ve added to shine—not just a sugar bomb. - Stable but Soft
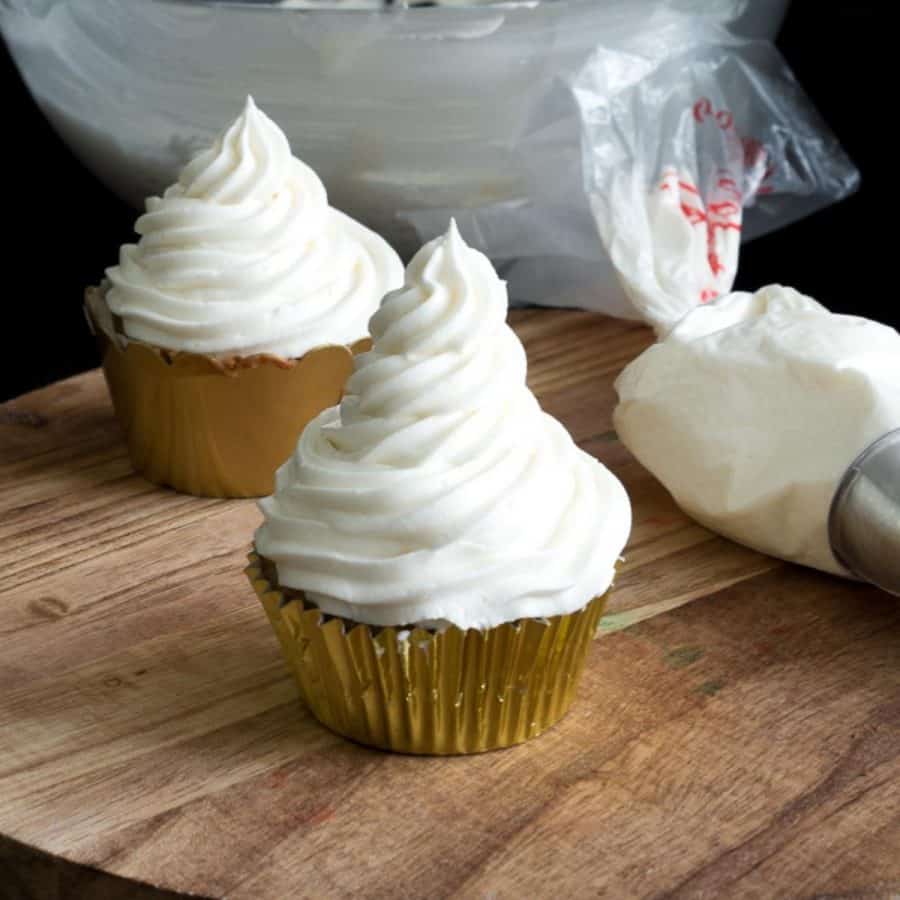
Holds its shape when piped, but melts in your mouth.
Shouldn’t slide off a cake, especially in warmer weather.
You want swoops, not soup. - Flavor Matters
It should actually taste good! Real butter, real vanilla, real flavorings. No weird aftertastes from cheap shortening or artificial extracts. - Color Flexibility
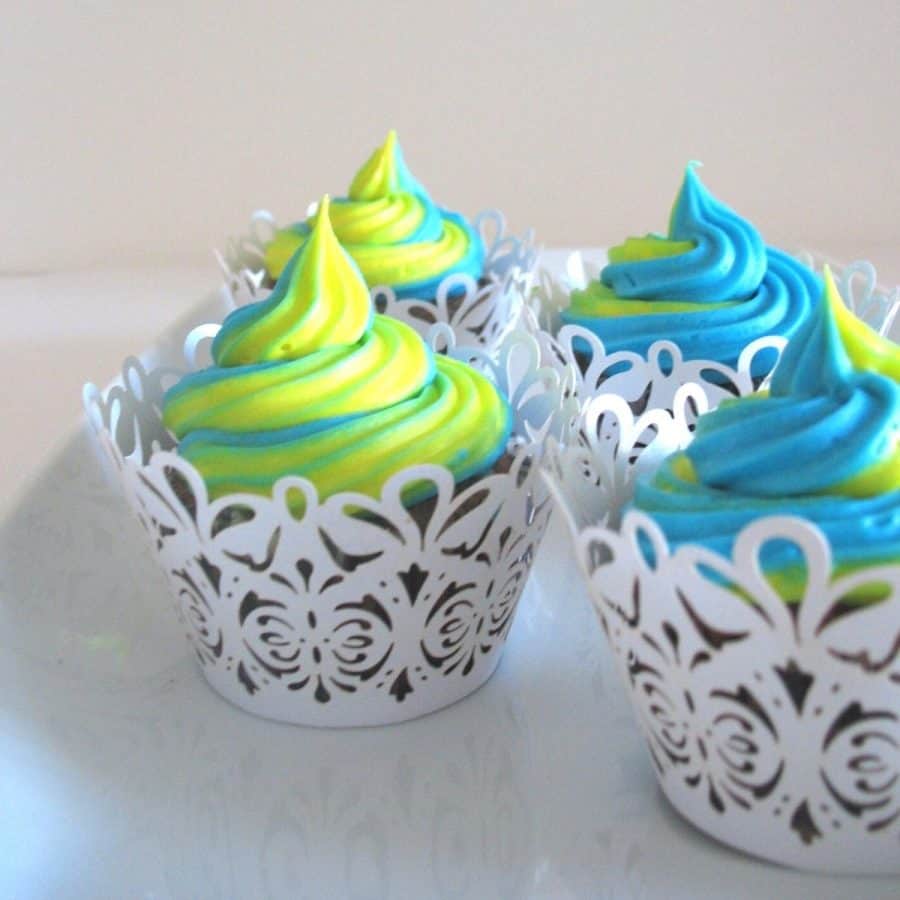
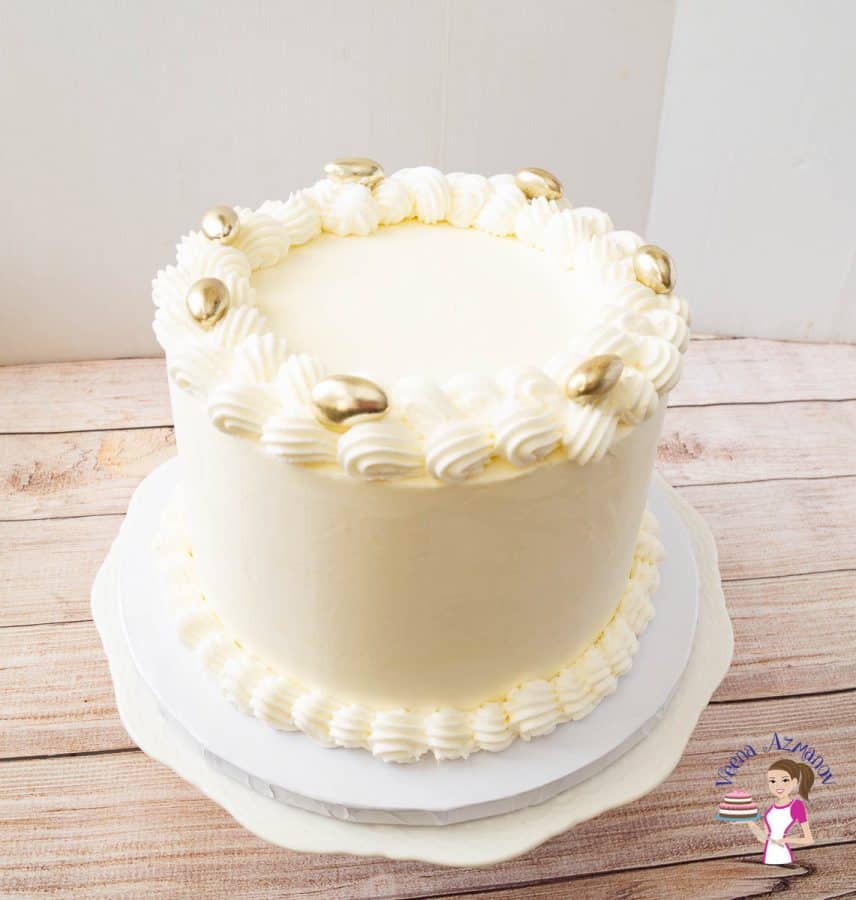
A good buttercream should take on color well if you need it for decorating—especially wedding cakes, rainbows, or themed designs. - Versatility
Should work well for different applications: crumb coating, final layer, piping, roses, borders, cupcake swirls—you name it. - Mouthfeel
This one’s subtle, but important. A good buttercream should feel light, not greasy or overly dense. It shouldn’t coat your tongue like wax (looking at you, all-shortening frosting).

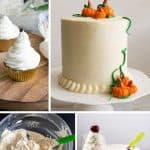
? Types of Buttercream
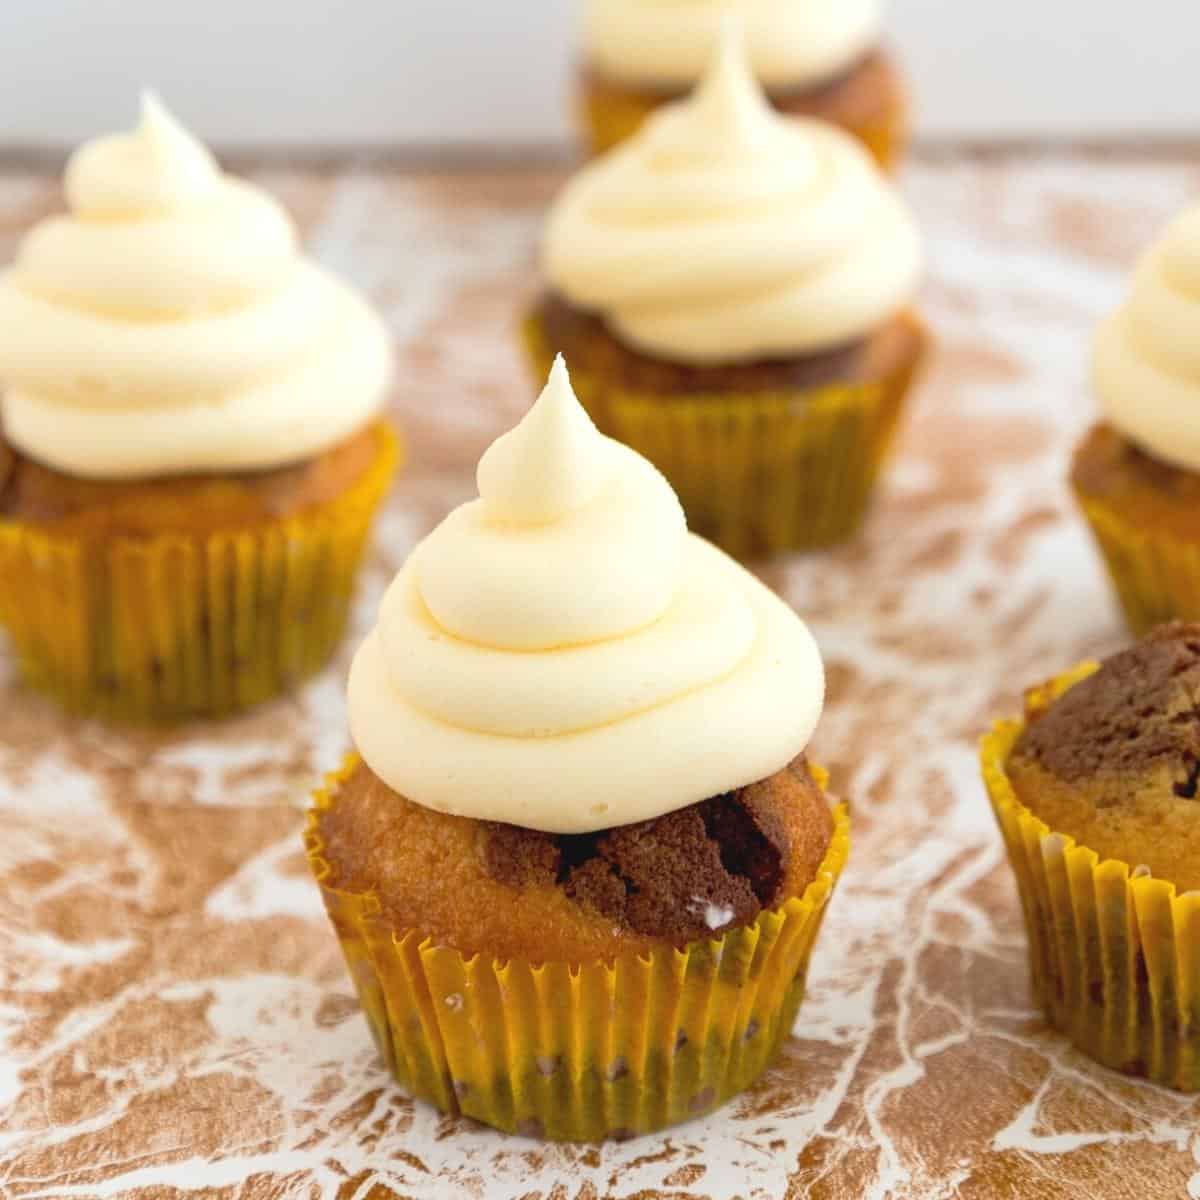
American Buttercream (ABC)

Ermine Frosting (Also known as Boiled Milk Frosting or Flour Buttercream)

? Bakery-Style Buttercream with Cornstarch Slurry
Swiss Meringue Buttercream (SMBC)
Italian Meringue Buttercream (IMBC)
French Buttercream (FBC)
German Buttercream (Custard-Based)
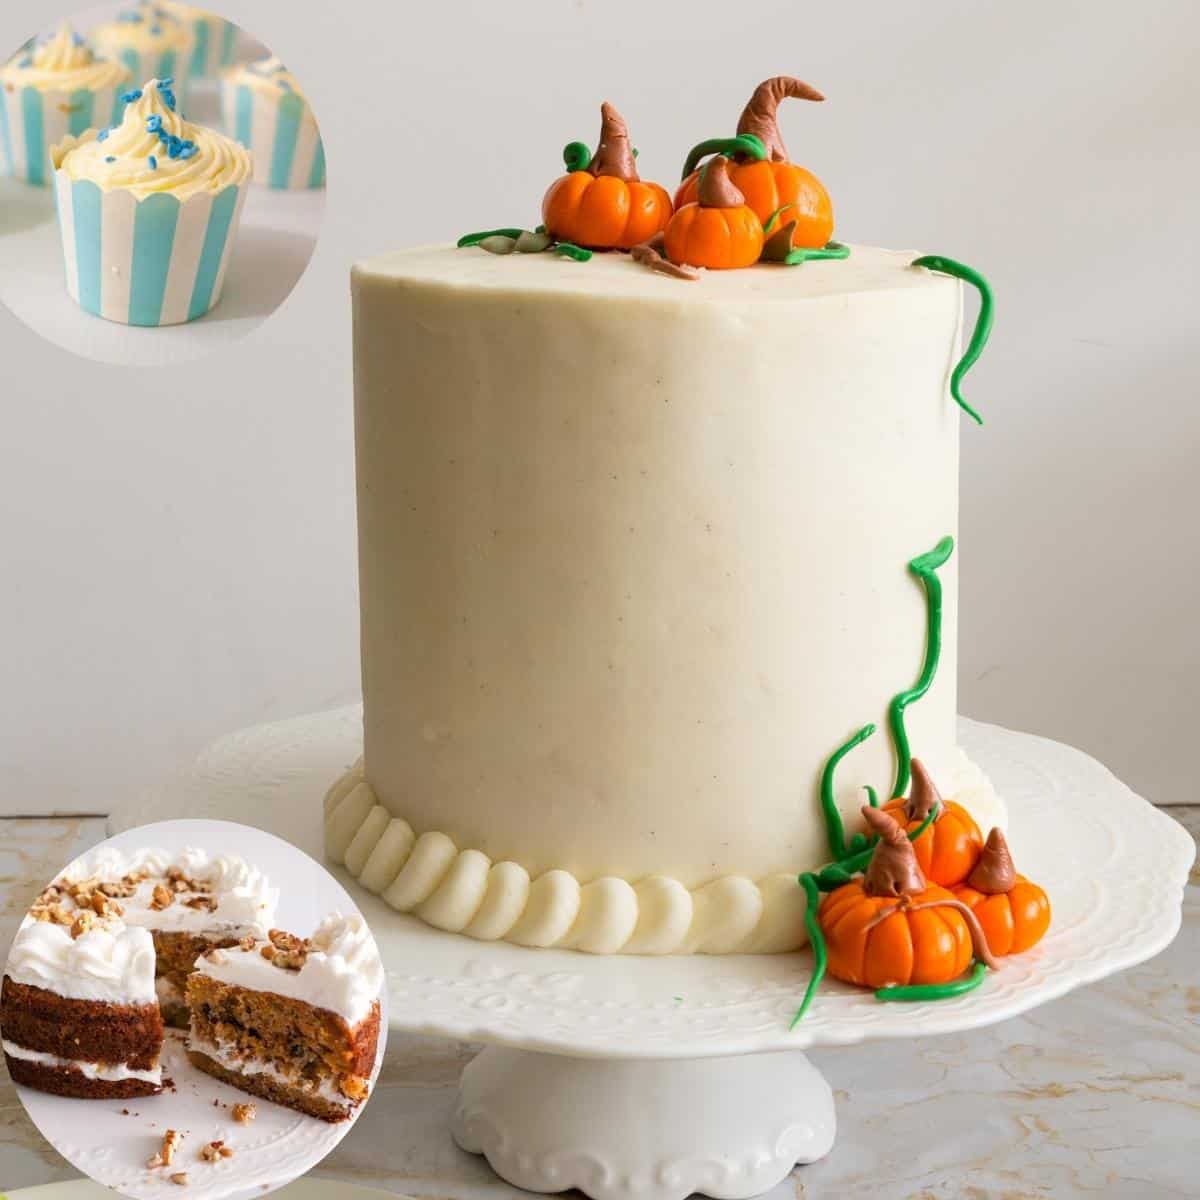
? Cream Cheese Frosting (The “Buttercream Cousin”)
? 9. Shortening-Based Buttercream (Crisco Frosting / Bakery-Style Buttercream)
- Ingredients: Vegetable shortening (like Crisco, Trex, Short Bright, Dalda,), powdered sugar, flavorings, and sometimes water or milk.
- Texture: Very smooth and pipeable. Doesn’t melt easily.
- Flavor: Mild, but can be bland or “greasy” if not well-flavored.
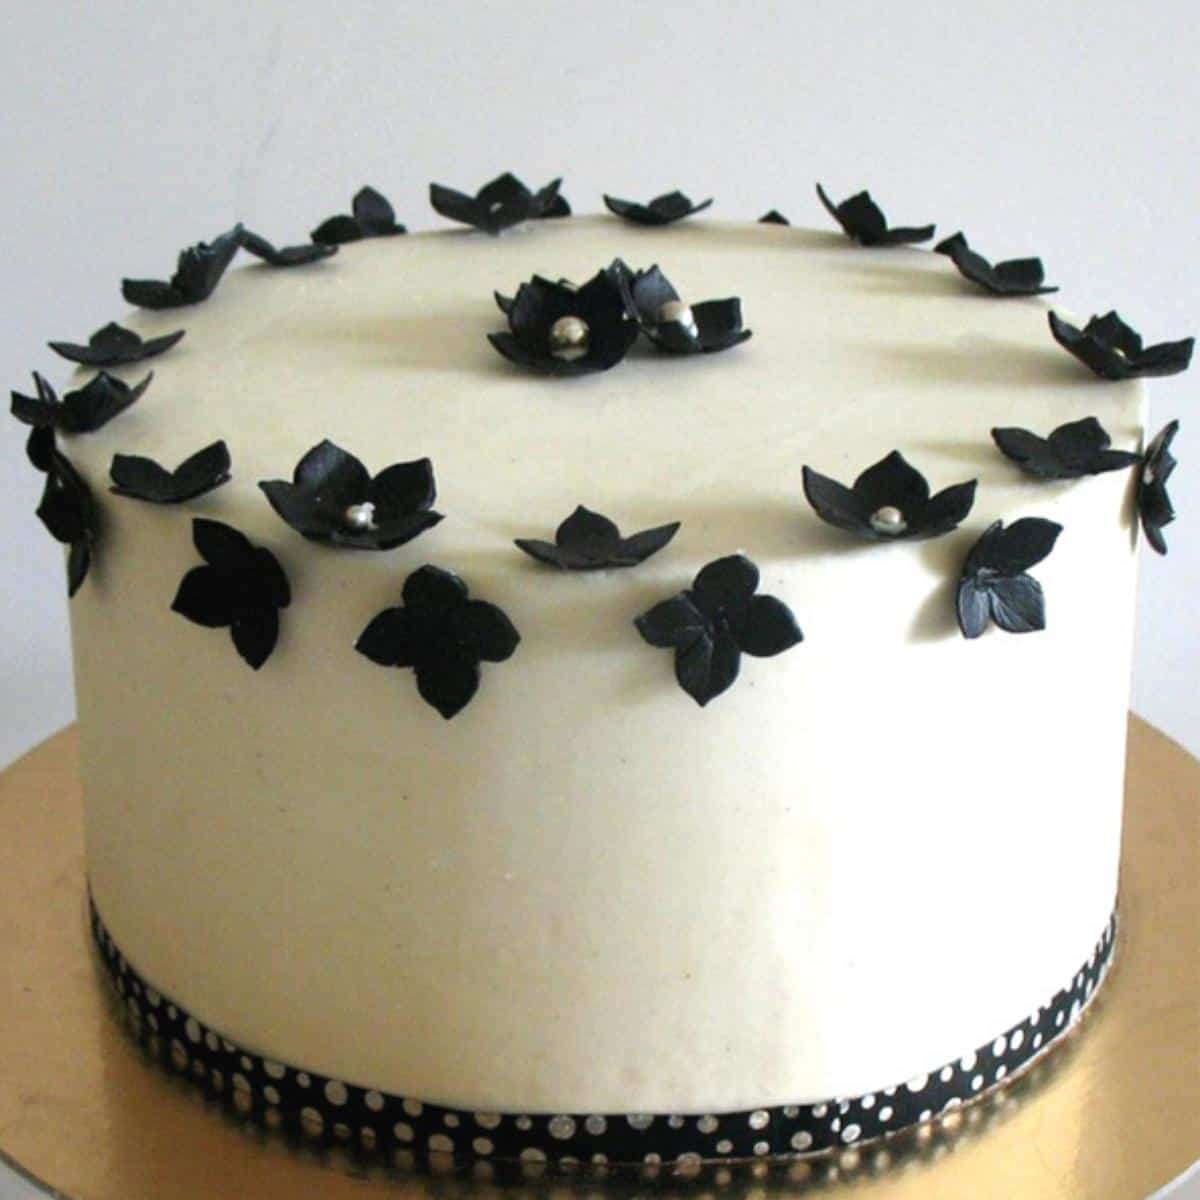
- Best for: Outdoor events, warm climates, wedding cakes, and vibrant colors (since it’s bright white and holds color well).
- Recipe: A good ratio to use is 1:4 parts fat to sugar. So for every 1 cup vegetable shortening, you add 4 cups of powdered sugar and 1 tbsp vanilla extract. Then, add 1 to 4 tbsp water, depending on your desired consistency.
Note: While not as rich or flavorful as butter-based frostings, shortening gives excellent stability and a long shelf life. Some decorators use a half-butter, half-shortening blend to balance flavor and performance.
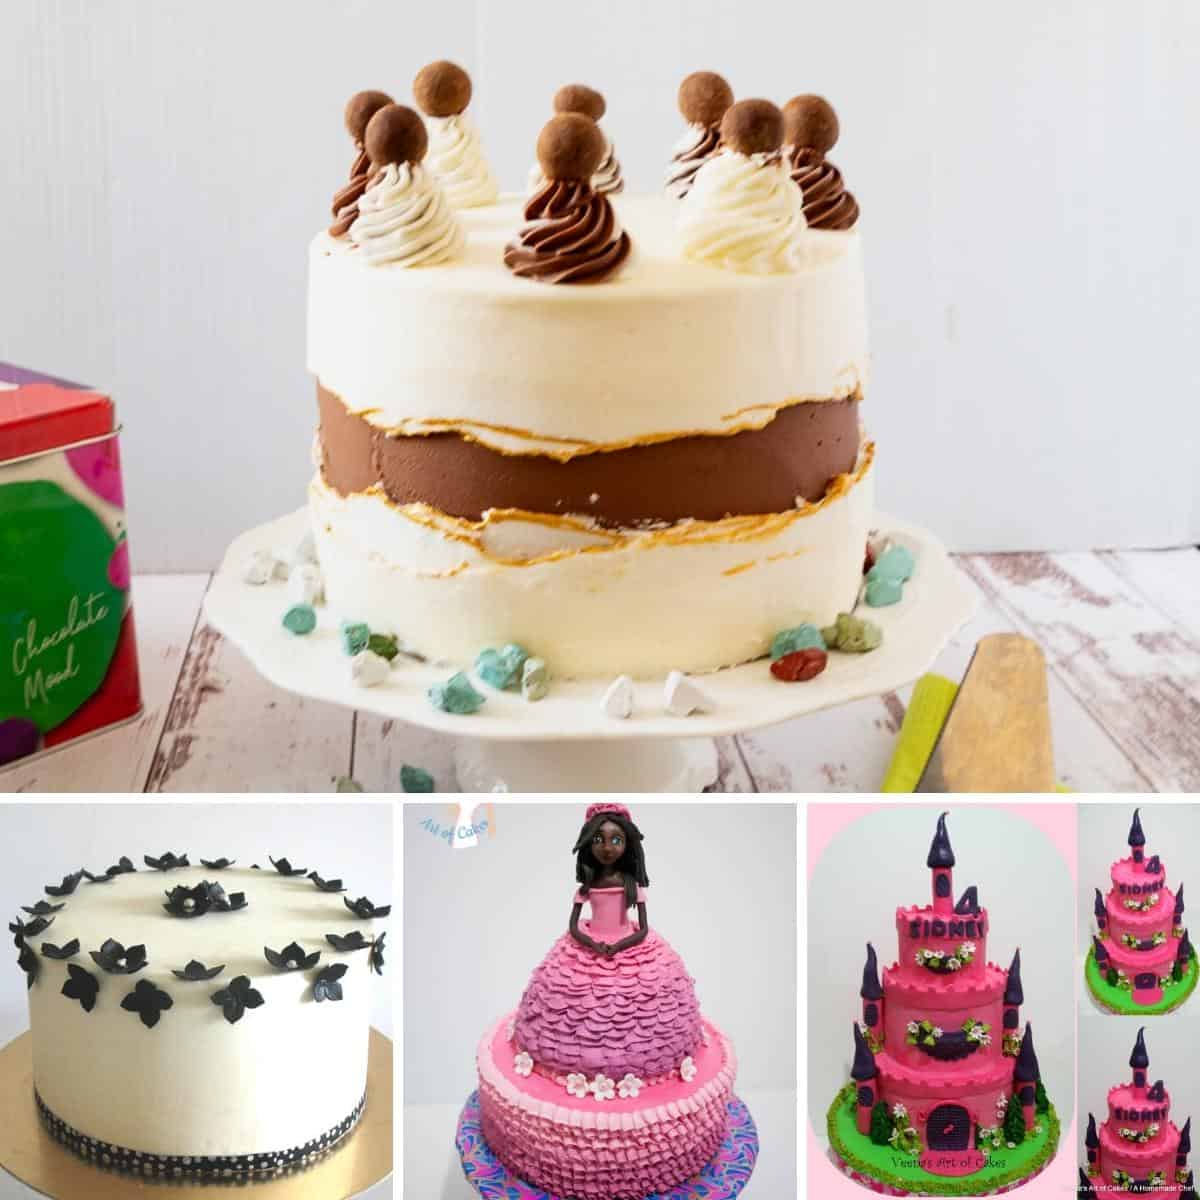
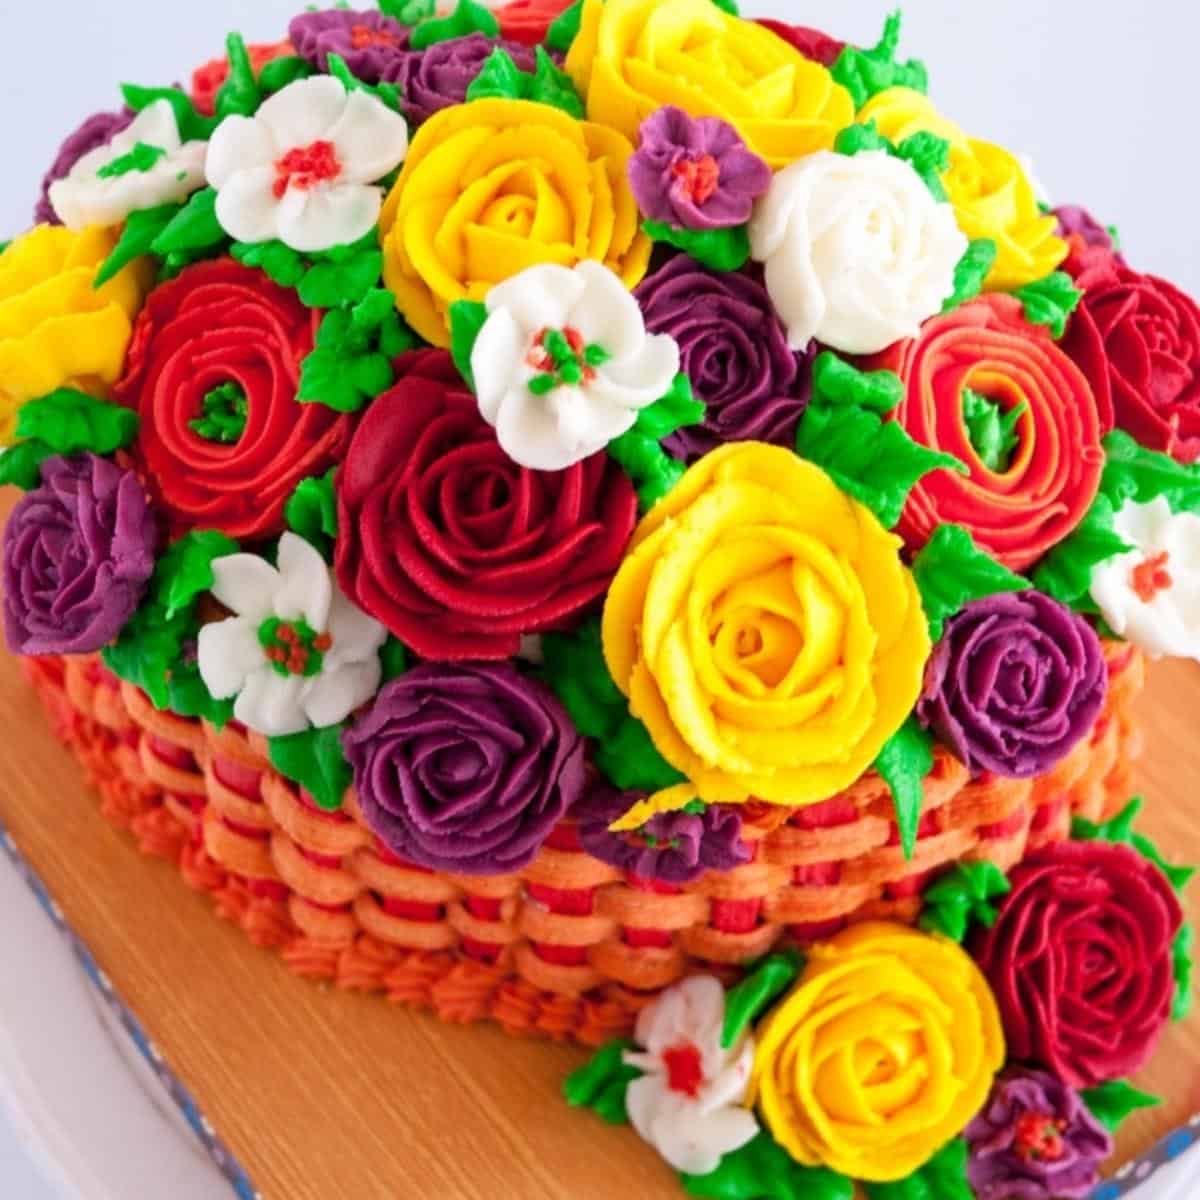
10. Stiff buttercream for frosting flowers
Stiff buttercream is always best made from scratch. If you need to pipe ruffles, frills, or defined patterns, you need stiff buttercream frosting. To make the best buttercream flowers, use stiff buttercream. You can find my recipe for stiff buttercream for piping flowers here, along with a video on how to make it and use it. You can also make buttercream using the Korean buttercream recipe.

Tips for Buttercream Success
- Use room temperature ingredients – Cold butter or eggs = lumpy, split buttercream. Let everything warm up before you begin.
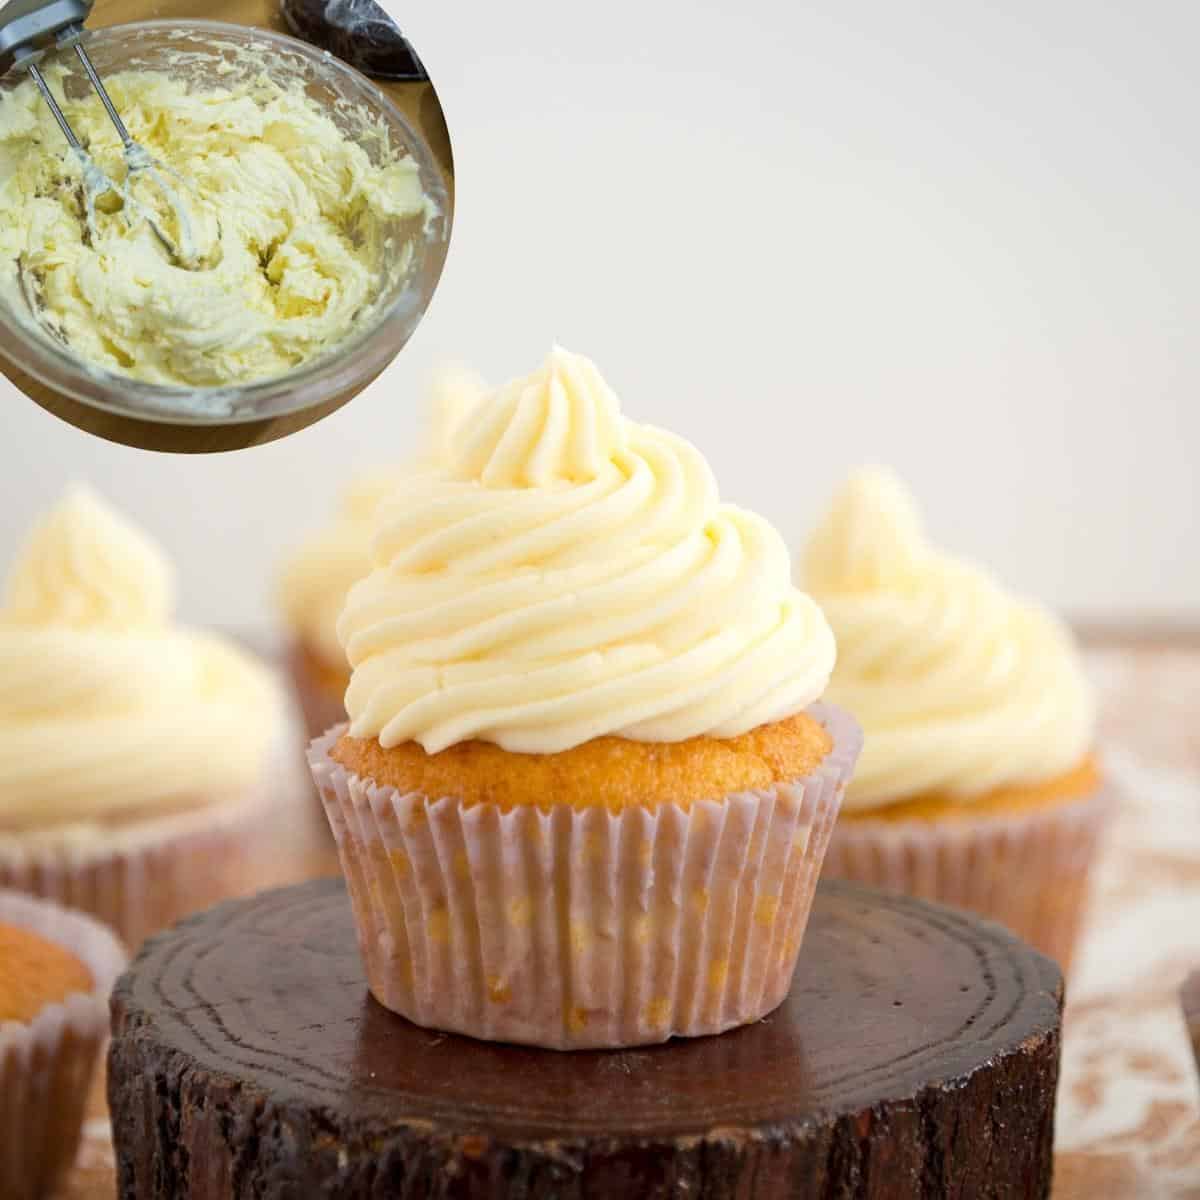
- Beat the butter first – Whip the butter alone until pale and fluffy before adding sugar or meringue. It makes a huge difference in texture.
- Sift your powdered sugar -No one wants a lumpy frosting. Sifting helps avoid graininess.
- Add liquids slowly – Milk, cream, flavorings—drizzle them in gradually so your emulsion doesn’t break.
- Scrape the bowl often – Get every bit mixed in—especially when adding sugar or color.
- Low and slow for the finish – Once it’s mixed, beat on low to smooth it out and knock out air bubbles.
- Chill if too soft, whip if too firm – If your buttercream is runny, chill it for 15–20 mins. If it’s too stiff, let it sit or add a little liquid and re-whip.
- Color the day before for deep shades – Red, black, navy—all deepen over time. Less food color, better flavor.
- Practice piping on parchment – Try borders and flowers before hitting the cake. Practice makes perfect (and less panic).
- Store it right – Keep buttercream in an airtight container. It lasts: 1 week in the fridge, 3 months in the freezer. Bring to room temp and re-whip before using.


How to avoid buttercream disasters?
- Use room temperature butter – Cold butter = lumpy frosting. Melted butter = separated, greasy mess. Let butter soften: 1–2 hours in winter, 20–30 minutes in summer.
- Mind your fat ratio – Substituting margarine or shortening? Adjust liquid and sugar to avoid splitting or greasiness.
- Choose the right powdered sugar – Cane sugar dissolves better. Beet sugar may cause grainy texture. Anti-caking agents (cornstarch, potato starch) can affect smoothness.
- Add liquids slowly and in the right amount – Too much = runny. Too little = dry. Add 1 tbsp at a time. Cream gives richer texture; milk/juice is lighter.

Frequently asked questions
Icings are those simple glazes you make to pour over a pound cake or pastries. Sometimes, it is made with just powdered sugar and milk, and sometimes, it is made with melted chocolate, too. The icing is usually a pouring consistency, while frosting is thick, light, and fluffy and can be spread over a cake or piped over cupcakes.
Add powdered sugar (sweetens more), or
Whip in a tablespoon of cornstarch per 1 lb of sugar (my fave hack—thickens without adding sweetness).
Whipping cream helps if properly whipped in to build volume.
Meringue powder can also add structure.
Check your sugar: Cane sugar dissolves better than beet sugar.
Mix longer, or add a bit more liquid to help it smooth out.
Let it rest, then re-whip—it often fixes itself.
Melted chocolate (cooled) can also mask grittiness.
Usually happens when butter is added to warm meringue.
Chill the whole bowl for 15–20 minutes, then re-whip—it’ll come back!
Don’t panic—99% of broken meringue buttercreams are totally fixable.
Some food colors (especially water-based) cause separation.
Fix it by adding a bit more powdered sugar or a spoon of cornstarch.
Gel colors are best for buttercream.
Use the paddle attachment, not the whisk.
“Paddle” the buttercream with a spatula to knock out air.
Mix on low for the last minute or two to smooth it out.
It needs more liquid—add milk, water, or cream 1 tbsp at a time.
Dry buttercream won’t pipe smooth flowers or edges.
Don’t be afraid of liquid—it “marries” the fat and sugar.
Use Italian meringue, shortening-based, or bakery-style with cornstarch.
Avoid cream cheese and whipped cream frostings in heat.
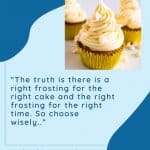
Ask yourself:
What’s the cake flavor?
Is the cake indoors or outdoors?
What’s the weather like?
How far is it traveling?
The right frosting depends on all of these!
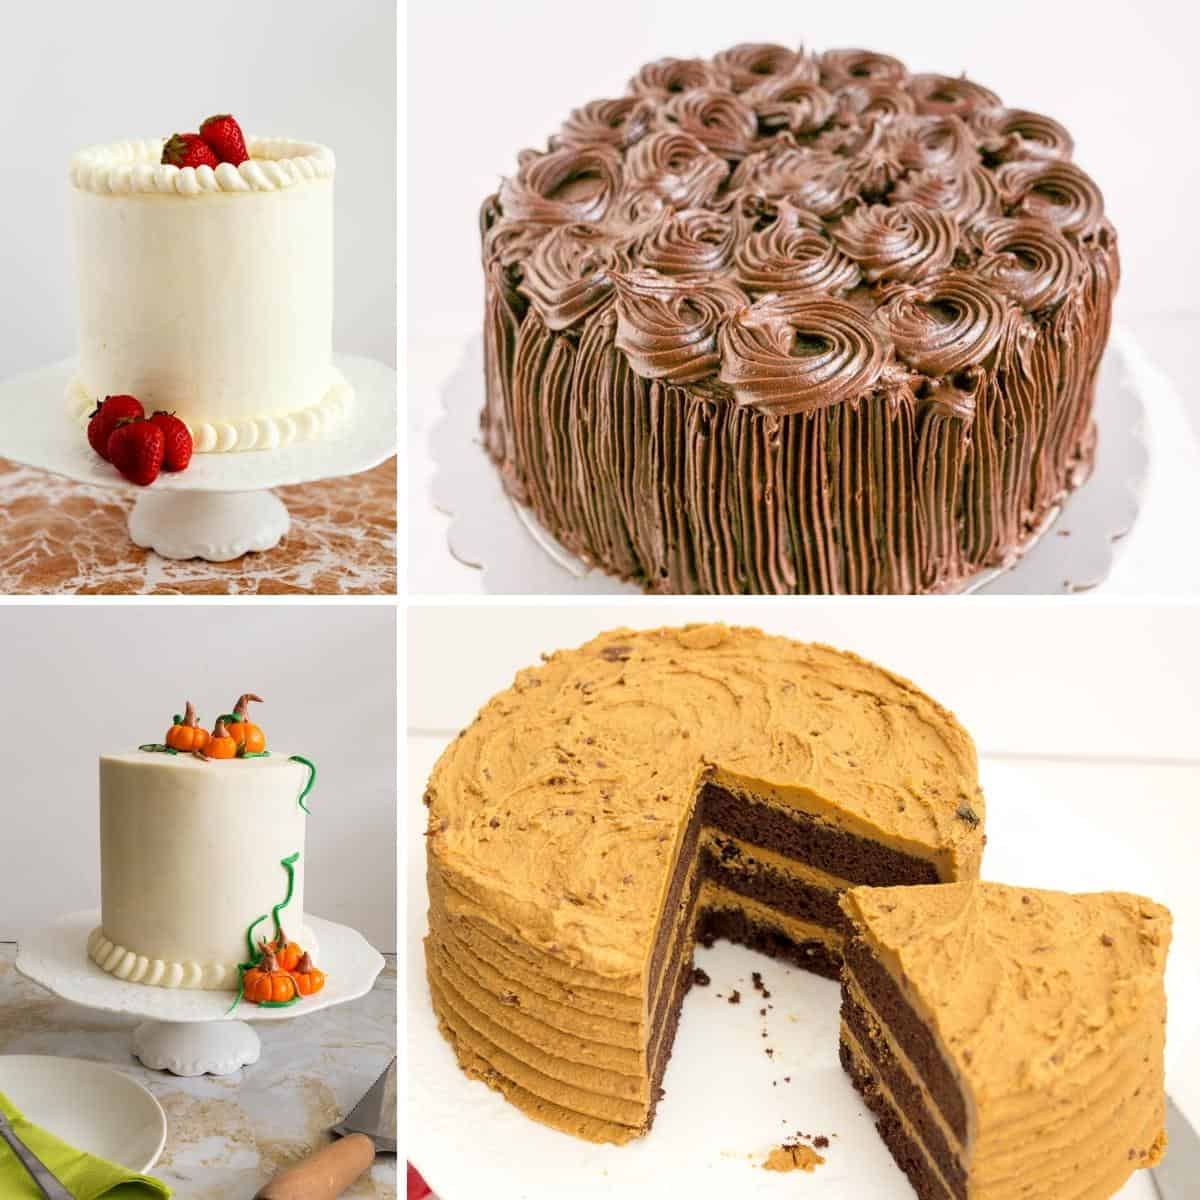
You may also like
- 30 + Buttercream Recipes – Frosting
- Strawberry Cream Cheese Frosting
- 🥧 25 Holiday Pies, Tarts & Festive Pastry Desserts
- 🎉 35 New Year’s Eve Appetizers & Cocktails
- 25+ Easy Desserts for Everyday Baking


Don’t lose this recipe! Save it for Later!
📌 Save this Recipe for later on Pinterest so you can easily find it again.
⭐ Add Veena Azmanov Kitchen to your Google Preferred Sources.
It helps Google show you more of our recipes.
📧 Subscribe for new recipes delivered to your inbox.
🎥 Follow us for more recipes


Day 2 done
Day 2 DONE
Day 2 done