
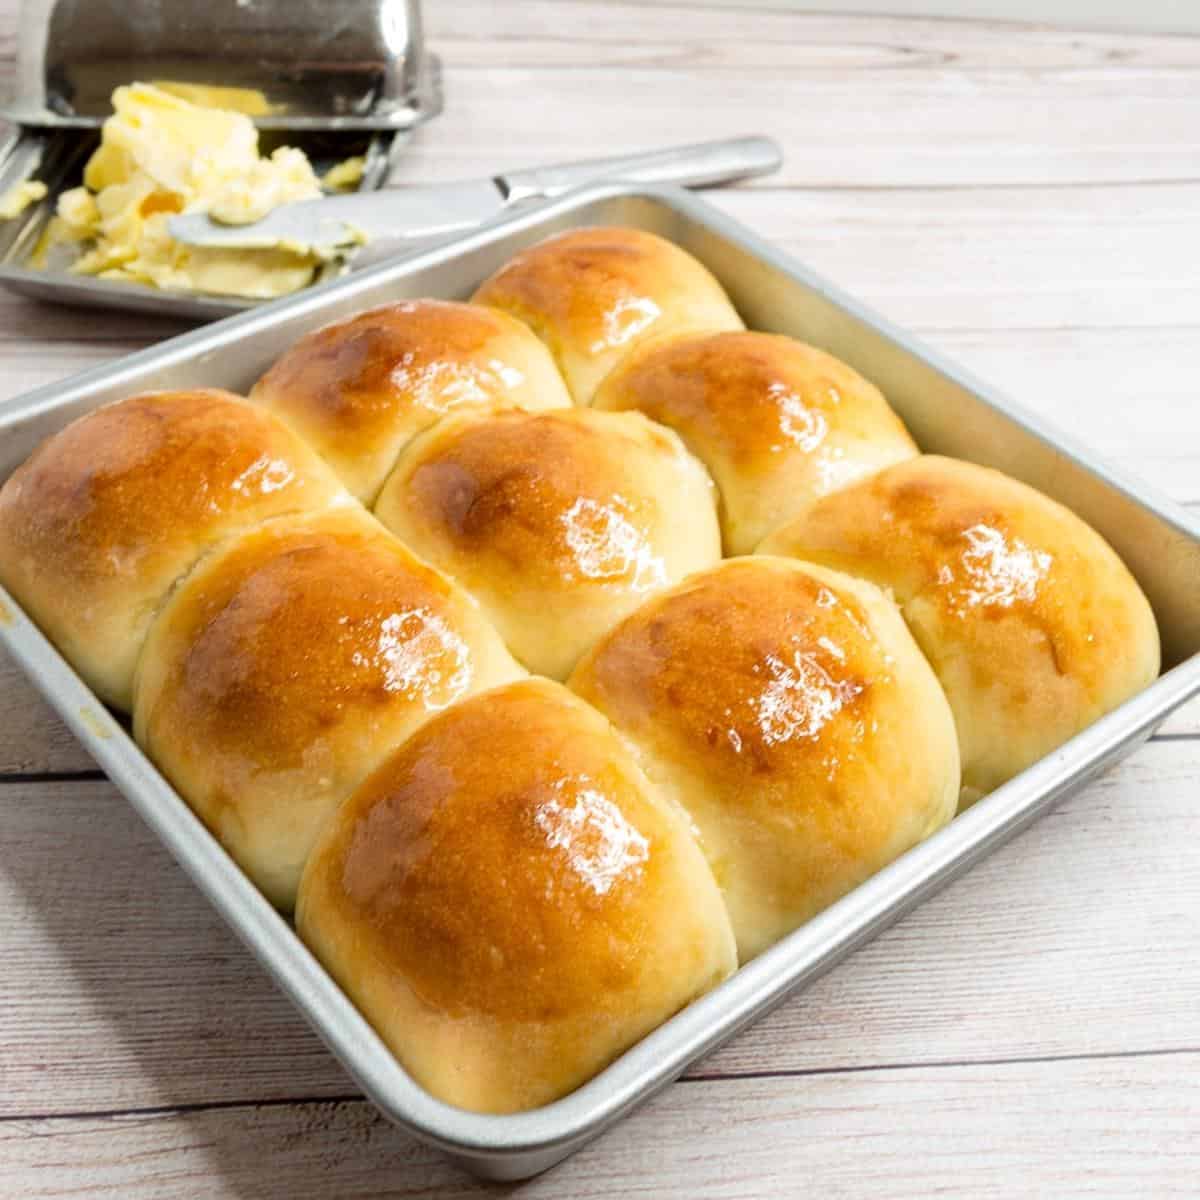




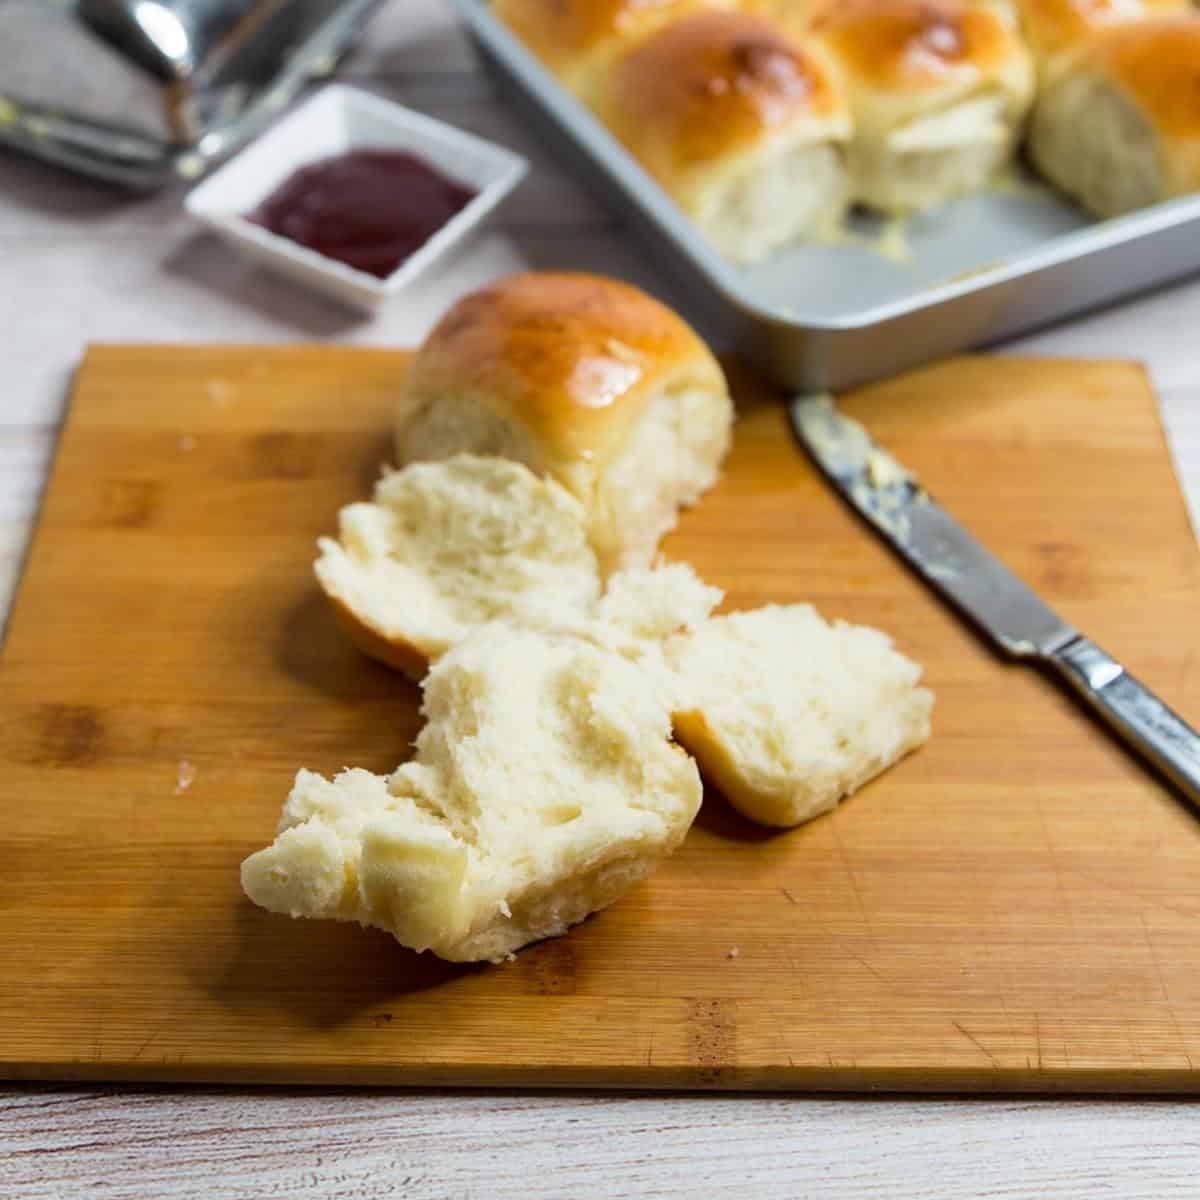
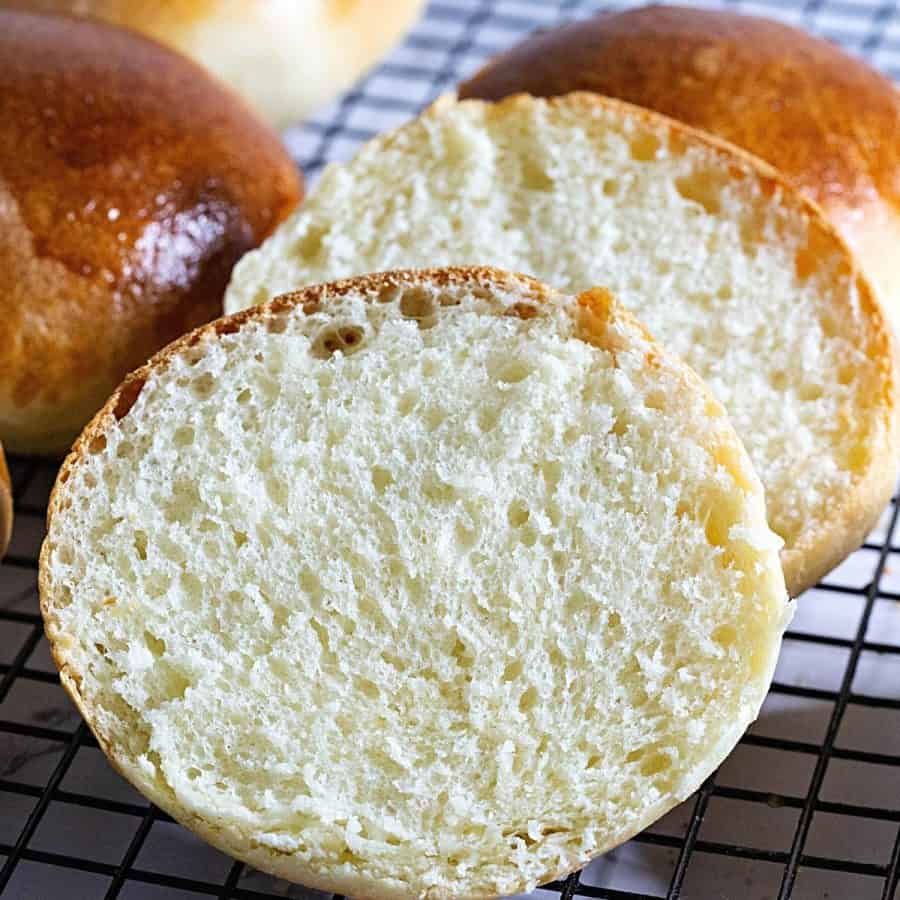
Buttery, fluffy, and soft dinner rolls are the best bread to make at any time of the day. Whether you want them for breakfast with butter and jam or for dinner with your main course, these are always a winner. It needs only 6 ingredients, a quick 10 minutes to prep, and 20 minutes to bake, with some proofing time in between.
Growing up, Mom didn’t buy bread from the bakery regularly. At home, we had homemade dinner rolls for breakfast, sandwiches and snacks, and usually flatbread like chapati for lunch and dinner.
Now, if you look at my bread category, you will see I have a large variety of bread, dinner rolls, buns, sandwich bread, even sourdough. But, these are my favorite rolls. Mom made them all the time, so I took her recipe and kept the tradition going.
The best thing is the simplicity: basic ingredients (not even an egg), yet every time you take them out of the oven, the smell of fresh bread makes everybody hungry. My kids always want a fresh warm bread with butter and homemade jam no matter what time of the day. Guess its just that tempation of fresh bread that begs to be eaten.
Why You’ll Love These Dinner Rolls
- Soft and fluffy – Light, tender rolls with a buttery flavor and beautifully soft texture.
- No eggs needed – These dinner rolls are naturally eggless and made with simple everyday ingredients.
- Easy to make – A straightforward dough that works well even if you’re new to making homemade bread.
- Great with any meal – Serve them warm with butter alongside soups, stews, roasts, or your favorite family dinner.
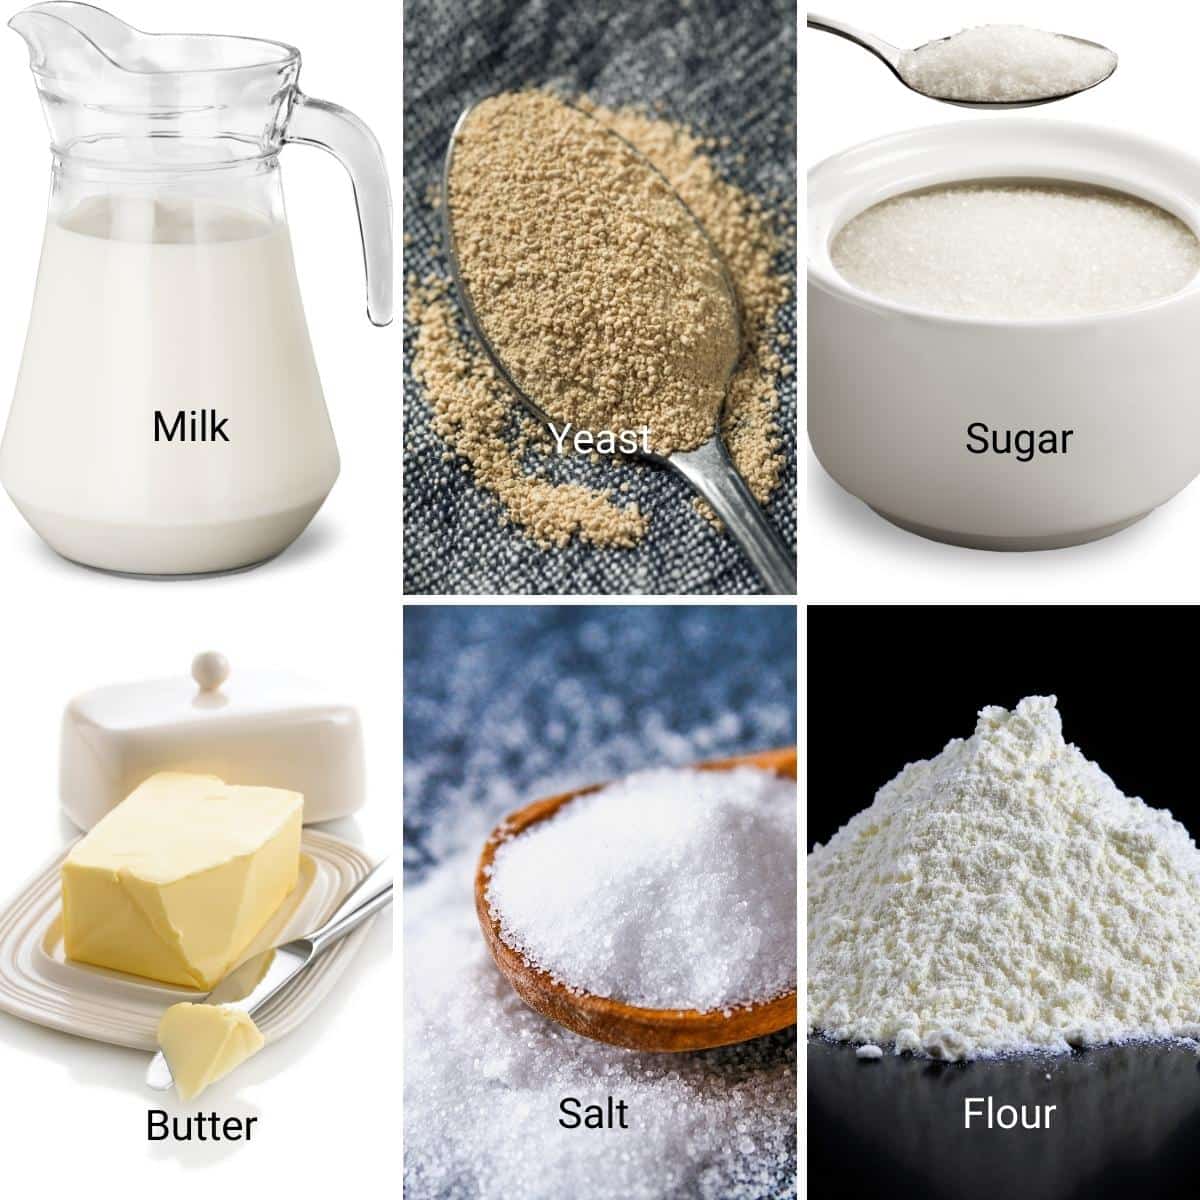
Ingredients and Substitutes
- Flour – All-purpose flour makes soft, fluffy rolls with a classic pull-apart texture. If you want something a little nuttier, swap up to 50% with whole wheat flour — know the rolls will be slightly denser (still tasty, just more “wholesome bakery” than “cloud-soft”).
- Yeast – Active dry yeast is my everyday choice, but instant yeast works perfectly too, and rises a bit quicker. If you’re lucky enough to have fresh yeast, use about 14 g and simply rise the dough until it doubles — fresh yeast is more about watching the dough than the clock.
- Milk – Adds moisture and richness, which is why these rolls stay tender. Whole milk is best, but you can also use low-fat or even plant-based milks if that’s what you have. Just keep the liquid warm—not hot—so the yeast stays happy.
- Butter – Gives flavor, softness, and that gorgeous bakery smell. Unsalted is standard, but you can also use salted if that’s what’s in your fridge—just reduce any added salt slightly. A good plant-based butter for dairy-free makes lovely rolls, too.
- Sugar – A bit of sugar balances flavor and helps the yeast wake up. You can also use brown sugar, honey, or maple syrup; each adds its own little personality. (Honey rolls are especially good with soups and stews!)
Step-by-step: Best Dinner Rolls Recipe
Dough
- Yeast – In a large bowl of the stand mixer with the dough hook attachment. Combine the warm milk (110 F), yeast, and sugar.
- Combine – Add the flour and salt. Then, combine well on medium-high speed for 2 to 3 minutes, until all the flour is well incorporated.
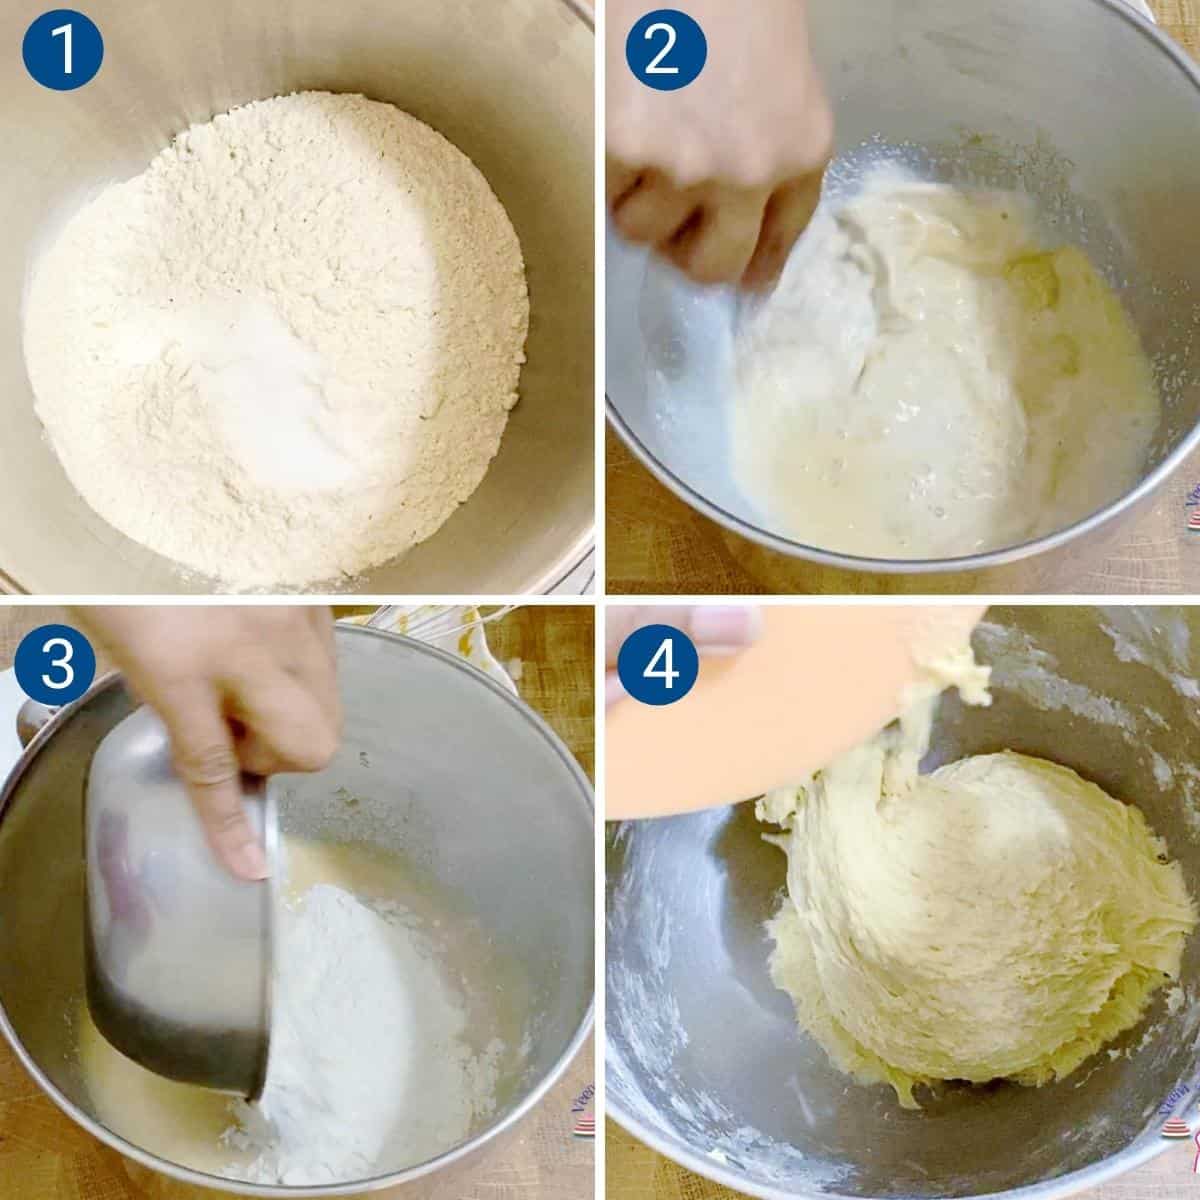
- Knead – Continue to knead on medium speed for 3 to 4 minutes. Then add the butter and continue kneading for 2 to 3 more minutes, until you have a soft, smooth, elastic dough.
- Bowl – When the dough is soft and shiny, but still slightly sticky, shape it into a ball. Place the dough in an oiled bowl seam side down. Next, coat the surface with cooking spray to prevent drying. Then, cover with a clean kitchen towel or plastic wrap.
- Rise – Leave in a warm place. Let it rise for 60 to 90 minutes until it doubles in volume.
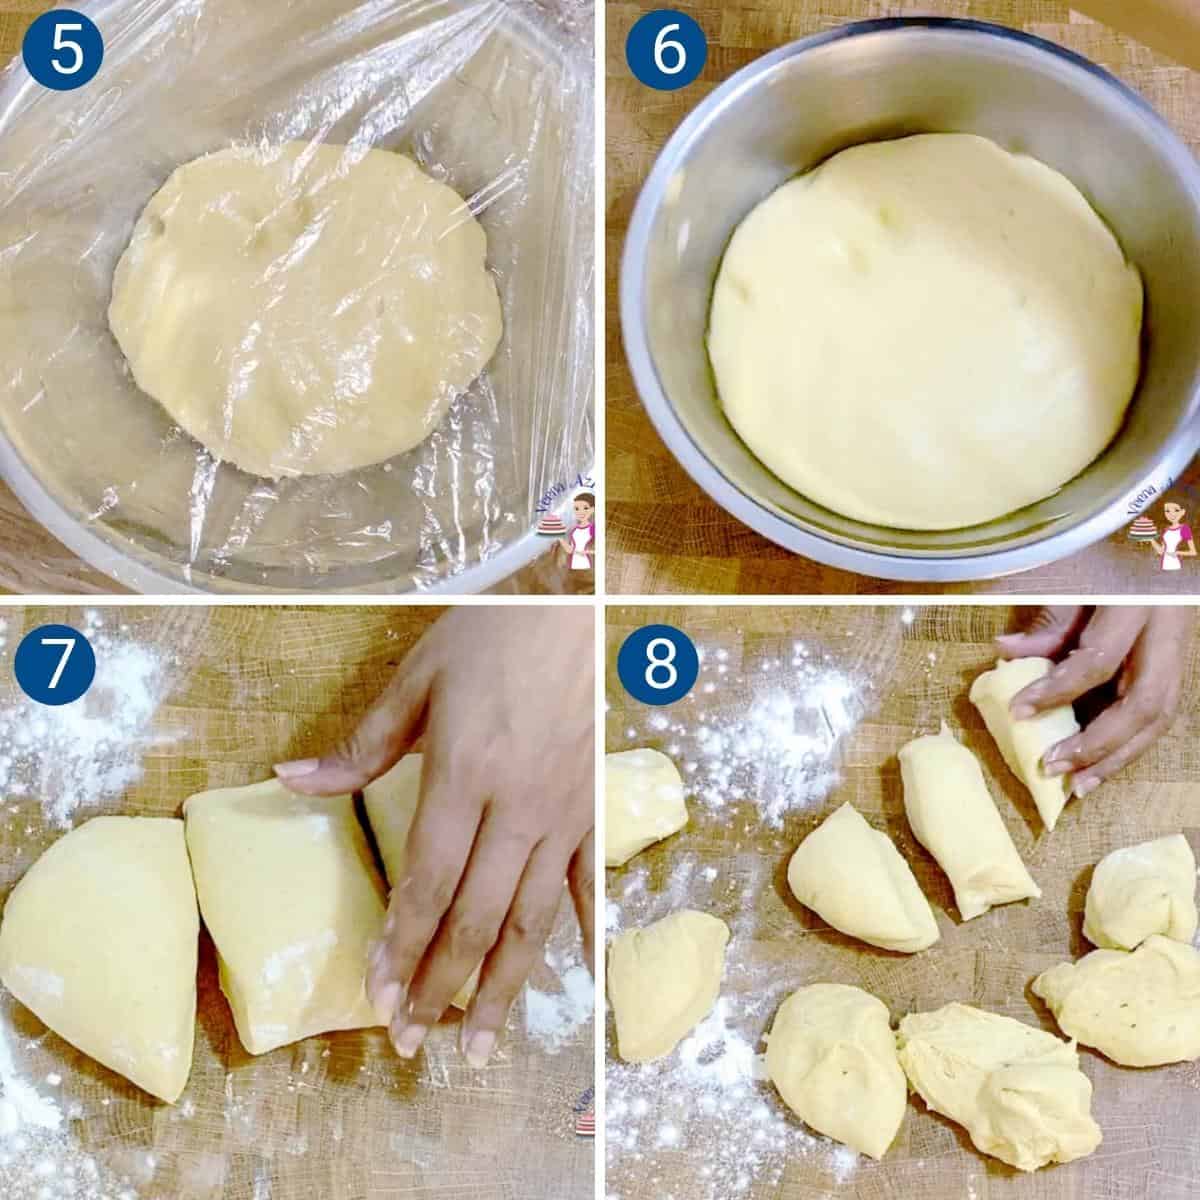
- Punch – When the dough is doubled in volume, transfer it to a well-dusted floured work surface. Punch down and reshape into a ball. Then roll it into a small log.
- Divide – Using a dough scraper, divide this log into three portions and then each of those portions into 3 again. This should give you 9 dinner rolls.
Pro tip – The odd number 9 is because we are using a square baking pan. You can also divide into 8 medium or 12 small rolls, using an 8-inch round or quarter sheet pan.
Shape and bake
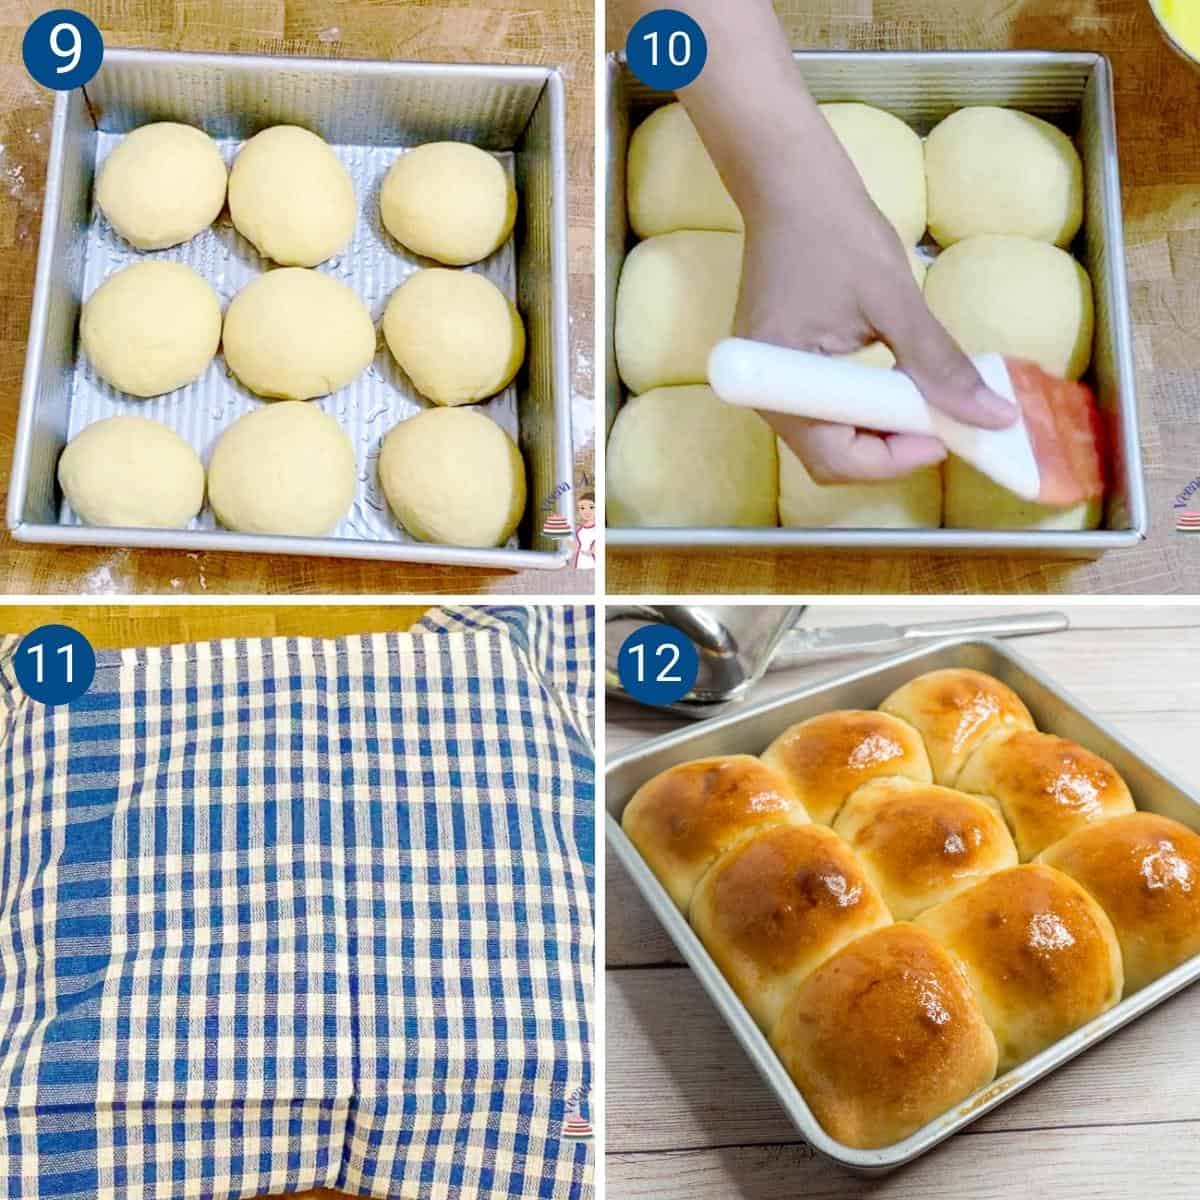
- Shape – Hold each piece of dough in your hand and gather all the seams together. Pinch the seams at the bottom, then place the ball on a non-floured surface while still holding it.
Loosen your grip and roll the dough back and forth into a tight circle against the work surface. You will feel the dough tighten and smooth out. - Proof – Grease or spray a 9 x 9 square baking pan. Place the rolls in the pan. Seam side down. Cover with a clean kitchen cloth or plastic wrap and leave in a warm place for about 45 minutes until almost double in size.
Pro tip – Spray the plastic wrap with oil to prevent it from sticking to the rolls. - Oven – When the rolls are almost double in volume at about 30 minutes, preheat the oven to 375°F /190°C / Gas Mark 5
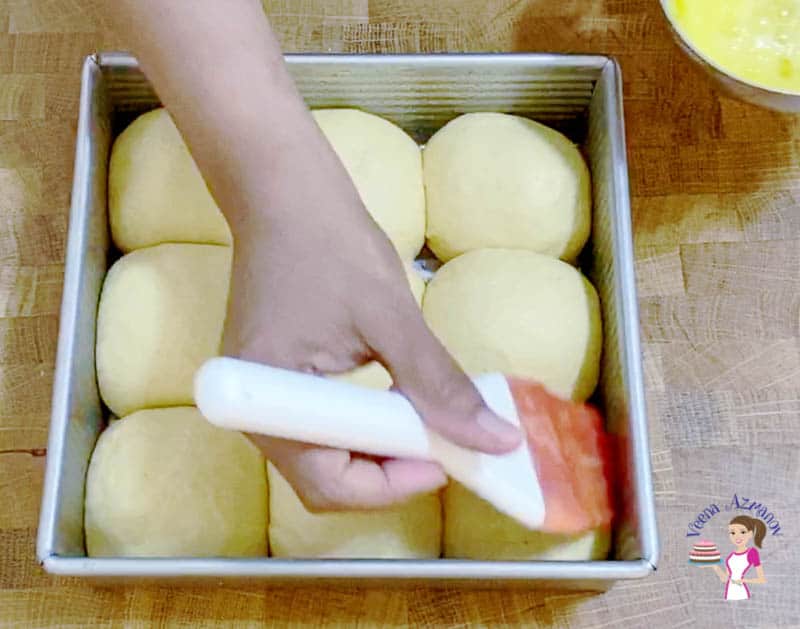
- Egg wash – Brush the rolls with milk, cream, or egg wash.
Pro tip – Egg wash is a full egg with 2 tbsp of water. An egg wash will give a nice, golden-brown color.
- Bake for about 20 to 22 minutes until lightly golden on top. When baked, brush with melted butter
- Cool – Take them out of the pan and cover them with a clean kitchen cloth for at least 5 minutes to keep them soft
Pro tip – Do not leave the rolls in the pan for too long, as the steam will make the bread soggy on the bottom.
Storage and Make Ahead
- Room temperature – Once completely cool, store the dinner rolls in an airtight container or bag at room temperature for up to 2 days. Warm them briefly before serving to bring back that soft, fresh-baked texture.
- Refrigerator – I don’t recommend refrigerating bread unless necessary because it tends to dry out faster. If you do refrigerate the rolls, keep them well wrapped and warm them before serving.
- Freeze baked rolls – Let the rolls cool completely, then wrap well and freeze for up to 3 months. Thaw at room temperature and warm in a low oven before serving.
- Make ahead – Prepare and shape the rolls, place them in the baking pan, cover, and refrigerate overnight. The next day, let them sit at room temperature until puffy and almost doubled in size, then bake as directed.
- Reheat – Cover the rolls loosely with foil and warm at 300°F/150°C for about 10 minutes. For an extra-soft finish, brush them with a little melted butter while warm.
Soft Dinner Rolls – Homemade
Buttery, fluffy, and soft dinner rolls are the best to have with any main course. This bread recipe needs only 6 ingredients, 10 minutes to prep, and 20 minutes to bake with some proofing time in between
Video
Ingredients
- 180 g (¾ cups) Warm milk about 110℉
- 5 g (1 tsp) Instant dry yeast or 21 grams bakers yeast
- 30 g (2 tbsp) Sugar or honey
- 50 g (3½ tbsp) Unsalted butter, room temperature
- 6 g (1 tsp) Kosher salt
- 355 g (2¾ cups) All-purpose flour or bread flour
- 2 tbsp Milk or ½ beaten egg
Method
- Yeast – In a large bowl of the stand mixer with the dough hook attachment. Combine the warm milk (110 F), yeast, and sugar.180 g Warm milk about 110℉, 5 g Instant dry yeast, 30 g Sugar
- Combine -Add the flour and salt. Combine well on medium-high speed for 2 to 3 minutes until all the flour is well incorporated.355 g All-purpose flour, 6 g Kosher salt
- Knead – Continue to knead on medium speed for 3 to 4 minutes. Then, add the butter and continue to knead for 2 to 3 minutes more until you have a soft, smooth, and elastic dough.50 g Unsalted butter, room temperature
- Bowl – When the dough is soft and shiny, but still slightly sticky shape it into a ball. Place the dough in an oiled bowl seam side down. Coat the surface with cooking spray to prevent drying. Cover with a clean kitchen towel or plastic wrap.
- Rise – Leave in a warm place. Let rise for 60 to 90 minutes until it doubles in volume.
- Punch – When the dough doubles in volume transfer it to a well-dusted floured surface. Punch down and reshape into a ball. Then roll it into a small log.
- Divide – Using a dough scraper divide this log into four portions and then each of those portions into 3 again. This should give you 12 dinner rolls.
- Shape – Hold each piece of dough in your hand and gather all the seams together. Pinch the seams at the bottom then place the ball on a non-floured surface while still holding it in your hand. Loosen the grip on the dough and roll it back and forth into a tight circle against the work surface. You will feel the dough become tight and smooth.
- Proof – Grease or spray a 9 x 9 square baking pan. Place the rolls in the pan. Seam side down. Cover with a clean kitchen cloth or plastic wrap and leave in a warm place for about 45 minutes until almost double in size.
- Oven – When the rolls are almost double in volume at about 30 minutes, preheat the oven to 375°F /190°C / Gas Mark 5
- Egg wash – Brush the rolls with milk, cream, or egg wash.2 tbsp Milk
- Bake for about 20 to 22 minutes until lightly golden on top. When baked brush with melted butter
- Cool – Take them out of the pan and cover them with a clean kitchen cloth for at least 5 minutes to keep them soft
Notes
- Overnight Rolls – The dough can be prepared a day in advance. Proof them for an hour on the counter, then punch down and let the dough rest in the fridge overnight. Overnight proofing is a great way to add flavor to the bread. The next day, continue with the recipe as directed, rolling and shaping the chilled dough.
- Storing these rolls– These dinner rolls do freeze beautifully. Cool the baked buns, then place them in a freezer-safe storage bag. These can be frozen for up to a month.
- Kneading the dough – The dough does need kneading, so if possible, try using an electric mixer.
- Bread machine – these rolls can be easily made in a bread machine. Pour all ingredients into the pan set to dough or manual. Start and let the dough run its cycle for about 9 to 10 minutes – continue with the recipe as shown above.
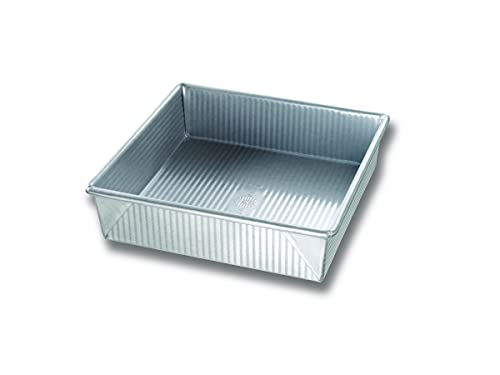
Equipment you will need


Nutrition
Tried this recipe?
Mention @veenaazmanov_kitchen or tag #veenaazmanovkitchen!Tips for Success
- Use soft, room-temperature ingredients – Warm liquids and softened butter help the dough rise properly and keep the rolls fluffy.
- Knead just until smooth and elastic – Over-kneading makes rolls tough; stop as soon as the dough feels stretchy and no longer sticky.
- Let the dough rise fully—aim for “double in size.” Under-proofing makes dense rolls; over-proofing makes them collapse.
- Bake until just golden – Lightly golden rolls stay soft; too much color dries them out fast.
- Overnight option – Make the dough, let it rise once, punch down, refrigerate overnight. Shape and bake the next day.
- Freezer-friendly – Freeze baked rolls once cool — they thaw beautifully and reheat soft.
more bread rolls and buns


Troubleshooting
| Issue | Cause | Fix |
|---|---|---|
| The dough didn’t rise | Liquid too cold/hot or yeast inactive | Use warm liquid (≤110°F / 41°C); check yeast freshness |
| The rolls turned out dense | Too much flour or under-kneading | Keep dough soft & slightly sticky; knead until elastic |
| Rolls collapsed in the oven | Over-proofed before baking | Proof until almost doubled; not more |
| Dry or hard rolls | Over-baked or oven too hot | Bake until lightly golden; check oven temp accuracy |
Frequently asked questions
3–4 days at room temperature in an airtight container. They also freeze well for up to 1 month.
Yes. Shape the rolls, refrigerate overnight, bring to room temp, then bake.
Absolutely. Freeze fully cooled rolls in a freezer bag. Thaw at room temperature or warm briefly in the oven
Yes. Use the dough cycle, then shape and bake as directed.
These are great with any soup, stew, chili, or slow-cooked meat, anything saucy.
Soup, salad, and dinner rolls are a complete meal in our home.
They are perfect to soak up the gravy in slow-cooked lamb, beef, or chicken dishes.
My kids love lamb stew or chili with this bread.
more dinner rolls
- Garlic Dinner Rolls
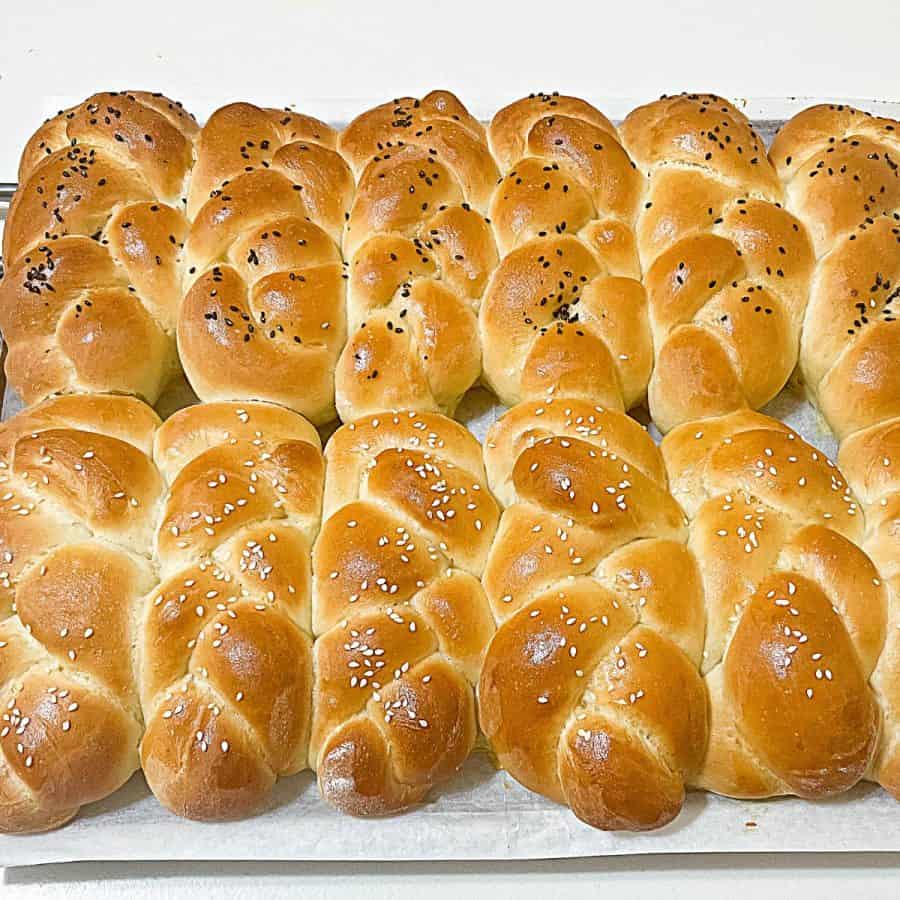
- Sourdough Mini Challah • Dinner Rolls
- Whole Wheat Dinner Rolls
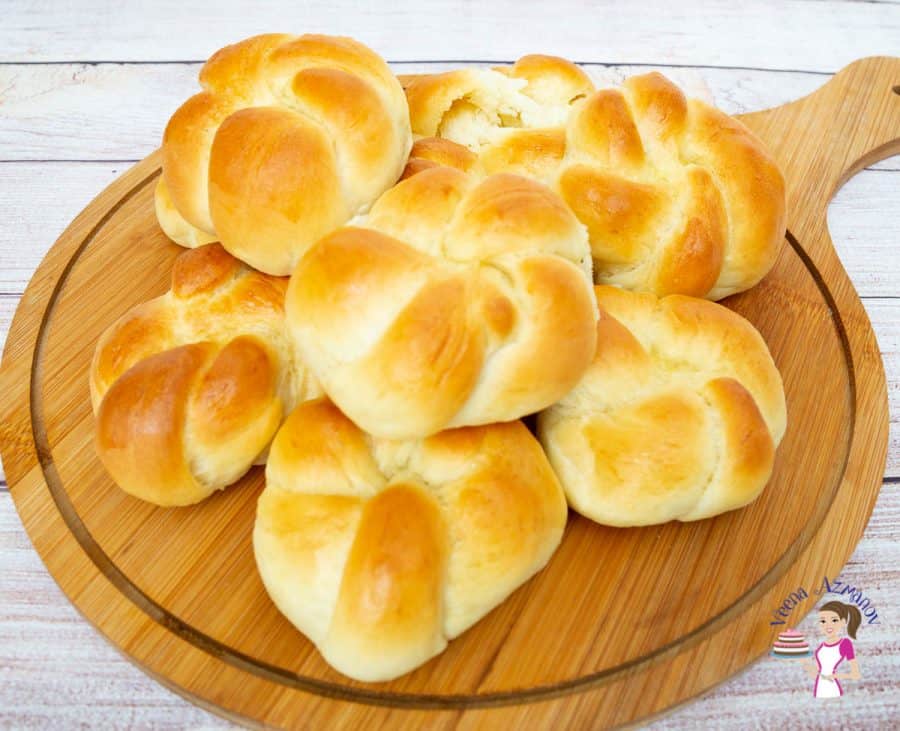
- No-Knead Knotted Rolls
- Easy Soft Fluffy Pumpkin Rolls
- Japanese Milk Bread

Don’t lose this recipe! Save it for Later!
📌 Save this Recipe for later on Pinterest so you can easily find it again.
⭐ Add Veena Azmanov Kitchen to your Google Preferred Sources.
It helps Google show you more of our recipes.
📧 Subscribe for new recipes delivered to your inbox.
🎥 Follow us for more recipes

Hi, I’m Veena
I’m the recipe developer, baker, and food photographer behind Veena Azmanov Kitchen.
I’ve spent years developing and testing recipes, from everyday meals and homemade breads to cakes and desserts.
I share the practical tips and little details I’ve learned along the way so you can get great results in your own kitchen.







Day 3 Done
Thank u Veena Ma’am
Delish home made ham n cheese thanks for the recipe !
Dine day 3
Thank you, Shiela
Day 3 done
Will do day 3 tomorrow
Made these four times this month. Always a winner. Family favorite. Thanks
Day 3 done.
Haven’t made the rolls yet but have read the lesson and recipe.
Day 3 Done
Day 3 Done.
Hi Veena,
I guess my flour needs more liquid. Dough was not sticky like it was in the video, so this resulted in a hard crust I guess. But the taste and texture were pretty much there. Will try making another batch with more milk and see if that works. Thanks a yon for this recipe and the master class. Its really very helpful
Thank you, Neela.
Day 3 done
Hi Veena, I just made a batch of these and after adding the milk, yeast and sugar mixture to the flour I did not get a soft dough. I’ve watched your video over and over and I’m not sure if you maybe had slightly more milk but I even made a and batch and i got the same result.
I was so hoping that this would come out right as I’ve tried to make hamburger rolls before and that also never came out right.
Maybe I’m doing something wrong or I’m bad at making bread/ rolls.
Both batches are just proofing now but I have a sense that it’s going to be hard and dense.
I feel defeated….
Hey Thora. Sorry to hear that. This recipe is good as is. Many have tried it this very successfully. I suggest you look at the ingredients again.
You can always add a little more milk to make the dough softer. Besides, every batch of flour will absorb liquid differently. What’s important is the consistency of the dough.
So you can add more liquid – minus some of the flour etc.
If you would like to improve at bread baking. I highly recommend my Masterclass – Bread Baking for Beginners. It’s free.
Hey Veena, Im happy to say that my second batch came out very good. I added a little extra milk. I will uploads pics soon for you to see.
Thank you
Looking forward to seeing them Thora
Day 3 done. I’m a little behind schedule, but working to catch up.
Day 3 done
Unfortunately i am having health issues so cannot do the practical work. i will as soon as i can