Rainbow Cake Recipe
 Prep Time 10 minutes Cook Time 40 minutes Total Time 3 hours 50 minutes
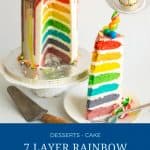
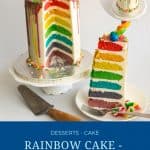


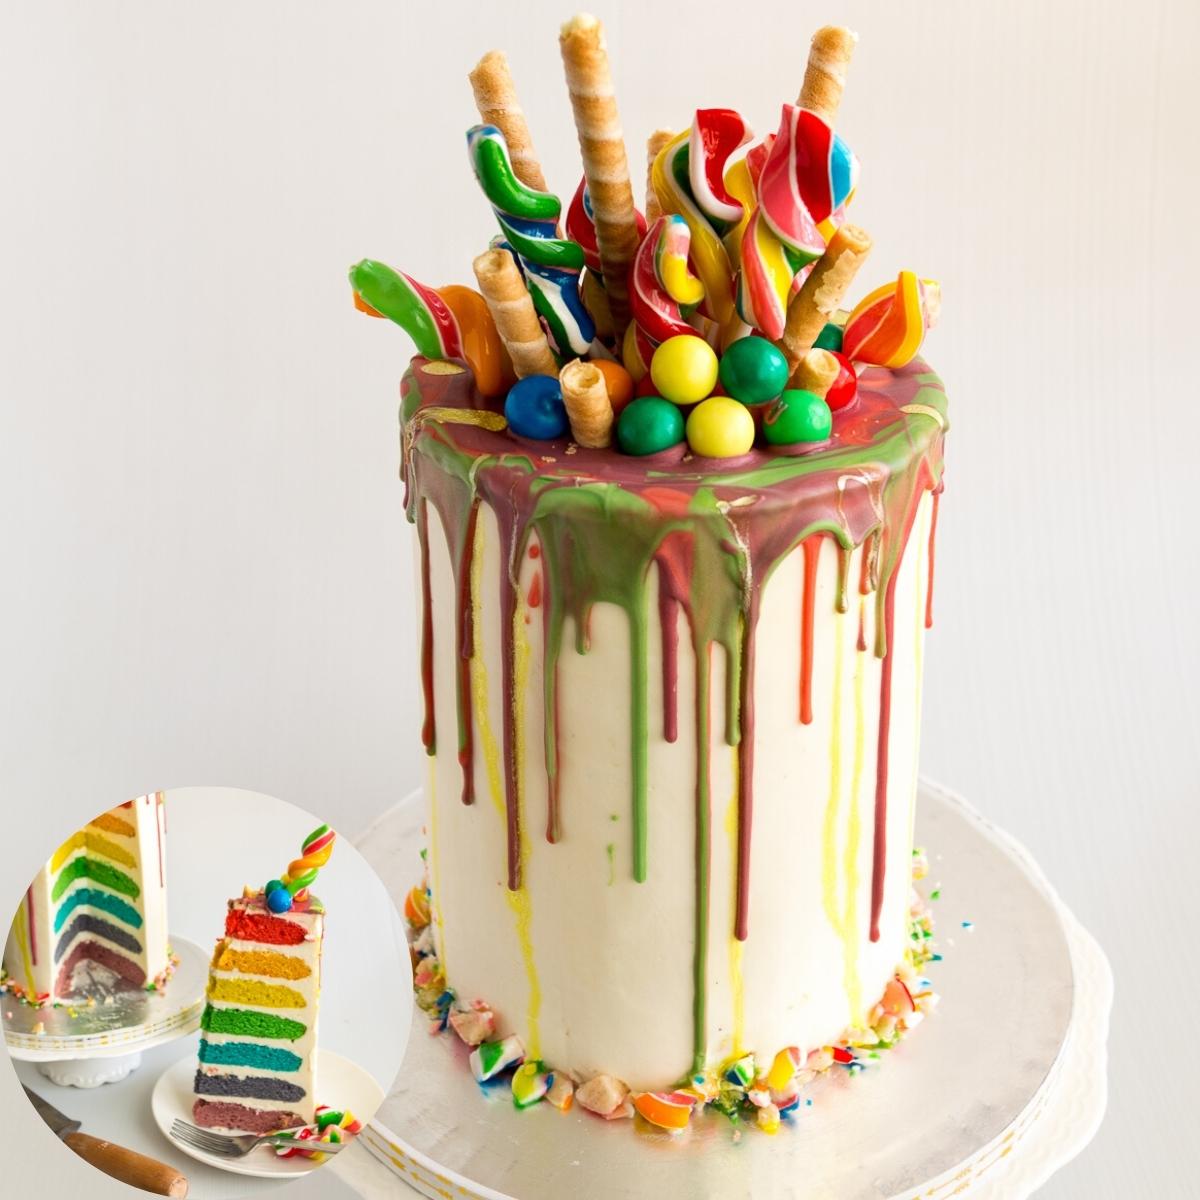
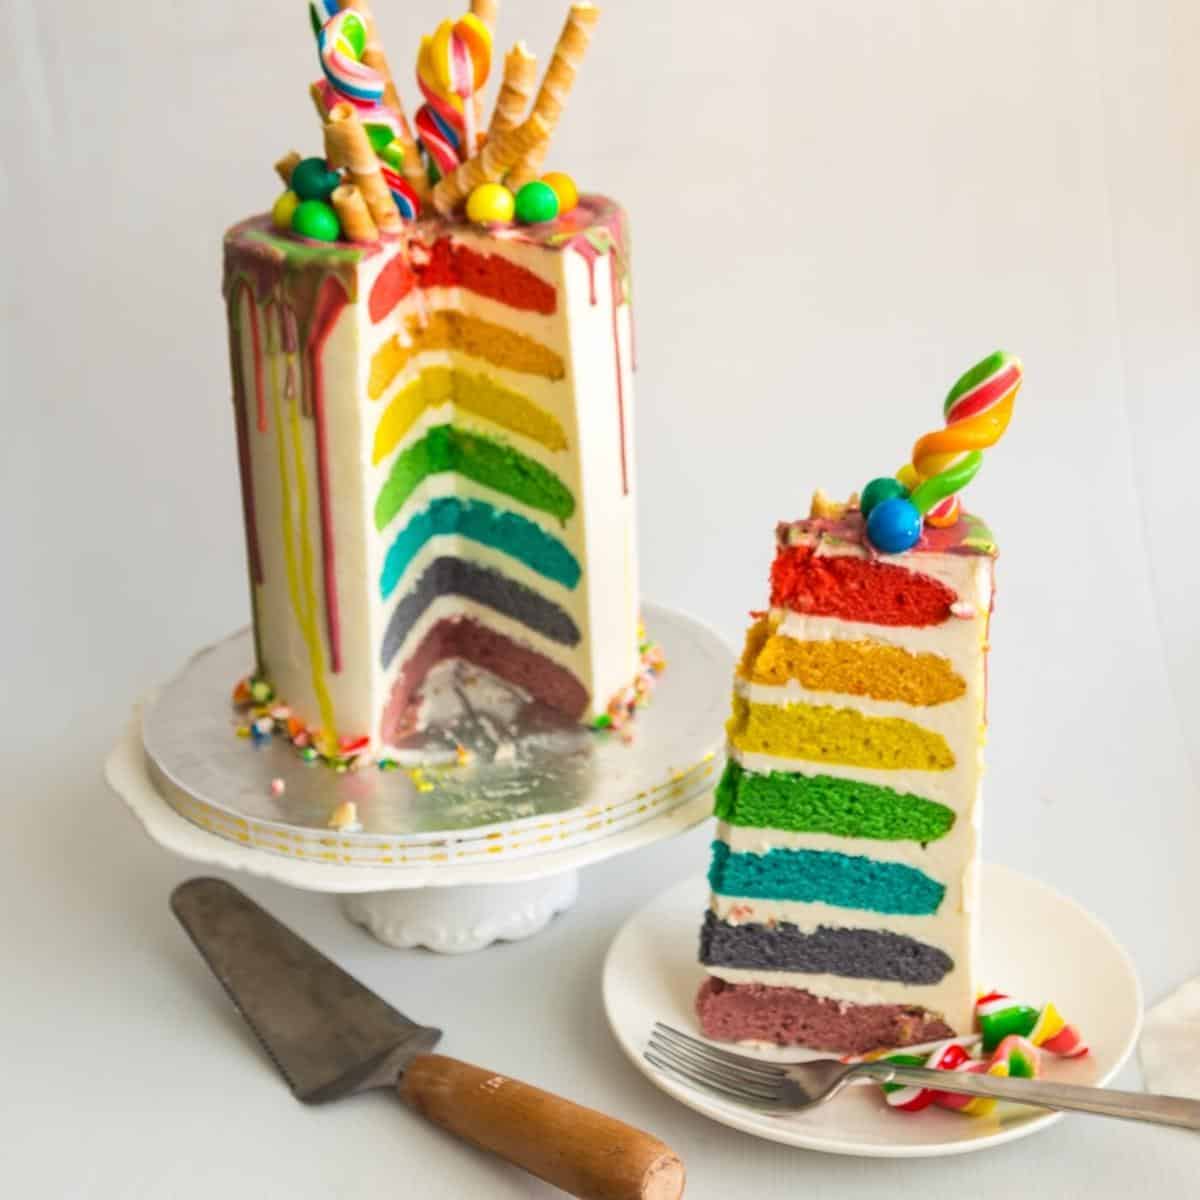
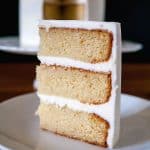
Make a perfect rainbow cake with all the seven colors of the rainbow. A simple and easy butter-based vanilla cake that’s moist, light, and airy. Frosted with my delicious Swiss meringue buttercream and chocolate drip. Then topped with kids’ favorite candy.
As a cake decorator, a Rainbow Cake was always at the top of the list—right up there with the Checkerboard Cake—for the most requested and fun-to-make cakes. No matter how many times I made one, the excitement of slicing into those vibrant, colorful layers never faded.
I’ve made countless rainbow cakes using artificial gel colors for bold, bright layers, and I’ve also experimented with natural food colors for a more subtle, naturally tinted version. And while a rainbow cake does take extra work—from mixing, coloring, and baking each individual layer—it’s absolutely worth it. There’s just something magical about seeing those layers come together!
I still vividly remember one hectic weekend when I had a total of seven rainbow cake orders. For a small, home-based cake decorator, that was a huge deal! My kitchen was a whirlwind of mixing bowls, cake pans, and trays of colorful batter lined up, but seeing the joy these cakes brought to people made every bit of effort worthwhile.
Rainbow cakes aren’t just cakes—they’re a celebration on a plate, a burst of happiness in every slice. And no matter how many I’ve made, they never stop being fun!
Why make this recipe?
- Bright, Vibrant Colors Every Time – Whether using artificial gel colors for bold hues or natural food-based dyes, this recipe ensures evenly colored, beautifully layered cakes without muddying or fading during baking.
- Soft, Moist, and Fluffy Texture– This cake is light and tender, not dense or dry, thanks to the perfect balance of butter, oil, and buttermilk. It holds its shape beautifully while still melting in your mouth.
- Perfectly Even Layers Without the Hassle – The batter is easy to work with, ensuring consistent, level layers that stack perfectly—so no wonky rainbow slices! Plus, step-by-step instructions make it simple to execute, even with multiple colors.
- Customizable for Any Occasion – Whether it’s a classic bold rainbow, a pastel ombré, or a natural-dyed version, this cake adapts beautifully to different styles, themes, and dietary needs. Perfect for birthdays, celebrations, or just for fun! ✨ I am using Swiss meringue buttercream, but you can also use Italian meringue, American, French, German, or any other of your favorite frostings.

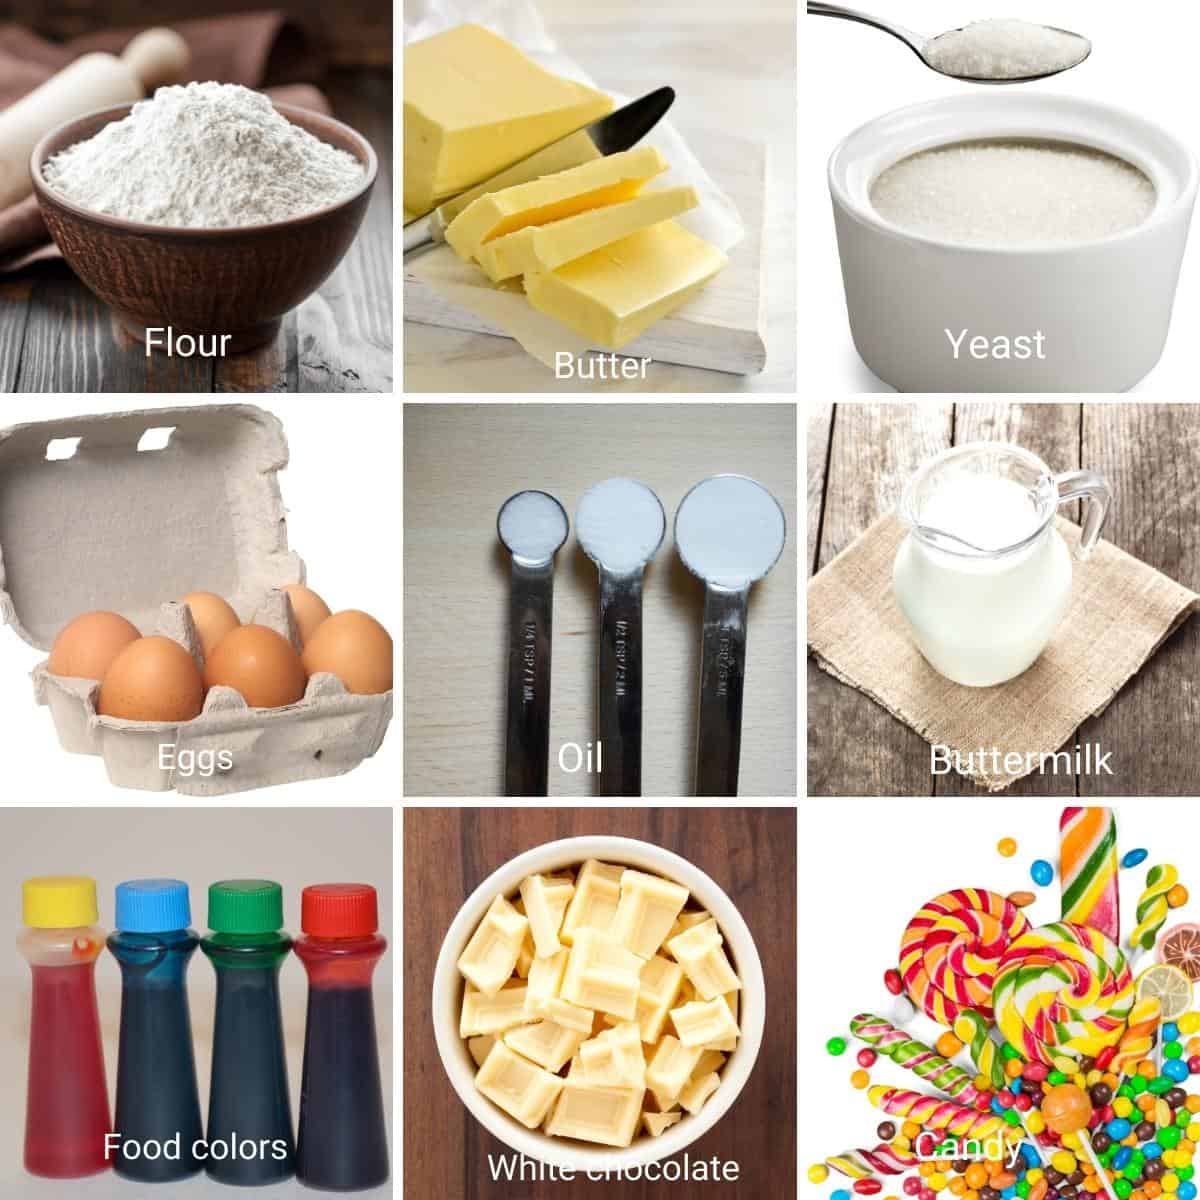
Ingredients and substitutes
- All-purpose flour – I’m using all-purpose flour for this tall cake because I want some stability to the cake layers.
- Butter – I prefer unsalted butter so I can control the amount of salt. If salted butter is all you get, go ahead and use it – just omit the salt in the recipe.
- Sugar – White sugar means the colors of the rainbow will be bright and beautiful. I like the taste of brown sugar, but that would not bring out the true colors in this cake.
- Buttermilk – This contributes to a nice soft crumb in this cake. You can use store-bought or make your own buttermilk in just 5 minutes
- Vanilla – Always use good-quality vanilla. Ideally, it would be nice to use a clear vanilla extract or vanilla sugar to ensure the colors stay bright and beautiful. But vanilla extract works just fine.
Step-by-step: 7 Layer Rainbow cake
Rainbow Cake Layers
- Preheat the oven to 350°F (175°C). Grease and flour seven 6-inch round cake pans.
- In a medium bowl, whisk together the flour, baking powder, baking soda, and salt.

- In a large bowl, cream the butter and sugar together until light and fluffy. Beat in the eggs one at a time, then stir in the vanilla extract.
- Gradually mix in the dry ingredients, alternating with the buttermilk, until just combined.
- Divide the batter evenly into seven bowls. Tint each bowl of batter with gel food coloring to create a rainbow of colors.
- Pour each colored batter into a prepared cake pan and spread it evenly. Bake for 15-20 minutes, or until a toothpick inserted into the center comes out clean.
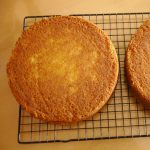
- Let the cakes cool in the pans for 10 minutes, then remove them from the pans and transfer them to a wire rack to cool completely.

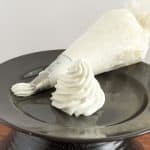
Swiss meringue buttercream
- In a heatproof bowl, whisk together the egg whites and sugar. Place the bowl over a pot of simmering water, making sure the bottom of the bowl doesn’t touch the water.
- Heat the mixture, whisking constantly, until the sugar is completely dissolved and the mixture reaches 160°F (71°C).
- Remove the bowl from the heat and beat the mixture on high speed until stiff peaks form and the mixture is cool, about 10 minutes.
- Gradually add the softened butter, a few tablespoons at a time, beating well after each addition. Add the vanilla extract and beat until the buttercream is smooth and creamy.

White chocolate rainbow drip
- Melt the white chocolate chips in a heatproof bowl in the microwave or over a double boiler.
- Divide the melted chocolate into separate bowls and tint each bowl with a different color of gel food coloring. Pour the colored chocolate into piping bags.
Assemble
- Starting with the bottom layer of the cake, frost each layer with the Swiss meringue buttercream.
- Stack the layers on top of each other, using a different color for each layer. Frost the outside of the cake with a thin layer of buttercream to create a crumb coat.
- Chill the cake in the refrigerator for 30 minutes. Once chilled, frost the cake with the remaining buttercream and smooth the sides and top.
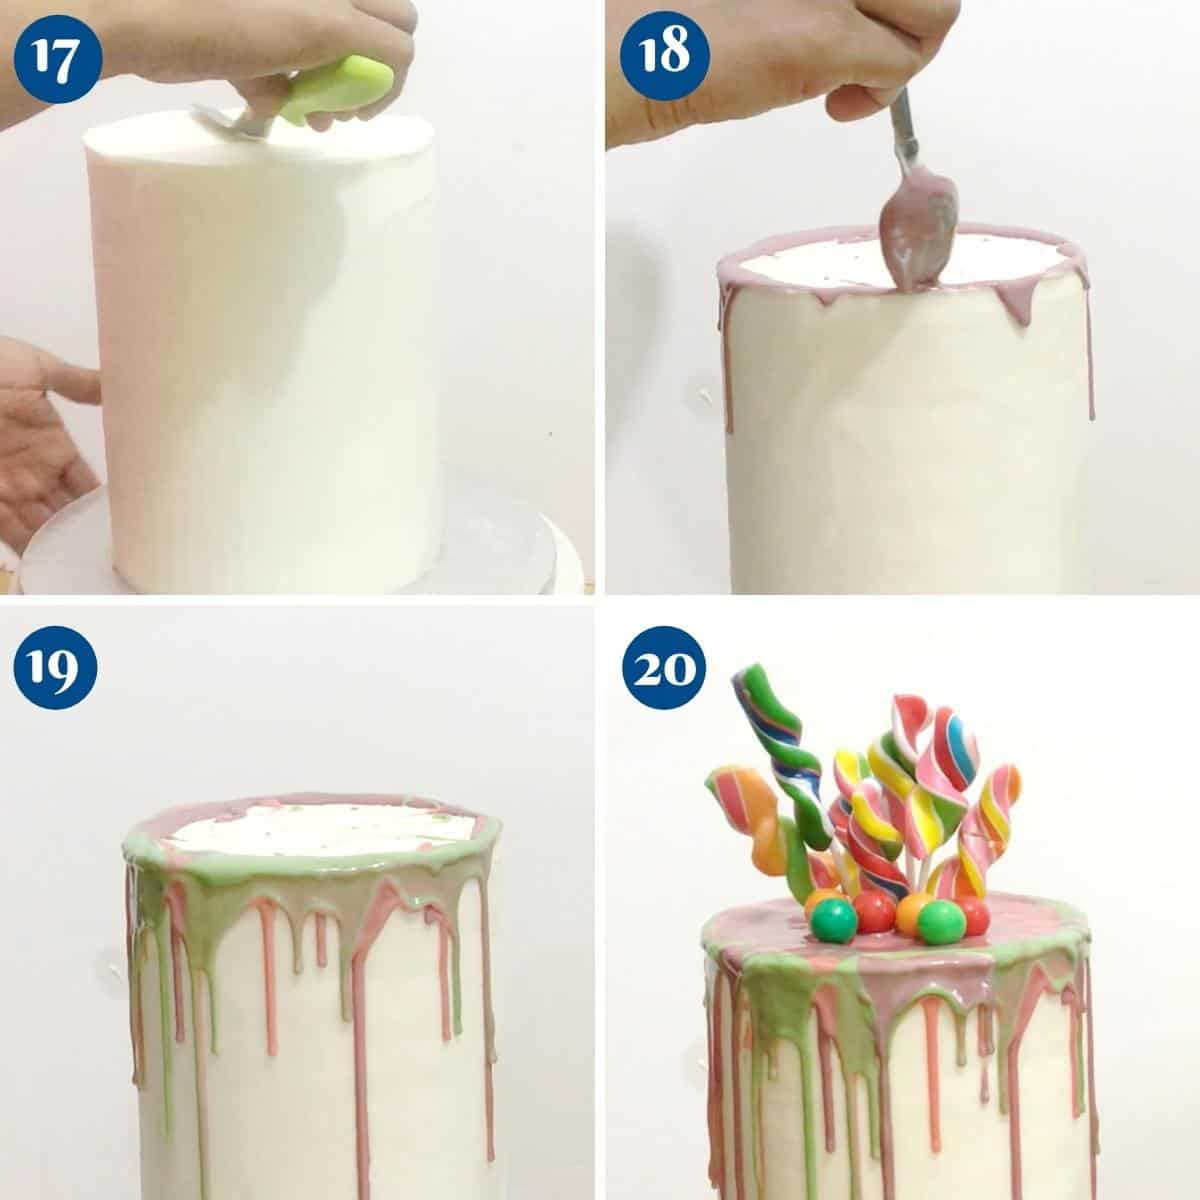
- Pipe the colored white chocolate drips around the edges of the cake, allowing them to drip down the sides. Decorate the top of the cake with any remaining colored chocolate drips.
- Rest in the fridge until ready to serve.

- Rainbow Drip Cake – 7 layers
- 50 Plus Layer Cake Recipes
- Coffee Chocolate Cake
- Homemade Chocolate Birthday Cake


Frequently asked questions
If properly stored, this cake will last for 2 days at room temperature. It can be kept in the fridge for up to 5 or 6 days
First, yes, this recipe can wait while you bake in batches, but waiting for seven may be a bit long to keep the batter. While I don’t always recommend reusable baking pans, I make an exception for this cake. I have used 7 x 5 1/2 inch baking foils for this cake.
This is a seven-layer rainbow cake about 9 inches tall and has no support in the middle. As a cake decorator, that would be an absolute NO!! However, I wanted a tall slice of cake to showcase all 7 colors when cut.
If you do a single-tier use a good butter-based frosting like Swiss, Italian, American, French, or German.
If not, you may need to dowel the cake at about 6 inches in height.
These days, you do get some brand of natural color gels.
Here I am sharing some options for fruit puree/juice that you can use to obtain natural colors.
Start with 2 tbsp of fruit puree/juice and add more if needed.
It is very important to understand that, unlike gel food colors, which are flavorless, natural food colors will add taste and flavor. This means your cake will not only obtain the color of the fruit but also the taste and flavor of the ingredient used.
Here are some options to consider.
Green – Juice of Kale or Spinach
Blue – Juice or puree of Blueberries
Purple – Juice of puree of Blackberries, grapes.
Red – Beetroot juice
Pink-red currents or Strawberries
Brown – Coffee or Chocolate
Orange – Carrot juice
Yellow – yellow beet/turmeric or Saffron

Easy Rainbow Cake – 7 layers
Make a perfect rainbow cake with all the seven colors of the rainbow. A simple and easy butter-based vanilla cake that's moist, light, and airy. Frosted with my delicious Swiss meringue buttercream and chocolate drip. Then topped with kids' favorite candy.
Video
Ingredients
- 3 cups All-purpose flour
- 2 tsp Baking powder
- ½ tsp Baking soda
- ½ tsp Salt
- 1 cup Unsalted butter softened
- 2 cups Granulated sugar
- 4 large Eggs
- 1 cup Buttermilk
- 1 tbsp Vanilla extract
- Gel food coloring (red orange, yellow, green, blue, purple)
- 5 large Egg whites
- 1 ¼ cups Granulated sugar
- 1½ cups Unsalted butter softened
- 1 tsp Vanilla extract
- ½ cup White chocolate chips
- Gel food coloring (rainbow colors)
Method
- Preheat the oven to 350°F (175°C). Grease and flour seven 6-inch round cake pans.
- Whisk together the flour, baking powder, baking soda, and salt in a medium bowl.3 cups All-purpose flour, 2 tsp Baking powder, 1/2 tsp Baking soda, 1/2 tsp Salt
- In a large bowl, cream the butter and sugar together until light and fluffy. Beat in the eggs one at a time, then stir in the vanilla extract.1 cup Unsalted butter, 2 cups Granulated sugar, 4 large Eggs
- Gradually mix in the dry ingredients, alternating with the buttermilk, until just combined.1 cup Buttermilk, 1 tbsp Vanilla extract
- Divide the batter evenly into seven bowls. Tint each bowl of batter with gel food coloring to create a rainbow of colors.
- Pour each colored batter into a prepared cake pan and spread it evenly. Bake for 15-20 minutes, or until a toothpick inserted into the center comes out clean.Gel food coloring (red
- Let the cakes cool in the pans for 10 minutes, then remove them from the pans and transfer them to a wire rack to cool completely.
- In a heatproof bowl, whisk together the egg whites and sugar. Place the bowl over a pot of simmering water, making sure the bottom of the bowl doesn't touch the water.5 large Egg whites, 1 ¼ cups Granulated sugar
- Heat the mixture, whisking constantly, until the sugar is completely dissolved and the mixture reaches 160°F (71°C).
- Remove the bowl from the heat and beat the mixture on high speed until stiff peaks form and the mixture is cool, about 10 minutes.
- Gradually add the softened butter, a few tablespoons at a time, beating well after each addition. Add the vanilla extract and beat until the buttercream is smooth and creamy.1½ cups Unsalted butter, 1 tsp Vanilla extract
- Melt the white chocolate chips in a heatproof bowl in the microwave or over a double boiler.½ cup White chocolate chips
- Divide the melted chocolate into separate bowls and tint each bowl with a different color of gel food coloring. Pour the colored chocolate into piping bags.Gel food coloring
- Starting with the bottom layer of the cake, frost each layer with the Swiss meringue buttercream.
- Stack the layers on top of each other, using a different color for each layer. Frost the outside of the cake with a thin layer of buttercream to create a crumb coat.
- Chill the cake in the refrigerator for 30 minutes. Once chilled, frost the cake with the remaining buttercream and smooth the sides and top.
- Pipe the colored white chocolate drips around the edges of the cake, allowing them to drip down the sides. Decorate the top of the cake with any remaining colored chocolate drips.
- Rest in the fridge until ready to serve.
Notes
- Room Temperature Ingredients: Ensure that your butter, eggs, and buttermilk are at room temperature before starting. This helps them mix together smoothly and evenly.
- Even Layers: To ensure your cake layers bake evenly, consider using a kitchen scale to measure the batter for each layer.
- Cooling Time: Allow your cake layers to cool completely before assembling the cake. This prevents the layers from crumbling and helps the buttercream adhere better.
- Chill the Cake: After assembling the cake with the crumb coat, chill it in the refrigerator for at least 30 minutes. This helps set the buttercream and makes it easier to frost the cake.
- Smooth Frosting: To achieve a smooth finish on your cake, use a bench scraper or offset spatula dipped in hot water to smooth the buttercream.
- Storing the Cake: Store the assembled cake in the refrigerator, but let it come to room temperature before serving for the best texture and flavor.
- White Chocolate Drip: When piping the colored white chocolate drips, start from the top edge of the cake and gently squeeze the piping bag to create a drip effect. Adjust the pressure to control the length of the drips.
- Decorating: Feel free to add additional decorations to the cake, such as sprinkles, edible glitter, or fondant decorations, to enhance the rainbow theme.
Equipment you will need


Nutrition
Tried this recipe?
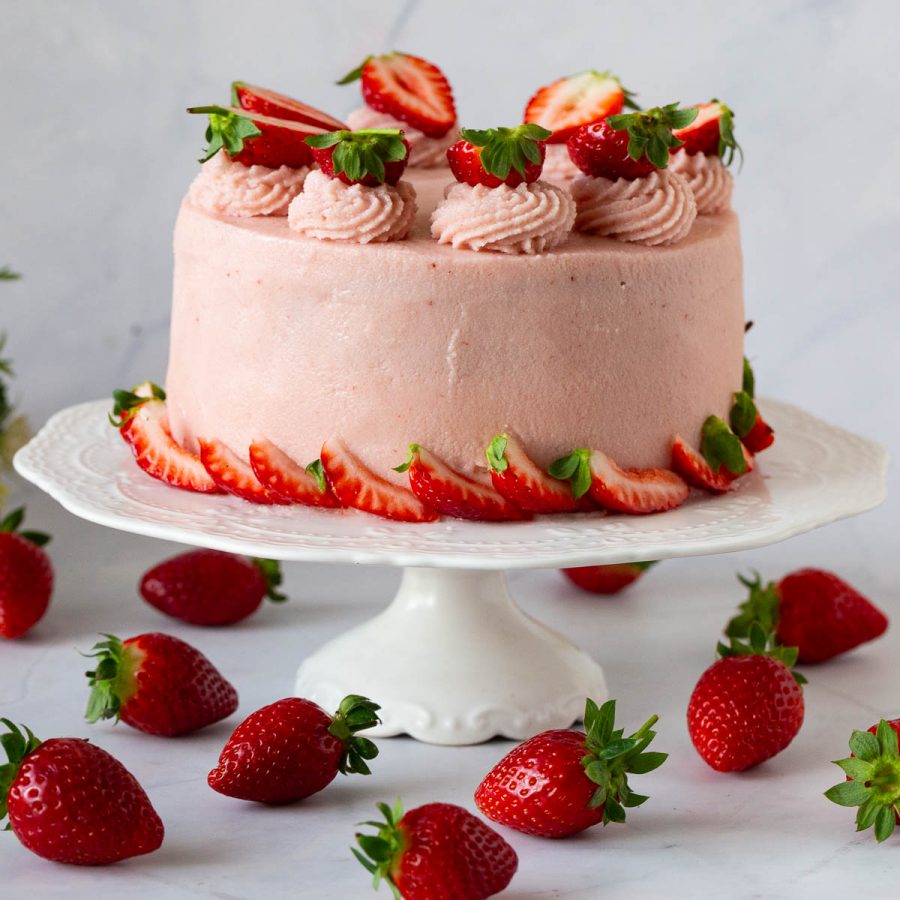
Mention @veenaazmanov_kitchen or tag #veenaazmanovkitchen!- Strawberry Cake with Swiss Meringue Buttercream
- Funfetti cake recipe or Funfetti Cupcakes
- Vanilla Birthday Cake
- See all layer cakes or see all cake decorating tutorails
Don’t lose this recipe! Save it for Later!
📌 Save this Recipe for later on Pinterest so you can easily find it again.
⭐ Add Veena Azmanov Kitchen to your Google Preferred Sources.
It helps Google show you more of our recipes.
📧 Subscribe for new recipes delivered to your inbox.
🎥 Follow us for more recipes


I love your recipes but this one is a new one for me… How many cups of batter does this recipe yield? I want to convert it to a 6-layer 8″ cake. Any help, gratefully received! Thanks
For an 8-inch cake, you will need to double the recipe (2X). it will be a big and tall cake with so many colors.
For half kg rainbow the recipe pls
Not sure about half kg, Yasmeen. I don’t do cakes by weight. You can reduce or increase the servings below in the recipe card and it will calculate the recipe for you. Thanks
I want to thank you for your very helpful videos and quick replies to questions. I made a four layer cake for my son, and it turned out great. I wish I could share a pic. I’m hoping to do one of your masterclasses too sometime soon. Thank you again!
You are welcome, Maddy. Thank you, You can share the pictures in our Facebook Group. Would love to see them