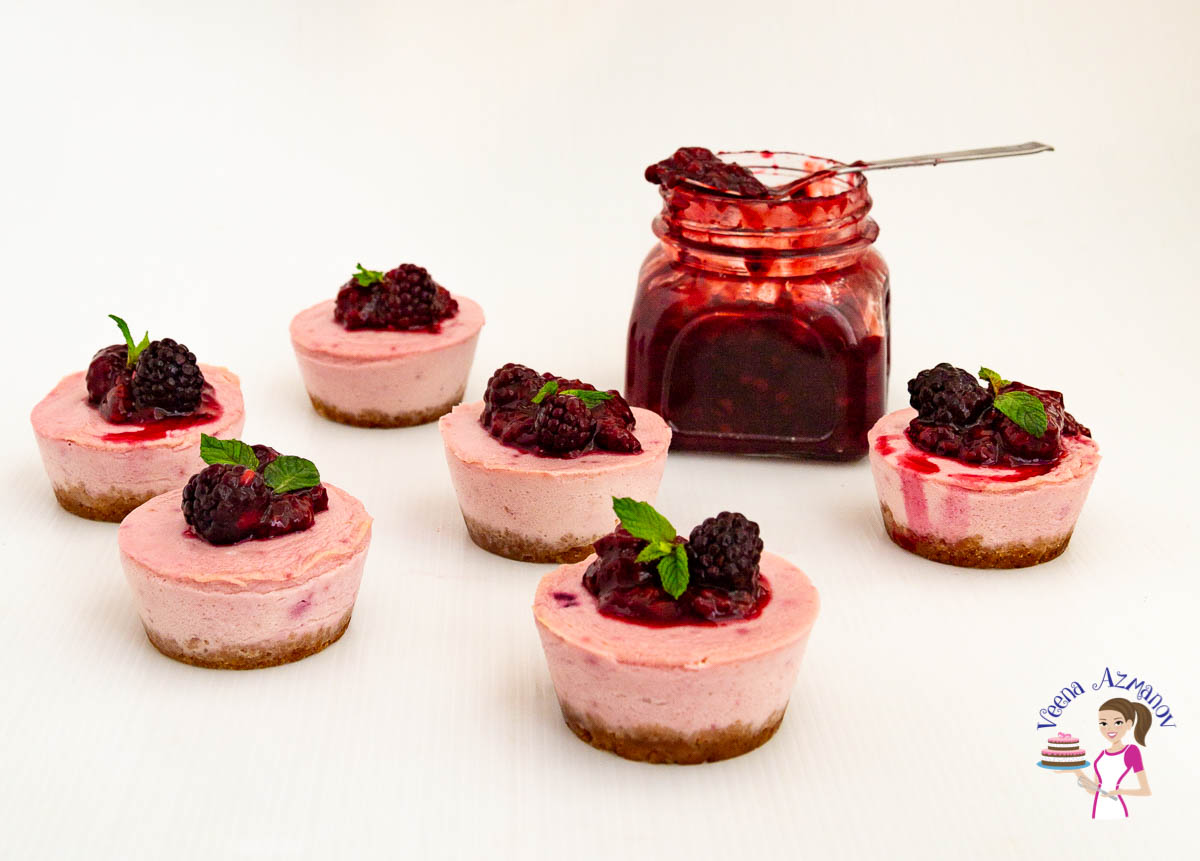
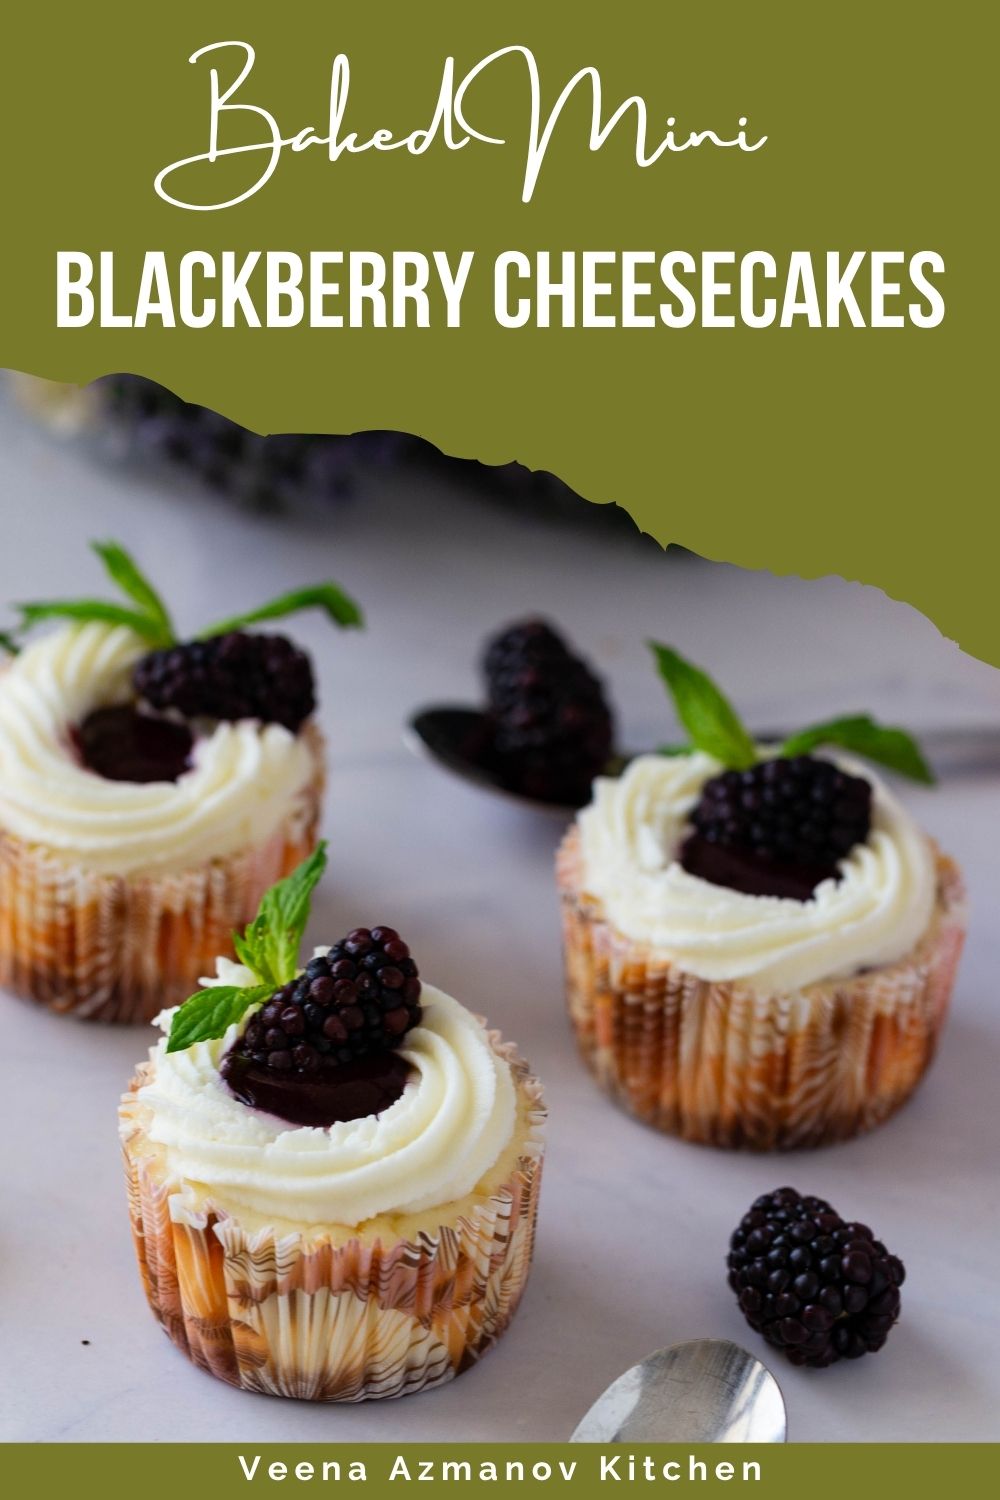
Mini Cheesecakes – Blackberries

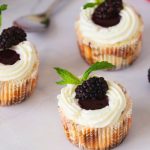
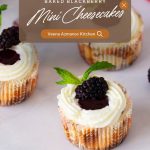
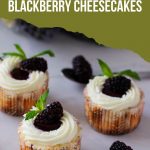
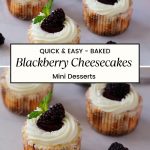
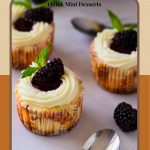
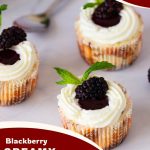
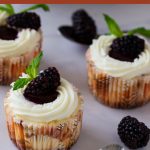

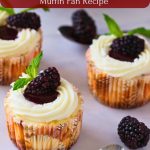

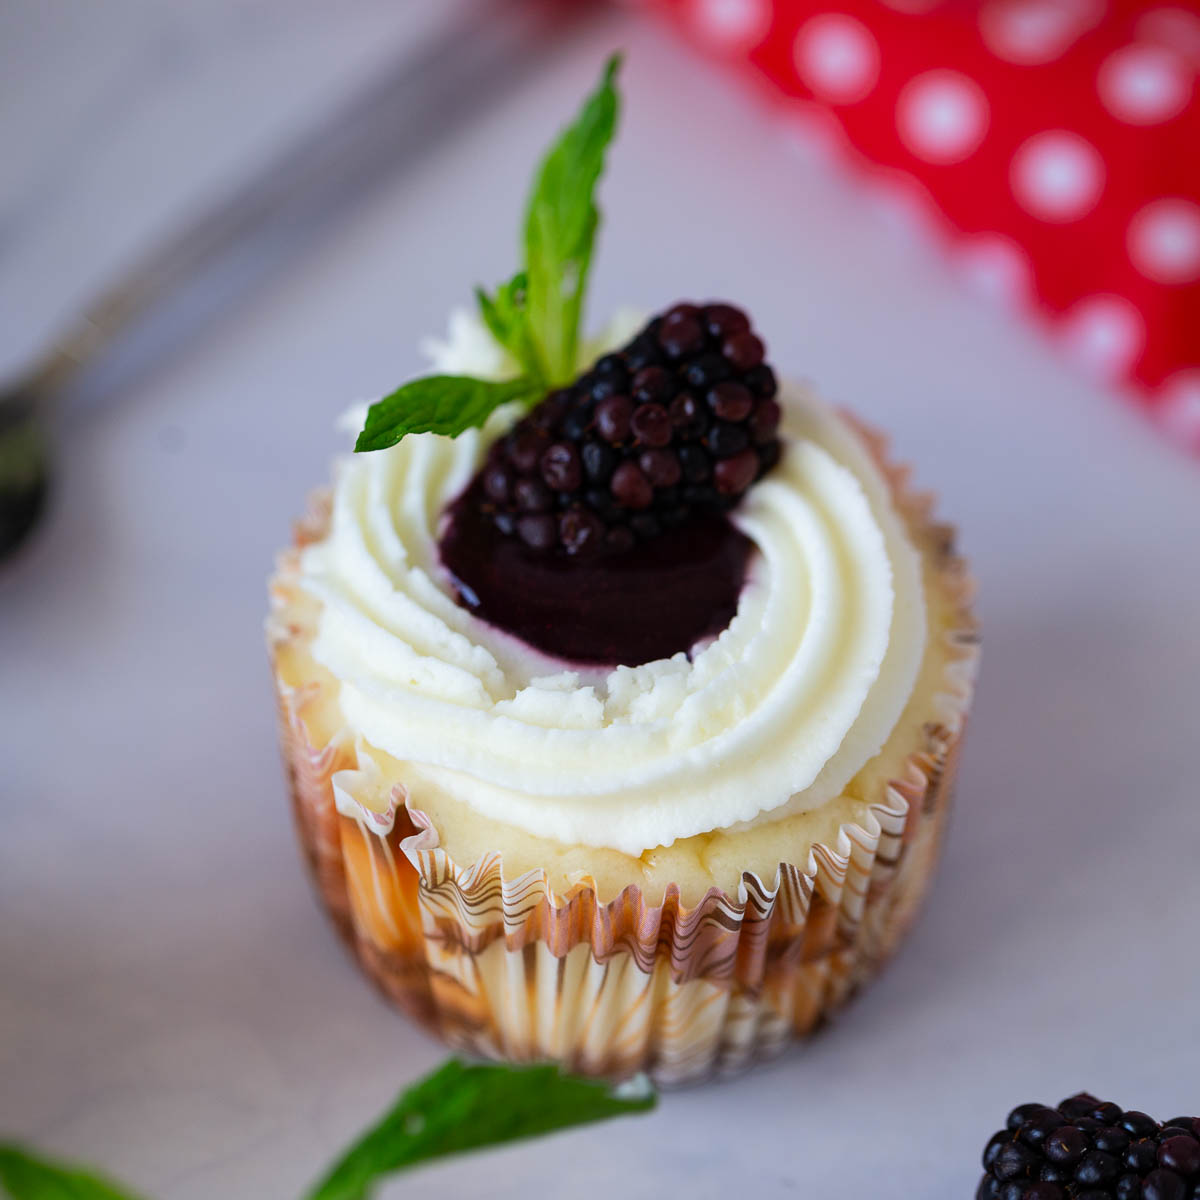
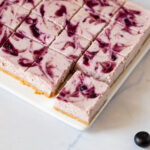
These baked mini blackberry cheesecakes are rich, creamy, and swirled with a vibrant blackberry puree. Baked in muffin pans, topped with whipped cream and fresh berries, they’re the perfect bite-sized dessert.
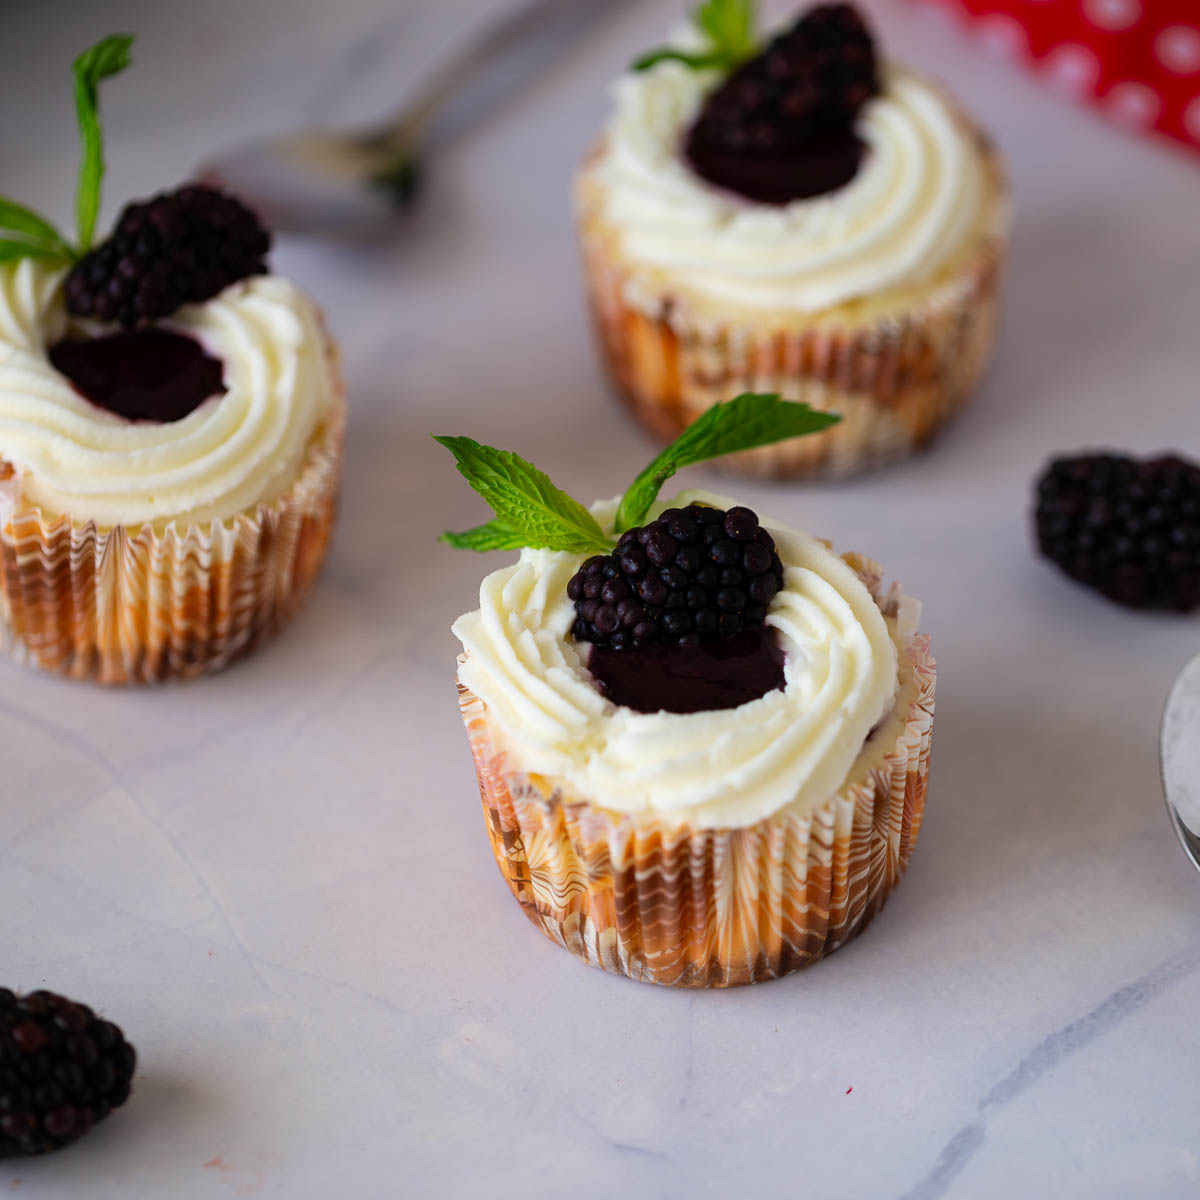
These mini blackberry cheesecakes remind me of those days when I ran my cake business, and people would come in asking for something different. Not everyone wanted cupcakes — in fact, mini cheesecakes like these became surprisingly popular. The blackberry ones were especially eye-catching, with that deep purple swirl. I’d top them with a swirl of cream cheese whipped cream, a generous drizzle of blackberry puree, and a few fresh berries. They looked so elegant on dessert tables — and they were always the first to go.
Why make mini cheesecakes?
- Naturally Gorgeous: The blackberry swirl is deep, vibrant, and totally eye-catching.
- Perfect Texture: Creamy and smooth inside, with a crisp base and soft topping.
- Make-Ahead Friendly: These hold beautifully in the fridge and are freezer-safe too.
- No-Fuss Baking: No water bath needed — just a muffin tray and a gentle bake.
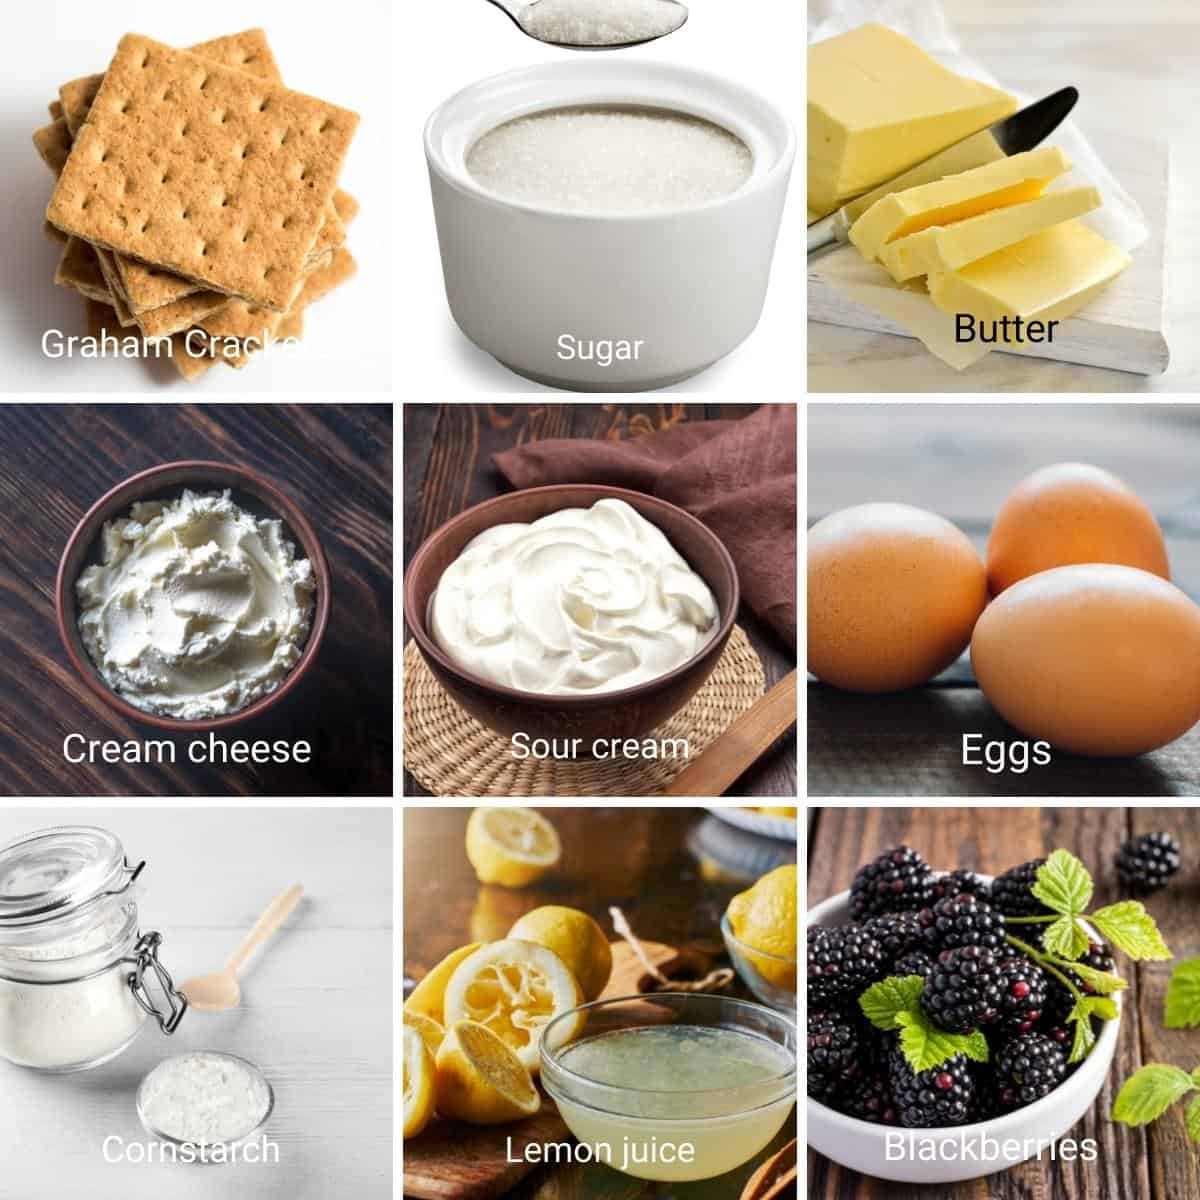
Ingredients and substitutes
- Cream Cheese: Full-fat brick style. Don’t use low-fat or spreadable cream cheese.
- Sour Cream: Adds tang and lightness. Can sub with full-fat Greek yogurt.
- Heavy Cream: Optional for added richness. Can be omitted for firmer minis.
- Sugar: Use granulated white sugar. Coconut sugar works, but darkens the batter.
- Eggs: Structure and set the cheesecake. No substitutes recommended.
- Cornstarch: Helps stabilize and improve texture. You can sub with 1 tbsp flour.
- Blackberries: Fresh or frozen, both work. Thaw frozen ones slightly and strain for the best swirl.
- Lemon Juice & Zest: Brightens the flavor. Orange juice/zest is a nice alternative.
- Powdered Sugar: Sweetens the whipped cream without making it gritty.
- Cream Cheese (topping): Softened full-fat cream cheese gives body and stability.
- Heavy Cream (topping): Must be cold and 32%+ fat for clean, piped swirls.
- Mint & Blackberries (garnish): Optional, but make these look professionally styled.
Step-by-step: Blackberry mini cheesecakes
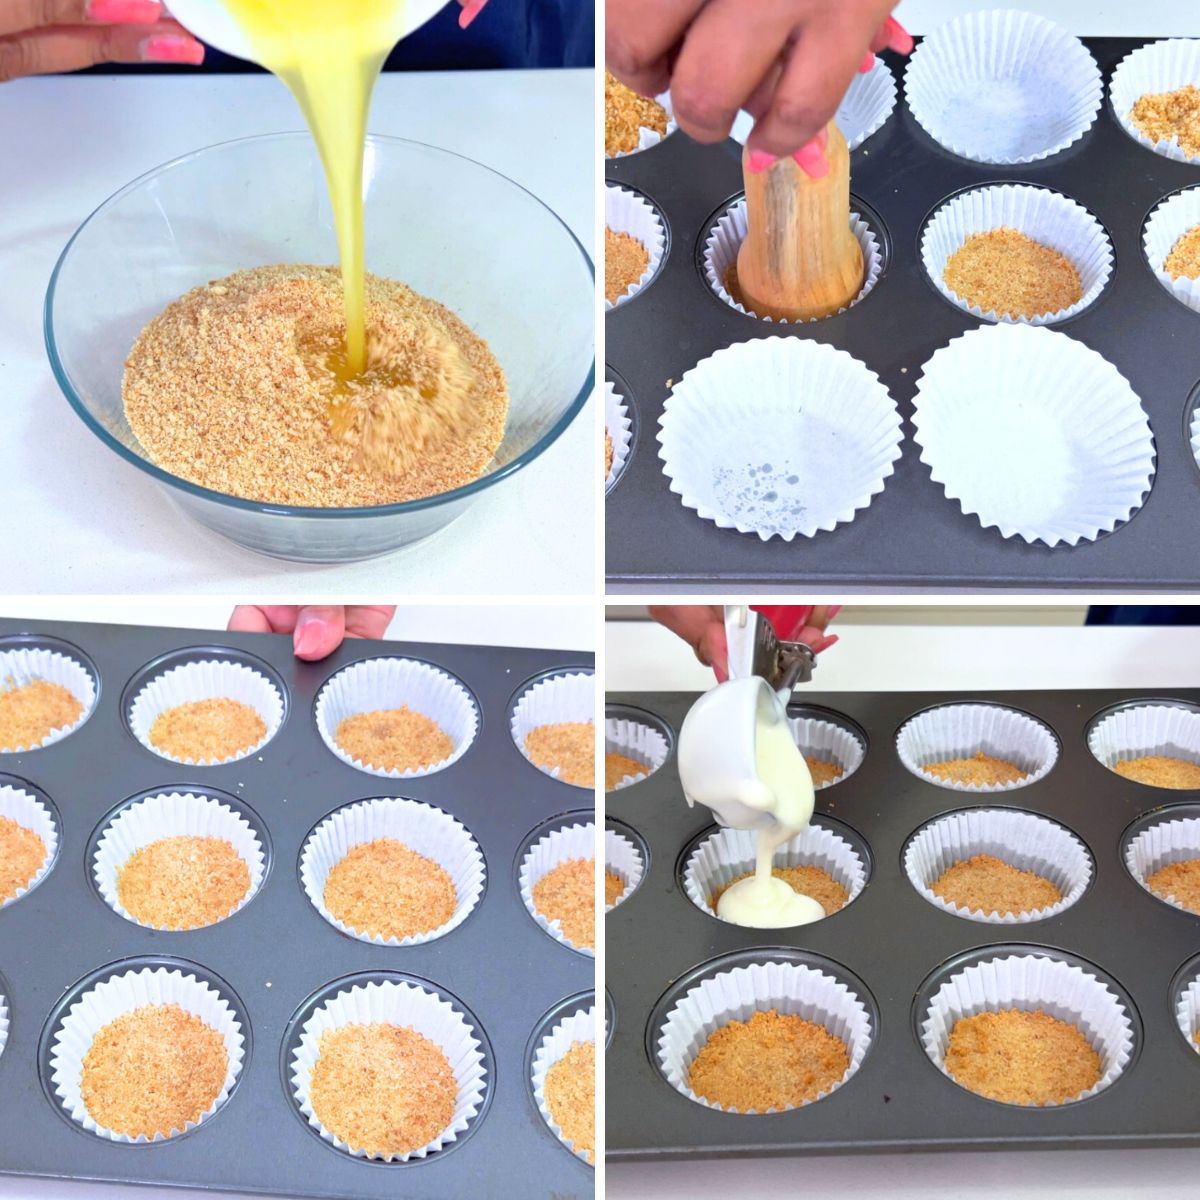
- Oven and Pan: Preheat oven to 160°C / 325°F. Line a 12-cup muffin tray with paper or foil liners.
- Make the Crust: Mix cookie crumbs, melted butter, and sugar until moistened. Spoon about one tablespoon into each liner and press down firmly. Bake for 5–6 minutes. Cool while you prep the filling.
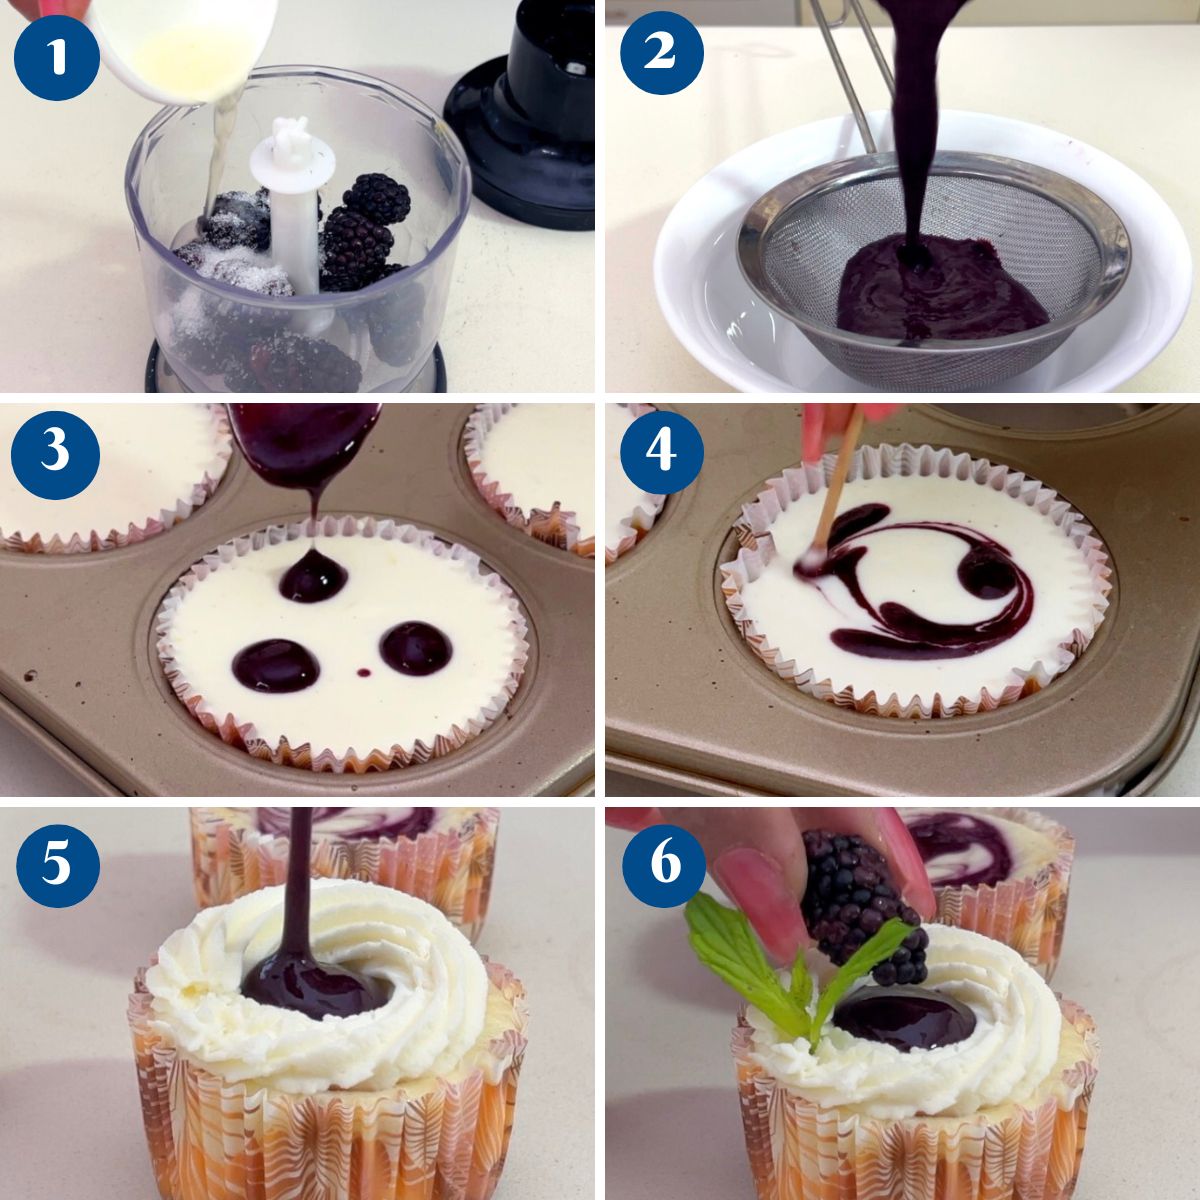
- Make the Blackberry Swirl: In a small blender or food processor, blend blackberries, sugar, and lemon juice until smooth. Strain to remove seeds for a silky swirl. Chill the puree while you make the batter.
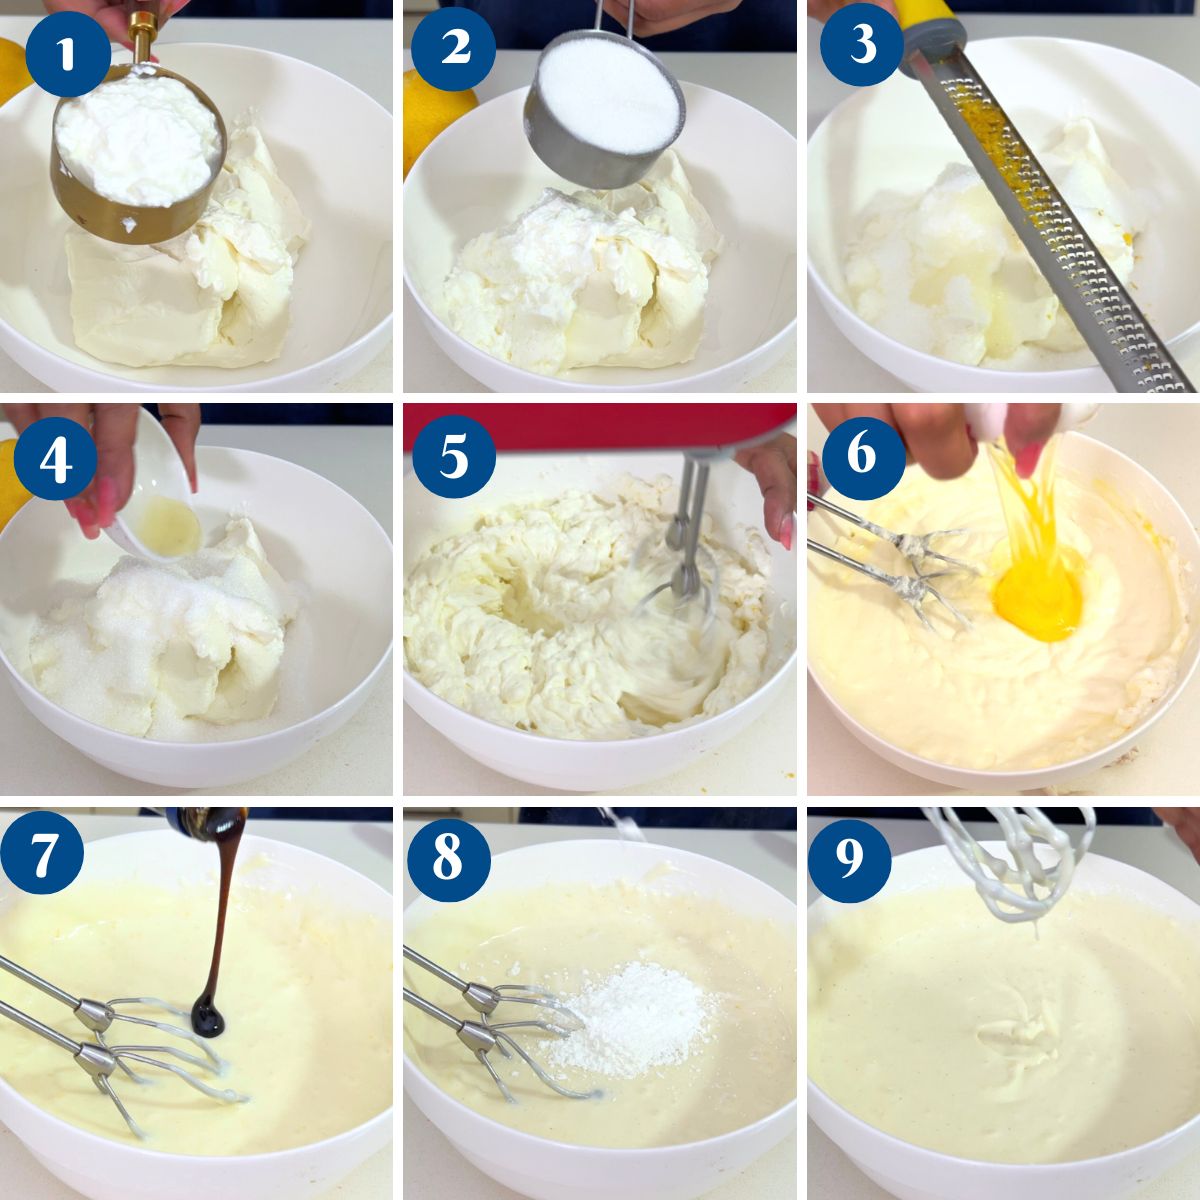
- Make the Cheesecake Batter: Beat cream cheese until smooth (1–2 minutes). Add sugar, cornstarch, lemon juice, vanilla, and zest. Mix until smooth. Add sour cream and heavy cream (if using). Mix in eggs one at a time, gently. Don’t overmix. Alternatively, you can add a few tablespoons of blackberry puree to get a pretty purple color.
- Assemble and Bake: Fill each muffin liner about ¾ full with batter. Drop ½ to 1 teaspoon of blackberry puree on top of each. Swirl gently with a skewer or toothpick. Bake for 18–22 minutes until set with a slight jiggle in the center. Cool in the pan 10 minutes, then refrigerate for at least 4 hours.
- (optional) Stabilized Whipped Cream Topping: Whip cream and powdered sugar until soft peaks form. Add cream cheese and vanilla. Beat until stiff peaks.
- Decorate: Pipe onto chilled cheesecakes. Drizzle leftover puree and top with fresh blackberries and mint.
Can I add blackberries to my cheesecake batter?
Yes, you can add a few tablespoons of the blackberry filling liquid to the cheesecake batter until it turns a light purple. Bake as above, then top with more fruit filling.

Mini Cheesecakes – Blackberries
These baked mini blackberry cheesecakes are rich, creamy, and swirled with a vibrant blackberry puree. Baked in muffin pans, topped with whipped cream and fresh berries, they’re the perfect bite-sized dessert.
Ingredients
- 1¼ cups (112 g) Graham cracker or digestive biscuit crumbs
- 3 tbsp (42 g) Unsalted butter melted
- 1 tbsp Sugar (optional skip if cookies are sweet)
- 12 oz (340 g) Cream cheese full-fat, room temp
- ½ cup (115 g) Sour cream
- ½ cup (100 g) Granulated sugar
- 2 large Eggs
- 2 tbsp Cornstarch
- ½ tbsp Lemon juice
- ½ tbsp Vanilla extract
- ½ Zest of lemon
- ⅓ cup (50 g) Blackberries (fresh or frozen)
- 1 tbsp Sugar
- 1 tsp Lemon juice
- ½ cup (118 ml) Heavy whipping cream cold
- 2 tbsp Powdered sugar
- 2 tbsp Cream cheese (softened)
- ½ tsp Vanilla extract
- 2 tbsp Blackberry puree leftover
- Fresh blackberries
- Mint leaves
Method
- Oven and Pan: Preheat oven to 160°C / 325°F. Line a 12-cup muffin tray with paper or foil liners.
- ? Make the Crust: Mix the cookie crumbs, melted butter, and sugar until well combined and moistened. Spoon about 1 tablespoon of the mixture into each liner and press down firmly. Bake for 5–6 minutes. Cool while you prep the filling.1¼ cups Graham cracker, 3 tbsp Unsalted butter, 1 tbsp Sugar
- ? Make the Blackberry Swirl: In a small blender or food processor, blend blackberries, sugar, and lemon juice until smooth. Strain to remove seeds for a silky swirl. Chill the puree while you make the batter.⅓ cup Blackberries , 1 tbsp Sugar, 1 tsp Lemon juice
- ? Make the Cheesecake Batter: Beat cream cheese until smooth (1–2 minutes). Add sugar, cornstarch, lemon juice, vanilla, and zest. Mix until smooth. Add sour cream and heavy cream (if using). Mix in eggs one at a time, gently. Don’t overmix. Alternatively, you can add a few teaspoons of the Blackberry puree to get a pretty purple color.12 oz Cream cheese, ½ cup Sour cream, ½ cup Granulated sugar, 2 large Eggs, 2 tbsp Cornstarch, ½ tbsp Lemon juice, ½ tbsp Vanilla extract, ½ Zest of lemon
- ? Assemble and Bake: Fill each muffin liner about ¾ full with batter. Drop ½ to 1 teaspoon of blackberry puree on top of each. Swirl gently with a skewer or toothpick. Bake for 18–22 minutes until set with a slight jiggle in the center. Cool in the pan 10 minutes, then refrigerate for at least 4 hours.
- (optional) Stabilized Whipped Cream Topping: Whip cream and powdered sugar until soft peaks form. Add cream cheese and vanilla. Beat until stiff peaks.½ cup Heavy whipping cream , 2 tbsp Powdered sugar, 2 tbsp Cream cheese, ½ tsp Vanilla extract
- ? Decorate: Pipe onto chilled cheesecakes. Drizzle leftover puree and top with fresh blackberries and mint.2 tbsp Blackberry puree, Fresh blackberries, Mint leaves
Notes
- Strain blackberry puree if you want an ultra-smooth swirl.
- Use room temp cream cheese for a lump-free batter.
- Swirl lightly — too much puree can sink or crack the tops.
- Chill thoroughly before decorating or serving.
- For best presentation, garnish just before serving to keep berries fresh.
Equipment you will need


Nutrition
Tried this recipe?
Mention @veenaazmanov_kitchen or tag #veenaazmanovkitchen!Tips for Success
- Use room-temp ingredients for a smooth, lump-free batter.
- Don’t overfill cups—leave a little room for rising.
- Swirl gently to preserve the pretty marble effect.
- Chill fully before piping for clean, crisp shapes.
more mini cheesecake recipes
- Baked Mini Cheesecakes (Muffin Pan)
- Mini Cheesecakes – Blueberry
- Baked Mini Mango Cheesecakes
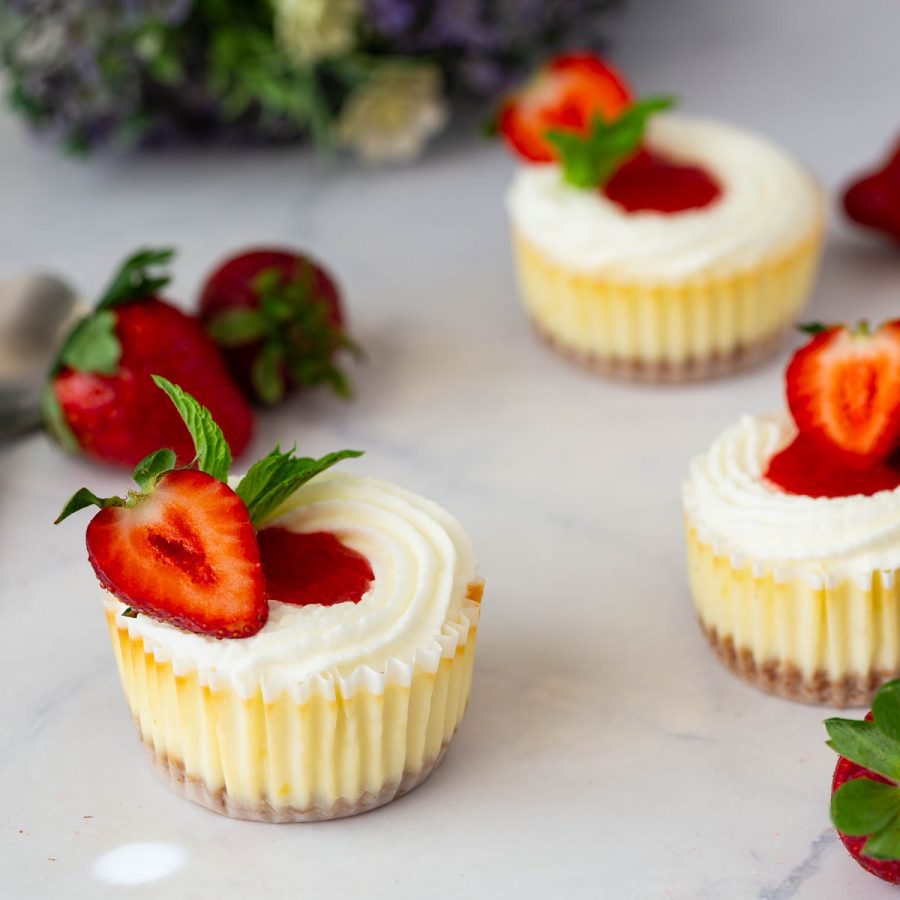
- Mini Strawberry Cheesecake (Muffin Pan)
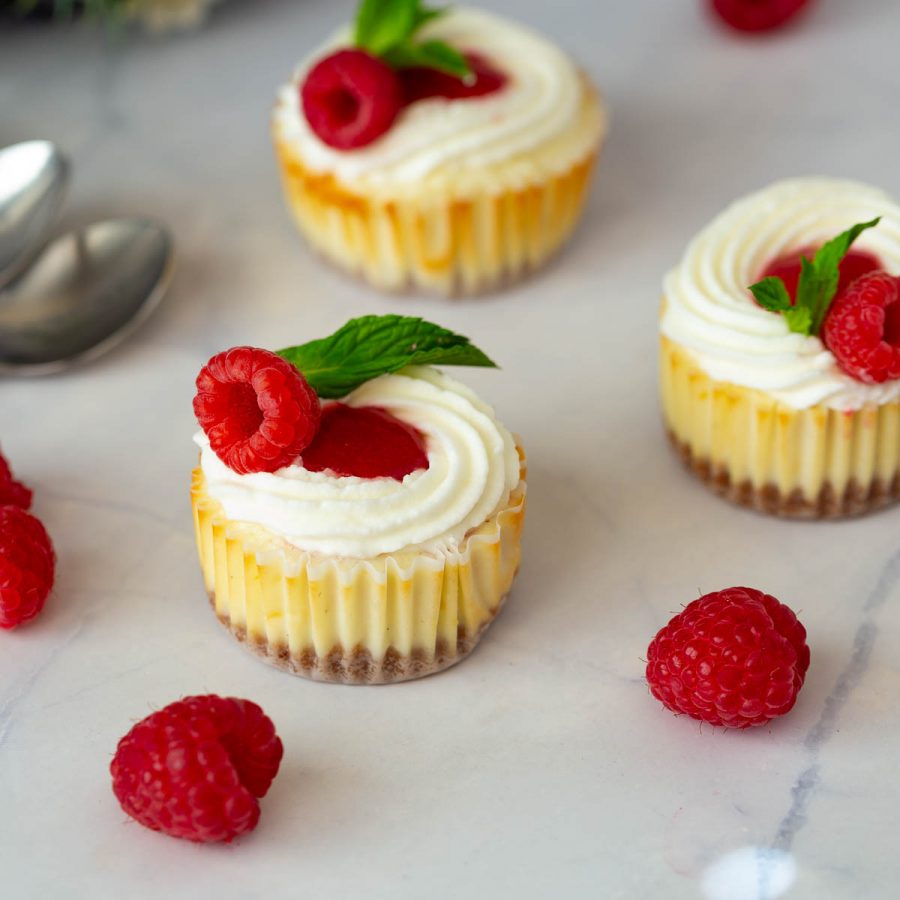
- or Mini Cheesecakes – Raspberry
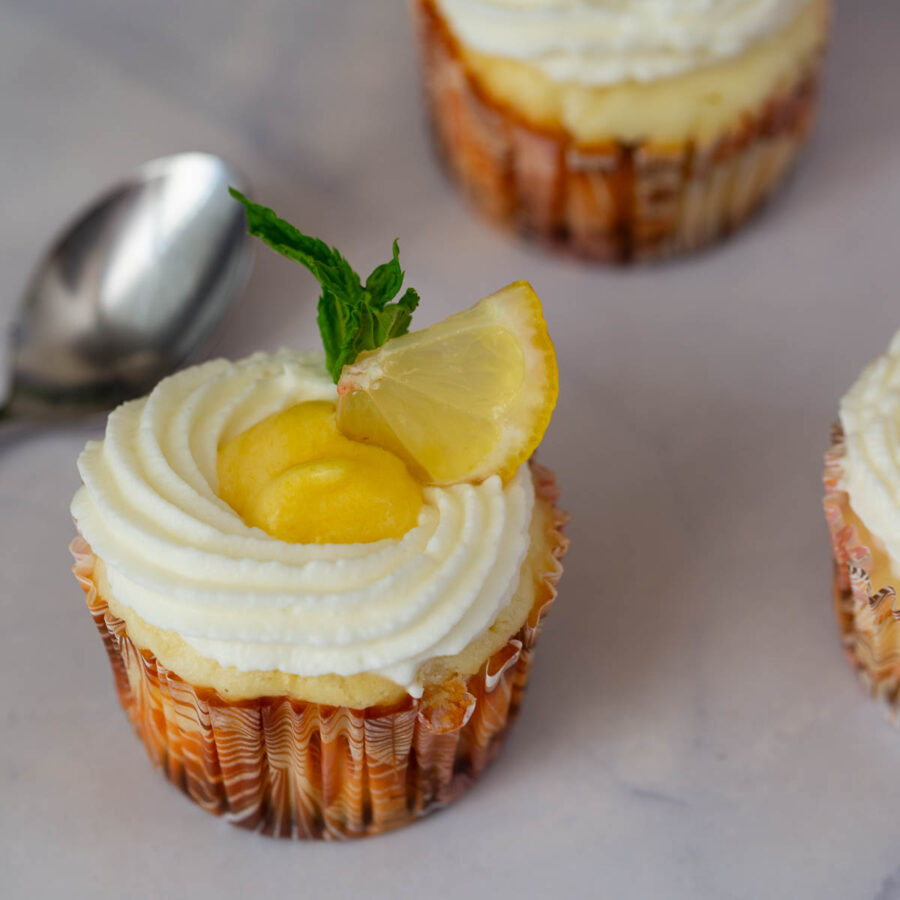
- Baked Mini Lemon Cheesecakes

Frequently asked questions
They last 3–4 days chilled, or freeze well (undecorated) for up to 2 months.
Yes, just thaw them slightly before blending and strain if they have tough seeds or skins.
Overbaked cheesecakes often have a crack. The cake will be dry and gritty when cut. The eggs were overcooked, so the cheesecake became firm and dense instead of soft and silky custard-like.
You can! These are delicious on their own. But the whipped cream adds visual and flavor appeal.
more recipes with blackberries
- Easy Blackberry Crumble
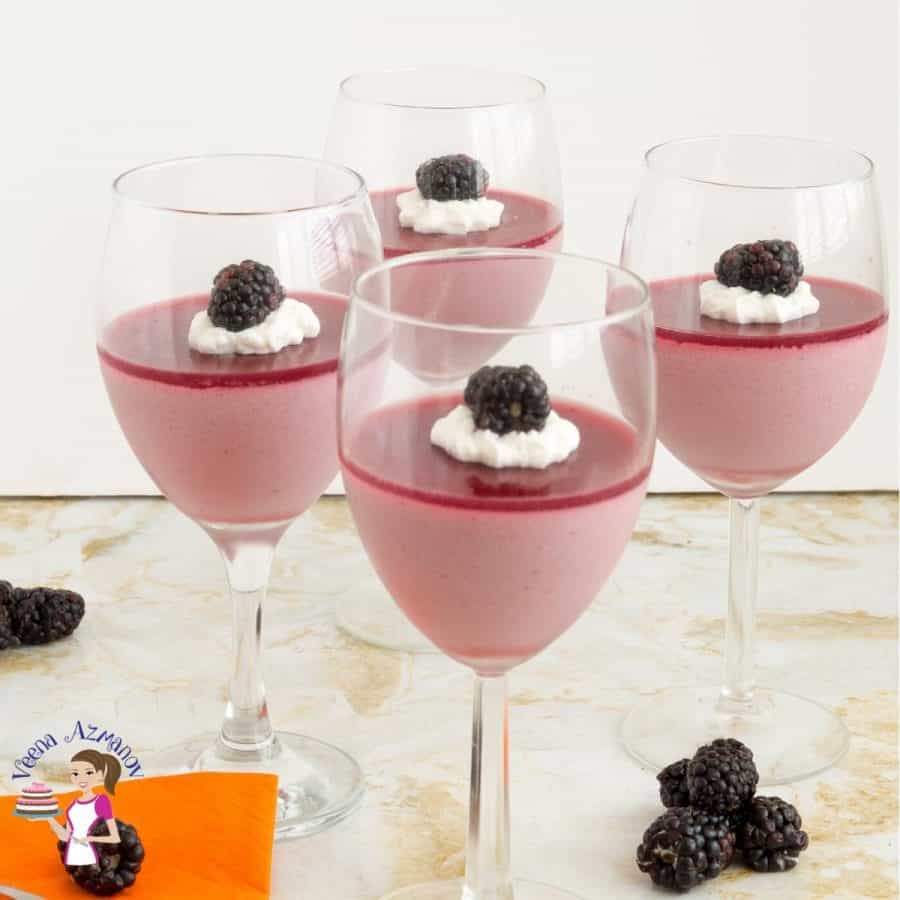
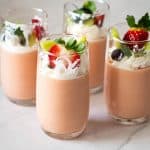
- Perfect Blackberry Mousse
- Blackberry Panna Cotta Tart
- Blackberry Panna Cotta Recipe
- Blackberry Filling


Don’t lose this recipe! Save it for Later!
📌 Save this Recipe for later on Pinterest so you can easily find it again.
⭐ Add Veena Azmanov Kitchen to your Google Preferred Sources.
It helps Google show you more of our recipes.
📧 Subscribe for new recipes delivered to your inbox.
🎥 Follow us for more recipes


The recipe calls for one large egg, but instructions say eggs…add one at a time. How many eggs should this recipe contain?
Ah, I changed to a smaller recipe, so this one has only one large egg.