
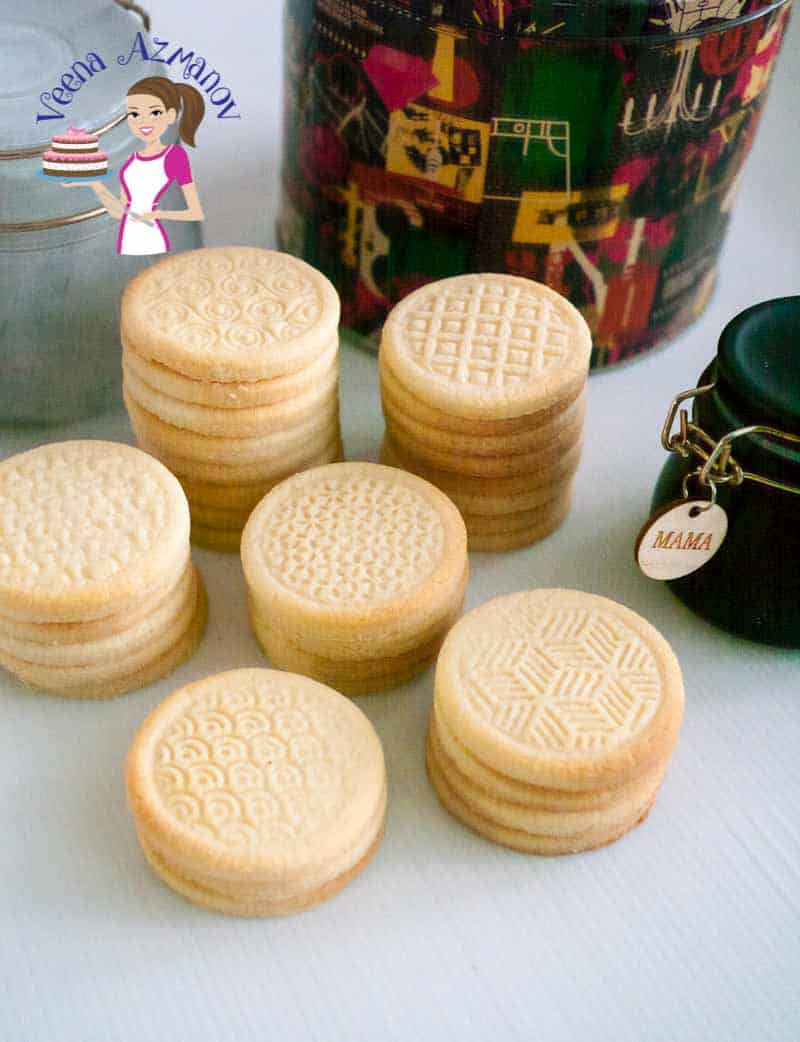
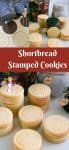
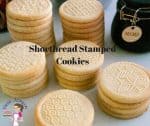
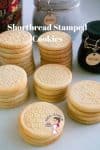
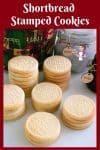
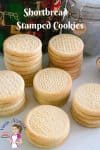
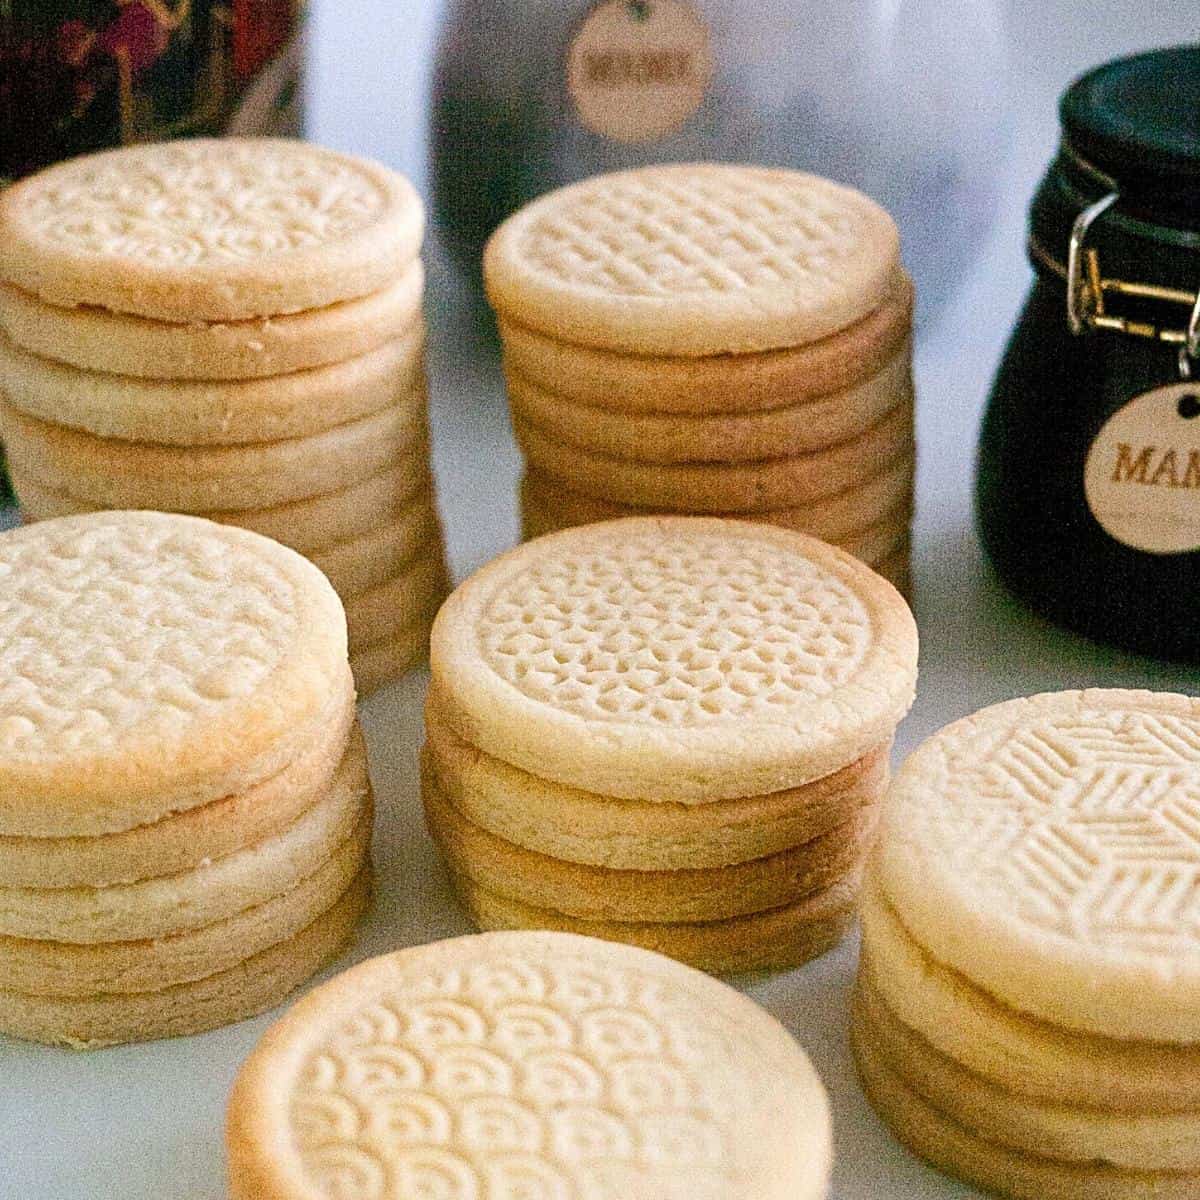
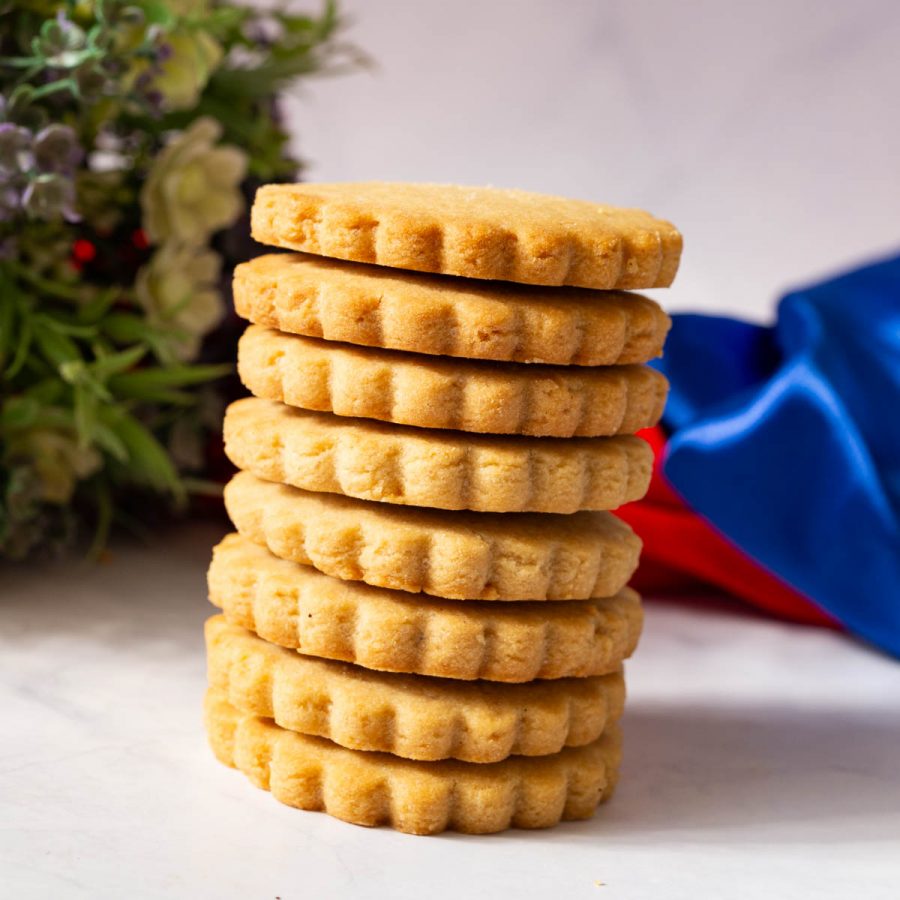
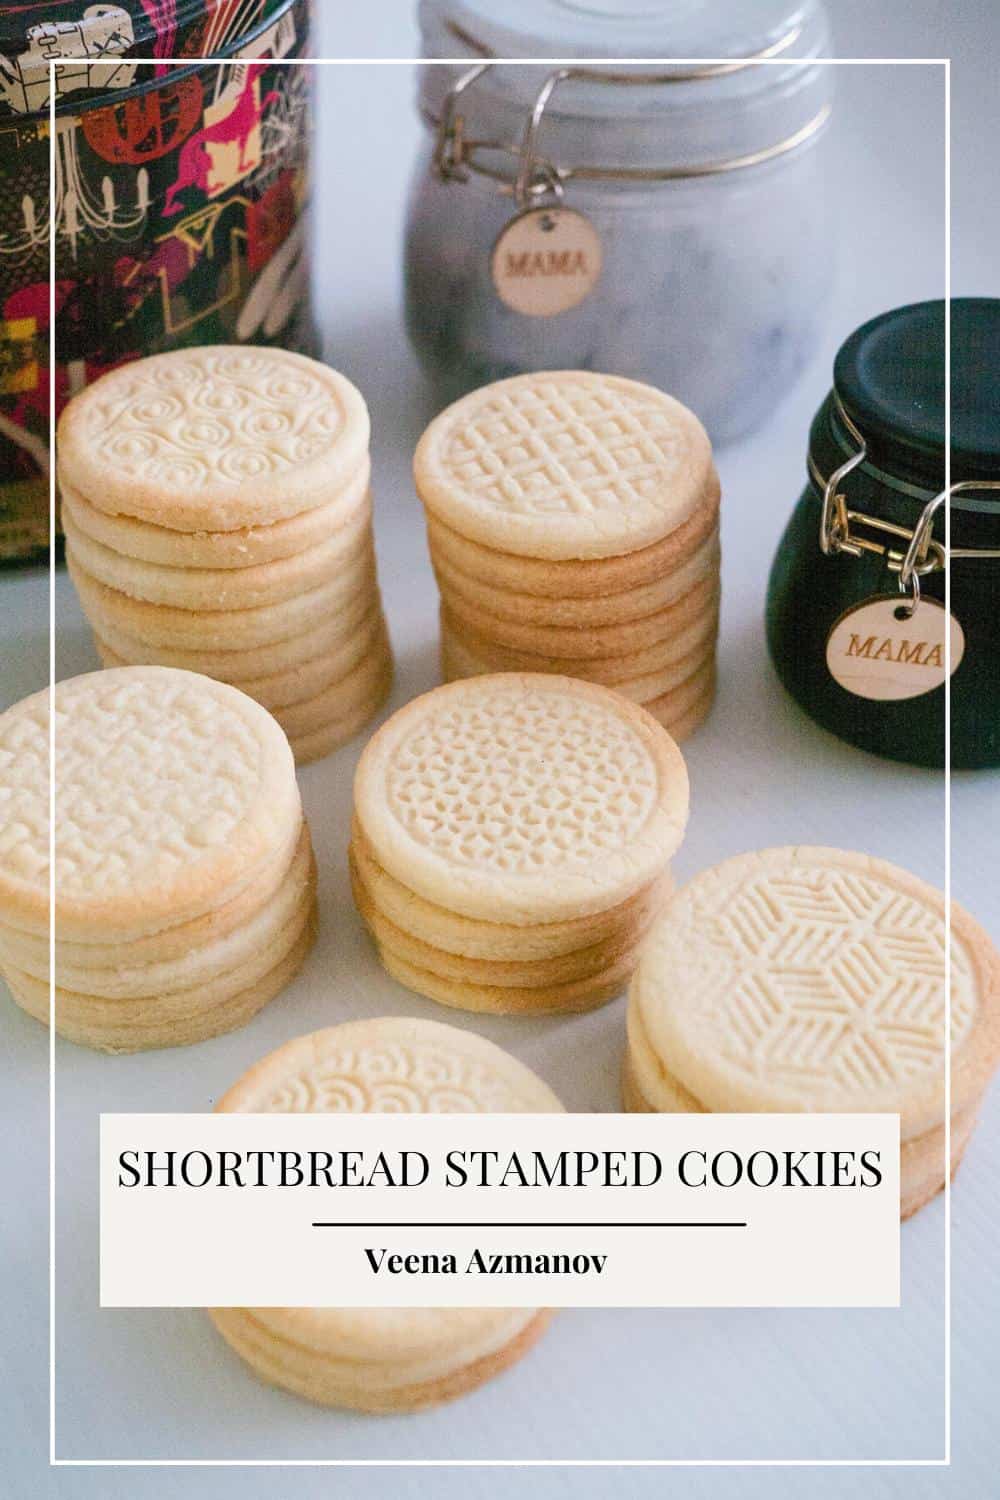
These stamped shortbread cookies are buttery, crisp, and tender with beautifully defined designs that hold their shape when baked. The dough is easy to roll and stamp, making it perfect for cookie stamps, embossed rolling pins, or patterned cookie cutters.

Growing up, stamped cookies were a special Christmas treat in our house. My mom made them as part of the little Christmas hampers she sold, along with fudge, coconut macaroons, Linzer cookies, and marzipan fruits. My sister and I always helped with the holiday baking.
Back then, Mom had only a few treasured cookie stamps and Christmas designs. These days there are so many beautiful stamps available, and my kids love helping me press the designs into the dough just as much as I did.
Why You’ll Love These Stamped Shortbread Cookies
- Holds the design – The dough keeps stamped and embossed patterns clearly defined during baking.
- Classic shortbread texture – Buttery and crisp with a tender, crumbly bite.
- Easy to stamp – The chilled dough rolls cleanly and works with cookie stamps, embossed rolling pins, and patterned cutters.
- Perfect for gifting – Beautiful enough for holidays, cookie boxes, afternoon tea, or homemade gifts.
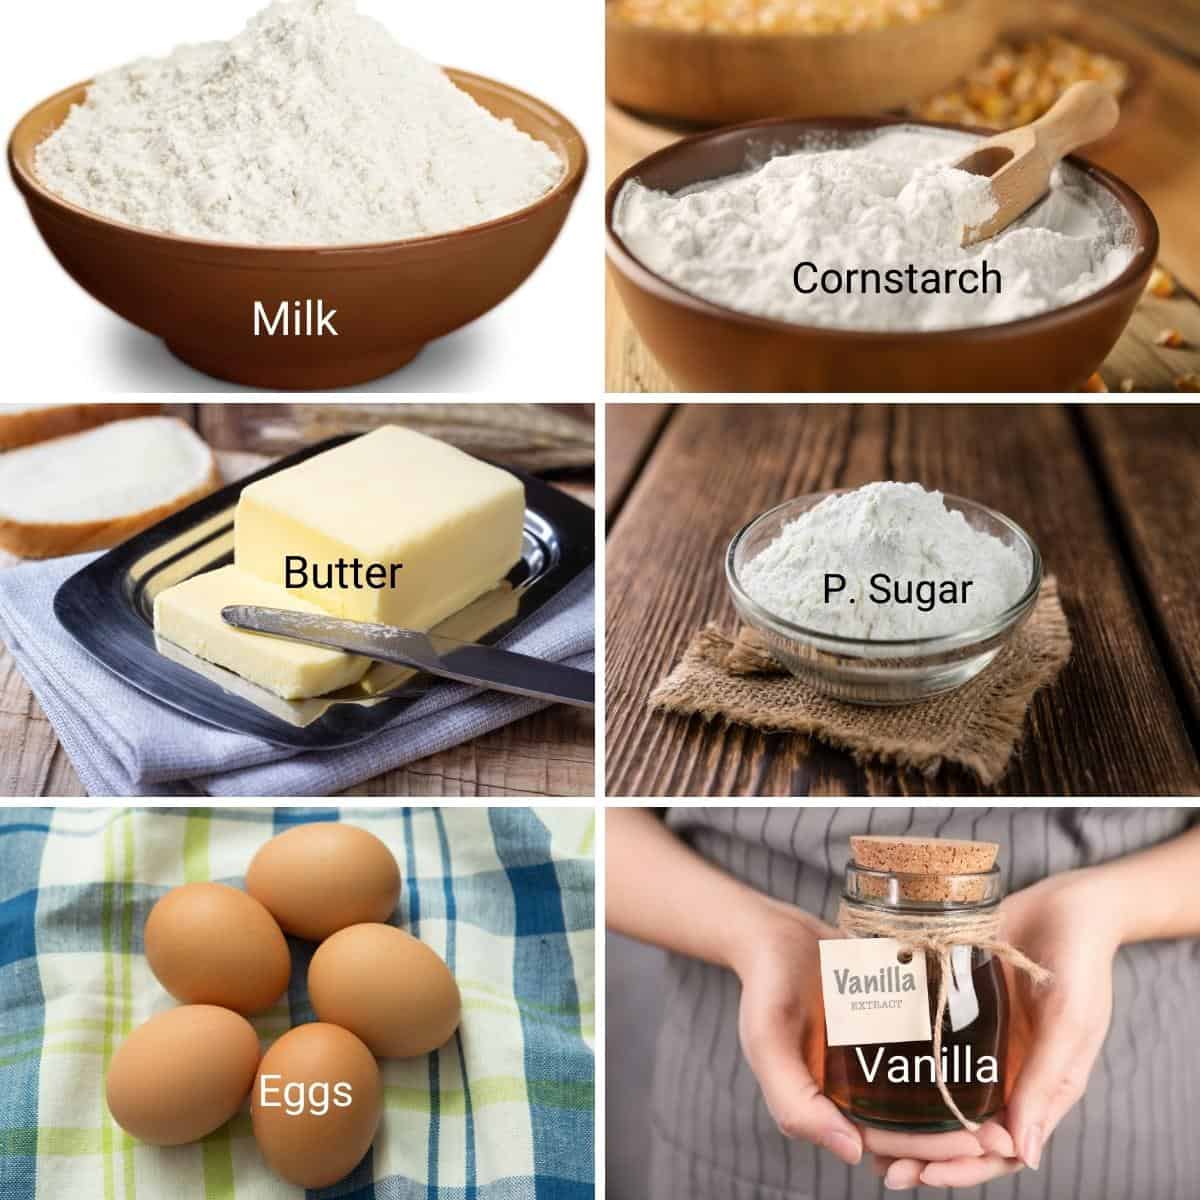
Ingredients and substitutes
- All-purpose flour – Regular all-purpose flour gives these cookies enough structure to hold the stamped design. Avoid self-rising flour, which can cause the cookies to puff and lose definition.
- Cornstarch – Helps create that tender, crumbly shortbread texture while keeping the dough easy to work with. Rice flour can be used instead for a slightly crisper texture.
- Butter – Use unsalted butter softened to room temperature, but not overly soft or warm. If using salted butter, omit the added salt.
- Sugar – Granulated sugar is creamed with the butter and helps give the cookies their crisp texture.
- Powdered sugar – Adds tenderness and gives the dough a finer texture, which works particularly well for stamped cookies.
- Egg – Binds the dough and makes it easier to roll and stamp without crumbling.
- Vanilla – Adds flavor to the buttery shortbread. Vanilla extract or vanilla bean paste both work well.
- Salt – Balances the sweetness and enhances the butter and vanilla flavors.
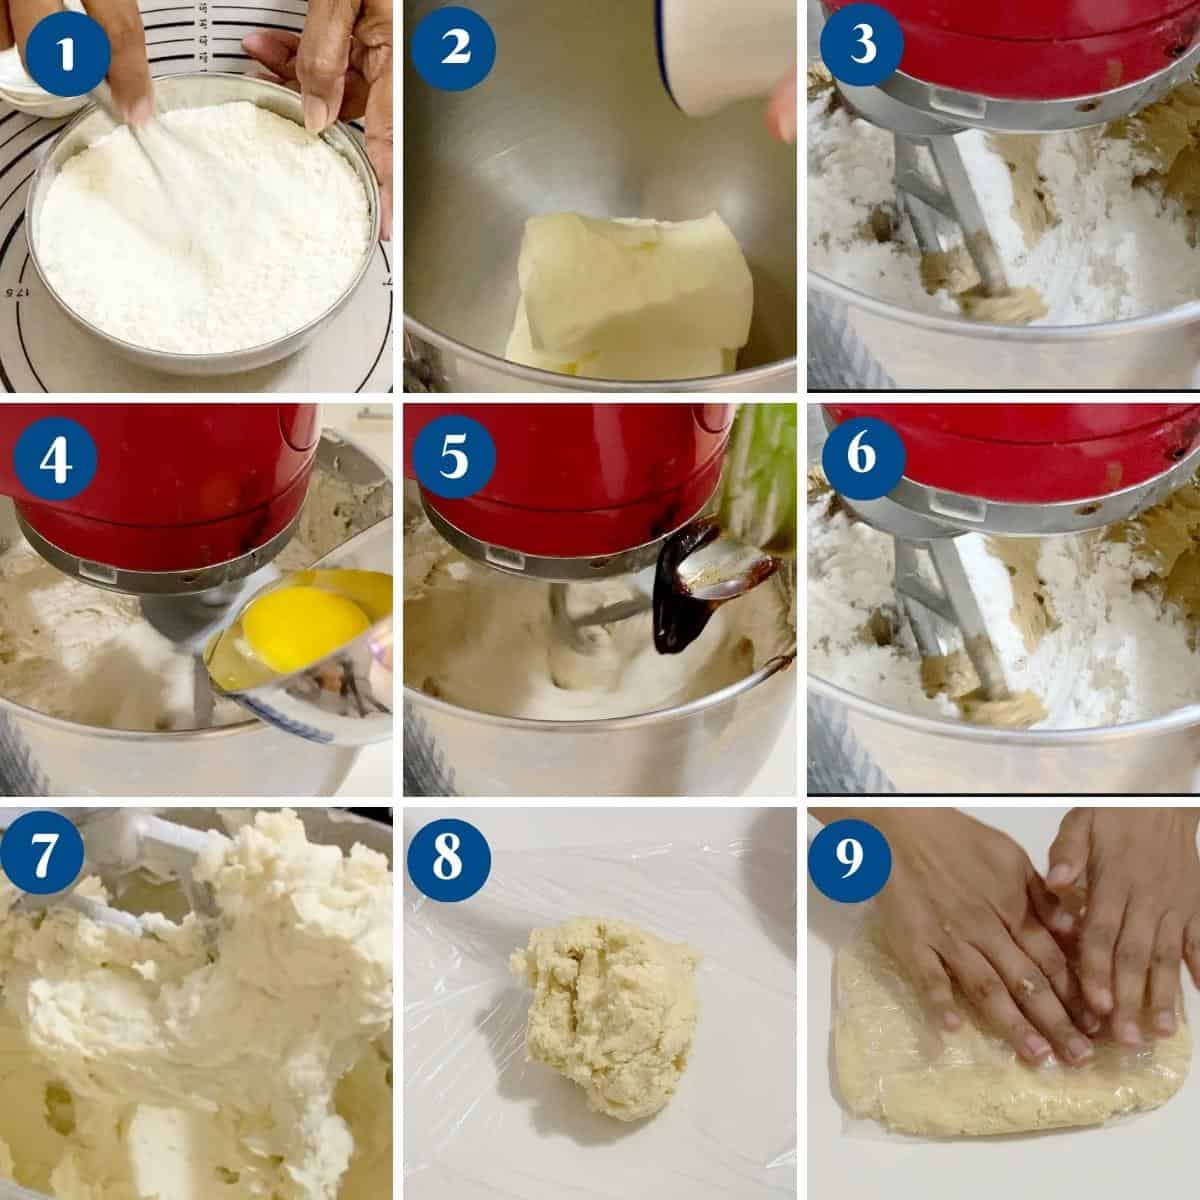
How to Make Stamped Shortbread Cookies
Make the dough
Combine the flour, cornstarch, and salt in a bowl.
In a separate bowl, cream the softened butter, granulated sugar, and powdered sugar until light and smooth. Add the egg and vanilla and mix until combined.
Add the flour mixture and mix just until the dough comes together. Do not overmix.
Chill the dough
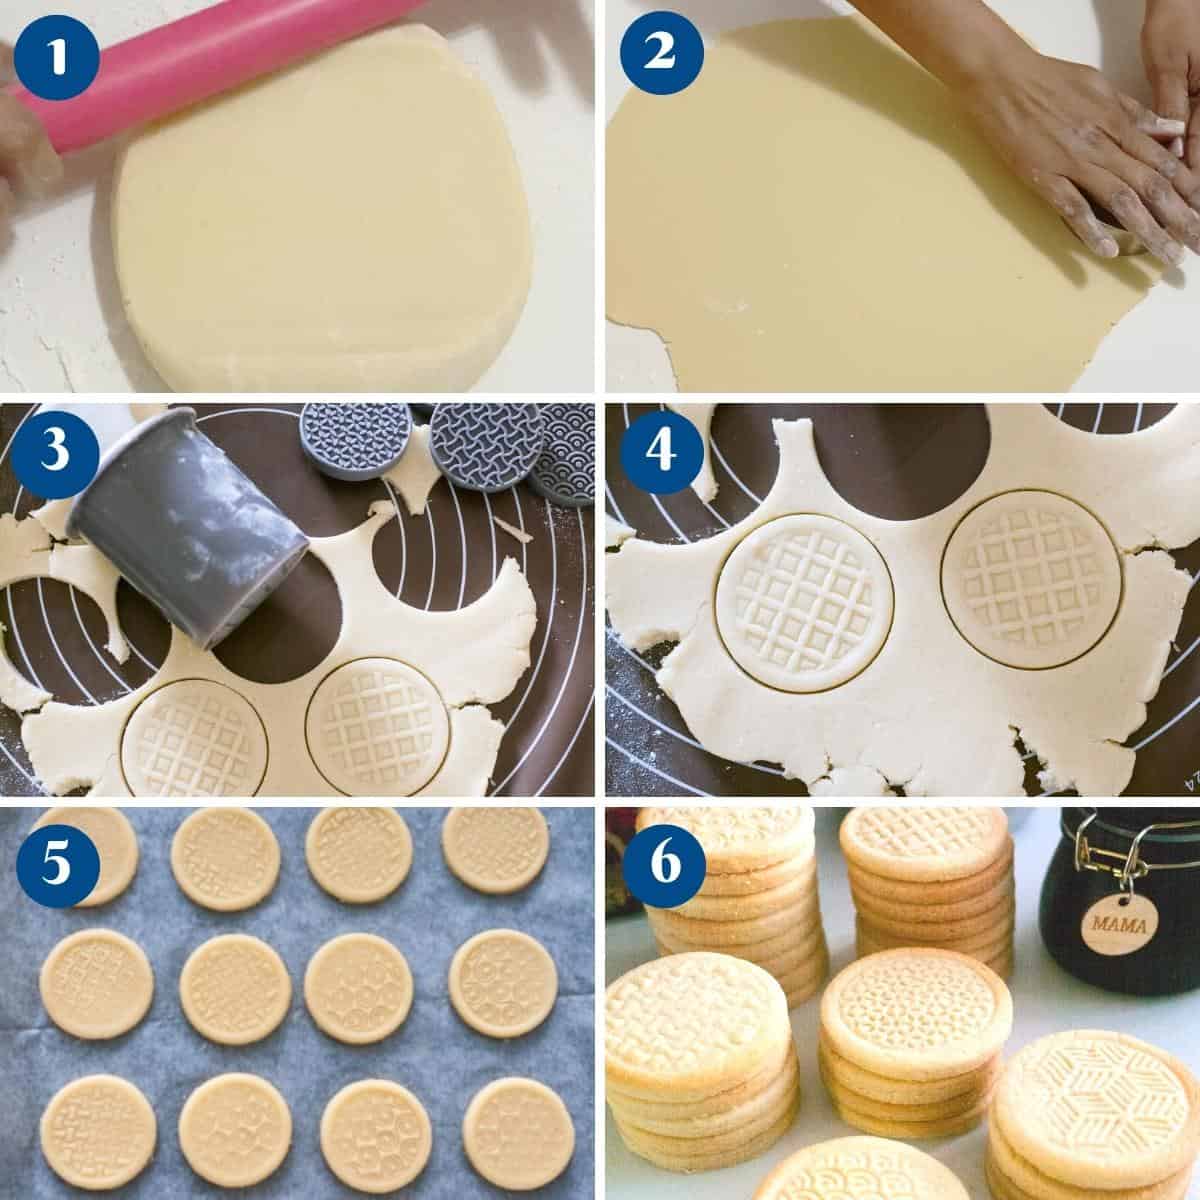
Divide the dough into two portions and shape each into a flat disc. Wrap in plastic and chill for about 1 to 2 hours, or until firm but still easy to roll.
Roll and stamp
Working with one disc at a time, roll the dough on a lightly floured surface to about ¼ inch (6 mm) thick.
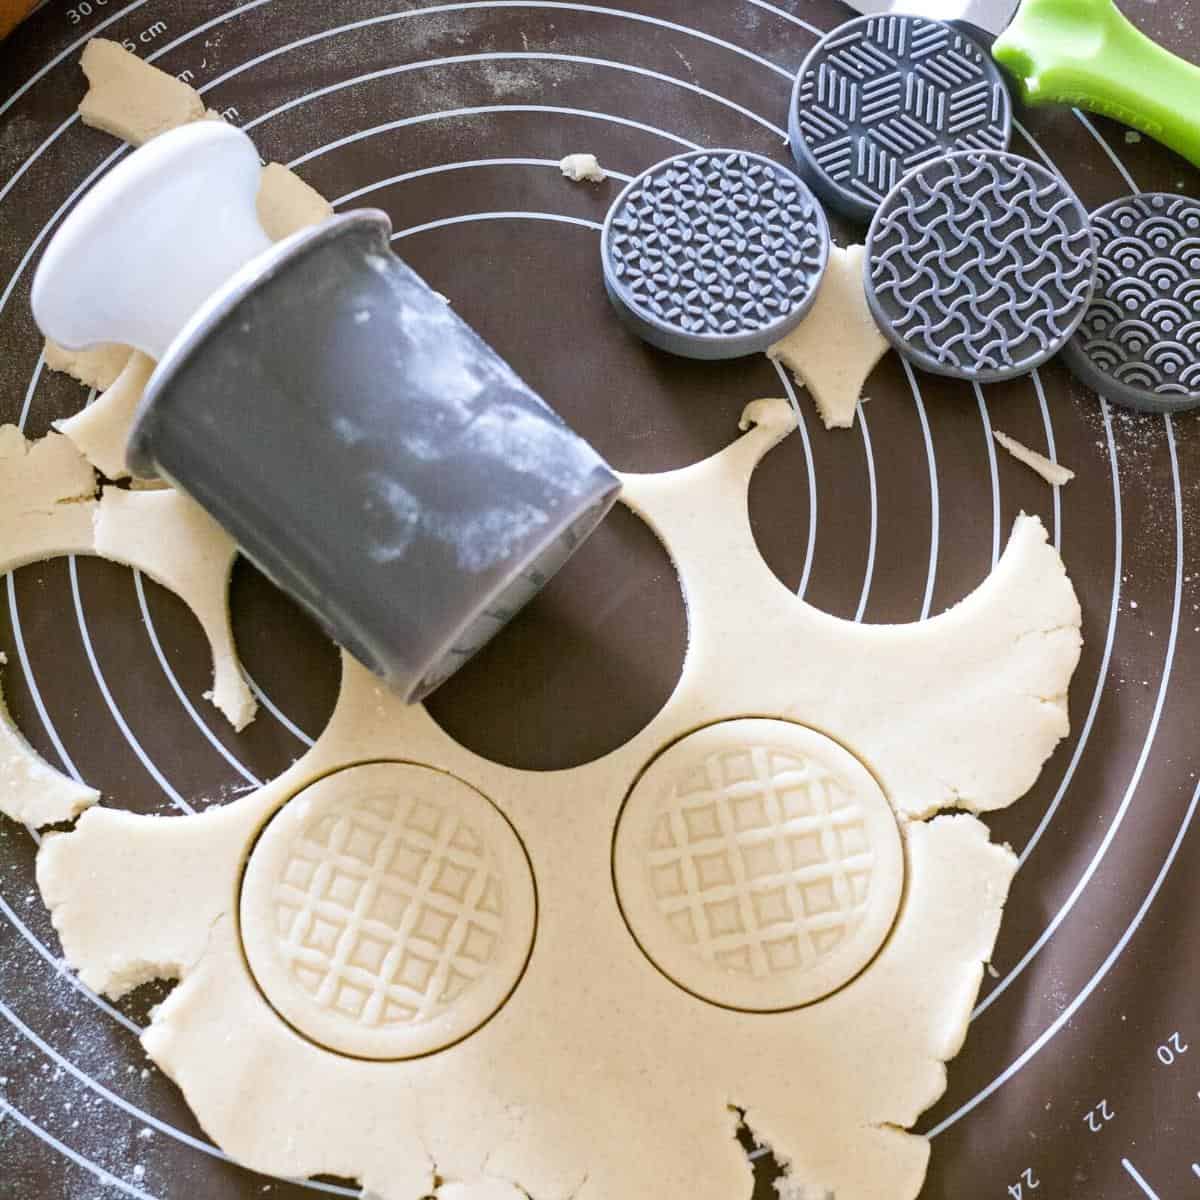
Lightly dip the cookie stamp in flour and tap off the excess. Press firmly and evenly into the dough to create the design, then cut out the cookie if your stamp and cutter are separate.
If the chilled dough cracks when rolling or stamping, let it sit at room temperature for a few minutes to soften slightly.
Chill the stamped cookies
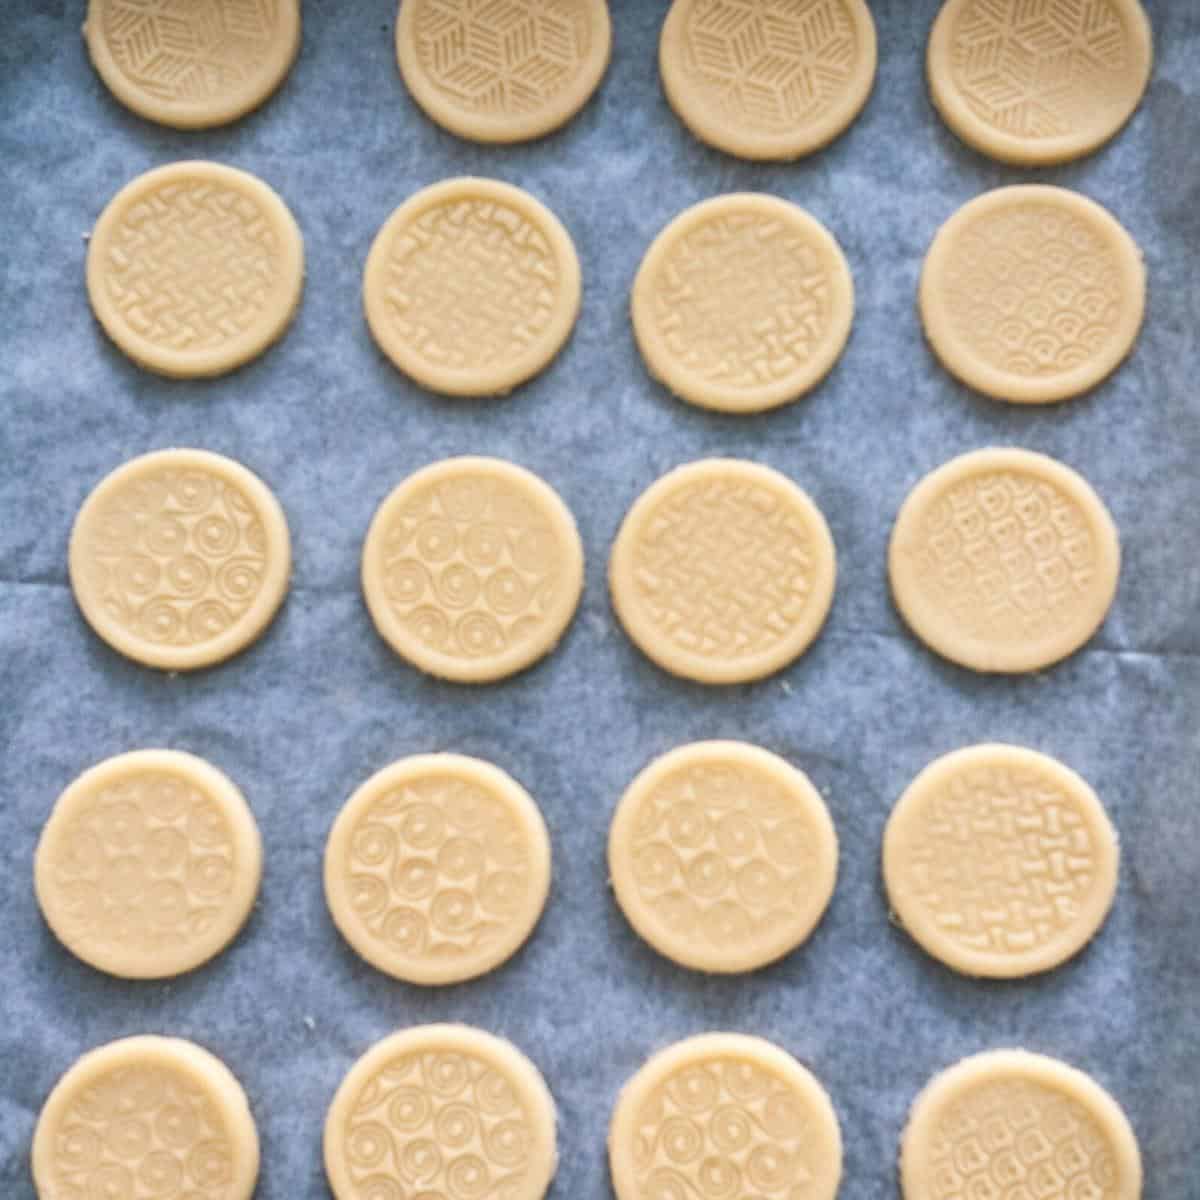
Arrange the cookies on a parchment-lined baking sheet and refrigerate for 10 to 15 minutes. Meanwhile, preheat the oven to 350°F / 180°C / Gas Mark 4.
Bake
Bake the cookies on the center rack for 10 to 12 minutes, depending on their size and thickness. The tops should look dry and set, and the edges should just begin to turn very lightly golden. Avoid overbaking, but don’t remove them while the centers still look soft or doughy.
Cool
Let the cookies cool on the baking sheet for about 10 minutes before transferring them to a wire rack. They are delicate while warm and become crisp as they cool.

Shortbread Stamped Cookies Recipe
Learn how to make stamped shortbread cookies that hold their shape and don’t spread! This easy recipe makes buttery, crisp cookies perfect for cookie stamps or embossed rolling pins.
Ingredients
- 335 g (2⅔ cups) All-purpose flour
- 2 tbsp Cornstarch
- ½ tsp Salt
- 226 g (1 cup) Unsalted butter room temperature
- 100 g (½ cup) Sugar
- 60 g (½ cup) Powdered sugar confectioners
- 1 large Egg
- 1 tsp Vanilla extract
Method
- Dry ingredients – In a bowl, combine the flour, cornstarch, and salt.335 g All-purpose flour, 2 tbsp Cornstarch, ½ tsp Salt
- Dough – In the bowl of a stand mixer with the paddle attachment cream butter, sugar, and powdered sugar until light and fluffy. Add the egg and vanilla extract. Followed by the flour mixture. This is a soft dough.226 g Unsalted butter, 100 g Sugar, 60 g Powdered sugar, 1 large Egg, 1 tsp Vanilla extract
- Chill – Divide the dough into two discs and wrap them in plastic wrap. Refrigerate for at least 1 to 2 hours or until cold enough to roll.
- Roll – Working with one disc at a time, roll the dough on a lightly floured surface to about ¼ inch (6 mm) thick. Lightly flour the cookie stamp, tap off the excess, then press firmly and evenly into the dough. Cut out the cookies and transfer them to a parchment-lined baking sheet.
- Oven and Pan – Preheat the oven to 350 °F /180 °C / Gas Mark 4. Line two baking trays with parchment paper.
- Bake – Bake the cookies on the center rack for 10 to 12 minutes, depending on their size and thickness. The tops should look dry and set, and the edges should just begin to turn very lightly golden. Avoid overbaking, but don't remove them while the centers still look soft or doughy.
- Cool – Once baked cool on the cookie sheet for 10 mins then transfer them to a cooling rack to cool completely.
Notes
- Butter should be softened but still cool. If it is very soft or warm, the cookies may spread and the stamped designs can lose definition.
- Chill the dough until firm but pliable. If it cracks when rolling, let it sit at room temperature for a few minutes before continuing.
- Roll the dough about ¼ inch (6 mm) thick so the stamped pattern remains visible after baking.
- Lightly flour the cookie stamp and tap off the excess before pressing it firmly and evenly into the dough.
- Chill the stamped cookies for 10 to 15 minutes before baking to help them hold their shape.
- Bake at 350°F / 180°C for about 8 to 10 minutes, just until set and beginning to color around the edges.
- Let the cookies cool on the baking sheet for about 10 minutes before moving them; they are delicate while warm.
- Store completely cooled cookies in an airtight container at room temperature for about 1 week. The dough can also be refrigerated for up to 3 days or frozen for up to 1 month.
Equipment you will need


Nutrition
Tried this recipe?
Mention @veenaazmanov_kitchen or tag #veenaazmanovkitchen!Tips for Success
- Use softened, not warm butter. The butter should be soft enough to cream but still cool. Very soft butter can make the cookies spread.
- Chill the dough before rolling. It should be firm but pliable. If it cracks, let it sit at room temperature for a few minutes.
- Keep the dough about ¼ inch (6 mm) thick. Thin cookies are more likely to lose the stamped design.
- Flour the stamp lightly. Dip it in flour and tap off the excess before pressing into the dough.
- Press firmly and evenly. You need enough pressure for a clear impression without pressing so deeply that the dough cracks.
- Chill again before baking. Refrigerating the stamped cookies for 10 to 15 minutes helps the designs stay defined.
- Don’t overbake. Remove the cookies when set and just beginning to color around the edges.
more shortbread recipes
- Brown Sugar Shortbread
- Cranberry Shortbread Bars
- Ginger Shortbread with Molasses
- Brown Sugar Shortbread Cookies
- Irresistible Rose Shortbread Cookies


Troubleshooting Stamped Shortbread Cookies
| Problem | Possible cause | Solution |
|---|---|---|
| Cookies spread and lose the design | Dough or butter was too warm | Chill the stamped cookies before baking and place them on a cool baking sheet. |
| Stamp sticks to the dough | Dough is too soft or stamp isn’t floured | Chill the dough slightly and lightly flour the stamp before each impression. |
| Dough cracks when stamped | Dough is too cold | Let it sit at room temperature for a few minutes until pliable, then stamp again. |
| Stamped pattern isn’t clear after baking | Dough was rolled too thin or impression was too shallow | Roll about ¼ inch (6 mm) thick and press the stamp firmly and evenly. |
Frequently Asked Questions
Stamped shortbread cookies can be stored in an airtight container at room temperature for up to 10 days. If you want to keep them longer, you can freeze them in an airtight box for up to 2 months.
To prevent stamped cookies from spreading, use room-temperature butter (not too soft), measure flour accurately, and chill the dough before stamping and baking. Also, ensure your oven is preheated to the correct temperature.
Yes, chilling helps the stamped design hold shape during baking and prevents spreading.
Yes, you can chill the dough overnight. In fact, chilling stamped cookie dough overnight helps deepen flavor and improve the stamped design during baking.
Yes! Shape and stamp your cookies, then freeze them in a single layer on a tray. Once frozen, transfer to a zip-top bag and bake from frozen, adding 1-2 extra minutes to the baking time.
Absolutely! Try adding lemon zest, orange zest, almond extract, or even spices like cinnamon to give your cookies a festive flavor while using your cookie stamps.
The design may fade if the dough is too warm, rolled too thin, or if you don’t press firmly enough when stamping. Always chill stamped cookies before baking and keep the dough thickness at ¼ inch for best results.
Yes, this shortbread stamped cookie dough works well with an embossed rolling pin or cookie stamp set. Roll the dough to ¼ inch thickness, emboss, and cut out your shapes.
Definitely! This is a perfect holiday stamped cookie recipe for Christmas, Easter, or any festive occasion. Just swap out the stamps according to the season.
This recipe is specifically developed to hold the shape of cookie stamps and embossed designs, making it one of the best recipes for cookie stamps and embossed cookies.
more cookie recipes
- Soft Amish Cinnamon Sugar Cookies
- Soft Amish Cookies
- Eggless Chocolate Sugar Cookies or
- Eggless Vanilla Sugar Cookies
- Delicious Pistachio Cookies
- See all cookie recipes
Don’t lose this recipe! Save it for Later!
📌 Save this Recipe for later on Pinterest so you can easily find it again.
⭐ Add Veena Azmanov Kitchen to your Google Preferred Sources.
It helps Google show you more of our recipes.
📧 Subscribe for new recipes delivered to your inbox.
🎥 Follow us for more recipes

Hi, I’m Veena
I’m the recipe developer, baker, and food photographer behind Veena Azmanov Kitchen.
I’ve spent years developing and testing recipes, from everyday meals and homemade breads to cakes and desserts.
I share the practical tips and little details I’ve learned along the way so you can get great results in your own kitchen.






I did two batches, the first as written and it was delicious! I replaced the vanilla extract with fresh lemon juice. I actually added 1/2 tablespoon and added a 2 tablespoons more flour! Yum!
Will be doing both variations frequently!!
Thank you for a wonderful recipe!!
Thank you, Tracey.
Could I roll the dough into balls and use a cookie stamp?
You can try! It might be uneven at the edge, but it depends on your ability.
Delicious cookies! Thank you for sharing~
Highly recommend these shortbreads, they taste almost like a grocery store icebox cookie but with a list of ingredients that doesn’t make you question your purchase
I actually wanted to find a recipe that would bake and hold a design having just came into the possession of some holiday cutters that stamp characters into them, figured Id give this recipe a go, I am glad I did, this one did not disappoint both in quality and flavour!
The dough is a bit delicate and prone to “breaking” while moving an irregularly shaped cookie so its a bit of a tedious process doing one at a time but the final result are a crisp visible image in the biscuit that is soft and chewy but still stiff enough to be picked up and hold itself together.
Next time I plan to give do a royal ice, these cookies would fare just fine and make some incredible looking cookies
Thank you so much Matt
Hello! Your recipe calls for cornflour in some places and cornstarch in others. Which do you use? These ate very different, and are not interchangeable. Thank you!
Thanks, Teresa. There is only cornstarch in the recipe.
Since it’s only cornstarch. Would you mind going in and changing all the places it says cornflour in this page? It’s confusing since it’s so many times of both cornflour/cornstarch. Thanks!
Hi Veena! Can these be made by pressing into a wooden mold?
I believe it should be able to press into the wooden molds. I have not tried it, though, Sheri. Please do leave feedback if you do.
can I bake the cookies ahead and freeze, I need to make 150
thank you
Yes these cookies can be frozen Anita.
Hi, can I use margarine for this biscuits? Thank you!
I believe you can but you will need a little more flour since margarine has more water in it. I have not tested so I can’t tell you how much extra flour. Start with 2 tbsp and see if more is needed.
question: Recipe ingredients you state Cornflour but in your comments you state if you leave out “the Cornstarch”. Cornstarch is starchy-flour whereas Cornflour is protein-flour. So am I to use Cornflour or Cornstarch? (sorry cannot rate your recipe as need clarification.)
It is cornflour. In some countries, cornstarch is listed as cornflour. What matters is that it is the same consistency as flour.
thank you for prompt reply!
I’m so excited to try these for my Christmas cookie box. I am super lazy and hate rolling out cookies, so you think it would work if these were rolled into logs and sliced, then stamped? Thanks so much!
Perfect recipe for beautifully stamped cookies! And they were soft, buttery and perfectly sweet! Definitely a must save recipe!