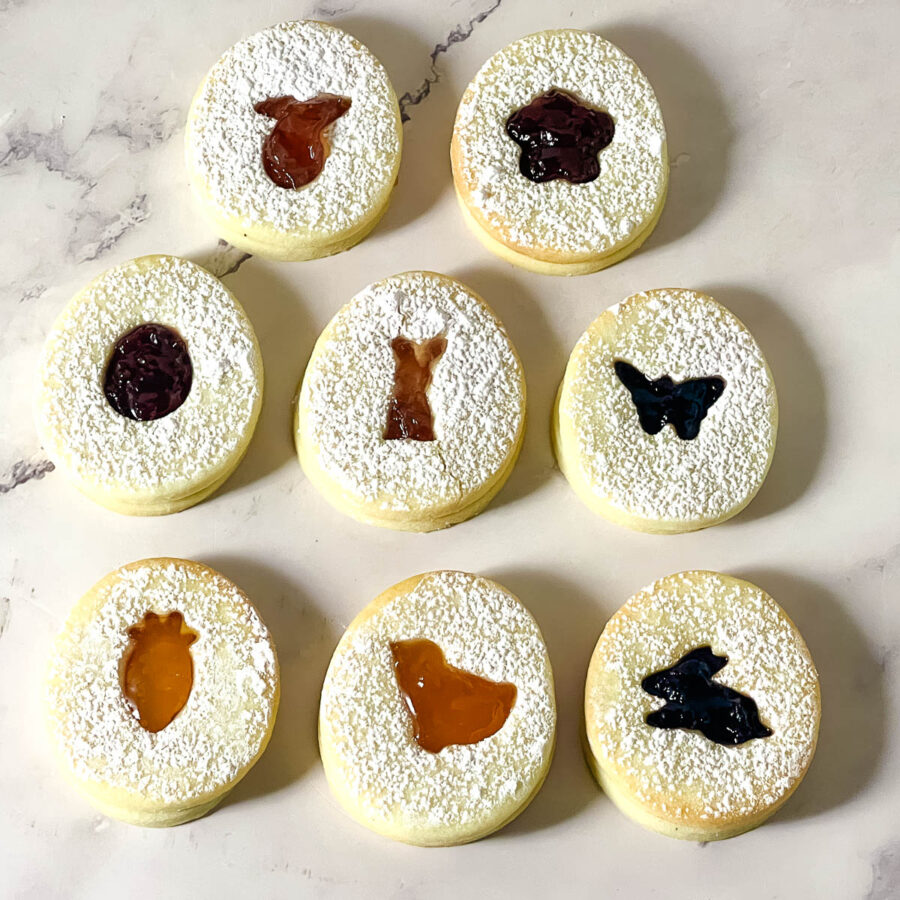
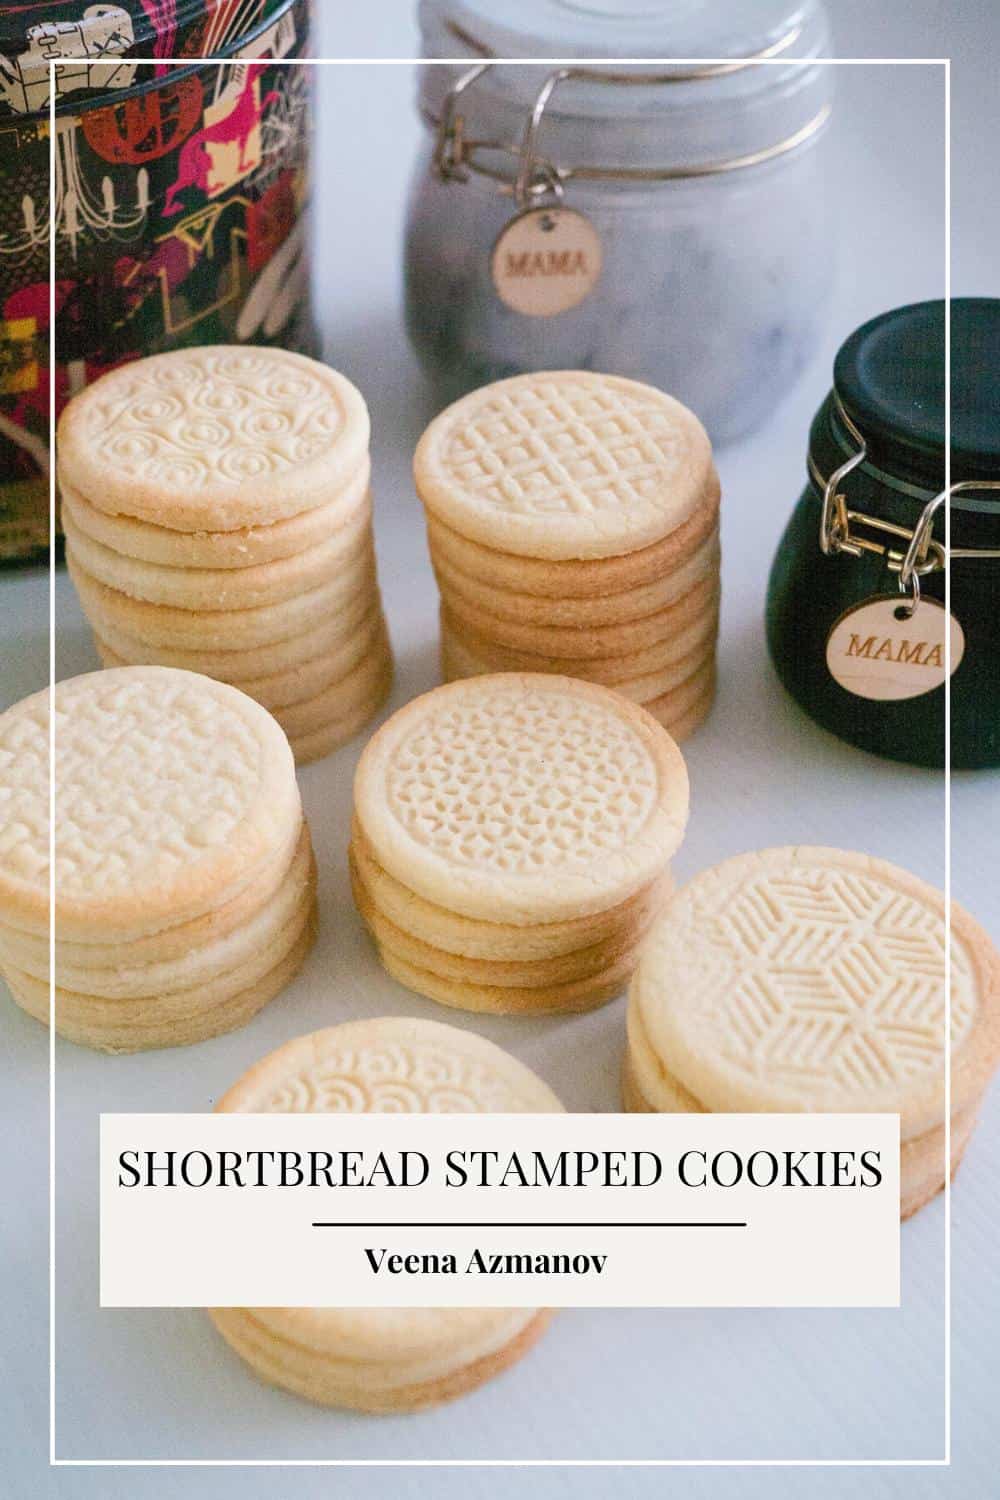
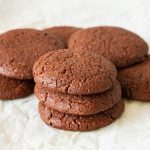
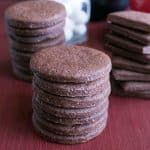
Best Stamped Shortbread Cookies Recipe

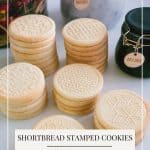
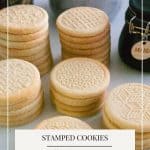
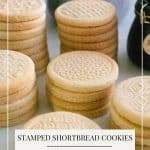
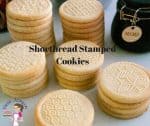
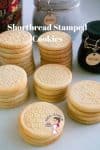
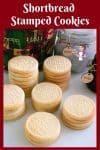
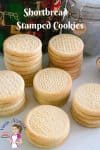
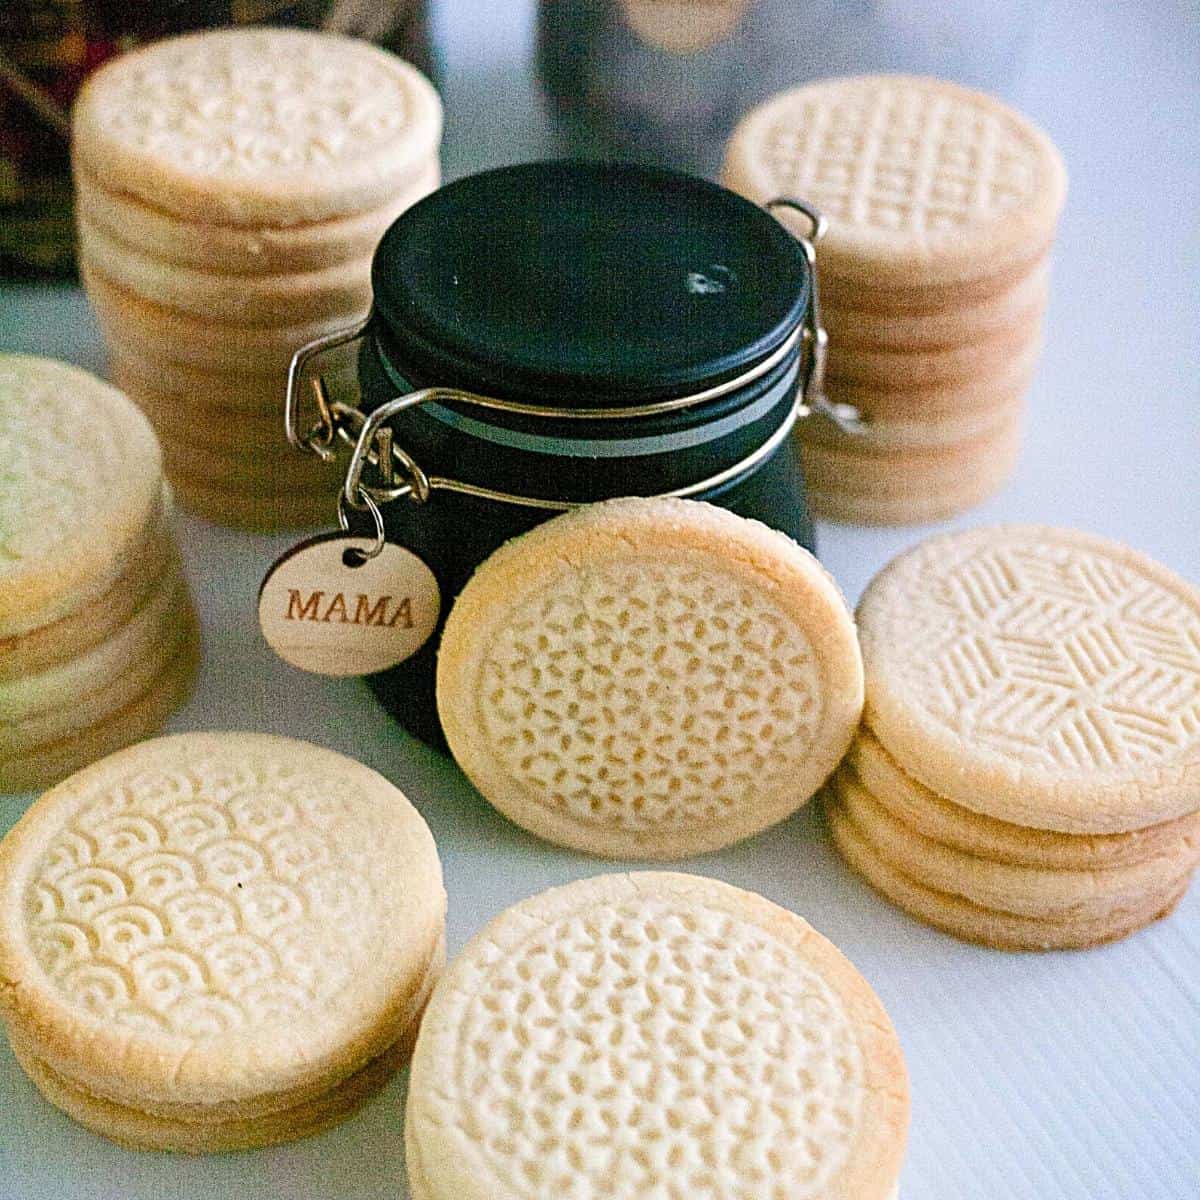
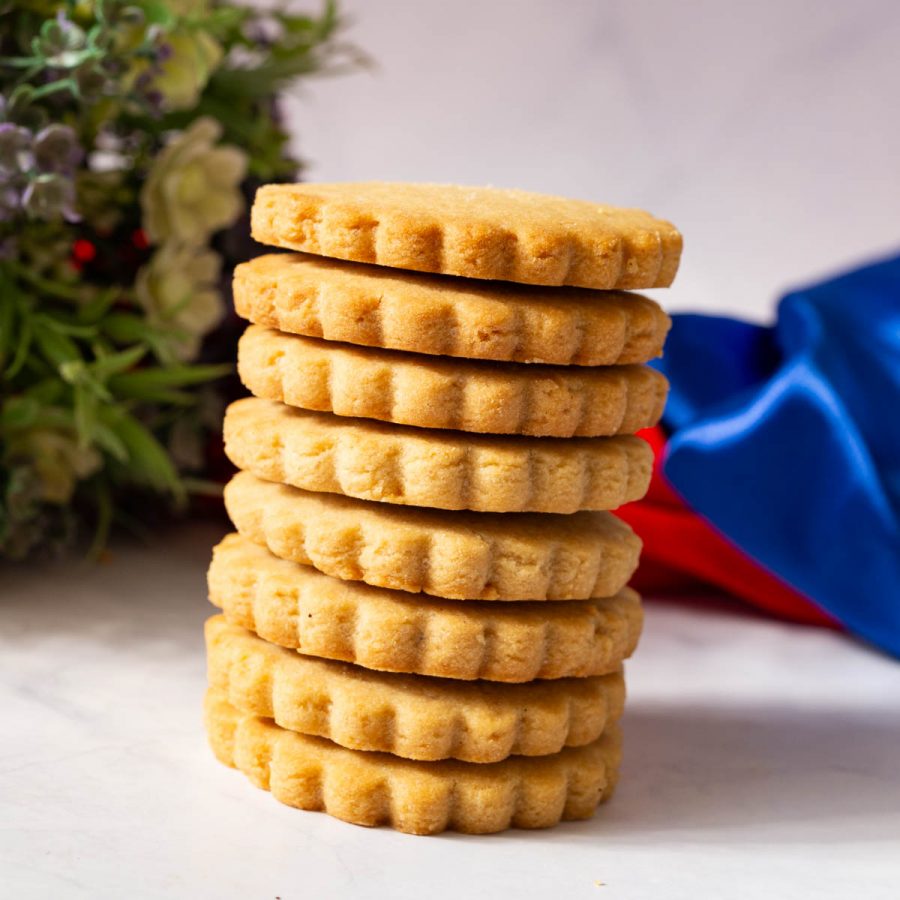
These shortbread-stamped cookies are a treat for both kids and adults. This is a simple and easy recipe to make. They are butter based with a soft crumb that melts in the mouth. This a must-have recipe when you need an afternoon tea cookie. Also, you can use them as a gift or festive treat during the holidays or any time of the year.

Growing up, festive cookies like these were a treat, especially during the holidays. We didn’t have fancy cookie stamps back then, but today, my kids love using them for these buttery, crisp shortbread cookies that hold their beautiful designs.
My mom only made them during Christmas time. The best part? She made tons of these. She used to sell little Christmas hampers with different goodies in them like these Shortbread Stamped Cookies, 3 minute Dark Chocolate Fudge, Coconut Macaroons, Linzer Cookies, Marzipan/Almond Fruits… ah, the lists go on. Now you know why I have a sweet tooth, don’t you?
I loved helping Mom with making these treats, and she loved having a little help from me and my sister. Being a single mom was really hard, yet she made it look effortless.
Back then, she had a few treasured Christmas designs and stamp cookie cutters. And yet, nowadays we are spoiled with lots of choices. Whenever I ever see a stamp cookie cutter – I’m buying it! I have already collected quite a few.
Why You’ll Love This Shortbread Stamped Cookies Recipe
- Holds shape: This cookie stamp recipe keeps designs clear without spreading.
- Crumbly texture: Buttery, soft, melts in your mouth.
- Easy to make: Simple ingredients, no complicated steps.
- Fun for kids: Let them press designs using cookie stamps or textured mats.
- Versatile: Perfect for holiday stamped cookies or any occasion.
Ingredients and substitutes
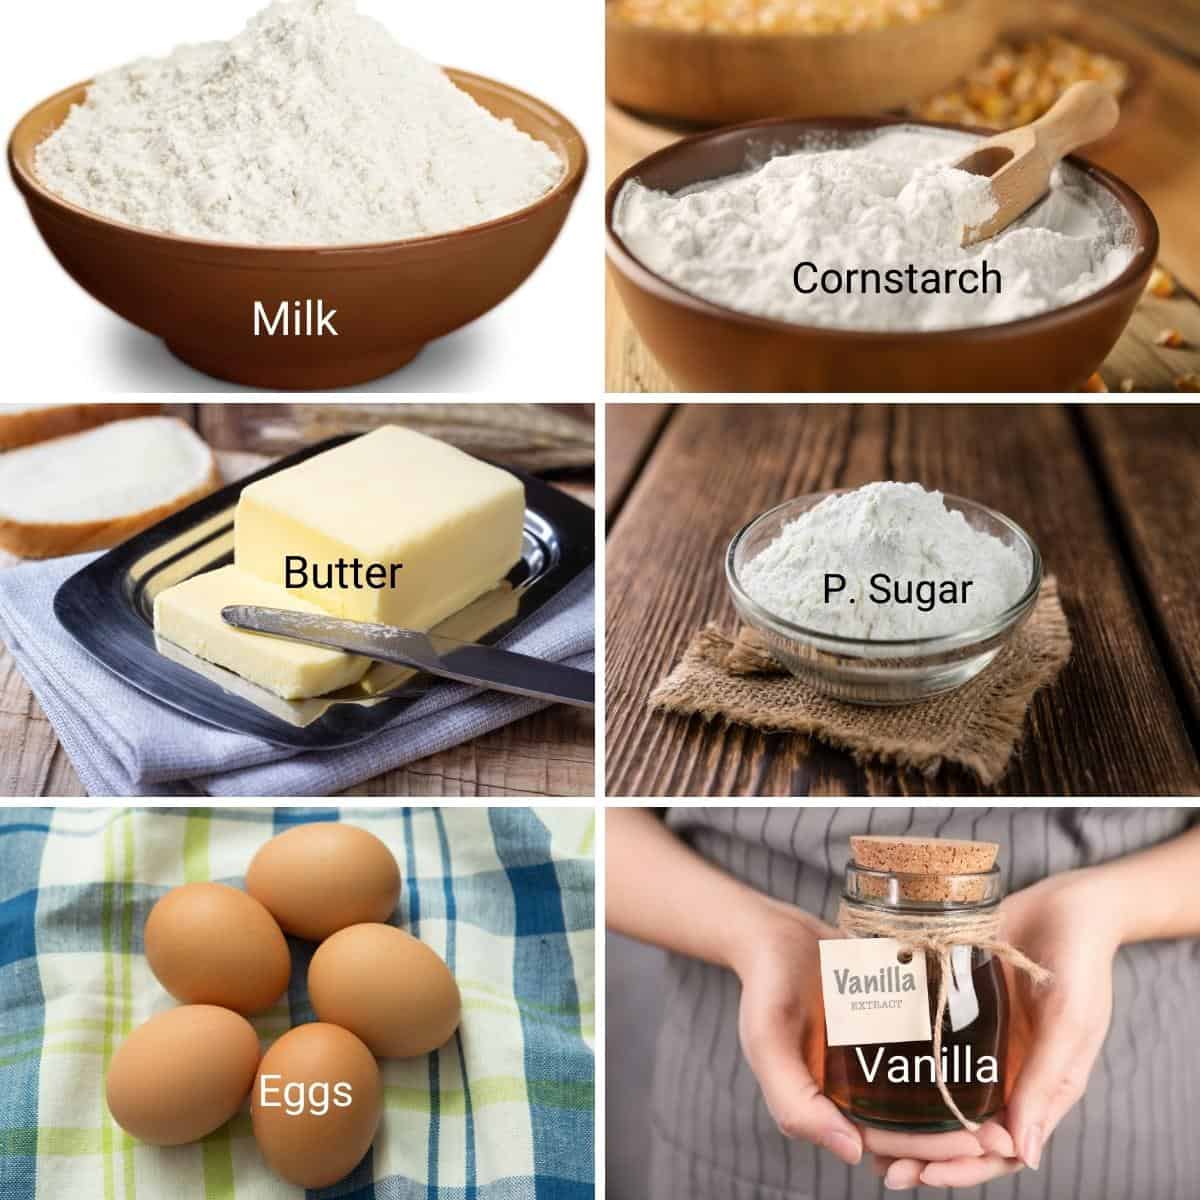
- All-purpose flour – yes, plain all-purpose flour is what you need for these cookies. NO self-raising flour, no pastry flour. These will spread out.
- Cornstarch – This makes these cookies crumble in the mouth texture. If you omit cornstarch, add some rice flour. Also, you can add all-purpose flour. And yet, the cornstarch and rice flour add nice crispiness.
- Sugars – white sugar adds lightness to the cookies when the creaming method while powdered sugar works best for the texture and consistency of the dough. You can add all white sugar and make sure to cream it well but I find this balance works just perfectly with these cookies keep them crumbly without spreading.
- Unsalted butter – I always use unsalted butter in my baking. And yet if you have to use salted butter – go ahead and just omit the salt in the recipe.
- Vanilla – A good quality vanilla will make a huge difference in anything you make. Premium vanilla can be expensive which is why I make my own homemade vanilla extract, bean paste or sugar.
How to Make Stamped Shortbread Cookies (Step-by-Step)
- Dry ingredients – In a bowl combine the flour, cornstarch, and salt.
- Dough – In the bowl of a stand mixer with the paddle attachment cream butter, sugar, and powdered sugar until light and fluffy. Add the egg and vanilla extract. Followed by the flour mixture. This is a soft dough.
- Chill – Divide the dough into two discs and wrap them in plastic wrap. Refrigerate for at least two hours or until cold enough to roll
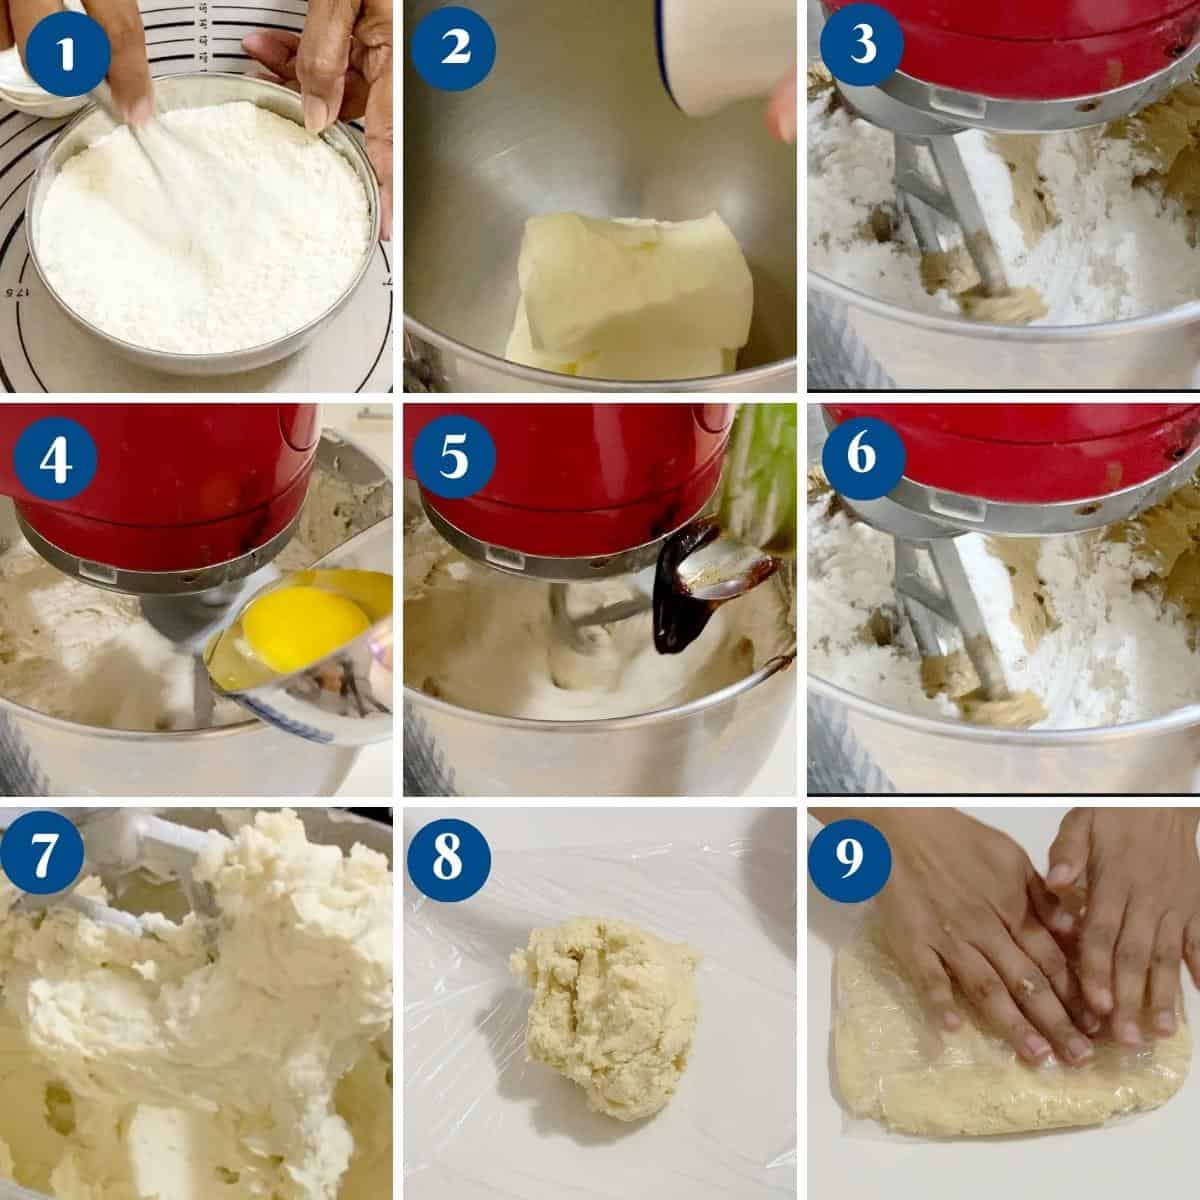
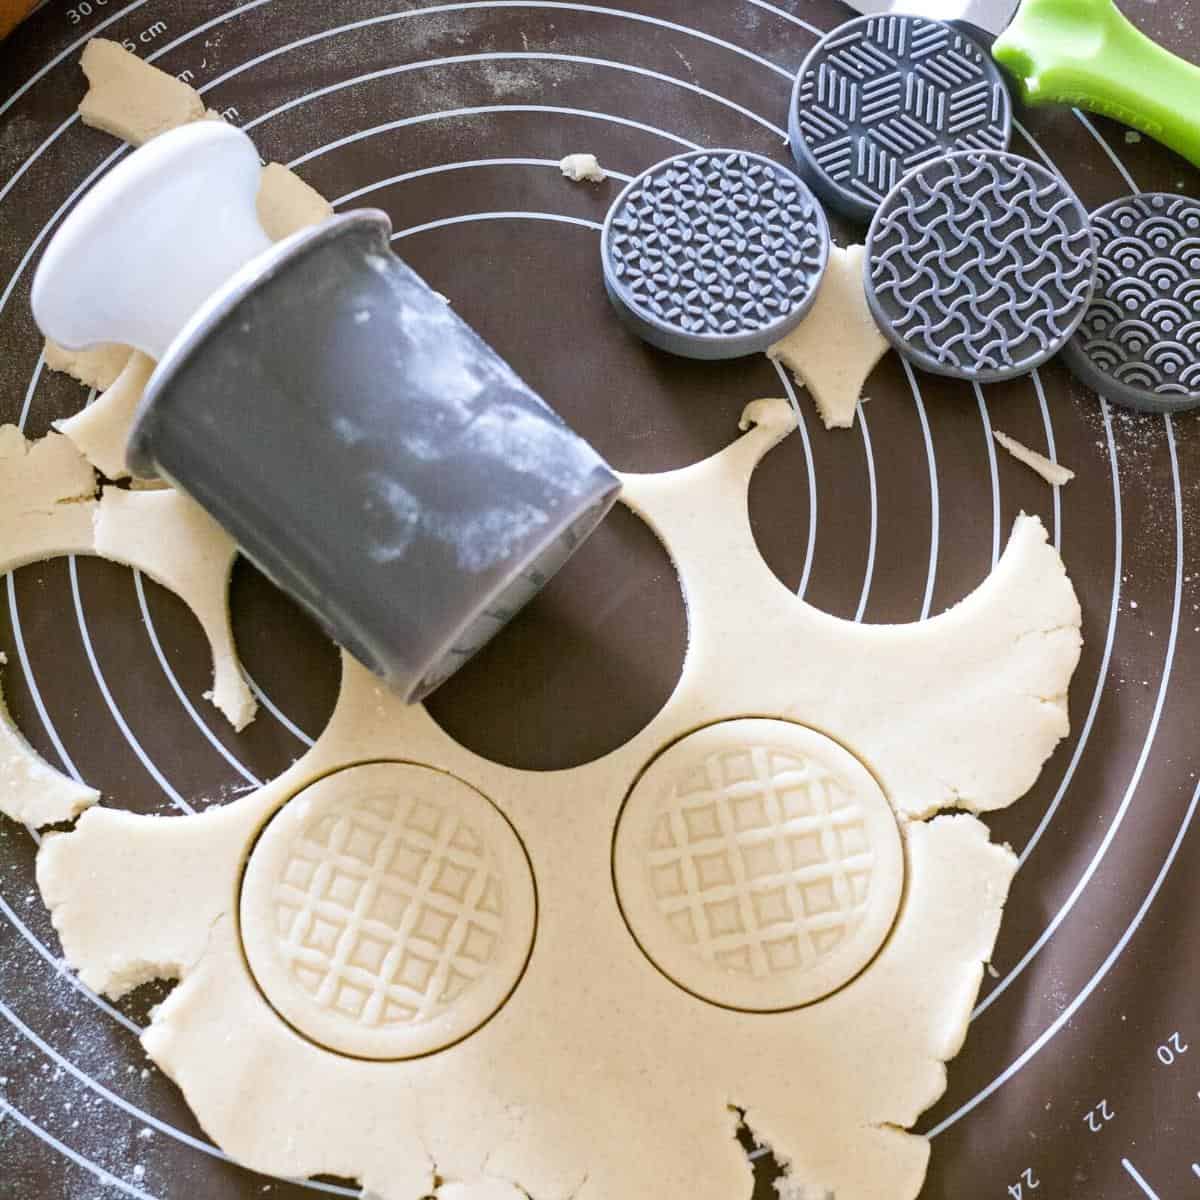
- Roll – Working with one disc at a time. roll the dough on a lightly floured surface to about 1/4 inch thickness.
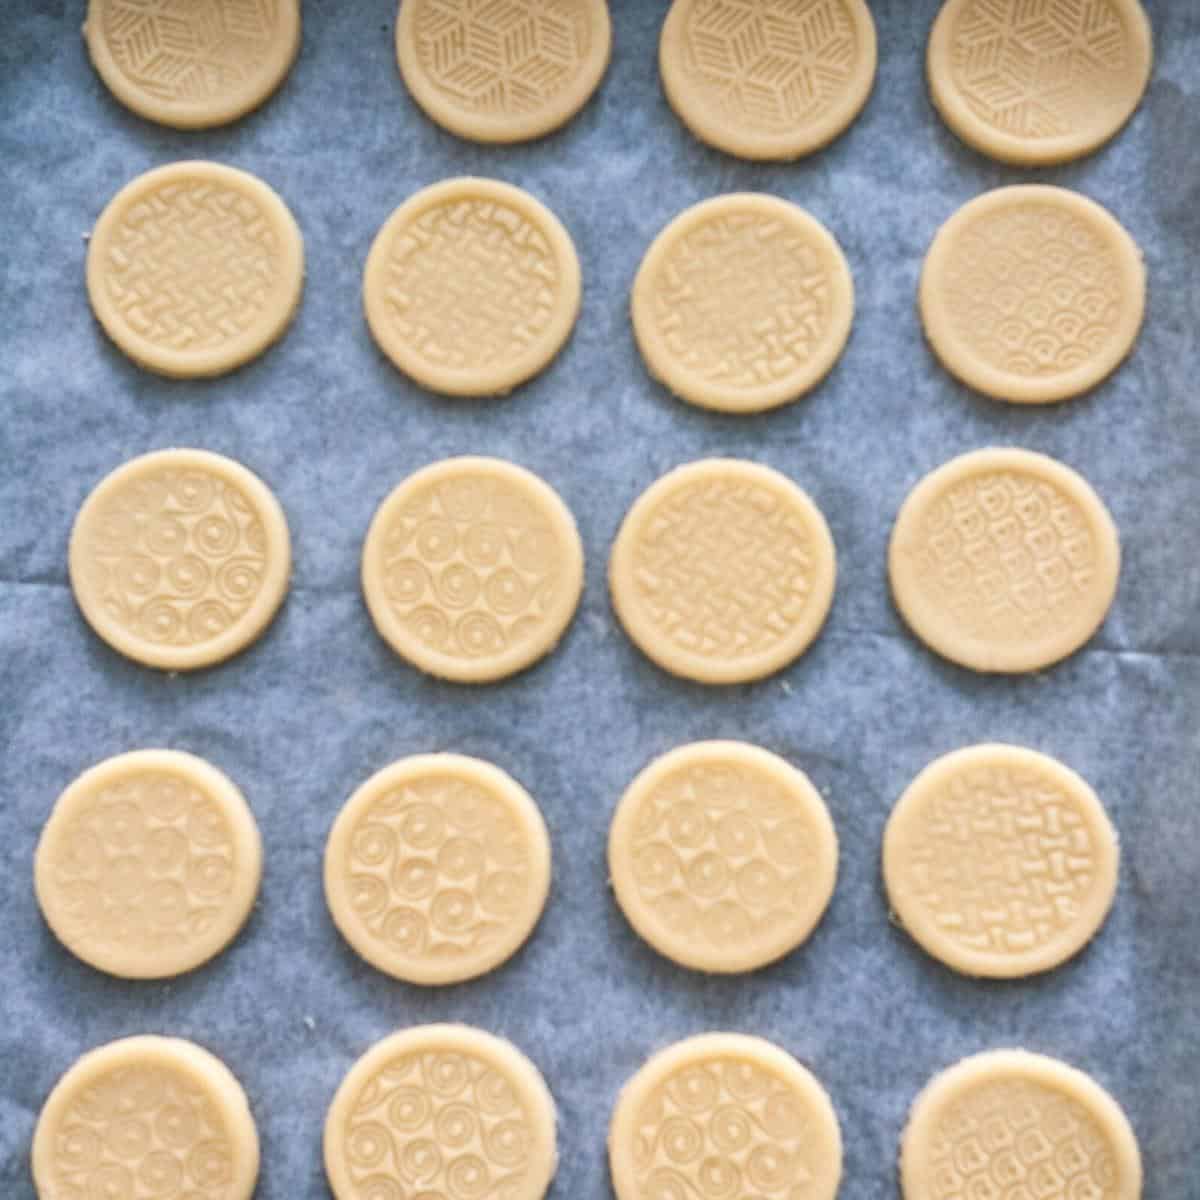
- Stamp – Dip the cookie stamps in flour and dust off excess. Press firmly to impress but not too much that it cracks the dough. Cut out the cookies.
Pro tip 1 – some stamps come in two parts. Stamp the dough then center the cutter and cut the disc.
Pro tip 2 – Also note, If the dough is too chilled, it will crack when rolling and the stamps will not create an impression.
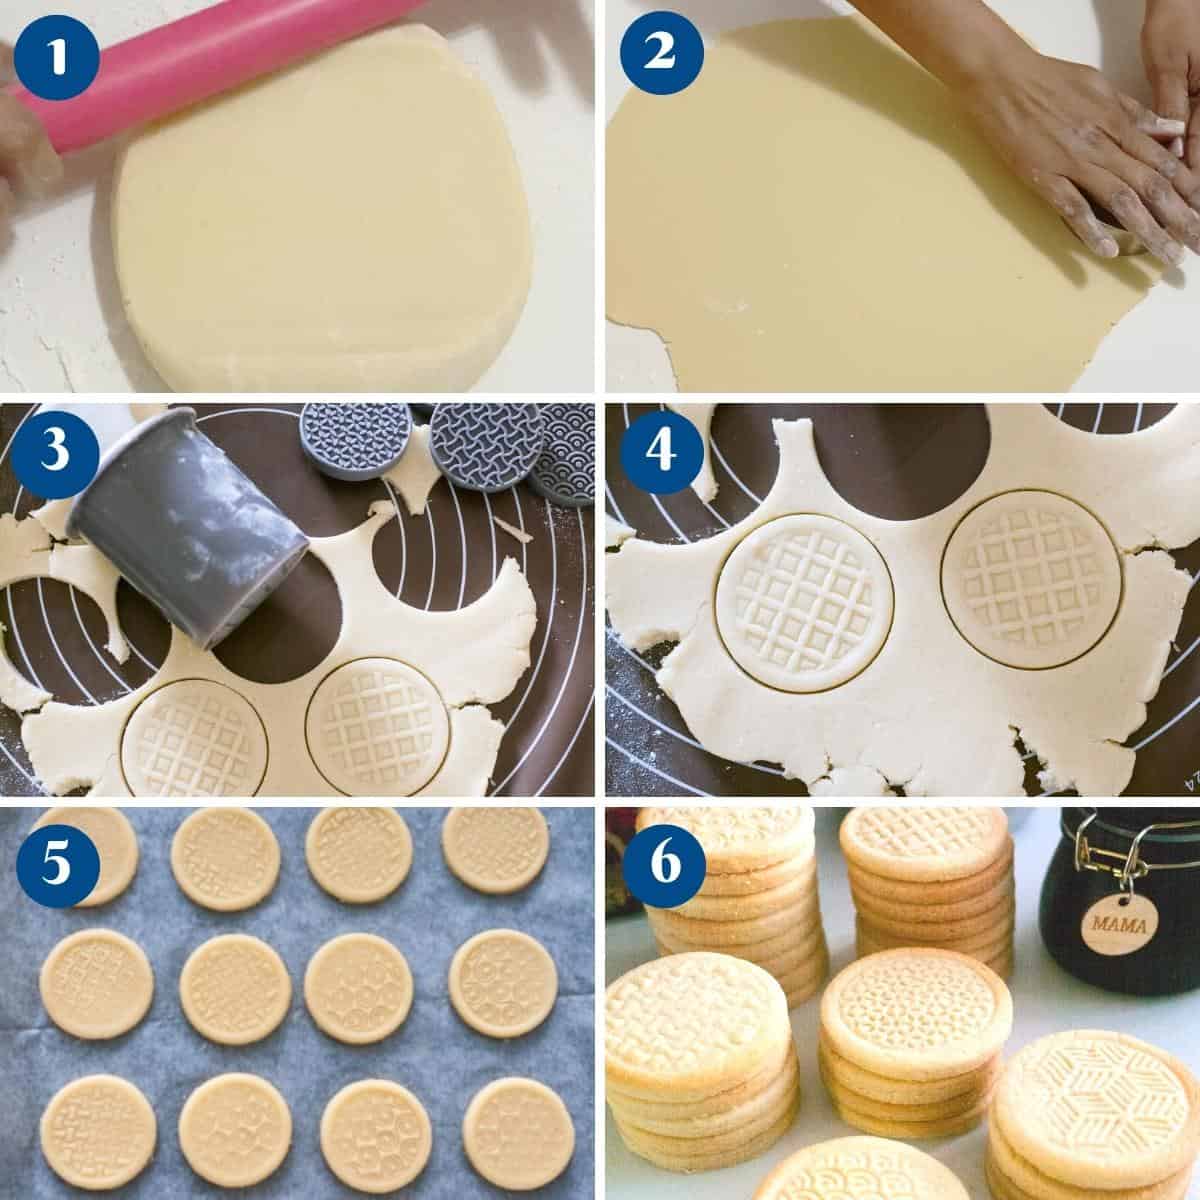
- Tray – Place cookies on a parchment or silicone-lined baking tray. Chill the cookies for 10 to 15 minutes while the oven is preheating.
- Preheat the oven to 350 °F /180 °C / Gas Mark 4
- Bake – Transfer the cookie sheet to the oven. Bake the cookies on the center rack for about 8 to 10 minutes.
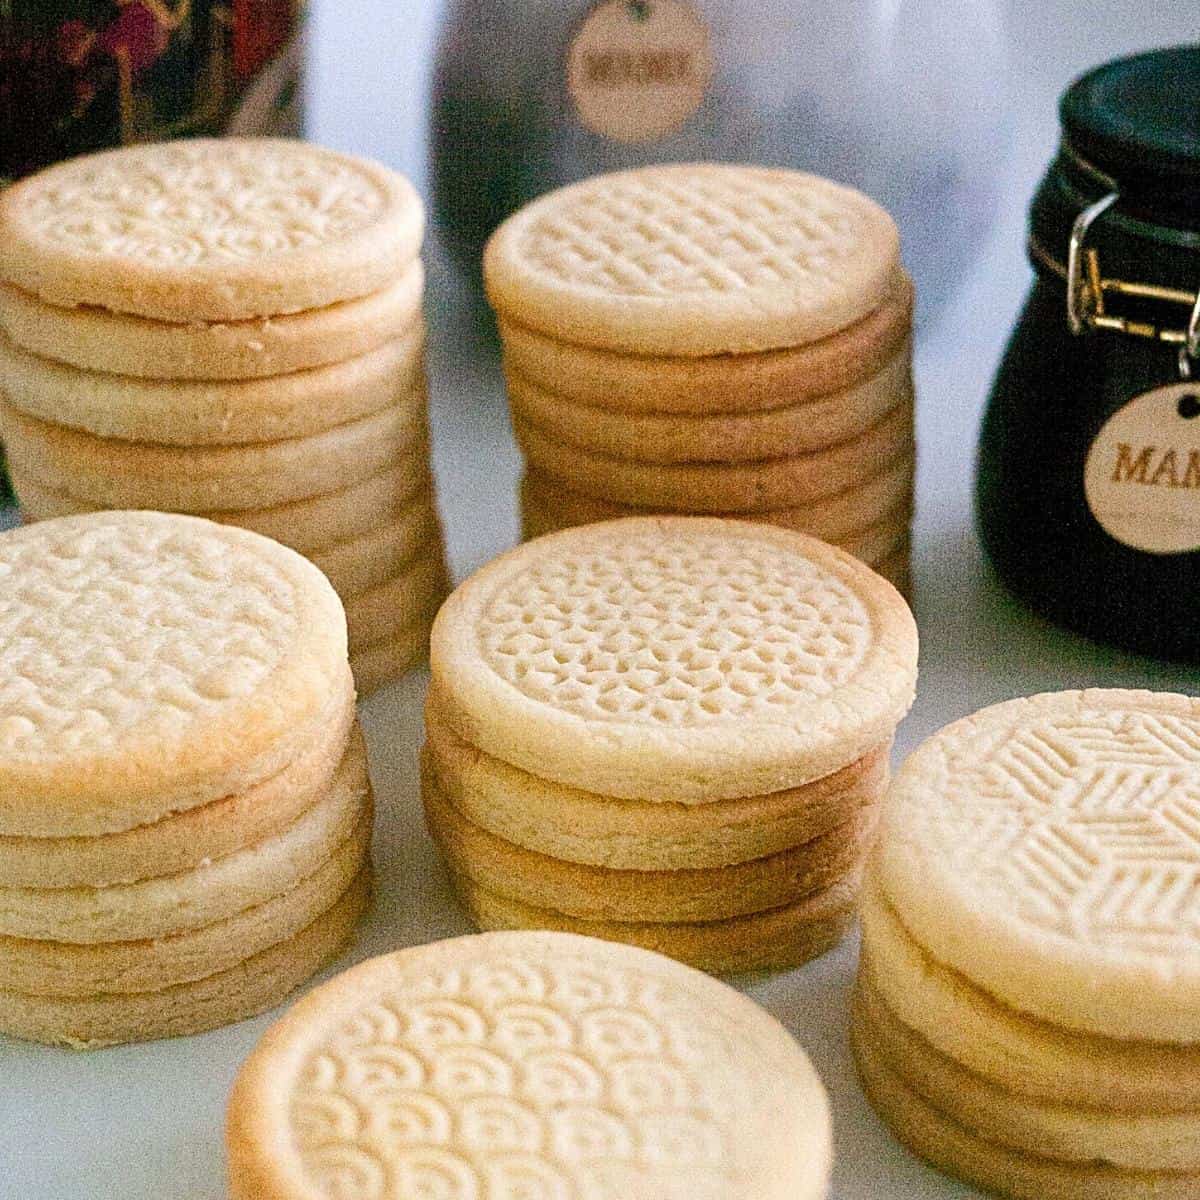
- Cool – Once baked cool on the cookie sheet for 10 mins then transfer them to a cooling rack to cool completely.
Pro tip – try not to move them as soon as they are baked. The soft cookies could lose shape.

Shortbread Stamped Cookies Recipe
Learn how to make stamped shortbread cookies that hold their shape and don’t spread! This easy recipe makes buttery, crisp cookies perfect for cookie stamps or embossed rolling pins.
Ingredients
- 335 g (2⅔ cups) All-purpose flour
- 2 tbsp Cornstarch
- ½ tsp Salt
- 226 g (1 cup) Unsalted butter room temperature
- 100 g (½ cup) Sugar
- 60 g (½ cup) Powdered sugar confectioners
- 1 Egg
- 1 tsp Vanilla extract
Method
- Dry ingredients – In a bowl, combine the flour, cornstarch, and salt.335 g All-purpose flour, 2 tbsp Cornstarch, ½ tsp Salt
- Dough – In the bowl of a stand mixer with the paddle attachment cream butter, sugar, and powdered sugar until light and fluffy. Add the egg and vanilla extract. Followed by the flour mixture. This is a soft dough.226 g Unsalted butter, 100 g Sugar, 60 g Powdered sugar, 1 Egg, 1 tsp Vanilla extract
- Chill – Divide the dough into two discs and wrap them in plastic wrap. Refrigerate for at least two hours or until cold enough to roll.
- Roll – Working with one disc at a time. roll the dough on a lightly floured surface to about 1/4 inch thickness.
- Stamp – Dip the cookie stamps in flour and dust off excess. Press firmly to impress but not too much that it cracks the dough. Cut out the cookies. Pro tip 1 – some stamps come in two parts. Stamp the dough then center the cutter and cut the disc. Pro tip 2 – Also note, If the dough is too chilled, it will crack when rolling and the stamps will not create an impression.
- Preheat the oven to 350 °F /180 °C / Gas Mark 4
- Bake – Transfer the cookie sheet to the oven. Bake the cookies on the center rack for about 8 to 10 minutes.
- Cool – Once baked cool on the cookie sheet for 10 mins then transfer them to a cooling rack to cool completely.
Notes
Tips for Perfect Stamped Cookies
- Chill the cookie dough before rolling and baking to prevent spreading.
- Don’t overwork the dough; if it’s stiff, let it sit for a few minutes instead of kneading.
- Keep cookies thick so the stamped pattern stays visible. Thin cookies lose the design while baking.
- Dust cookie stamps with flour to prevent sticking and ensure a clean impression.
- Brush off excess flour after stamping, before baking.
- Bake at 180°C / 360°F for 8–10 minutes. Too low will cause spreading; too high will make cookies hard.
- Use a rolling pin with spacers for even ¼ inch thickness.
- My cookie stamps were 3 inches round and ¼ inch thick.
- Follow this cookie stamp recipe as written for best results. Substitutions may affect the dough.
Equipment you will need


Nutrition
Tried this recipe?
Mention @veenaazmanov_kitchen or tag #veenaazmanovkitchen!Tips for Using Cookie Stamps Successfully
- Chill the cookie dough before rolling and baking to prevent spreading.
- Don’t overwork the dough; if it’s stiff, let it sit for a few minutes instead of kneading.
- Keep cookies thick so the stamped pattern stays visible. Thin cookies lose the design while baking.
- Dust cookie stamps with flour to prevent sticking and ensure a clean impression.
- Brush off excess flour after stamping, before baking.
- Bake at 180°C / 360°F for 8–10 minutes. Too low will cause spreading; too high will make cookies hard.
- Use a rolling pin with spacers for even ¼ inch thickness.
- My cookie stamps were 3 inches round and ¼ inch thick.
- Follow this cookie stamp recipe as written for best results. Substitutions may affect the dough.
Troubleshooting Stamped Cookie Dough
- My stamp cookies spread too much in the oven – First, ensure the butter is at room temperature when you start making the cookie dough. Soft butter can cause the cookies to melt when baking. Secondly, bake at the right temperature, a low oven can cause the butter to melt and also spread the cookies.
- My stamped cookies are overbaked – Shortbread cookies typically take between 8 to 10 minutes unless they are rolled too thick. However, the cookies will continue to bake on the hot baking tray even after taking them out of the oven. And yet, if you feel the cookies are very under-baked, you can put them back into the oven for 2 to 3 minutes. But keep a close eye as they can easily over-bake.
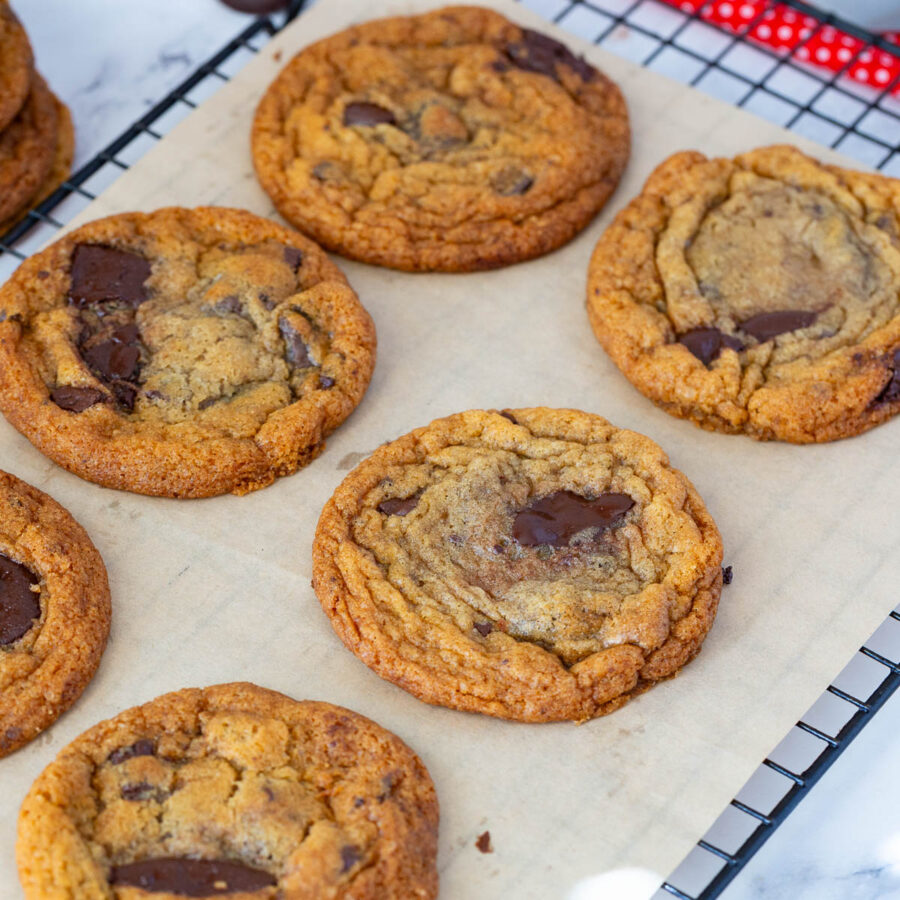
more shortbread recipes
- Brown Sugar Shortbread
- Cranberry Shortbread Bars
- Ginger Shortbread with Molasses
- Brown Sugar Shortbread Cookies
- Irresistible Rose Shortbread Cookies


Frequently Asked Questions
Stamped shortbread cookies can be stored in an airtight container at room temperature for up to 10 days. If you want to keep them longer, you can freeze them in an airtight box for up to 2 months.
To prevent stamped cookies from spreading, use room-temperature butter (not too soft), measure flour accurately, and chill the dough before stamping and baking. Also, ensure your oven is preheated to the correct temperature.
Yes, chilling helps the stamped design hold shape during baking and prevents spreading.
Yes, you can chill the dough overnight. In fact, chilling stamped cookie dough overnight helps deepen flavor and improve the stamped design during baking.
Yes! Shape and stamp your cookies, then freeze them in a single layer on a tray. Once frozen, transfer to a zip-top bag and bake from frozen, adding 1-2 extra minutes to the baking time.
Absolutely! Try adding lemon zest, orange zest, almond extract, or even spices like cinnamon to give your cookies a festive flavor while using your cookie stamps.
The design may fade if the dough is too warm, rolled too thin, or if you don’t press firmly enough when stamping. Always chill stamped cookies before baking and keep the dough thickness at ¼ inch for best results.
Yes, this shortbread stamped cookie dough works well with an embossed rolling pin or cookie stamp set. Roll the dough to ¼ inch thickness, emboss, and cut out your shapes.
Definitely! This is a perfect holiday stamped cookie recipe for Christmas, Easter, or any festive occasion. Just swap out the stamps according to the season.
This recipe is specifically developed to hold the shape of cookie stamps and embossed designs, making it one of the best recipes for cookie stamps and embossed cookies.
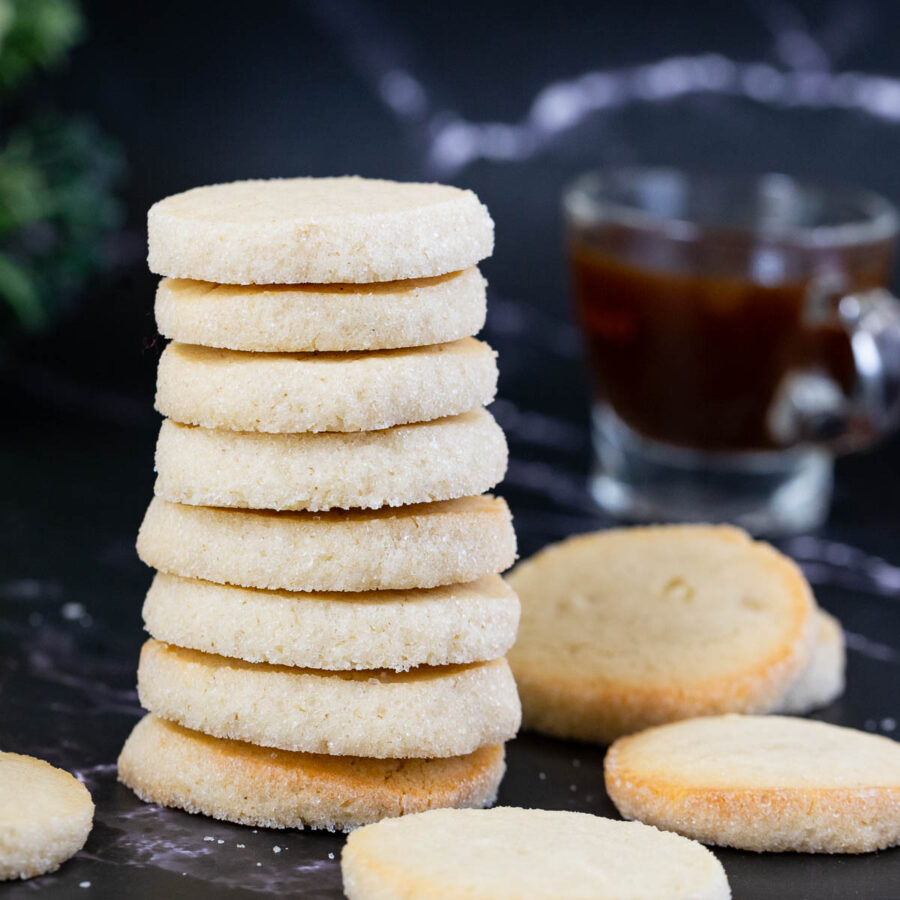
- Soft Amish Cinnamon Sugar Cookies
- Soft Amish Cookies
- Eggless Chocolate Sugar Cookies or
- Eggless Vanilla Sugar Cookies
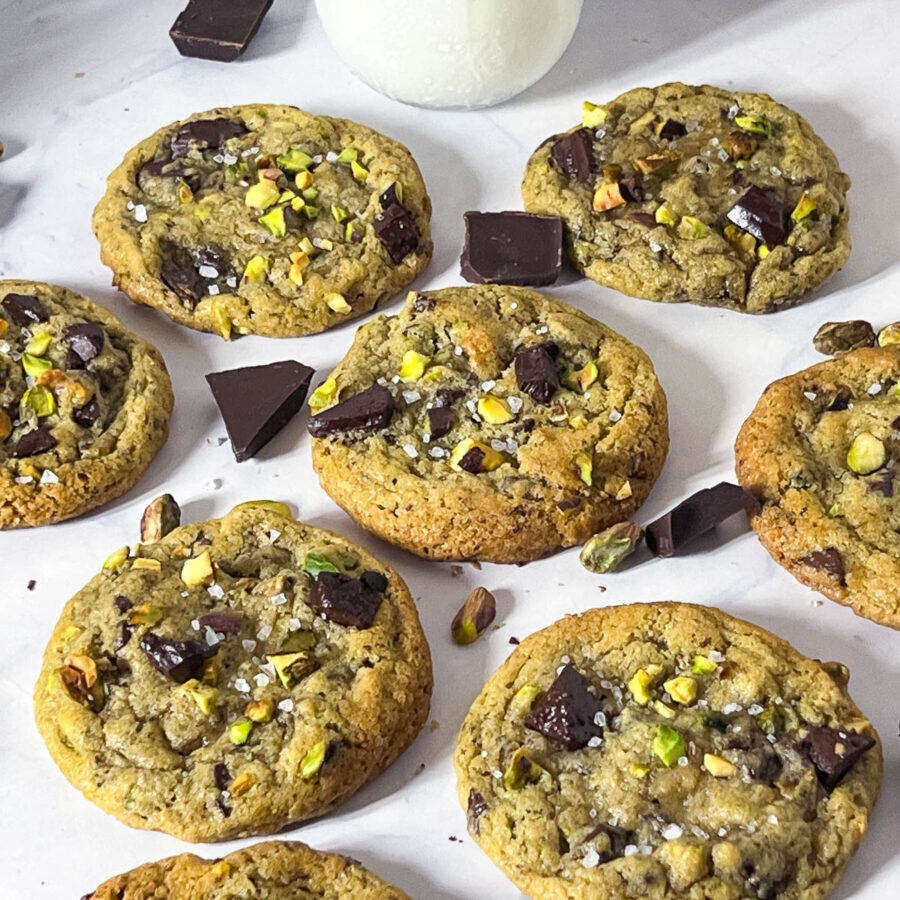
- Delicious Pistachio Cookies
- See all cookie recipes
Don’t lose this recipe! Save it for Later!
📌 Save this Recipe for later on Pinterest so you can easily find it again.
⭐ Add Veena Azmanov Kitchen to your Google Preferred Sources.
It helps Google show you more of our recipes.
📧 Subscribe for new recipes delivered to your inbox.
🎥 Follow us for more recipes

I can’t wait to try these! How far in advance can you make the dough?
Hey Emily – yes, the dough can be made a few days (3 to 4 days) ahead of time and stored in the fridge. Thaw for a few minutes at room temperature before you roll. Hope this helps, feel free to ask any more questions.
Can you use powdered food color or gel color to make conversation valentine cookies?
I believe, you can use powdered food color or gel colors without any issues. Any liquid will cause the cookies to spread. So if necessary, add a tablespoon or more of flour.
will this recipe work using the Williams Sonoma stamp set?
I believe it should – I have used the no-name brand cookie stamps, and they work!
This recipe is far superior to the one that came with Nordicware’s cookie stamps. The extra tips (like chilling the cookies before baking) I believe guaranteed success. Thanks so much for posting this on Pinterest, Veena.
Thank you so much for the feedback on both Pinterest and here on my blog, Marilynn. Appreciate it very much
Just wondering if you can freeze this dough for later use? Thank you!
Yes you can. Just wrap in plastic and put in the freezer. Thaw in the fridge overnight then roll and use.
I love these cookies! I first had them from my niece who is an excellent baking chef. I made them as she did with the addition of the zest of one lemon plus 2 teaspoons of freshly squeezed lemon juice instead of vanilla. Also added 2 Tbsp additional flour. I refrigerate 2 discs of dough as this recipe says to do. Then I remove one disc and roll out on parchment paper, use a lemon stamp/cutter and then slide an air bake pan under cookies on parchment and transfer pan into refrigerator for 10 minutes prior to baking. After the cookies have baked and cooled, I glaze them with lemon juice and powdered sugar mixture.
Thanks, Lisa