Bloody Eyeball Cake Balls

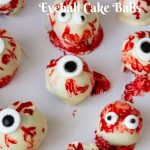


These Halloween Bloody Eyeball Cake Balls are the perfect spooky treat. They combine rich chocolate cake with a creepy eyeball design. Dipped in white chocolate and decorated with candy eyes, they’re delicious and fun. Let the kids have a blast adding “blood” for a gory yet playful Halloween touch!

Halloween is the perfect time of year to indulge in creative, spooky, and delicious treats. From ghoulishly decorated cookies to creepy cakes and candy, there’s no shortage of fun when it comes to Halloween desserts. It’s a time for trick-or-treating, costume parties, and enjoying festive sweets that bring out the playful spirit of the holiday.
One treat that always gets the kids excited is cake balls. These bite-sized, decadent delights are easy to make and even more fun to decorate. Whether it’s the rich, moist cake or the smooth chocolate coating, cake balls are a hit with little ghouls and goblins alike.
This year, take it up a notch by transforming your cake balls into spooky eyeballs with candy eyes, and let the kids join in on the fun! Give them the task of adding “blood” to the eyes with red food coloring. Be prepared for some unique and creative designs – from eerie and artistic to hilariously gross (in the best possible way). These eyeball cake balls are not just delicious; they also make for a fun activity the whole family can enjoy!
Why make these eyeballs for Halloween
- Spooky Visual Appeal: The creepy eyeball design with the blood effect makes them a perfect fit for Halloween, adding an eerie touch to your dessert table.
- Deliciously Rich Flavor: Made with chocolate cake and frosting, coated in creamy white chocolate, they deliver a decadent bite that’s sure to satisfy any sweet tooth.
- Fun and Easy to Make: These cake balls are simple to create, even without sticks, making them an ideal project for both kids and adults to enjoy during Halloween festivities.
- Customizable for Any Theme: You can easily switch up the cake flavor or decoration colors to fit any party theme, adding versatility to your Halloween treat options.

Ingredients and Equipment
- Chocolate Cake adds a rich, moist base for the cake balls. For variety, you can also use a vanilla, red velvet, or another flavor of cake.
- Chocolate Frosting binds the cake crumbs together and adds extra moisture. For a different flavor profile, substitute with cream cheese frosting, buttercream, or even Nutella.
- White Chocolate provides a smooth coating and neutral color for decorating. Candy melts, or colored white chocolate (green or red for extra spookiness), are great alternatives.
- Candy Eyes add a realistic touch to the eyeballs. You can also use mini M&Ms, jelly beans, or piped icing to create the eye effect.
- Red Food Coloring: Used to paint the “blood” for a creepy effect. Swap with red icing gel, strawberry sauce, or raspberry jam for a gory, edible touch.

Step-by-step: Halloween Eyeball Cakeballs
- Make the Cake Ball Mixture: In a large bowl, crumble the chocolate cake into fine crumbs. Add the chocolate frosting and mix well until the crumbs stick together and form a dough-like consistency.
- Shape the Cake Balls: Roll the mixture into small balls (about 1 inch in diameter). Place the cake balls on a baking sheet lined with parchment paper and refrigerate for about 30 minutes until firm.
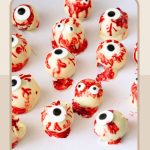
- Dip in White Chocolate: Melt the white chocolate in a microwave or double boiler until smooth. Dip each cake ball into the melted white chocolate, ensuring it is fully coated. Allow any excess chocolate to drip off, then place the cake balls back on the parchment paper to set.
- Add the Candy Eyes: While the white chocolate is still wet, press a candy eye into the center of each cake ball.
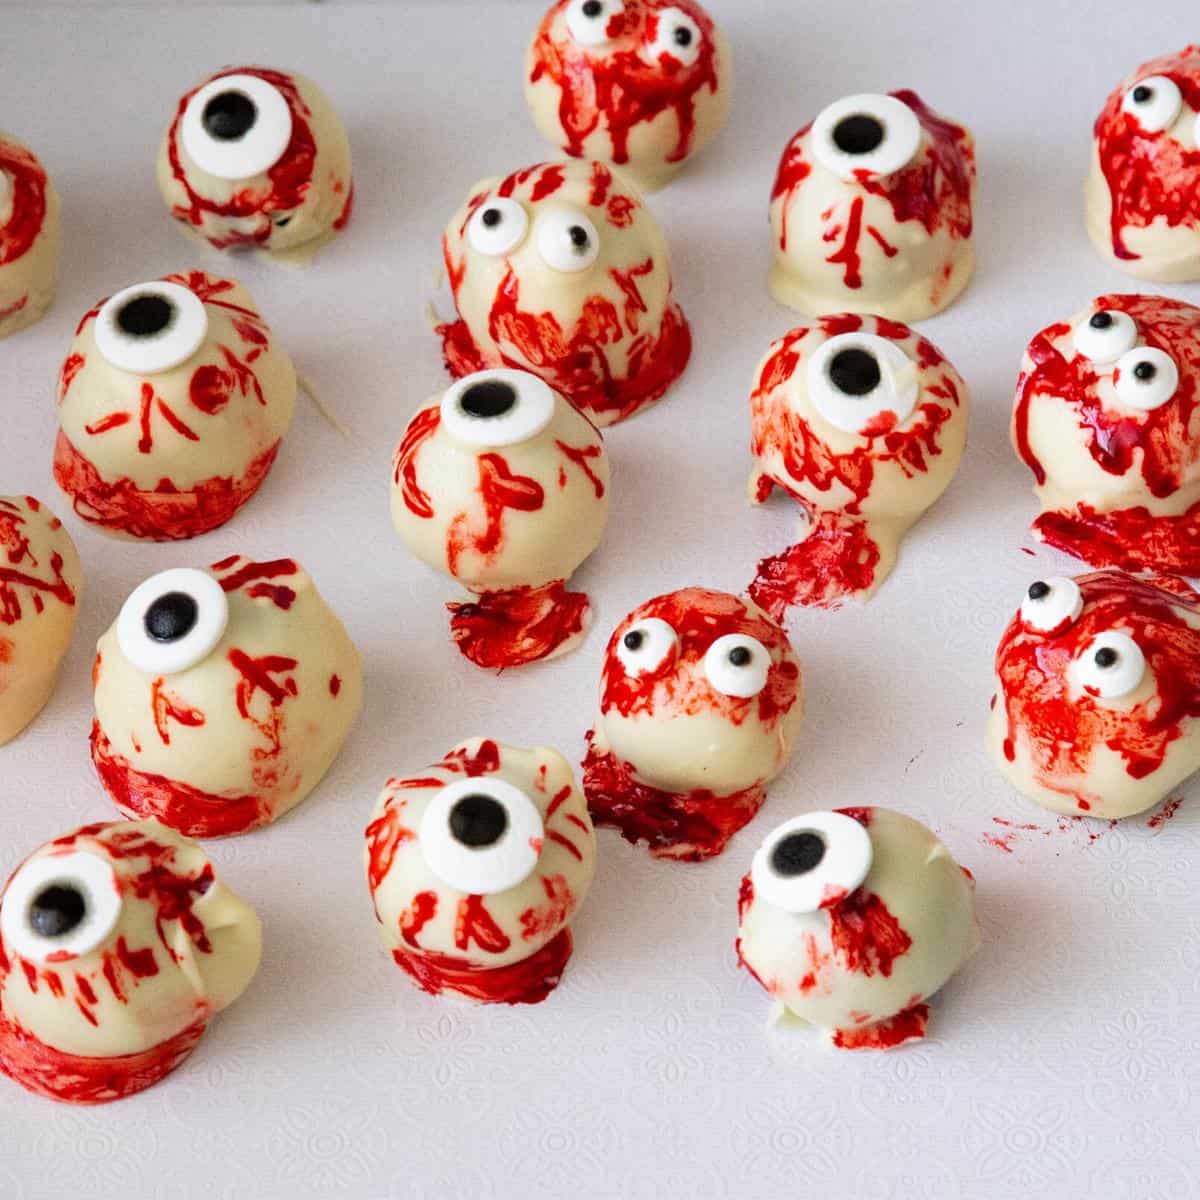
- Paint the Blood Effect: Once the white chocolate has set, dip a small paintbrush or toothpick into the red food coloring and carefully paint streaks from the candy eye down the sides of the cake ball to resemble blood vessels.
- Let Them Dry: Allow the painted cake balls to dry completely before serving or packaging.

Tips for Success
- Chill the Cake Balls: After shaping the cake balls, chill them in the fridge for at least 30 minutes. This ensures they hold their shape when dipped in melted chocolate.
- Smooth Chocolate Coating: Melt the white chocolate slowly in a microwave or double boiler to avoid burning. Add a bit of coconut oil or shortening for a smoother, glossier coating.
- Use a Toothpick for Neat Blood Lines: For precise, spooky blood effects, use a toothpick or small food-safe brush to paint the red food coloring. This helps you control the “blood” streaks better.
- Work in Batches: Dip and decorate the cake balls in small batches so the chocolate doesn’t harden before you add the candy eyes and paint the blood vessels.

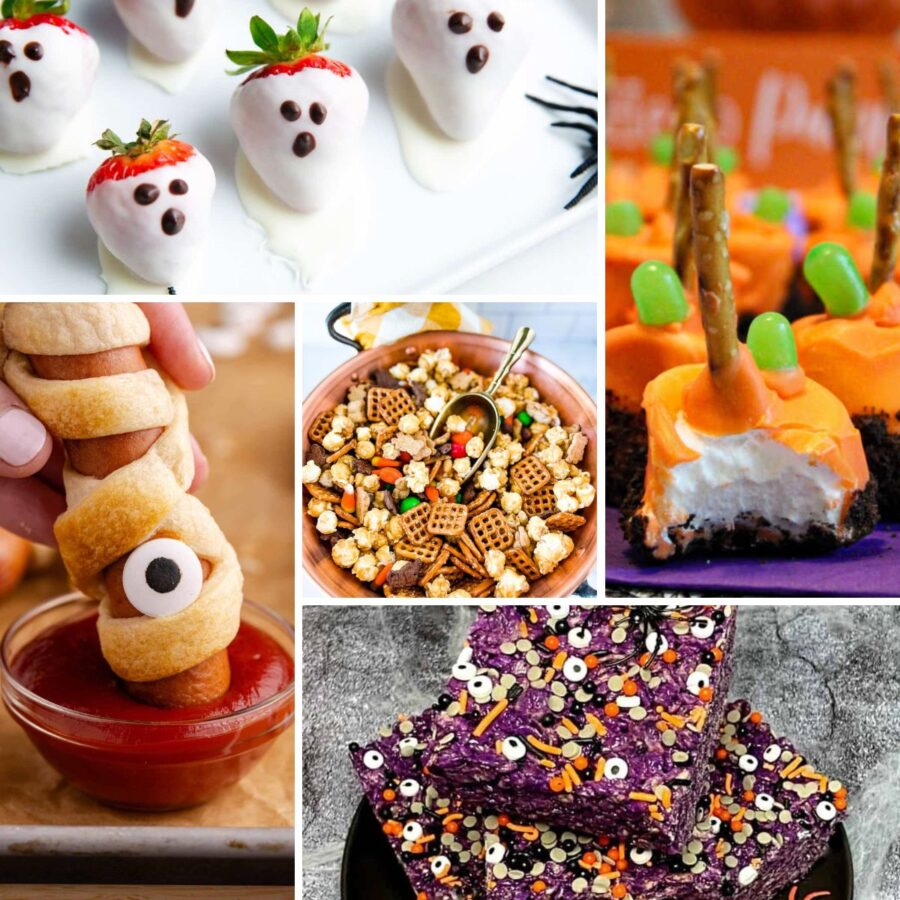
- Eyeball Halloween Cookies
- Halloween Brownies
- and Halloween Stenciled Cookies
- Halloween Wormy Dirt Cupcakes
- Frosted Chocolate Sheet Cake


Frequently asked questions
Yes! Store-bought cake and frosting work perfectly, saving time while still giving you delicious results.
Store them in an airtight container in the refrigerator for up to 5 days. You can also freeze them for up to a month.
You can use mini M&M’s, chocolate chips, or even piped icing to create a spooky eye effect.
Yes! You can make the cake balls up to 2 days in advance. Just decorate them closer to serving for the freshest look.
When dipping the cake balls in the melted chocolate, make sure they are not too cold, as extreme temperature changes can cause cracks. Let them sit at room temperature for a few minutes after chilling.
Bloody Eyeball Cake Pops
These Halloween Bloody Eyeball Cake Balls are the perfect spooky treat. They combine rich chocolate cake with a creepy eyeball design. Dipped in white chocolate and decorated with candy eyes, they're delicious and fun. Let the kids have a blast adding "blood" for a gory yet playful Halloween touch!
Video
Ingredients
- 2 cups Crumbled Chocolate Cake 1 x 8-inch chocolate cake
- 1 cup (226 g) Chocolate Frosting
- 10 oz (280 g) White Chocolate melted
- Red Food Coloring Gel or liquid
- Candy Eyes 1 large or 2 small for each cake ball
Method
- Make the Cake Ball Mixture: In a large bowl, crumble the chocolate cake into fine crumbs. Add the chocolate frosting and mix well until the crumbs stick together and form a dough-like consistency.2 cups Crumbled Chocolate Cake, 1 cup Chocolate Frosting
- Shape the Cake Balls: Roll the mixture into small balls (about 1 inch in diameter). Place the cake balls on a baking sheet lined with parchment paper and refrigerate for about 30 minutes until firm.
- Dip in White Chocolate: Melt the white chocolate in a microwave or double boiler until smooth. Dip each cake ball into the melted white chocolate, ensuring it is fully coated. Allow any excess chocolate to drip off, then place the cake balls back on the parchment paper to set.10 oz White Chocolate
- Add the Candy Eyes: While the white chocolate is still wet, press a candy eye into the center of each cake ball.Candy Eyes
- Paint the Blood Effect: Once the white chocolate has set, dip a small paintbrush or toothpick into the red food coloring and carefully paint streaks from the candy eye down the sides of the cake ball to resemble blood vessels.Red Food Coloring
- Let Them Dry: Allow the painted cake balls to dry completely before serving or packaging.
Notes
- Chill the Cake Balls: After shaping the cake balls, chill them in the fridge for at least 30 minutes. This ensures they hold their shape when dipped in melted chocolate.
- Smooth Chocolate Coating: Melt the white chocolate slowly in a microwave or double boiler to avoid burning. Add a bit of coconut oil or shortening for a smoother, glossy coating.
- Use a Toothpick for Neat Blood Lines: For precise, spooky blood effects, use a toothpick or small food-safe brush to paint the red food coloring. This helps you control the “blood” streaks better.
- Work in Batches: Dip and decorate the cake balls in small batches so the chocolate doesn’t harden before you add the candy eyes and paint the blood vessels.
Nutrition
Tried this recipe?
Mention @veenaazmanov_kitchen or tag #veenaazmanovkitchen!Don’t lose this recipe! Save it for Later!
📌 Save this Recipe for later on Pinterest so you can easily find it again.
⭐ Add Veena Azmanov Kitchen to your Google Preferred Sources.
It helps Google show you more of our recipes.
📧 Subscribe for new recipes delivered to your inbox.
🎥 Follow us for more recipes


I’m so excited to try this on Halloween. Kids will love this treats. Thank you.