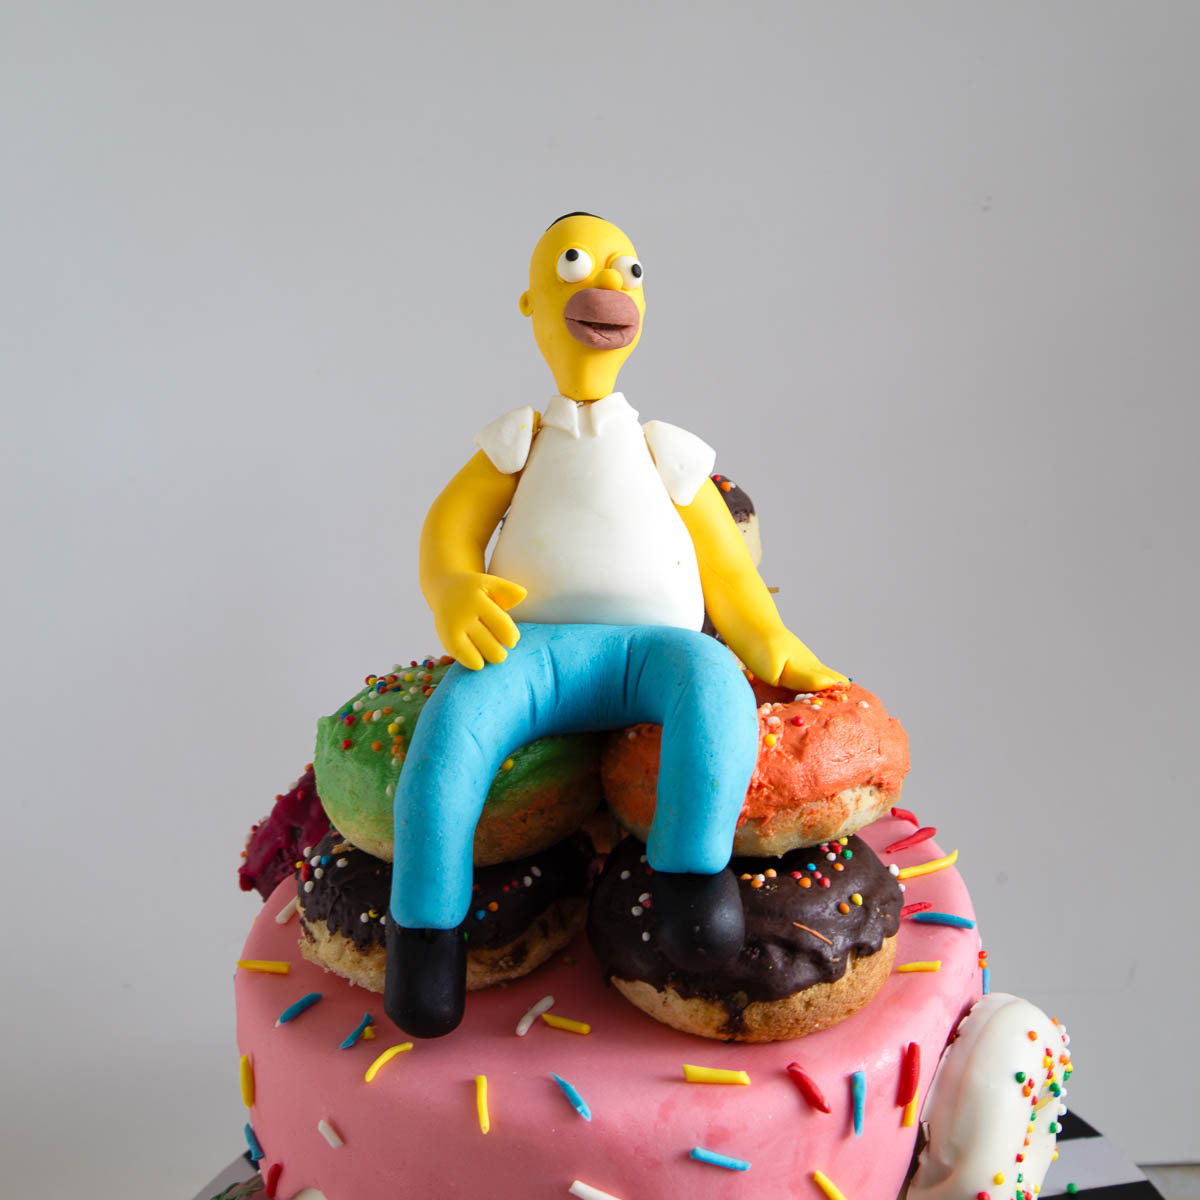
Homer Simpson on a Pile of Donuts Cake

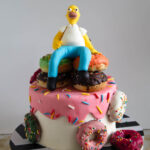
This Homer Simpson donut cake is a fun, playful celebration cake designed for cake decorators who want to create a character cake with structure, stability, and clean finishes. The design features a stacked cake base, chocolate filling, vanilla frosting on the outside, fondant covering, a donut-style drip, and a handmade fondant topper.
In this tutorial, I’ll walk you through the entire process from start to finish — baking the cake, frosting it correctly, covering it with fondant, creating the drip effect, decorating with donuts, and assembling the topper. You can use your own favorite cake recipes if you like; the focus here is on decorating technique and workflow.
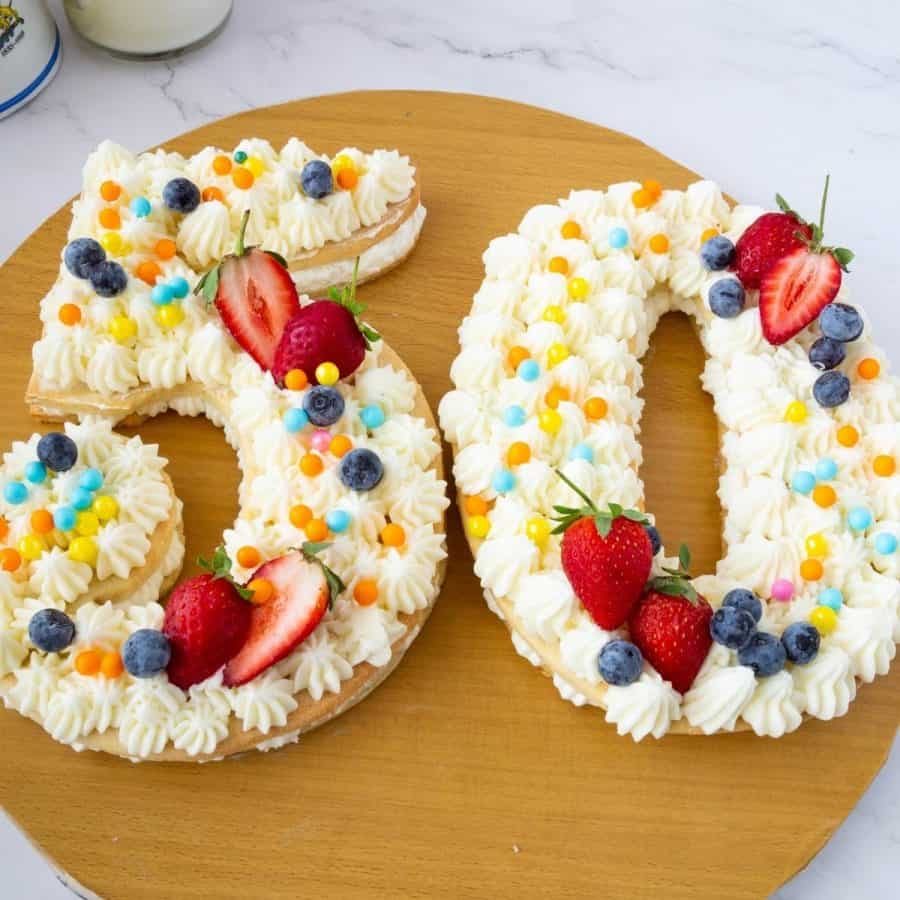
I originally made a Homer-style donut cake many years ago, back when I was still growing my cake decorating skills. When my husband turned 50, I wanted to remake the cake properly — with better structure, cleaner finishes, and a design that felt playful without being messy.
He loves chocolate mud cake, donuts, and all things Homer Simpson (and Seinfeld), so this cake was an easy choice. Over the years, running a cake business taught me that successful celebration cakes aren’t about complicated techniques — they’re about understanding the order of steps and using the right frostings and finishes in the right places. That’s exactly what this tutorial shows.
Who is this cake for?
This cake is ideal for:
- Cake decorators who want to try a character or novelty cake
- Home bakers making a milestone birthday cake
- Bakers comfortable with basic frosting who want to work with fondant and toppers
- Anyone who wants to learn how to combine cake, buttercream, fondant, and decorations successfully
This is not a beginner baking recipe — it’s a decorating tutorial designed to help you build and finish a celebration cake with confidence.

Materials you will need
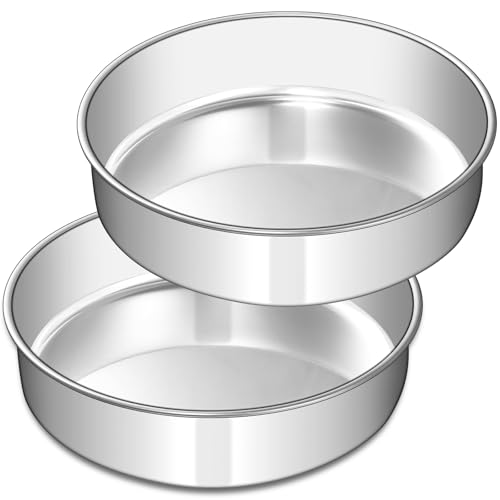
- Cake – One baked and cooled sturdy cake. I used my chocolate mud cake because it’s dense and supports decoration well. You can also use any firm vanilla or chocolate cake from my blog.
- Frosting – One batch of vanilla buttercream, divided in half: half left plain (for the outside of the cake) half mixed with cocoa powder (for the filling)
- Fondant – White fondant for covering the cake and colored fondant for the drip and topper. Homemade marshmallow fondant or store-bought both work well.
- Mini donuts – Store-bought or homemade. Keep top decorations as light as possible.
- Decorations & tools – Sprinkles, gel food colors, rolling pin, fondant smoother, spatula, knife, toothpicks or spaghetti, small offset spatula.
Step-by-step: Homer Simpson on a Pile of Donuts Cake
Baking and preparing the cake
Bake your chocolate mud cake and let it cool completely. Cold cake is easier to frost and decorate, so once cooled, wrap it well and chill for at least 1 hour. Level the cake layers so they are flat and even.
Frosting the cake (filling + outside)
1. Make the buttercream – Prepare one batch of vanilla buttercream. Divide it evenly into two bowls. Add cocoa powder to one half and mix well — this will be your chocolate filling.
2. Fill the cake – Place one cake layer on your cake board. Spread an even layer of chocolate buttercream over the top. Stack the next layer and press gently to level.
3. Crumb coat – Cover the entire cake with a thin layer of vanilla buttercream to trap crumbs. Chill for 15–20 minutes until set.
4. Final frosting – Apply a thicker layer of vanilla buttercream over the cake and smooth the sides and top as evenly as possible. This doesn’t need to be perfect, but flatter is better for fondant. Chill the cake again until the frosting is firm.
Covering the cake with fondant
Lightly dust your work surface with cornstarch and roll the fondant evenly.
Lift the fondant over the cake and smooth the top first, then the sides, working downward to avoid pleats. Trim the excess neatly at the base.
If small air bubbles appear, prick them with a pin and smooth them out.
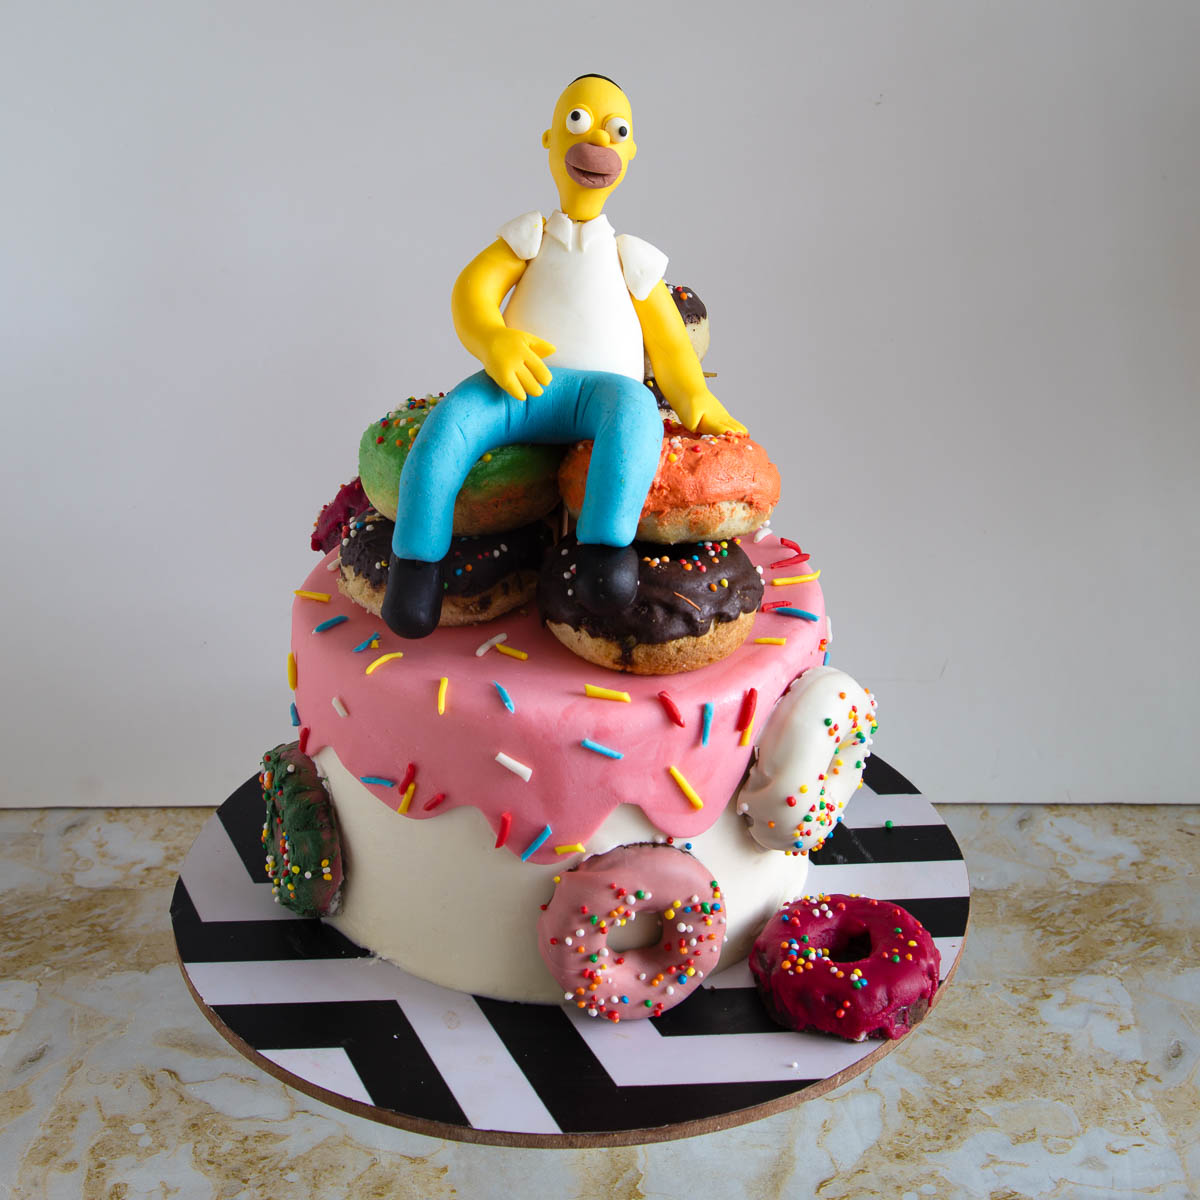
Making the fondant drip effect
Roll colored fondant into a long rope and flatten it slightly.
Attach it around the top edge of the cake using a small amount of water or edible glue. Pull small sections downward with your fingers to create drips of different lengths.
Press sprinkles into the fondant while it’s still soft.
Preparing and adding the donuts
Decorate the mini donuts with glaze or chocolate and let them set fully before using.
Attach donuts to the sides of the cake using buttercream or melted chocolate.
For the top, place a small hidden cake board or firm base and stack donuts into a small pile, gluing them together with melted chocolate or buttercream.
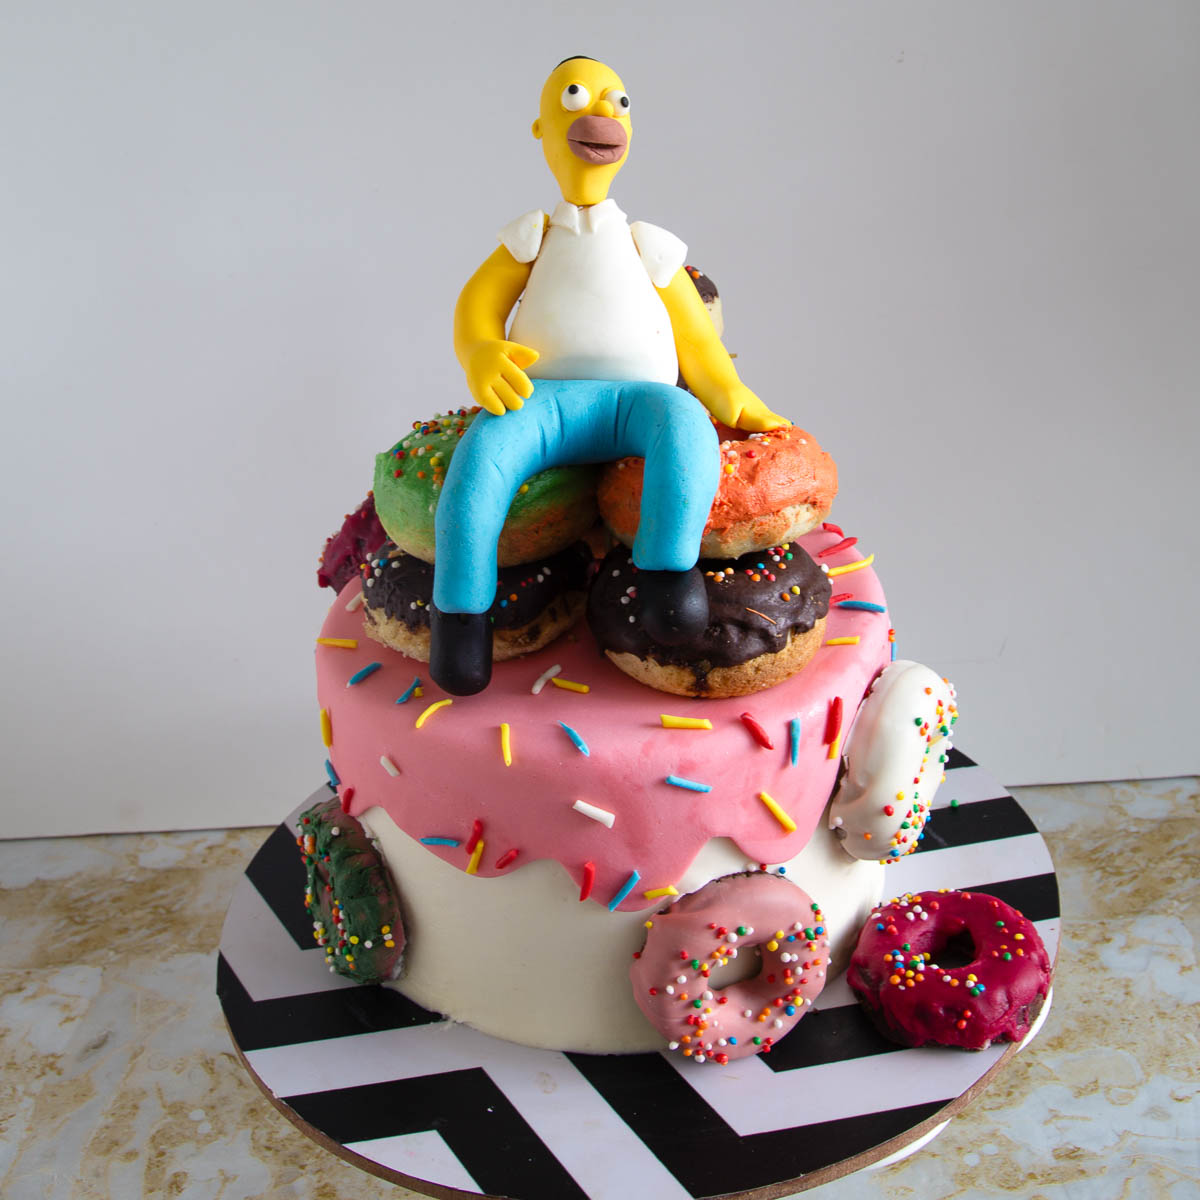
Making the fondant topper
Watch the video – Create the topper using simple fondant shapes.
- Make the legs and shoes first and let them firm slightly
- Shape the body and arms
- Form the head and add facial details
Use toothpicks or spaghetti inside the figure for support. Let the topper firm up before placing it on the cake.
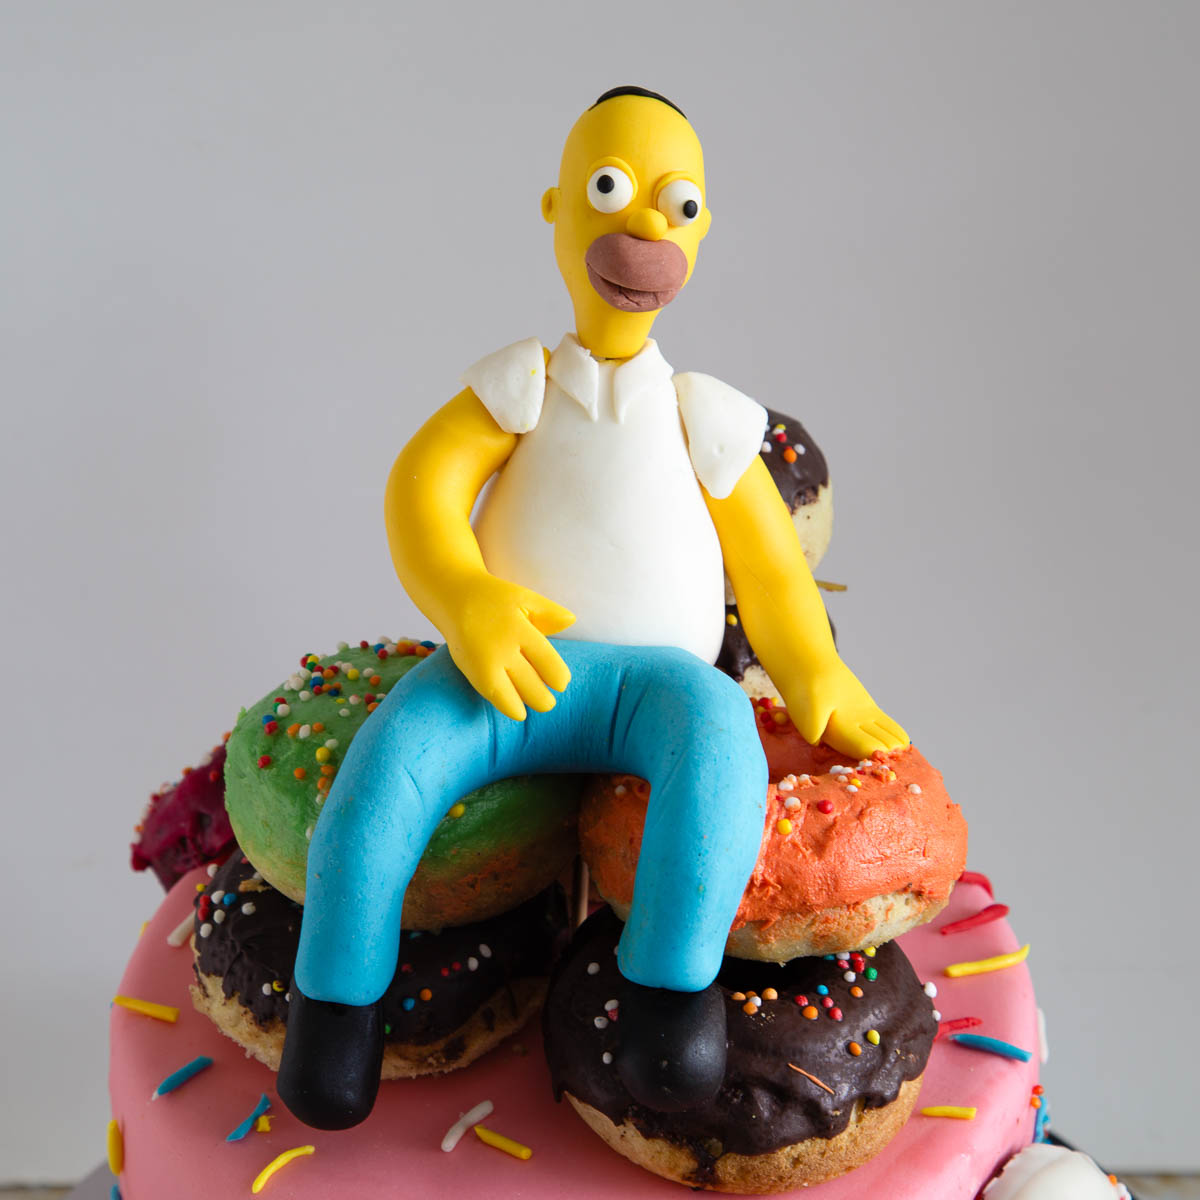
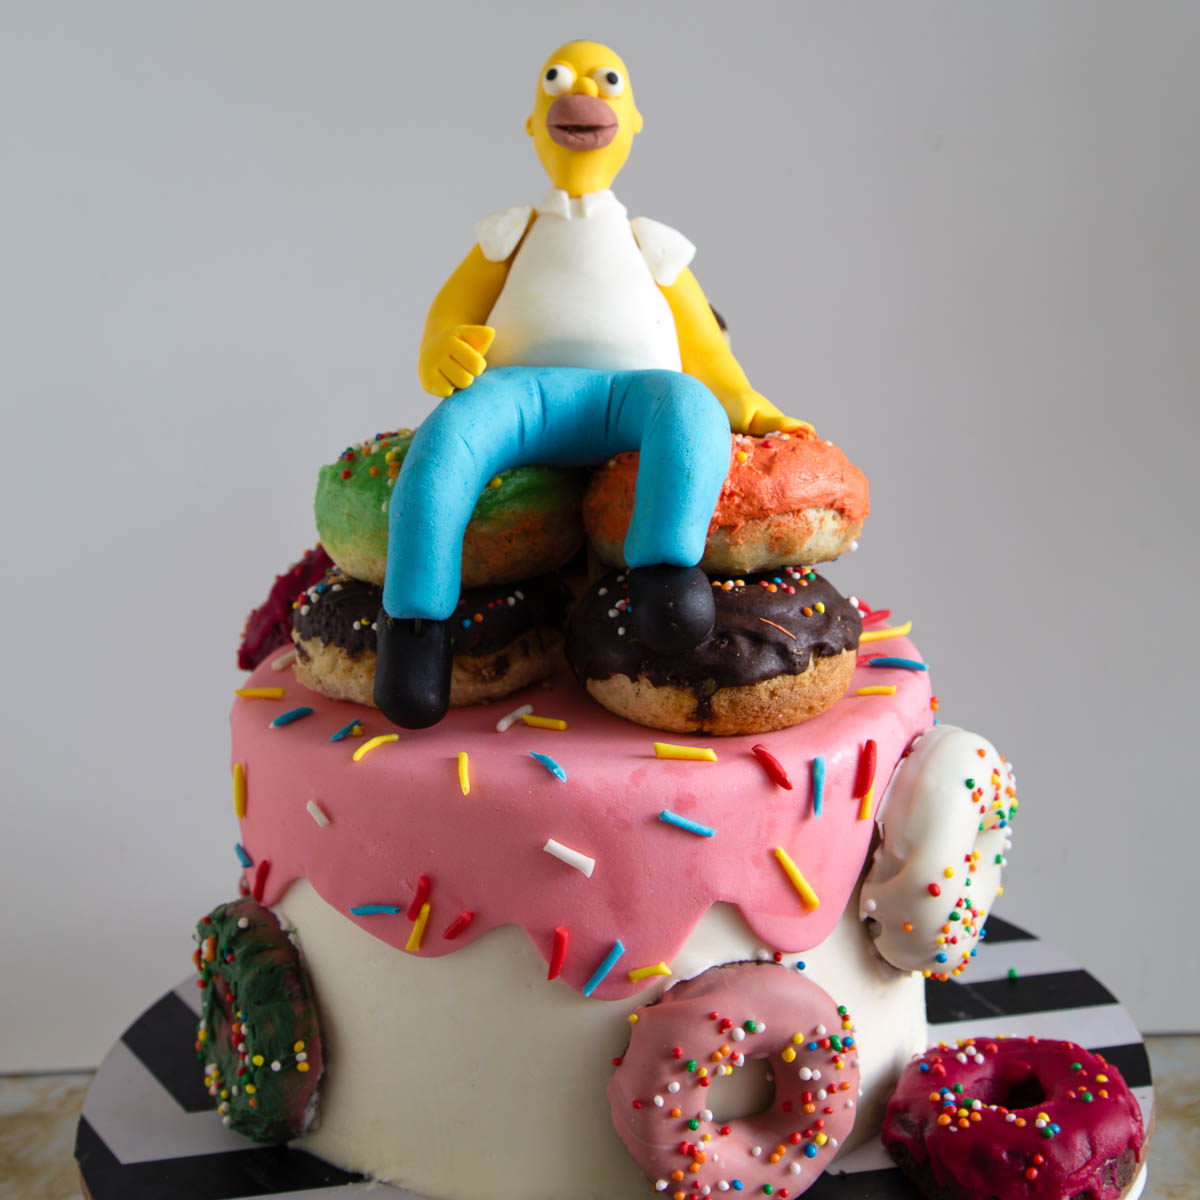
Final assembly
- Fondant-covered cake
- Drip and sprinkles
- Side donuts
- Top donut pile
- Topper added last
Clean the cake board and do final touch-ups.
Tips for success
- Chill the cake between steps to prevent sliding
- Keep decorations light to avoid sinking
- Let fondant pieces firm slightly before assembly
- Assemble in stages — don’t rush the process
Troubleshooting
| Problem | Cause | Fix |
|---|---|---|
| Fondant tearing | Too thin or cake too warm | Roll thicker, chill cake |
| Fondant sliding | Frosting too soft | Chill longer |
| Donuts falling | Glue not set | Use melted chocolate |
| Cake sinking | Decorations too heavy | Use lighter donuts/support |
| Condensation | Refrigeration | Let cake come to temp slowly |
- Castle Cake Tutorial
- SpongeBob Cake
- Wine Bottle and Crate Cake Tutorial
- How to Make a Fire Truck Cake


Frequently asked questions
Yes. Any sturdy cake works.
Fondant gives the cleanest finish, but you can adapt the design with buttercream if preferred.
Yes. Bake and frost ahead, assemble decorations closer to serving.
Store in a cool room away from heat. Refrigerate only if necessary.
Homer Simpson Donut Cake (Decorating Base Recipe)
A sturdy chocolate mud cake filled with chocolate buttercream, frosted with vanilla buttercream, and finished with fondant. This recipe is designed as a base for decorated and character cakes, including donut cakes and fondant toppers.
Video
Ingredients
- 3 layers Chocolate mud cake cooled completely
- 500 g Unsalted butter room temperature
- 900 g Powdered sugar sifted
- 2- 3 tbsp Whole milk or heavy cream
- 2 tsp vanilla extract
- 3 – 4 tbsp Cocoa powder (for chocolate filling only)
- 1 – 1.3 kgs Fondant (white + colors) I used my Marshmallow fondant
- Pink food coloring (gel)
- Sprinkles
- Mini donuts (store-bought or homemade)
Method
- Bake and cool the cake – Bake your chocolate mud cake and let it cool completely. Cold cake is easier to frost and decorate, so once cooled, wrap it well and chill for at least 1 hour. Level the cake layers so they are flat and even.3 layers Chocolate mud cake
- Prepare the buttercream – In a large bowl, beat the butter until smooth and creamy. Add the powdered sugar gradually, then mix in the milk and vanilla until light and spreadable. Divide the buttercream into two bowls. Leave one half plain for frosting the outside of the cake. Add cocoa powder to the second half and mix well to make the chocolate filling.500 g Unsalted butter, 900 g Powdered sugar, 2- 3 tbsp Whole milk or heavy cream, 2 tsp vanilla extract, 3 – 4 tbsp Cocoa powder
- Fill and stack the cake – Level the cooled cake layers. Place one layer on a cake board and spread an even layer of chocolate buttercream over the top. Add the next layer and press gently to level.1 – 1.3 kgs Fondant (white + colors), Pink food coloring (gel)
- Crumb coat – Apply a thin layer of vanilla buttercream over the entire cake to trap crumbs. Chill for 15–20 minutes until set.
- Frost the outside – Cover the cake with a thicker layer of vanilla buttercream. Smooth the sides and top as evenly as possible. Chill until the frosting is firm.
- Cover with fondant – Roll the fondant evenly and drape it over the chilled cake. Smooth the top first, then the sides. Trim excess fondant neatly at the base.
- Create the fondant drip – Roll pink fondant into a rope, flatten slightly, and attach around the top edge of the cake. Pull sections downward to create a drip effect. Add sprinkles while the fondant is still soft.
- Decorate with donuts – Decorate mini donuts as desired and let them set fully. Attach donuts to the sides and top of the cake using buttercream or melted chocolate.
- Finish with topper – Place the fondant topper on the donut pile once all elements are set and stable.Sprinkles, Mini donuts
Notes
- This recipe is designed as a decorating base, not a flavor-specific cake. You can substitute the cake, frosting, or fondant with your preferred recipes.
- Vanilla buttercream is used on the outside because it creates a clean, light-colored base under fondant.
- Chocolate buttercream is used only for the filling to add flavor without affecting the exterior finish.
- The cake can be baked and frosted a day in advance. Add fondant, donuts, and topper closer to serving time.
- Store the finished cake in a cool room. Refrigerate only if necessary, and expect condensation when returning to room temperature.


I’ve followed your cake tutorials for years and made many birthday cakes. I recently made this for my son’s birthday. He completely lost his mind when he saw it 😄 Thanks for a detailed tutorial. Was easy to follow.
That makes me so happy to hear! Those reaction moments are the best part of making celebration cakes.
Thank you Veena for always sharing such amazing tutorials. I loved making my Homer.
Thank you, Raymond. So happy you hear you find my tutorials helpful. Thank you so much for coming back to write this feedback. Appreciate it very much. Have a wonderful week.
I love this cake. It’s amazing how easy you make it look. Thanks for this tutorial
Thank you, Leonard. Glad you found this tutorial useful
Lovely colours on the cake.Could you tell me how to make the shape of doughnut cake?Is the pink poured fondant or rolled.Whats the size of the cake and the size of doughnut.Thanks for ur replies.
Shalu, the doughnut is just two thick layers of round cake each 2 inch high layered with buttercream. I cut the center out with a small round cutter from both sides. Then softened the edges. Wrapped the whole thing in fondant.
The pink dripped look is made with rolled fondant too. I just used a pearl luster dust to give it the shiny glaze look. And while that was wet I added the little
Thanks Mary, Thanks for your comment. You know what they say, someimes you are your worst critic. Thanks
Veena
Veena, don't get too down on yourself about how Homer turned out, it is so hard to reproduce characters precisely! Espeically when they are in 3D! I am sure your customer was amazed and loved the cake. I think it looked awesome especially the donuts!!! Thanks for posting the tutorial even if you weren't completely happy with the end results. Keep working at it and pretty soon you'll
Hi, I do not know what you compalining about, to me Hommer looks just perfect. It's easier to make random figures but not these where you have to model some one specific. I think you did a great job. Thanks for the tutorial. Rehana