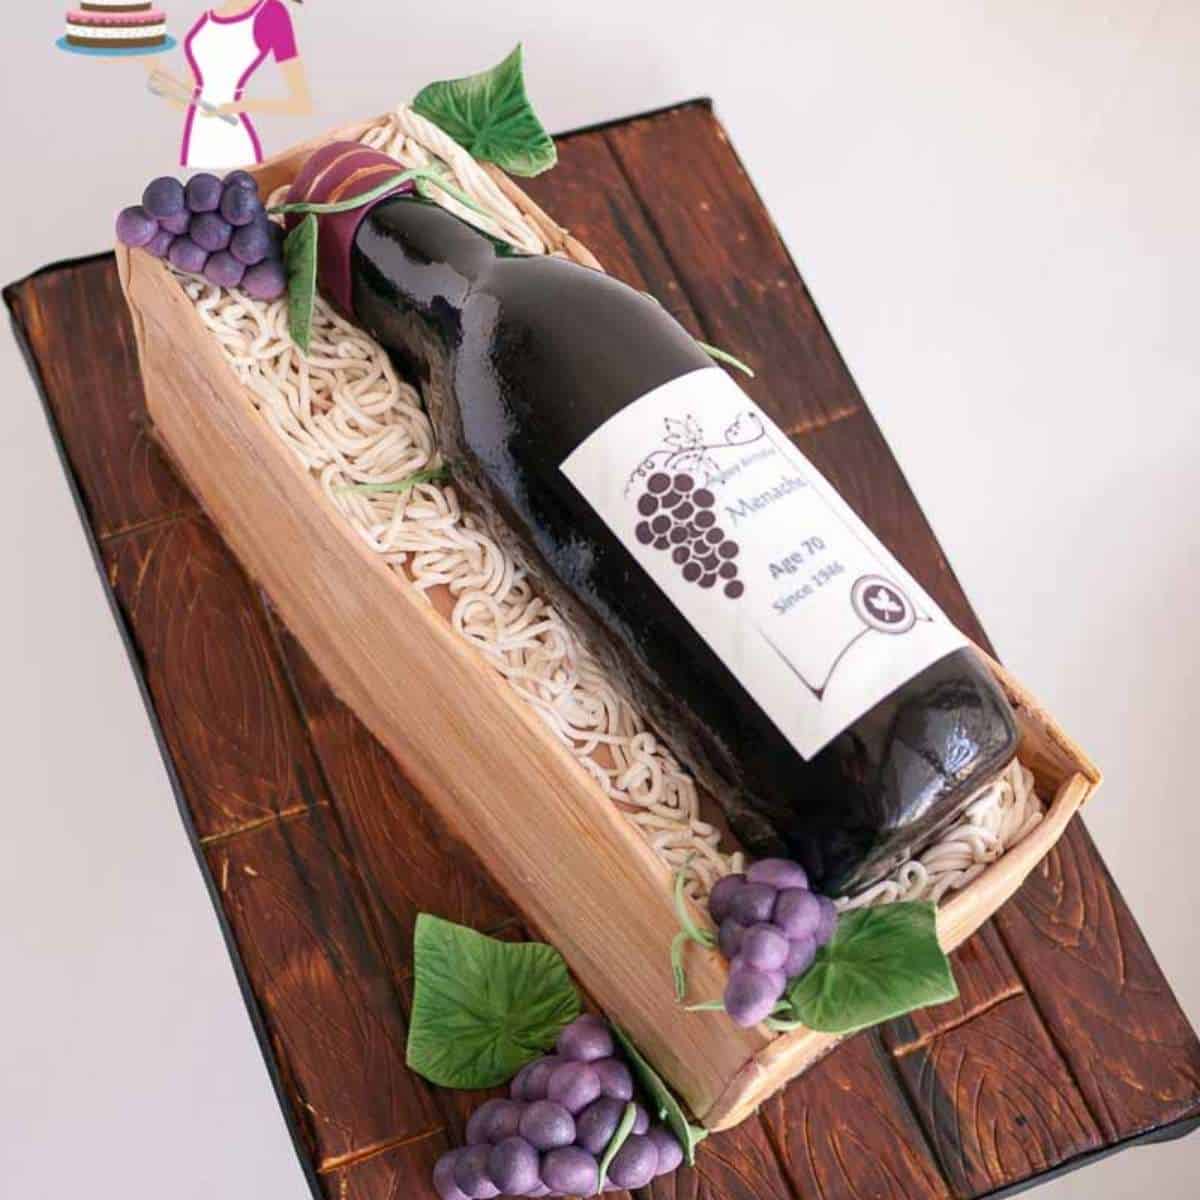
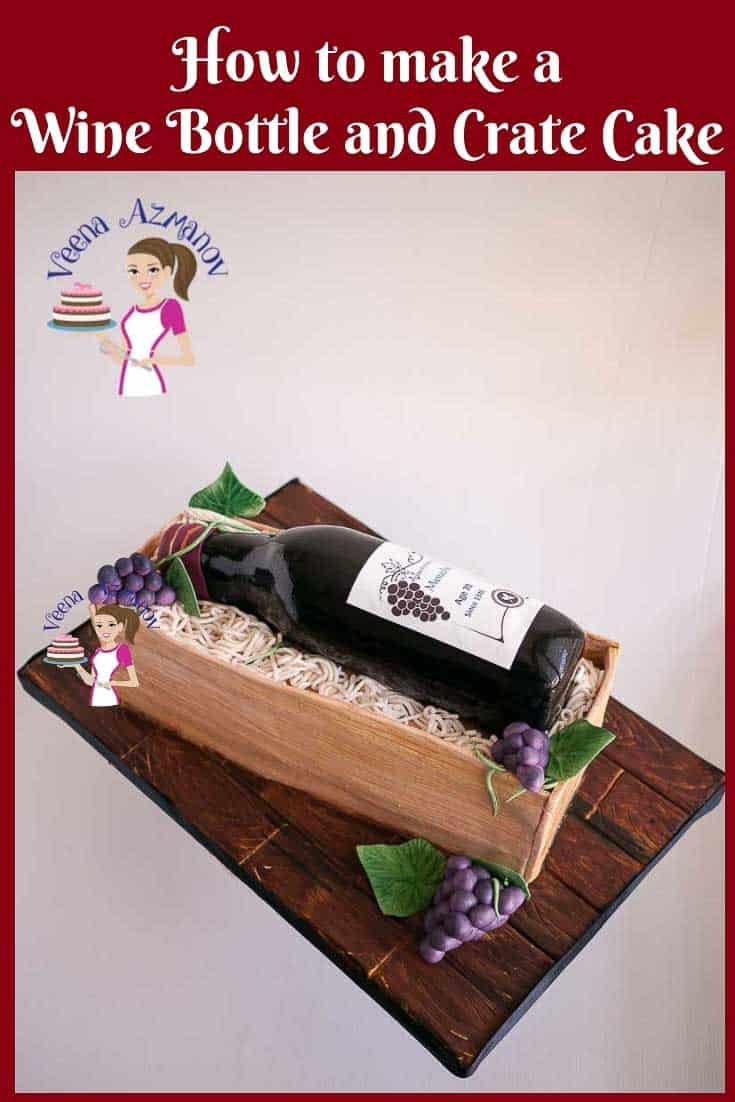
Wine Bottle and Crate Cake Tutorial

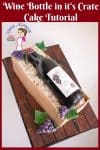
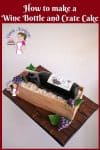
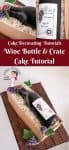
A wine bottle and crate cake can be a fun gift for a man or woman. It is very sophisticated and elegant yet very similar to the real thing. This tutorial shows you how easy and achievable it is to create this cake from start to finish.
I made this wine bottle and crate cake last summer. Everyone loved it, but I hated how my work turned out.
It would have been a perfect cake if not for the weather. The temperature was so hot—I was melting!! My fondant panels became soft after all that hard work of placing them in the fridge so they would be perfect! The weather just kept them straight. Ah!! You know how heartbroken you can get when you work so hard to get things perfect, and then you have no control over things like the weather?
I planned to make a tutorial for you because I was so confident about this cake. I took the video but, of course, later changed my mind about sharing the tutorial. It’s been a year now since I made the video, but I thought, well, the tutorial itself is not bad. Just the panels got soft because of the heat. I’m sure it’s still worth learning from.
So, finally, I decided to combine the clips and share this Wine Bottle and Crate Cake Tutorial.

Cake and frosting
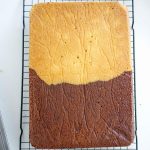
- Cakes – I baked two sheet cakes (11 x 15 cm) Simple Moist Chocolate Cake Recipe.
However, I highly recommend you use my Chocolate Cake perfect for carving instead, because my simple moist cake can be a bit difficult to hand for carving. You will need two of these cakes. - One sheet cake makes the wine bottle, and the second makes the crate. The recipe I used was soft, so I had to use sufficient frosting to make a proper box shape.
- For the frosting, I used my recipe for cake decorators chocolate ganache. With the weather this hot, I prefer to use mostly ganache. However, I did fill the box with my Velvet American Buttercream.
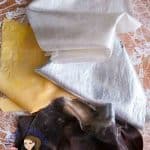
You will need two batches of ganache and almost one batch of buttercream frosting – or if you prefer, you can use all ganache (4 batches of ganache) - Sugar Paste/ Fondant – I used both my Marshmallow Fondant recipes for this cake. The box is made with my Best Homemade Marshmallow Fondant Recipe, you can see it was still quite sticky when I added the ivory color to half. I keep it soft so it won’t dry out too fast in this hot weather.
For the bottle, I used my Chocolate Marshmallow Fondant but dyed it black.
You will need one batch each of marshmallow fondant and chocolate fondant – add black food gel color when preparing the chocolate marshmallow fondant

Step-by-step instructions
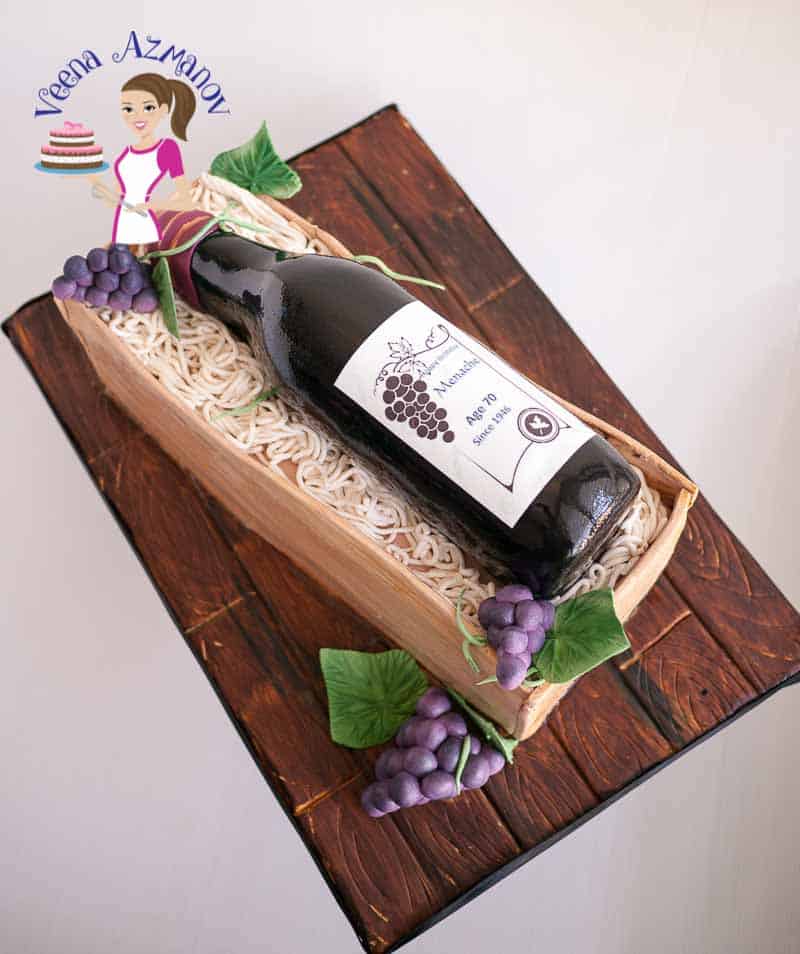
The bottle
I used a cookie cutter about 3 inches in diameter, the same size as a real wine bottle, for most of the bottle. I’d prefer to use Rice Krispy treats for the next, but the lady who ordered the cake preferred only cake, so all I did was use cake and a bit of modeling chocolate below the next as support.
The crate
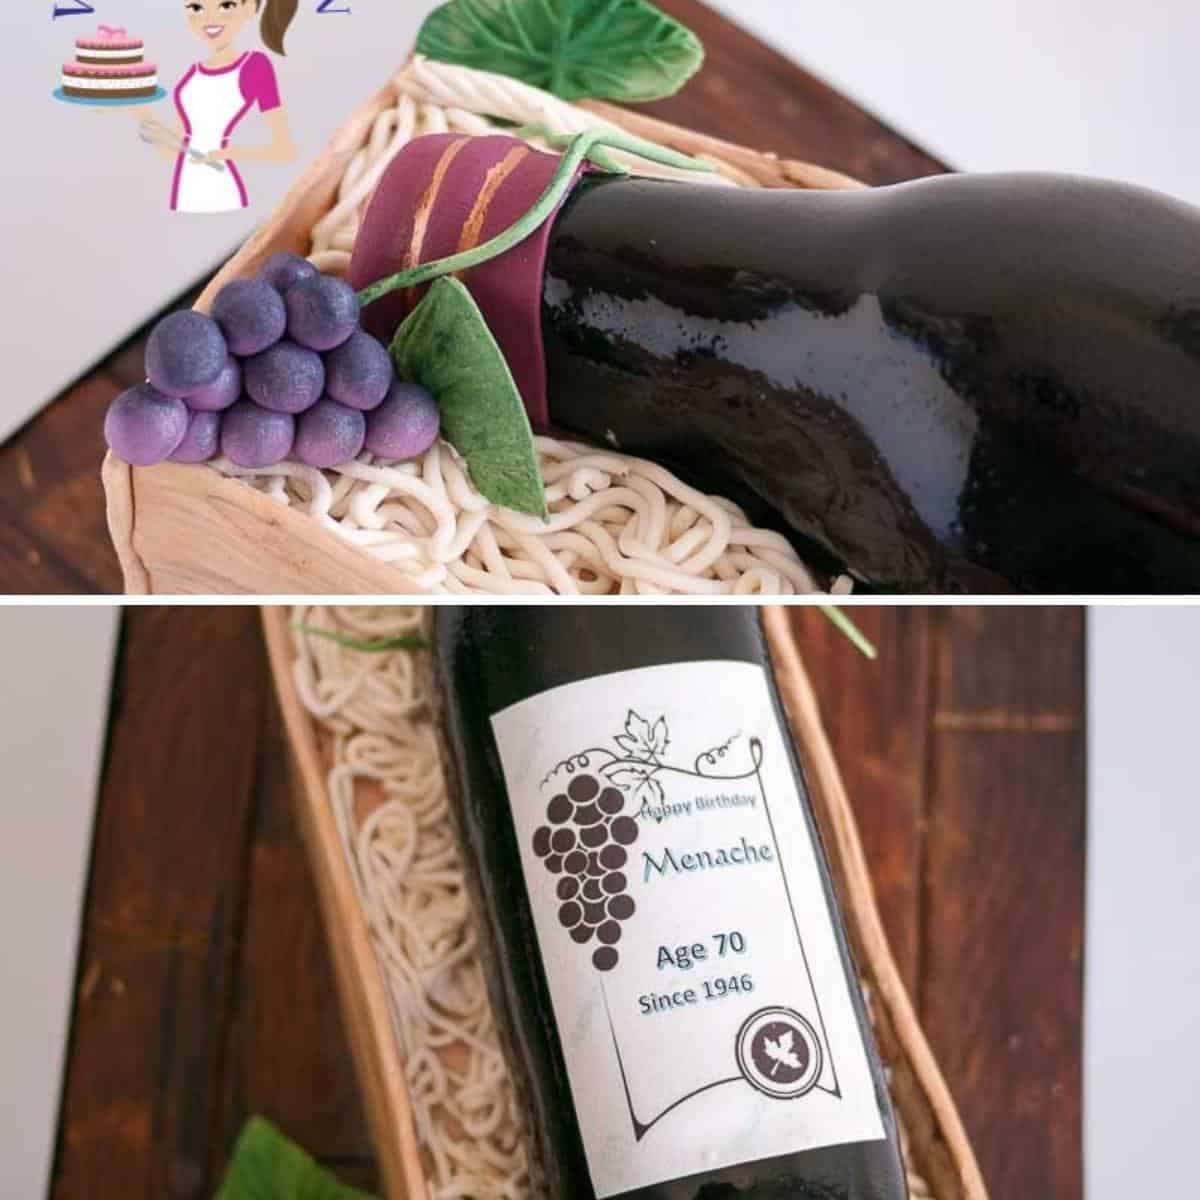
- For the side panel texture, I used a wood grain texture mat.
- I colored half my fondant in ivory before I marbled it.
- I cut the panels out and placed them in the fridge so they would be cold when I added them to the cake.
- Chilling fondant makes it firm and easier to handle.
- I attached my fondant panels with more ganache (water works, too)
The cake board
I think you going to love how the cake board turned out. I showed you how to create this wood effect from start to finish. Try not to think so much when working on the board. It’s not about trying to be perfect but rather about adding in some imperfections that make the realism complete
Make wine bottle fondant shiny
I then painted the panels with ivory and vodka – wiping off any excess moisture.
Make the fondant grapes and vine leaves
As you can see in the video – the grapes, leaves, and wines are pretty simple and easy. The final dusting gives a great impact and adds to the full effect.
Edible image for wine bottle label
The wine bottle label is an edible image. First I went on google and typed wine bottle label templates. I picked one that was not copyrighted so I wouldn’t violate any rules. Then I saved and edited that on PowerPoint. You can use a word document too. Just fill in the name and details.
I kept the actual wine bottle size for the label so it would be the right size. So whatever you do make sure the guys who print it do not change the size. Unless of course, you making a larger or smaller bottle.
- Homer Simpson on a Pile of Donuts Cake
- How to Transport Cupcakes (DIY Cupcake Carrier)
- Stack A Cake: Structurally Sound and Stunning
- Pregnant Belly Cake for Baby Showers
- Gum Paste Poinsettia Tutorial


Timeline for decorating this cake
Now, I have discussed this topic in detail in my post – timeline for decorating a cake. Everyone works at their own pace, skills and time management. Ideally, no matter how you divide your time. It depends on the cake and frosting you are using. A cake baked from scratch with ganache will give you a bit more time as compared to box cakes (I think) or perishable filling/frostings. For this cake, I took about three days.
- Day one – baked the cake (before bed) – wrapped and chilled it overnight. (3 hours)
- On day two – I carved, filled, and frosted the cake at intervals – leaving enough time to chill the cake in-between steps. (3 hours) – this can be split into two days if you baked the cake from scratch.
- Day three – covered the cake in fondant and decorated as shown in the video. (4 hours) (this can be split in two days in you bake the cake from scratch)
Wine Bottle Cake Tutorial
A wine bottle and crate cake can be a fun gift for a man or woman. Very sophisticated and elegant yet very similar to the real thing. This tutorial shows you how easy and achievable it is to create this cake from start to finish.
Video
Ingredients
- 2 Simple Moist Chocolate Cake Sheet cake
- 700 grams American Buttercream Frosting
- 500 grams Black Fondant
- 500 grams Marshmallow Fondant
- 3 Gel Food Colors
Method
- I used a cookie cutter the same size as a real wine bottle about 3-inch for most of the bottle. I’d prefer to use rice Krispy treats for the next but the lady who ordered the cake preferred only cake so….. all I did was just use cake and a bit of modeling chocolate below the next as support.
- The wine bottle label is an edible image. First I went on google and typed wine bottle label templates. I picked one that was not copyrighted so I wouldn’t violate any rules. Then I saved and edited that on powerpoint. You can use a word document too. Just fill in the name and details.
- I kept actual wine bottle size for the label so it would be the right size. So whatever you do make sure the guys who print it do not change the size. Unless of course, you making a larger or smaller bottle.
- For the side panel texture, I used a wood grain texture mat.
- I colored half my fondant in ivory before I marbled it.
- I cut the panels out and placed them in the fridge so they would be cold when I add them to the cake. Chilling fondant makes it firm and easier to handle.
- I attached my fondant panels with more ganache (water works too)
- I then painted the panels with ivory and vodka – wiping off any excess moisture.
- I think you going to love how the cake board turned out. I showed you how to create this wood effect from start to finish. Try not to think so much when working on the board. It’s not about trying to be perfect but rather about adding in some imperfections that make the realism complete.
Notes
- Day one – baked the cake (before bed) – wrapped and chilled it overnight. (3 hours)
- On day two – I carved, filled, and frosted the cake at intervals – leaving enough time to chill the cake in-between steps. (3 hours) – this can be split into two days if you baked the cake from scratch.
- Day three – covered the cake in fondant and decorated as shown in the video. (4 hours) (this can be split in two days in you bake the cake from scratch)
Equipment you will need


Nutrition
Tried this recipe?
Mention @veenaazmanov_kitchen or tag #veenaazmanovkitchen!- Fondant Cheese and Mice Cake Tutorial
- Barcelona Soccer Ball Cake
- Car Cake Tutorial
- The Ultimate Baseball Cap Cake Tutorial
- Perfect Sphere Cake


Frequently asked questions
For only the wine bottle you will need one sheet cake. You can use my Moist chocolate sheet cake recipe
If you plan to make the crate you will need an additional sheet cake. I recommend using a butter-based like my chocolate vanilla sheet cake or a dense cake like my chocolate cake perfect for carving for the wine bottle crate.
The wine bottle label is an edible image printed with edible ink. These can be custom made from cake decorating stores that carry edible ink printers.
I have made it with cake but a better option would be rice krispy treats or modeling chocolate. Both can be molded to the desired shape and they hold their shape better than cake.
I have used a mixture of light corn syrup and vodka.
Don’t lose this recipe! Save it for Later!
📌 Save this Recipe for later on Pinterest so you can easily find it again.
⭐ Add Veena Azmanov Kitchen to your Google Preferred Sources.
It helps Google show you more of our recipes.
📧 Subscribe for new recipes delivered to your inbox.
🎥 Follow us for more recipes

Hi Veena, I am looking to make a wine bottle version of Sambucol (don’t ask) aha. Any tips on the template for the label as there are way too many variation in sizes on the web for my liking and I am not a wine drinker, so nothing to compare too.
The cake looks amazing!
Kez, I find the best with bottle labels is to use a printed label. That’s what have done here too. I plan my cake and once I decide what size the label has to be I resize the label from the web in power point or word. Then I send it to print. Hope that makes sense.
Hi Veena. I made this cake and used your recipes all the way through and it turned out well and everyone loved it. . The tutorial was of great help. I had to use RKT as well for the crate as Malaysia is very hot and humid. The only problem i had was the marshmallow fondant, it was sticky after resting it for 4-5 hours in the refrigerator and i had to use quite a bit of cornflour while rolling it. Thank you very much for this recipe.
Neve, Thank you, I am happy my tutorial was helpful. Yes, humidity can cause sugar to melt especially when you take it out of the fridge. Next, time, Keep the fondant out until it is completely thawed. That way when you knead and roll it won’t need so much cornstarch as well as melt easily. I hope this helps.
Thank you very much Veena for the advice. I’ll definitely give it a try again.
You mentioned in your tutorial a list of the tools you used. Where can I find that information? I would like to know how much fondant is needed and how many days this cake took to make. Outstanding tutorial!!
Hey Cindy, Please check the post again I have made a few changes and additions as per your request. I hope this helps. Feel free to ask any questions. Thanks
Thank you so much for the additional information! It is very helpful!
You are very welcome Cindy. Have fun making the cake.
What is the ratio of cornstarch to vodka that you painted the bottle with? Did you use anything to hold the fondant to the board?
I used equal ratio of cornstarch to water. I didnt use anything to hold the fondant to the board. Not sure I understand the question.
Can you tell me the cornstarch to vodka? ratio for the shine on the bottle?
I used almost equal amounts, Cindy. Until I reached a pouring consistency so I can brush it.
Veena I apologize for bothering you again, but could you tell me how you move the cake to the cake board if you have already assembled it on something else?
Hey Cindy, as you can see in the video. The bottle is on its own board so I just picked it up with my hand and a spatula and gently placed it on the cake – use dowels in the crate before you place the bottle.
This looks amazing. What did you brush the finished bottle with to give it that great gloss?
Just as I said in the video Deer, cornstarch with water.
Thank you for sharing Veena.
You are very welcome Mai
great work
Thank you !
Thanks for sharing! Truly enjoyed!
Thank you Maria. So happy you liked watching it.