Fondant Cheese and Mice Cake Tutorial
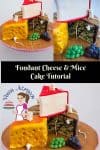
A fondant cheese and mice cake is a fun novelty cake to make. It’s perfect for any age or gender. This step by step tutorial makes it look so easy you will be surprised.

Some cakes are so much find aren’t they? I mean look at this one here. I had so much fun making this Fondant Cheese and Mice Cake.
But the best part is – it was so much easier than I expected. You know you keep working the details in your head of how you want it to look so real and the next thing you know – the cake is done.
Well, this one is a fairly small cake. It was made for a friend who also happens to be a cheese lover.


and from up as well.

Fondant cheese and mice cake tutorial
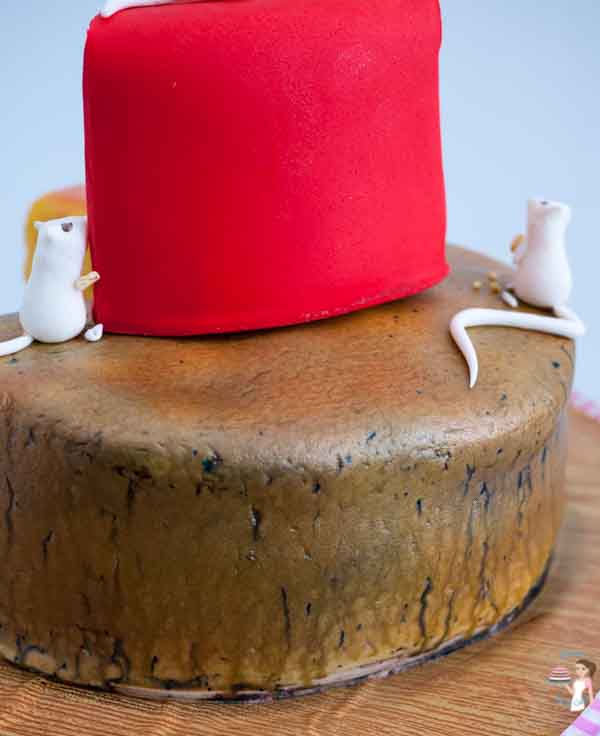
I made three different cheeses – Blue Cheese, Cheddar and Baby Bell.
and of course some cute little mice to eat the cheese.


And guess what I took a few progress pictures for you again so I can share with you how I made this fun cake.
Now I know back in 2012 I made a little mini cake tutorial which was also a Cheese and Mice Cake. I wanted to take it down because it’s so old now but it’s still so popular; I named this one Artistic Cheese Cake.
Step by step instructions
Tools
- 8″ Cake Pan
- Fondant
- CMC
- Fondant rolling pin
- Sugar shapers
- Cake decorating airbrush
- Cake decorating airbrush colors
The cake
For the cake I used my Vanilla cake; this is a butter based cake so perfect for carving; with my American Buttercream. Here I am using Satin Ice but you could use my homemade sugar past or fondant recipe as well.
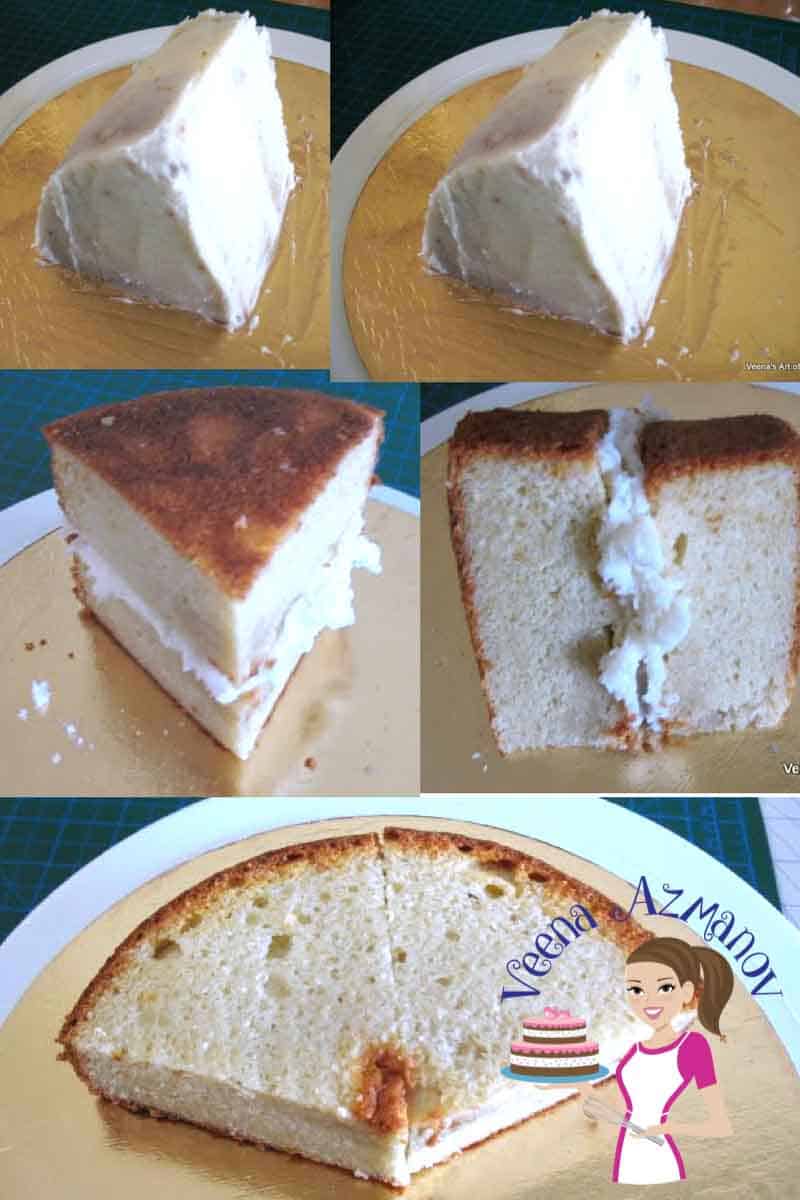
- This is a single tier 8-inch round cake which I crumb coated.
- Then carved a large piece out.
- Then carved that into uneven two pieces again. So I had a total of three pieces to make three different cheese slices
- After that I put a second coat of buttercream to each piece and chilled it so it would cold enough to wrap in fondant.

How to make the fondant blue cheese
- I covered the slice in fondant. I did not want a perfect slice so I did not give my slice any sharp edges at all.
- Next, I scrunched some aluminium foil and dabbed it around the slice. I wanted the slice to be rough and aged.
- Next I used my Magic Color Pro Gels and Powders to created a mix of colors – nothing specific. Some black, Navy blue, green and brown. I mixed the powders with the gels to get the gel to be more thick.
- I then used my Sugar Shapers (read all about my love for sugar shapers here in this post) to create the holes and crevices in the blue cheese.
- Next I used my Magic Color Airbrush Colors to airbrush the slice. First with orange, then a little green, then a little orange again and tad smear of brown. The airbrushing I did was not even but more patchy on purpose.
- In the last picture you can see the texture made with the foil and also how the colors add more depth to those textures.

How to make the fondant cheddar cheese cake
- I crumb coated the slice then covered in fondant.
- Next I used my Sugar Shapers to create the holes that cheddar has.
- I then airbrushed it in Magic Colors yellow on the whole piece.
- Next I sprayed Orange for the top and gave orange shadows to the holes.

How to make the baby bell – This was the easiest
- I crumb coated the slice.
- Then I cut a strip of white for the sides
- then a strip of red for the top
- I added red strips for the bottom to complete the design.

The mice were the easiest to make. It just hand molded lol. If you think it’s something you want me to show you let me know in the comments below and I will add a small video to my Instagram.
Of course Fondant Cheese Cake has to be served with some grapes as well so made some bunches of grapes as well.
Moving on with this mini cake!!
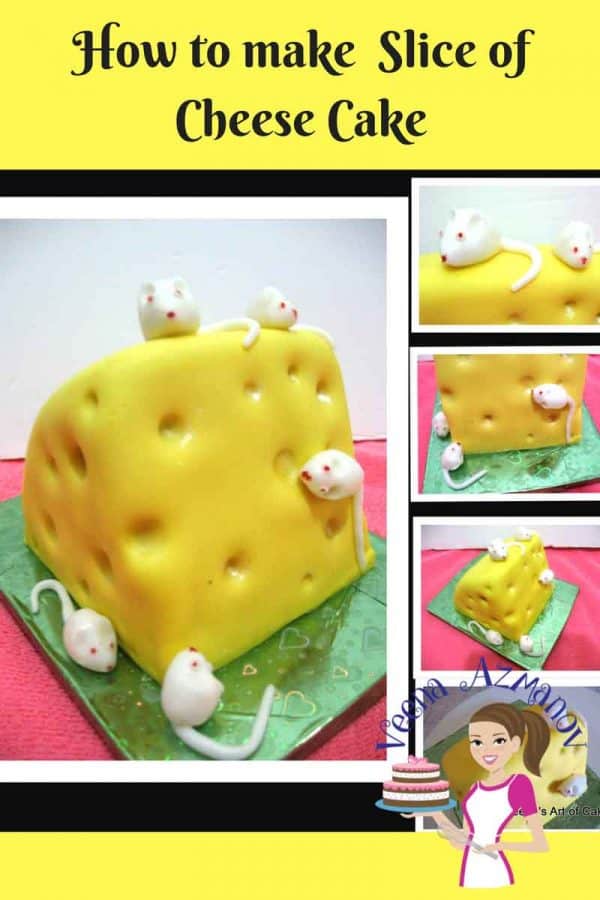
How I made this Slice of Cheese and Mice Cake
- Take a large slice of cake cut into a triangle.
- Split this in between and add frosting
- crumb coat then second coat
- Chill in the fridge for a few minutes
- For the fondant…. I used two drops of lemon yellow and one drop of golden yellow to get this color, but you can go with any shade of yellow you like.
- Roll the fondant a bit thicker than usual so you can make the dents in it, or else I’d tear it.
- Use a little lust dust into the holes to give them more depth.

And MICE. The mice were the easiest thing to make. Really?
- Take a small ball of white
- Shape into a fat teardrop.
- Shape a tiny nose,
- Pinch the ears,
- Roll the tail with more fondant
- Use red food pen to make the eyes and nose.

Don’t forget to save this tutorial on Pinterest for later. You can find a collection of my tutorials and recipes here on Pinterest


Hi Veena, I know you posted this recipe ages ago but I have a big project coming up where I need to decorate a cake. I want to do something creative and cool so this would be perfect! Unfortunately, I don’t have enough money or time to go out and buy expensive tools to make this particular cake. Would you recommend doing it? Or would it be too hard especially seeing as I don’t have the tools? Share with me any tips or comments or suggestions! Thankyou x
Sally. this is one of those few cakes that you can do without much equipment. As you can see the cake does not need to have sharp buttercream edges.. you can make the textures with foil, the back of a knife and paint brush.. If you take some pictures of real cheeses and try to add details looking at the original you will find it’s a lot easier. You should have no problem with lack of tools for this one. Have fun.
This is great stuff!