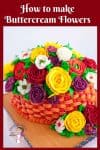
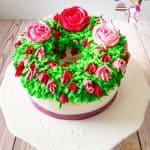
How to Make Buttercream Flowers


Buttercream flowers can instantly turn a simple cake into a stunning centerpiece. If you’ve ever wondered how bakers create those delicate, realistic blooms out of frosting, this is the tutorial for you. Whether you’re a beginner or looking to refine your technique, this guide will walk you through everything you need—from choosing the right piping tips and buttercream consistency to mastering ranunculus, blossoms, and classic buttercream roses.
If you’re already using my stiff buttercream recipe for piping flowers, this post builds on that foundation and shows you exactly how to bring your flowers to life—petal by petal.
Why you’ll love this recipe
- Beginner-friendly steps – Even if you’ve never piped a petal before, this guide breaks it down clearly.
- Tested techniques – I’ve included the flower methods that work every time, with tips to avoid common mistakes.
- Stiff buttercream that holds shape – No melting petals, even in warm weather.
- Versatile flowers – Learn how to pipe blossoms, ranunculus, and roses that you can freeze and use anytime.
Ingredients and Materials
Frostings
- 1 lb stiff buttercream frosting
- ½ lb coffee buttercream (for filling, optional)
- ½ lb velvet American buttercream (for basketweave, optional)
- ½ cup simple syrup (to brush cake layers)
🍰 Cake Base
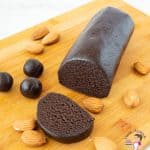
- Two layers Devil’s Food chocolate cake (or any cake of choice)
🍥 Piping Tools
- Piping tips: Wilton 104 (rose petal), 3 (small round), 1D (basketweave)
- Flower nails + 2.5” parchment squares
- Disposable piping bags + couplers
- Spatulas, mixing bowls
- Gel food colors (not water-based)
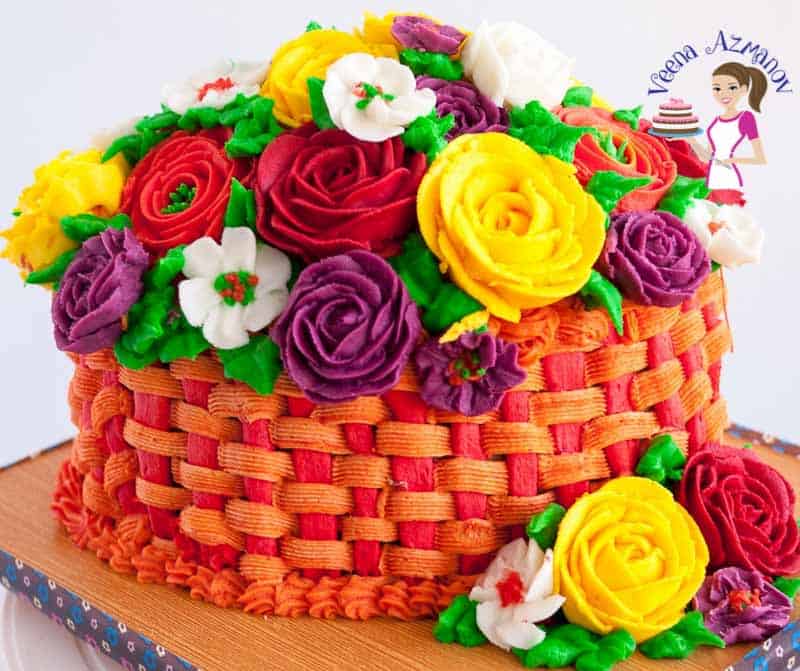
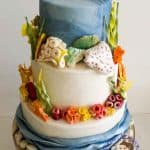
How to Prepare the Cake (Optional Basketweave)
- Bake two oval or round cake layers and cool completely.
- Brush with simple syrup.
- Fill and frost the cake using coffee or velvet buttercream.
- Optional: Pipe a basketweave pattern on the sides using tip 1D and a round tip.
- Vertical lines: round tip
- Horizontal strips: basketweave tip
- Pipe a border on top if desired.
🌼 How to Pipe Buttercream Flowers
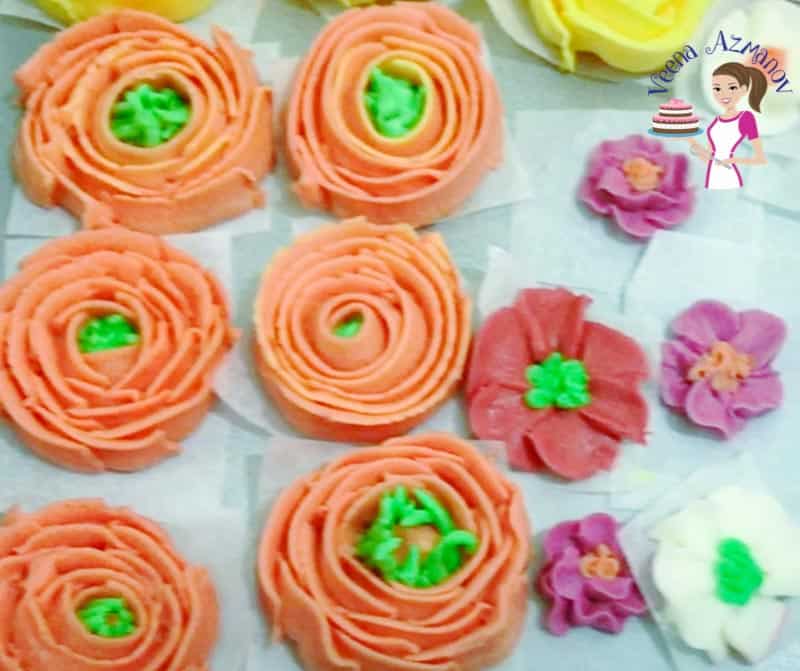
🌸 1. Buttercream Blossoms
- Use Wilton tip 104 (rose petal tip)
- Attach parchment square to flower nail
- Pipe 5 petals in a circular pattern, turning the nail
- Add a dot center using Wilton tip 3

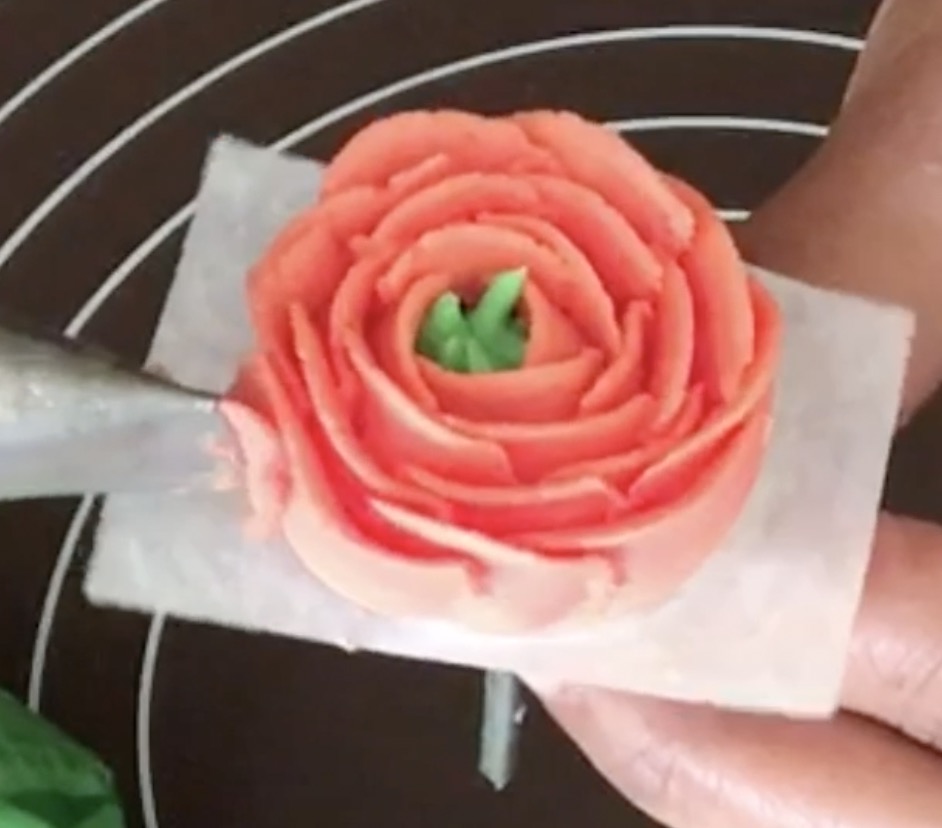
🌺 2. Buttercream Ranunculus
- Center: pipe green peaks using tip 3
- Encase the center by piping overlapping petals with tip 104
- Build layers for small, medium, or large blooms
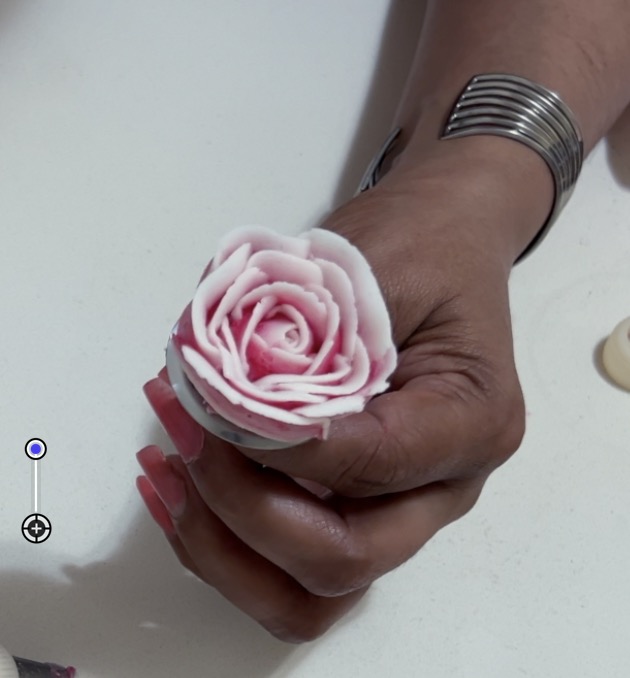
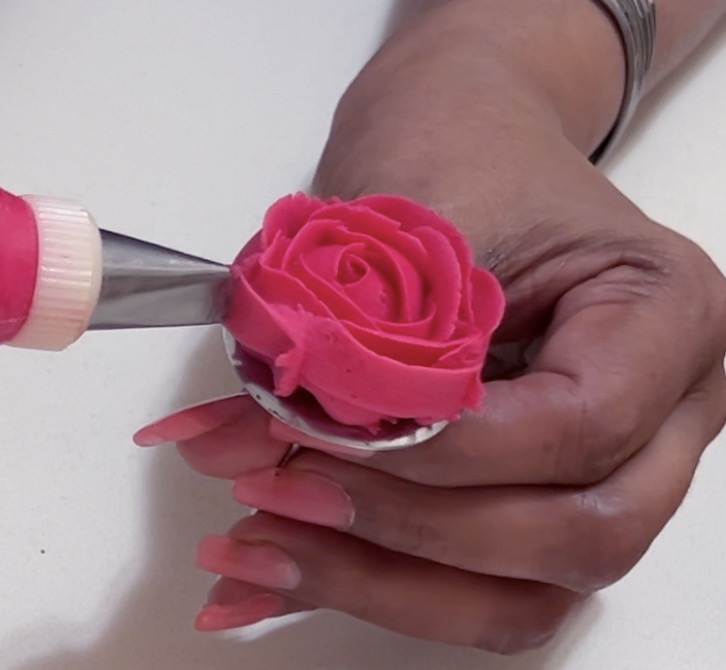
🌹 3. Buttercream Roses
- Pipe a small cone as a base
- Use tip 104 to pipe a tight center
- Pipe overlapping petals around the center to create the rose
- Vary the size for floral dimension
❄️ Tips for Making Perfect Buttercream Flowers
- Use stiff buttercream – softer frosting won’t hold shape.
- Sift your powdered sugar – ensures a smooth texture and no clogging.
- Use gel food colors only – water-based colors ruin the consistency.
- Color with care – deep shades can be achieved with just a small amount of concentrated color.
- Pipe flowers on parchment squares – makes them easy to move, freeze, and place later.
- Freeze extras – freeze in a single layer and store in an airtight container for up to 3 months.
Frequently asked questions
The best buttercream for piping flowers is a stiff consistency buttercream—not whipped too long, with minimal liquid. I use my own stiff buttercream recipe because it holds its shape and doesn’t collapse, even in warm conditions.
Yes! You can pipe buttercream flowers on parchment squares and freeze them for up to 3 months. This allows you to move them around easily when decorating and saves time on the day of your event.
Buttercream flowers made with all-butter frosting can stay at room temperature for 1–2 days in cool climates. In warm or humid environments, they may soften after a few hours. Always store decorated cakes in a cool room or refrigerate if needed.
You can, but it’s harder to reposition them once placed. I recommend piping flowers on parchment squares, chilling or freezing them, and then transferring them to the cake for best results.
A flower nail makes it much easier to rotate your piping as you work, especially for symmetrical flowers like roses and ranunculus. If you don’t have one, you can improvise with a small turntable or even a bottle cap with tape.
Most store-bought frostings are too soft or whipped for flower piping. You’ll need to thicken them with extra powdered sugar and shortening—or better yet, make your own stiff buttercream from scratch.
Wilton 104 – rose petal tip (essential for roses, ranunculus, blossoms)
Wilton 3 – round tip (for centers and filler details)
Wilton 1D or 47 – basketweave or leaf accents
These are a great starting set for most buttercream flower techniques.
How to make Buttercream Flowers
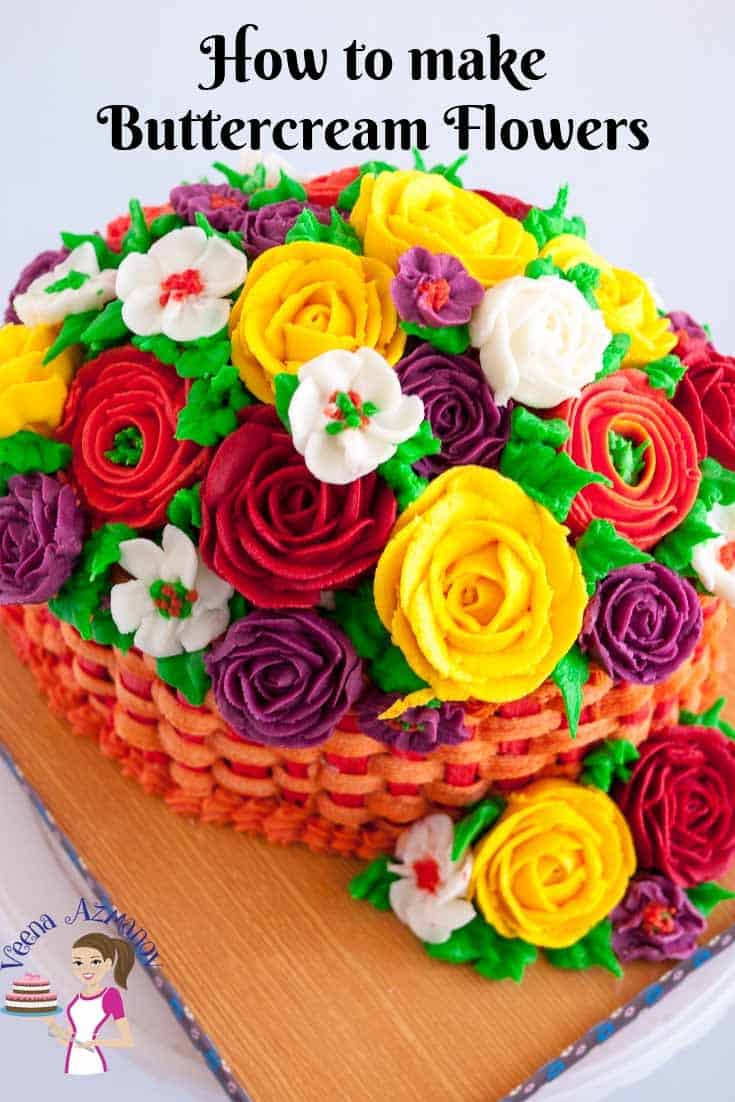
Buttercream flowers can elevate a simple cake to an impressive work of art in merely minutes. Making buttercream flowers is simple and easy if you have the right buttercream recipe and use the right piping technique which I am going to share with you today in this video and step by step tutorial.
Video
Ingredients
- 2 layers Devil’s Food Chocolate Cake (or any cake of choice)
- ½ cup Simple syrup (to brush cake layers)
- ½ lb Coffee buttercream (for filling – optional)
- ½ lb Velvet American buttercream (for basketweave – optional)
- 1 lb Stiff buttercream frosting
- Gel food colors (not water-based)
Method
- Step 1 – Prepare the Cake – Bake and cool two oval or round cake layers. Brush layers with simple syrup. Fill and frost with coffee or velvet buttercream. Optionally, decorate the sides using a basketweave pattern with tip 1D. Pipe a border on top using a round or star tip.2 layers Devil’s Food Chocolate Cake , ½ cup Simple syrup, ½ lb Coffee buttercream , ½ lb Velvet American buttercream , 1 lb Stiff buttercream frosting, Gel food colors
- Blossoms: Attach parchment to a flower nail. Use tip 104 to pipe 4–5 petals around the nail. Add dots in the center using tip 3.
- Ranunculus: Pipe a green center with tip 3. Use tip 104 to pipe petals around the center in tight layers. Continue outward to build size.
- Roses: Pipe a small cone base with buttercream. Use tip 104 to pipe a tight center swirl. Add overlapping petals around the cone. Vary petal width for small, medium, or large roses.
- Place the flowers – Pipe flowers directly on the cake or freeze on parchment squares for easier placement. Arrange frozen flowers as desired. Add leaves or extra piped details if needed.
- 🧊 Storage – Pipe and freeze flowers on parchment for up to 3 months. Once placed on a cake, store at room temperature (2–3 days in cool weather) or refrigerate. Avoid direct sunlight and high humidity to prevent softening.
Notes
Notes & Tips
- Use stiff buttercream for the best flower shape and clean edges.
- Sift powdered sugar to avoid clogs in your piping tips.
- Count gel color as liquid—too much can affect consistency.
- Chill flowers before transferring for easier handling.
- Practice each flower technique on parchment before applying to the cake.
Tips for Making Perfect Buttercream Flowers
- Use stiff buttercream – softer frosting won’t hold shape.
- Sift your powdered sugar – ensures a smooth texture and no clogging.
- Use gel food colors only – water-based colors ruin the consistency.
- Color with care – deep shades can be achieved with just a small amount of concentrated color.
- Pipe flowers on parchment squares – makes them easy to move, freeze, and place later.
- Freeze extras – freeze in a single layer and store in an airtight container for up to 3 months.
Equipment you will need


Nutrition
Tried this recipe?
Mention @veenaazmanov_kitchen or tag #veenaazmanovkitchen!No posts
Don’t lose this recipe! Save it for Later!
📌 Save this Recipe for later on Pinterest so you can easily find it again.
⭐ Add Veena Azmanov Kitchen to your Google Preferred Sources.
It helps Google show you more of our recipes.
📧 Subscribe for new recipes delivered to your inbox.
🎥 Follow us for more recipes


I have never attempted to make these because they seem difficult but you have inspired me and I think I can do it! Would make any cake look fancy!
Thank you, Noelle. Happy to see you are inspired.
you are so talented! I wouldnt have the time or patience to do this art work in frosting. I would be ordering a cake in a heart beat if you lived near by!
Thank you so much, Claudia. It would be an honor to make a cake for you.
Wow – this is GORGEOUS! Veena, your flowers look wonderful – they definitely make this one stunning cake – thanks so much for the well detailed steps to make these gorgeous flowers.
Thank you, Shashi.
These are so pretty! They would be perfect on a Mother’s Day cake.
Thank you, Dannii.
Very nice to know about you. I am fellow mumbai-ite like you but live elsewhere now. I, too, share your passion for baking, decorating, eating & cooking… in that order! LOL…. Happy & a blessed 2019 to you & your lovely family….
Thank you, Jul. It’s a pleasure to meet you too. Thank you for the lovely comment. Wish you a Happy and Blessed 2019 too.
It is really lovely to read your blog and see how beautiful your work is. Thank you so much for sharing all your lovely recipes and tutorials
Thank you so much, Tory. Thank you for your kind words.
You are such an incredible person. Love your blog. Have been following you for years, back when you have two blogs. I am so happy to see how far you have come. Your cakes are works of art and your recipes are – always delicious. Thank you so much for being so generous.
Aww, thank you so much, Britt, for such lovely and kind words. Appreciate it so much. So happy to hear you enjoy my blog and love my recipes. Thank you for this lovely comment.
You are such an amezing person sharing all these details generously! More blessings! Reading your works from blessed land Tanzania!
Thank you, Thamani