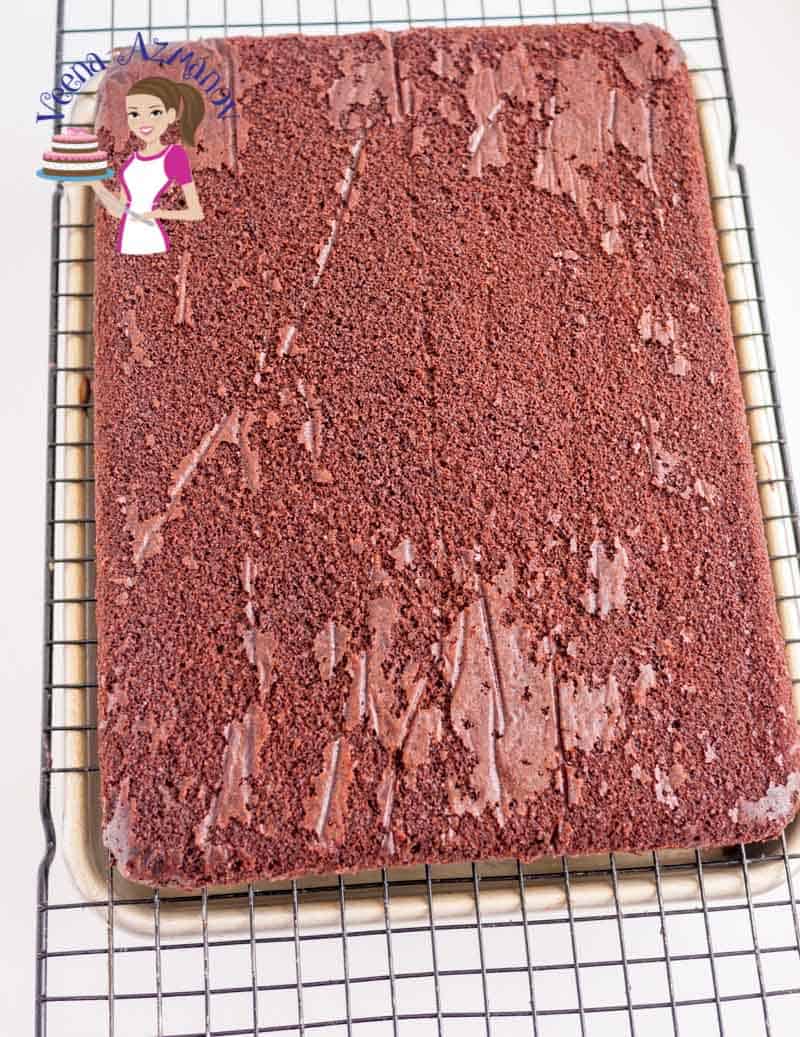
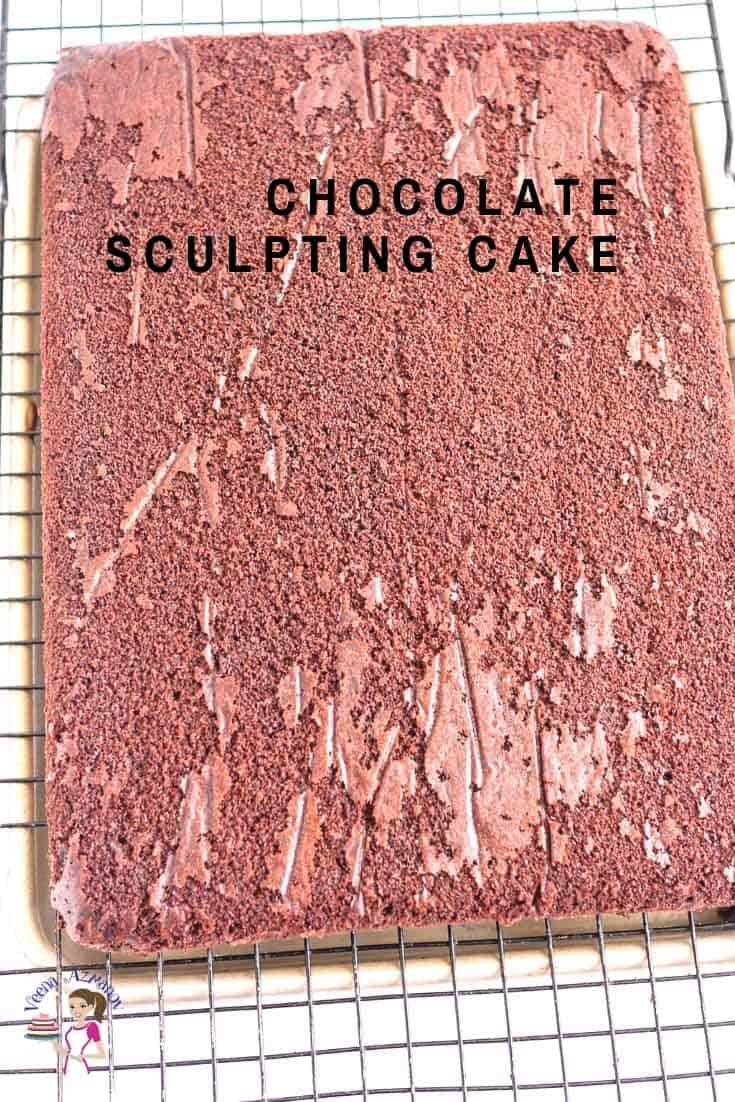
Chocolate Cake for Sculpting
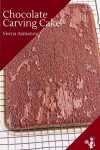
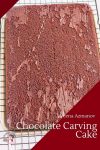

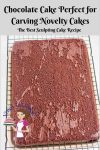
One of the most important things necessary to sculpt a novelty cake is a perfect base. A cake that can be cut and manipulated without falling apart. A cake with a soft crumb and yet taste delicious. This chocolate cake perfect for carving will prove the best sculpting cake recipe for you.
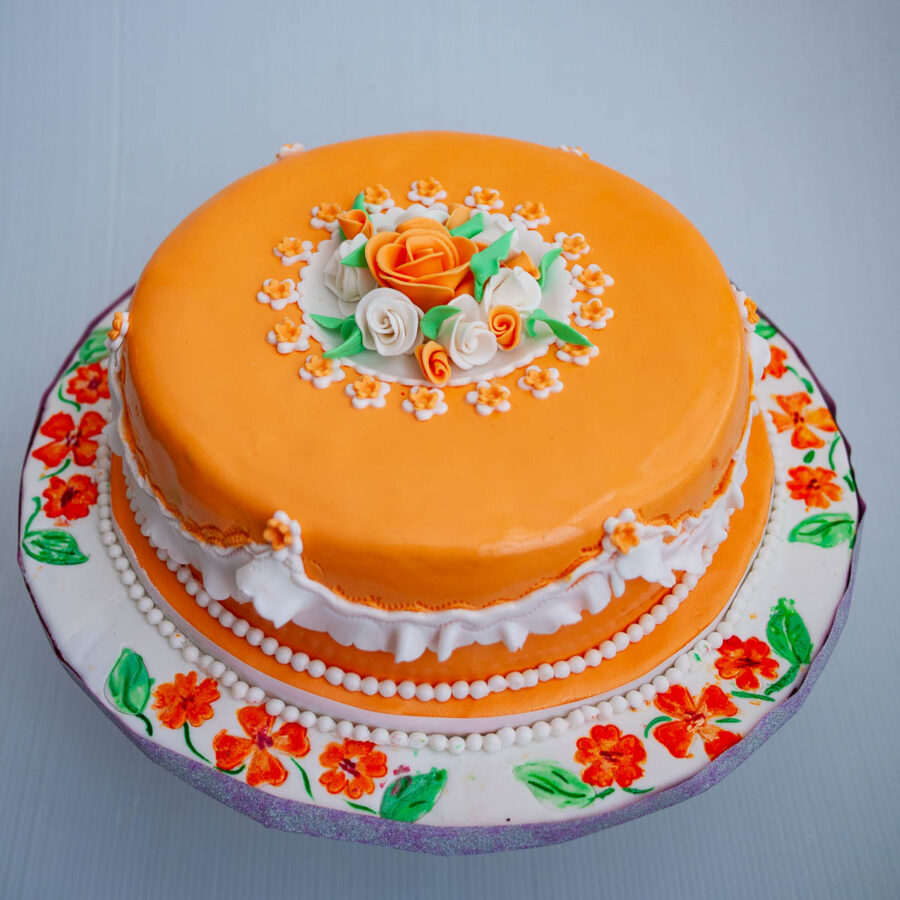
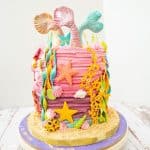
Novelty cakes are a delightful addition to any celebration, offering a whimsical and personalized touch to birthdays, weddings, and other special occasions. These cakes often feature unique shapes, intricate designs, and creative decorations that can range from realistic to fantastical.
Choosing the right cake and frosting is crucial when creating a novelty cake. The cake itself should be dense and sturdy enough to support any decorations or sculpted elements. A cake that is too light or fluffy may not hold its shape well, especially if it needs to be carved or stacked.
Similarly, the frosting plays a crucial role in both the flavor and stability of the cake. A frosting that is too soft or runny may not adhere well to the cake or could cause it to collapse. On the other hand, a frosting that is too stiff could be difficult to work with, making it challenging to achieve the desired decorations.
It’s also important to consider the flavor of the cake and frosting. While the visual appeal is essential for a novelty cake, it should also taste delicious. Choosing complementary flavors that work well together can enhance the overall experience for the person enjoying the cake.
In conclusion, being careful with the choice of cake and frosting is essential when creating a novelty cake. By selecting the right combination of flavors and textures, you can ensure that your cake not only looks incredible but also tastes amazing.
Why is this the best recipe?
- Rich and Moist Texture: The combination of butter, brown sugar, and buttermilk ensures a moist and rich texture that is perfect for carving and decorating.
- Deep Chocolate Flavor: Cocoa powder delivers a deep, rich chocolate flavor that is both satisfying and indulgent.
- Sturdy Structure: The inclusion of baking powder and baking soda helps the cake hold its shape, making it ideal for carving into intricate designs.
- Versatile: This cake can be used for various occasions, from birthdays to weddings, and can be decorated in countless ways to suit any theme or taste.
- Easy to Make: Despite its impressive results, this recipe is straightforward and easy to follow, making it accessible to both novice and experienced bakers.
- Crowd Pleaser: With its rich chocolate flavor and moist texture, this cake is sure to be a hit with anyone who tries it, making it a go-to recipe for celebrations and gatherings.

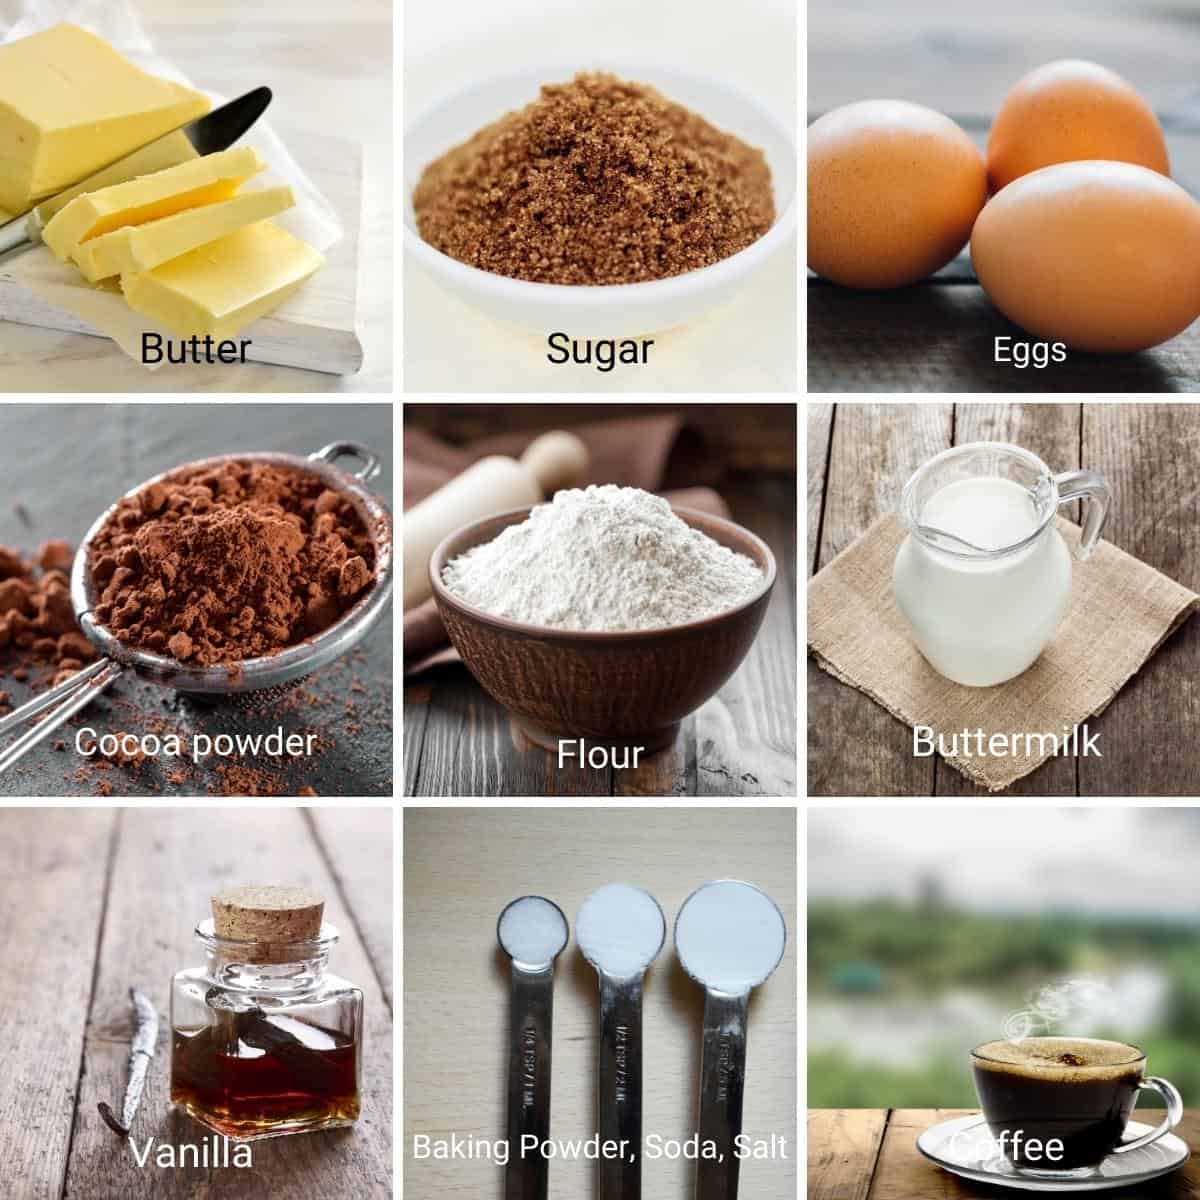
Ingredients and substitutes
- Butter – I prefer to use unsalted butter so I can control the quantity of salt in my recipe. And yet, if salted butter is all you have, go ahead and use it. Just omit salt in the recipe.
- Brown sugar– contributes to a nice, soft, tender crumb and gives a nice color. The molasses in the brown sugar adds a caramel-like flavor too.
- Eggs– Always use large-size eggs when baking unless specified. The size of the eggs varies significantly these days. So, as a guide, one large egg weighs between 50 and 60 grams.
- Vanilla– A good quality vanilla will make a huge difference in anything you make. Premium vanilla can be expensive, which is why I make my homemade vanilla extract, bean paste, or sugar.
- All-purpose flour – Yes, regular plain flour (maida) is all you need for this cake. And, since self-raising flours contain leavening, they must be used with caution.
- Cocoa Powder – I use regular Dutch-processed cocoa powder for my cake baking.
Step-by-step: Chocolate cake for carving
- Preheat your oven to 325°F/165°C/ Gas Mark 3
- Grease and line the baking pan you plan to use for your novelty cake.
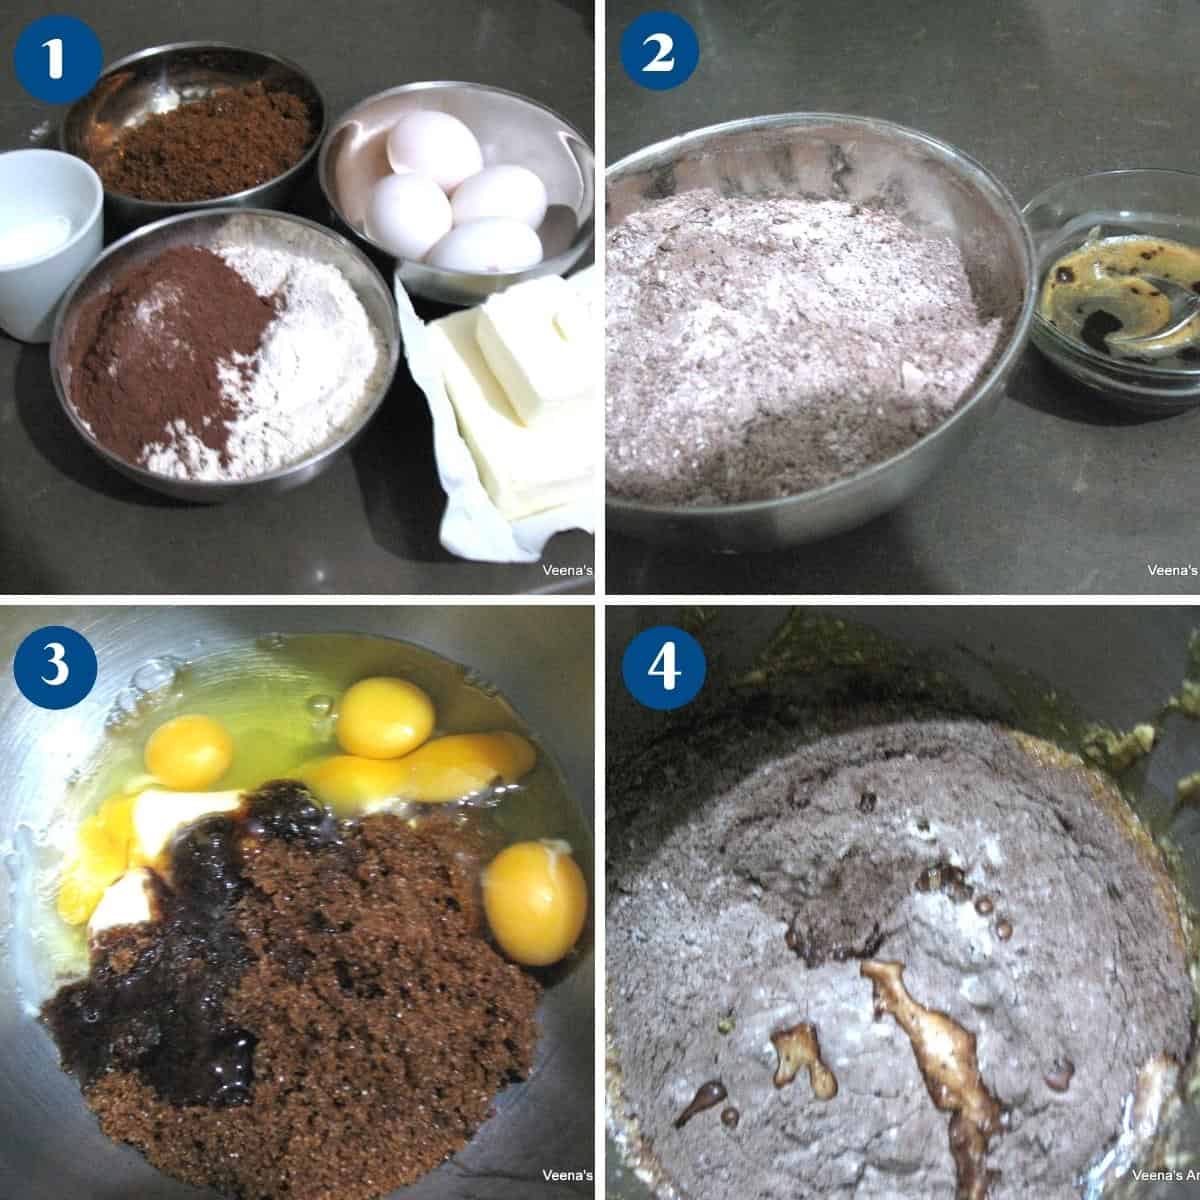
Pro tip – Makes a 1-inch height 9 x 13-inch sheet pan or 2 x 7-inch round cakes - Sift dry ingredients – flour, salt, cocoa powder, baking soda, and baking powder.
- In the bowl of a stand mixer with the paddle attachment, cream soft room temperature butter, sugar, and eggs until light and fluffy. Then add the vanilla extract.
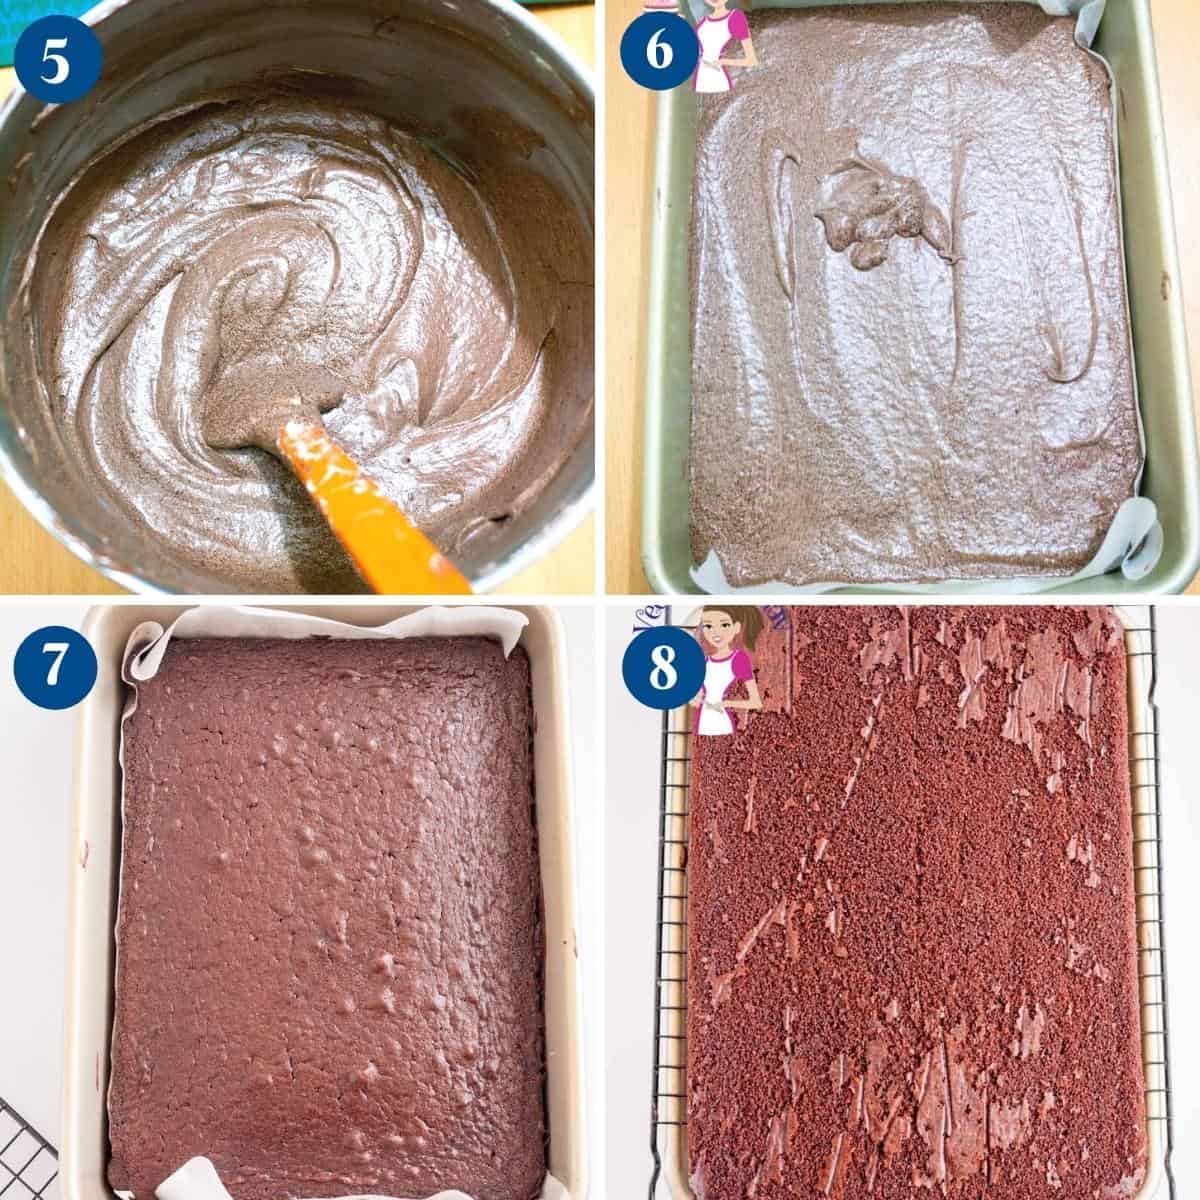
Pro tip – For this method to work, the butter must be soft at room temperature; otherwise, the batter will be very lumpy. Alternatively, you can cream the butter and sugar first, then add the eggs one at a time. - Next, add the flour mixture followed by the buttermilk and coffee in three batches.
- Pour into your baking pan and bake for about 30 to 35 minutes until a skewer inserted into the center comes out clean.
Pro tip – If using two pans, the baking time will be reduced to about 20 to 25 minutes. - Cool in the baking pan for 5 minutes. Invert and cool on a wire rack completely before you decorate
Pro tip – It is very important that the cakes are completely cooled before frosting. Otherwise, the frosting will melt on the warm cakes. - Once cooled, wrap in two plastic wraps, followed by aluminum foil. Place it in the freezer for at least one hour before you carve into it.
Pro tip – Freezing the cake for an hour makes it easier to carve with fewer cake crumbs. But freezing it hard will make it difficult to carve with more crumbs.
How much cake do I need?
One of the most common questions I get is how much cake do I need? When it comes to novelty cakes, it’s difficult for me to say.
For example, I can’t say you need two of these for a car cake. Why? because it depends on the size of your car template. However, I can say that this cake serves 15 to 20 people. But it can be double and more, successfully.
So, if you choose to make a cake for 60, then you’d multiply the recipe times 3 and follow the same method as below. This cake-serving chart guide will help you decide how much cake you need.
No posts
Tips for Success
- Plan Ahead: Sketch out your design and create a timeline for baking, decorating, and assembling the cake to avoid last-minute stress.
- Use the Right Tools: Invest in quality cake pans, sculpting tools, and decorating supplies to achieve the desired look for your cake.
- Choose the Right Cake: Opt for a dense and sturdy cake recipe that can hold up to carving and stacking, such as a pound cake or a firm sponge cake.
- Allow Enough Time for Cooling: Ensure that your cakes are completely cooled before attempting to decorate or stack them to prevent crumbling or collapsing.
- Level Your Cakes: Use a cake leveler or a serrated knife to trim the tops of your cakes to create an even surface for stacking and decorating.
- Use a Crumb Coat: Apply a thin layer of frosting, known as a crumb coat, to seal in any loose crumbs before applying the final layer of frosting.
- Experiment with Different Frostings: Consider using a firm frosting, such as buttercream or fondant, for decorating, as they hold their shape well and provide a smooth surface for decorations.
- Be Patient and Detail-Oriented: Take your time when decorating and pay attention to detail to achieve a professional-looking finish.
- Practice Makes Perfect: Don’t be discouraged if your first attempt isn’t perfect. Like any skill, cake decorating takes practice, so keep experimenting and learning from each cake you make.
- Have Fun: Most importantly, enjoy the process! Novelty cakes are meant to be fun and creative, so don’t be afraid to let your imagination run wild.
What can I make with this cake?
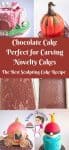
With this chocolate cake recipe, you can carve various shapes and designs for novelty cakes. These are just a few ideas, but the possibilities are endless! With a sturdy cake like this, you can let your imagination run wild and create almost any shape or design you can imagine.
- Sculpted Animals: Carve the cake into animal shapes, such as dogs, cats, elephants, or lions.
- 3D Objects: Create 3D objects like cars, trucks, airplanes, or even buildings.
- Character Cakes: Make character cakes from cartoons, movies, or books. For example, you could carve the cake to look like a minion from “Despicable Me” or a character from “Frozen.”
- Shapes and Letters: Carve the cake into letters, numbers, or other shapes for themed birthday or anniversary cakes.
- Stacked Shapes: Stack carved cake layers to create a layered effect, such as a stack of books or presents.
- Sports Cakes: Carve the cake into shapes related to sports, like a soccer ball, basketball, or football helmet.
- Fantasy Cakes: Create fantasy-themed cakes, like castles, dragons, or unicorns.
- Best Vanilla Cake Recipe for Carving
- 10 Tips for Carving Cakes
- How to Carve a Pumpkin Cake
- Casting a Delicious Spell: Cast Iron Roast Chicken Recipe
- Mom’s Vanilla Cake Recipe

Frequently asked questions
Using unsalted butter means you can control the amount of salt in the recipe. Having said that, you can use salted butter in most cakes and omit the salt in the recipe.
Often, people think a dense cake can be kept for longer. True, it does have a longer shelf life than most other cakes. And yet, even a dense cake will stay at room temperature for only 3 to 4 days. You can keep it longer if you wrap it well in plastic and keep it in the fridge.
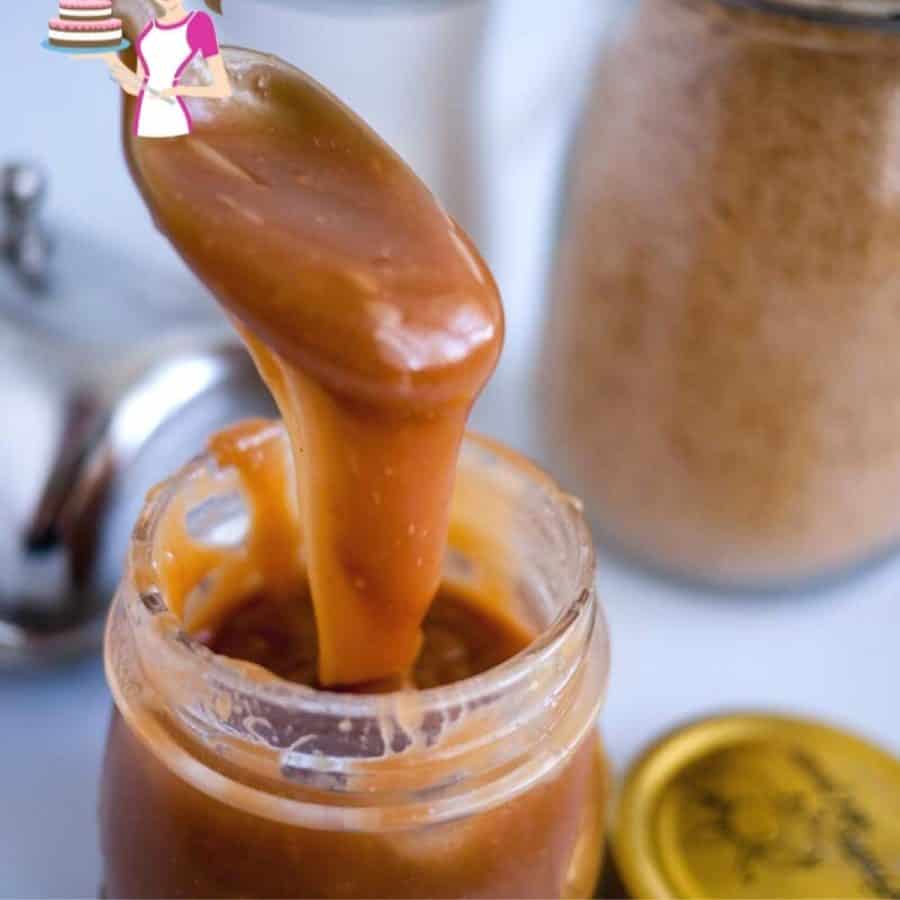
This chocolate carving is delicious on its own, especially when it’s fresh, so don’t be afraid to use it for not just sculpting. I like to use a butter-based or chocolate-based frosting for my sculpted cakes. The butter and chocolate are both firm after chilling, which makes it easier to cut and manipulate the cake as needed.
For most of my sculpted cakes, I use any one of these frostings
Velvet American buttercream,
Vanilla Buttercream Frosting, Chocolate Buttercream Frosting
Chocolate Ganache or white chocolate ganache
Don’t be afraid to try my other flavored buttercream recipes as well – see more than 30 plus buttercream frosting recipes
No, this recipe works best with eggs, but I do have an eggless chocolate fudge cake that I use for carving, and that is very popular with my visitors on this blog.
Chocolate Cake Perfect for Carving
One of the most important things necessary to sculpt a novelty cake is a perfect base. A cake that can be cut and manipulated without falling apart. A cake with a soft crumb and yet taste delicious. This chocolate cake perfect for carving will prove the best sculpting cake recipe for you.
Ingredients
- 8 oz (226 g) Butter unsalted, room temperature
- 1 cup (220 g) Brown sugar light
- 2 cups (250 g) All-purpose flour
- ¼ tsp Salt
- ¾ cup (65 g) Cocoa powder
- 1½ tsp Baking powder
- ½ tsp Baking soda
- ¼ cup (60 ml) Coffee brewed (1 tsp coffee powder in 1/4 cup water)
- ¾ cup (180 ml) Buttermilk
- 4 Eggs large
- 2 tsp Vanilla Extract
Method
- Preheat your oven to 325°F/165°C/ Gas Mark 3
- Grease and line the baking pan you plan to use for your novelty cake. Pro tip – Makes a 1-inch height 9 x 13-inch sheet pan or 2 x 7-inch round cakes
- Sift dry ingredients – flour, salt, cocoa powder, baking soda, and baking powder.
- In the bowl of a stand mixer with the paddle attachment. Cream soft room temperature butter, sugar, and eggs until light and fluffy. Then add the vanilla extract.Pro tip – for this method to work the butter must be soft at room temperature otherwise the batter will be very lumpy. Alternatively, you can cream the butter and sugar first then add the eggs one at a time.
- Next, add the flour mixture followed by the buttermilk and coffee in three batches.
- Pour into your baking pan and bake for about 30 to 35 minutes until a skewer inserted into the center comes out clean.Pro tip – if using two pans the baking time will be reduced to about 20 to 25 minutes.
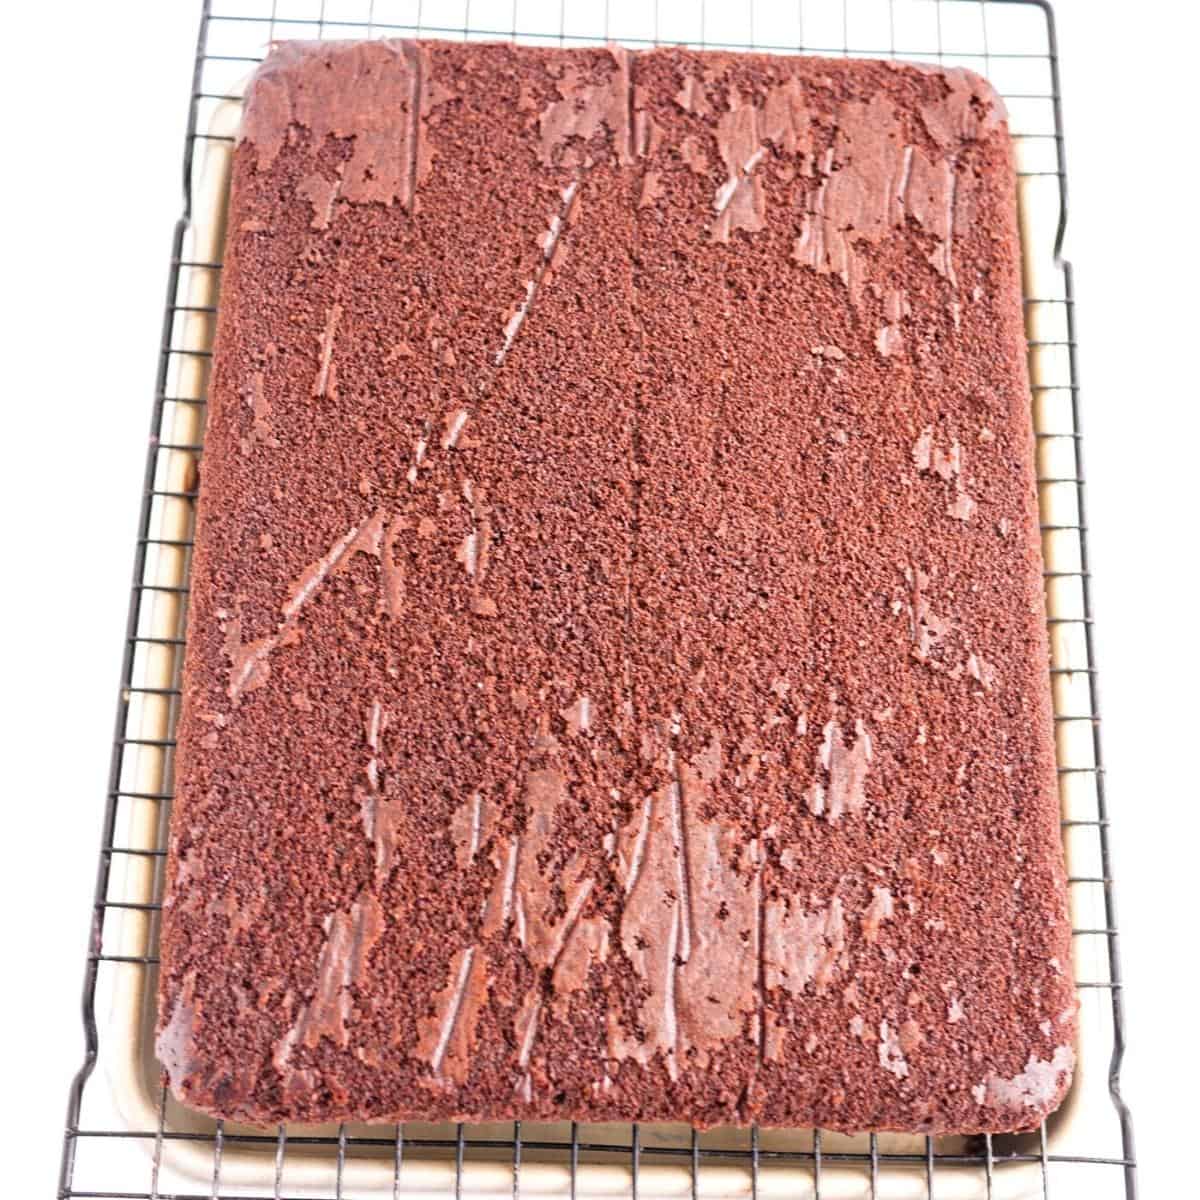
- Cool in the baking pan for 5 minutes. Invert and cool on a wire rack completely before you decoratePro tip – it is very important that the cakes are completely cooled before frosting. Otherwise, the frosting will melt on the warm cakes.
- Once cooled wrap in two plastic wraps, followed by aluminum foil. Place in the freezer for at least one hour before you carve into it.Pro tip – freezing the cake for an hour will make it easier to carve with fewer cake crumbs. But, freezing it hard will make it difficult to carve with more crumbs.
Notes
Equipment you will need


Nutrition
Tried this recipe?
Mention @veenaazmanov_kitchen or tag #veenaazmanovkitchen!


Did you LIKE this recipe? Save it for later on Pinterest.
Follow on YouTube, Facebook, Twitter, Instagram or TikTok
Subscribe to receive new recipes right to your inbox.
Hi Veena,
Please help. I’m making a number 21 cake.
I just baked a double batch of this recipe in a 9 x 12 x 3 inch cake pan, so I can carve & cut in half horizontally for one number. The top of the caked domed & cracked even though I used baking strips. In addition, when I turned the cake out of the pan the cake nearly cracked in half at the bottom because of the dome. I didn’t realise this could even happen.
I am not sure if a can salvage the cake to carve a number.
What can I do to stop this happening again for the next batch? TIA
Larisa, sheet cakes are wider and thinner than most cakes, so yes, they can crack and fall apart easily – you must always use a tray or cardboard when moving them around.
The dome can be easily cut off while frosting the cake.
Right now, you have two options – save this cake for cake balls or cake pops
Or arrange the broken cake pieces on the cake board to make a sheet cake.
Use your template to cut the shape and patch things up with frosting.
Frosting will cover all the cracks. Then decorate as you please
Hi, I need to make a 12″ round cake so was wondering how to convert from either your 9 x 13 inch sheet pan recipes or the 2 x 9″ round cakes.
Thanks
I think times 3 (3X) measure should be good for a 12-inch round pan. Just click the 3X under servings. Let me know how it was.