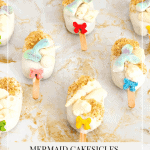
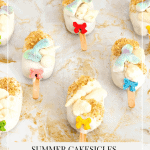
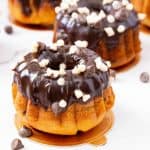
Summer Cakesicles – Cake Popsicles
 Prep Time 40 minutes Cook Time 5 minutes Total Time 1 hour 15 minutes
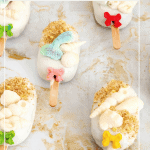
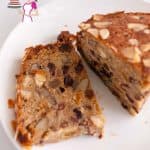
Cakesicles or cake popsicles are cake pop mixtures molded in the shape of a popsicle and then dipped in chocolate. When decorated, these are absolutely gorgeous and a fun way to serve as a bite-sized dessert at any event.
For me, cake pops are a great way to use up the leftover cake. As a professional cake decorator, I save the cake scraps and then use them to make pops that are perfect to give as gifts or to keep in the freezer.
I think cake pops took a wonderful twist as cakesicles. The wonderful themes, colors, and designs made by people are always so fun to watch.
While I love cake decorating, I’ve never had the patience for decorated cake pops. But I absolutely love cakesicles. Recently, I made a few to celebrate Rhea’s birthday, and they were a huge hit.
About these cakesicles
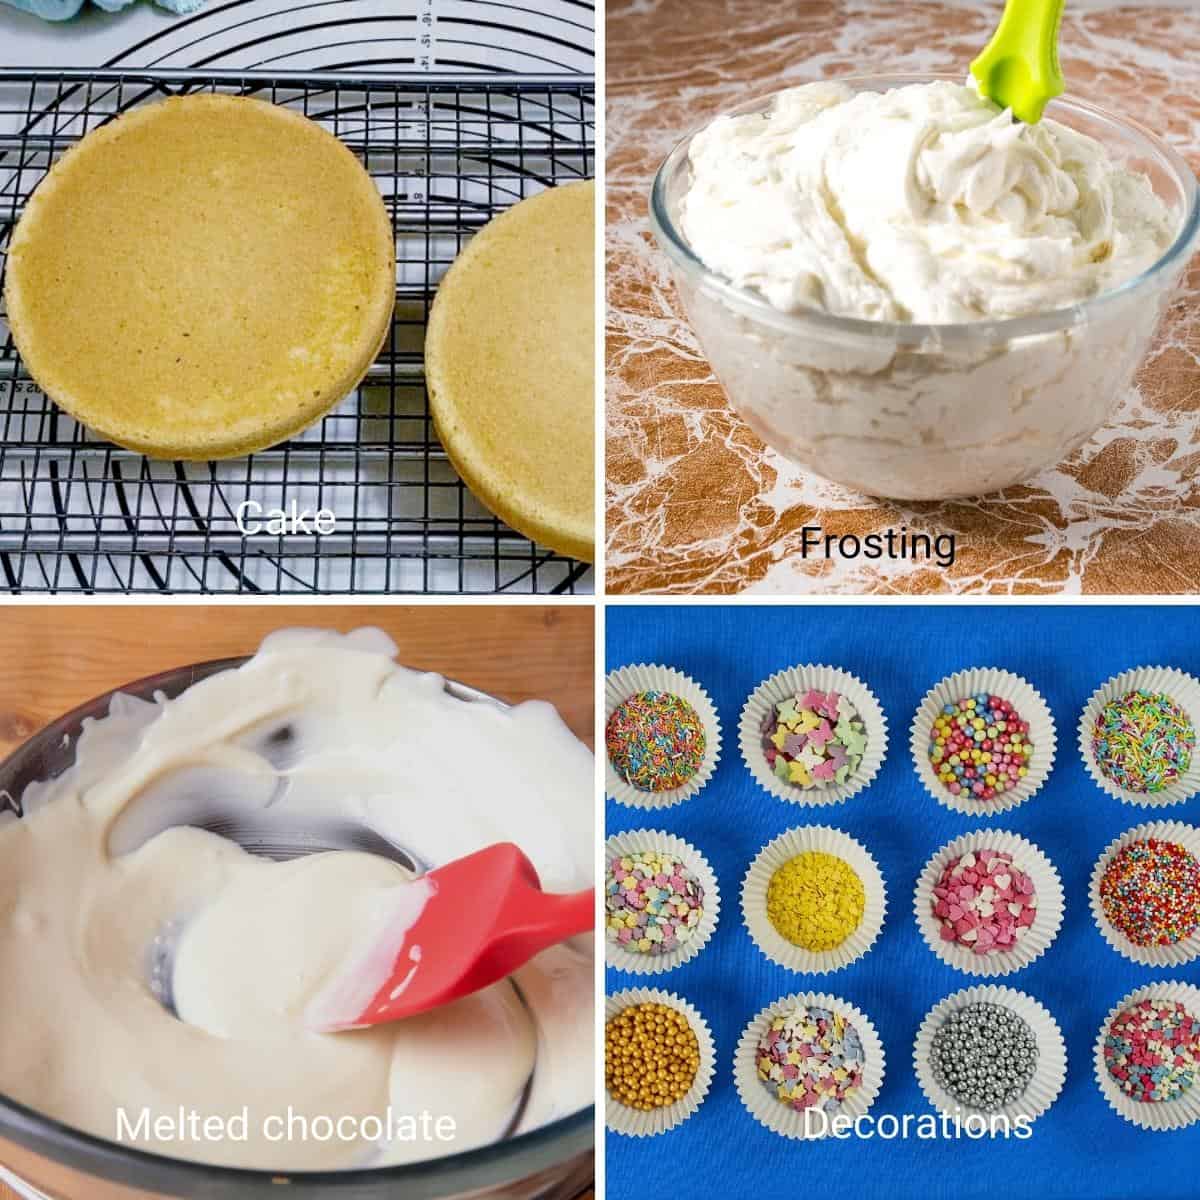
You really need only three main ingredients here. Cake, frosting, and melted chocolate. The rest depends on how you would like to decorate your popsicles.
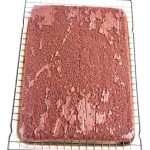
- Cake – You can make a cake from scratch, or you can use leftover cake scraps. If you’re going to make a simple and easy cake recipe, try my one-bowl vanilla or chocolate cake. You can try any other cake flavor, too!
- Frosting – It really is simple and easy to make frosting from scratch at home in just five minutes. Try my vanilla buttercream frosting, bakery-style frosting, or chocolate ganache. You can also use cream cheese frosting.
- Melted chocolate – White chocolate is often the most commonly used because it gives more decorating options. Chocolate chips or candy melts also work wonderfully with these cakesicles. But feel free to use melted dark chocolate, too.
- Decorations – Today, I am making summer-themed cake popsicles, but you could simply drizzle melted chocolate and add dust with a spoon of dragees.
Summer Cakesicles
Cake popsicle mixture
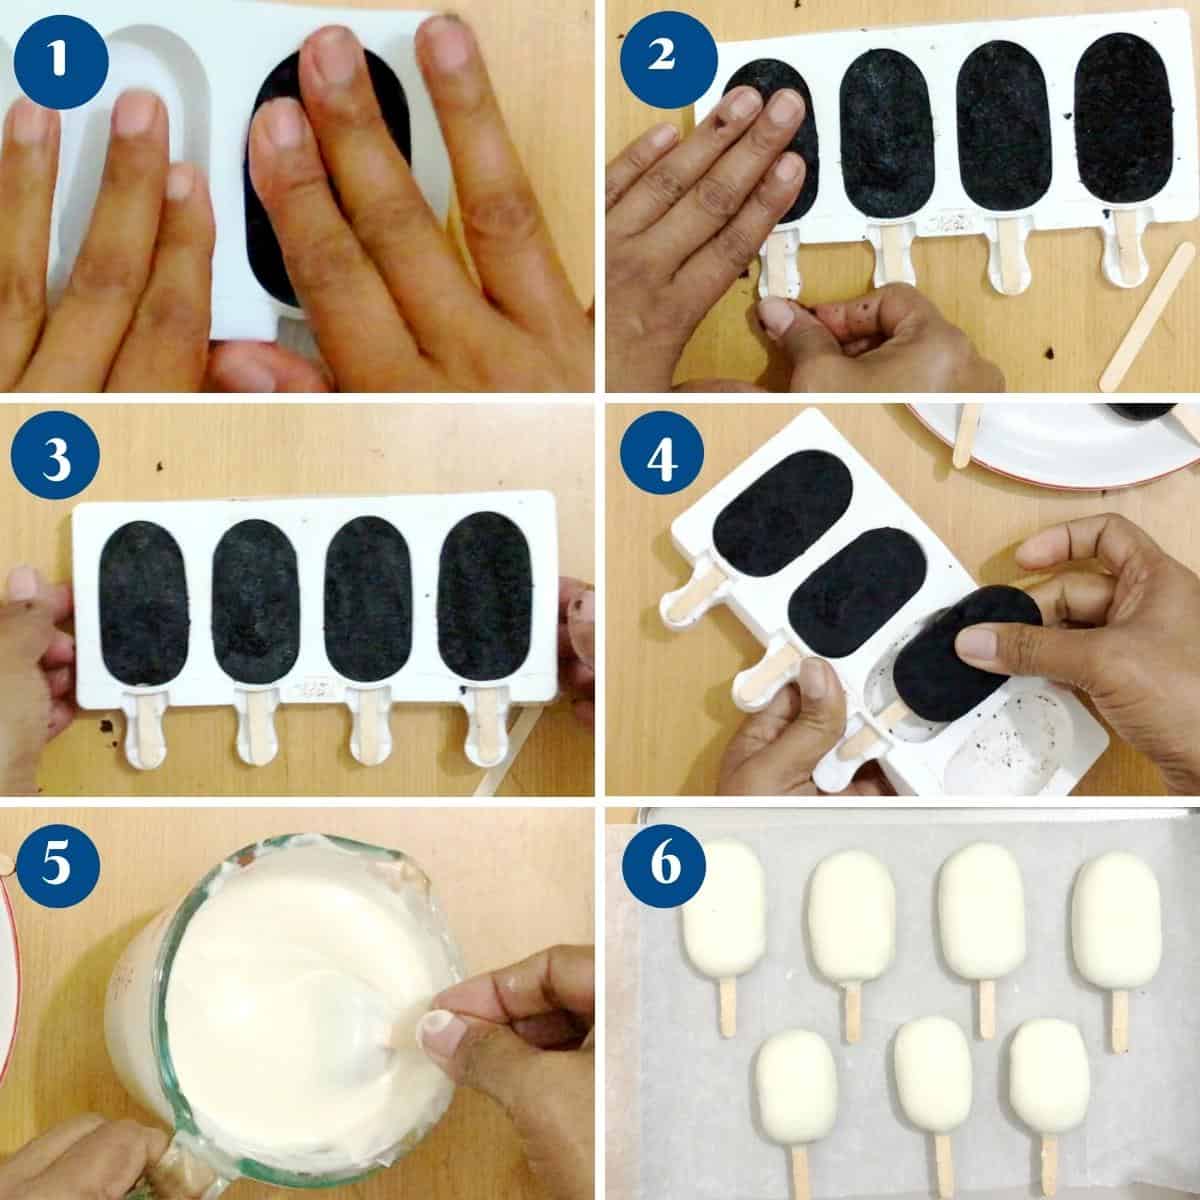
- Cake Pop mixture – In a large mixing bowl (or food processor) crumble the cake and combine it with the frosting.
Pro tip – Prepare and cool the cake completely. I like to chill the cake in the fridge for a few hours or overnight. This makes a better cake mixture. - Shape – Take a small amount of cake pop mixture and make a ball.
- Silicone popsicle mold – Press the ball into the popsicle mold. Press down so there are no gaps and clean the sides of the mold. Insert the popsicle stick.
- Without mold – Alternatively, you can shape the ball into a sausage and press to flatten it into a patty. Insert the popsicle stick and reshape it if necessary.
Pro tip – Making a ball gives a smoother finish without large cracking or holes.
- Chill – Place the mold in the freezer for 30 minutes. Then carefully remove them from the mold. Keep them chilled until ready to use.
Pro tip – bend the popsicle mold to remove each cakesicle without breaking them. - Melt chocolate – Place the chocolate in a microwave-safe bowl or measuring cup and melt in the microwave until smooth.
Pro tip – You can also use a double boil. Cool slightly, making sure it’s still at pouring consistency. - Coat – Dip each cakesicle in the melted chocolate. Hold above until all the excess chocolate drips off. Lightly scrape excess over the rim of the melted chocolate bowl.
Pro tip – If the cakesicles are not smooth, you can use the melted chocolate to fill in any cavity before you coat them in chocolate. - Chill – Place each cakesicle on a baking tray lined with parchment paper. Chill in the fridge until the chocolate sets.
Decorations
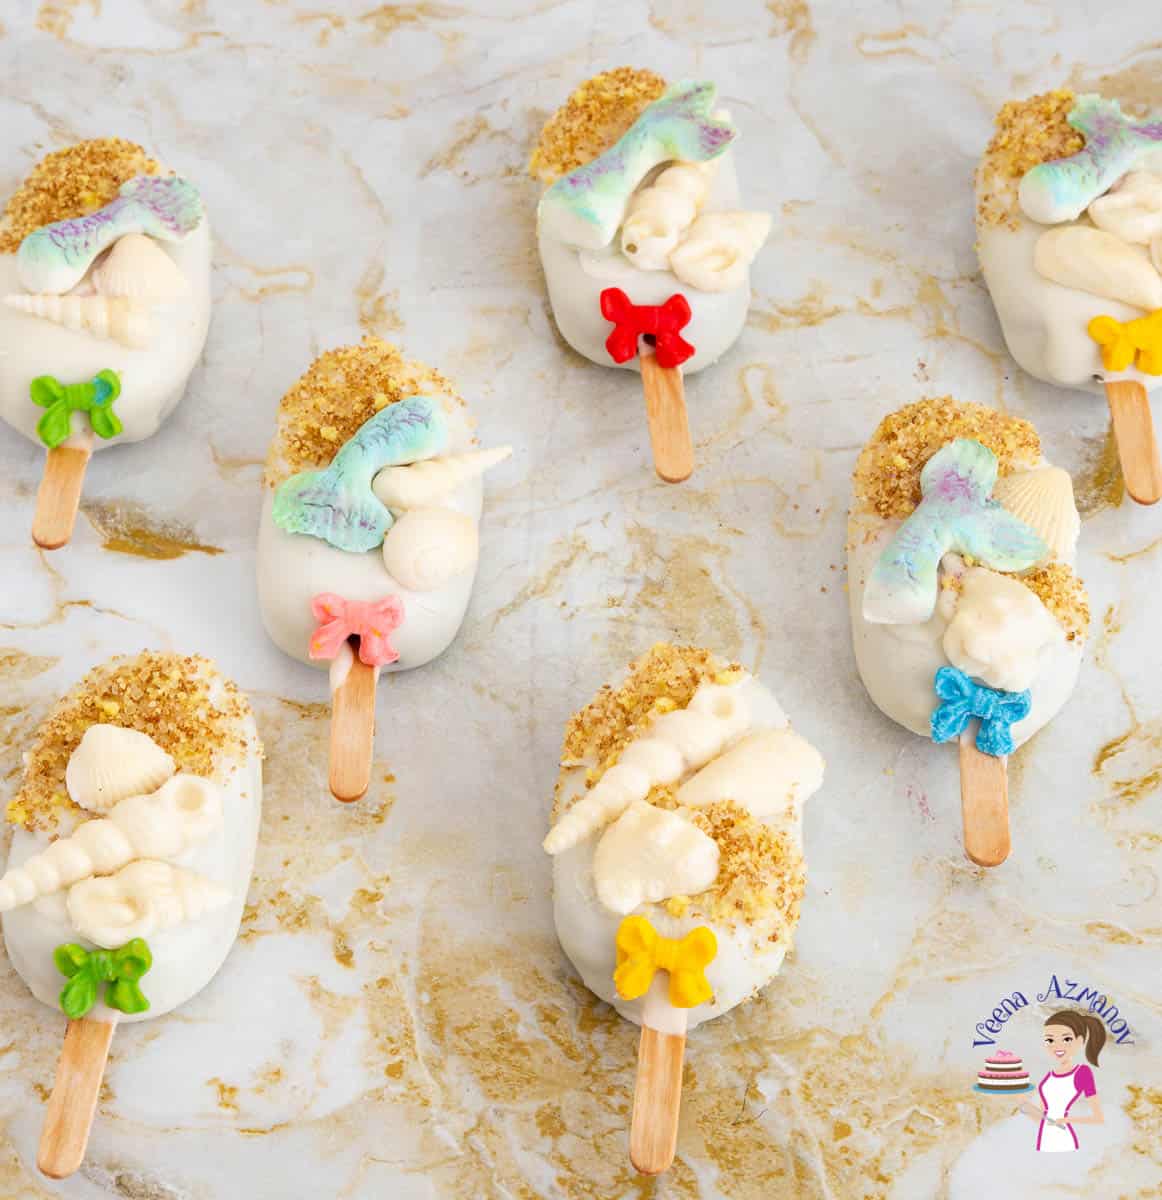
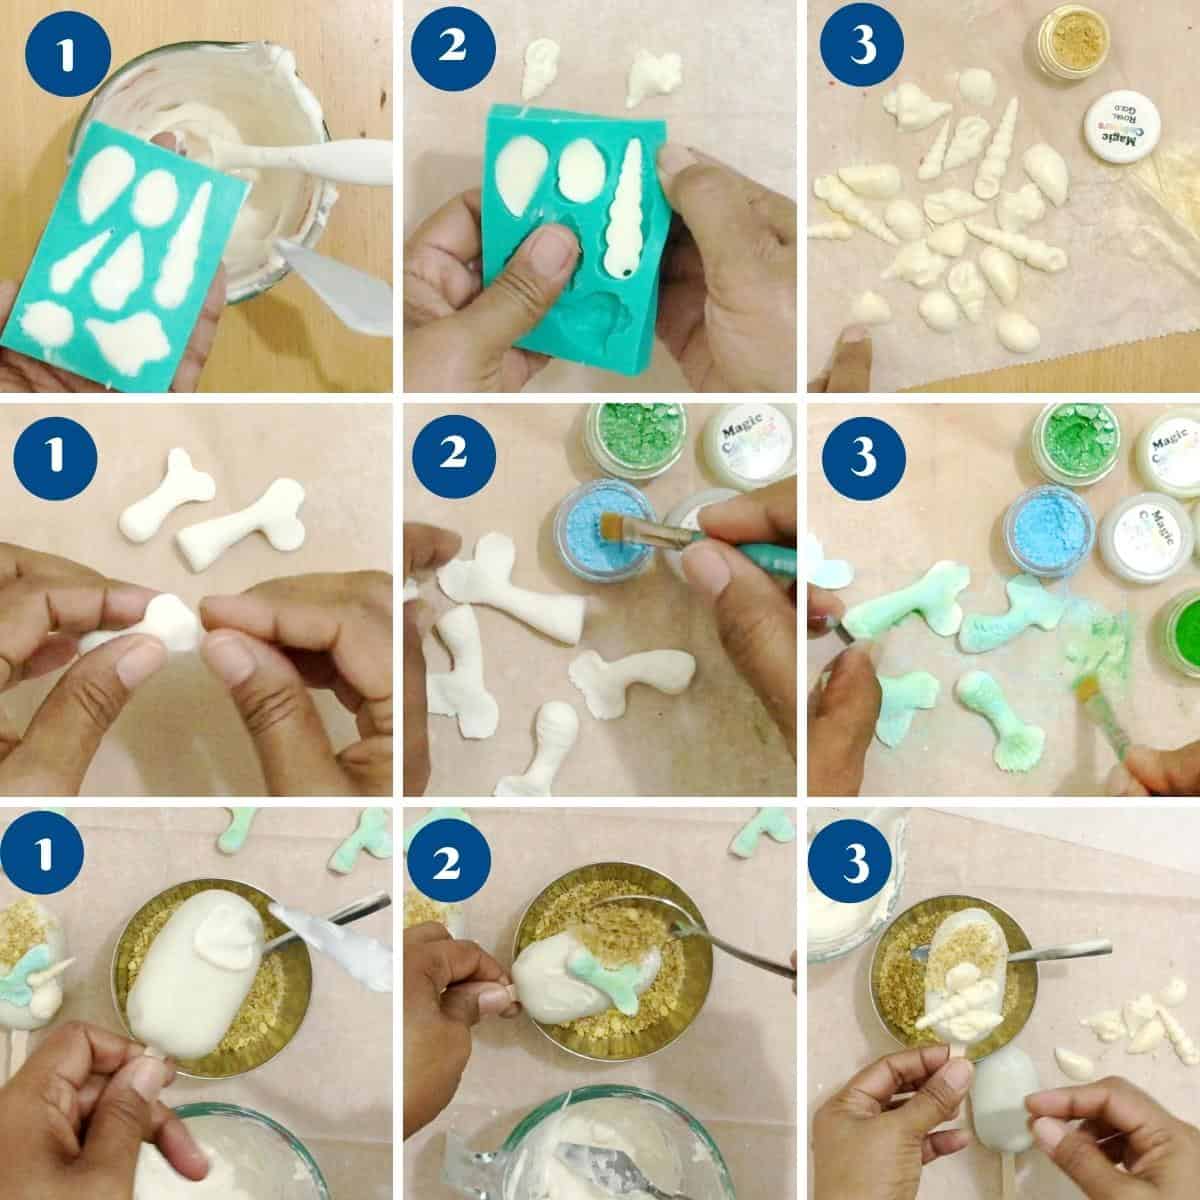
- Sea shells – Pour the remaining melted white chocolate into silicone seashell molds. Scrape off excess. Place the mold in the fridge for 10 minutes or until set. When set, remove them from the mold and dust them with rose gold petal dust powder.
Pro tip – Dusting them with petal dust gives them a more natural shell look. - Mermaid tails – Shape a small ball of white fondant into a sausage and shape it into a mermaid tail as shown in the video. Let them dry for a few hours, then dust them with blue, green, and purple petal dust for a mermaid tail effect.
Pro tip – If you have a mermaid tail mold, you can use white chocolate just as we made the seashells. - Sand – Combined crushed cookies and brown sugar to make the sand.
Pro tip – The brown sugar gives the crumbs a slight shine that looks like sand.
Assemble
- Decorate – Spread some melted white chocolate on the cakesicle. Sprinkle some sand mixture and attach the shells and mermaid tails.
Pro tip – The chocolate sets easily on the chilled cakesicles. So, add a little at a time. - Store – these can be stored in the fridge for up to 4 days.
Pro tip – if you prefer to store these at room temperature, use tempered chocolate to coat the cake popsicles.

Variations
- Simple cake popsicles – drizzle with melted chocolate and sprinkle some dragees
- Baby shower popsicles – use some blue or pink dragees, or stick some edible baby shower decorations
- Valentine cakesicles – attach some red or pink hearts to red or pink popsicles.
- Christmas Cakesicles – Use gel food coloring. Dip the cakesicles in melted red chocolate and drizzle some green melted chocolate and edible silver and gold dragees.
- Popsicle cake pops – Shape the cake mixture into a cake ball with a lollipop stick. Dip in melted white chocolate, then drizzle some dark chocolate.
Tips for Success
- I like to use homemade cake baked from scratch, which can be used fresh or chilled. If you use boxed cake, I highly recommend that you chill it. It makes for better consistency of crumbs from a box cake mix.
- The cake can be crumbled easily by hand in a large bowl, but you can also use a stand mixer with a paddle attachment. Break the cake into a crumb consistency, then add the frosting.
- Use sufficient frosting in your cake so the mixture does not break when shaped into a pop.
- Press the cake pop mixture into the mold firmly. This will prevent cracks, gaps, or cavities.
- Chill the popsicle molds thoroughly so they don’t break when you remove them from the mold.
- Chill them again before coating them in the chocolate. This way, they will not give cake crumbs into the melted chocolate
- Melt the chocolate, then let it cool slightly so it’s a thick but pourable consistency.
- To make colored popsicles, just add food gel colors to the melted white chocolate.
- Use melted chocolate to stick decorations. The chocolate sets quickly on the cold popsicles, so use a little at a time to prevent them from becoming too bulky.
- I am using melted chocolate for coating, but you can also use tempered chocolate.
- Store the cake popsicles in the fridge in an airtight container for up to 4 days.
Cake recipes to use for pops
- Strawberry Cake Recipe, Strawberry Cake with Swiss Meringue
- Red Velvet Cake Recipe, Red Velvet Cake with Cream Cheese Frosting
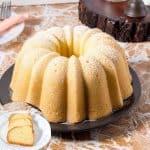
- Mom’s Vanilla Cake Recipe, Moist Vanilla Pound Cake
- Death By Chocolate Cake, 8-inch BEST Chocolate Cake EVER!
- Coffee Chocolate Cake, Simple Moist Chocolate Cake
- Marzipan Cake, Moist Chocolate Bundt Cake
Frequently asked questions
If made with fresh cake, these cakesicles will keep at room temperature for 3 to 4 days or in the fridge for a week. You can even freeze them for up to 3 months. However, if you are using cake scraps, then count the shelf-life from the time the cake was baked.
Yes, if you use coverture chocolate. If you use candy melt callets, such as candy bars and blocks, there is no need to temper. If you use coverture chocolate, you can temper chocolate. See my tutorial on how to temper chocolate.
Use sufficient frosting in the cake pop mixture so the shape holds well. Chill the filled popsicle molds thoroughly.
When cake goes bad, it gets moldy. The same will happen with your cakesicles. However, because it is coated in chocolat,e you will not see the mold unless you bite or break it.
If you don’t want to decorate these in a summer or mermaid theme, you can also keep them simple.
Coat the cakesicles in melted chocolate. Then, color the remaining melted chocolate and sprinkle or pipe it onto to get colorful lines.
Alternatively, sprinkle some non-parcels over the still-melted white chocolate.
Don’t lose this recipe! Save it for Later!
📌 Save this Recipe for later on Pinterest so you can easily find it again.
⭐ Add Veena Azmanov Kitchen to your Google Preferred Sources.
It helps Google show you more of our recipes.
📧 Subscribe for new recipes delivered to your inbox.
🎥 Follow us for more recipes

Summer Cakesicles – Cake Popsicles
Cakesicles are cake pops made in a popsicle mold, then coated in chocolate. When decorated, these are absolutely gorgeous and a fun way to serve bite-sized cake at any event.
Video
Ingredients
- 1 cake (600 g) 9 x 13 sheet cake or 2 x 8-inch cakes vanilla or chocolate
- 1 cup (226 g) Frosting vanilla or chocolate
- 24 oz (680 g) White chocolate
- 6 oz (170 g) Marshmallow fondant white for mermaid tails
- 4 oz (113 g) Melted white chocolate for shells
- 4 colors Petal Dust assorted colors
- ½ cup (50 g) Cookie crumbs for sand (digestive biscuits)
- 2 tbsp Brown sugar for sand
Method
- Cake Pop mixture – In a large mixing bowl (or food processor), crumble the cake and combine it with the frosting.1 cake 9 x 13 sheet cake or 2 x 8-inch cakes, 1 cup Frosting
- Shape – Take a small amount of cake pop mixture and make a ball. Cakesicle mold – Press the ball into the popsicle mold. Press down so there are no gaps and clean the edges. Insert the popsicle stick.Without mold – Alternatively, you can shape the ball into a sausage and press to flatten it into a patty. Insert the popsicle stick and reshape if necessary.
- Chill – Place the mold in the freezer for 30 minutes. Then carefully remove them from the mold. Keep them chilled until ready to use.
- Melt chocolate – Place the chocolate in a measuring cup and melt in the microwave until smooth.24 oz White chocolate
- Coat – Dip each cakesicle in the melted chocolate. Hold above until all the excess chocolate drips off. Lightly scrape the excess over the rim of the melted chocolate bowl.
- Chill – Place each cakesicle on a baking tray lined with parchment paper. Chill in the fridge until the chocolate sets.
- Sea shells – Pour the remaining melted white chocolate into silicone seashell molds. Scrape off excess. Place the mold in the fridge for 10 minutes or until set. When set, remove them from the mold and dust them with rose gold petal dust powder.4 oz Melted white chocolate
- Mermaid tails – Shape a small ball of white fondant into a sausage and shape it into a mermaid tail as shown in the video. Let them dry for a few hours, then dust them with blue, green, and purple petal dust for a mermaid tail effect.6 oz Marshmallow fondant, 4 colors Petal Dust
- Sand – Combined crushed cookies and brown sugar to make the sand.½ cup Cookie crumbs, 2 tbsp Brown sugar
- Decorate – Spread some melted white chocolate on the cakesicle. Sprinkle some sand mixture and attach the shells and mermaid tails.
- Store – these can be stored in the fridge for up to 4 days.
Notes
- I like to use homemade cake baked from scratch, which can be used fresh or chilled. If you use boxed cake, I highly recommend that you chill it. It makes for better consistency of crumbs from a box cake mix.
- The cake can be crumbled easily by hand in a large bowl, but you can also use a stand mixer with the paddle attachment. Break the cake into a crumb consistency, then add the frosting.
- Use sufficient frosting in your cake so the mixture does not break when shaped into a pop.
- Press the cake pop mixture into the mold firmly. This will prevent cracks, gaps, or cavities.
- Chill the popsicle molds thoroughly so they don’t break when you remove them from the mold.
- Chill them again before coating them in the chocolate. This way, they will not give cake crumbs into the melted chocolate.
- Melt the chocolate, then let it cool slightly so it’s a thick but pouring consistency.
- To make colored popsicles, just add food gel colors to the melted white chocolate.
- Use melted chocolate to stick decorations. The chocolate sets quickly on the cold popsicles, so use a little at a time to prevent them from becoming too bulky.
- I am using melted chocolate for coating, but you can also use tempered chocolate.
- Store the cake popsicles in the fridge in an airtight container for up to 4 days.
Other ideas
- If you don’t want to decorate these in a summer or mermaid theme. You can keep these simple.
- Coat the cakesicles in melted chocolate. Then color the remaining melted chocolate and sprinkle it on to get colorful lines.
- Alternatively, sprinkle some non-pariels over the still melted white chocolate.

Love your recipes! Is there a cake receipe you would recommend for making these? The ones I have tried come out dense or under baked.
I often use my one-bowl vanilla and one-bowl chocolate cakes for making pops because they are so easy. But, I have linked many cakes that would be perfect for making these cakesicles. Thanks Carly
Your cakesickes are beautiful! Thank you for sharing all the details. Can you tell me if the mermaid tales with cmc are edible or is this something you take off before eating the cakesicles?
Thanks Kelly, yes, CMC is edible gum and can be eaten. It just makes the fondant firmer.